How to make homemade compost step by step.

Composting is my preferred technique for recovering lost organic substances from the soil. It is actually defined as the decomposition of organic matter by decomposing organisms (bacteria, fungi) and detritivorous animals such as earthworms resulting in a high quality fertilizer and soil regeneration product called compost. So much for the technical definition that you can find in any content on the Internet.
Now, how do we make compost? I use as organic matter the leaves of dried plants, especially at the beginning of autumn, or the residues of food -without bone-, especially egg shells, vegetable shells, fruit shells devoid of any type of involvement such as plastic, nylon, paper, etc.
The compost can be prepared in a special container or directly in the soil.
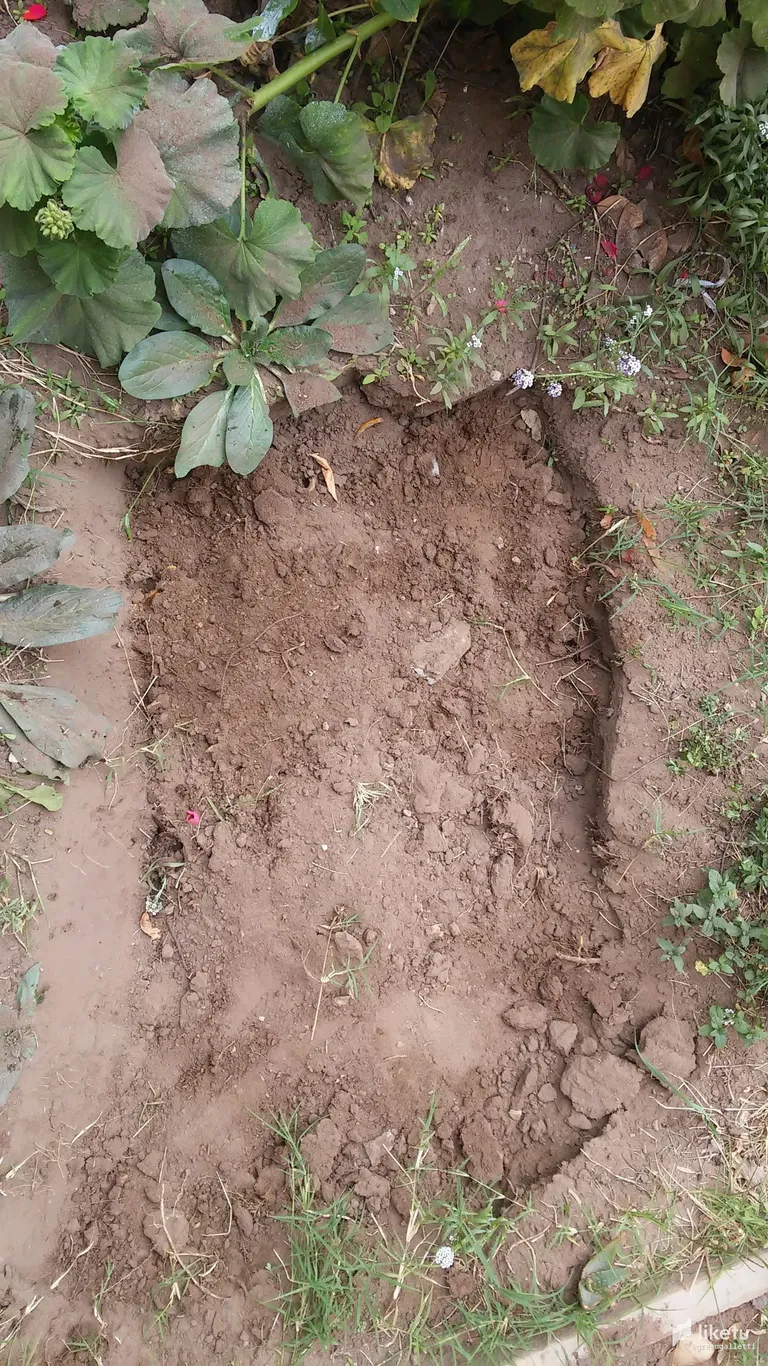
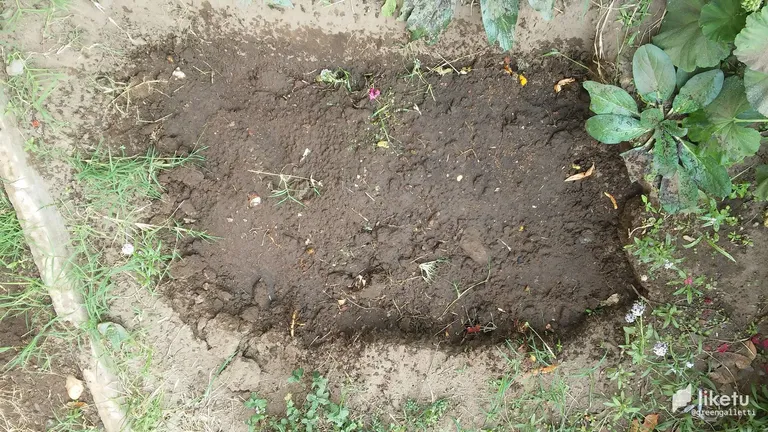
In this first example we can see in the pictures how the compost is prepared directly in the soil. From there we can take out in 6-12 months (when the organic matter is totally transformed) the soil for the pots or directly start to plant our seeds, transplant plants, etc.
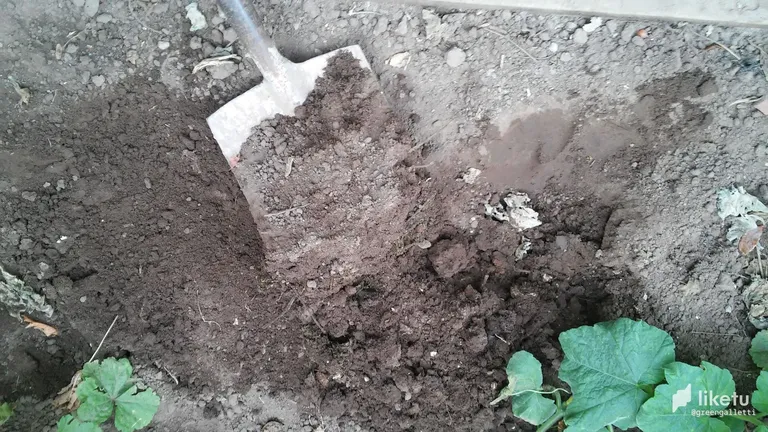
I started by making a small excavation with the shovel in the soil in a square or rectangular shape 60x40 (once finished I will make another one next to it and so on I will gradually cover the whole perimeter of the patio.
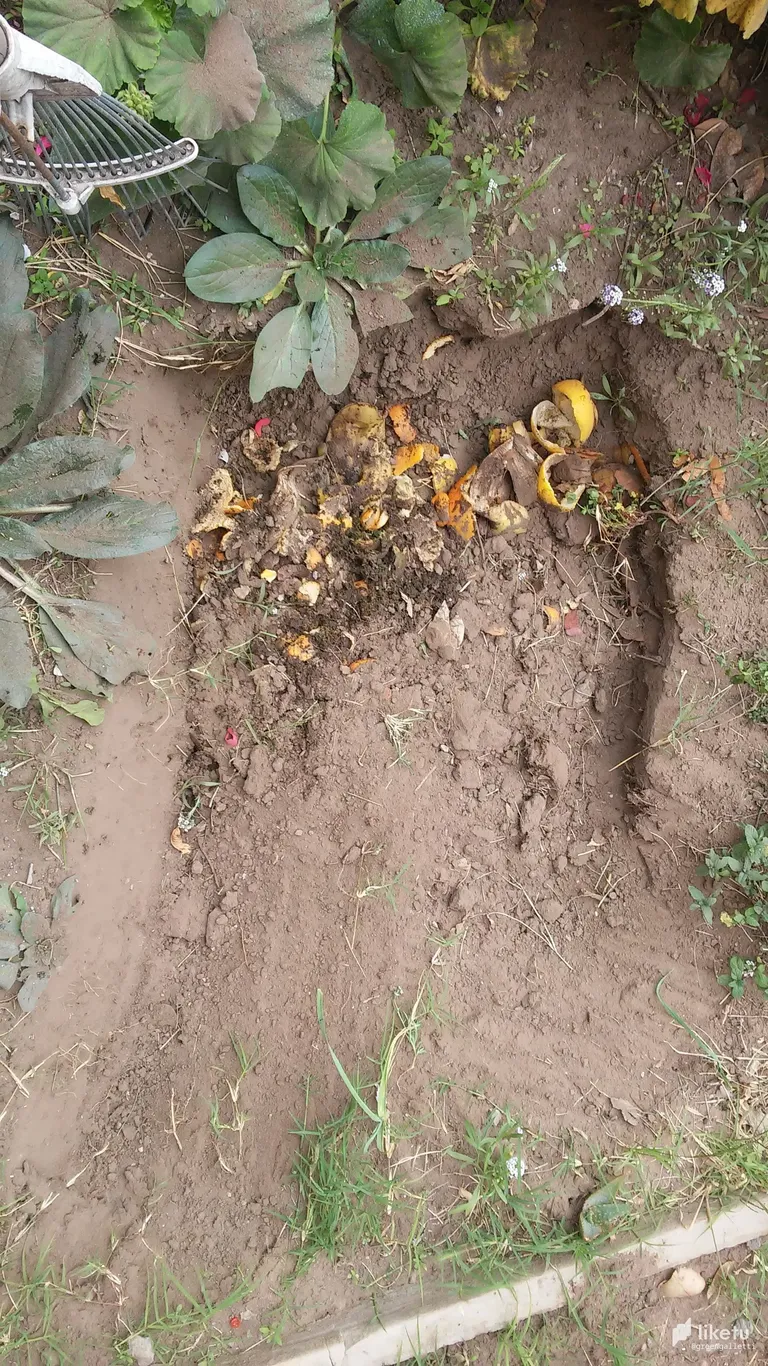
Once a day -or as often as each user deems convenient- I empty the kitchen container as you can see in the pictures and cover it with enough soil so as not to leave the residues uncovered. If you have dry leaves you can also cover it with leaves. This will prevent nocturnal animals (especially cats) from coming in at night and scattering everything in search of food. You can compress it by stepping on it and water it.
In this way successively add layers of waste (keep in mind that the husks again take longer than the rest to be completely transformed into organic matter) to complete the entire surface that had been destined for compost. The depth should be about 20-30 cms, so that approximately five layers of compacted waste will go into the compost.
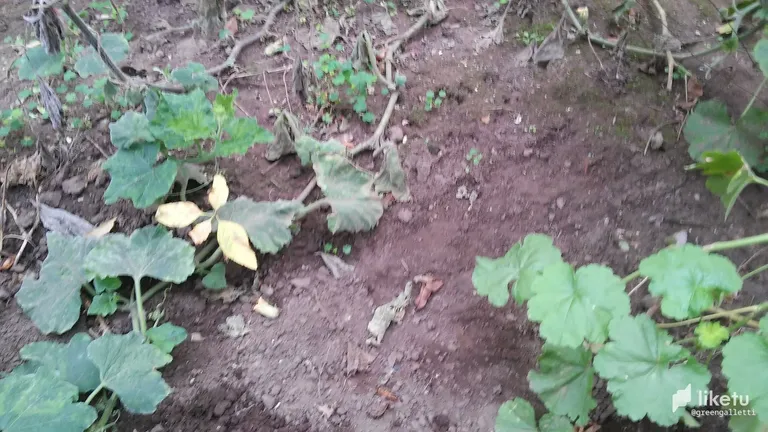
If you decide to sow or cultivate on top of the compost it is an excellent alternative since you will give the soil the necessary time to rest and reconvert, which is approximately one year.
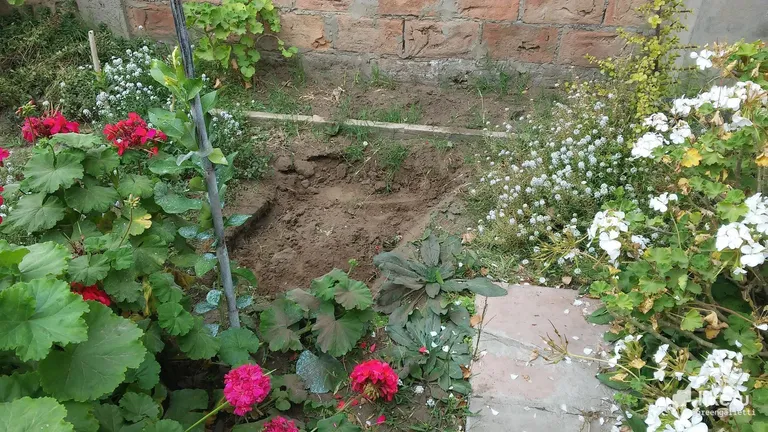
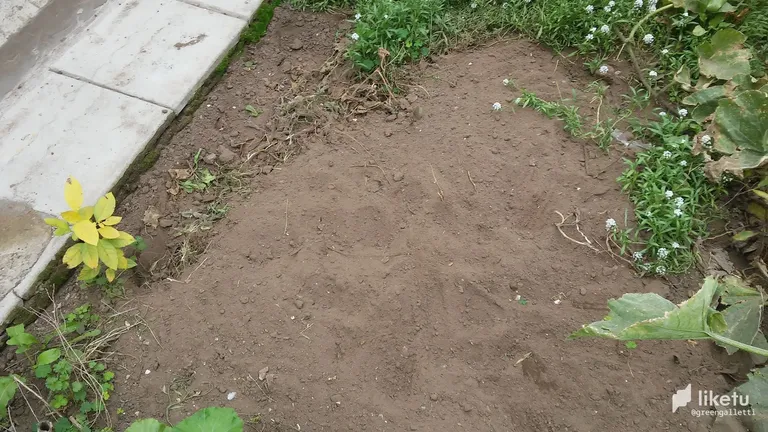
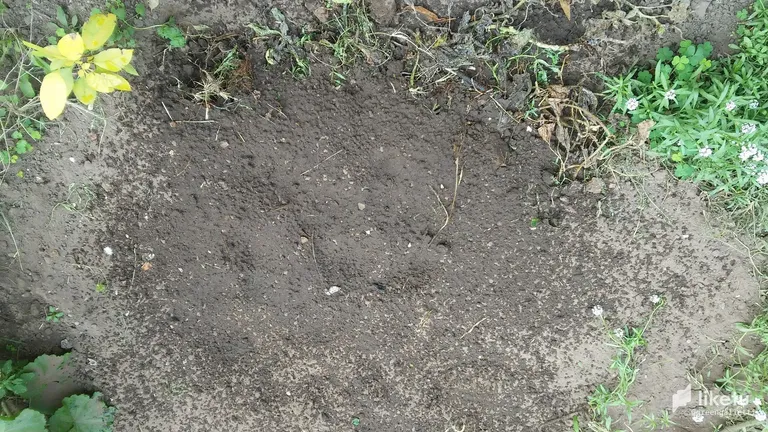
In the photos you can see some of the compost already finished and covered with soil and in the last photo I took the opportunity to shovel out some soil (from a compost made several months ago) so that you can see the different color that the soil takes on as the organic components are integrated.
In the next post I will show you how to make the compost directly in the pots or larger containers.
Cómo hacer un compost casero paso por paso.
El compostaje es mi técnica preferida para hacer recuperar la tierra las substancias orgánicas perdidas. En realidad es definido como la descomposición de la materia orgánica por organismos descomponedores (bacterias, hongos) y animales detritívoros como lombrices, que tiene como resultado un producto fertilizante y regenerador del suelo de alta calidad denominado compost. Hasta aquí la definición técnica que pueden encontrar en cualquier contenido a través de Internet.
¿Ahora bien, como realizamos el compost o compostaje? Yo uso como materia orgánica las hojas de plantas secas, especialmente al inicio del otoño, o los residuos de comidas -sin hueso-, especialmente cáscaras de huevo, de hortalizas, de frutas desprovistas de cualquier tipo de involucro como plástica, nailon, papel, etc.
El compost se puede preparar en un contenedor especial o directamente en la tierra.
En este primer ejemplo vemos en las imágenes como se prepara el compostaje directamente en la tierra. De ahí podemos sacar dentro de 6-12 meses (cuando ya la materia orgánica esté totalmente transformada) la tierra para las macetas o directamente comenzar a plantar nuestras semillas, trasplantar plantas, etc.
Comencé haciendo una pequeña excavación con la pala en la tierra de forma cuadrada o rectangular 60x40 (una vez terminada haré otra igual al lado y así sucesivamente voy cubriendo todo el perímetro del patio gradualmente.
Una vez por día -o con la frecuencia que cada usuario estime conveniente- vacío el contenedor de la cocina como pueden ver en las fotos y lo cubre con tierra lo suficiente para no dejar al descubierto los residuos. Si tienen hojas secas, pueden cubrirlo también con hojas. De esta manera evitan que de noche lleguen animales nocturnos (especialmente gatos) y desparramen todo buscando comida. Pueden comprimirlo pisando arriba y regarlo.
De esta manera sucesivamente le van agregando capas de residuos (tengan en cuenta que las cáscaras de nuevo tardan más del resto en transformarse totalmente en materia orgánica) hasta completar toda la superficie que habían destinado al compost. La profundidad debería ser de unos 20-30 cms con lo cual entrarían aproximadamente unas cinco capas de residuos compactados.
Si deciden sembrar o cultivar encima del compost es una excelente alternativa, ya que le irán dando a la tierra el tiempo necesario para descansar y reconvertirse que es de aproximadamente un año.
En las fotos pueden ver algunos compostajes ya terminados y cubiertos de tierra y en la última foto aproveché para sacar con la pala un poco de tierra (de un compostaje hecho ya hace varios meses) para que vean el color distinto que va asumiendo la tierra al irse integrando los componentes orgánicos.
En el próximo post les mostraré como hacer el compostaje directamente en las macetas o contenedores más grandes.

The lower part of the signature banner corresponds to the badget made by the @hivebuzz team. My thanks to them and in particular to @arcange.
La parte inferior del banner de la firma corresponde al badget elaborado por el equipo de @hivebuzz. Mi agradecimiento a ellos y en particular a @arcange.
For the best experience view this post on Liketu
https://twitter.com/HugoRep/status/1524790837632241670
The rewards earned on this comment will go directly to the person sharing the post on Twitter as long as they are registered with @poshtoken. Sign up at https://hiveposh.com.
What a good technique, simple and effective
Congratulations @greengalletti! You have completed the following achievement on the Hive blockchain and have been rewarded with new badge(s):
Your next target is to reach 12000 upvotes.
You can view your badges on your board and compare yourself to others in the Ranking
If you no longer want to receive notifications, reply to this comment with the word
STOPCheck out the last post from @hivebuzz:
Support the HiveBuzz project. Vote for our proposal!