DIY/ Indoor Flower Pot Carrier.
Being a minimalist, holding on to things I don't need can be very inconveniencing, but there are items we find difficult to let go of just because of how important they are to us. I was about to dispose of this old shirt of mine today, but I couldn't give it to someone because it's so old and it would rip apart at the slightest stretch.
I got the shirt as a birthday gift some years ago, and it came from someone very special to me. Instead of trashing this shirt, I thought of making something beautiful from it that would still make me still admire the shirt and retain the beautiful memories attached to it.

After thinking for a while, I decided to make a hanging flower pot from the shirt, and that way, I can still always look at the flowers and admire the shirt.
I swung into action and got all the necessary materials, which are all recyclable items.-

- Carton
- Plastic bottle
- My old shirt
- Glue
Those are the four items I made the hanging flower pot from.

I started by cutting the carton into the shape I needed.
- A big rectangular shape and a small rectangular shape.
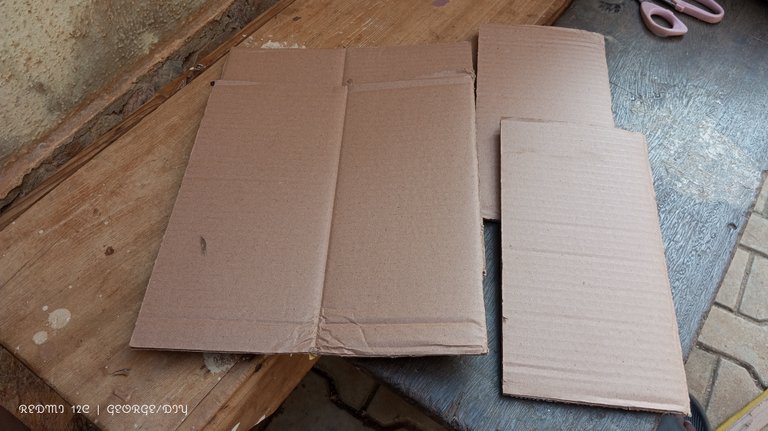
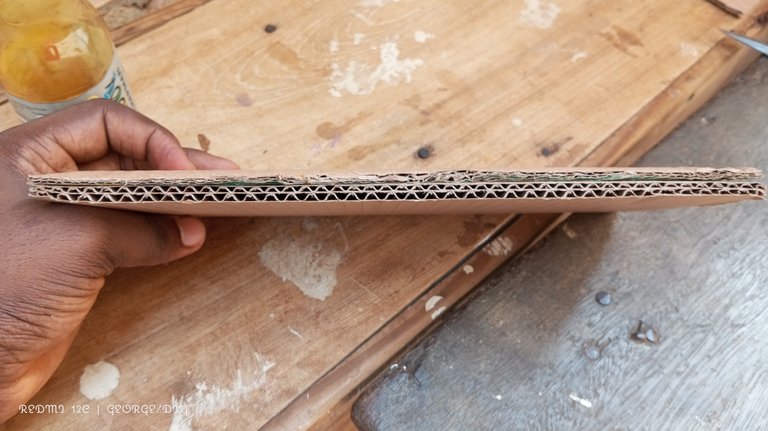
- I cut them in two pairs because I wanted the flower pot hanger to be strong.
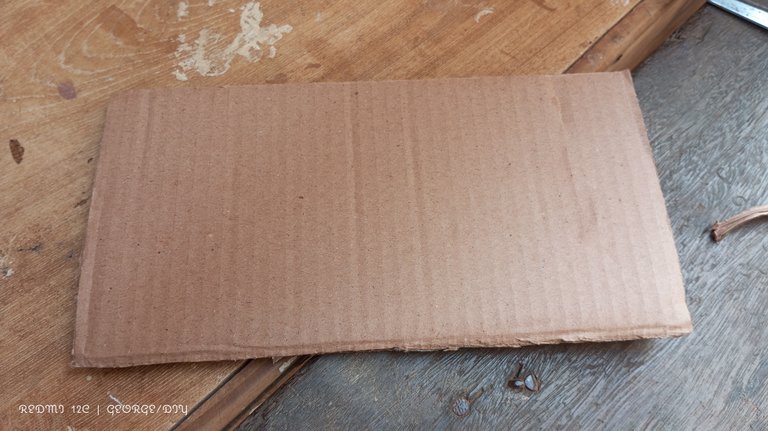
- I joined the two pairs of small rectangular shapes together with glue and set them aside to dry properly.
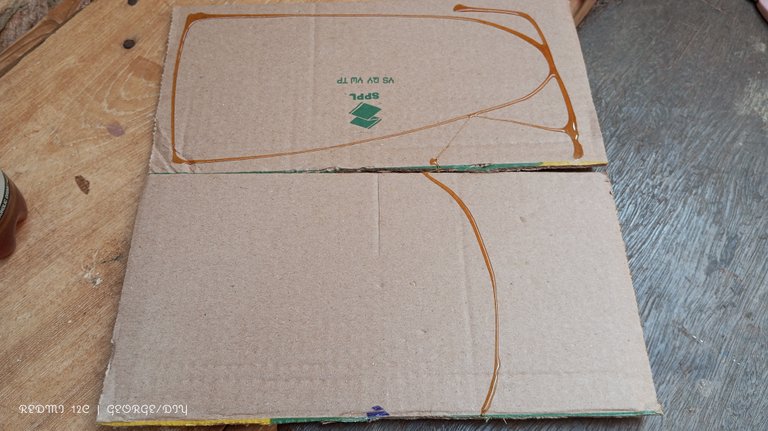
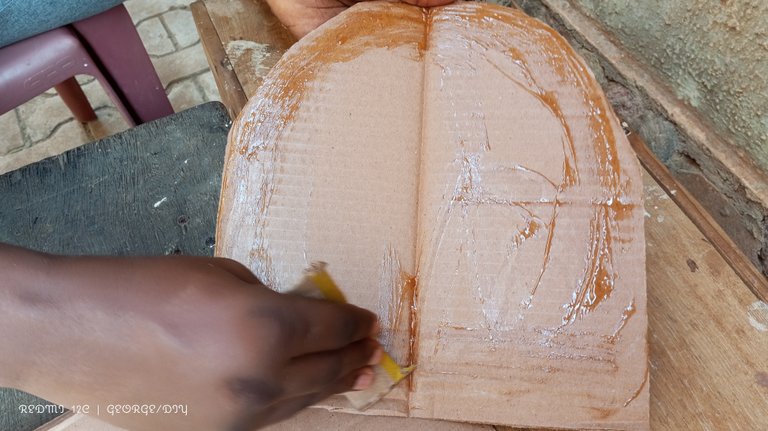
- I needed one end of the big rectangular shape to be curved, so I marked the shape with a pen and cut it out. I repeated the process for the second big rectangular shape and also joined them with glue.


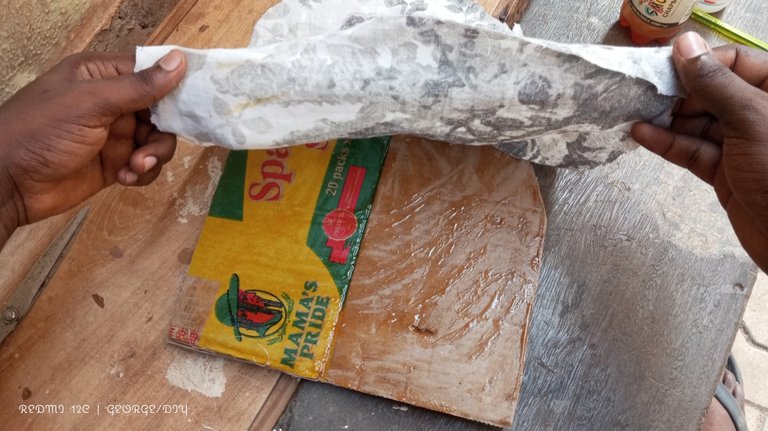
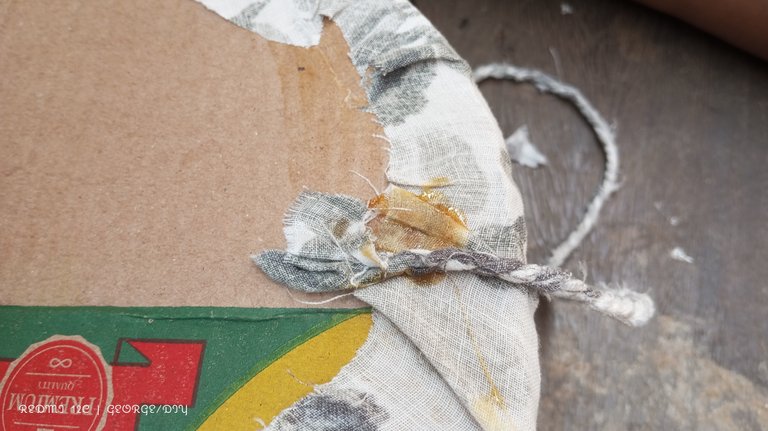
- I moved on to cutting the shirt into the size of the shapes, but they were a little bigger so that I could fold the piece of shirt to the back of the carton.

- After cutting out the size of the shirt I needed, I applied glue to the surface of the carton and covered it with the cut-out.

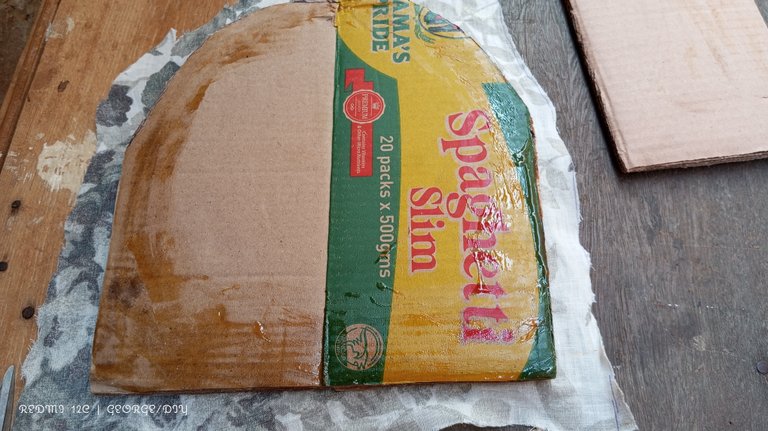

- I repeated the process for the small rectangular shape. I applied glue to the surface and also placed the piece of cloth to cover the carton.
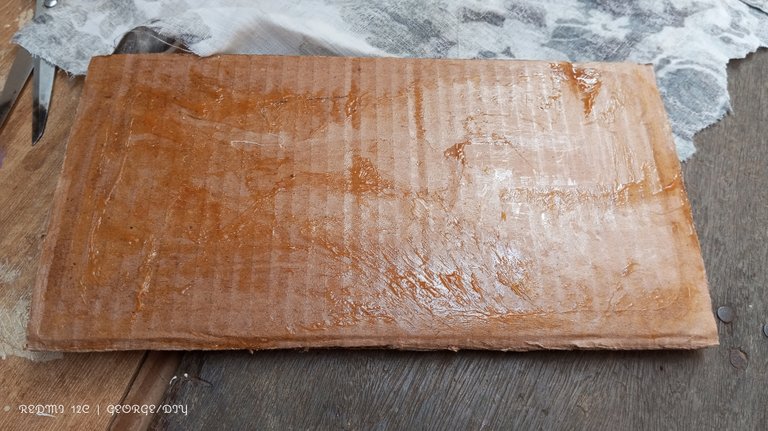

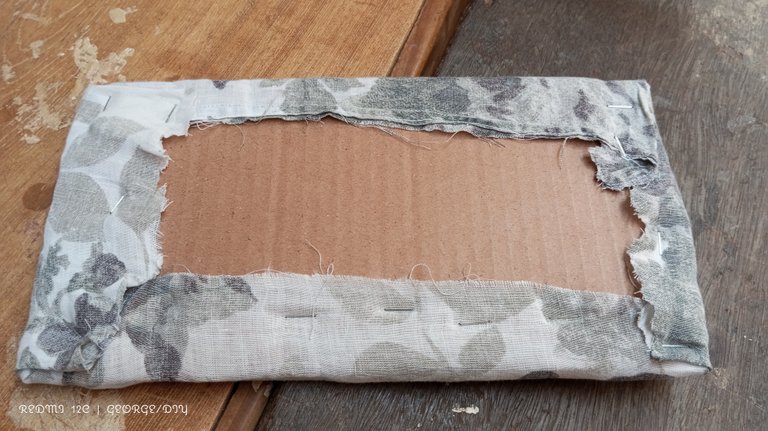

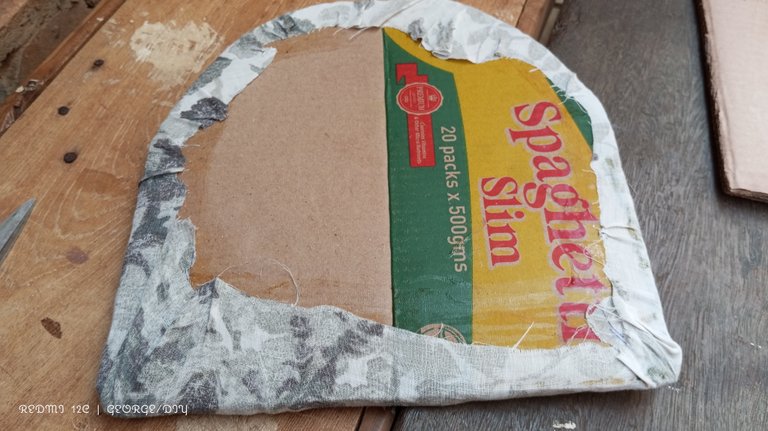
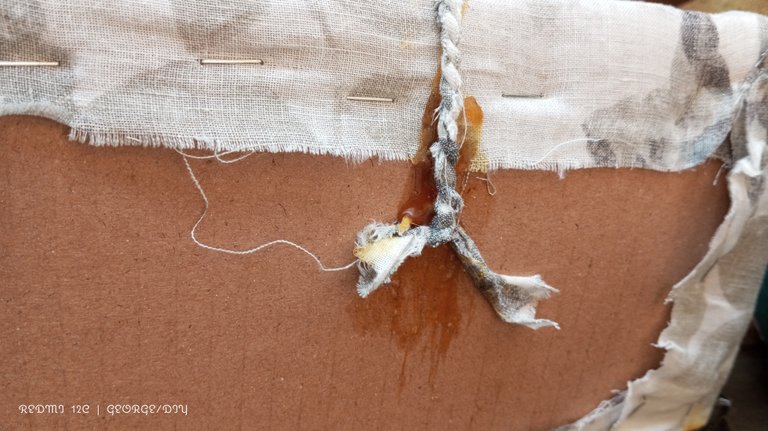
- I made sure that the cloth extended to the back of the carton to ensure that it didn't pull off easily.
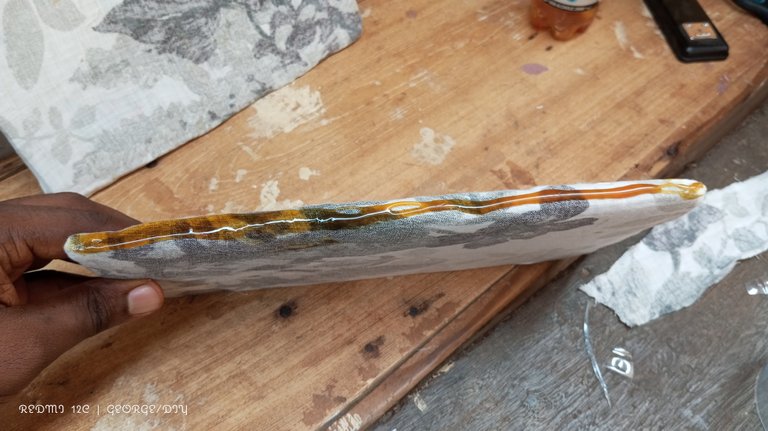

- After getting both shapes covered with the piece of cloth, I applied glue to the slim edge of the small rectangular shape and attached it to the bottom edge of the big rectangular shape.
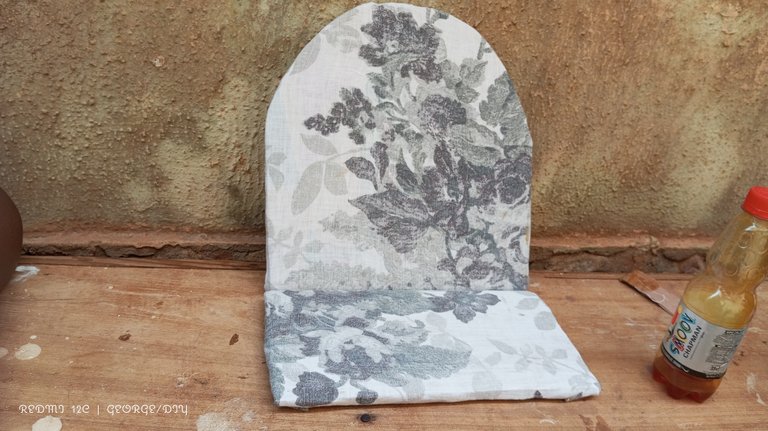
-I set it aside to dry and moved on to making the flower pots with the plastic bottle.
- After removing the head of the plastic, I cut the plastic into two, but not equal, halves.

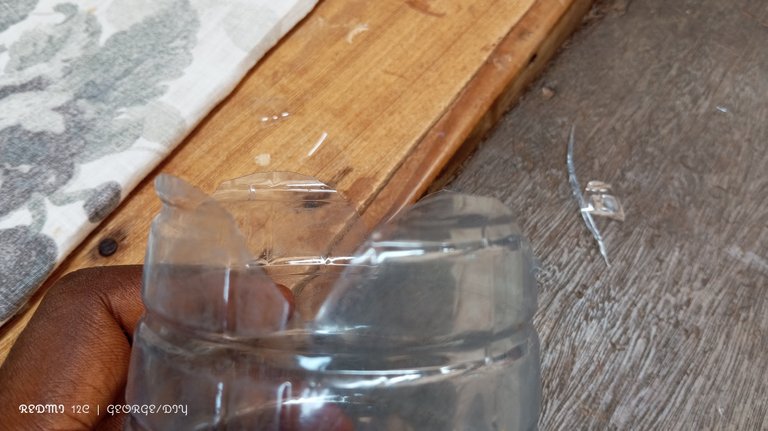
- I added a design to the tip of the plastic to make it look more beautiful. I achieved that with just a zig-zag cut.
- The body of the flower pot looks too ordinary, so I cut out two slim pieces of cloth and braided them.
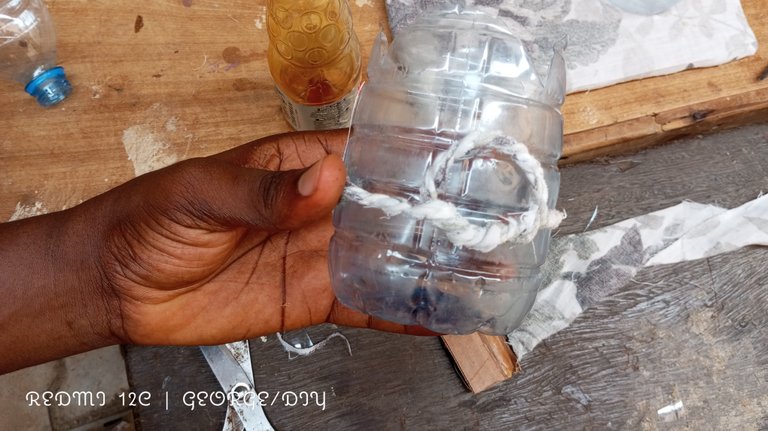
I just made a silly design out of the braided piece and attached it to the front of the flower pot with glue.
I also cut some pieces of the shirt and glued them to the other parts of the flower pot.

- I applied glue to the bottom of the flower pots and placed it on the small rectangular shape already attached to the big shape. I allowed them to dry and finally braided another piece of the shirt that would hold the big and small rectangular shapes together
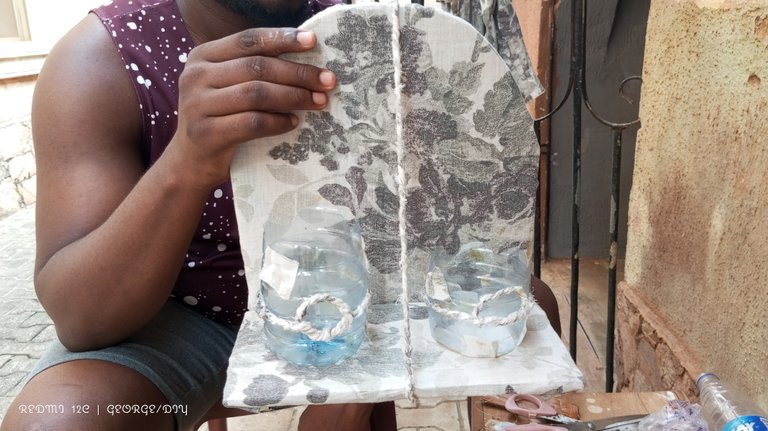
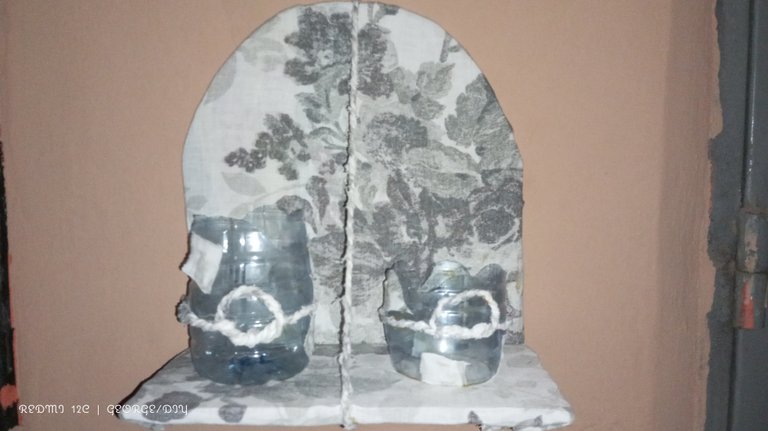
- I left everything to dry before hanging it on the wall, and I placed the flowers inside the pot.

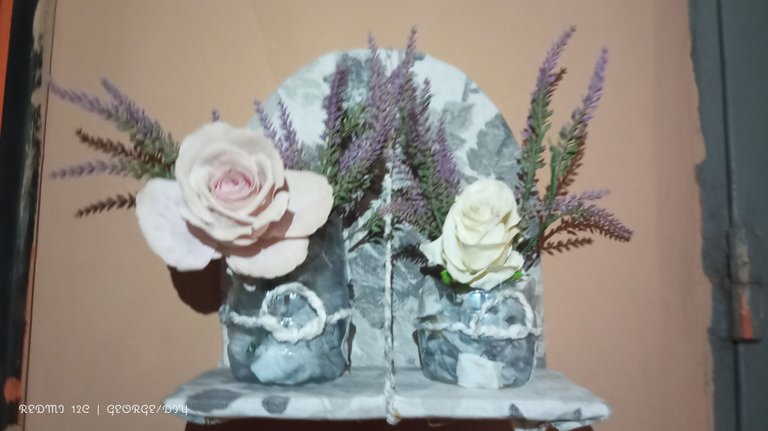
With this, I can always preserve the memories of this beautiful old shirt.
👏 Keep Up the good work on Hive ♦️ 👏
🙏 Don't forget to Support Back 🙏
Wow, this is a thing of beauty. This would beautify your home so well.
Definitely, it would be sitting in a beautiful spot in my home.
That's so cool! What a creative idea you had there @george-dee. Look at how flowers blossom out of your beautiful creation hehe. Have a nice day!
Thanks for the beautiful compliment about the flowers, I really appreciate it.