[ESP-ENG] Tutorial de como instalar Windows / Tutorial on how to install Windows

En este caso utilizare una memoria USB booteada con Windows 7 minios, una versión mas optimizada de Windows 7 la cual fue creada con la finalidad de darles mas fluidez a las computadoras desactualizadas.
Lo primero que debemos hacer es: Introducir nuestra memoria USB en el ordenador, si es portátil, les recomiendo colocar el USB por el puerto de la placa madre, si tienes un ordenador de mesa, lo recomendable es por la parte de atrás del cajetín.
Una vez introducido nuestro USB en el ordenador, deberemos presionar la tecla f11 en mi caso, hay diversos ordenadores, donde debemos presionar la tecla f2, f10, entre otras.
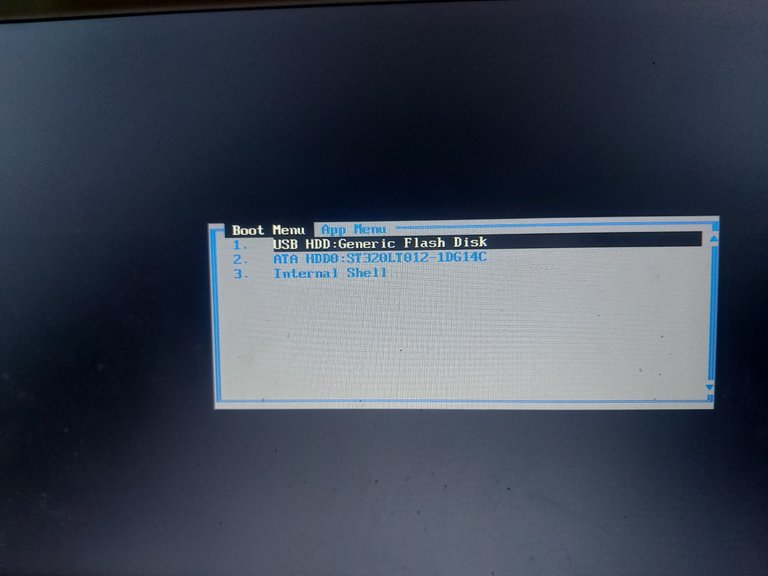
Cuando presionamos la tecla, nos aparecerá esta ventana en la pantalla, la cual nos permite observar que dispositivos podemos activar, por un ejemplo: Cuando nos envía para esta zona, siempre busquen su memoria USB por su nombre, y no se confundan e elijan el disco duro.
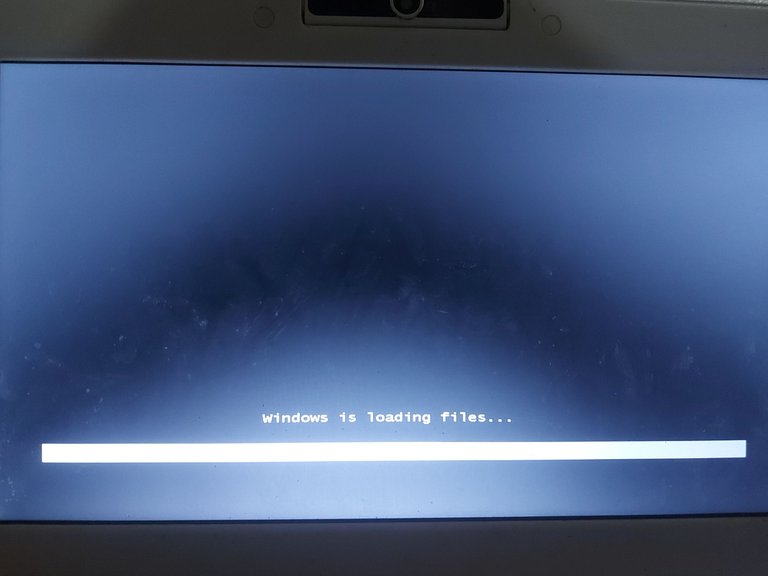
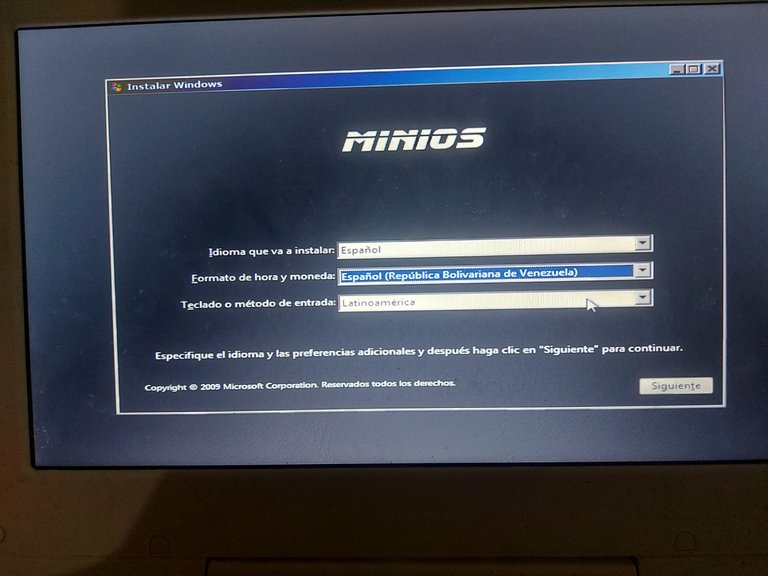
Inmediatamente luego de esperar un corto periodo de tiempo, entramos en el sistema Windows 7 minios, como podemos observar esta es solo la ventana de bienvenida, donde deberemos escoger el idioma que prefiramos para nuestro ordenador.

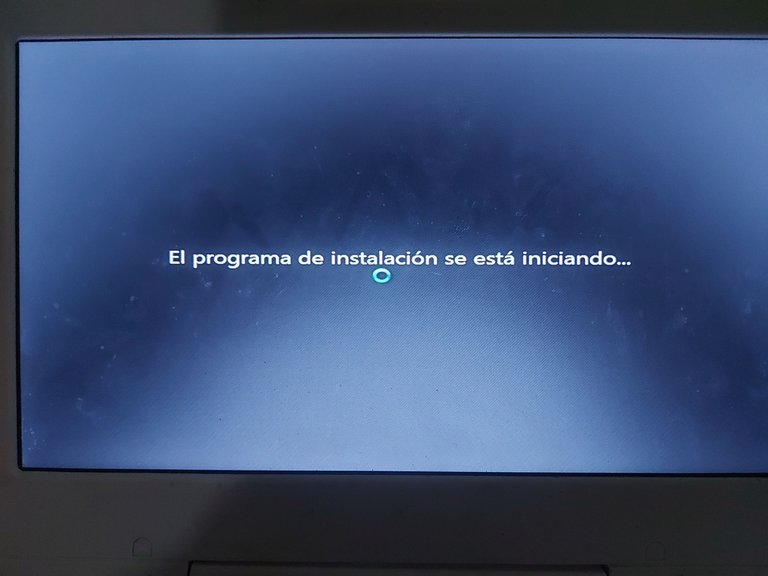
Cuando terminamos de escoger nuestro idioma de preferencia, nos enviara a otra ventana donde nos aparecerá la opción de “Instalar Ahora”, cuando presionemos ese botón, deberemos esperar unos pocos minutos (Dependiendo la vida útil del disco duro, si esta casi quemado, puede demorar casi una hora o puede que no se pueda instalar el sistema.
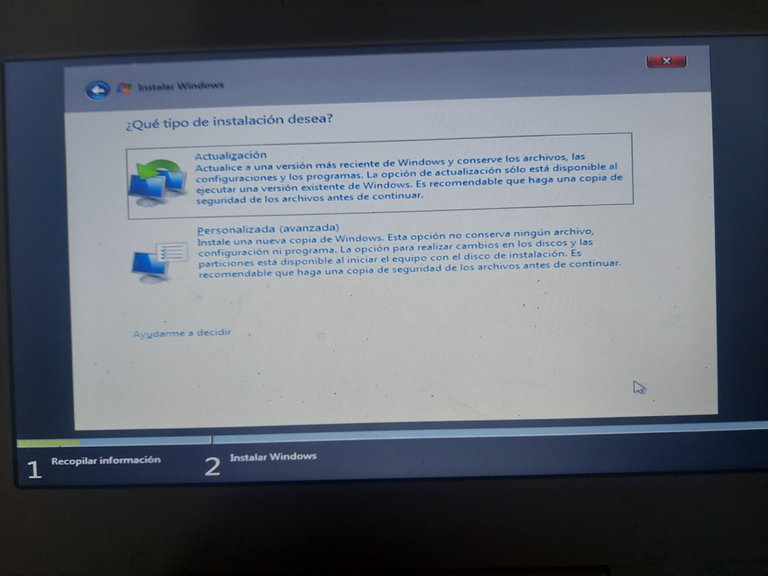
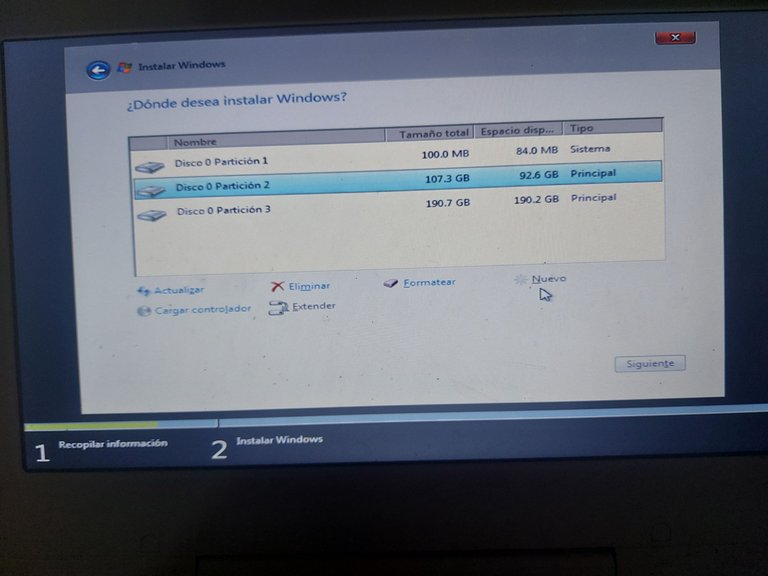
Aquí es donde viene lo interesante, esta ventana que vemos acá, es donde deberemos escoger, entre actualizar nuestro sistema (Se guardaran todos tus datos anteriores) o personalizada (Donde deberemos formatear nuestro disco duro o la partición que queramos para instalar el sistema en ella.

En este lugar, tenemos dos opciones para formatear nuestro disco duro,
Primera: Simplemente le daremos a opciones de unidad y a formatear.
Segunda: Podemos abrir los símbolos del sistema presionando las teclas “SHIFT y F10” (Esto es solo en caso de que la unidad no se deje formatear de manera normal)

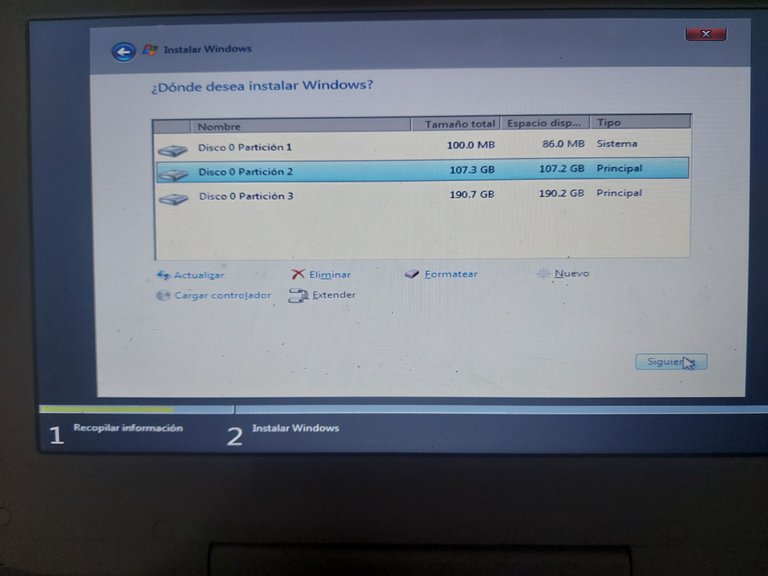
En esta ocasión el disco duro estaba 100% operativo, así que no había necesidad de abrir los símbolos del sistema e introducir los comandos necesarios para formatear el disco duro borrando absolutamente todo.
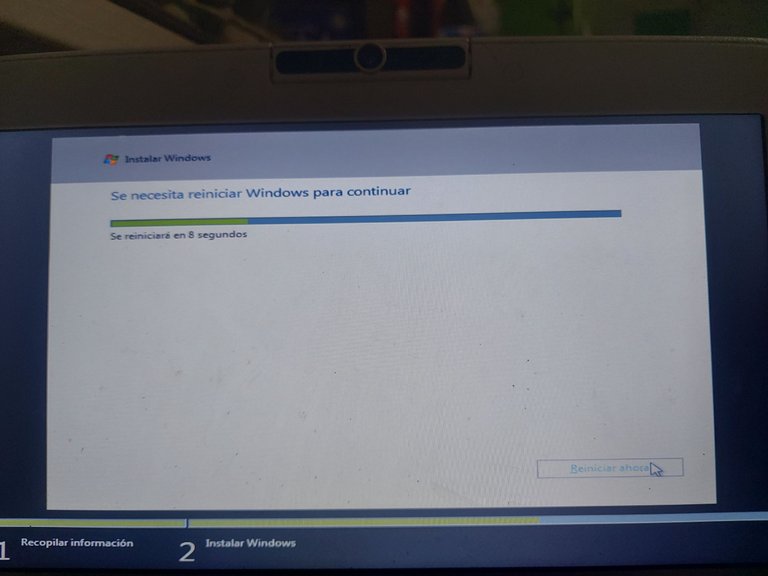
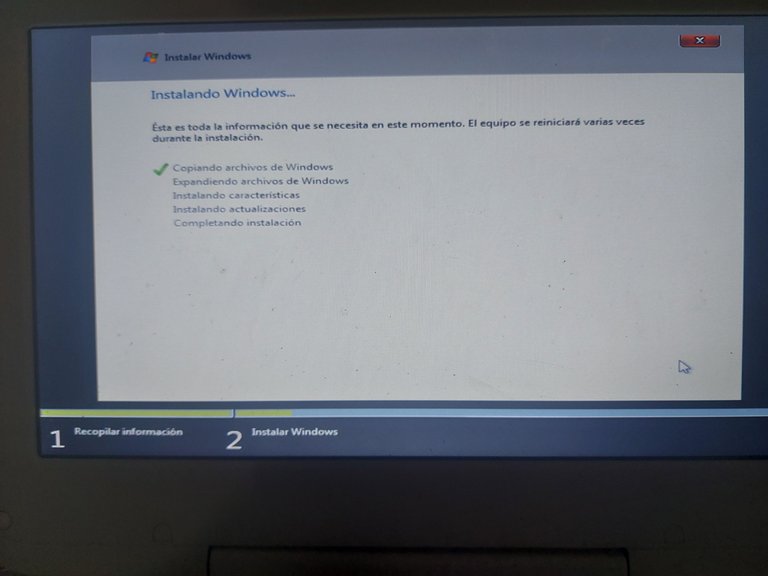
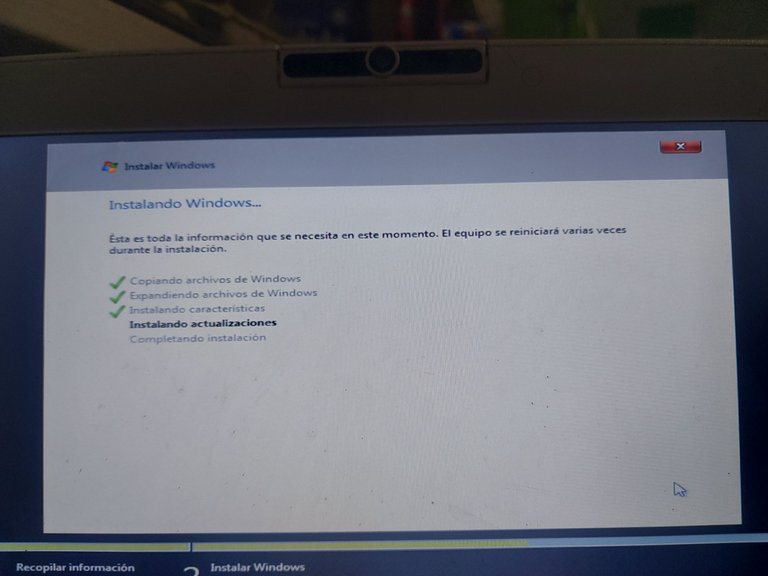
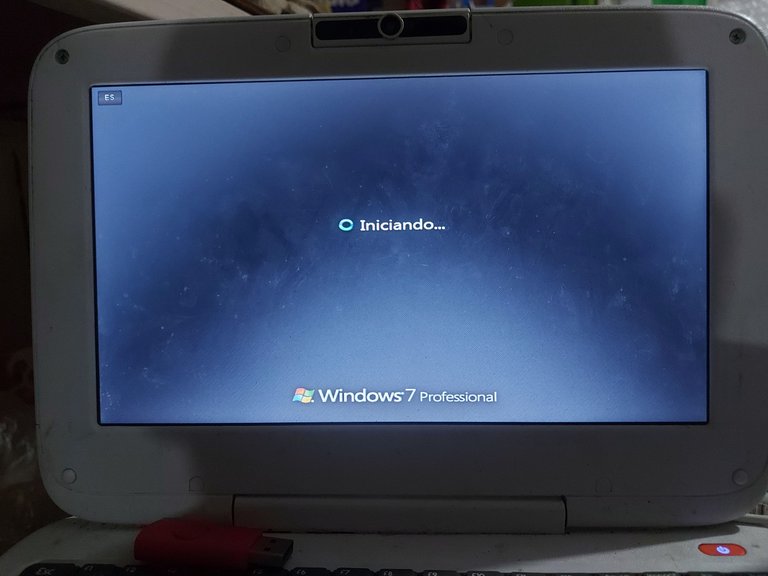
Una vez que se termine el proceso anterior, se reiniciara automáticamente nuestro ordenador, una vez se reinicia por primera vez, les recomiendo retirar la memoria USB, para evitar daños a la hora de la instalación.
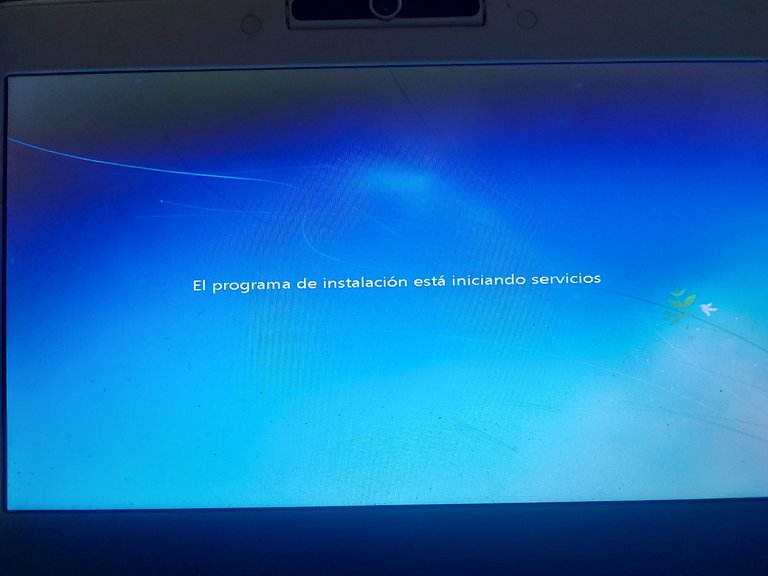
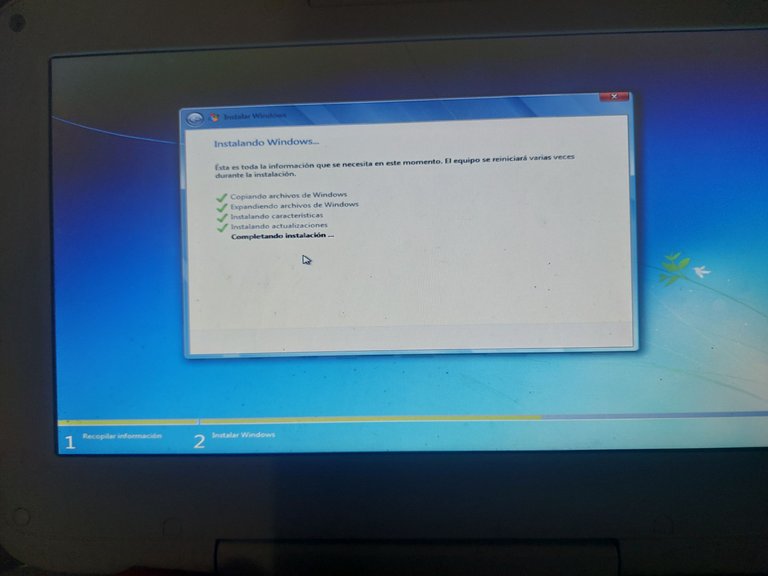
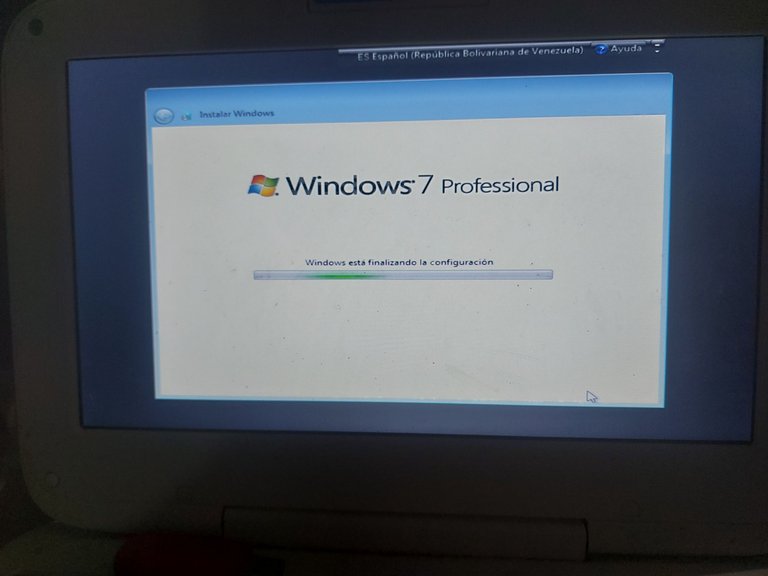
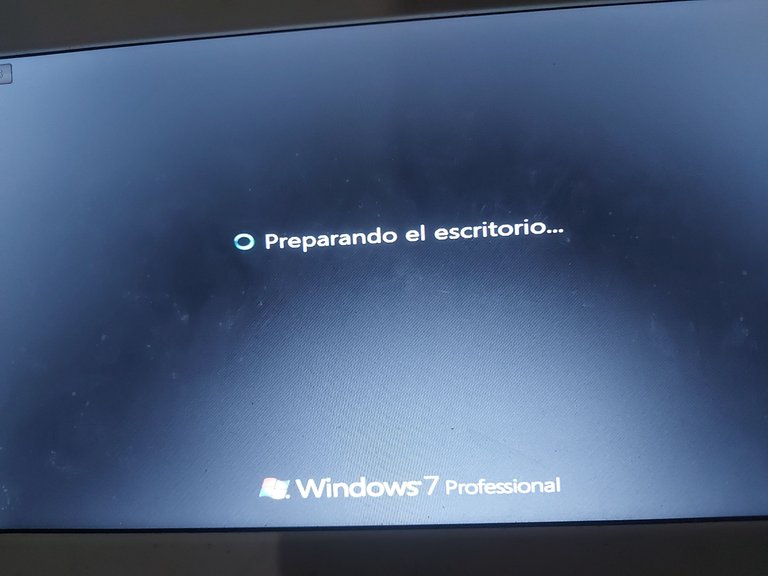
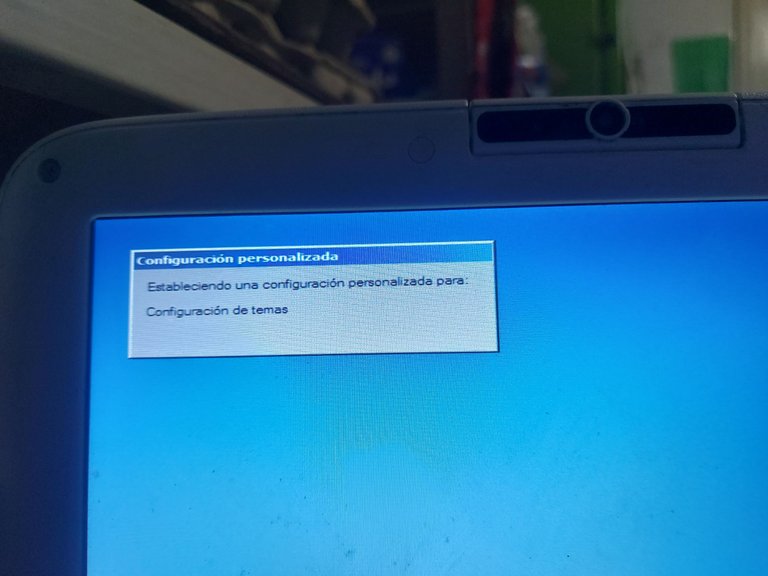
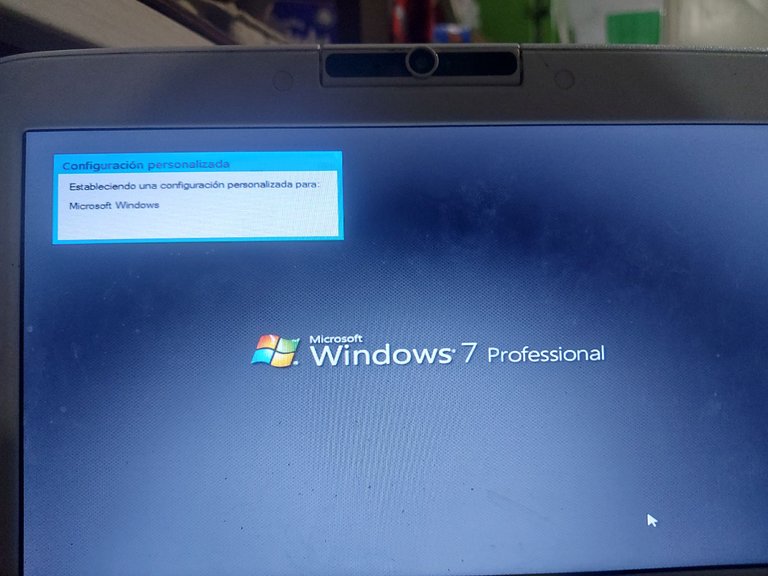
Cuando nuestro ordenador se reinicie por primera vez, la interfaz de la instalación cambiara a una predeterminada del propio sistema, como podemos observar la interfaz cambio a la original de Windows 7.
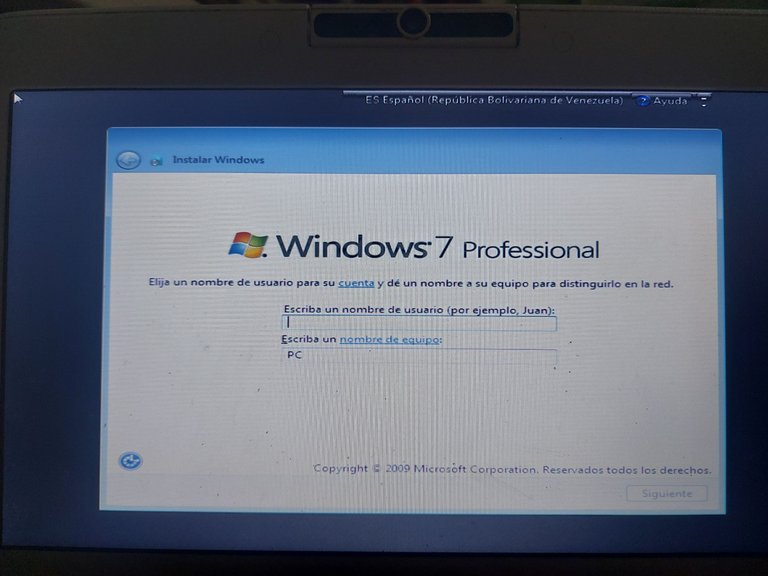
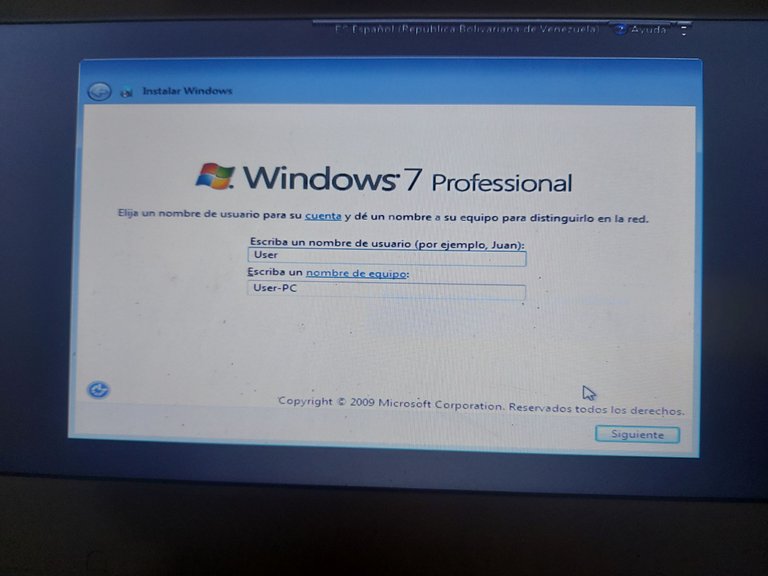
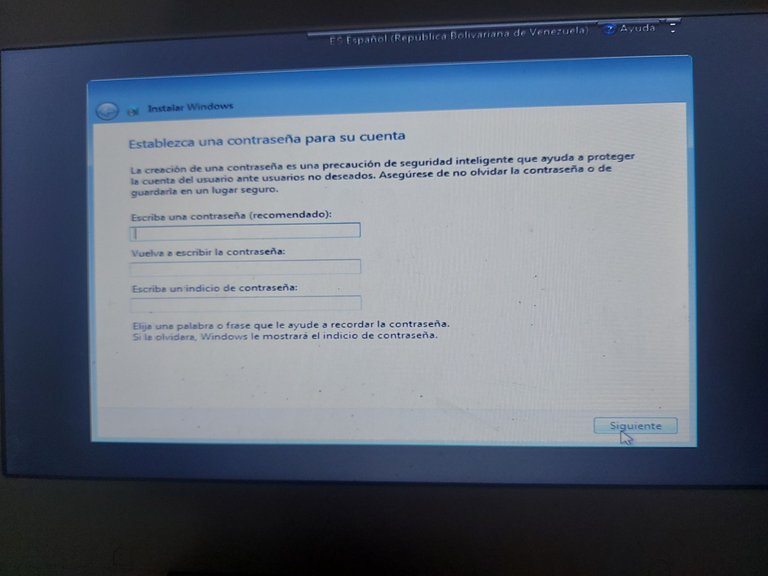
Una vez terminado todo el proceso anterior, el sistema nos pedirá un nombre para nuestro usuario dentro del sistema, también nos pide una contraseña para el usuario, yo por mi lado le daré al botón siguiente sin escribir nada en la pizarra.

Como naturalmente pasa, nos pide la clave del producto para poder iniciar, este sistema en particular, ya viene con la clave de producto introducida, por lo cual solamente en esta opción la omitimos.
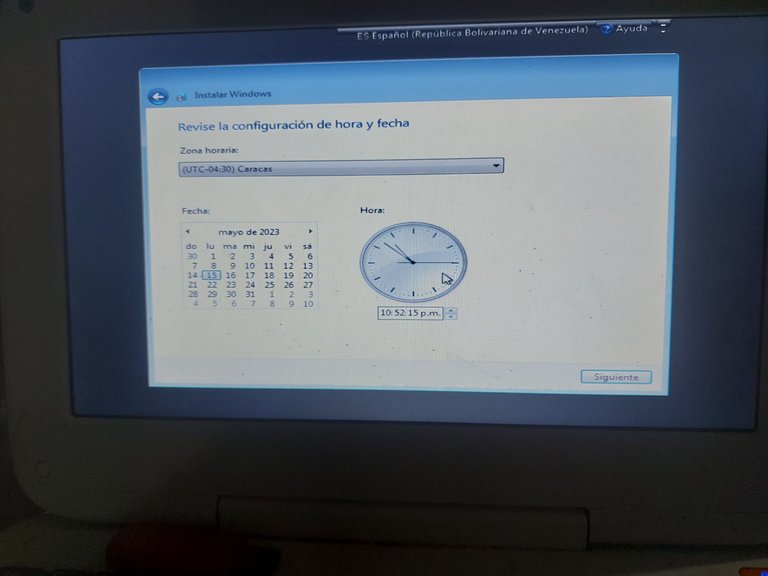
Nos pide también que configuremos la zona horaria de nuestra localidad, la fecha actual junto con el año, por defecto esta parte ya viene configurada, aunque, de todos modos, deben rectificar que los datos estén bien colocados.
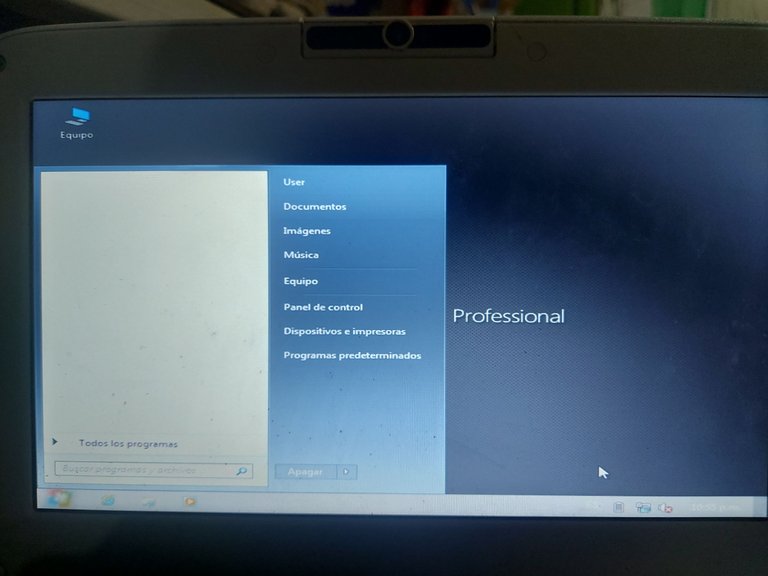
Y ya quedaría el sistema, totalmente instalado, tendríamos por aparte que instalarle los programas junto con sus controladores y demás, pero, ya esta lista la parte más sencilla.
Bueno amigos, eso ha sido todo, espero que les haya gustado.
ENGLISH
Hello all friends of Hive, today I want to bring you this tutorial about how to install an operating system for our computer, or better known as Windows, most do not know how to install an operating system and the truth there are different ways to do it, you can do it from the original CD or from a USB stick Booteada with the system you want.
In this case I will use a USB stick booted with Windows 7 minios, a more optimized version of Windows 7 which was created in order to give more fluidity to outdated computers.
The first thing we must do is: Insert our USB stick into the computer, if it is a laptop, I recommend you to place the USB through the port on the motherboard, if you have a desktop computer, it is advisable to place it on the back of the drawer.
Once our USB is inserted into the computer, we must press the f11 key in my case, there are several computers, where we must press the f2 key, f10, among others.
When we press the key, this window will appear on the screen, which allows us to observe which devices we can activate, for an example: When you send us for this area, always look for your USB stick by its name, and do not get confused and choose the hard disk.
Immediately after waiting a short period of time, we enter the Windows 7 minios system, as we can see this is only the welcome window, where we must choose the language we prefer for our computer.
When we finish choosing our preferred language, it will send us to another window where we will see the option to "Install Now", when we press that button, we must wait a few minutes (Depending on the life of the hard drive, if it is almost burned, it may take almost an hour or may not be able to install the system.
Here is where the interesting part comes, this window that we see here, is where we will have to choose between upgrading our system (all your previous data will be saved) or custom (where we will have to format our hard disk or the partition we want to install the system on it.
In this place, we have two options to format our hard disk,
First: We will simply click on drive options and format.
Second: We can open the system symbols by pressing the "SHIFT and F10" keys (This is only in case the drive will not let us format in the normal way).
This time the hard drive was 100% operational, so there was no need to open the command prompt and enter the necessary commands to format the hard drive erasing absolutely everything.
Once the above process is finished, it will automatically restart our computer, once it restarts for the first time, I recommend you to remove the USB stick, to avoid damage at the time of installation.
When our computer restarts for the first time, the installation interface will change to a default of the system itself, as we can see the interface changed to the original Windows 7.
Once finished all the previous process, the system will ask us for a name for our user inside the system, it also asks us for a password for the user, I for my part will hit the next button without writing anything on the board.
As it naturally happens, it asks us for the product key to be able to start, this particular system already comes with the product key entered, so only in this option we omit it.
It also asks us to configure the time zone of our location, the current date and the year, by default this part is already configured, although, in any case, you should check that the data are well placed.
And already it would be the system, totally installed, we would have to install the programs along with their drivers and others, but, already this ready the simplest part.
Well friends, that's all, I hope you liked it.
Thanks for your contribution to the STEMsocial community. Feel free to join us on discord to get to know the rest of us!
Please consider delegating to the @stemsocial account (85% of the curation rewards are returned).
You may also include @stemsocial as a beneficiary of the rewards of this post to get a stronger support.
Many thanks to the curatorial team for this wonderful project.