Step-by-step tutorial: makeup using browns and silver [ESP//ING]
💞HOLA MI LINDA COMUNIDAD 💞
💞HELLO MY BEAUTIFUL COMMUNITY 💞
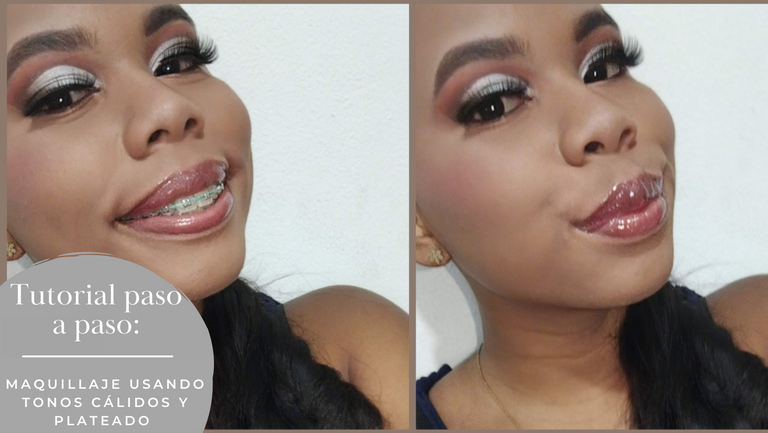
El día de hoy decidí volver a mi básico favorito: Los tonos tierra, con la diferencia de que uní estos tonos con un plateado (color frío), algo que por más sencillo que suene, le da un toque bastante diferente y luminoso a este maquillaje, pues siempre nos encerramos en que los cálidos van con dorado. En esta oportunidad les muestro lo fácil que puede ser darle un plus a un maquillaje basico, sin ser profesionales, así que, aquí vamos con mi tutorial de maquillaje usando marrones y plateado:
Today I decided to go back to my favorite basic: The earth tones, with the difference that I joined these tones with a silver (cold color), something that as simple as it sounds, gives a very different and bright touch to this makeup, because we always close ourselves in that the warm ones go with gold. In this opportunity I show you how easy it can be to give a plus to a basic makeup, without being professionals, so, here we go with my makeup tutorial using browns and silver:
Paso a paso | Step by step
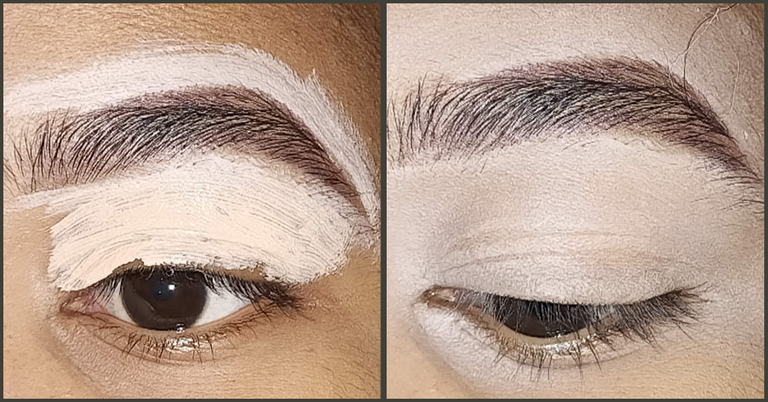
El primer paso siempre será limpiar e hidratar nuestro rostro, pero es algo que hago de forma tan automatica, que se me olvida tomarle fotos (Lo siento). Una vez nuestro rostro esté listo, comenzamos con nuestras cejas, en mi caso yo las peino, les doy forma, las relleno, corrijo y ese mismo corrector lo extiendo a mi párpado para prepararlo para las sombras que voy a colocar luego.
The first step will always be to clean and moisturize our face, but it's something I do so automatically, that I forget to take pictures of it (sorry). Once our face is ready, we start with our eyebrows, in my case I comb them, shape them, fill them in, correct them and that same concealer I spread it to my eyelid to prepare it for the shadows I'm going to put on later.

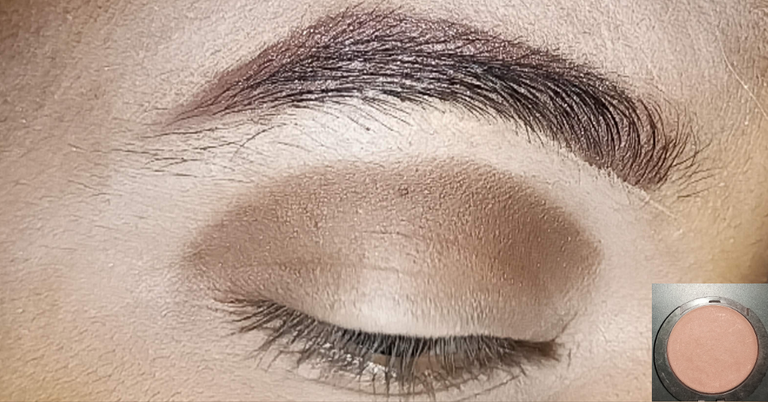
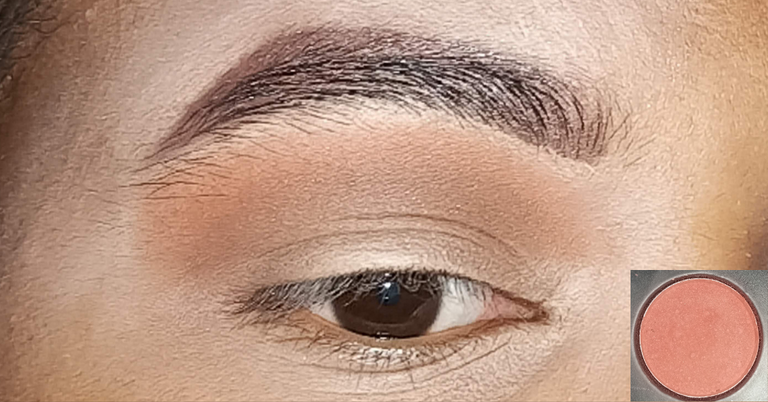
Una vez nuestro párpado está listo, aplico una sombra marrón oscuro. Este color irá desde el lagrimal hasta la esquina externa del ojo y muy pero muy saturado, por lo que debes colocarlo a toquecitos. Acá te muestro como debería verse.
Once our eyelid is ready, I apply a dark brown shadow. This color will go from the tear trough to the outer corner of the eye and very, very saturated, so you should dab it on. Here I show you how it should look.
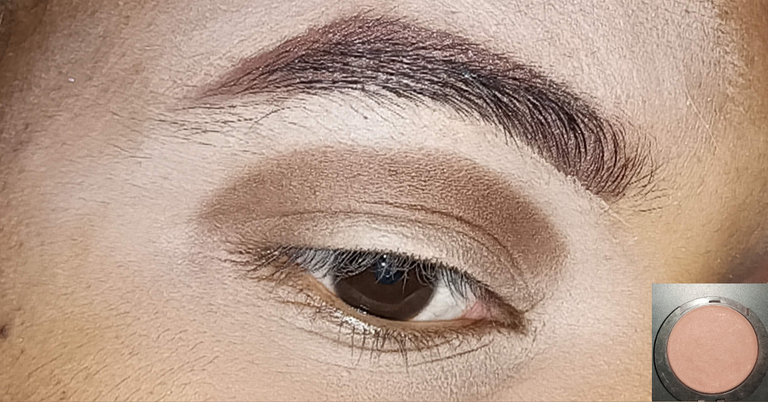
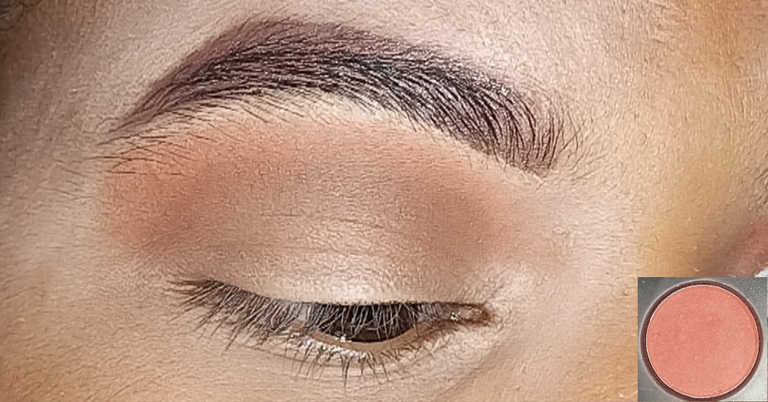
Ahora vamos a difuminar el marrón, usando una sombra marrón rojiza. Recuerda que como vamos a difuminar, esto debe ser con movimientos circulares y mucha paciencia. El difuminado es lo que hará lucir tu maquillaje🤭
Now we are going to blend the brown, using a reddish brown shadow. Remember that as we are going to blend, this should be done with circular movements and a lot of patience. The blending is what will make your makeup look🤭
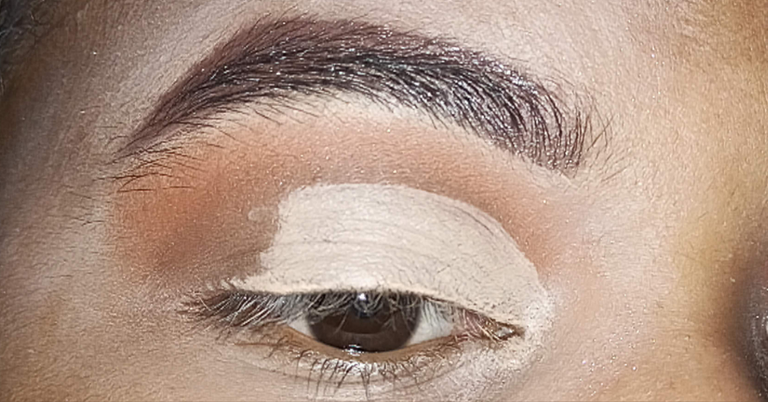
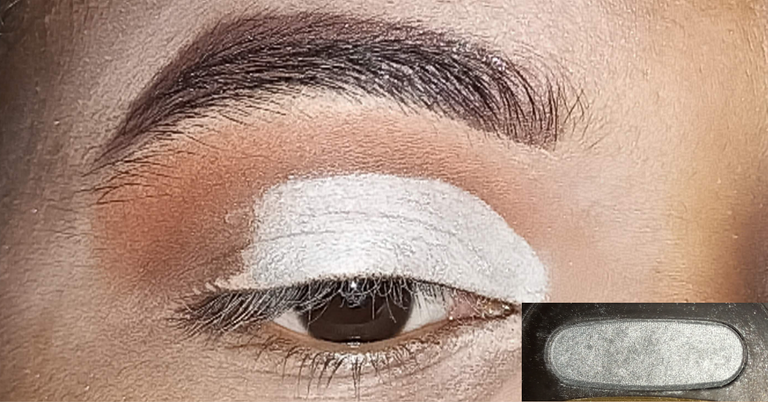
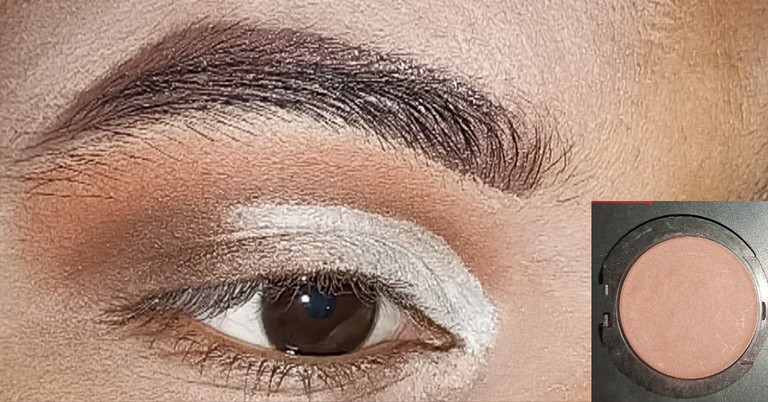
Ahora hacemos el corte de cuenca, si eres principiante te recomiendo hacer un delineado con corrector líquido en la línea de tus pestañas y mirar hacia arriba para marcar tus líneas guía, y luego rellenarlas con el mismo corrector, es un truco que siempre recomiendo y que ahorra un montón de tiempo. Una vez hecho nuestro corte, debemos aplicar sobre el corrector nuestra sombra plateada.
Now we do the socket cut, if you are a beginner I recommend you to do an eyeliner with liquid concealer on your lash line and look up to mark your guide lines, and then fill them in with the same concealer, this is a trick I always recommend and it saves a lot of time. Once our cut is done, we need to apply over the concealer our silver shadow.
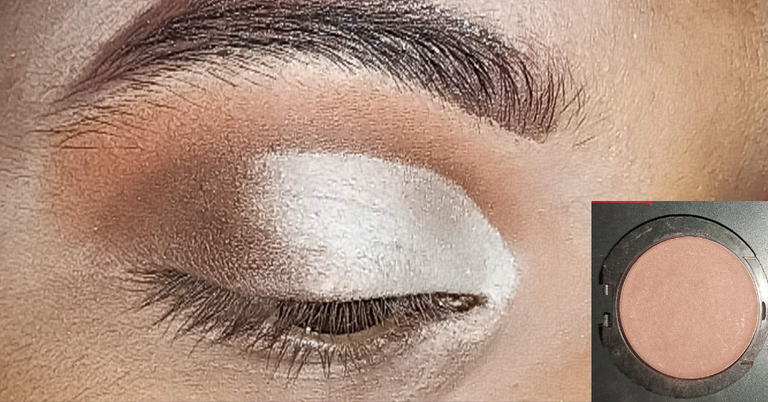
Por último para darle un mejor acabado a nuestros ojos, tomaremos la misma sombra marrón oscuro del principio y difuminaremos la línea que queda entre el plateado y el marrón. Si puedes trata de darle forma diagonal, si todavía no se te dá, solo intenta difuminar hasta que quede lo más homogéneo posible.
Finally to give a better finish to our eyes, we will take the same dark brown shadow from the beginning and blend the line between the silver and the brown. If you can, try to give it a diagonal shape, if you still can't get it, just try to blend it until it's as even as possible.
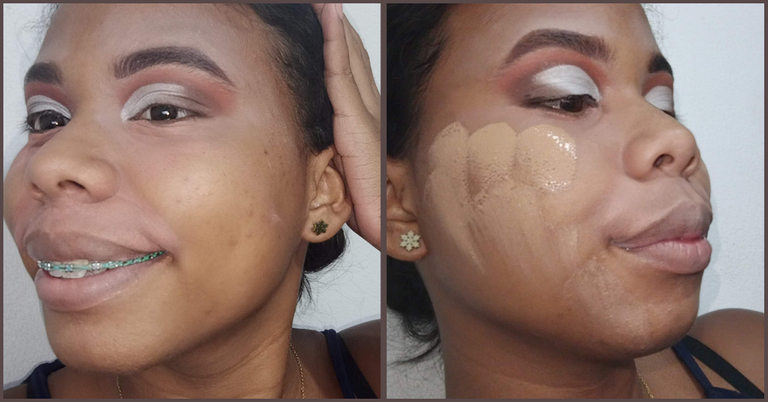
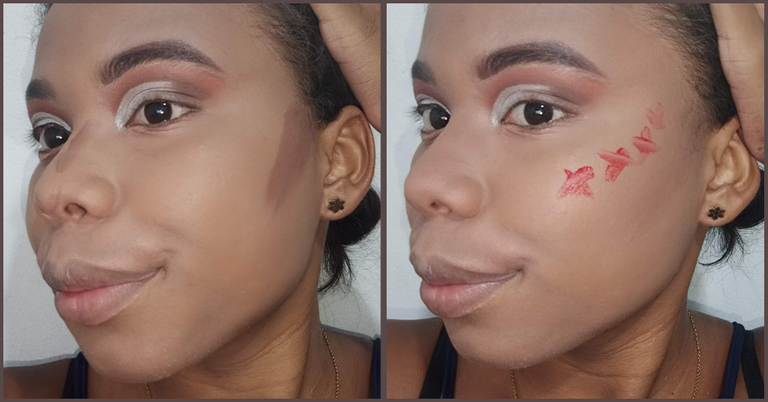
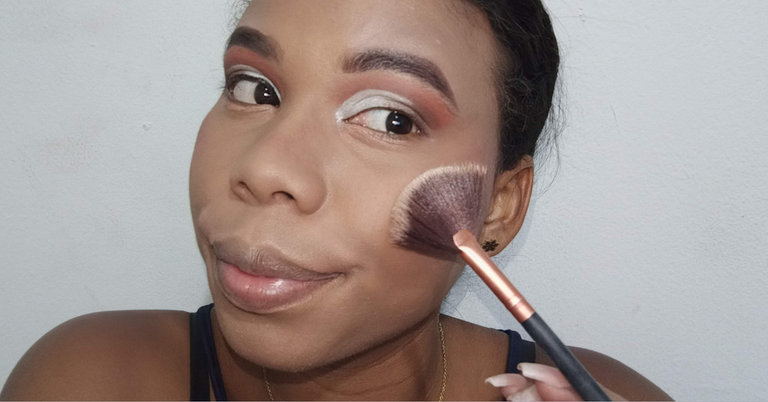
Una vez listos nuestros ojos, vamos con la piel, dónde corrijo mis ojeras y bozo, pues son las zonas de mi rostro que suelen ser problemáticas. Luego aplico mi base para unificar el tono de mi piel. Cuando esté lista, hago contorno en nariz y mejillas y aplico tinta de labios como rubor liquido.
Once our eyes are ready, let's go to the skin, where I correct my dark circles under the eyes and the puffiness, as these are the areas of my face that are usually problematic. Then I apply my foundation to even out my skin tone. When I'm ready, I contour my nose and cheeks and apply lip tint as a liquid blush.
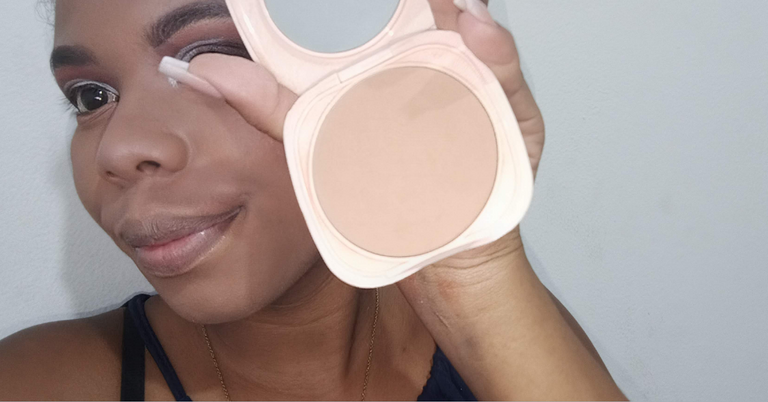
Ahora llegó el momento de sellar todo con los productos en polvo correspondientes y aplicar iluminador.
Now it's time to seal everything with the appropriate powder products and apply highlighter.
Por último aplicamos labial y pestañas para darle los toques finales a este maquillaje.
Finally we apply lipstick and lashes to give the final touches to this makeup.
Fotos finales | Final photos
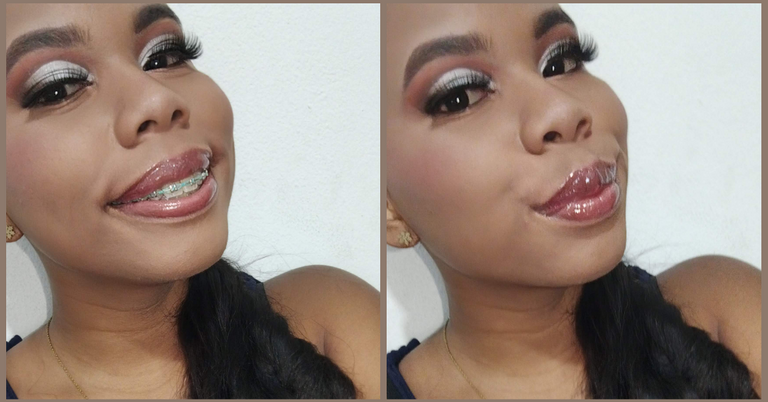
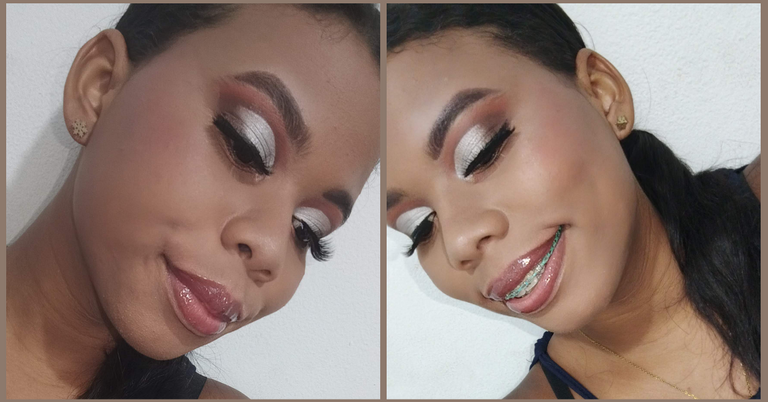
Y bueno, está fue mi propuesta del día de hoy, bastante sencilla pero super linda, perfecta para ir a fiestas ya que es sutil sin pasar desapercibida. De verdad amé el resultado final, espero que a ustedes también les guste, un beso. Si llegaste hasta aquí:
And well, this was my proposal for today, quite simple but super cute, perfect for parties because it is subtle without going unnoticed. I really loved the final result, I hope you like it too, a kiss. If you made it this far:
Gracias por leerme y hasta un próximo post
Thanks for reading and see you in a future post
Traducción: Deepl. // Traslation: Deepl.
0
0
0.000
https://twitter.com/Kimavalon2/status/1534809271958904832
The rewards earned on this comment will go directly to the people sharing the post on Twitter as long as they are registered with @poshtoken. Sign up at https://hiveposh.com.
Me gusta mucho este look, se ve súper chic. Y tienes una piel preciosa, los tonos pasteles deben quedarte súper lindos también 🥰