[ENG-ESP] DIY: FARM ANIMAL ILLUMINATED SHADOW BOX MADE OF CARDBOARD - CAJA DE SOMBRA ILUMINADA DE GRANJA ANIMAL HECHA DE CARTÓN
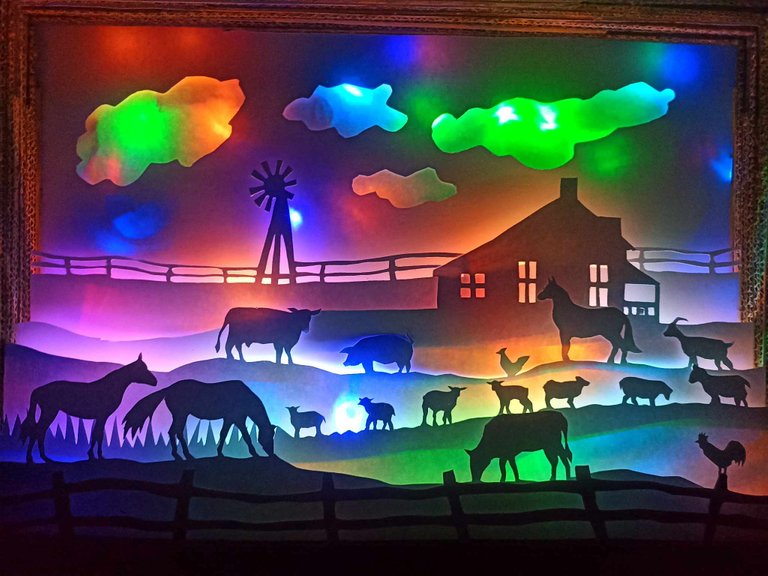
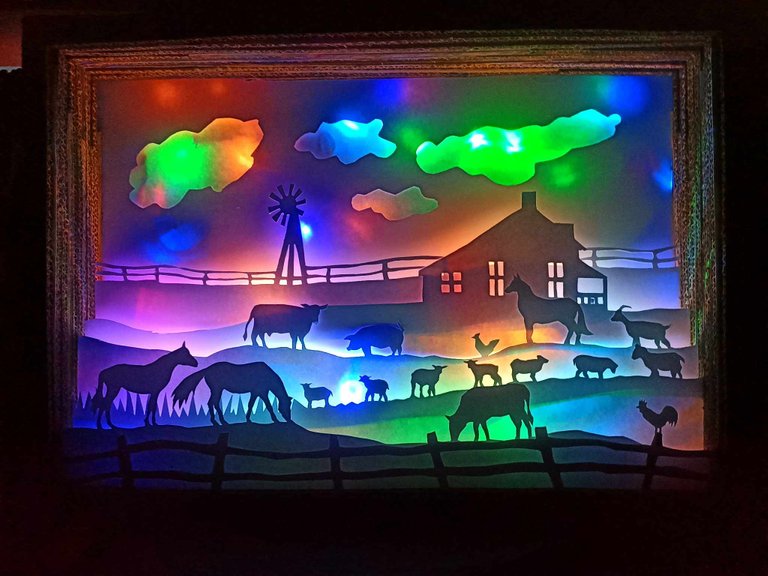
Hello friends, I hope you are very well this week, I want to share with you a small order that I have made, it is an illuminated shadow box, these boxes have a 3D landscape inside, the trick is to make several panels and then put them in a row and at the end with some lights you can see all the figures drawn and cut out of the cardboard. This has been a commission from a mother for her son and she asked me for the theme to be an animal farm, so here I leave you with the step by step of how I did it.
Hola amigos, espero que se encuentren muy bien en esta semana, quiero compartir con ustede sun pequeño encargo que he realizado, se trata de una caja de sombra iluminada, estas cajas hacen con un paisaje en su interior en 3D, el truco consiste en hacer varios paneles y ponerlos luego en fila y al final con unas luces podrán verse todas las figuras dibujadas y cortadas en el cartón. Esto ha sido un encargo de una madre para su hijo y me pidió que el tema fuera una granja animal, así que aquí los dejo con el paso a paso de como lo hice.

 |  |  |
|---|---|---|
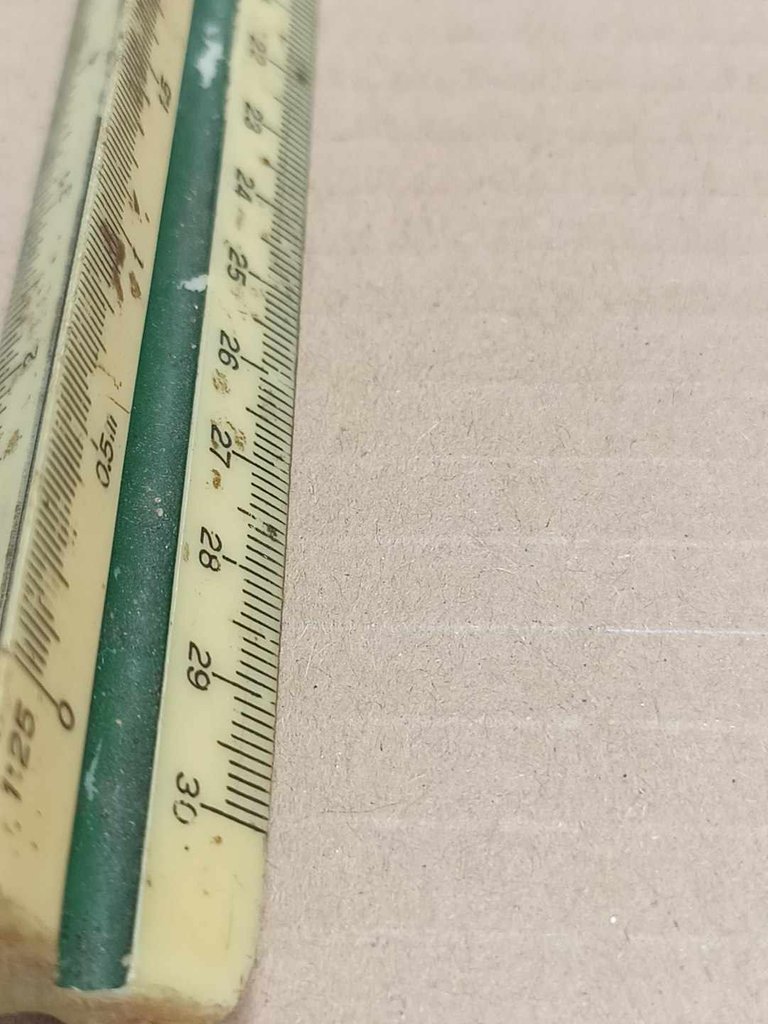 |  |  |
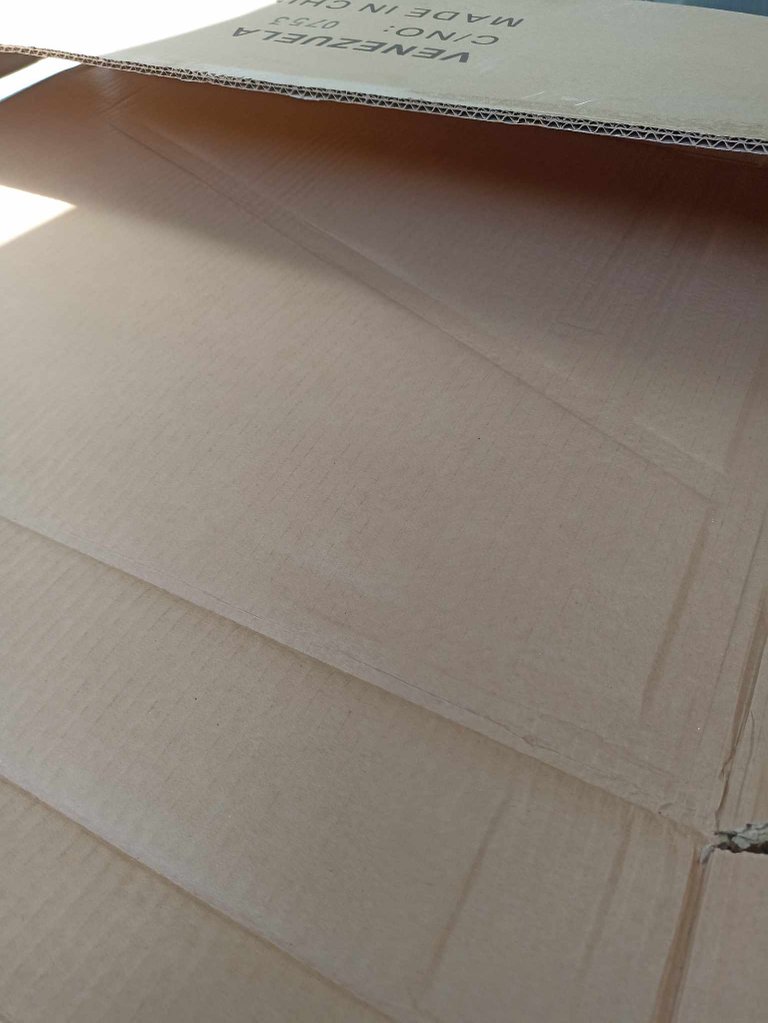
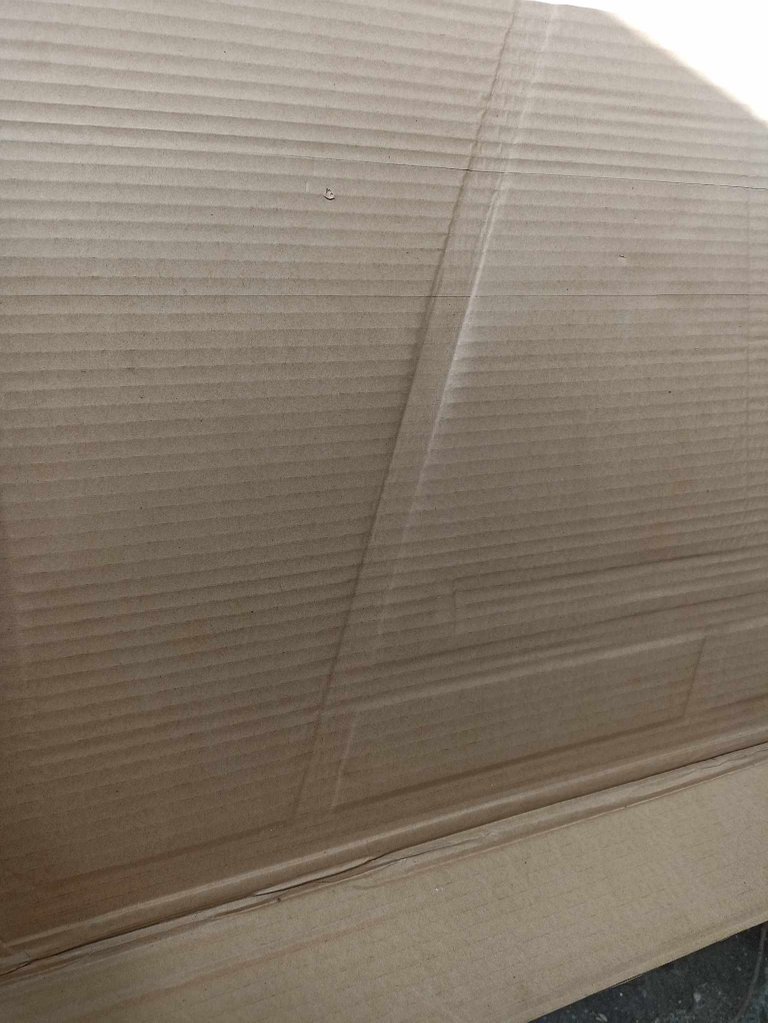
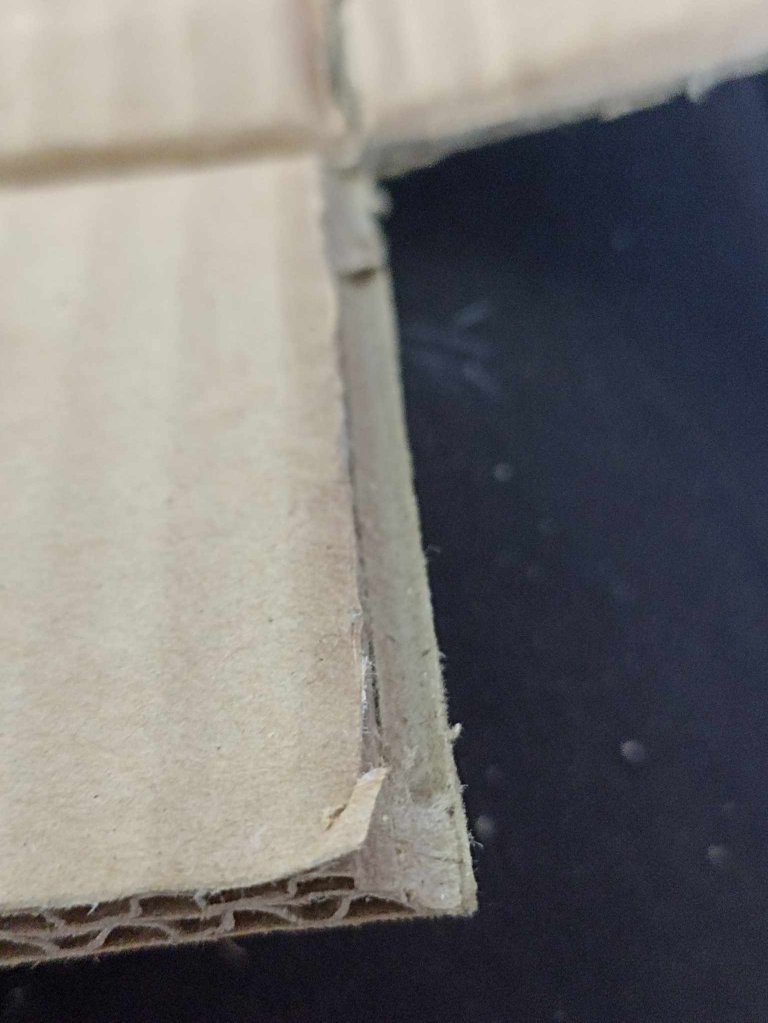
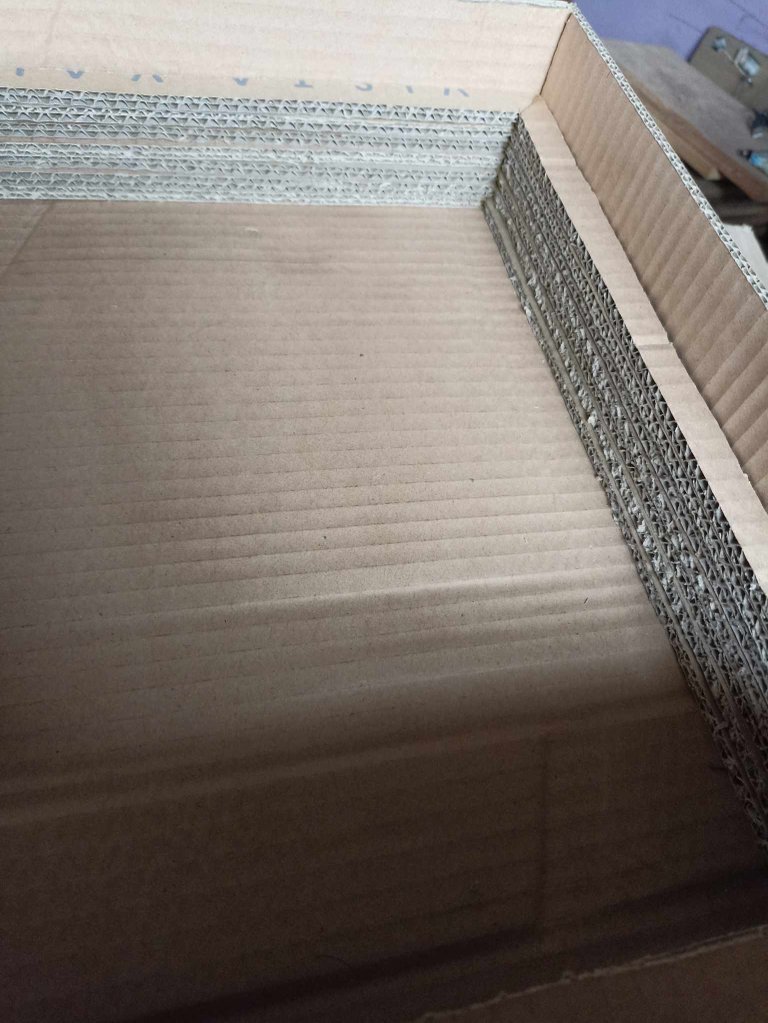
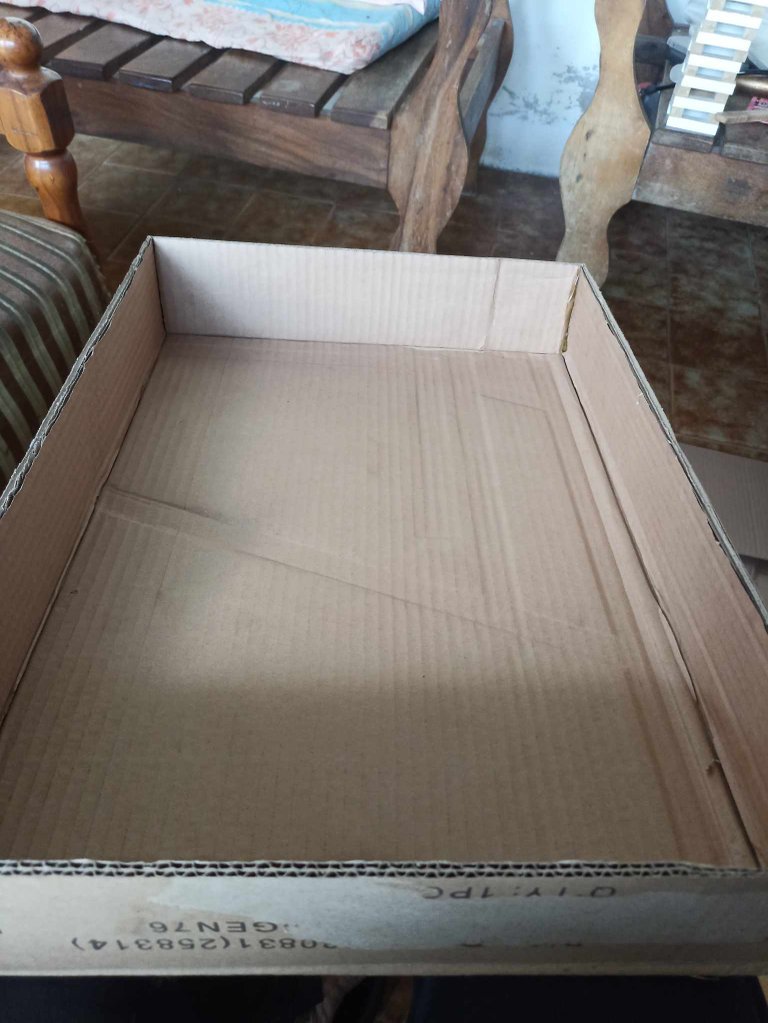
I used for this work a huge cardboard box that belonged to an air conditioner, in this way it came out a size of 50 centimeters wide by 35 centimeters long. Cut the box into several pieces to later assemble, 5 sides in total of different sizes and a frame for the screen.
Utilicé para este trabajo una enorme caja de cartón que pertenecía a un aire acondicionado, de esta manera me salió de un tamaño de 50 centímetros de ancho por 35 centímetros de largo. Corte la caja en varios trozos para luego armar, 5 lados en total de diferentes medidas y un marco para la pantalla.
 |  |  |
|---|---|---|
 |  | 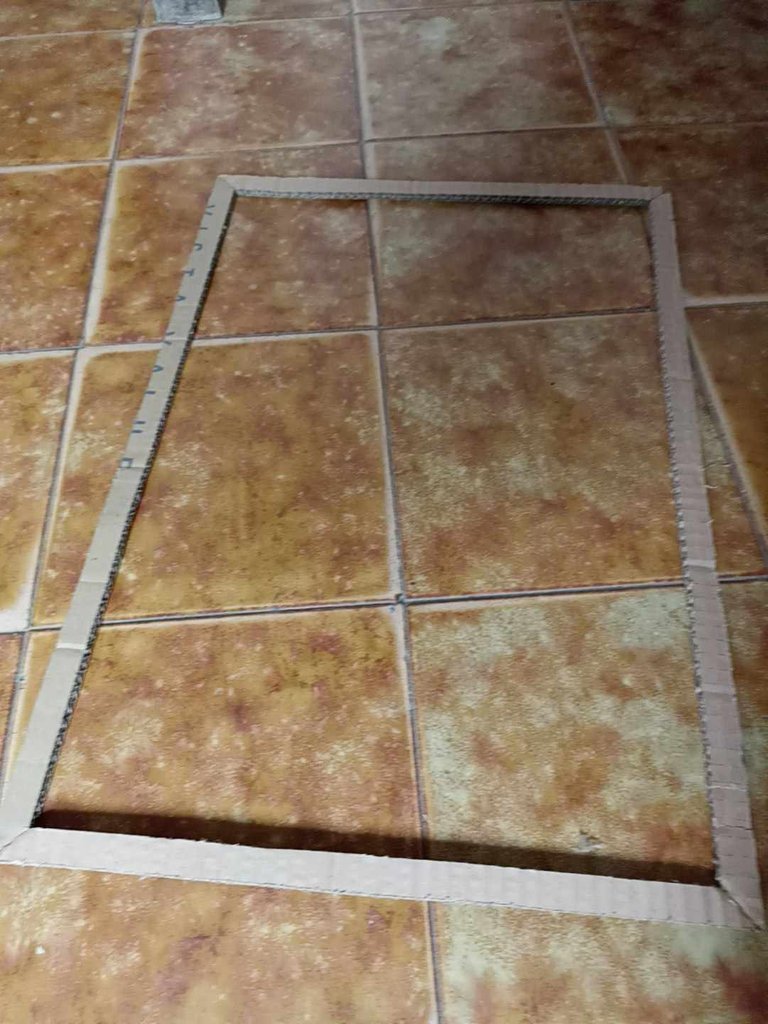 |
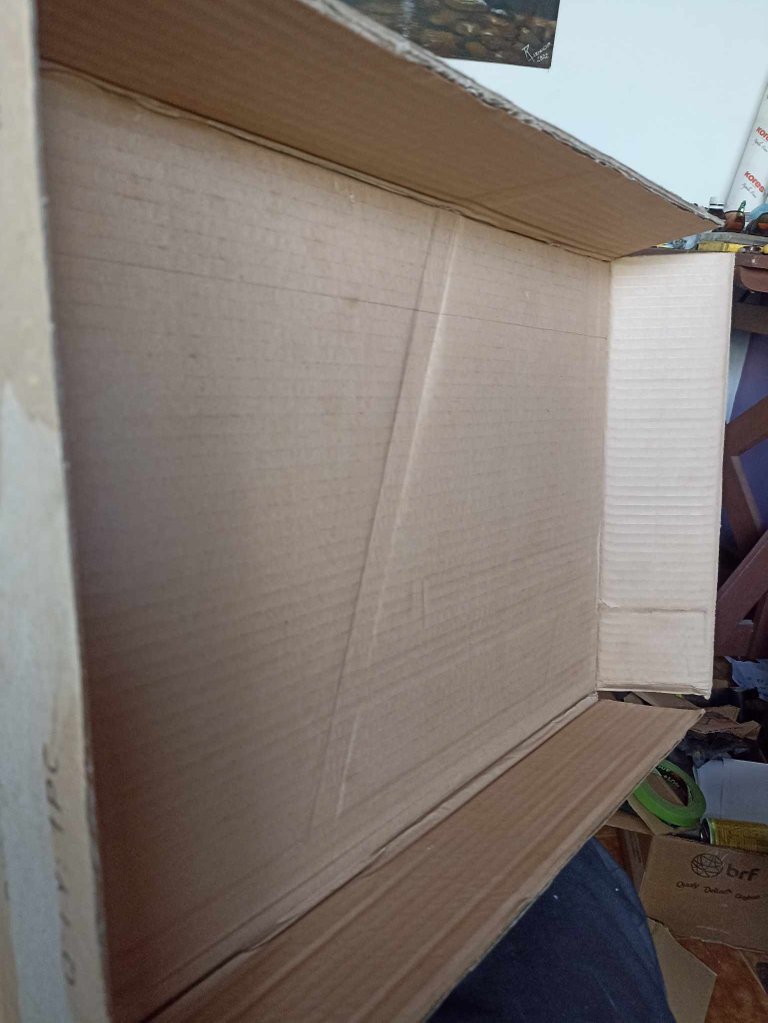
Cut a cardboard box with the measurements mentioned above and what would be the walls of the same measurements, the ones above, the one below and the one on the sides. To join them I used instant glue and also hot silicone to cover any hole that was left there. I also made the frame for the panels with the figures of the same measurements so that one frame can fit inside the box on top of the other. I made 7 frames in total, since if I put more panels the light would not reach.
Corte un cuadro de cartón con las medidas mencionadas anteriormente y lo que serían las paredes de las mismas medidas, las de arriba, la de abajo y la de los lados. Para unirlas utilicé pegamento instantáneo y también silicón caliente para tapar cualquier agujero que quedara por ahí. También hice el marco para los paneles con la figuras de las mismas medidas para que puedan entrar dentro de la caja un marco encima del otro. Hice 7 marcos en total, ya que si le ponía más paneles la luz no alcanzaría.
 |  |  |
|---|---|---|
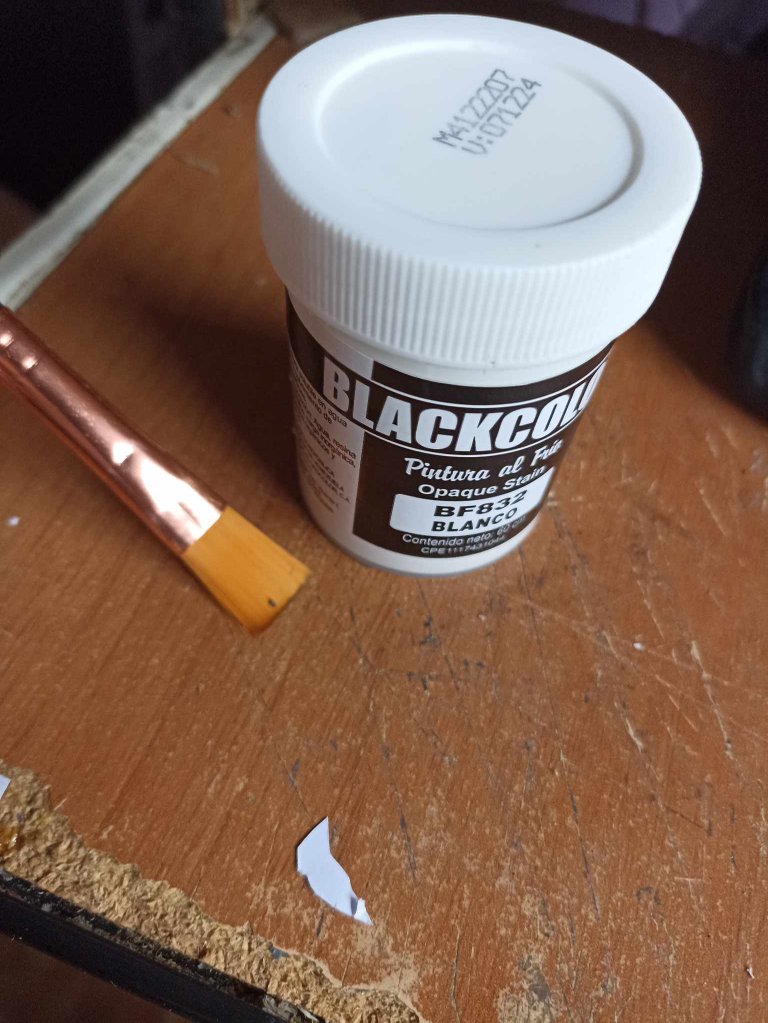 | 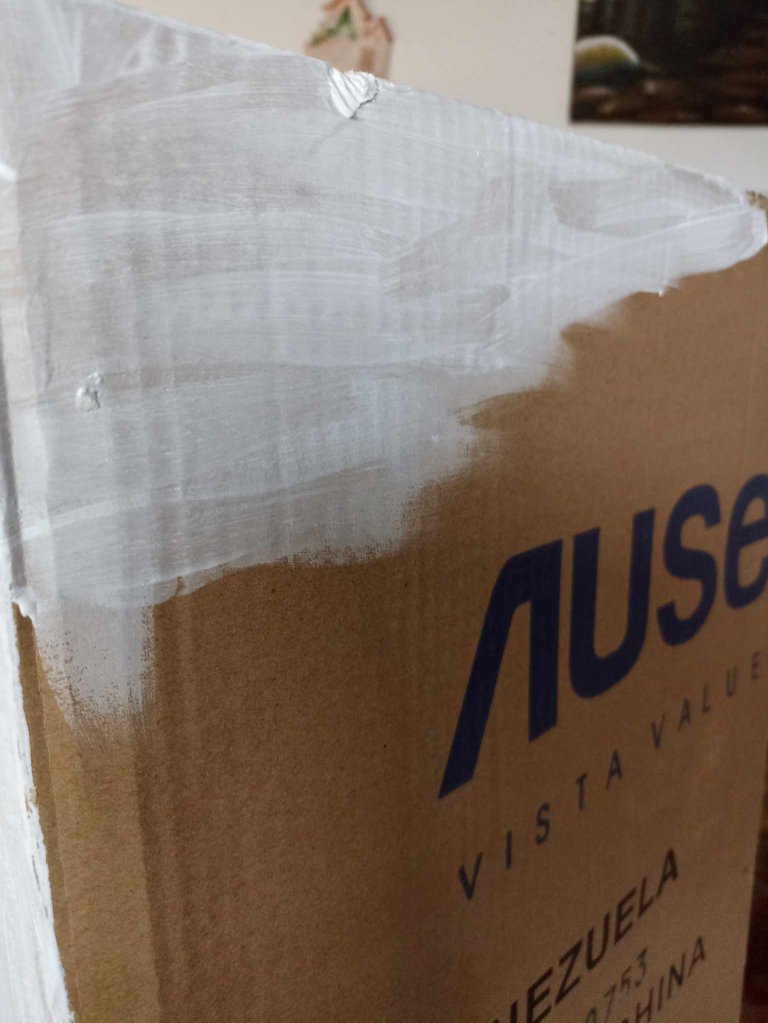 |  |
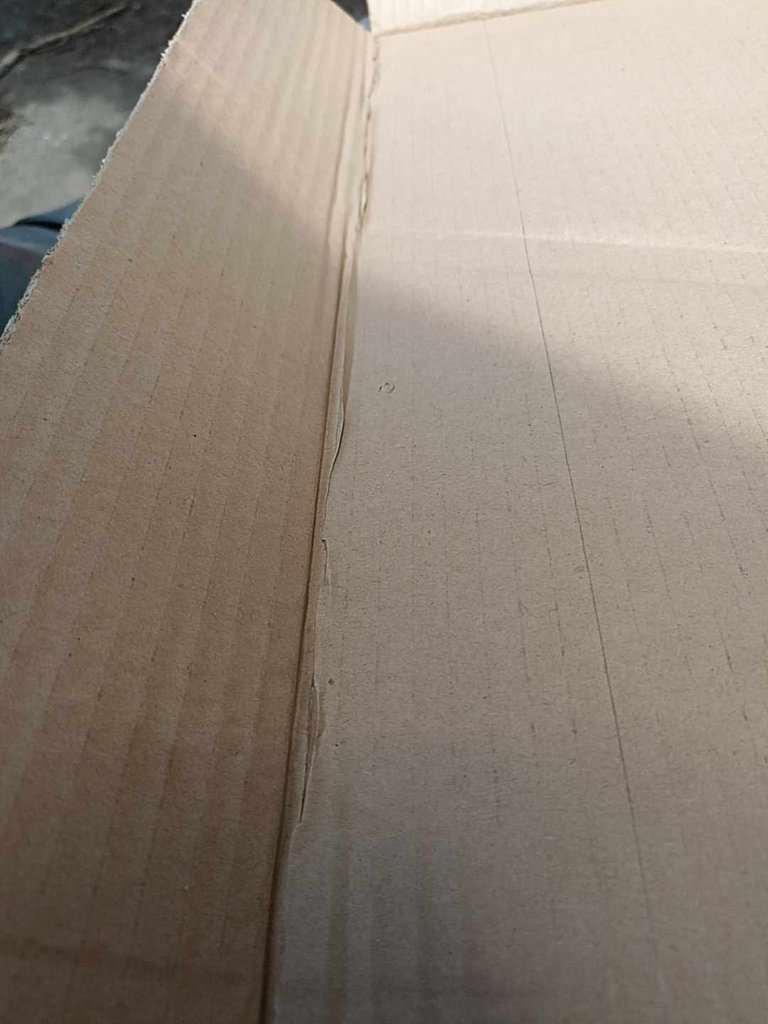
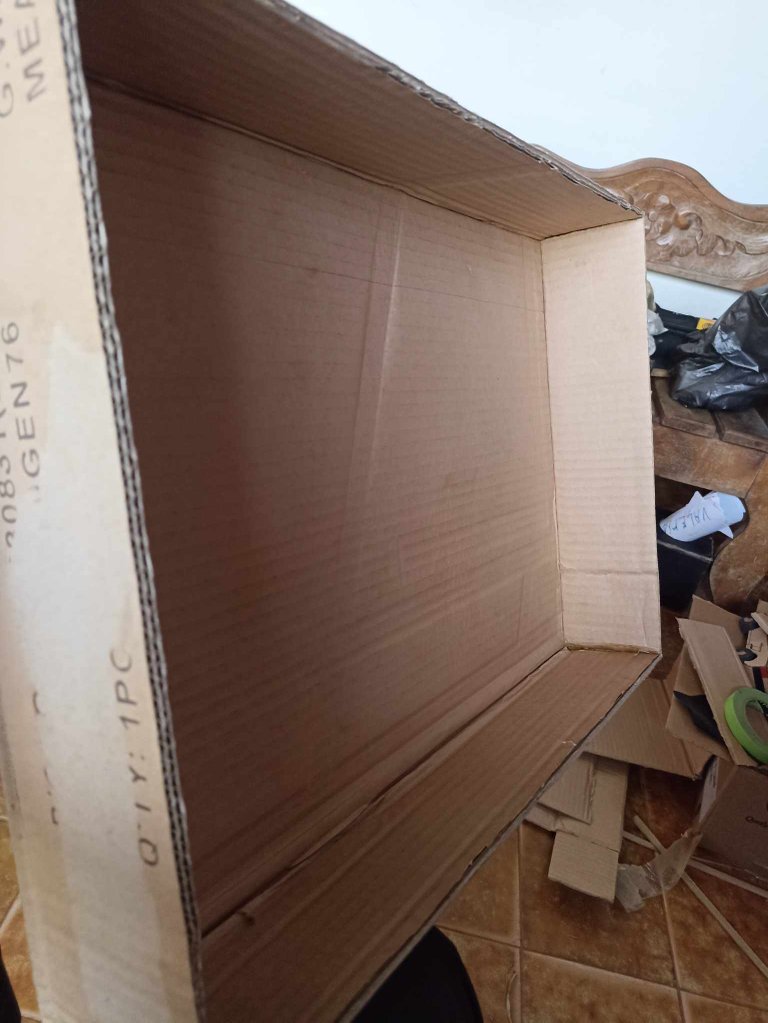
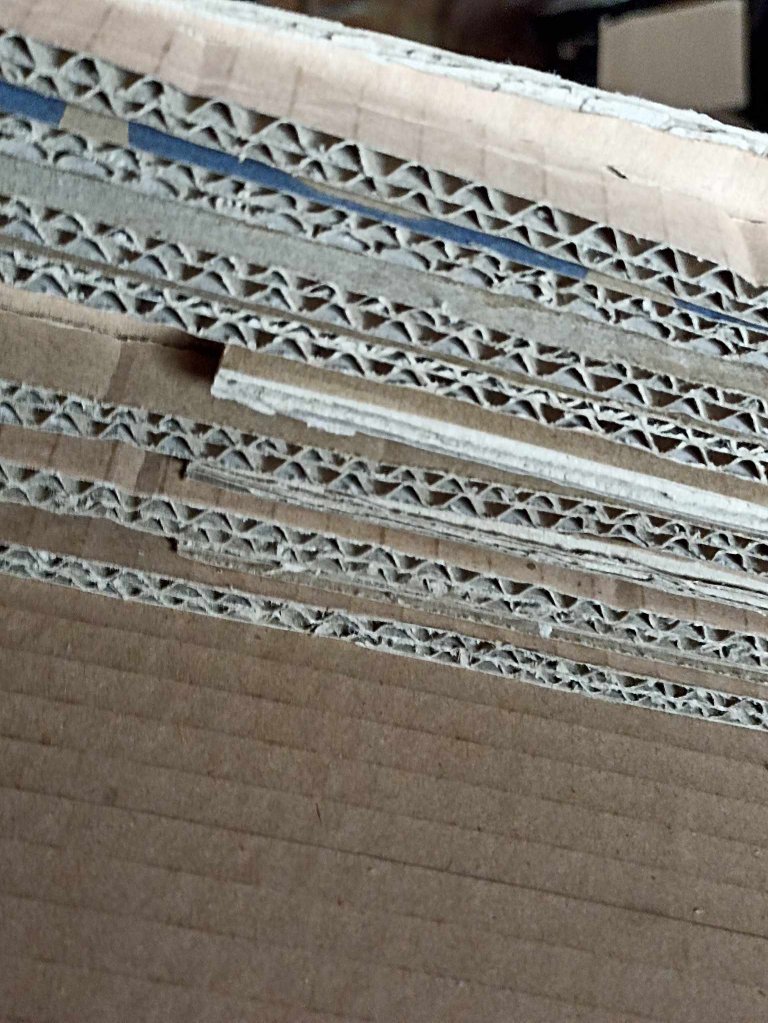
So that the frames are not too close to each other, I made small pieces of cardboard that I glued to the back area so that I could make the gap bigger so that when you turn on the lights you can see the gap between the panels and it mark the figures better. Then I painted the cardboard box with white paint.
Para que los marcos no queden tan unidos unos con otros, hice pequeñas piezas de cartón que pegué en la zona trasera de esa manera pude hacer que la separación fuera más gran de forma que cuando encienda las luces se pueda ver el espacio entre paneles y se marquen mejor las figuras. Después pinté la caja de cartón con pintura de color blanco.
 |  |  |
|---|---|---|
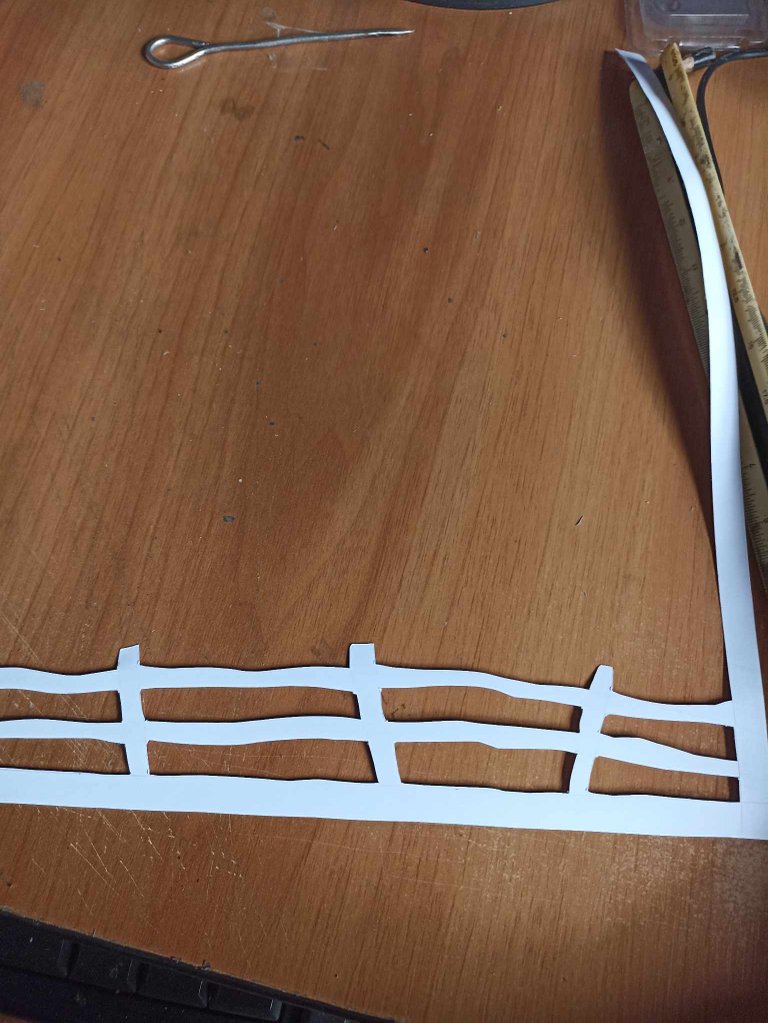 | 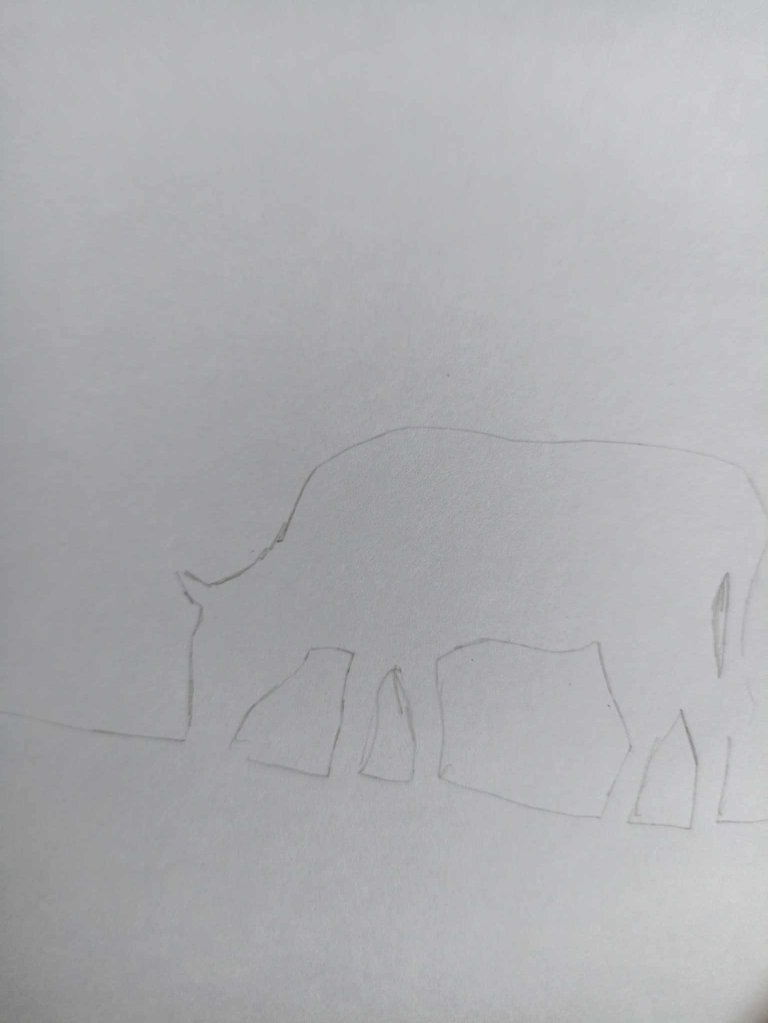 |  |
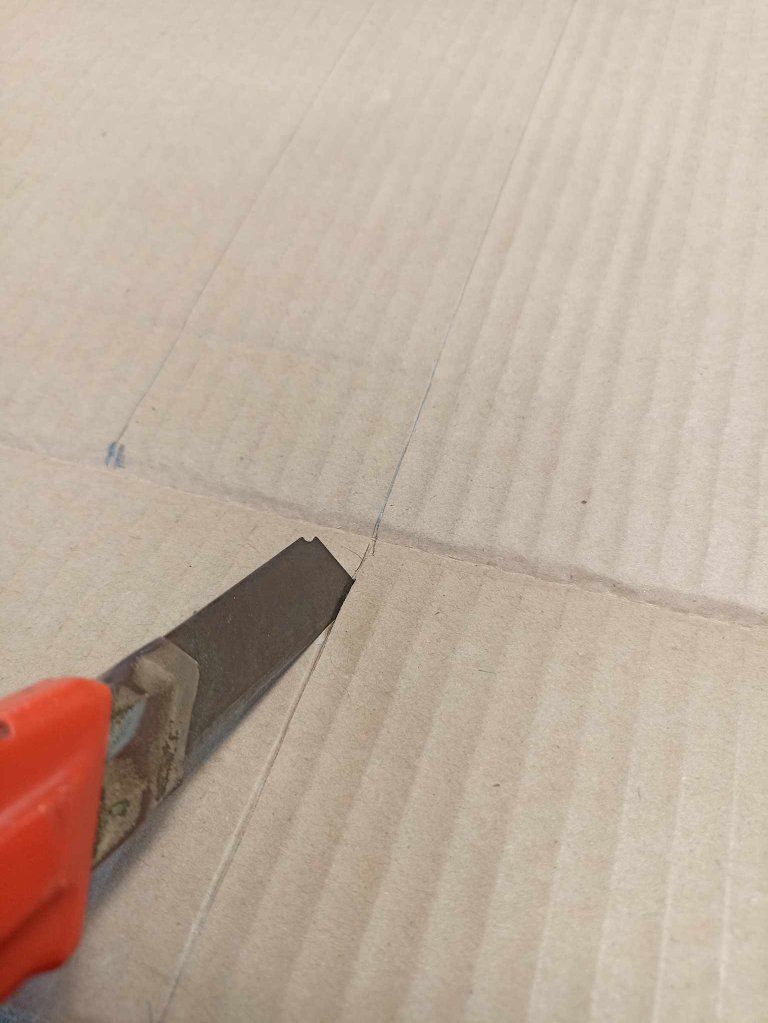
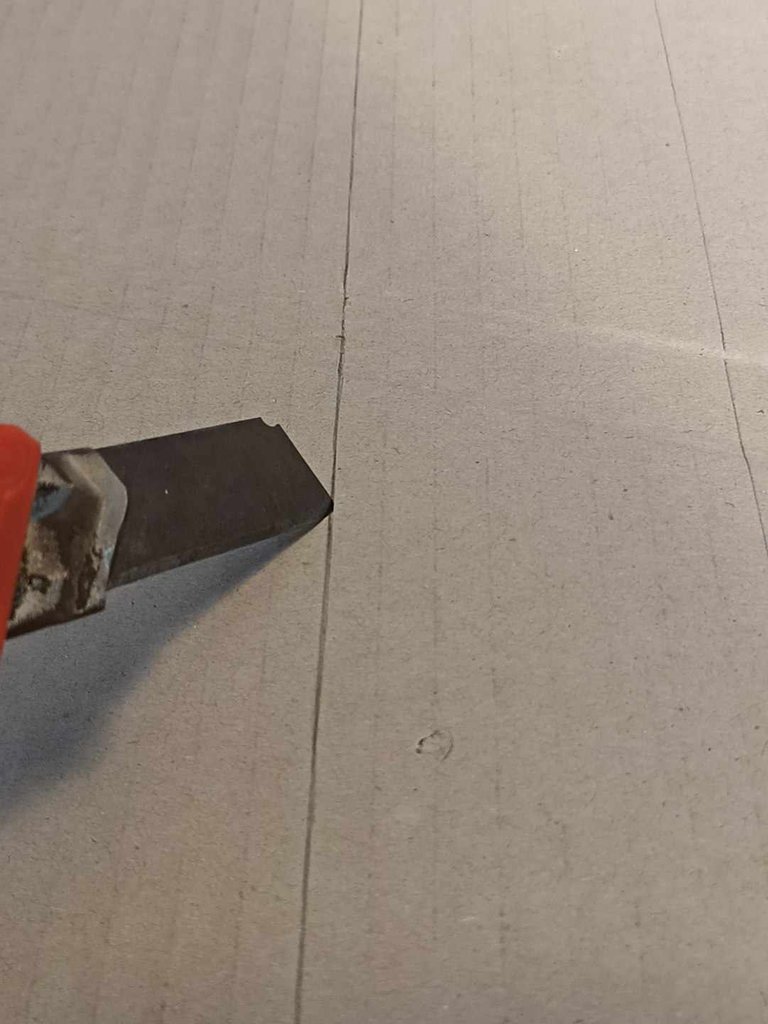
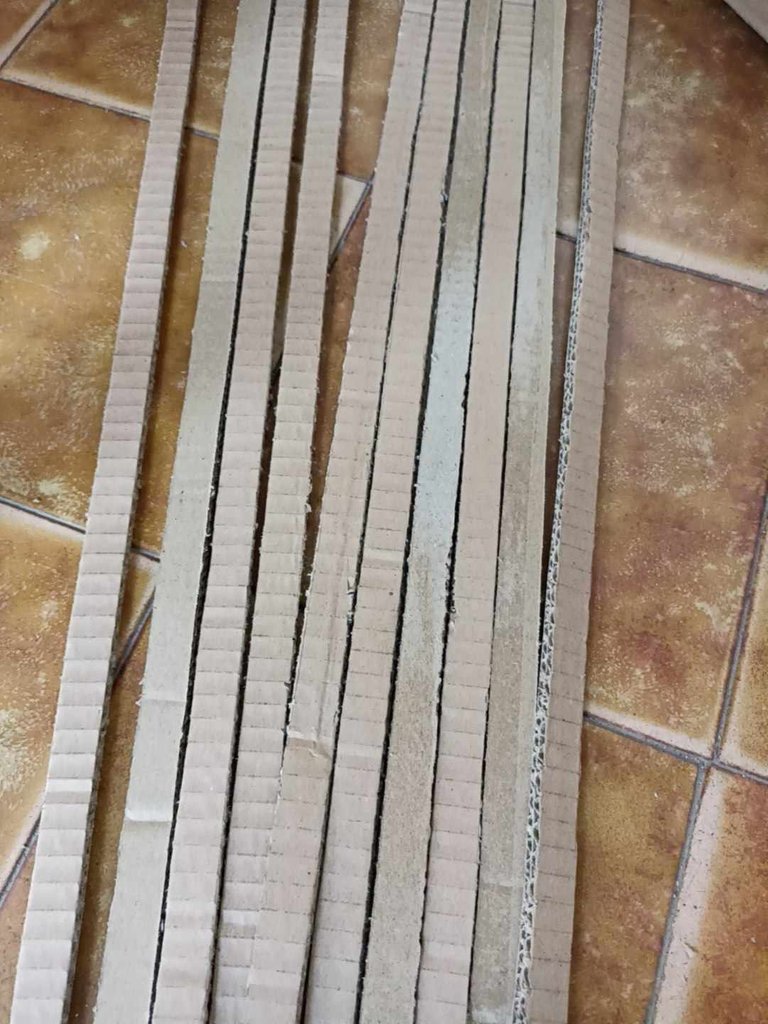
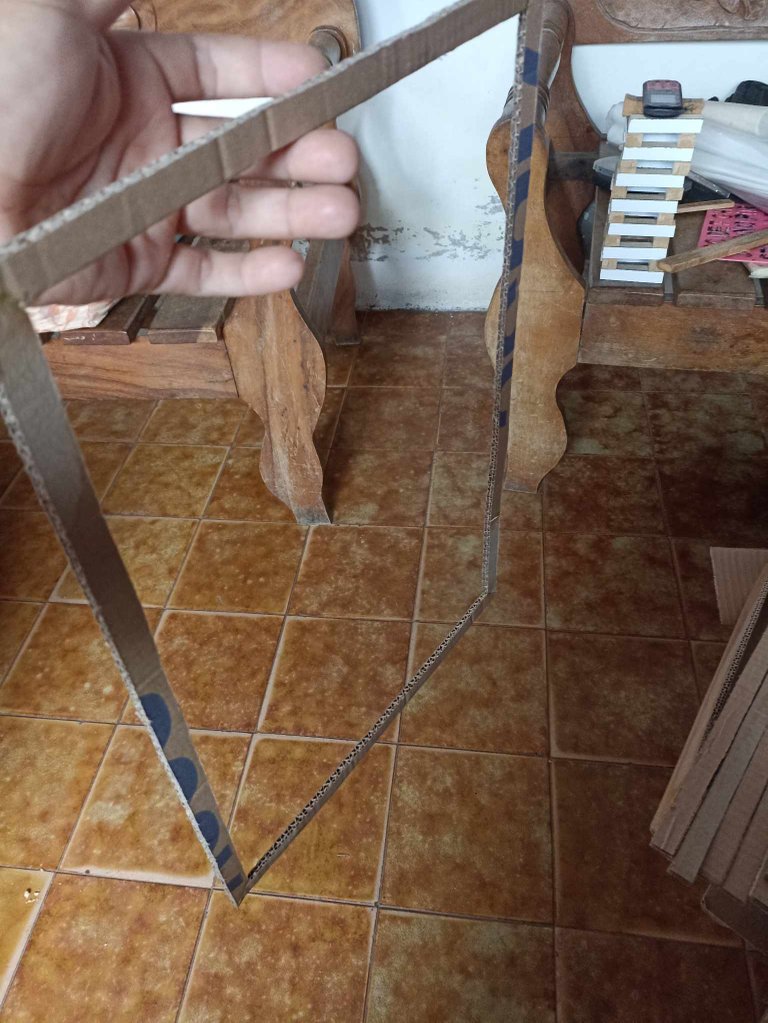
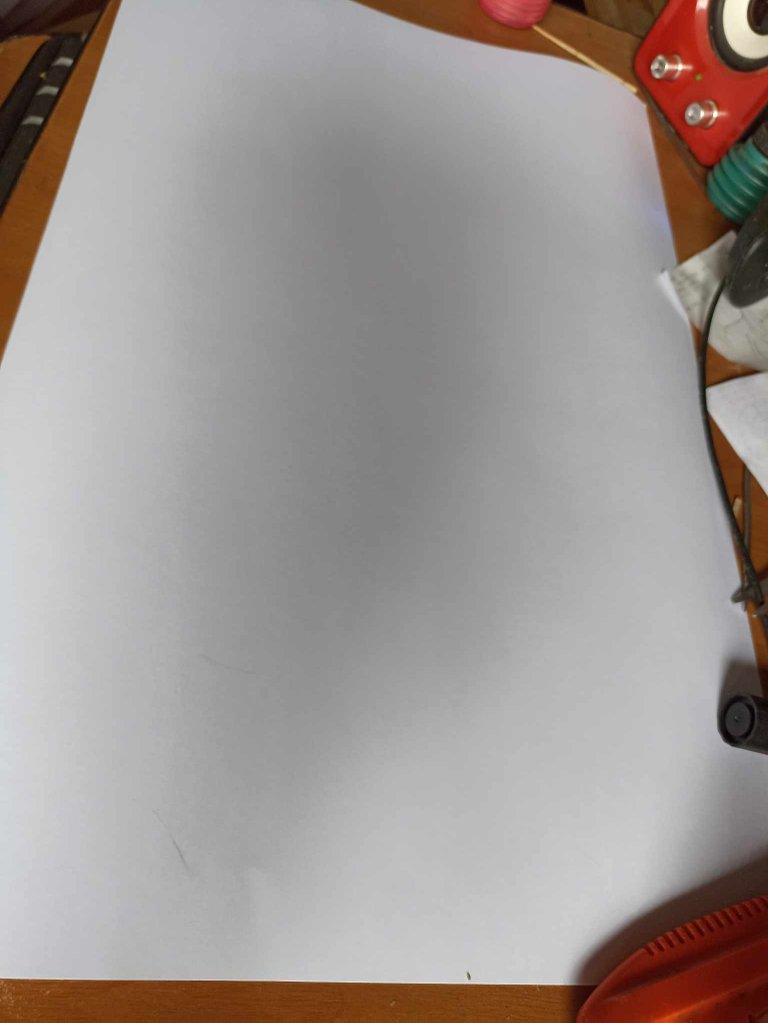
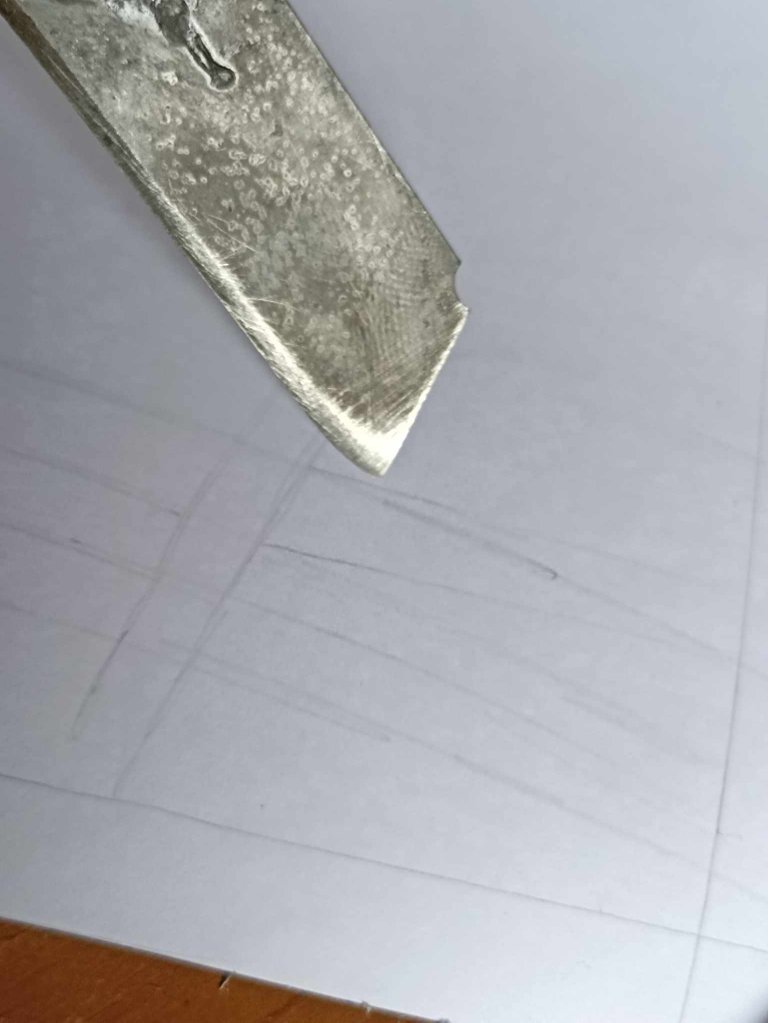
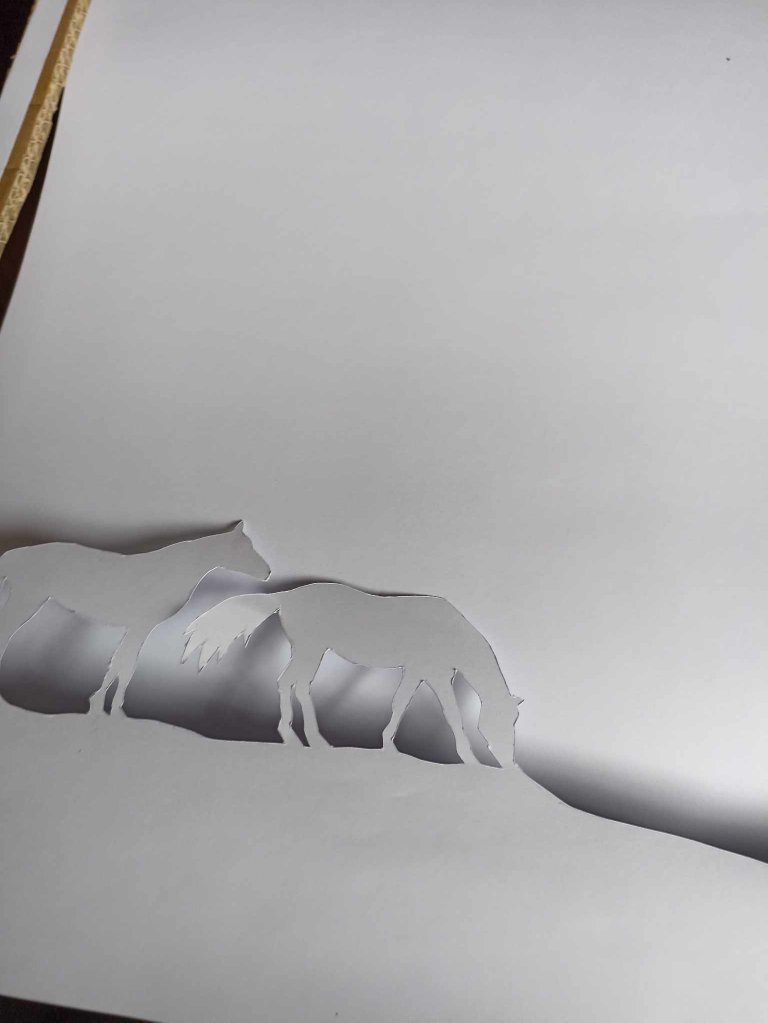
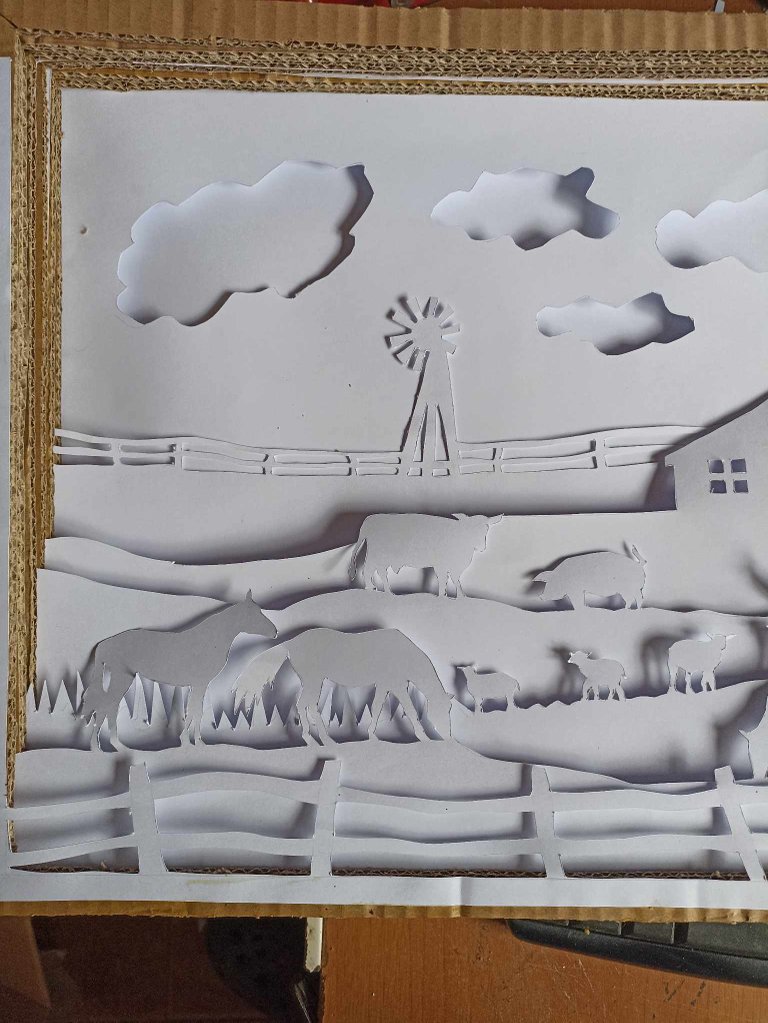
Then I start with the magic of this work, make the honeycombs with the figures, I use double cardboard, since this is a little harder than school cardboard and thus the figures can stand up. I use 4 cardboards that I cut in half and they reach me exactly in size, I start from the first panel, the front and so on towards the bottom, first I make the fence, drawing its shape and then with a knife I am cutting it until only the shape, then I make the first drawings, in this case a cow and some horses eating grass.
Después comienzo con la magia de este trabajo, hacer los panales con las figuras, utilizo cartulina doble, ya que esta es un poco más dura que la cartulina escolar y así las figuras pueden mantenerse en pie. Utilizo 4 cartulinas que corto a la mitad y me alcanzan justamente en tamaño, comienzo desde la prime panel, el frontal y así hacia el fondo, primero hago la cerca, dibujando su forma y luego con una navaja la voy cortando hasta que solo quede la forma, luego hago los primeros dibujos, en este caso una vaca y unos caballos comiendo pasto.
 |  | |
|---|---|---|
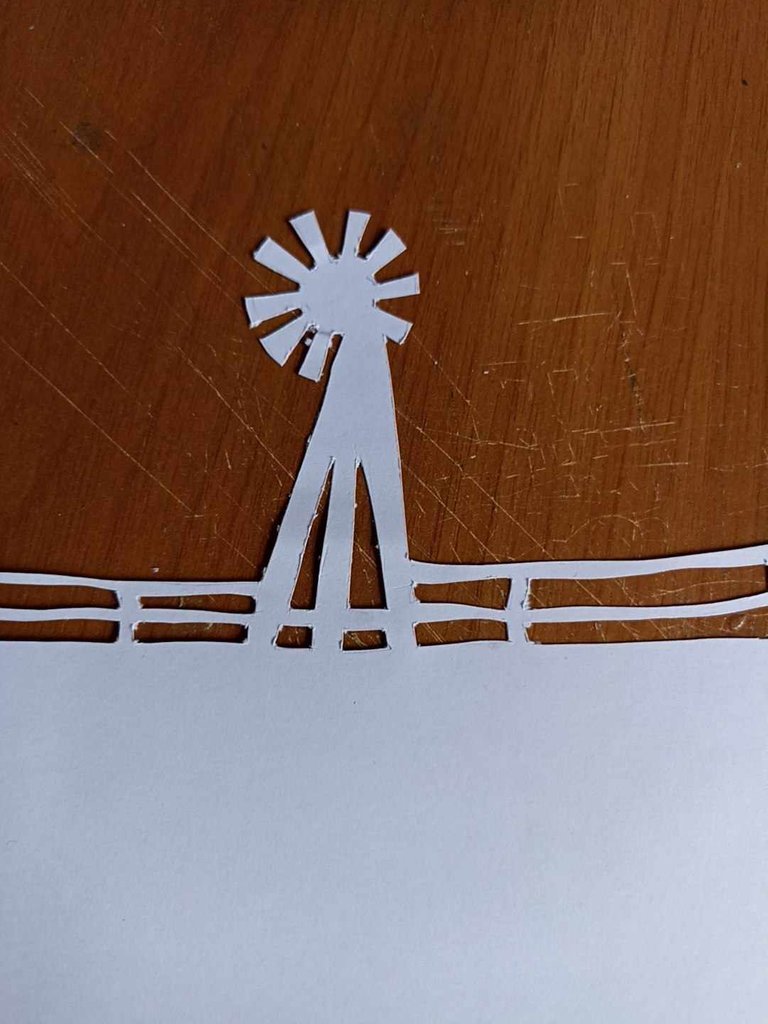 | 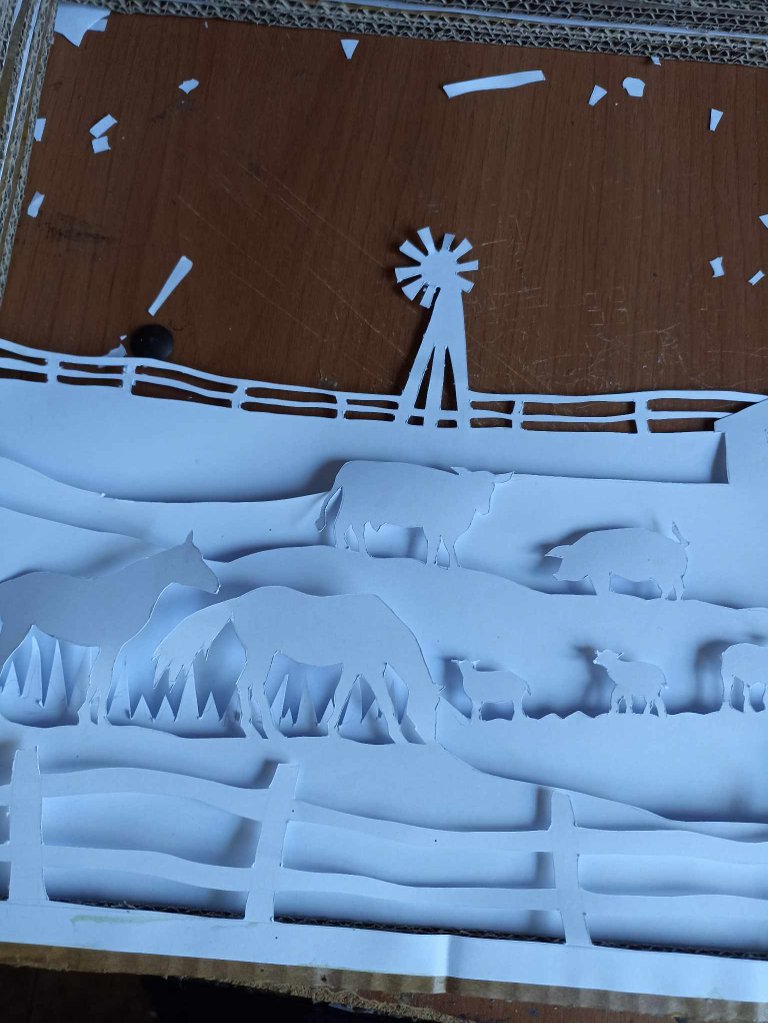 |
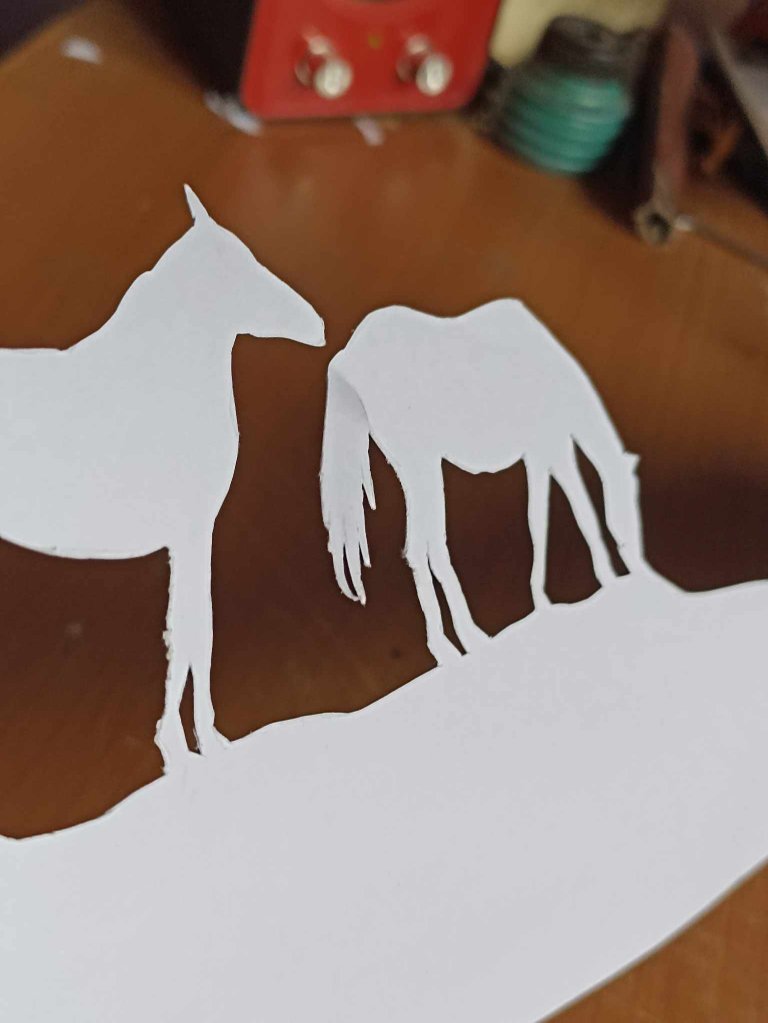
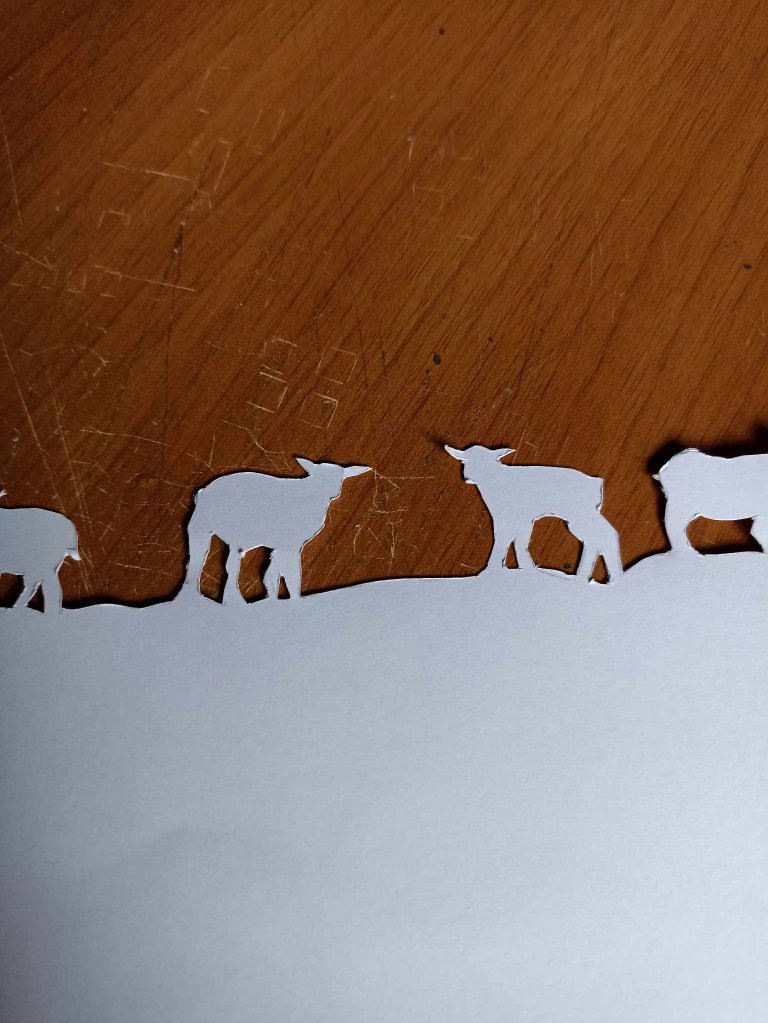
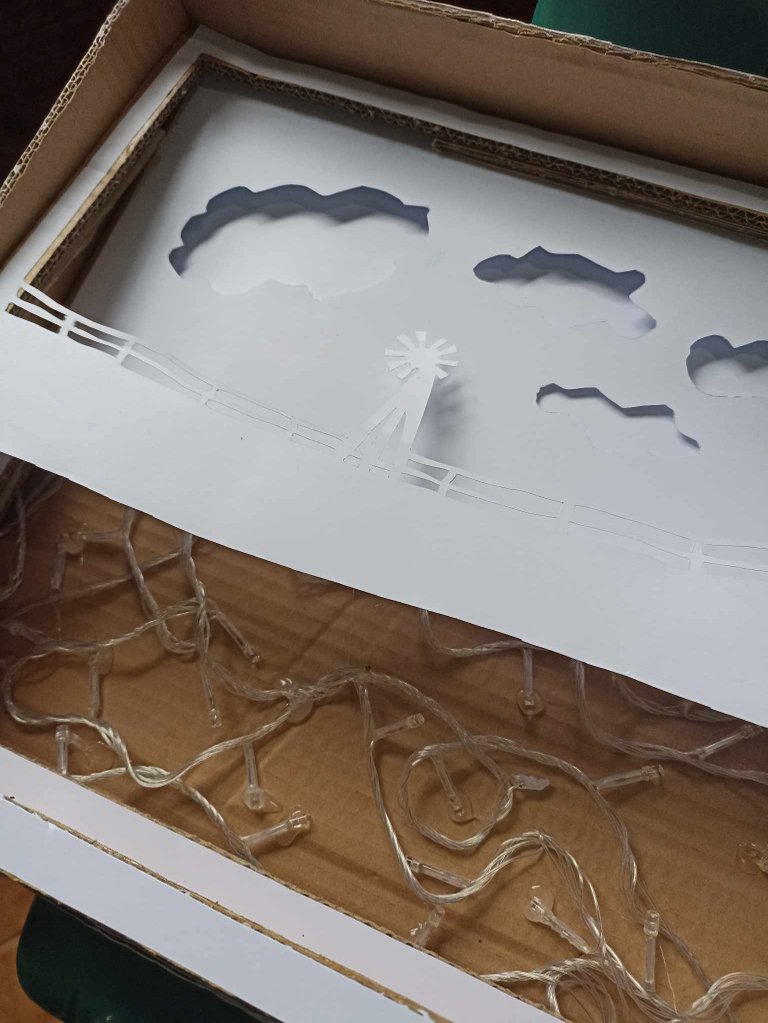
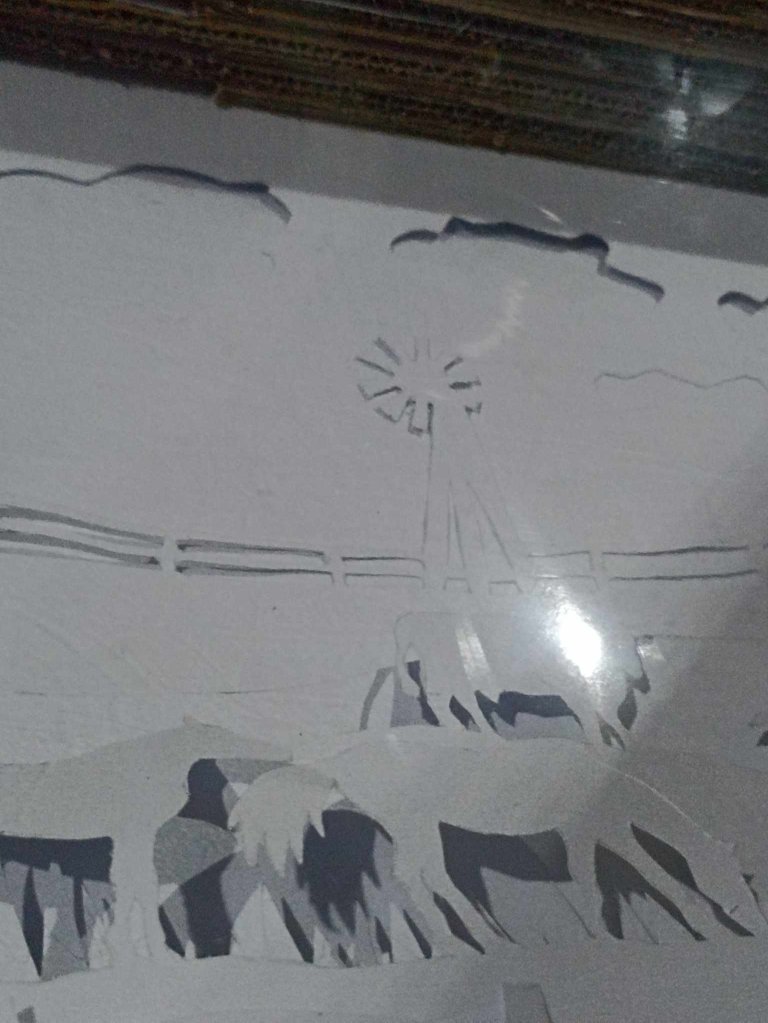
Then I made the rest of the panels, when I had them ready I placed them on the frames I made before, one by one, and I was testing them if they were being well aligned and so I could see if something was missing or had to be removed. For example, I made a last panel where I drew and cut out some clouds, since the sky had been left empty.
Seguidamente hice el resto de paneles, al tenerlos listos los fui colocando sobre los marcos que hice antes, uno por uno, y los iba probando si me estaban quedando bien alineados y así podía observar si le faltaba algo o habia que quitarle. Por ejemplo hice un último panel donde dibujé y corté unas nubes, ya que el cielo me había quedado vacío.
 |  |  |
|---|---|---|
 |  |  |
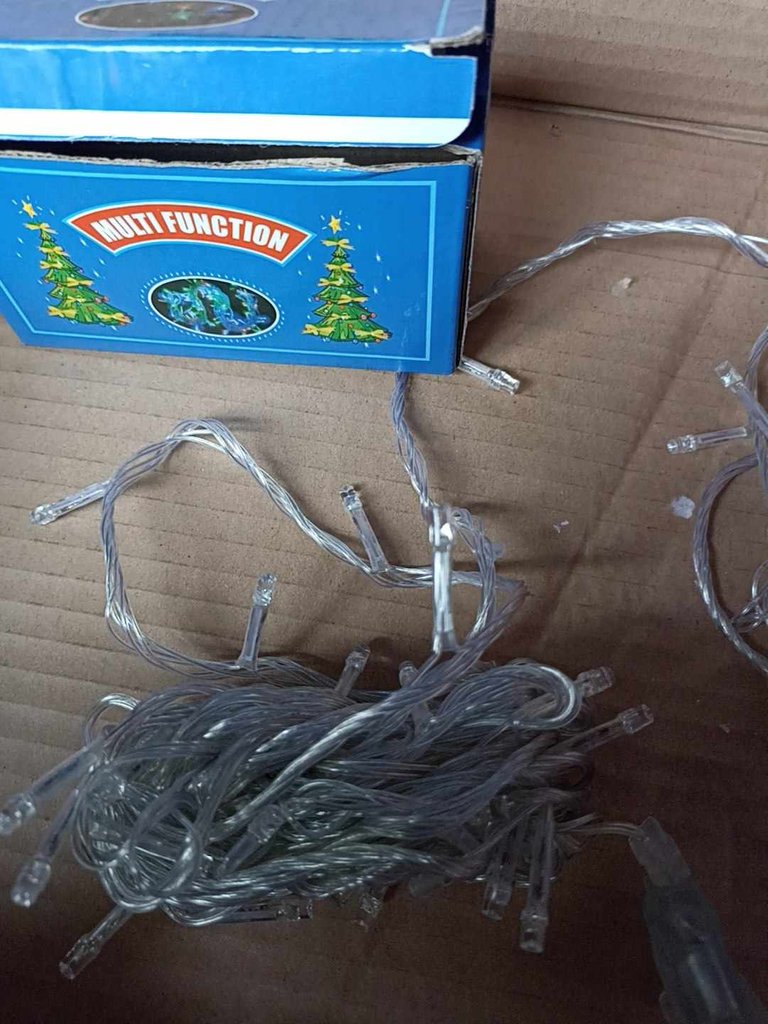
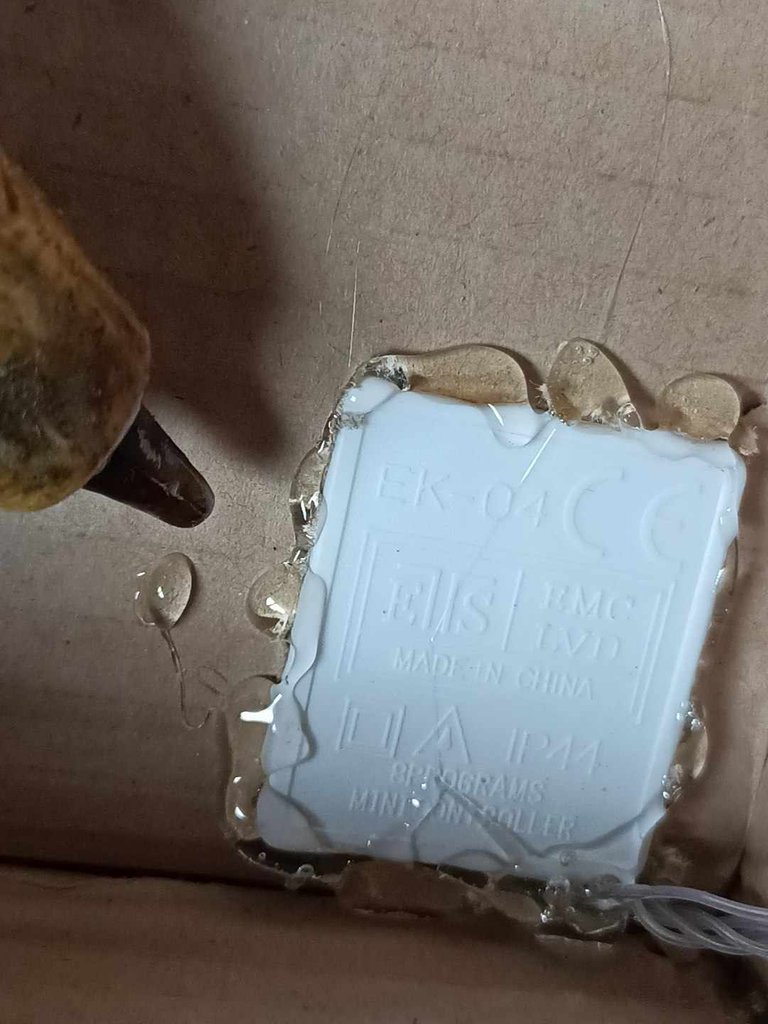
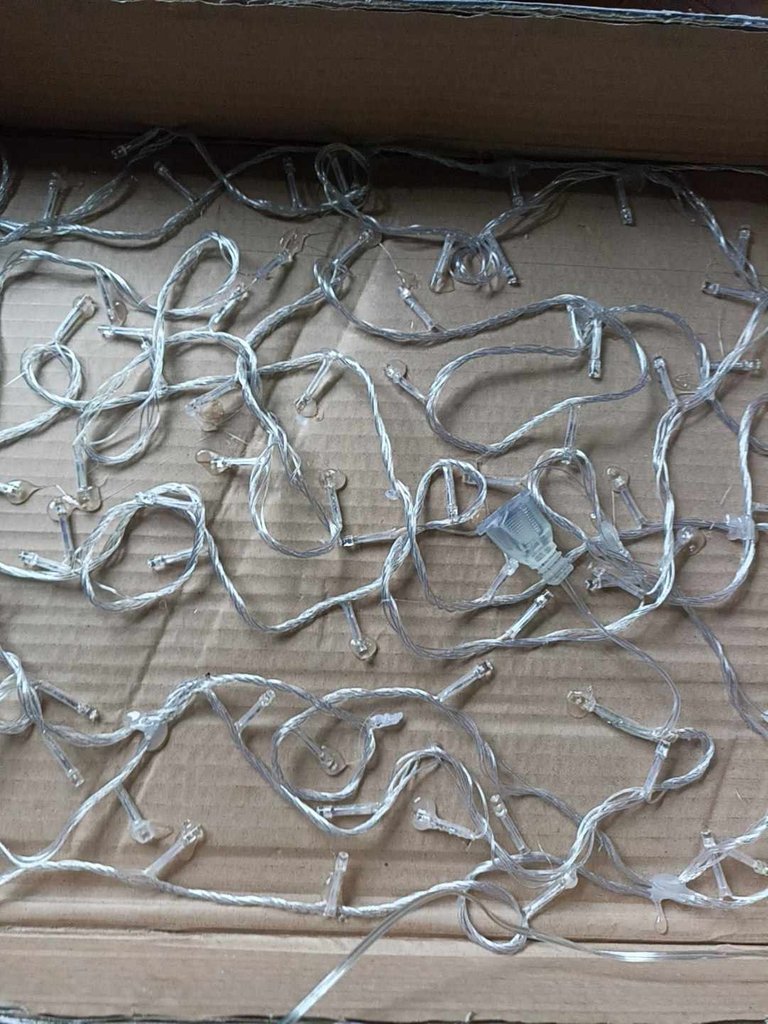
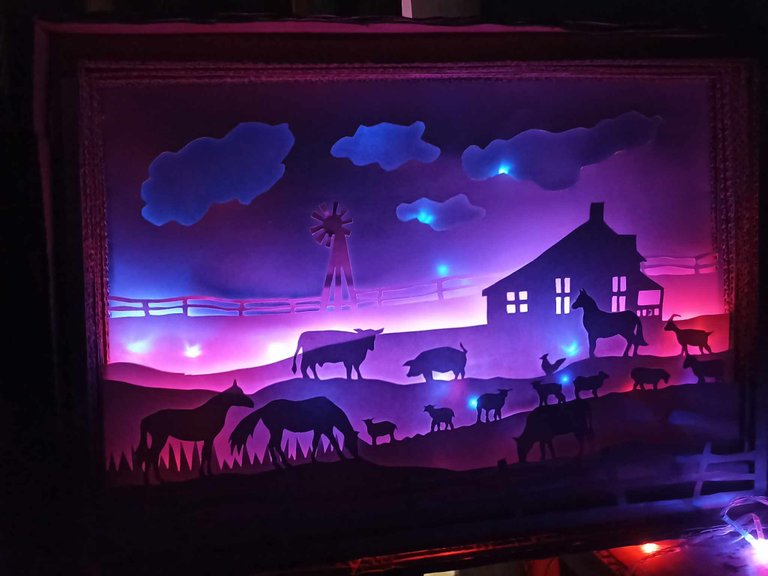
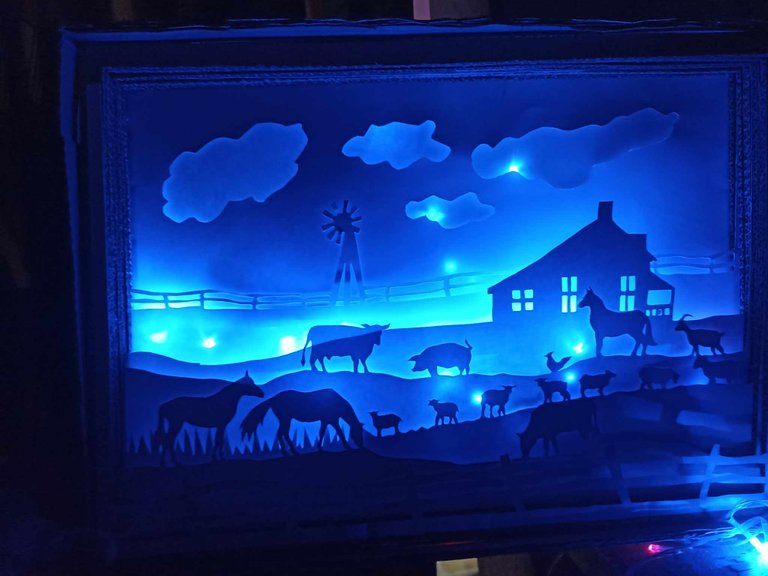
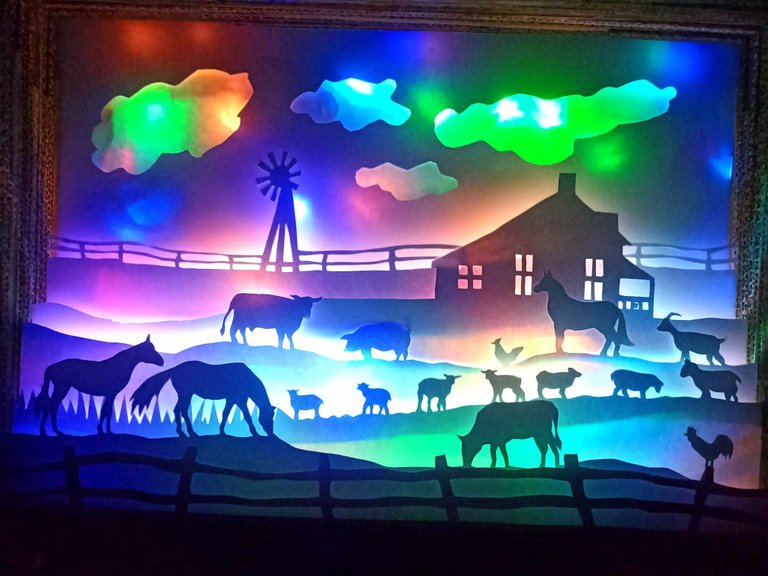
When I had everything ready, I looked for some lights, I used led Christmas lights, some of colors that have different gears and can be fixed or moving. I put them at the bottom of the box and fixed them with hot silicone but not before distributing them everywhere so that it reaches to illuminate all the panels. Then I introduced each panel one by one starting from the bottom to the front, in this last place to protect I put a transparent plastic screen and sealed the box.
Al tener todo listo busqué unas luces, utilicé luces leds de navidad, unas de colores que tienen diversas marchas y se pueden poner fijas o en movimiento. Las puse al fonde de la caja y las fijé con silicón caliente no sin antes distribuir por todas partes para que alcance a iluminar todos los paneles. Seguidamente fui introducionedo uno a uno cada panel comenzando desde el fondo hasta la parte frontal, en este último lugar para proteger puse una pantalla de plástico transparente y sellé la caja.
Wow, the sheer amount of detail and the level of meticulous work that went into this is very impressive.
Bravo 👏🏿
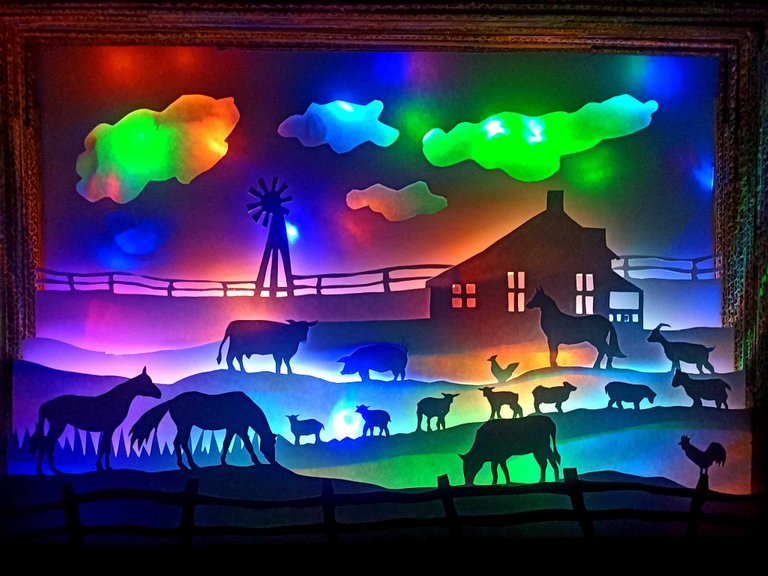
The magic is in the cut of the drawings, at the moment of turning on the lights it is as if it came to life
Muy bonito 😊
Muchisimas gracias!
En serio me llamo mucho la atencion la portada, crei que era un estilo diferente de pintura pero luego lei el titulo y me quede mas sorprendida 😲 que original y el resultado final si que quedo genial, me encanto, te felicito por tu creatividad ❤️
Me alegra que te haya gustado mucho, lo de las luces es genial, hace que cada panel cobre vida
Este es de esos trabajos que lo dejan a uno con la boca abierta, por el trabajo tan bonito, elegante, con una iluminación grandiosa y acabados muy pulidos. Felicitaciones, esta caja en 3D es de esos trabajos que le alegran a uno el día.
Me contenta mucho leer tu comentario, me hace sentir muy bien que mi trabajo te haya causado ese efecto, para mi ha sido todo un gusto poder compartirlo
Le ha quedado genial amigo, creo que es el segundo de este estilo que le he visto hacer y va mejorando. Lo felicito.