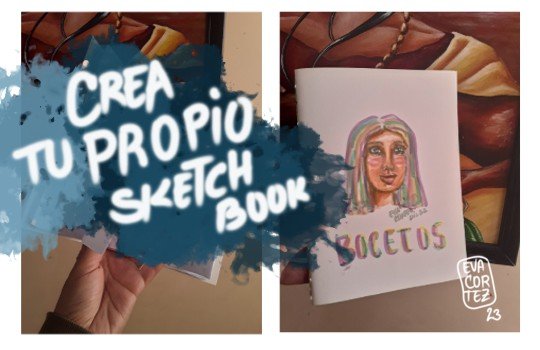
DIY Make your own sketchbook // DIY Realiza tu propio sketchbook o cuaderno de bocetos [ENG-ESP]
ENGLISH
I've wanted to make my own sketchbook for a long time. I know I can buy a ready-made one, but I wanted to make my own :)
It was really easy and I'm going to share with you the step by step process below.
The materials I used were:
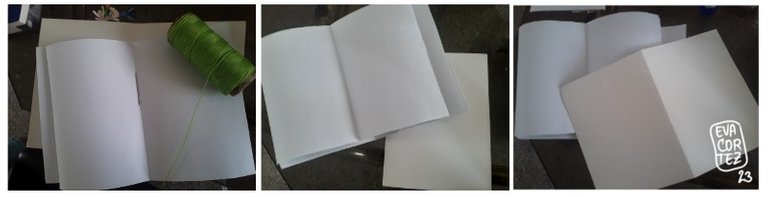
- 1 sheet of bond paper.
- 1 piece of cardboard (not too soft).
- Thick needle and waxed thread (another type of thread can be used).
- Lighter (only if you use waxed thread).
Procedure:
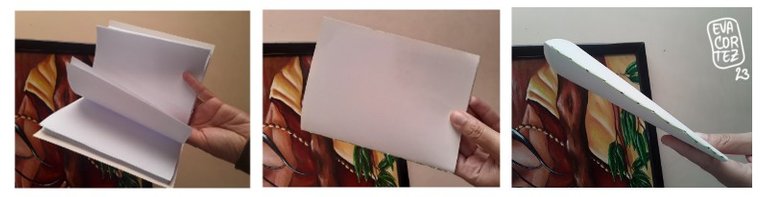
I folded the sheet of bond paper into several rectangles, over and over again until I got the size I wanted for my sketchbook sheets, so I got several divisions. Then, I cut the bond paper following the divisions.
I cut the cardboard to the size of the pages of my setchbook, a little bigger so that it would stick out, this will be my front and back cover.
ESPAÑOL
Desde hace tiempo quería hacer mi propio sketchbook. Ya sé que puedo comprarme uno ya hecho, pero quería uno hecho por mí :)
La verdad fue muy sencillo y te voy a compartir el proceso paso a paso a continuación.
Los materiales que utilicé fueron:
- 1 pliego de papel bond.
- 1 cartulina (que no sea tan blanda).
- Aguja gruesa e Hilo encerado (otro tipo de hilo puede servir).
- Encendedor (sólo si utilizas hilo encerado).
Procedimiento:
Doblé el pliego de papel bond en varios rectángulos, una y otra vez hasta obtener el tamaño que deseaba para las hojas de mi sketchbook, así obtuve varias divisiones. Luego, corté el papel bond siguiendo las divisiones.
Corté la cartulina a la medida de las hojas de mi setchbook, un poco más grande para que sobresalga, esta será mi portada y contraportada.
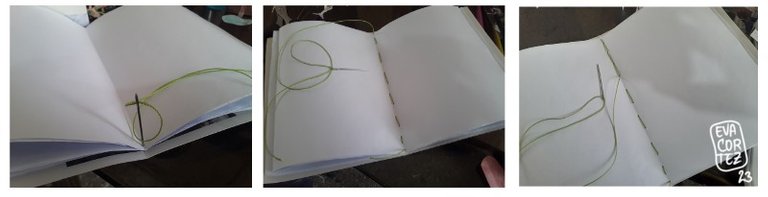
I take the needle and waxed thread and start sewing. I join the sheets with the cardboard using a straight stitch.
When I get to the end, I go back with the needle to cover the gaps with the thread.
Tomé la aguja y el hilo encerado y empiezo a coser. Uno las hojas con la cartulina mediante una costura recta.
Al llegar al final, me regreso con la aguja para cubrir los espacios con el hilo.
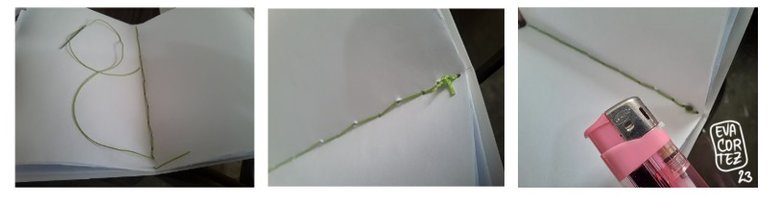
When I reach the beginning of the seam I tie a knot.
With the lighter I burn the ends of the knot to secure it. Now you can see the sketchbook almost ready.
Al llegar al inicio de la costura realizo un nudo.
Con el encendedor quemo los extremos del nudo para asegurarlo. Ya puedes ver el sketchbook casi listo.
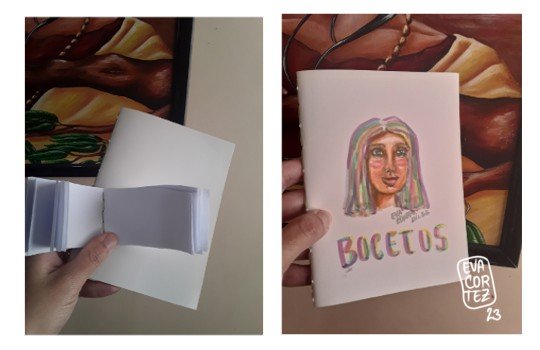
Here is the finished sketchbook. My daughter was encouraged to make one for her too :)
You can paint the cover as you like.
Now you have a sketchbook ready to receive your ideas, strokes and creations.
Acá está el sketchbook terminado. Mi hija se animó a hacer uno para ella también :)
La portada la puedes pintar a tu gusto.
Ya tienes un cuaderno de dibujos listo para recibir tus ideas, trazos y creaciones.
Muchas gracias por el apoyo! Les abrazo :)
Fácil y sencillo, sin gastar mucho, Me encanto 😍 Creo que utilizaré esta idea para algo jejeje Un abrazo 🤗
Si :D es una hacer útil para hacer tu propio cuaderno de notas también :) muchas gracias por comentar, lo aprecio mucho :) <3
Te quedó genial...ahora tienes como hacer tus bocetos en un cuaderno hermoso !DIY
Muchas gracias :) siiii ahora tengo un nuevo cuaderno de bocetos
oh! than you very much :)