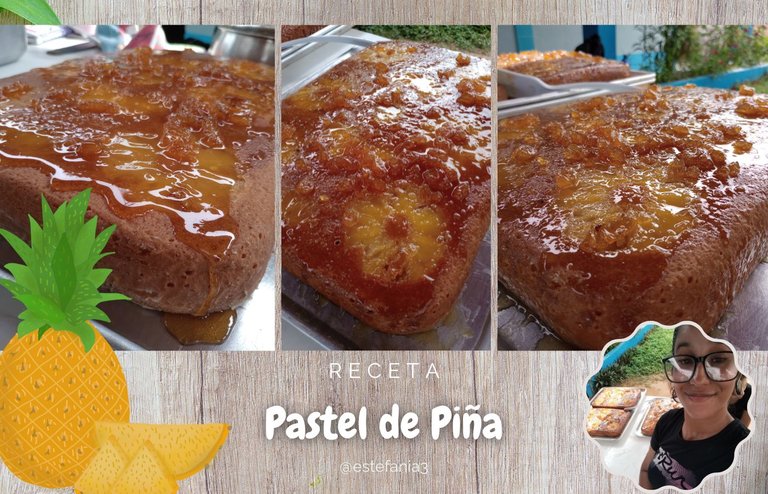
Receta: Pastel de piña 🍍, versión 1 || Recipe: Pineapple cake 🍍, version 1

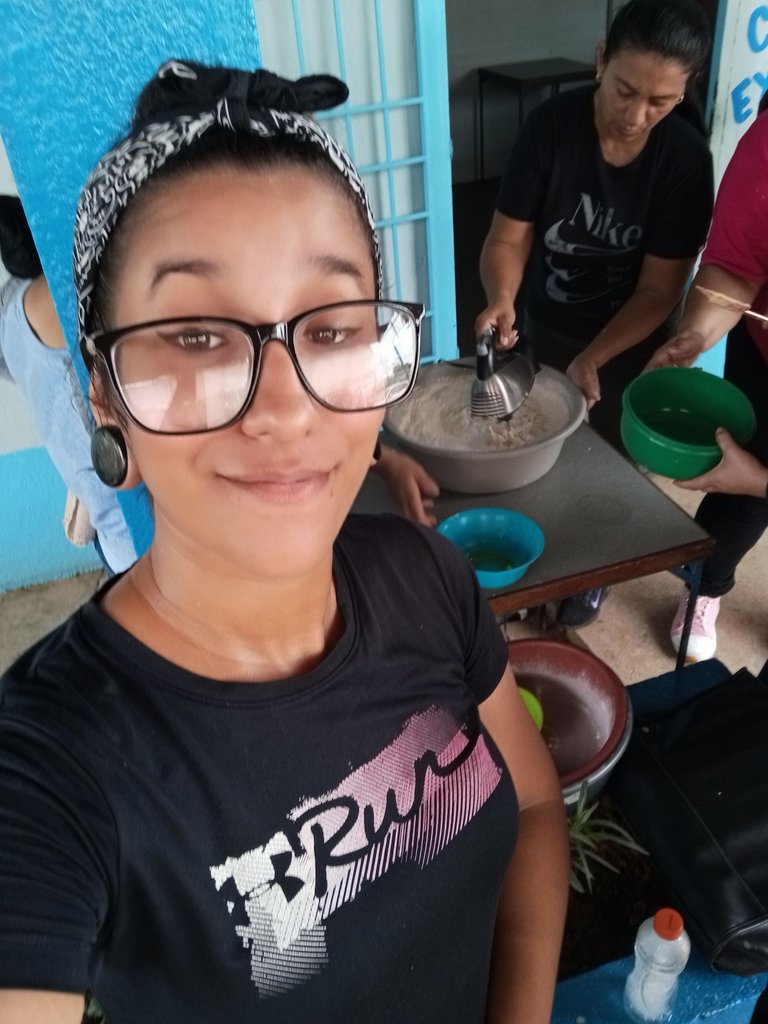
¡Hola Chicos!
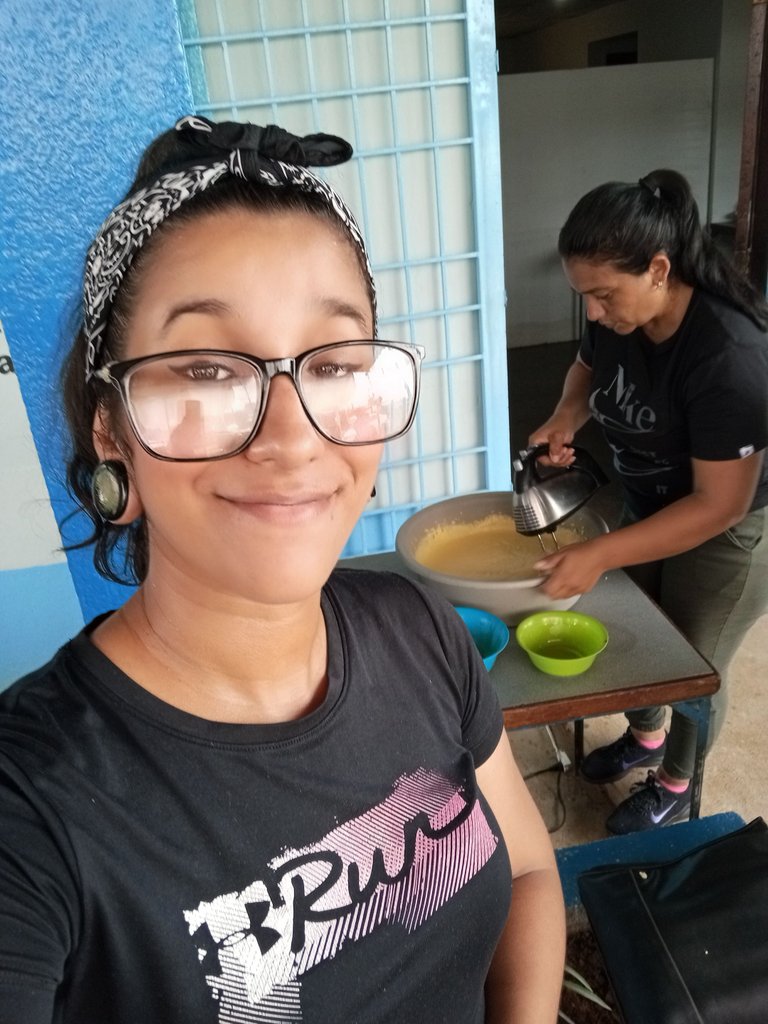
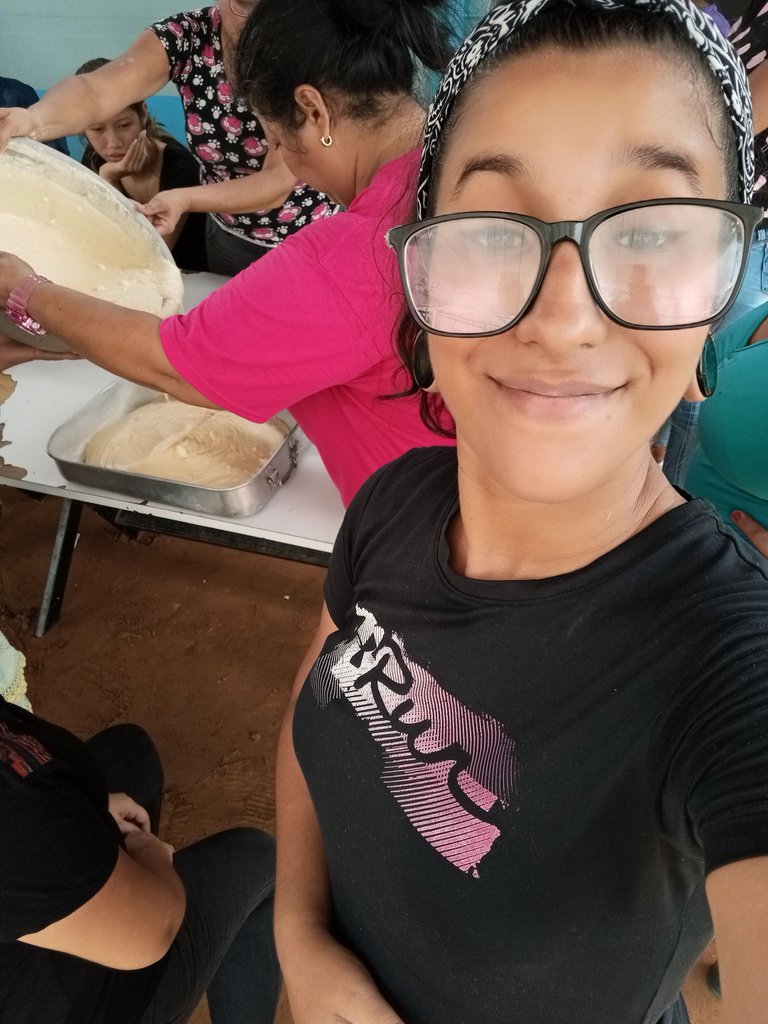
Para terminar la semana con un toque dulce, hoy les quiero compartir la receta de un delicioso pastel de piña🍍😊. Está nos la enseñaron en la última clase de repostería y está preparada de una forma diferente a la tradicional.
Que por cierto mañana estaremos haciendo esta forma tradicional en la clase de panadería, algo que es genial porque en ambos cursos me enseñan a hacerla pero en dos formas diferentes, lo que me permite elegir una que se adapte más a mis gustos.
Obvio les traeré está segunda versión en unos días, por eso está se llama pastel de piña, versión 1. Así que no hablemos más y mejor vayamos con los ingredientes y la explicación para que aprendan a hacer este delicioso pastel invertido de piña.
Hello Guys!
To end the week with a sweet touch, today I want to share with you the recipe for a delicious pineapple cake🍍😊. This one was taught to us in the last baking class and it is prepared in a different way than the traditional one.
By the way, tomorrow we will be making this traditional way in the baking class, which is great because in both courses they teach me how to make it but in two different ways, which allows me to choose one that suits my tastes.
Obviously I will bring you this second version in a few days, that's why this one is called pineapple cake, version 1. So let's not talk anymore and let's go with the ingredients and the explanation so you can learn how to make this delicious pineapple inverted cake.
INGREDIENTES || INGREDIENTS
- 500 gr de harina de trigo leudante
- 250 gr de margarina repostera
- 500 gr de azúcar
- 6 huevos
- 1 piña
- 1 taza de zumo de piña
- 1/2 taza de agua
Para el caramelo
- El líquido restante de la cocción de la piña
- 500 gr de azúcar
- 500 gr of leavening wheat flour
- 250 gr pastry margarine
- 500 grams of sugar
- 6 eggs
- 1 pineapple
- 1 cup of pineapple juice
- 1/2 cup of water
For the caramel
- Remaining liquid from cooking the pineapple
- 500 grams of sugar
Primero debemos preparar la piña, para esto la vamos a pelar y cortar en rodajas de un centímetro de grosor.
Las colocamos en una olla y luego cubrimos con agua y agregamos 2 tazas de azúcar. Dejaremos cocinar tapadito por unos 10-15 minutos.
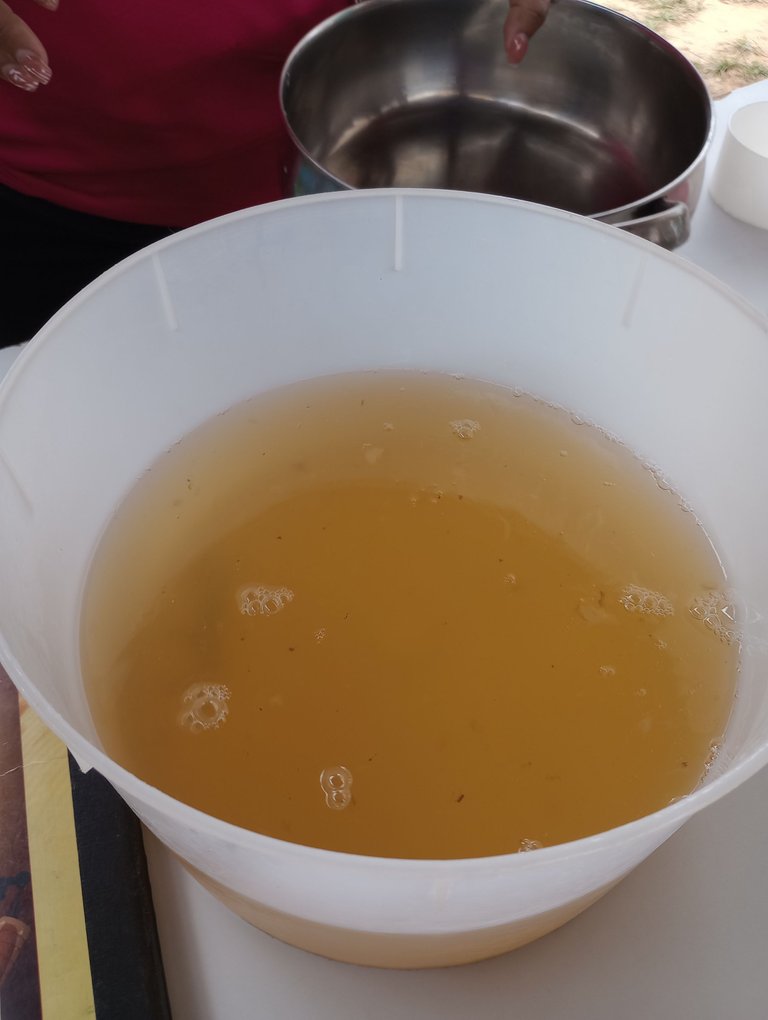
Luego las vamos a colocar sobre un colador hasta que todos los líquidos se escurran. Este líquido no lo vamos a botar, pues lo vamos a usar tanto en el pastel como en el caramelo con el que lo cubriremos.
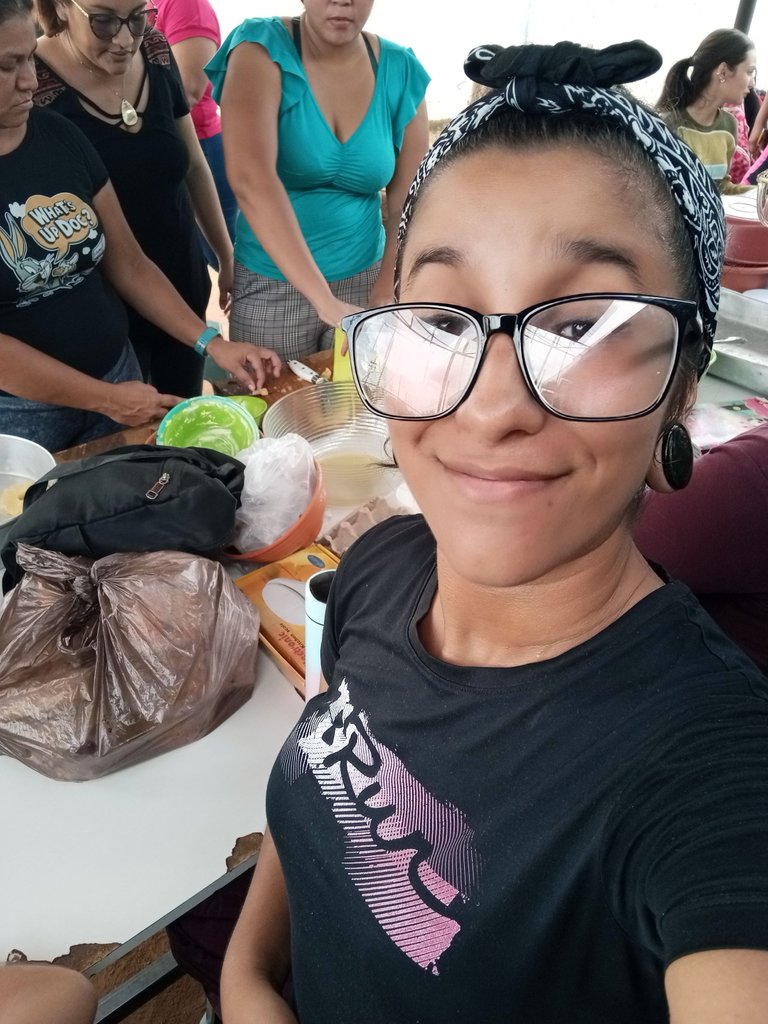
Este proceso no lo tengo documentado en fotos a detalle, pues eso lo debíamos hacer previo a la clase y a mi no me tocó llevar la piña, aunque es algo sencillo de hacer como verán.
First we must prepare the pineapple, for this we are going to peel it and cut it in slices of one centimeter thick.
We place them in a pot and then cover with water and add 2 cups of sugar. Let them cook covered for 10-15 minutes.
Then we are going to place them on a strainer until all the liquids are drained. We are not going to throw away this liquid, because we are going to use it both in the cake and in the caramel with which we will cover it.
I do not have this process documented in detail in photos, because we had to do it before the class and I did not have to carry the pineapple, although it is something simple to do as you will see.


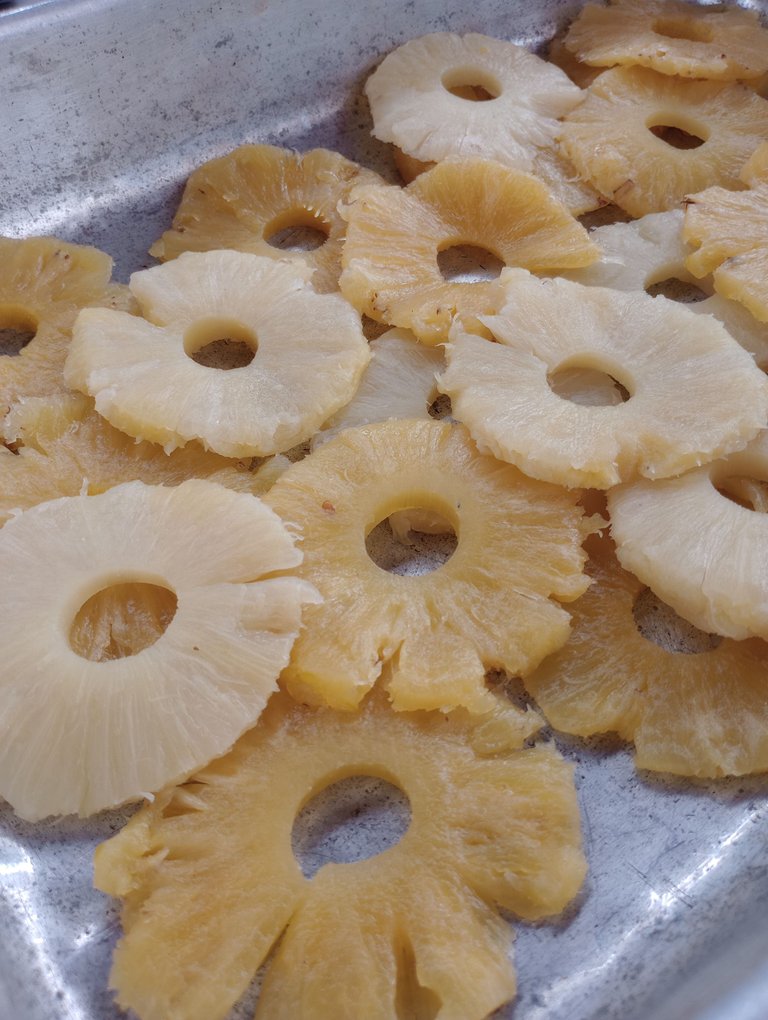
Una vez estén bien secas las rodajas de piña, las colocamos en una tabla y con ayuda de un cortador o haciendo presión con un vaso, las vamos a dejar bien redondas. Luego con un cortador más pequeño, o como en nuestro caso con una boquilla de metal, cortemos el centro de cada rodaja de piña. Así estarán perfectas para el pastel.
Once the pineapple slices are well dried, we place them on a board and with the help of a cutter or by pressing with a glass, we are going to leave them well rounded. Then with a smaller cutter, or as in our case with a metal nozzle, cut the center of each pineapple slice. This way they will be perfect for the cake.
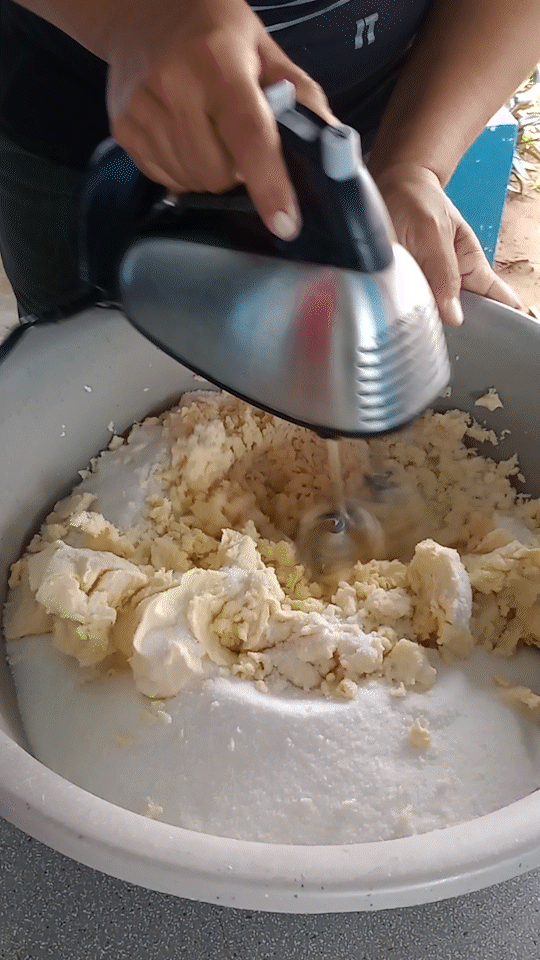
Ahora vamos a preparar el pastel, para esto vamos a cremar la azúcar junto a la margarina. Una vez logramos una mezcla cremosa agregamos las yemas de los huevos.
Now we are going to prepare the cake, for this we are going to cream the sugar together with the margarine. Once we get a creamy mixture add the egg yolks.

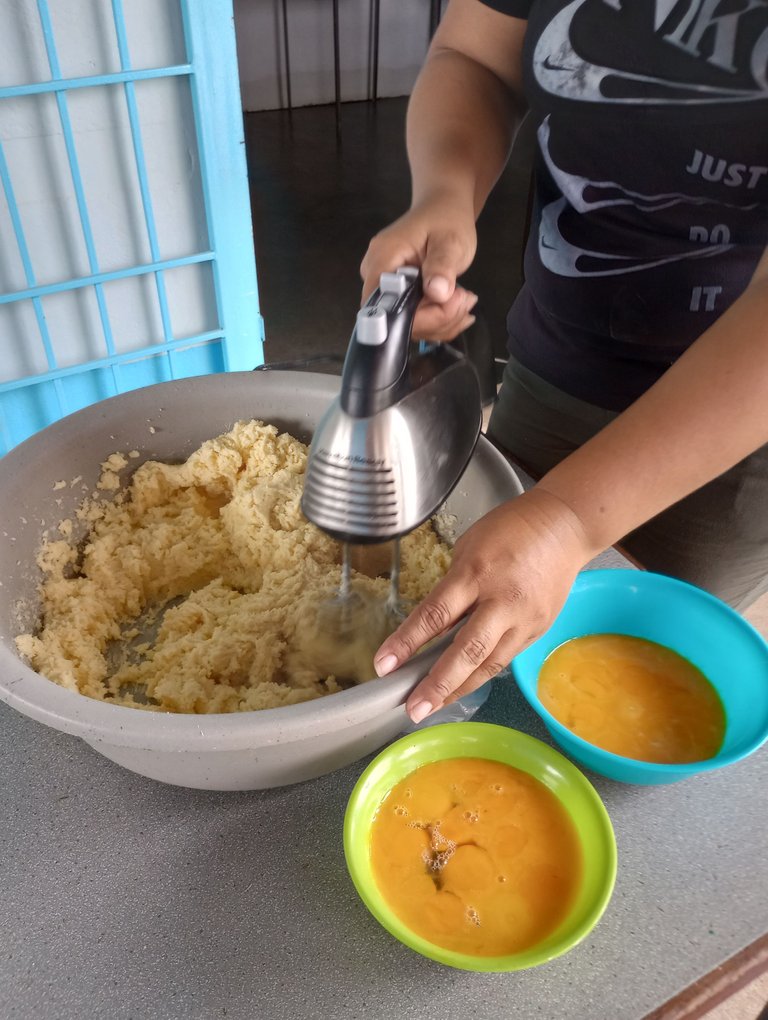
Luego colocamos un taza de el zumo de piña que había quedado de la cocción de las rodajas junto a media taza de agua.
Mezclamos hasta haber disuelto por completo el azúcar. También colocamos los trozos de piña que nos sobraron al cortar las rodajas, los cuales picaremos bien chiquitos.

Then add a cup of the pineapple juice left over from cooking the slices together with half a cup of water.
Mix until the sugar is completely dissolved. We also put the pineapple pieces left over from cutting the slices, which we will chop very small.

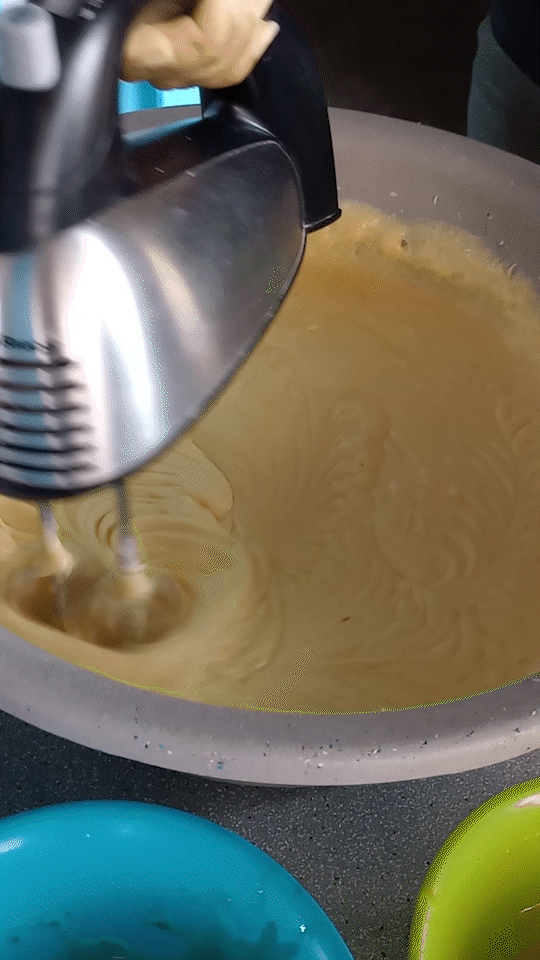
Vertemos de golpe la harina de trigo, mezclamos un poco antes de encender de nuevo la batidora, así evitamos que salga volando por toda la cocina, y luego batimos hasta integrar por completo. Recuerda no batir en exceso para no activar demasiado el gluten.

Pour in the wheat flour all at once, mix a little before turning on the mixer again to prevent it from flying all over the kitchen, and then beat until fully integrated. Remember not to beat too much so as not to activate the gluten too much.
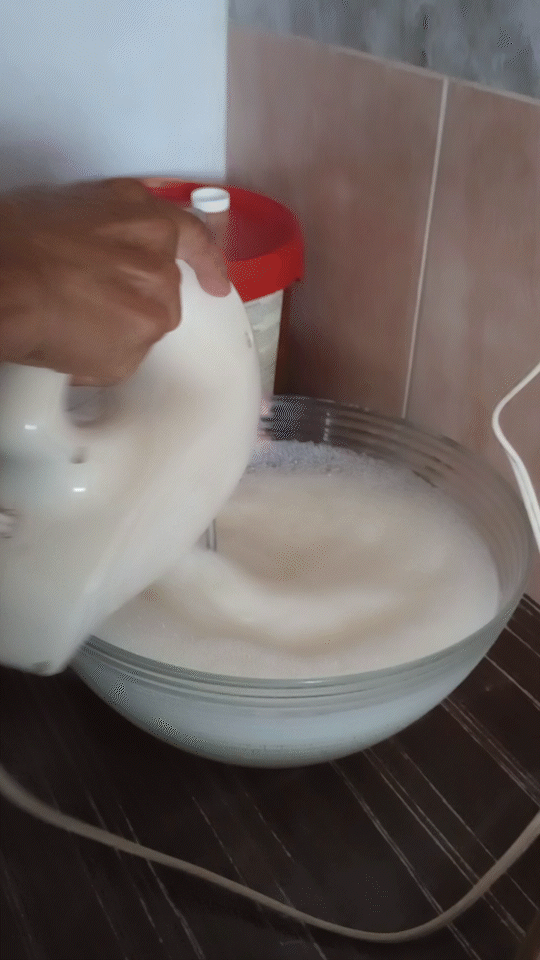
Finalmente agregamos las claras, las cuales batimos a punto de nieve y luego integraremos con movimientos envolventes. Ya es momento de llevar a cocción.
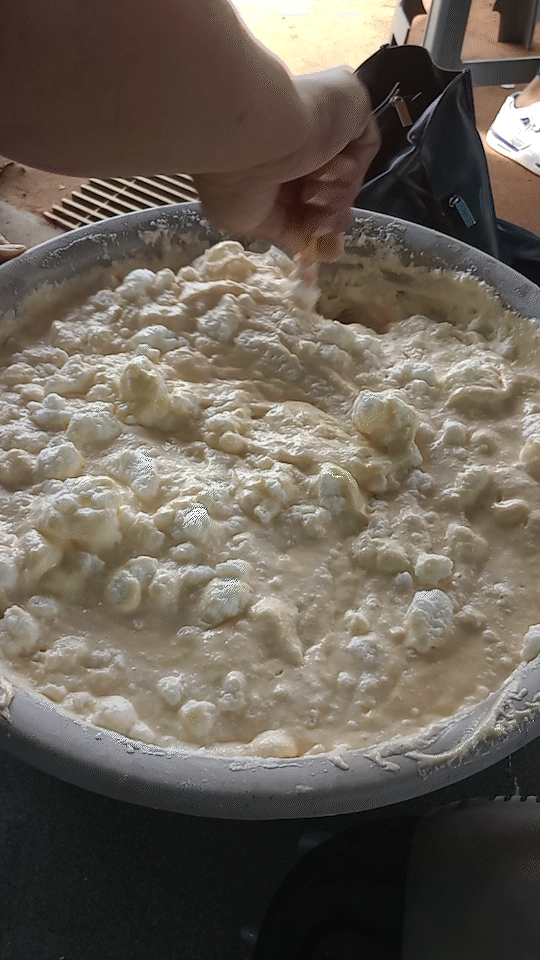
Finally add the egg whites, which we beat until stiff and then we will integrate with enveloping movements. Now it is time to bake.
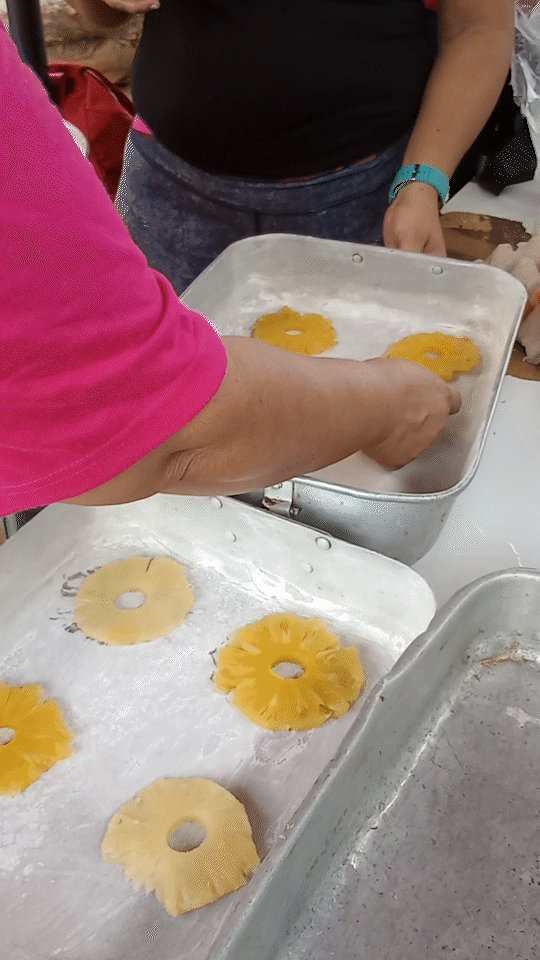
Engrasamos y espolvoreamos con harina en un molde. Colocamos las rodajas de piña que ya preparamos previamente y vertemos la mezcla del pastel, procurando no mover las rodajas de piña.
Llevamos al horno por unos 45 minutos o hasta que al introducir un palillo, este salga limpio.

Grease and sprinkle flour in a mold. Place the previously prepared pineapple slices and pour the cake mixture, being careful not to move the pineapple slices.
Bake in the oven for about 45 minutes or until a toothpick comes out clean.

Mientras vamos a preparar el caramelo. Agregamos el líquido restante de la cocción de la piña junto al azúcar y algunos trozos de piña, y llevamos a fuego bajo hasta formar el caramelo. Recuerda no batirlo tanto, pues se nos puede cristalizar el azúcar.
Una vez logrado el punto deseado apagamos el fuego, ya queda a tu gusto que tan espeso te gustaría este caramelo.

Meanwhile we are going to prepare the caramel. Add the remaining liquid from cooking the pineapple with the sugar and some pineapple chunks, and cook over low heat until the caramel is formed. Remember not to beat it too much, as the sugar may crystallize.
Once the desired point is reached, turn off the heat. It is up to you to decide how thick you would like this caramel.


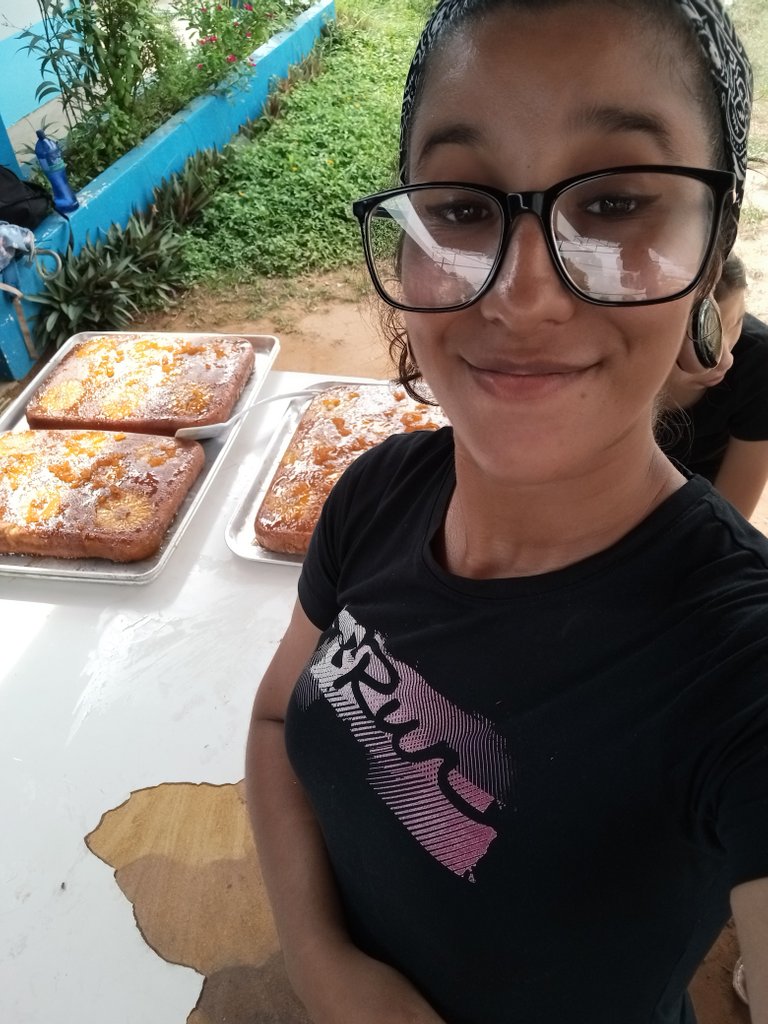
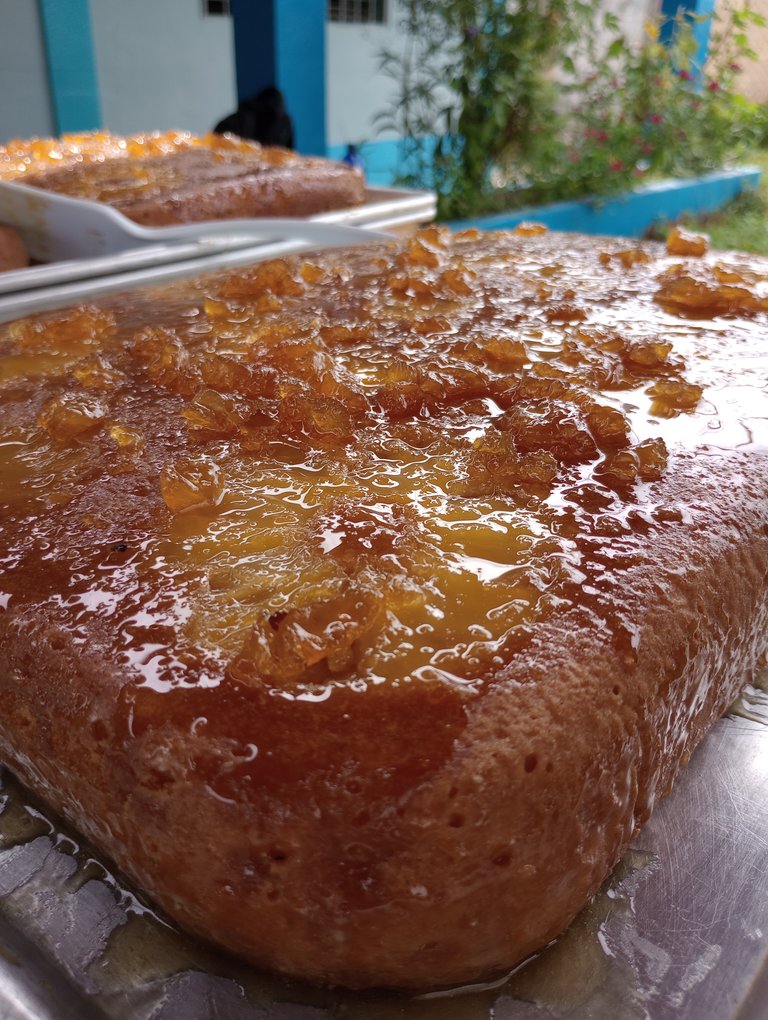
Desmoldamos el pastel y vamos a agregarle por encima el caramelo, también con ayuda de una brochita podemos ir colocándole en el borde del pastel.
Lo dejamos enfriar antes de cortar y si gustas puedes refrigerarlo pues sabe delicioso así.
Espero les haya gustado esta forma diferente de hacer el pastel de piña, con la cual nos aseguramos que este correctamente cocido el pastel y logramos un resultado bien esponjoso.

Unmold the cake and add the caramel on top, also with the help of a brush we can place it on the edge of the cake.
Let it cool before cutting and if you like you can refrigerate it because it tastes delicious this way.
I hope you liked this different way of making the pineapple cake, with which we ensure that the cake is properly cooked and we get a very fluffy result.


Espero haya sido de tu agrado y provecho.
Un gran abrazo a todos, y nos leemos en un próximo post
• Lakrearte en Hive •
Att: Estefania Garcia ♥

Imágenes y separadores de mi autoría
Portada editada en Canva
Fotografías tomadas con un Moto G31
Texto traducido en Google ImTranslate v.14.27
Thanks for your support ♥
Quede con la boca hecha agua por diuuuuuu!
Jajaja 😊 asi quedamos todos al verlas, lastima se acabaron tan rápido.
Holaaa andaba por la cocina 🤣 no sé pero yo quiero comer 🤪😁🤗
Wowwww que delicia. AMO AMO la torta de piña😍 y siempre me pasa que lo hago con el caramelo desde el principio y se me pega, pero tu receta está espectacular porque usan el caramelo luego y así evitar que se pegue. La próxima definitivamente la voy a preparar así, muchas gracias❤️
Para mi es un nuevo gusto adquirido y si queda espectacular asi, yo no la he hecho nunca pero ahora que lo mencionas surge mi temor de que me pase lo mismo, así que optaré por esta para hacerla. Me alegra que te haya servido la explicación y espero pronto puedas hacerla con exito. ♥
Congratulations, your post has been upvoted by @dsc-r2cornell, which is the curating account for @R2cornell's Discord Community.
Enhorabuena, su "post" ha sido "up-voted" por @dsc-r2cornell, que es la "cuenta curating" de la Comunidad de la Discordia de @R2cornell.
Thanks for your support ♥
Join the foodie fun! We've given you a FOODIE boost. Come check it out at @foodiesunite for the latest community updates. Spread your gastronomic delights on and claim your tokens.