Manualidades: Mini Mantel Tejido a Crochet || Crafts: Mini Crochet Tablecloth 🧶😊♥


¡Hola Chicos!
Hace poco tuve la oportunidad de comprar un nuevo escritorio para mi computadora y área de trabajo. Es súper importante mantener nuestros espacios lo más cómodo y armonioso posible, ya que si eres como yo que pasa horas y horas pegada frente al computador, debe ser un sitio agradable en el que provoque estar.
Amo los cactus y siempre que estoy en la calle y veo alguna especie que no tenemos en casa me robo un cachito y así hemos ido creciendo nuestra colección 😂.
Hace algún tiempo les mostré parte de los que tiene sembrados mi esposo, entre ellos estaba este lindo conjunto de cactus colocados en lo que antes era un portacosméticos.
Me pareció lindo para colocarlo en mi escritorio, así que lo secuestré y lo coloque sobre una pequeña repisa que está en la parte derecha.
Pero tener una planta sobre una superficie de madera no lo es ideal, porque así trate de un cactus, la humedad puede dañarla.
Se me ocurrió hacer un mantel tejido para colocar por debajo del mismo para absorber cualquier posible humedad y darle un lindo aspecto al espacio.
Y he acá este nuevo proyecto que quiero compartir con ustedes pues quedó muy bien y ha cumplido su función.
¿Quieres saber cómo tejerlo? Vamos con los materiales y el paso a paso.
Hello Guys!
I recently had the opportunity to purchase a new desk for my computer and workspace. It is super important to keep our spaces as comfortable and harmonious as possible, because if you are like me who spends hours and hours glued to the computer, it must be a pleasant place to be.
I love cacti and whenever I'm on the street and I see some species that we don't have at home I steal a little bit and that's how we have grown our collection 😂.
Some time ago I showed you some of the ones my husband has planted, among them was this beautiful set of cacti placed in what used to be a cosmetic holder.
I found it nice to put it on my desk, so I kidnapped it and put it on a little ledge that is on the right hand side.
But having a plant on a wooden surface is not ideal, because even if you are dealing with a cactus, the humidity can damage it.
It occurred to me to make a woven tablecloth to place underneath to absorb any possible moisture and give the space a nice look.
And here is this new project that I want to share with you because it turned out very well and has fulfilled its function.
Do you want to know how to knit it? Let's go with the materials and the step by step.
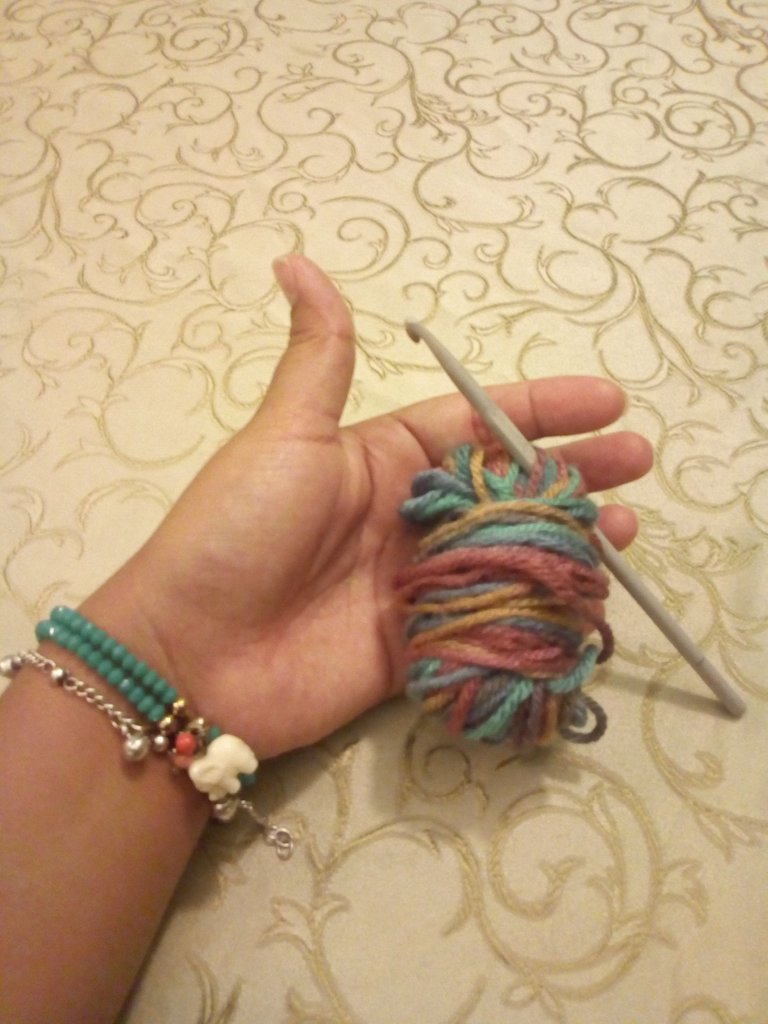
Necesitarás:
- Estambre del color de tu elección. Yo he utilizado uno matizado en tonos color tierra y uno color crema.
- Aguja de crochet. En este caso la mía es de 5 mm de grosor, acorde al grosor del hilo.
- Tijeras
You will need to:
- Stamen of the color of your choice. I have used a nuanced one in earth tones and a cream color.
- Crochet hook. In this case, mine is 5 mm thick, according to the thickness of the thread.
- Pair of scissors
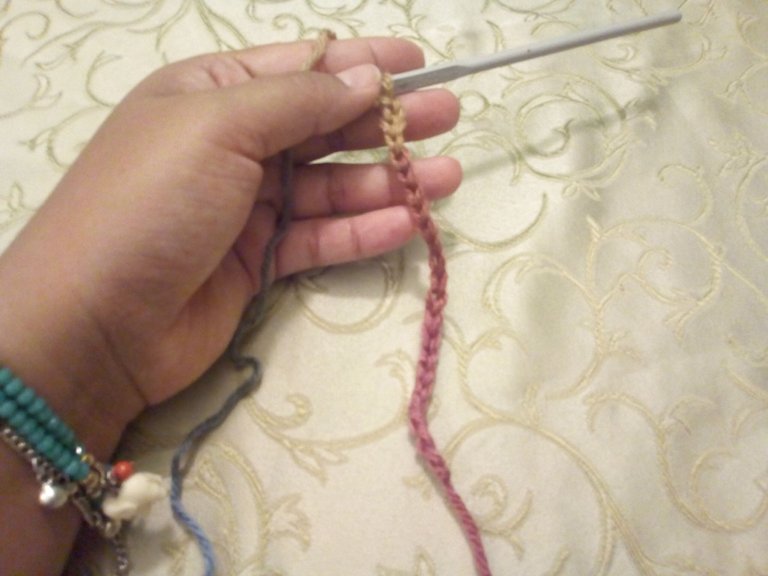
Lo primero que debemos hacer el tejer una cadeneta de base, el largo de la misma determinará que tan ancho será nuestro mantel.
Yo he medido el matero que iba a colocar sobre él y he dejado algunos centímetros de excedente para que no quede justo.
Fueron unas 20 cadenetas en total + 2 cadenetas para darle altura a la vuelta.
The first thing we must do is knit a base chain, the length of it will determine how wide our tablecloth will be.
I have measured the pot that I was going to place on it and I have left a few inches of excess so that it is not just.
There were about 20 chains in total + 2 chains to give height to the turn.
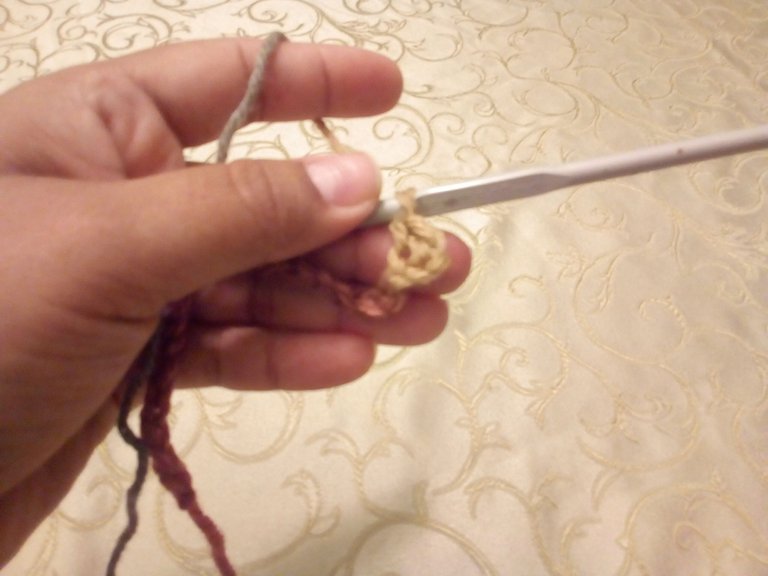
Comenzamos, en este caso en la tercera cadeneta únicamente tejiendo puntos bajos. Considero que queda un tejido mucho más tupido y más acorde a lo que queremos. En total por cada vuelta se tejen dos cadenetas y 20 puntos bajos.
Se sigue así hasta lograr la altura deseada.
We start, in this case in the third chain only by single crocheting. I consider that there is a much tighter fabric left and more in line with what we want. In total for each round two chains and 20 single crochets are worked.
This is continued until the desired height is achieved.
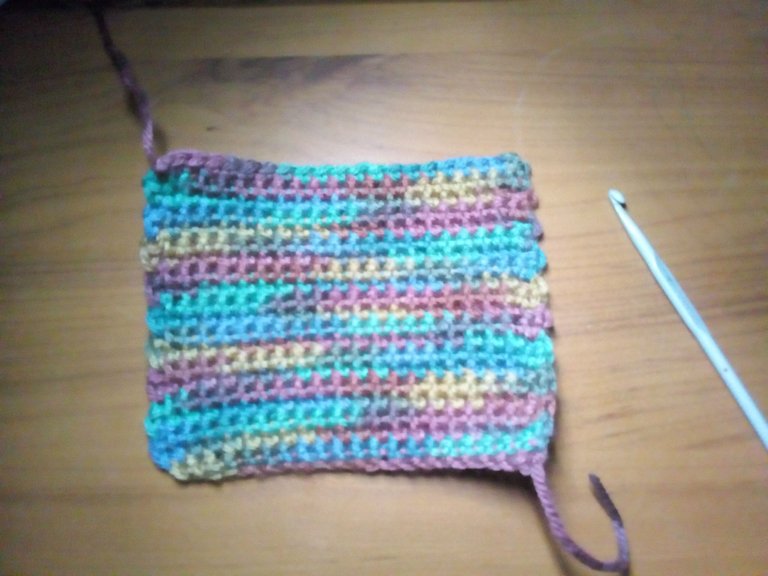
Así queda el tejido listo para decorar con los flecos, para ello debemos cortar los sobrantes en el inicio y el final.
Se teje super rápido y es un proyecto ideal para principiantes en el tejido.
So the fabric is ready to decorate with the fringes, for this we must cut the leftovers at the beginning and the end.
It weaves super fast and is an ideal project for beginners in knitting.
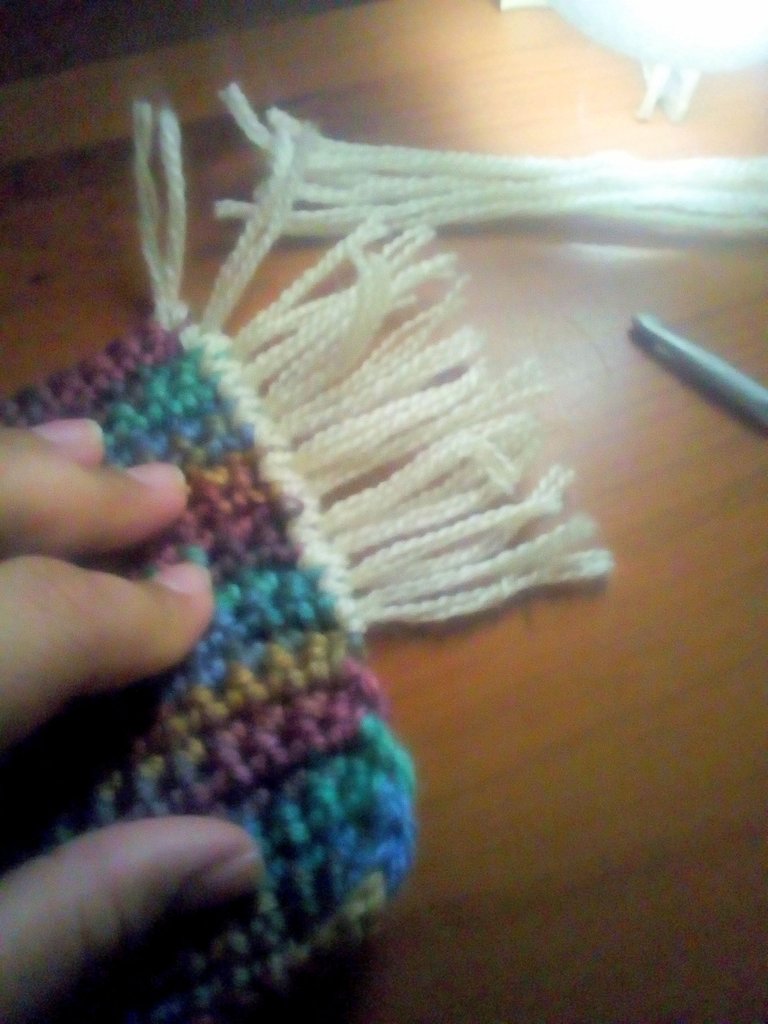
Para los flecos he cortado pequeñas tiras de estambre color crema y las he ido amarrando en todo el borde una por una tratando de no dejar ningún espacio.
Vamos a hacer este proceso en ambos lados del mantel. Luego puedes cepillar un poco estos hilos para que tenga un aspecto más peludo y suelto, y así evitamos que puedan desatarse con el tiempo.
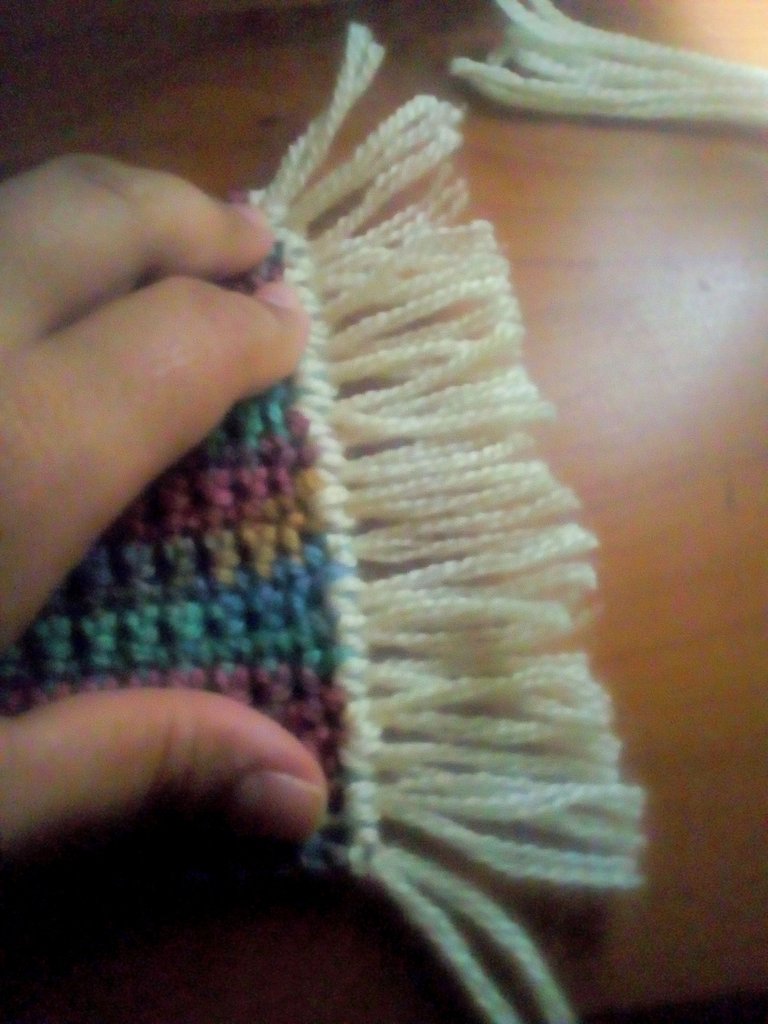
For the fringes I have cut small strips of cream colored yarn and I have been tying them around the edge one by one trying not to leave any space.
We are going to do this process on both sides of the tablecloth. Then you can brush these strands a little to make it look hairier and looser, and thus prevent them from unraveling over time.
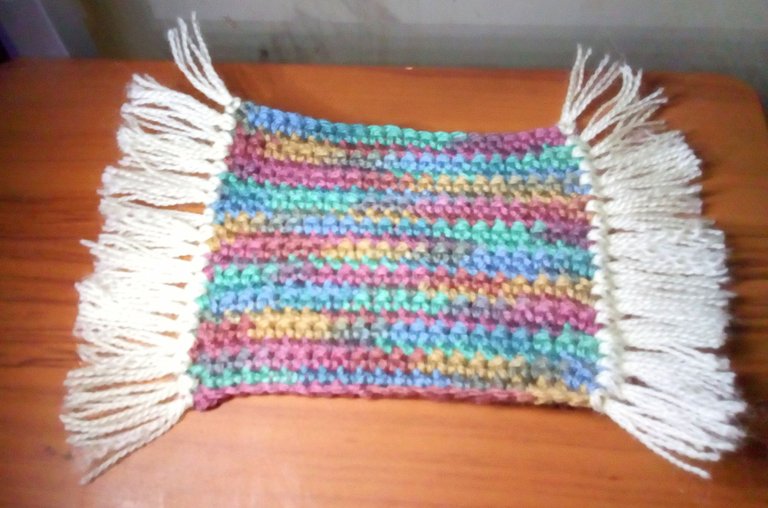
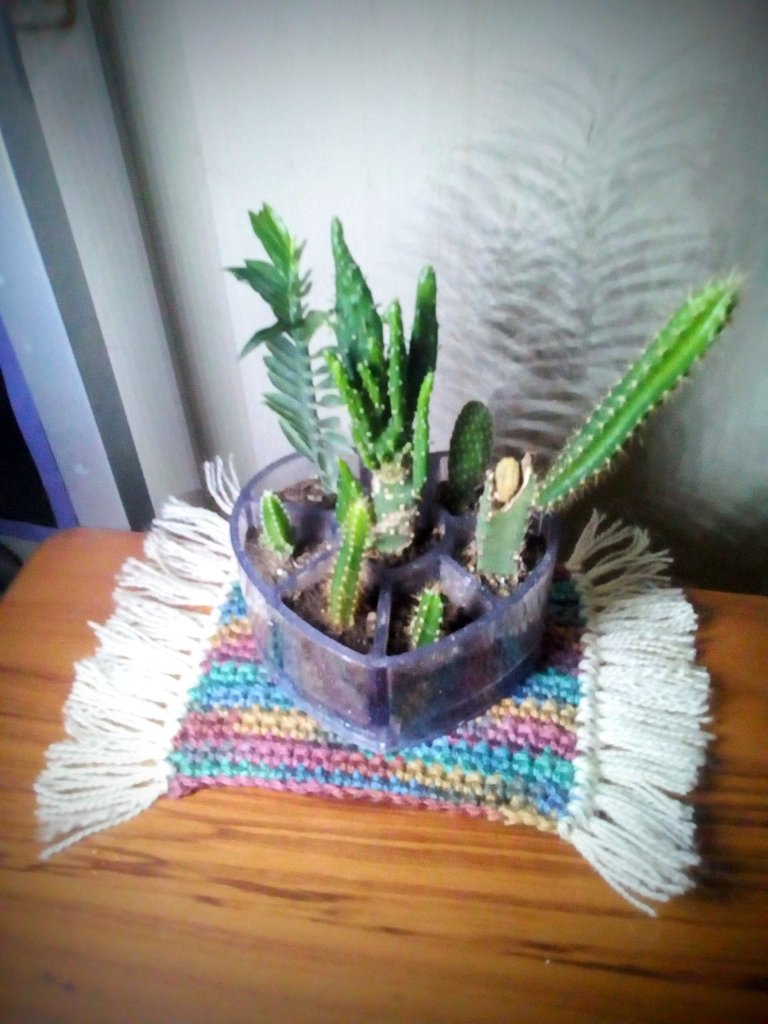
Así queda el mantel listo para usar, les muestro a continuación como luce en su nuevo espacio. 😊♥
This is how the tablecloth is ready to use, I show you below how it looks in its new space. 😊 ♥


Espero haya sido de tu agrado y provecho.
Un gran abrazo a todos, y nos leemos en un próximo post
• Lakrearte en Hive •
Att: Estefania Garcia ♥

Imágenes y separadores de mi autoría
Portada editada en Canva
Electronic-terrorism, voice to skull and neuro monitoring on Hive and Steem. You can ignore this, but your going to wish you didnt soon. This is happening whether you believe it or not. https://ecency.com/fyrstikken/@fairandbalanced/i-am-the-only-motherfucker-on-the-internet-pointing-to-a-direct-source-for-voice-to-skull-electronic-terrorism
Lovely
Thanks 😊
You’re welcome dear😊