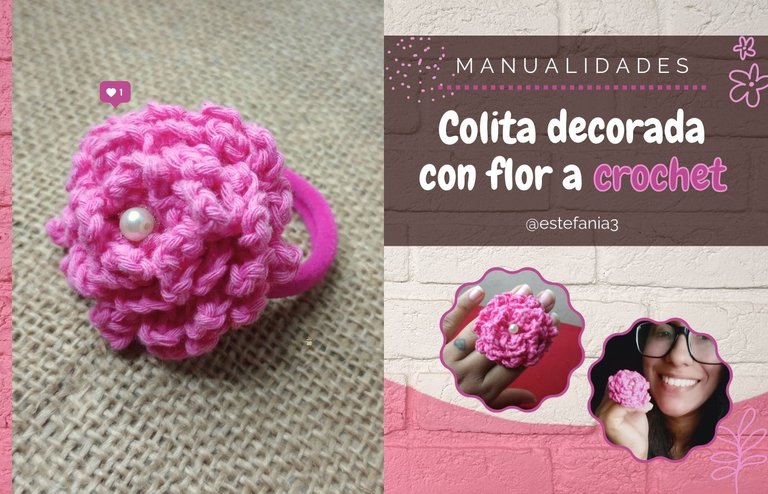
Manualidades: Colita decorada con flor tejida a Crochet || Crafts: Crochet decorated ponytail with flowers 🌸

¡Hola Chicos!
Tengo muuuchos días aplazando el retomar mis manualidades pero ayer sentí que era el día. No tenía muchas ganas de comenzar pero una vez que lo hice me llené de inspiración y sobre todo, lo disfruté muchisimo.
Quise comenzar con un proyecto pequeño para no forzarme y así ver resultados rápidos. Así que lo primero que tejí para retomar esta nueva temporada de tejido fue una colita decorada con una flor de crochet.
Hace un tiempo les conté que todas mis manualidades y bisutería las tenía en una tienda cercana a mi casa con la cual llegué a un acuerdo para que repartiéramos ganancias de las ventas en porcentajes.
Creo que ha sido una buena decisión porque habían cosas que tenían mucho tiempo acá en casa y que no estaban generándome ningún tipo de ganancias.
En la tienda se venden lento pero seguro y he podido solventar algunos gastos con estas ganancias.
Pensé en tejer cositas así, como colitas, más cintas para el cabello para niñas y llaveros. Cosas que a la gente le gustan y que son lindos detalles para regalar.
Volviendo al proyecto de hoy, esta flor se teje súper rápido y lo bueno es que dependiendo del grosor del hilo que utilicemos podremos lograr hacerlas más grandes o más chicas si así lo queremos.
Pero mejor no hablamos más y vayamos al paso a paso para que puedan tejerla. ♥🌸
Hello Guys!
I've been putting off for so many days to resume my crafting but yesterday felt like it was the day. I wasn't really looking forward to start but once I did I was filled with inspiration and most of all, I really enjoyed it.
I wanted to start with a small project so as not to force myself and see quick results. So the first thing I knitted to start this new knitting season was a little tail decorated with a crochet flower.
Some time ago I told you that I had all my crafts and costume jewelry in a store near my house with which I reached an agreement to share the profits of the sales in percentages.
I think it has been a good decision because there were things that had been here at home for a long time and that were not generating me any kind of profit.
In the store they are selling slowly but surely and I have been able to cover some expenses with these profits.
I thought about knitting little things like this, like pigtails, more hair ribbons for girls and key chains. Things that people like and that make nice gifts.
Going back to today's project, this flower is super fast to knit and the good thing is that depending on the thickness of the yarn we use we can make them bigger or smaller if we want to.
But we better not talk anymore and let's go to the step by step so you can knit it. ♥🌸
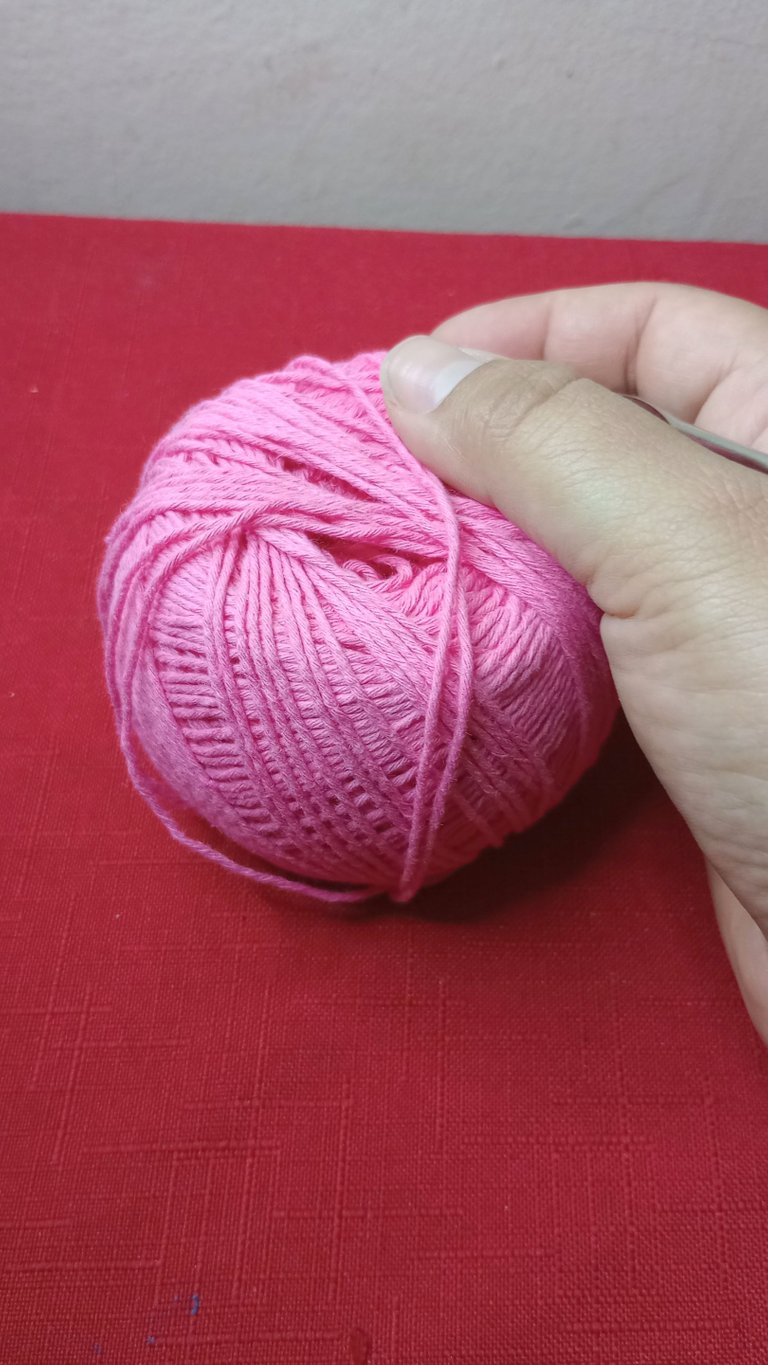
El hilo que escogí para esta manualidad es un estambre de color rosa de 4 hebras. Para comenzar tejí 50 cadenas tratando de que quedaran bien parejas todas.
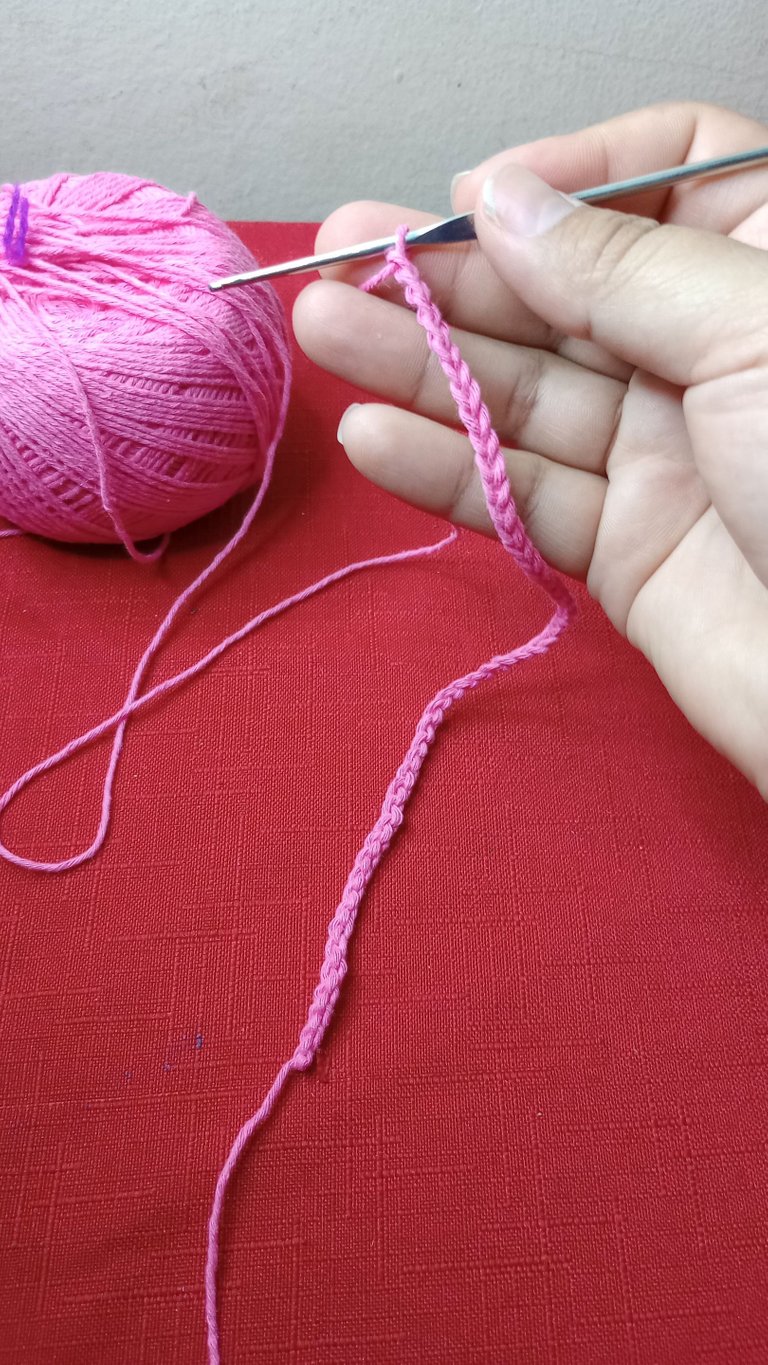
The yarn I chose for this craft is a 4-strand pink yarn. To start I knitted 50 strands trying to make them all even.
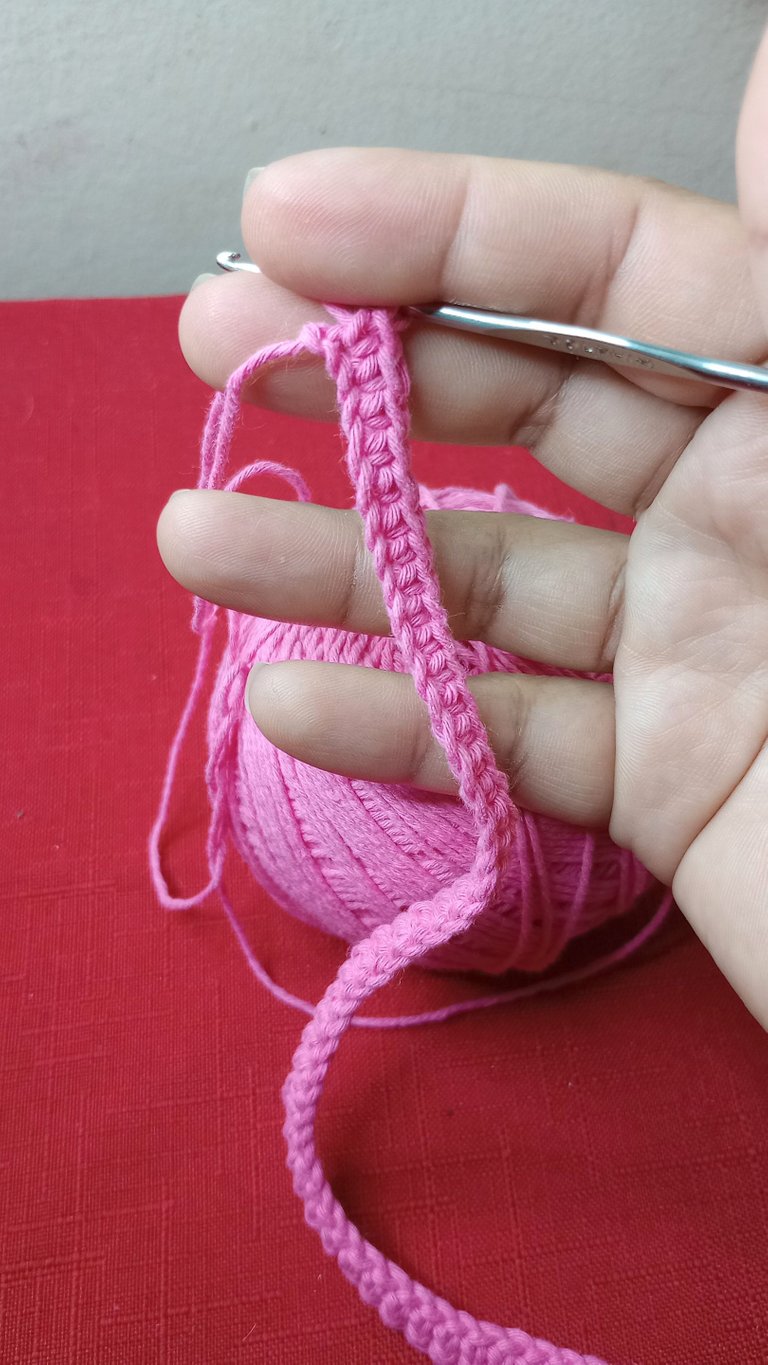
Luego sobre estas cadenas tejí 50 puntos bajos. Con esto tenemos lista la base de nuestra flor. Ahora es momento de hacer los pétalos para que se vea bien cargada.
Then over these chains I knit 50 single crochet stitches. With this we have the base of our flower ready. Now it's time to make the petals so that it looks very ornate.
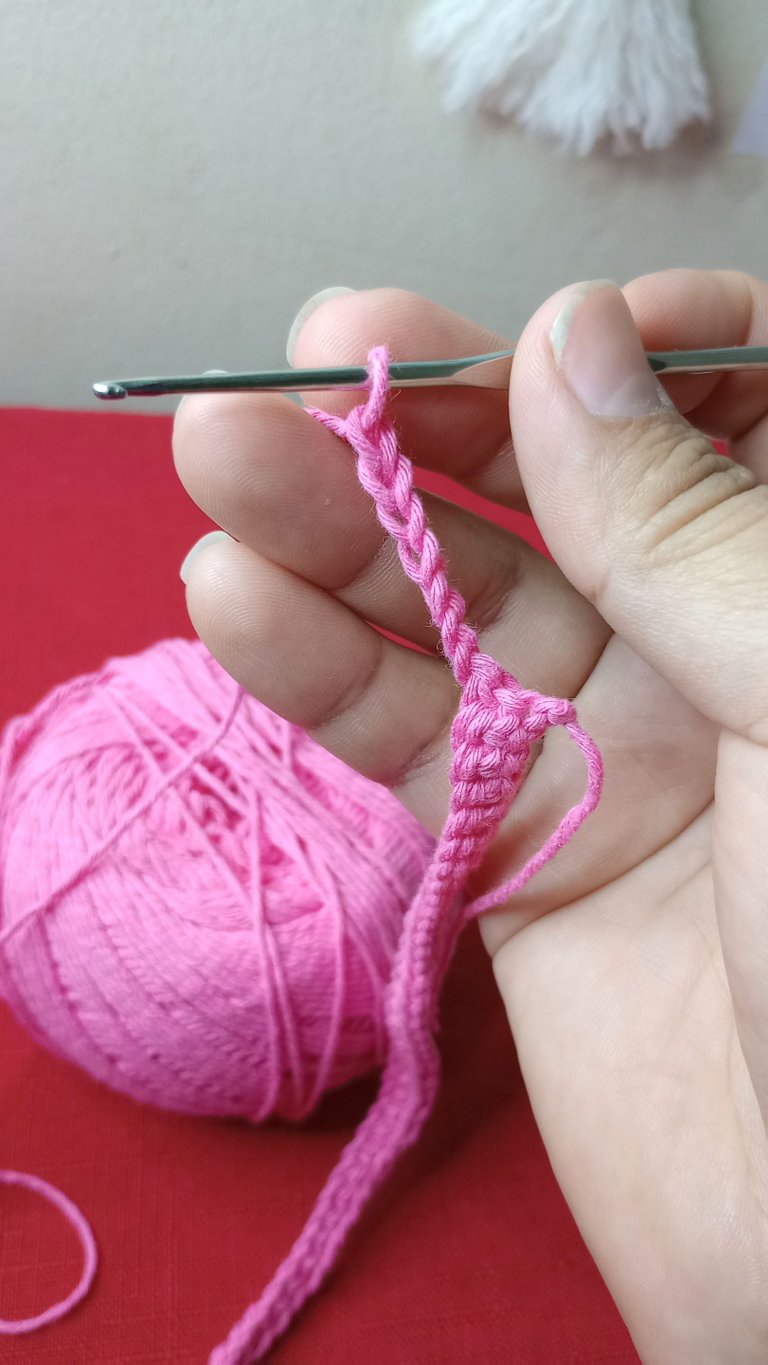
Ahora para comenzar con los pétalos vamos a tejer 7 cadenetas, luego en el segundo punto de la vuelta tejeremos un punto deslizado.
Seguido haremos nuevamente 7 cadenas y en el siguiente un punto deslizado.
Así iremos repitiendo esto hasta llegar al final de la vuelta.
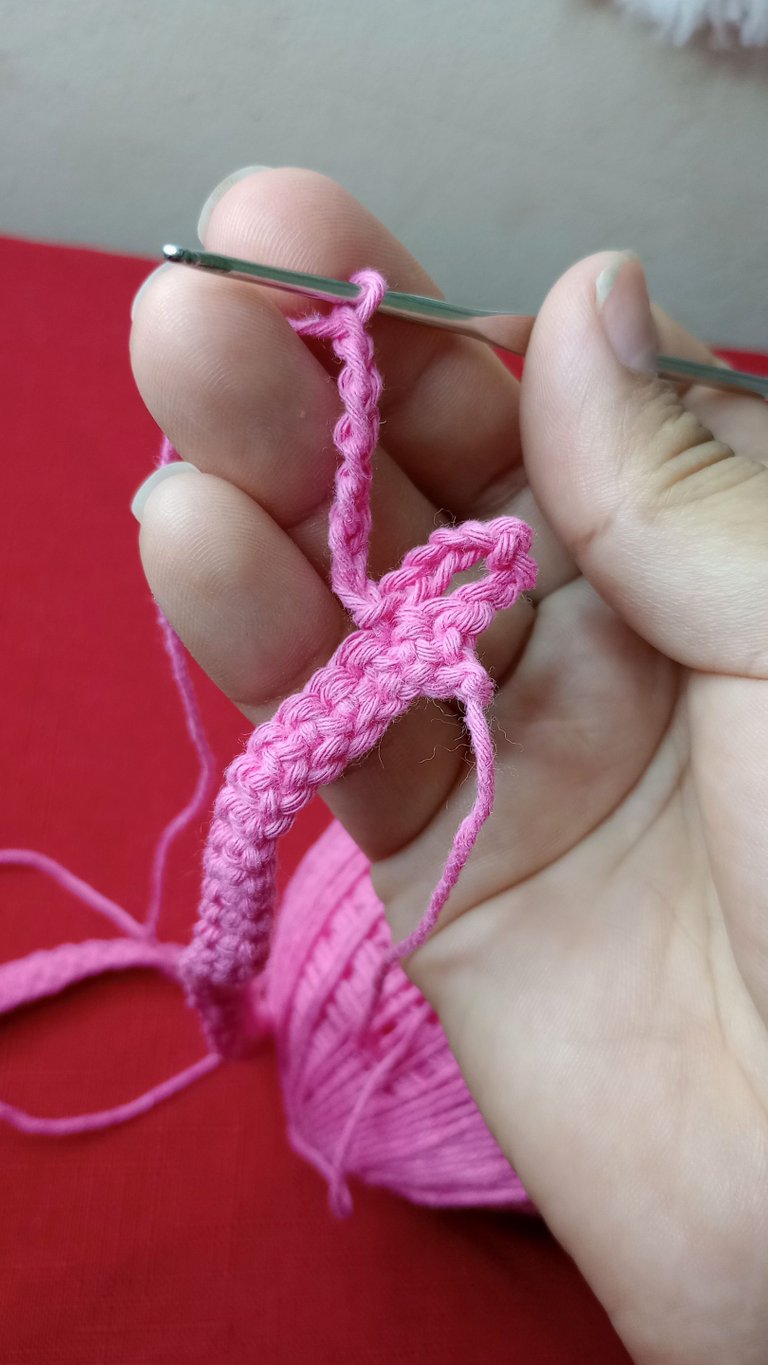
Now to start with the petals we will knit 7 chains, then in the second stitch of the row we will knit a slip stitch.
Then we will knit 7 chains again and in the next chain we will knit a slip stitch.
We will repeat this until we reach the end of the row.
.
.
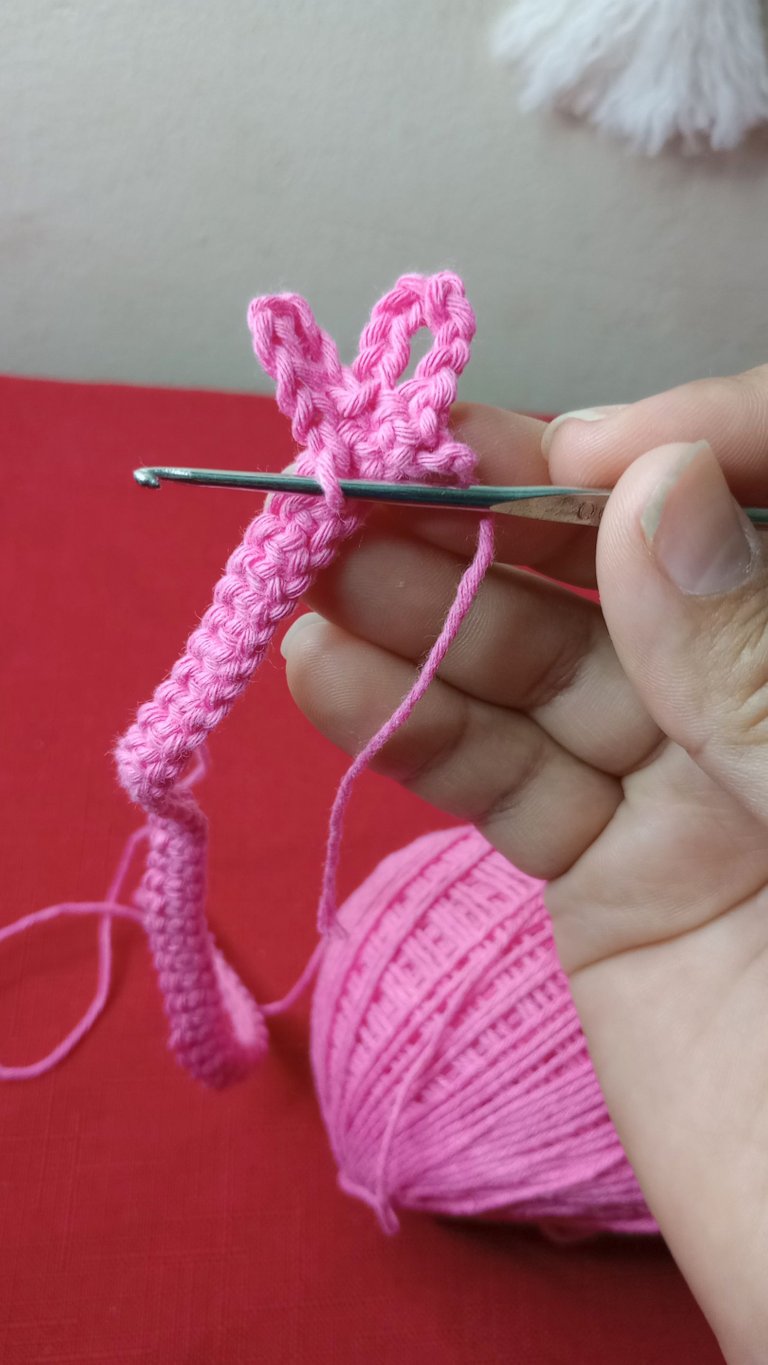
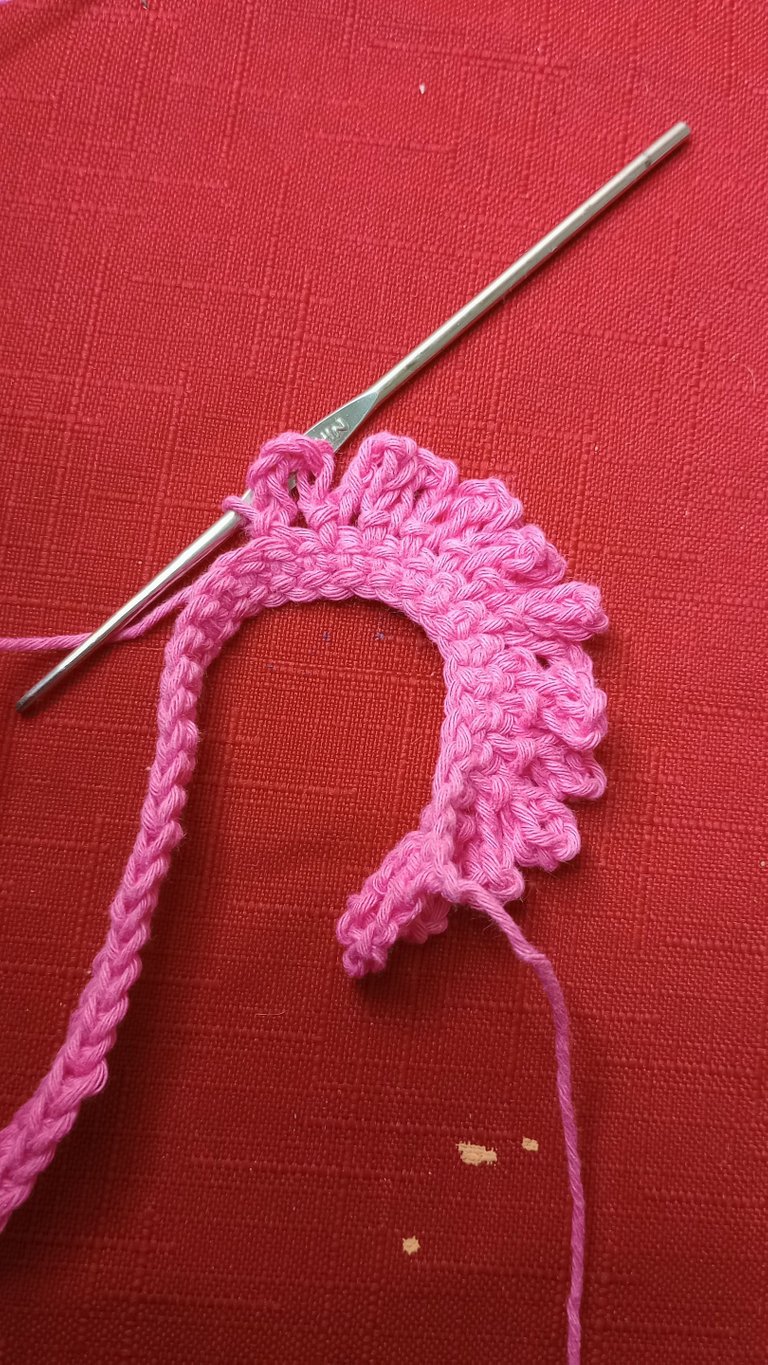
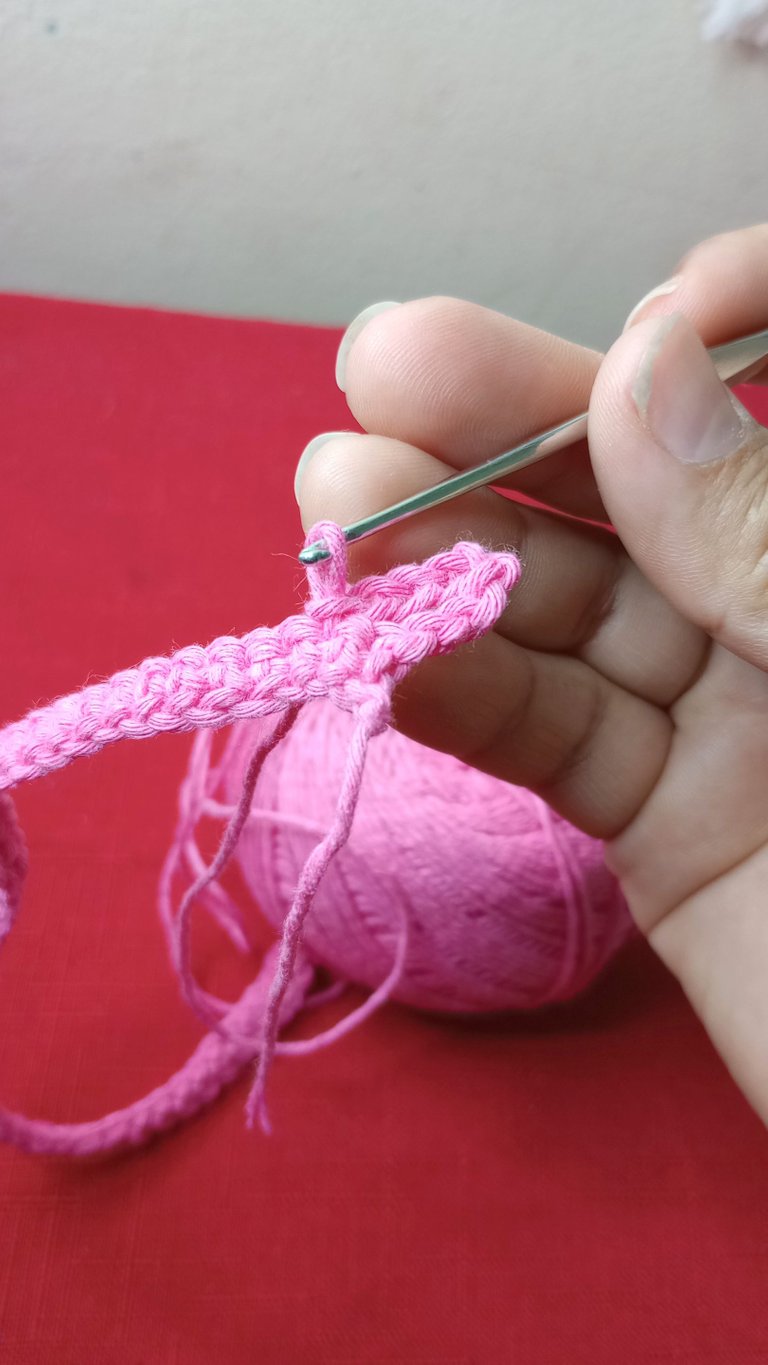
Puede que tu tejido se vaya enrollando a medida que avanzas en la vuelta, pero no te preocupes si esto pasa, el resultado será el mismo.
Your knitting may curl as you go around, but don't worry if this happens, the result will be the same.
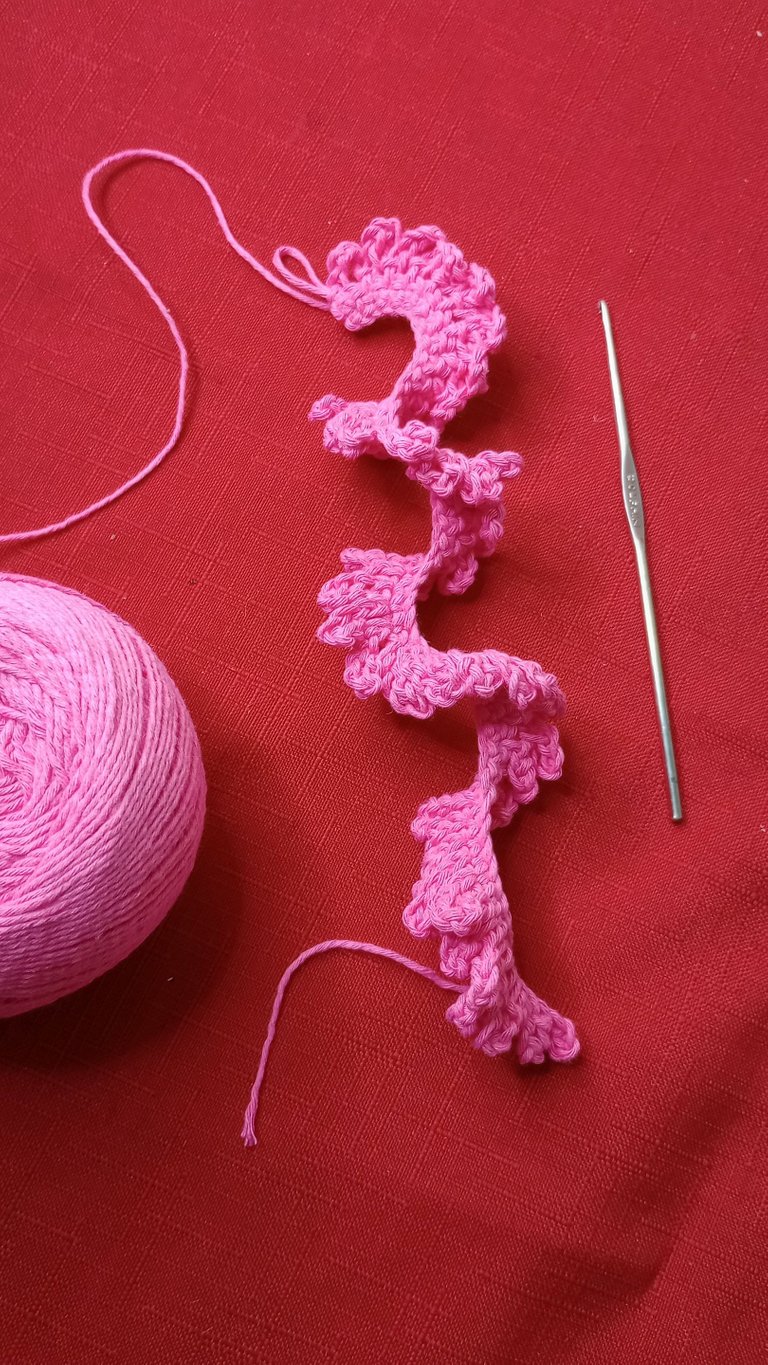
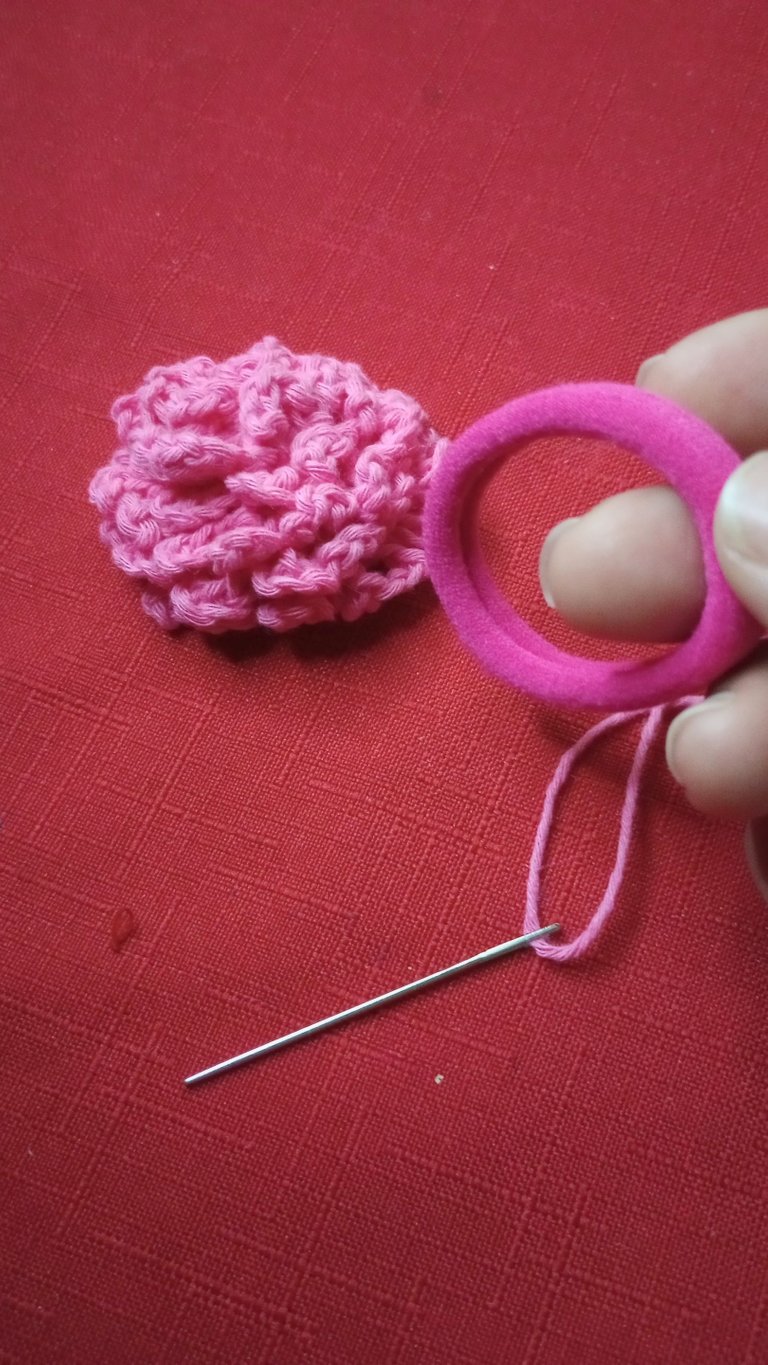
Al finalizar cortaremos el hilo con un excedente de unos 40 centímetros y aseguramos la vuelta sacando el hilo del aro final.
Luego en el extremo del hilo introduciremos una aguja punta roma o aguja de bordar.
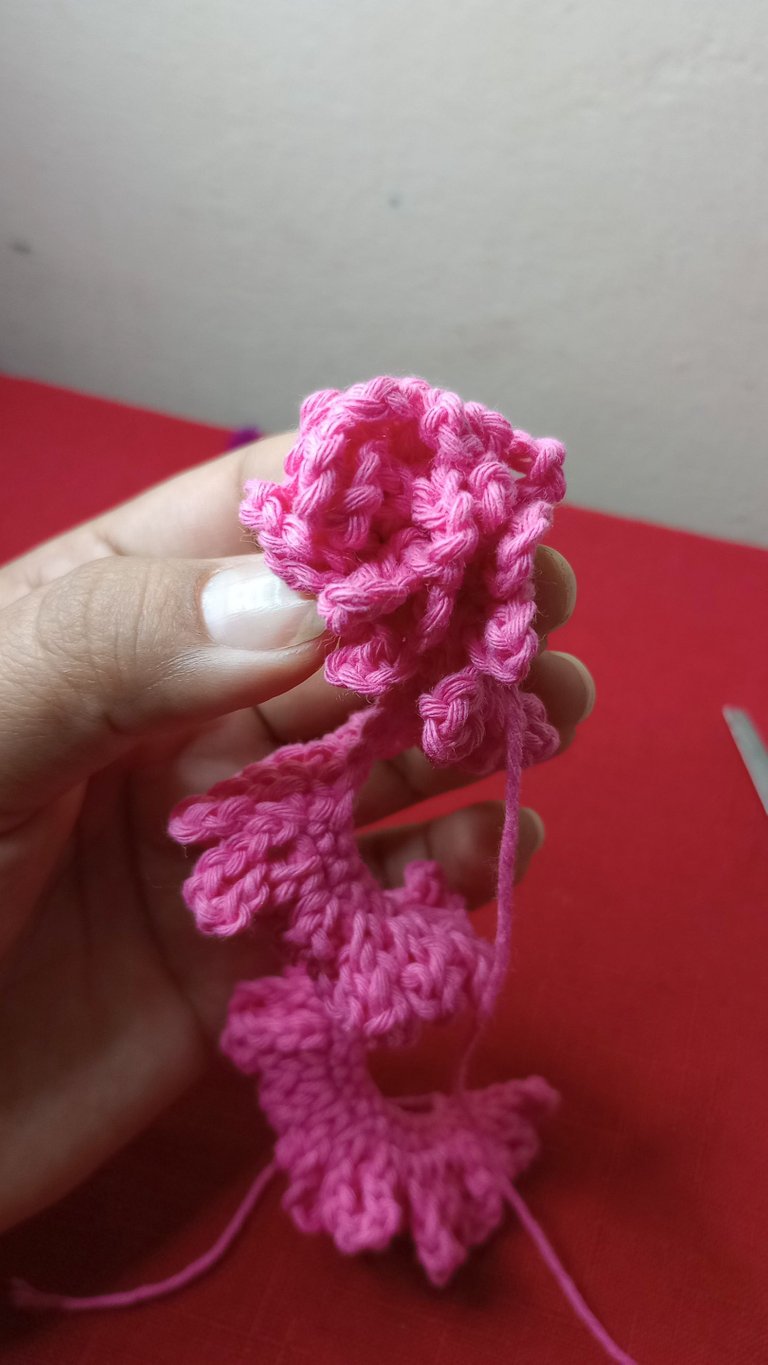
Vamos a ir enrollando nuestro tejido para irle dando forma a la flor, y a medida que vayamos avanzando hacemos varias puntadas para asegurar las vueltas. Así haremos hasta haberlo enrollado todo.
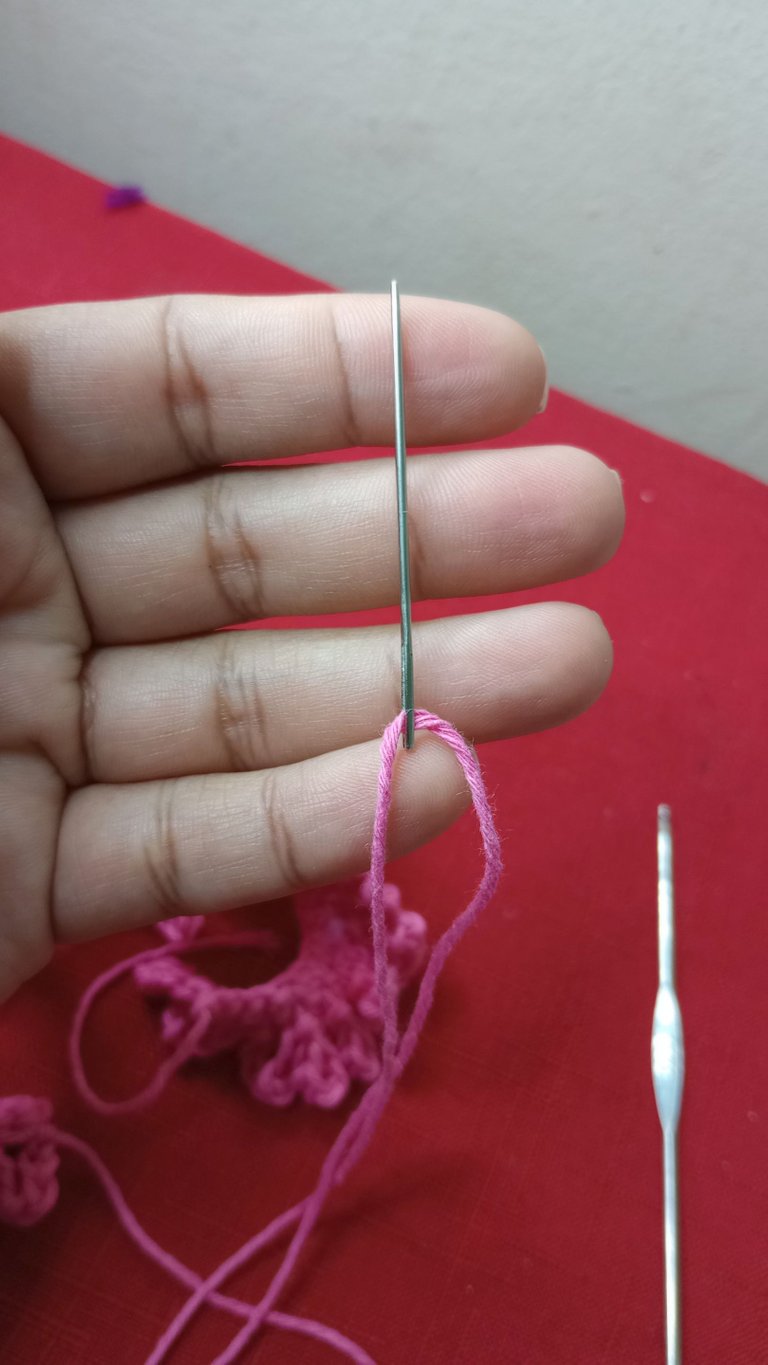
At the end we will cut the thread with an excess of about 40 centimeters and secure the loop by pulling the thread out of the end ring.
Then at the end of the thread we will introduce a blunt needle or embroidery needle.
We are going to roll up our fabric to give shape to the flower, and as we go forward we make several stitches to secure the laps. We will do this until we have rolled it all up.
.
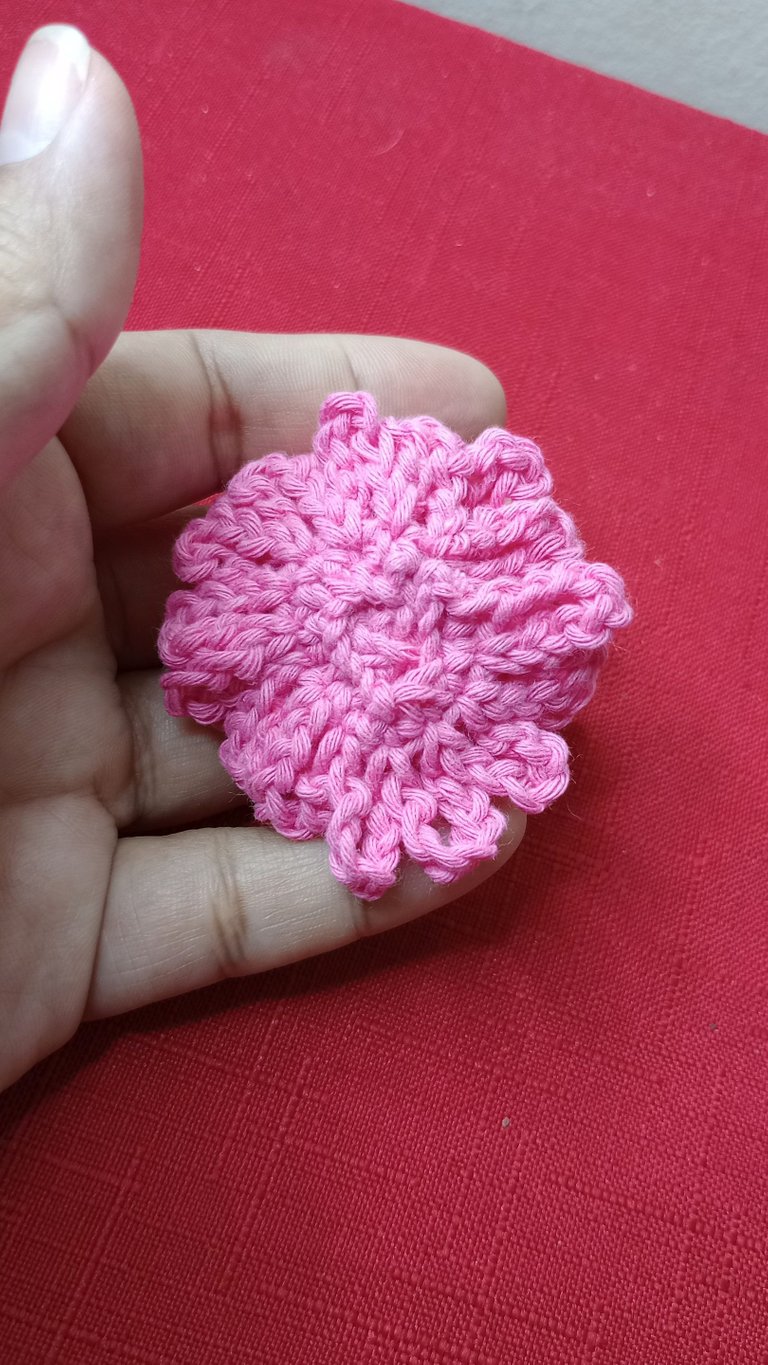
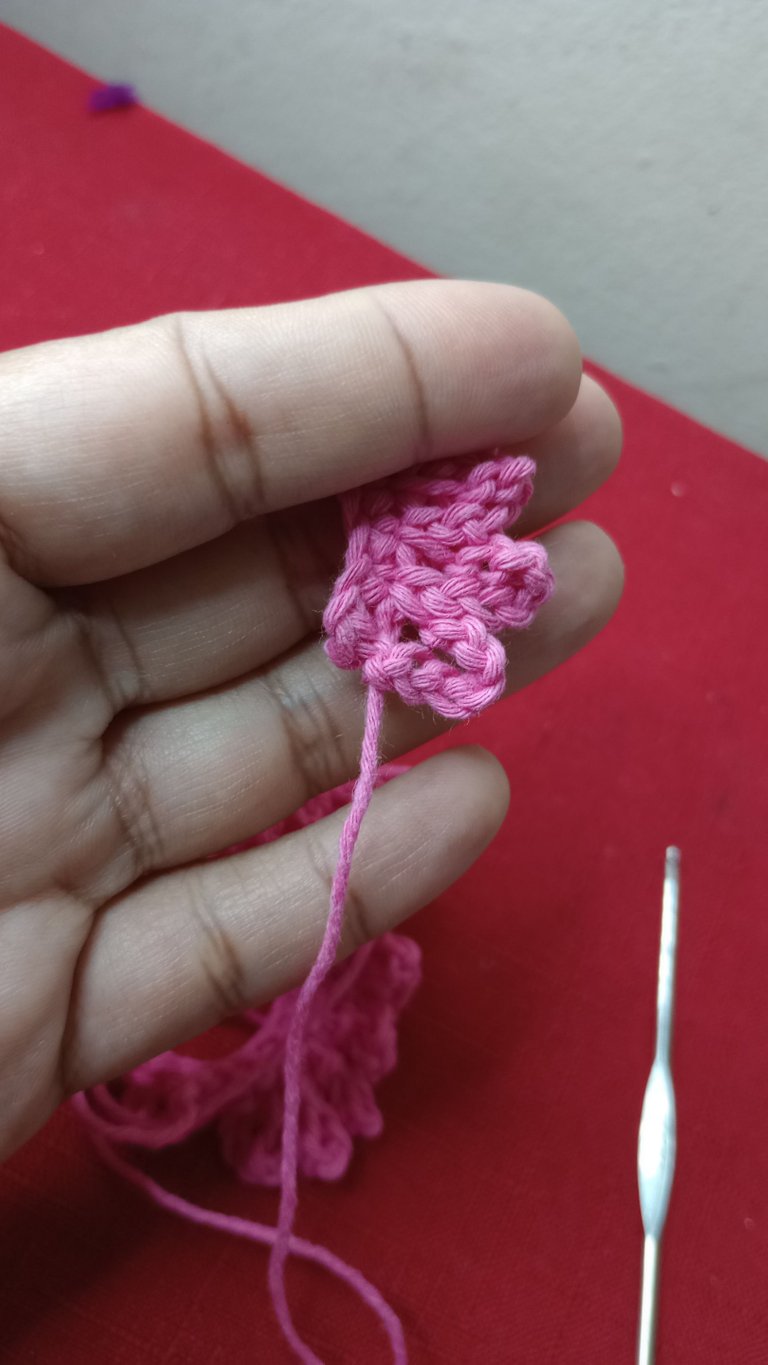
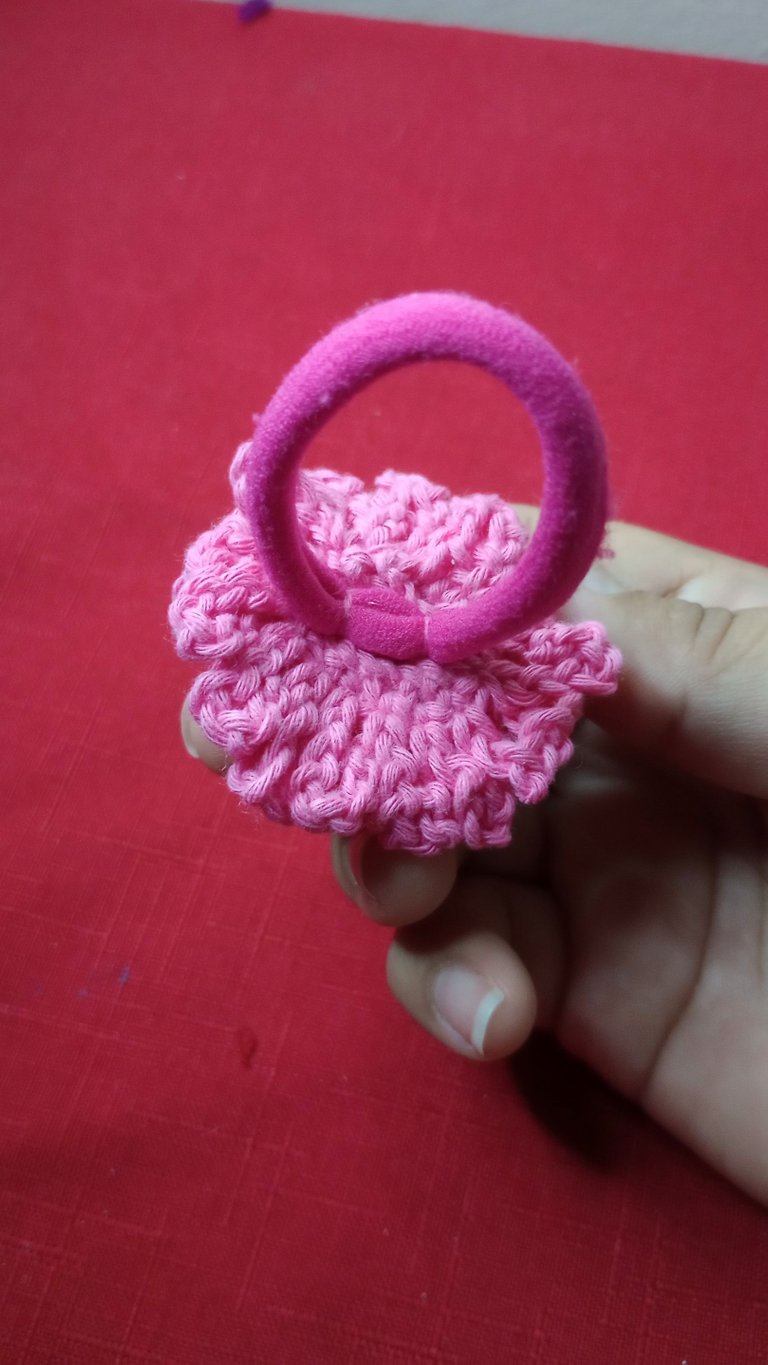
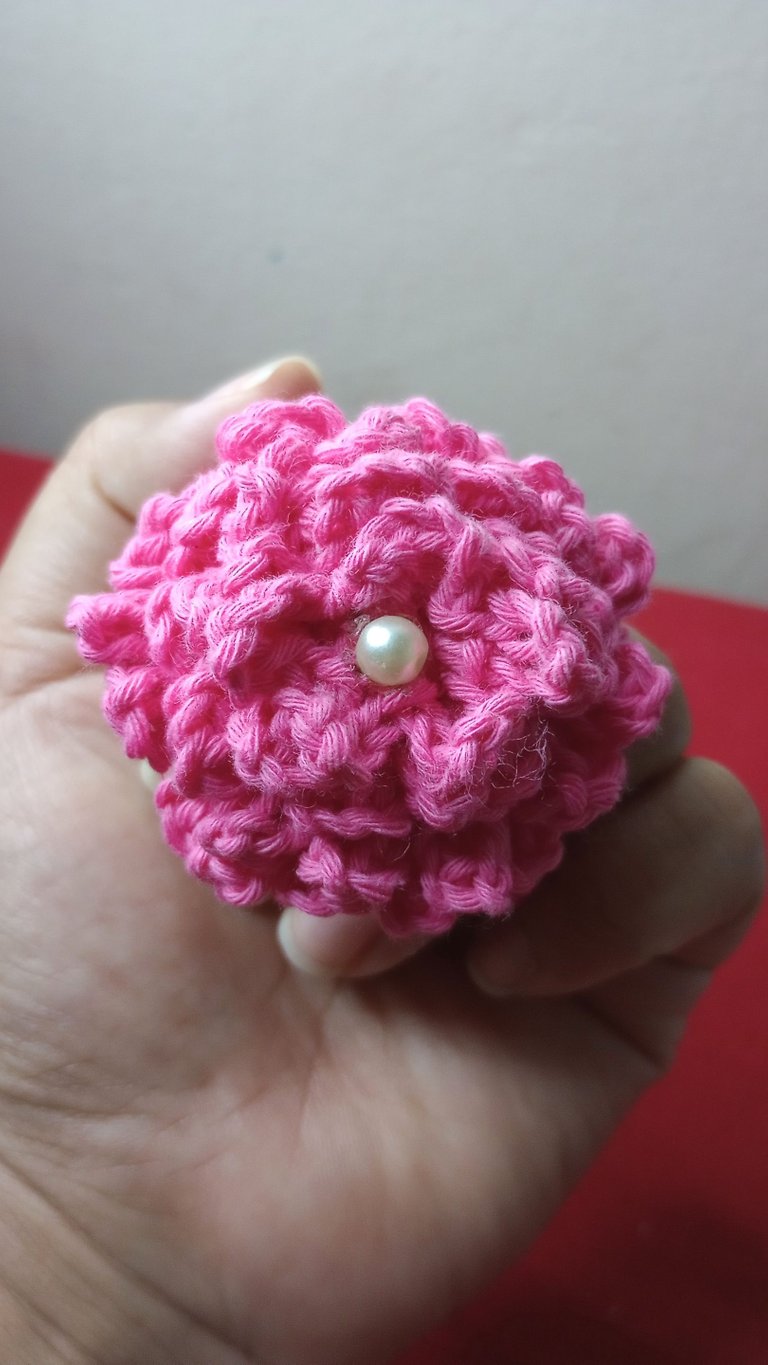
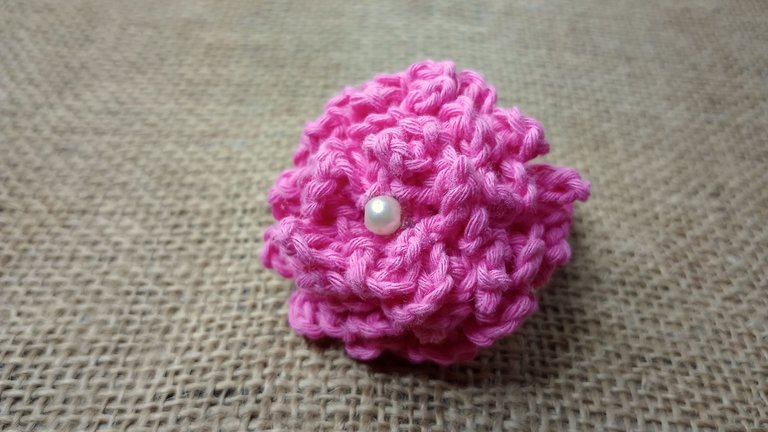
Nos debe quedar algo así. Ya tiene forma de flor ♥. Ahora vamos a unirla a la colita para el cabello.
It should look something like this. It already has the shape of a flower ♥. Now we are going to attach it to the ponytail.
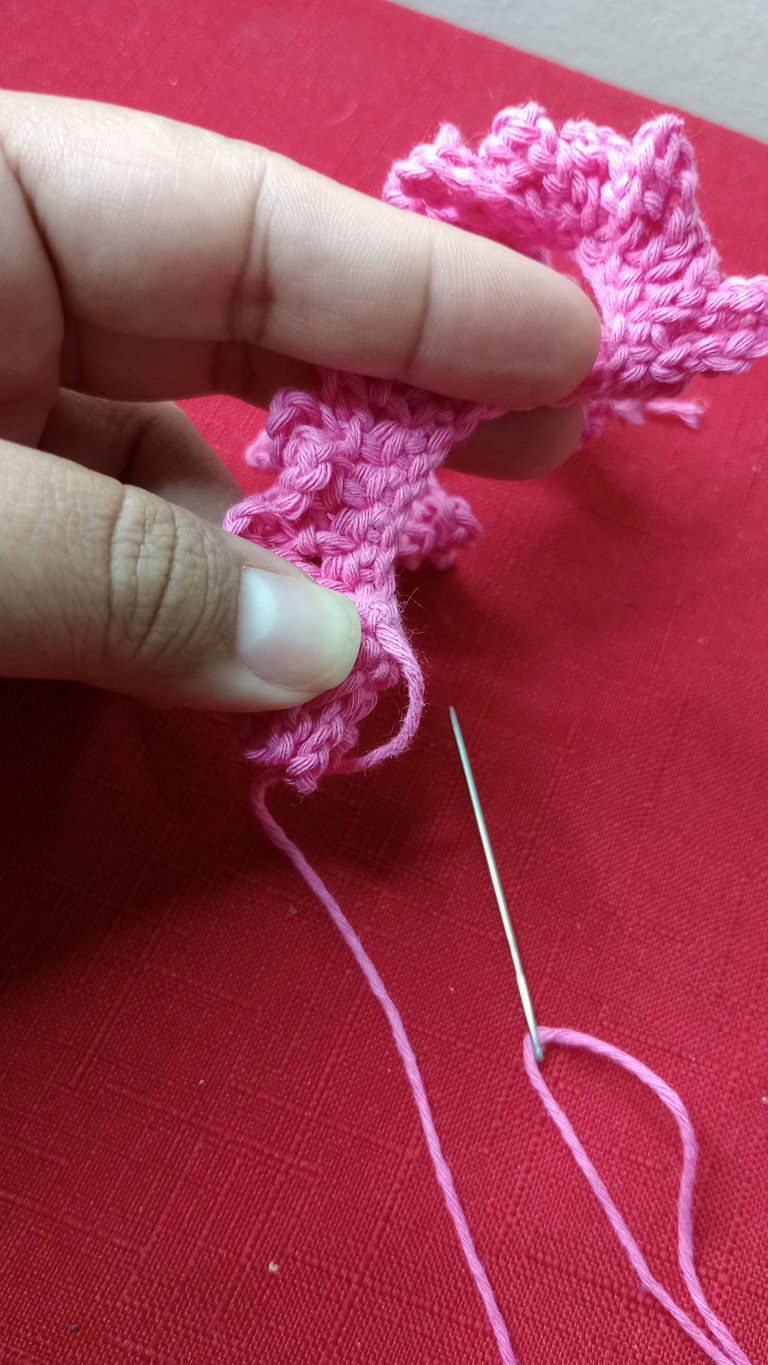
Para hacer esto utilizaremos nuevamente la aguja de bordar, hacemos un nudo en uno de los extremos y pasamos por la parte superior de la flor, procurando no tejer ningún pétalo.
introducimos la colita para asegurarla y volvemos a introducir la aguja dentro de la flor. Repetimos el proceso y para finalizar hacemos otro nudo bien pegadito a la flor y cortamos el excedente de hilo.
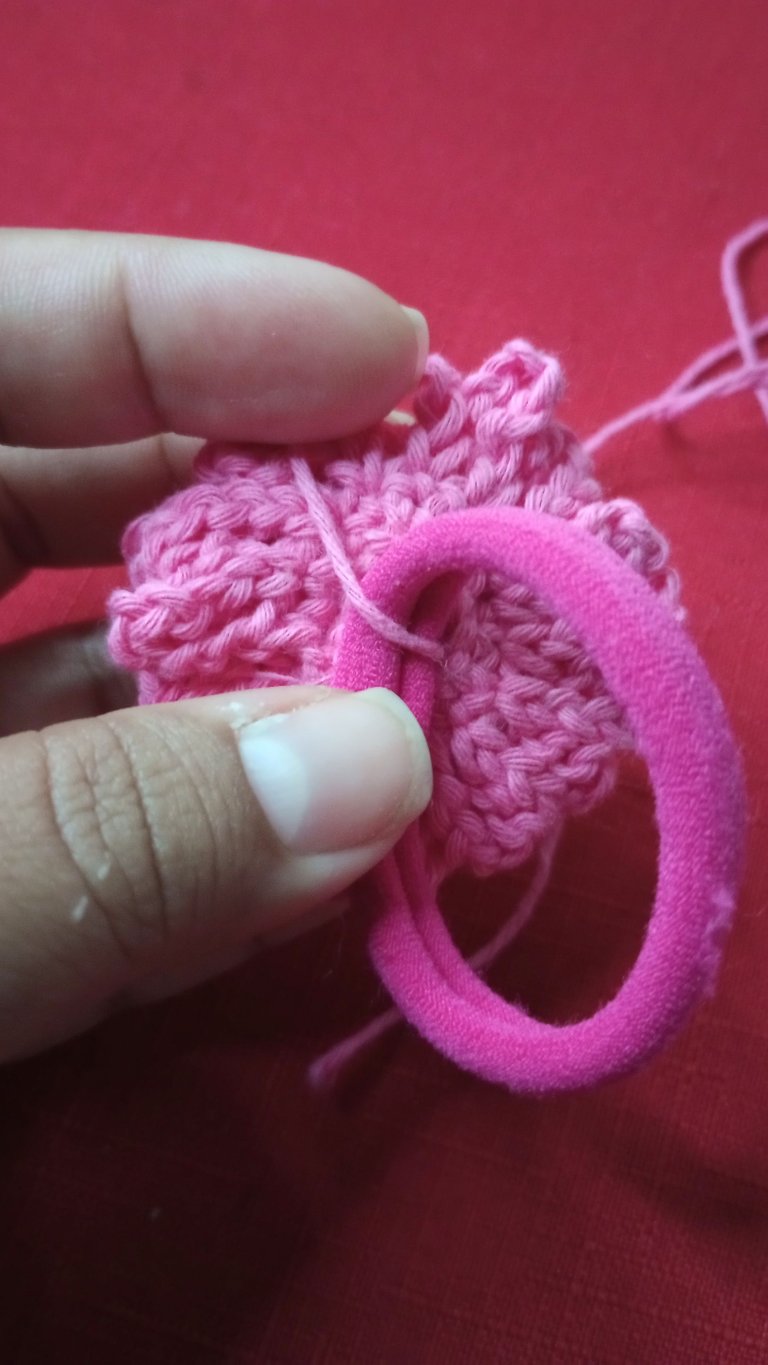
To do this we will use again the embroidery needle, we make a knot in one of the ends and pass through the top of the flower, trying not to weave any petal.
We introduce the tail to secure it and reinsert the needle into the flower. We repeat the process and to finish we tie another knot tightly to the flower and cut the excess thread.
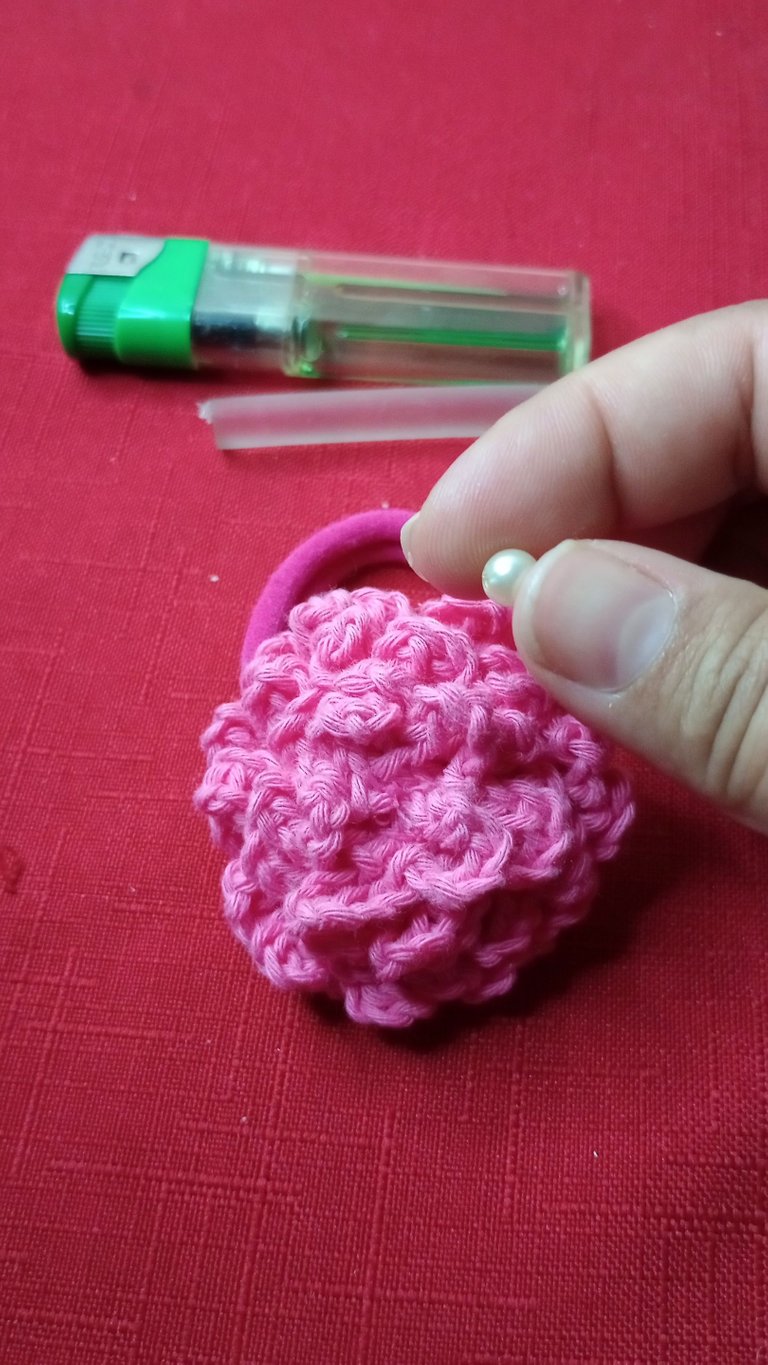
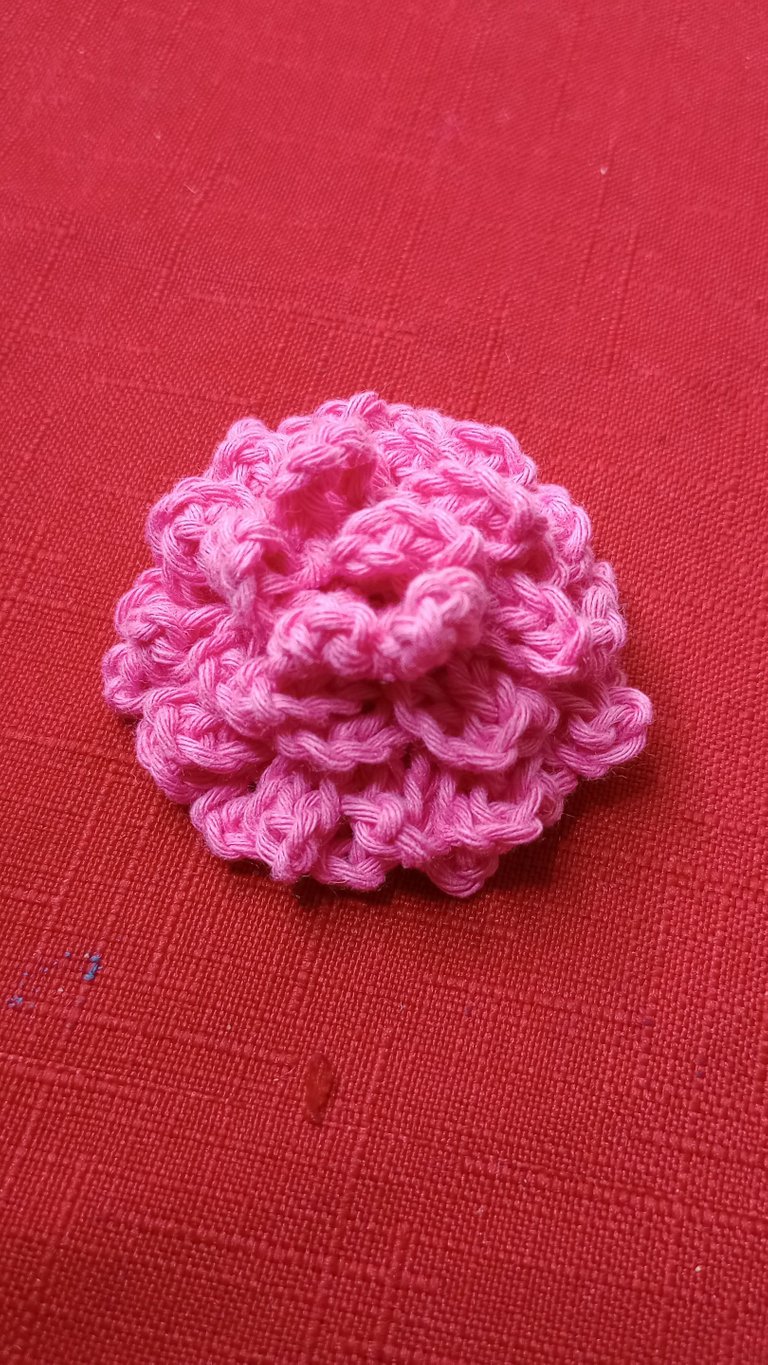
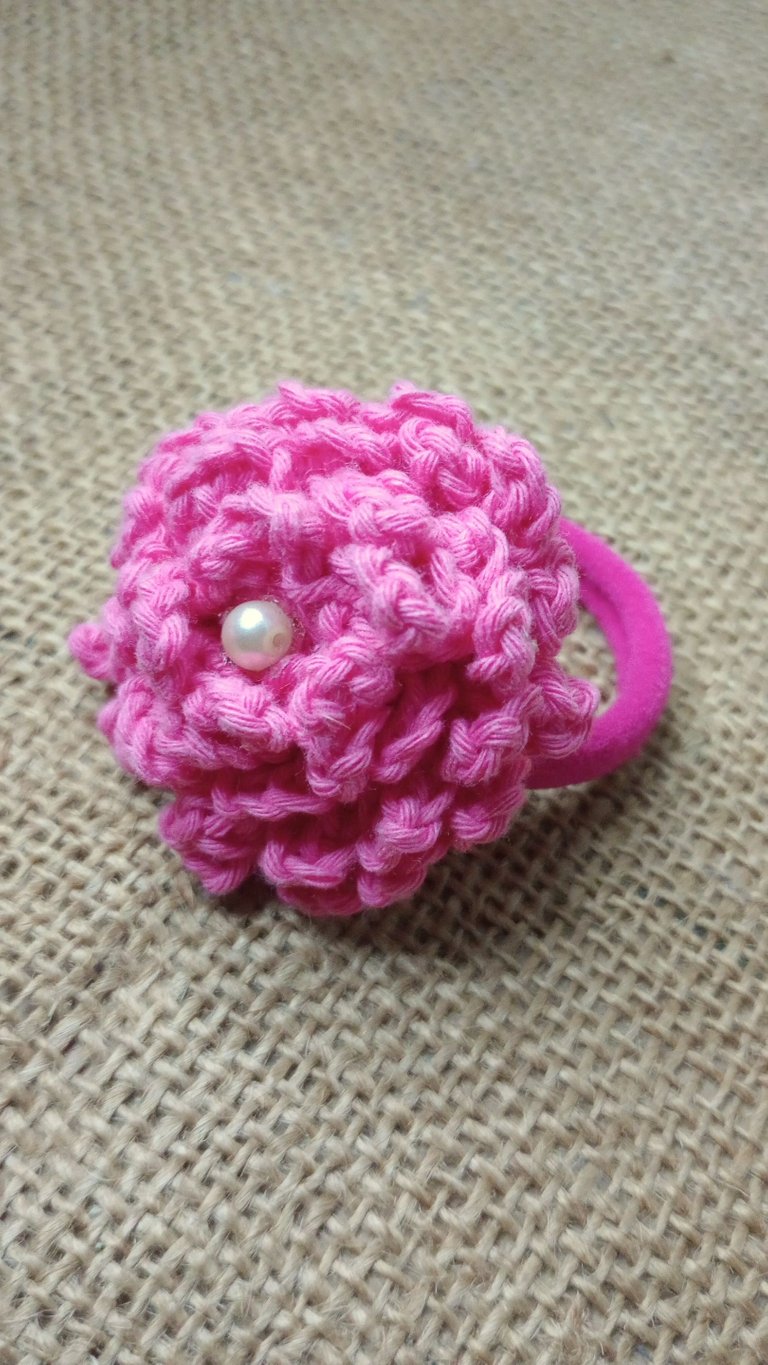
Finalizamos agregandole una perlita al centro de la flor utilizando silicón.
Así quedó finalmente terminada nuestra colita decorada con un flor muy linda y cargada de pétalos.
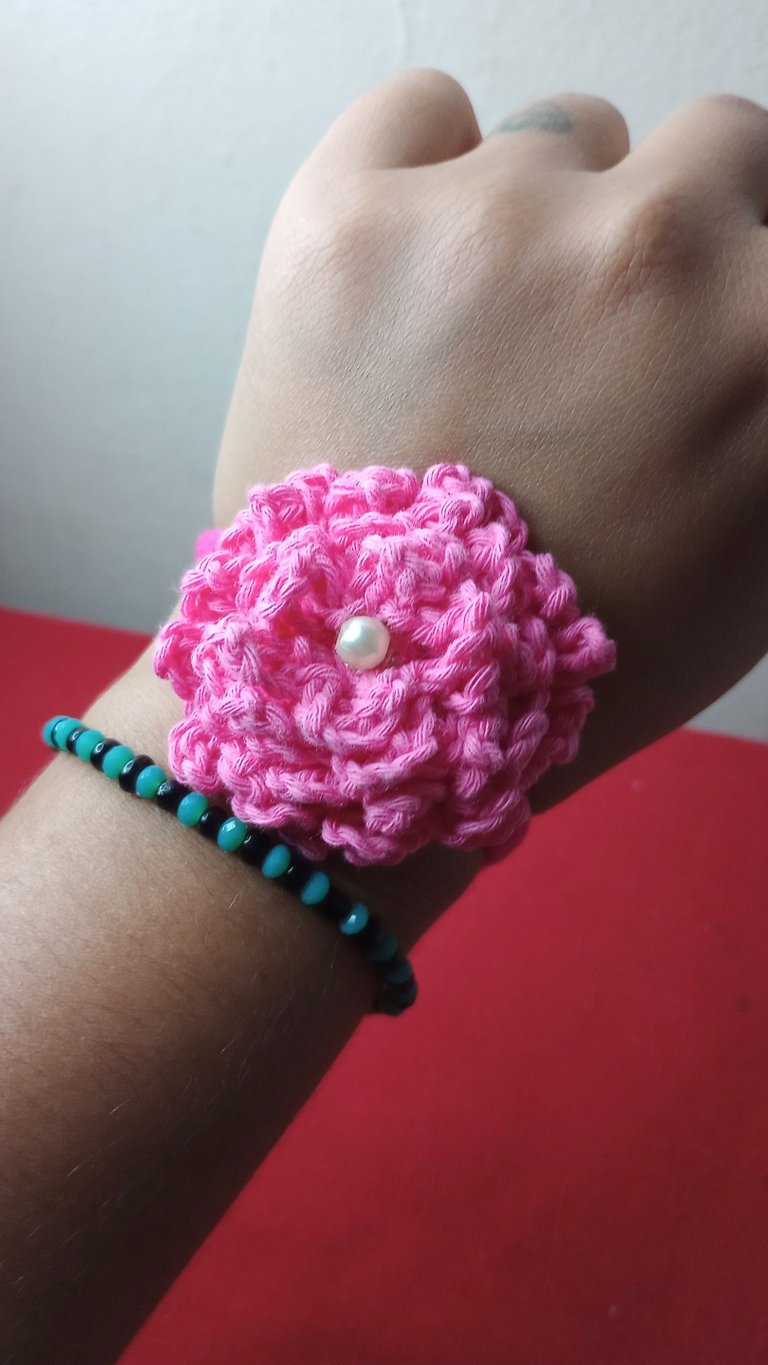
Se pueden tejer un montón de estas súper rápido y la podemos utilizar tanto en el cabello, como colocarla en nuestra muñeca si queremos tenerlo suelto.
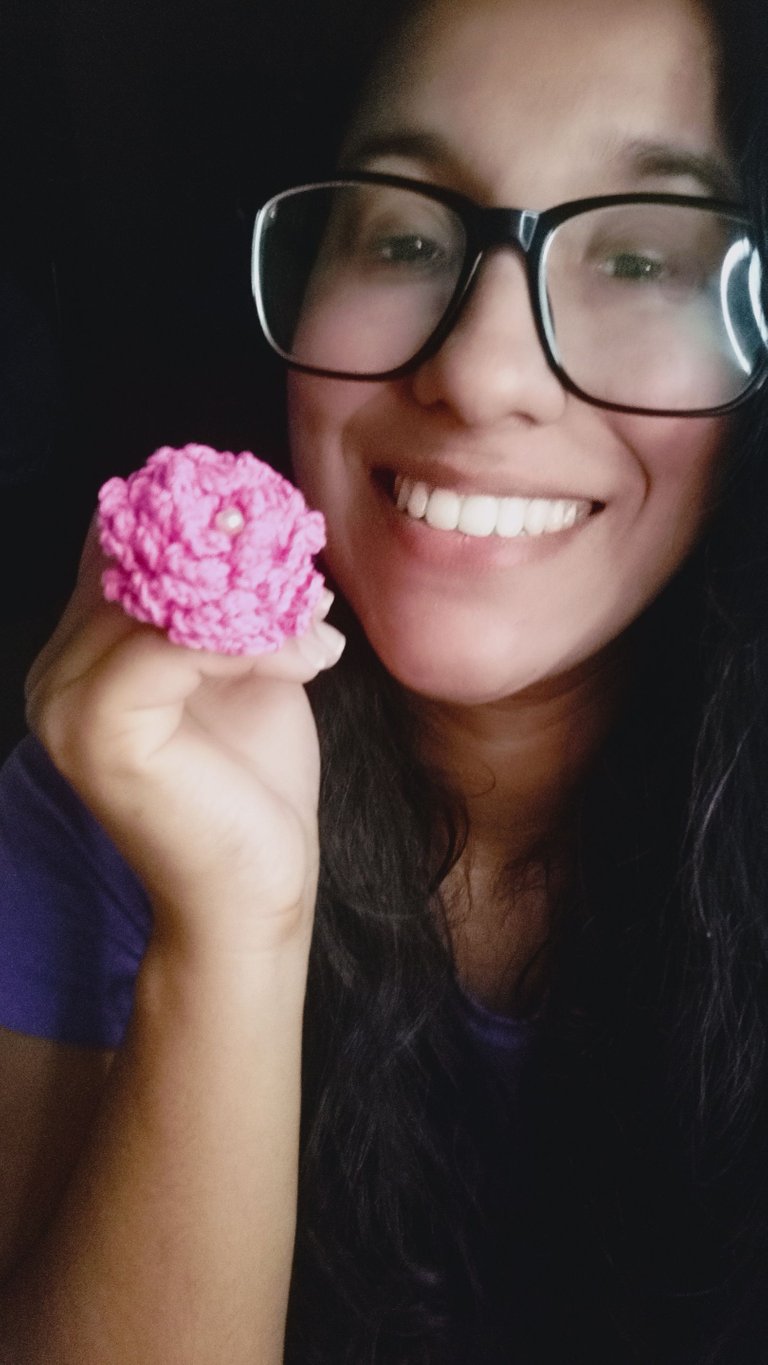
Es un lindo detalle tanto para usar como para regalar. Espero les haya gustado este lindo proyecto. Nos leemos en uno próximo. ♥🌸
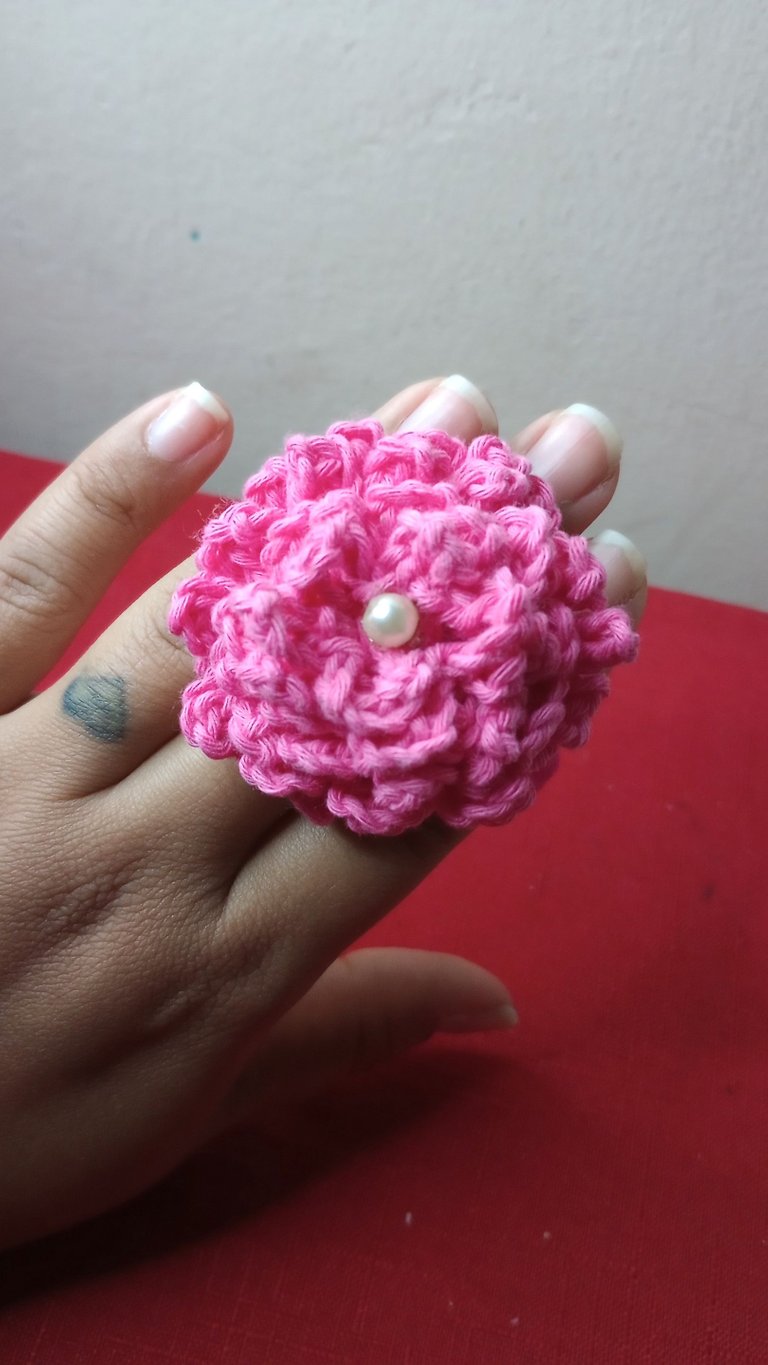
We finished by adding a bead to the center of the flower using silicone.
This is how we finally finished our tail decorated with a very pretty flower full of petals.
You can weave a lot of these super fast and we can use it both in the hair, and place it on our wrist if we want to have it loose.
It is a nice detail both to use and to give as a gift. I hope you liked this nice project. See you in the next one. ♥🌸

Espero haya sido de tu agrado y provecho.
Un gran abrazo a todos, y nos leemos en un próximo post
• Lakrearte en Hive •
Att: Estefania Garcia ♥

Imágenes y separadores de mi autoría
Portada editada en Canva
Fotografías tomadas con un Moto G31
Texto traducido en Google ImTranslate v.14.27
https://twitter.com/1221622466939957249/status/1647651004744101888
https://twitter.com/245887668/status/1647932920290590720
The rewards earned on this comment will go directly to the people( @estefania3, @elbuhito ) sharing the post on Twitter as long as they are registered with @poshtoken. Sign up at https://hiveposh.com.
Wow this crochet flower look so beautiful. I love the pink color
Thank you! glad you liked it 😊
This is beautiful ❤️
Thank you 😊
Me alegra que puedas obtenerlo ganancia de tus manualidades con esta tienda. Saludos linda, un buen trabajo.
Muchas gracias amiga! y si la verdad es una suerte contar con aliados para vender porque este es un negocio un poco mal pagado en Venezuela y pues, toca buscar alternativas. Gracias por tu comentario amiga ♥
Que lindura, me encantó, te felicito amiga 😊
Muchas gracias ♥ Me alegra que te haya gustado!
Que lindo Scrunchies amiga, me encantó. gracias por compartir tu trabajo. Saludos.
Muchas gracias, me alegra que te haya gustado la propuesta, saludos ♥
Me encanta esta manualidad, justo quiero hacer unas nuevas colitas. Me pondré en acción esta semana. Gracias y mucho éxito con tus ventas.
Hoy compre cuatro paqueticos de colitas para la producción jaja así que no hay excusas. ¡A tejer! ♥
Siiii. Me alegro por ti. ¡A tejer!
Que lindo, siempre me gusto el crochet 😍 quise aprender pero estaban muy caros los materiales jajaja esto es ideal para cuando se te rompe una coleta y te puedes hacer una propia y original! ❤️
Ahorita pienso que no es tan costoso el iniciarse en el mundo del tejido, en Argentina consiguen gran variedad en hilos y agujas y eso es lo genial. Deberias intentar comenzar con una madeja de hilo y tu agujita. Yo se que te irá bien ♥ Gracias por tu comentario amiga, saludos!
Having this in variety of colors for my hair would be really nice since it will basically match all my outfits.
Well done dear @estefania3, it was really nice of you to start with small projects and am glad the Inspirations came alongside.❤💖💃💕
Yes, the idea is to make them in lots and in different colors. Thank you very much for your comment friend, I hope soon to be bringing you more proposals. Greetings ♥
Oh great, I can't wait to see all of them. ❤💕