[ESP-ENG] Beautiful Pencil Case in the shape of a Pencil | Hermosa Cartuchera en forma de Lápiz
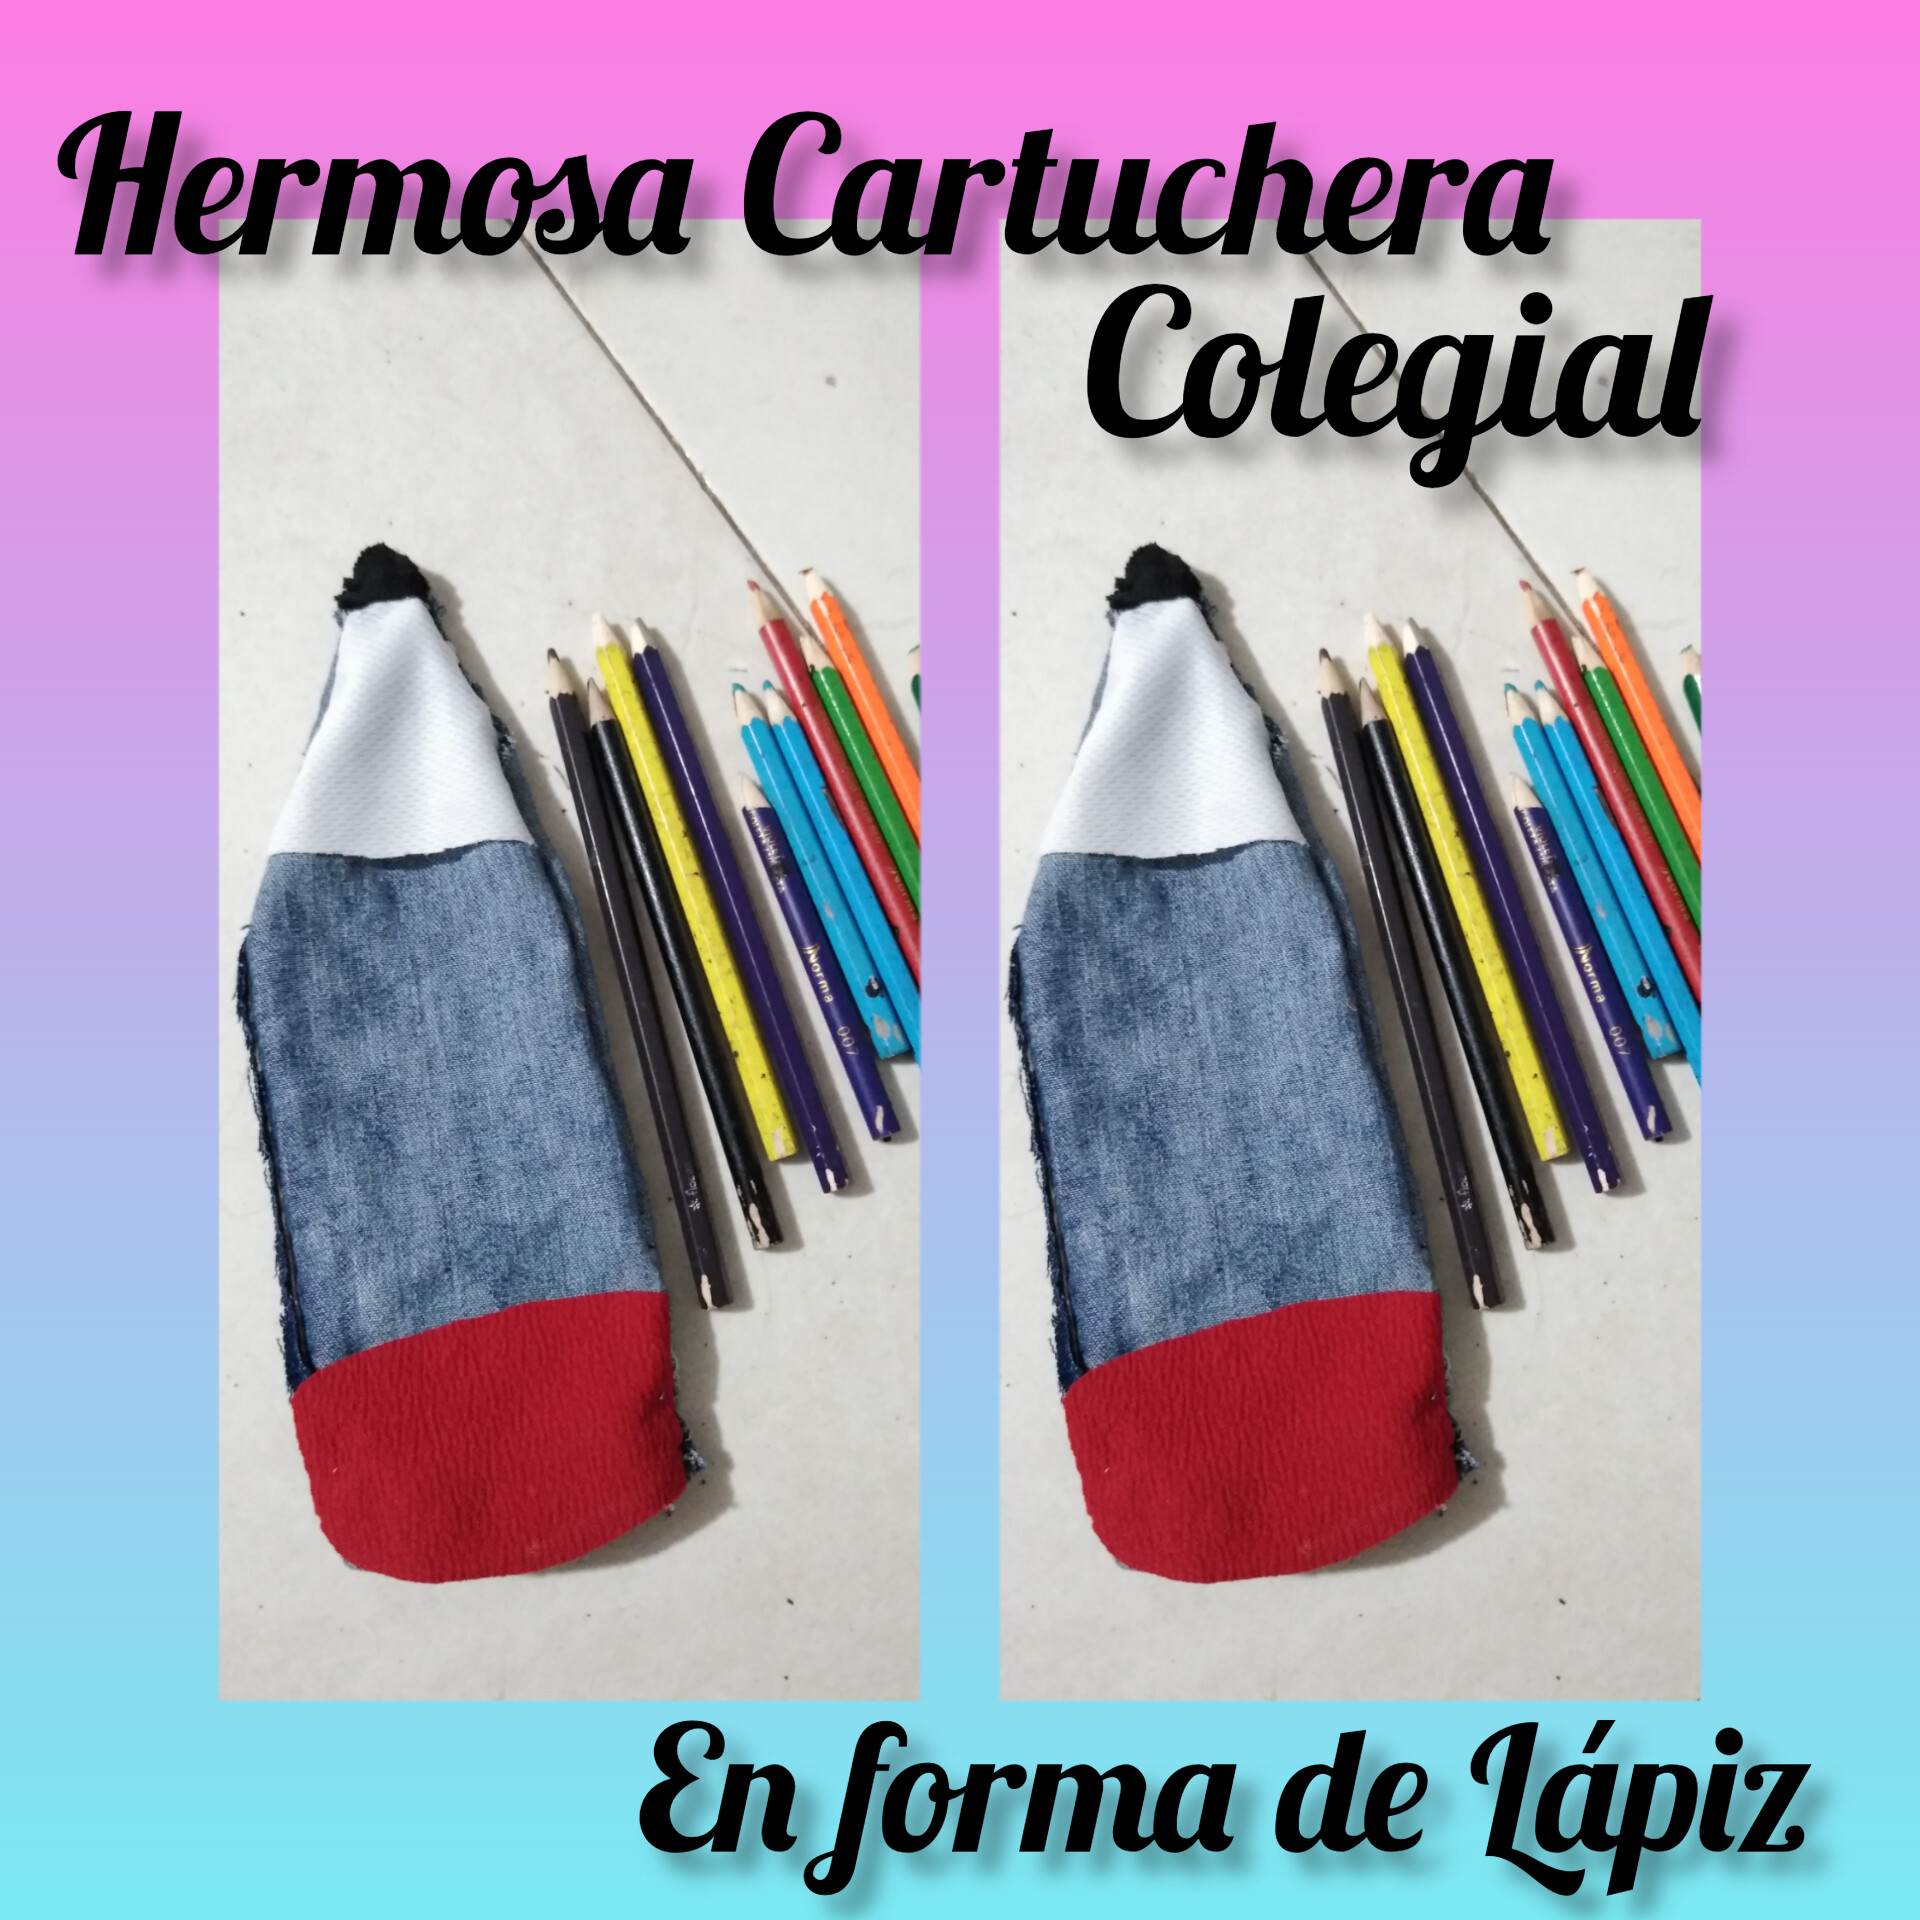
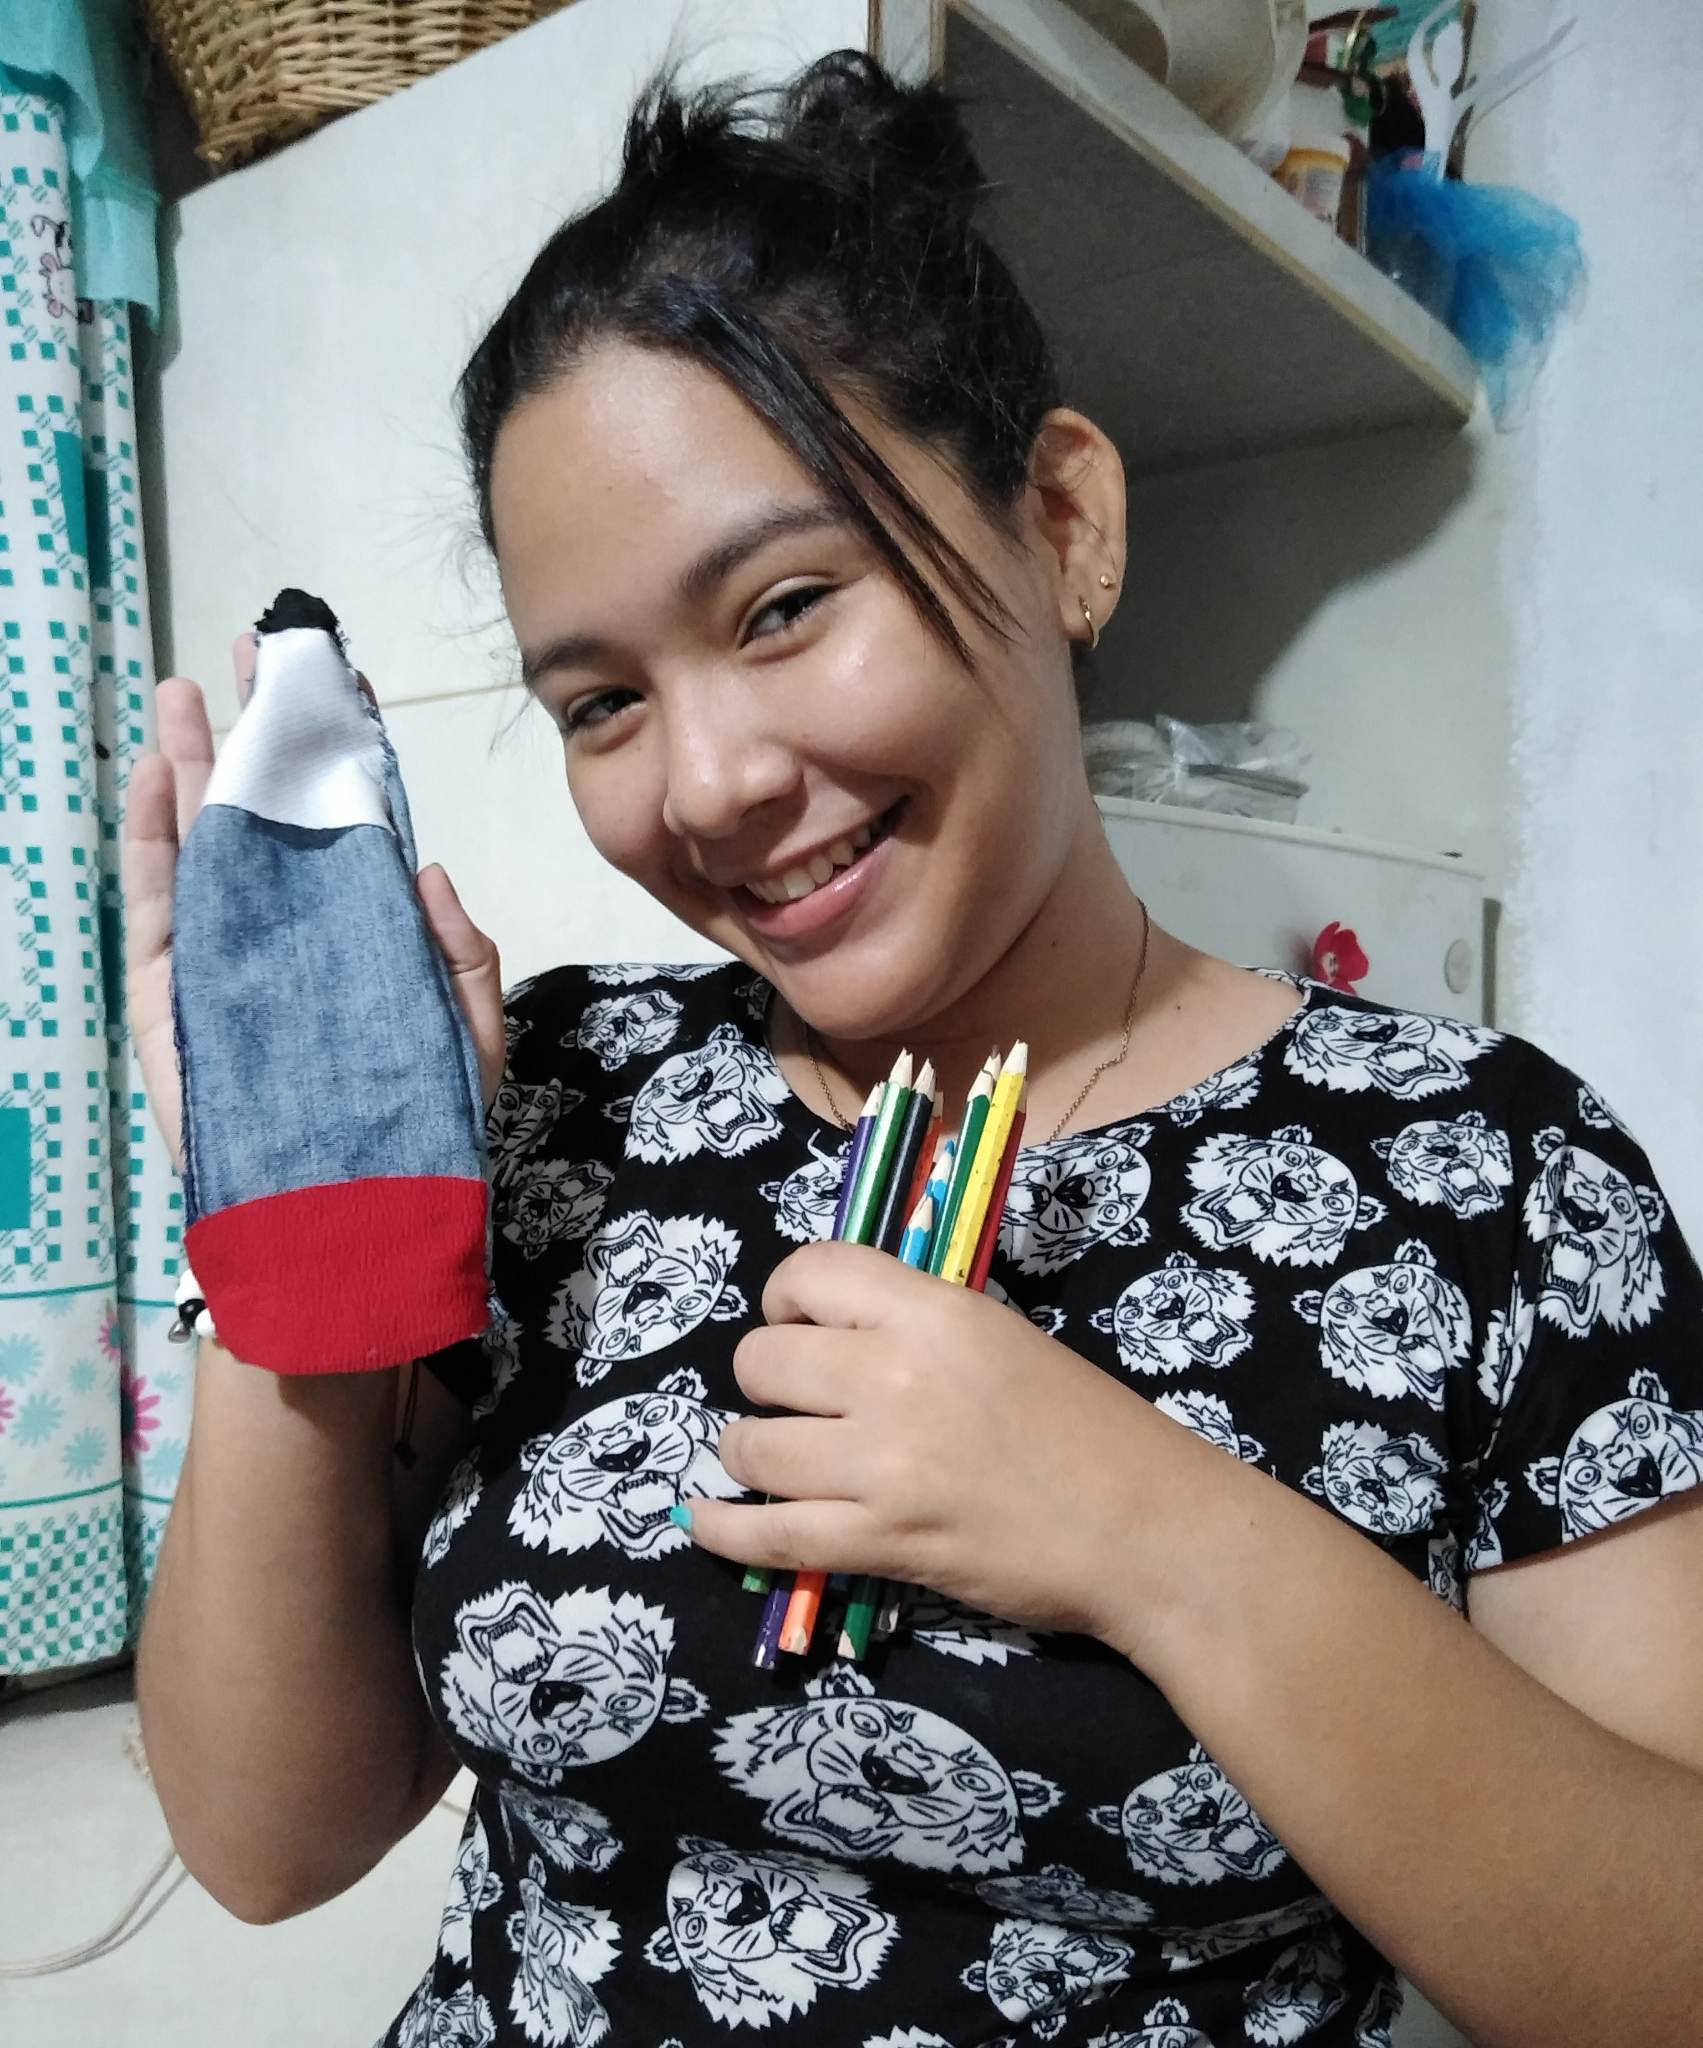
Good morning to all my hive friends, welcome once again to my blog, I am delighted to be part of this great community and to be able to share with all of you the magic of sewing. I tell you that I made a pencil case to put all my colors, I wanted to do something different and striking to share with all of you, this will be so special for our children that they will be in love with a pencil case like this, so I invite you to see the step by step so you can do it at home.
.jpg)

Paso 1: para hacer nuestra linda y tierna cartuchera colegial en forma de lápiz vamos a necesitar los siguientes materiales: Vamos a usar de base una tela de jean vieja pero en buen estad que ya no usemos, vamos a necesitar una tela roja que será para la parte del borrador del lápiz, también una tela blanca para la punta del lápiz y una negra para la otra punta más pequeña, tijera, hilo y aguja, haremos esto a mano y poco a poco. Lo que debemos tener será un patrón de un lápiz en hoja de un tamaño promedio grande, el cual marcaremos encima de la tela de jean y cortaremos.
Step 1: to make our cute and tender school pencil case in the shape of a pencil we will need the following materials: We will use as a base an old but in good condition jean fabric that we no longer use, we will need a red fabric that will be for the eraser part of the pencil, also a white fabric for the tip of the pencil and a black one for the other smaller tip, scissors, thread and needle, we will do this by hand and little by little. What we must have will be a pattern of a pencil in sheet of an average large size, which we will mark on top of the jean fabric and cut.
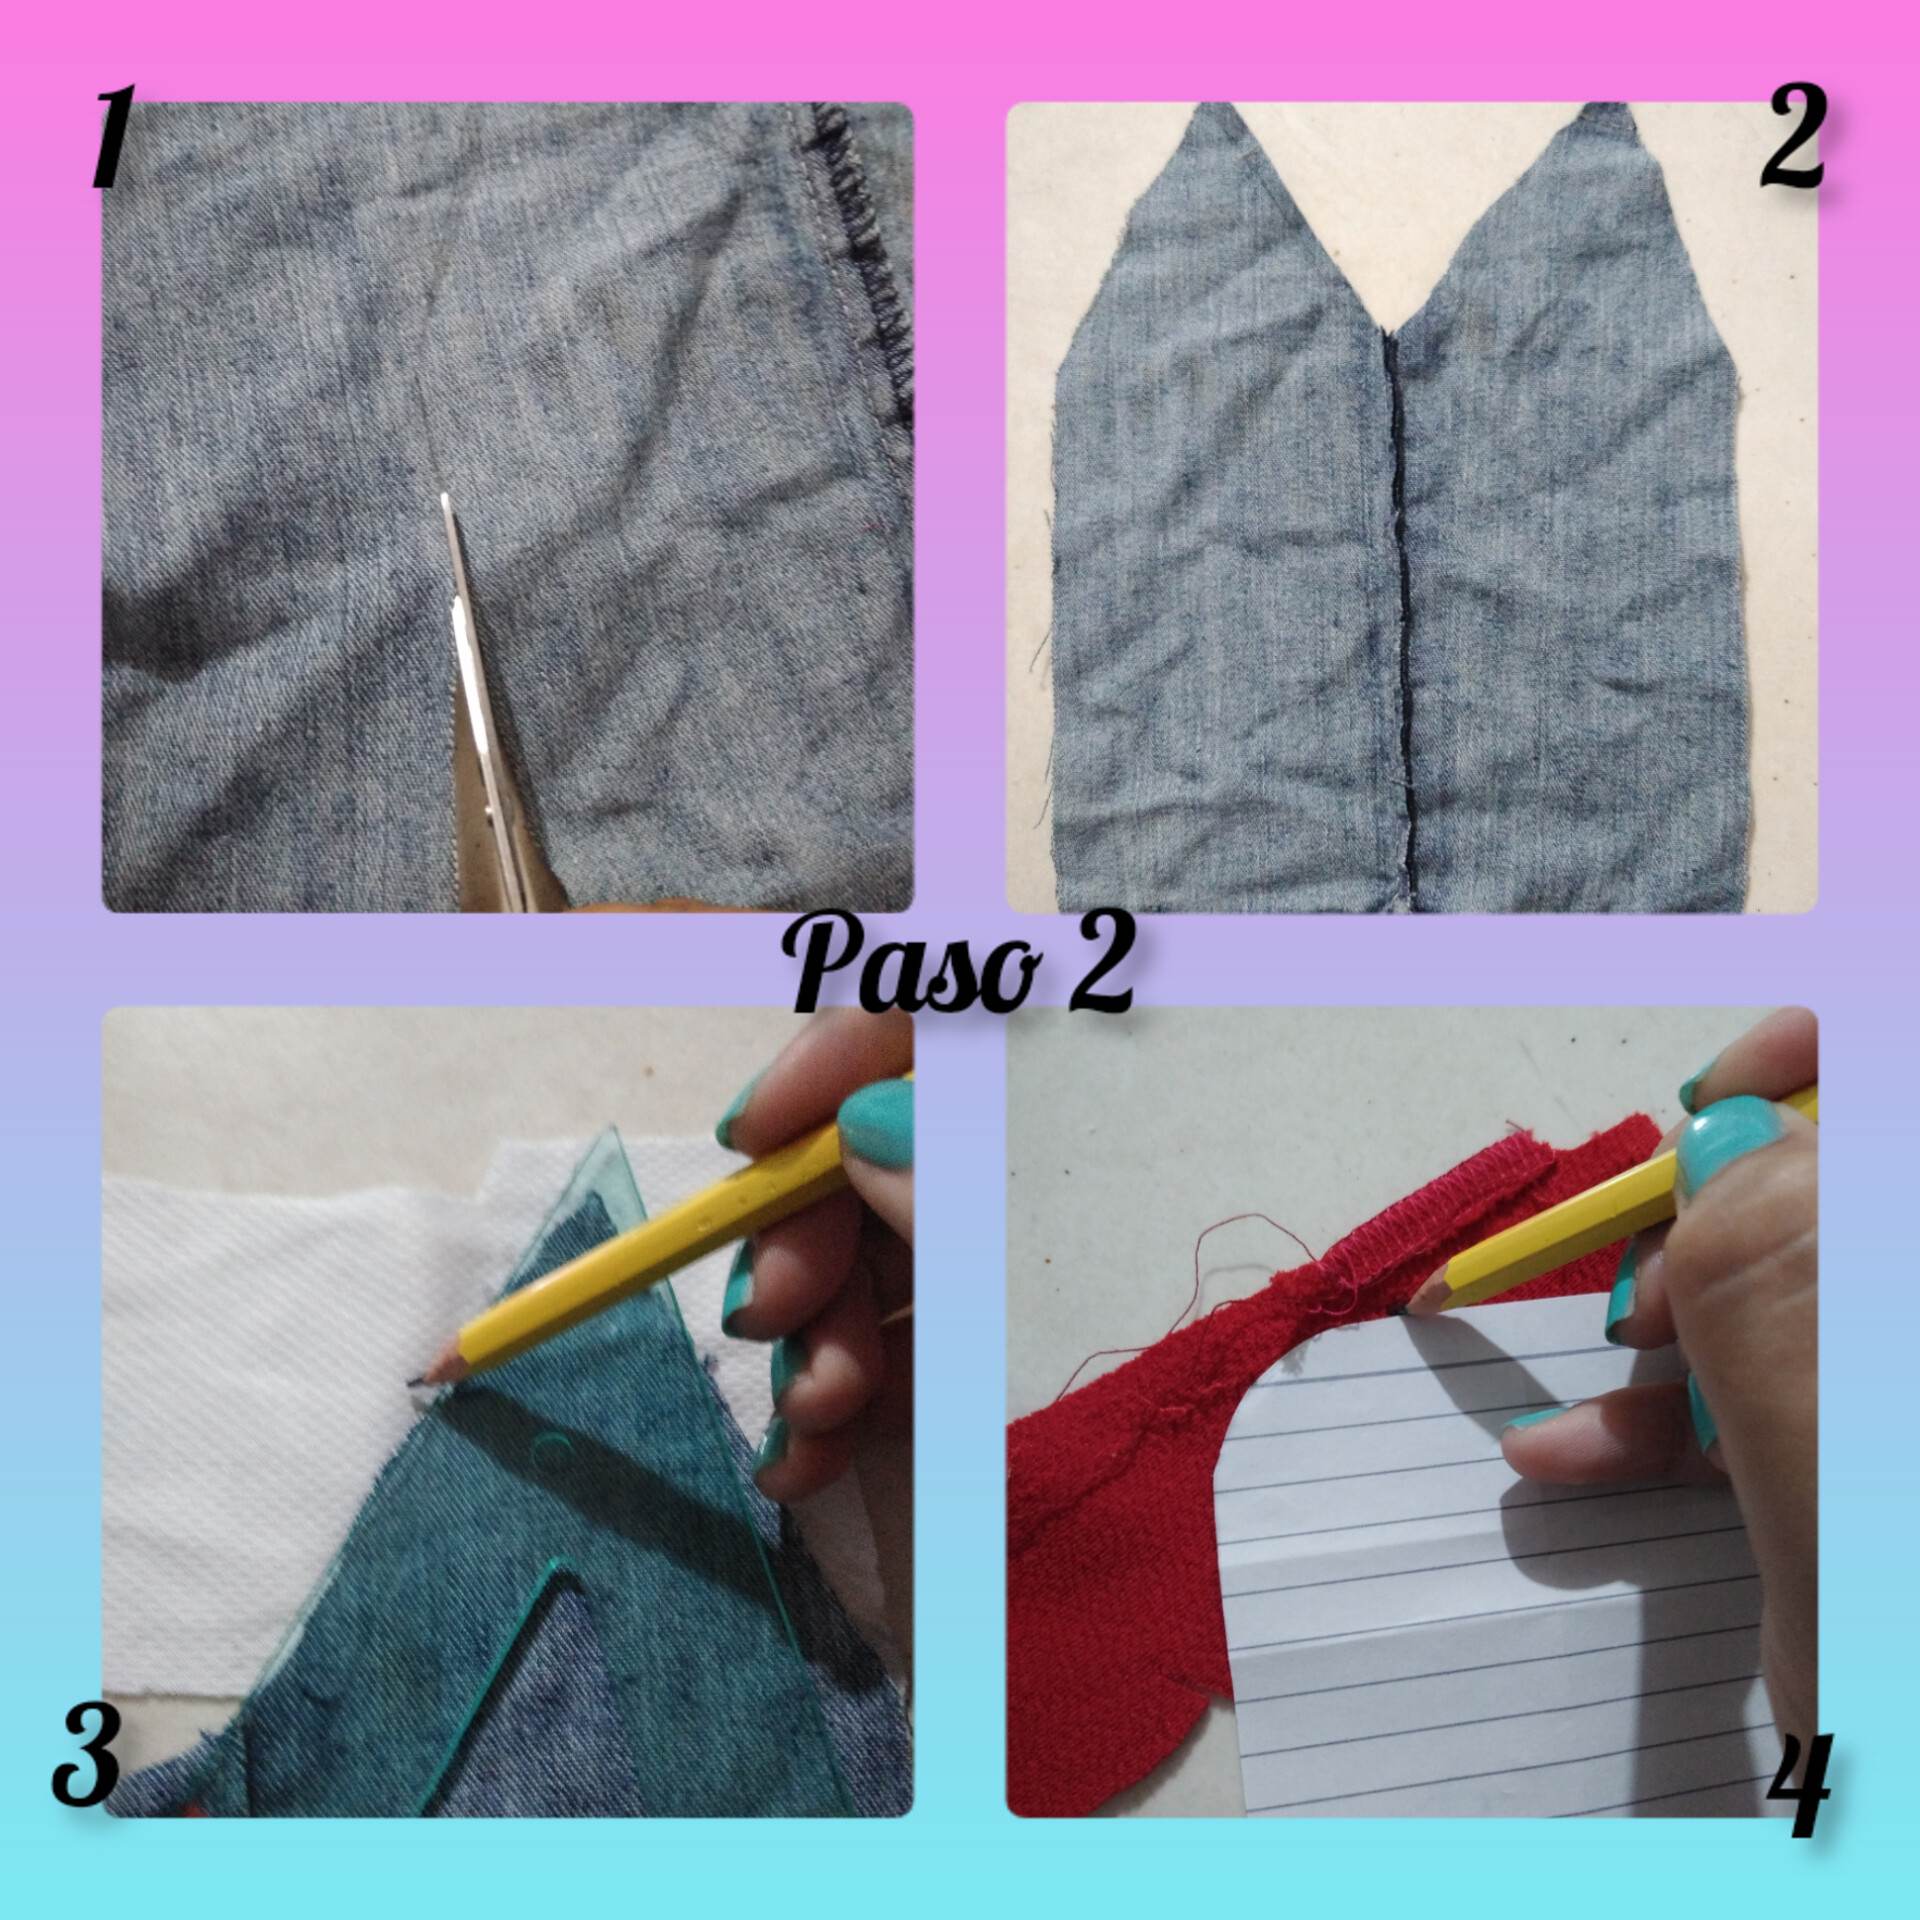
Paso 2: Lo que haremos ahora será cortar el lápiz que marcamos, pero no lo cortaremos individualmente para no tener que coserlo todo, aprovechemos la tela y solo cortaremos los lados así como en la imagen aparece, luego procederemos a marcar la punta en la tela blanca y la pieza del borrador que va en la tela roja, e iremos cortando cada pieza sin dejar por fuera la puntica negra de nuestro lindo lápiz.
Step 2: What we will do now is to cut the pencil that we marked, but we will not cut it individually to avoid having to sew it all, we will take advantage of the fabric and only cut the sides as shown in the image, then we will proceed to mark the tip on the white fabric and the piece of the eraser that goes on the red fabric, and we will cut each piece without leaving out the black dot of our nice pencil.
.jpg)
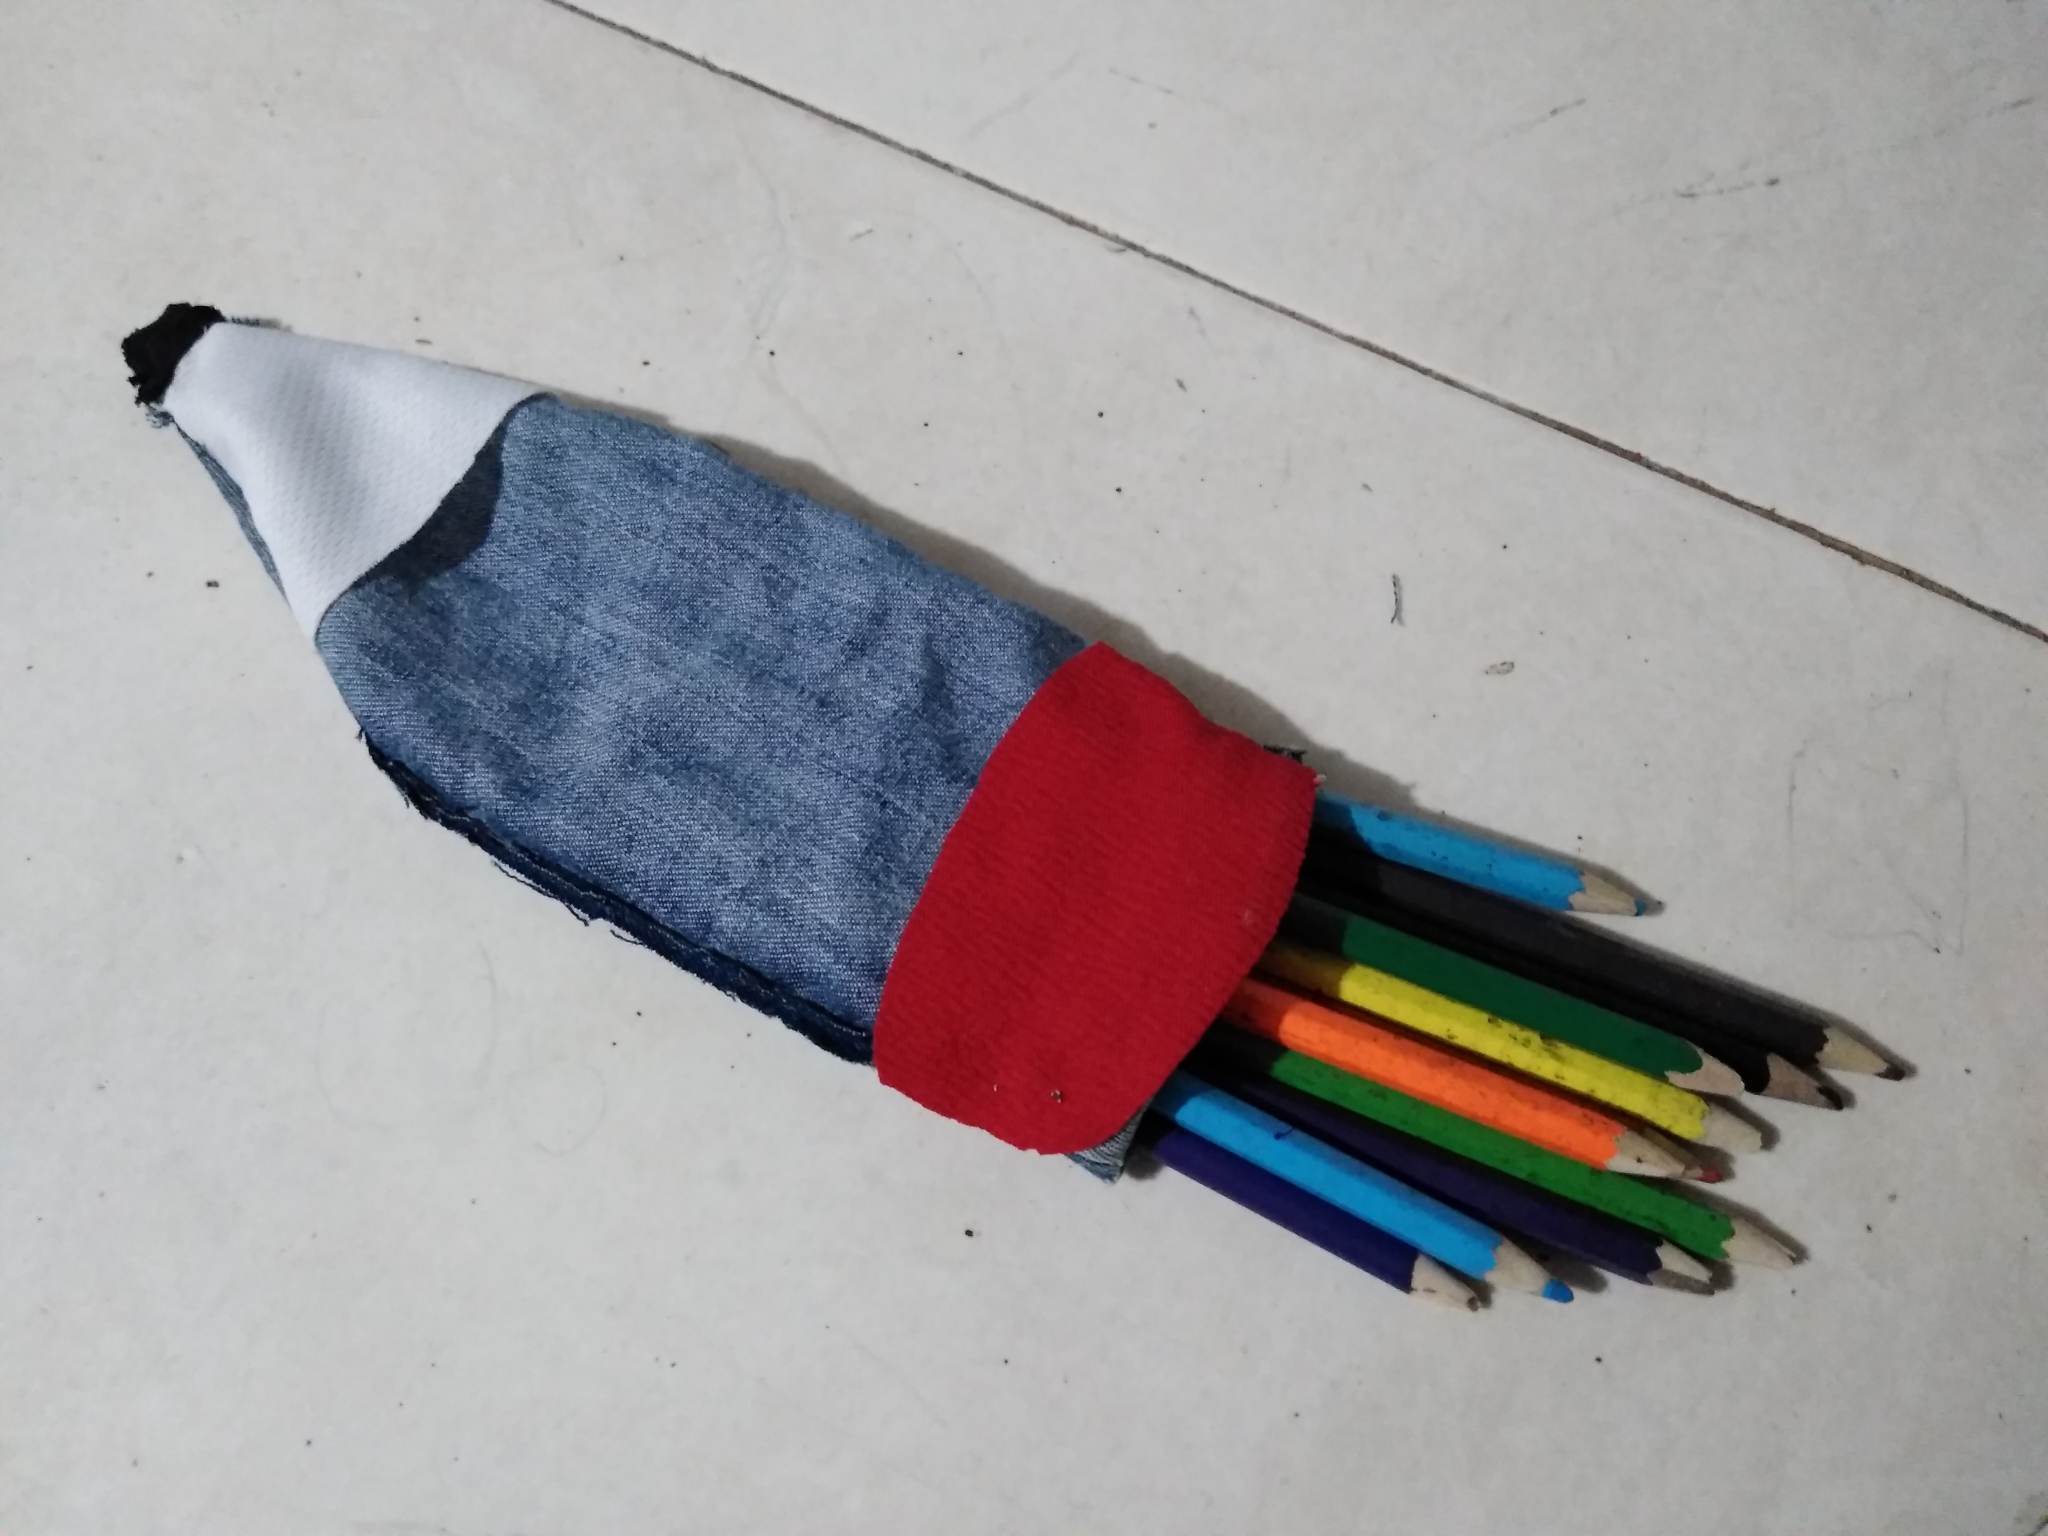
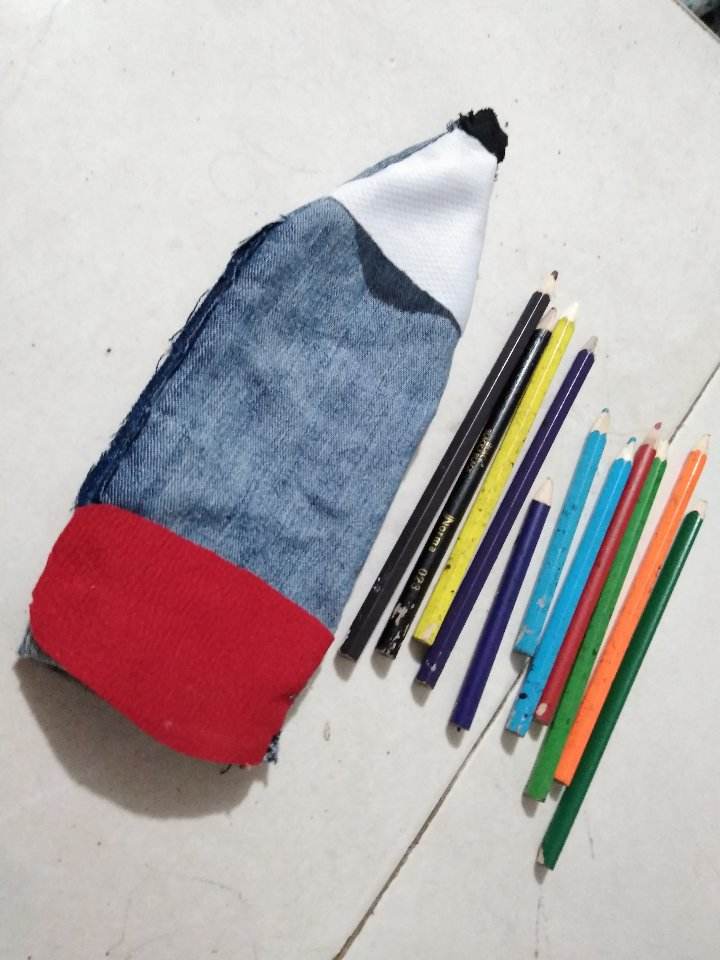
Paso 3: Mientras ya tenemos las piezas que coseremos al lápiz, procederemos a coserlas encima de la tela o del patrón base echo con la tela de jean para que nuestra cartuchera sea mas resistente, luego de haber cosido la parte del borrador y la punta entonces ahora vamos a voltear al revés la tela de jean para coser por entro y luego voltearla, dejando una abertura en la parte donde está la tela roja, luego de haber cosido por dentro voltearemos la cartuchera y por la abertura del borrador meteremos todos nuestros colores y marcadores también.
Step 3: While we already have the pieces that we will sew to the pencil, we will proceed to sew them on top of the fabric or the base pattern made with the jean fabric so that our pencil case is more resistant, after having sewn the part of the eraser and the tip then now we will turn inside out the jean fabric to sew inside and then turn it over, leaving an opening in the part where the red fabric is, after sewing inside we will flip the pencil case and through the opening of the eraser we will put all our colors and markers as well.
Final Result.
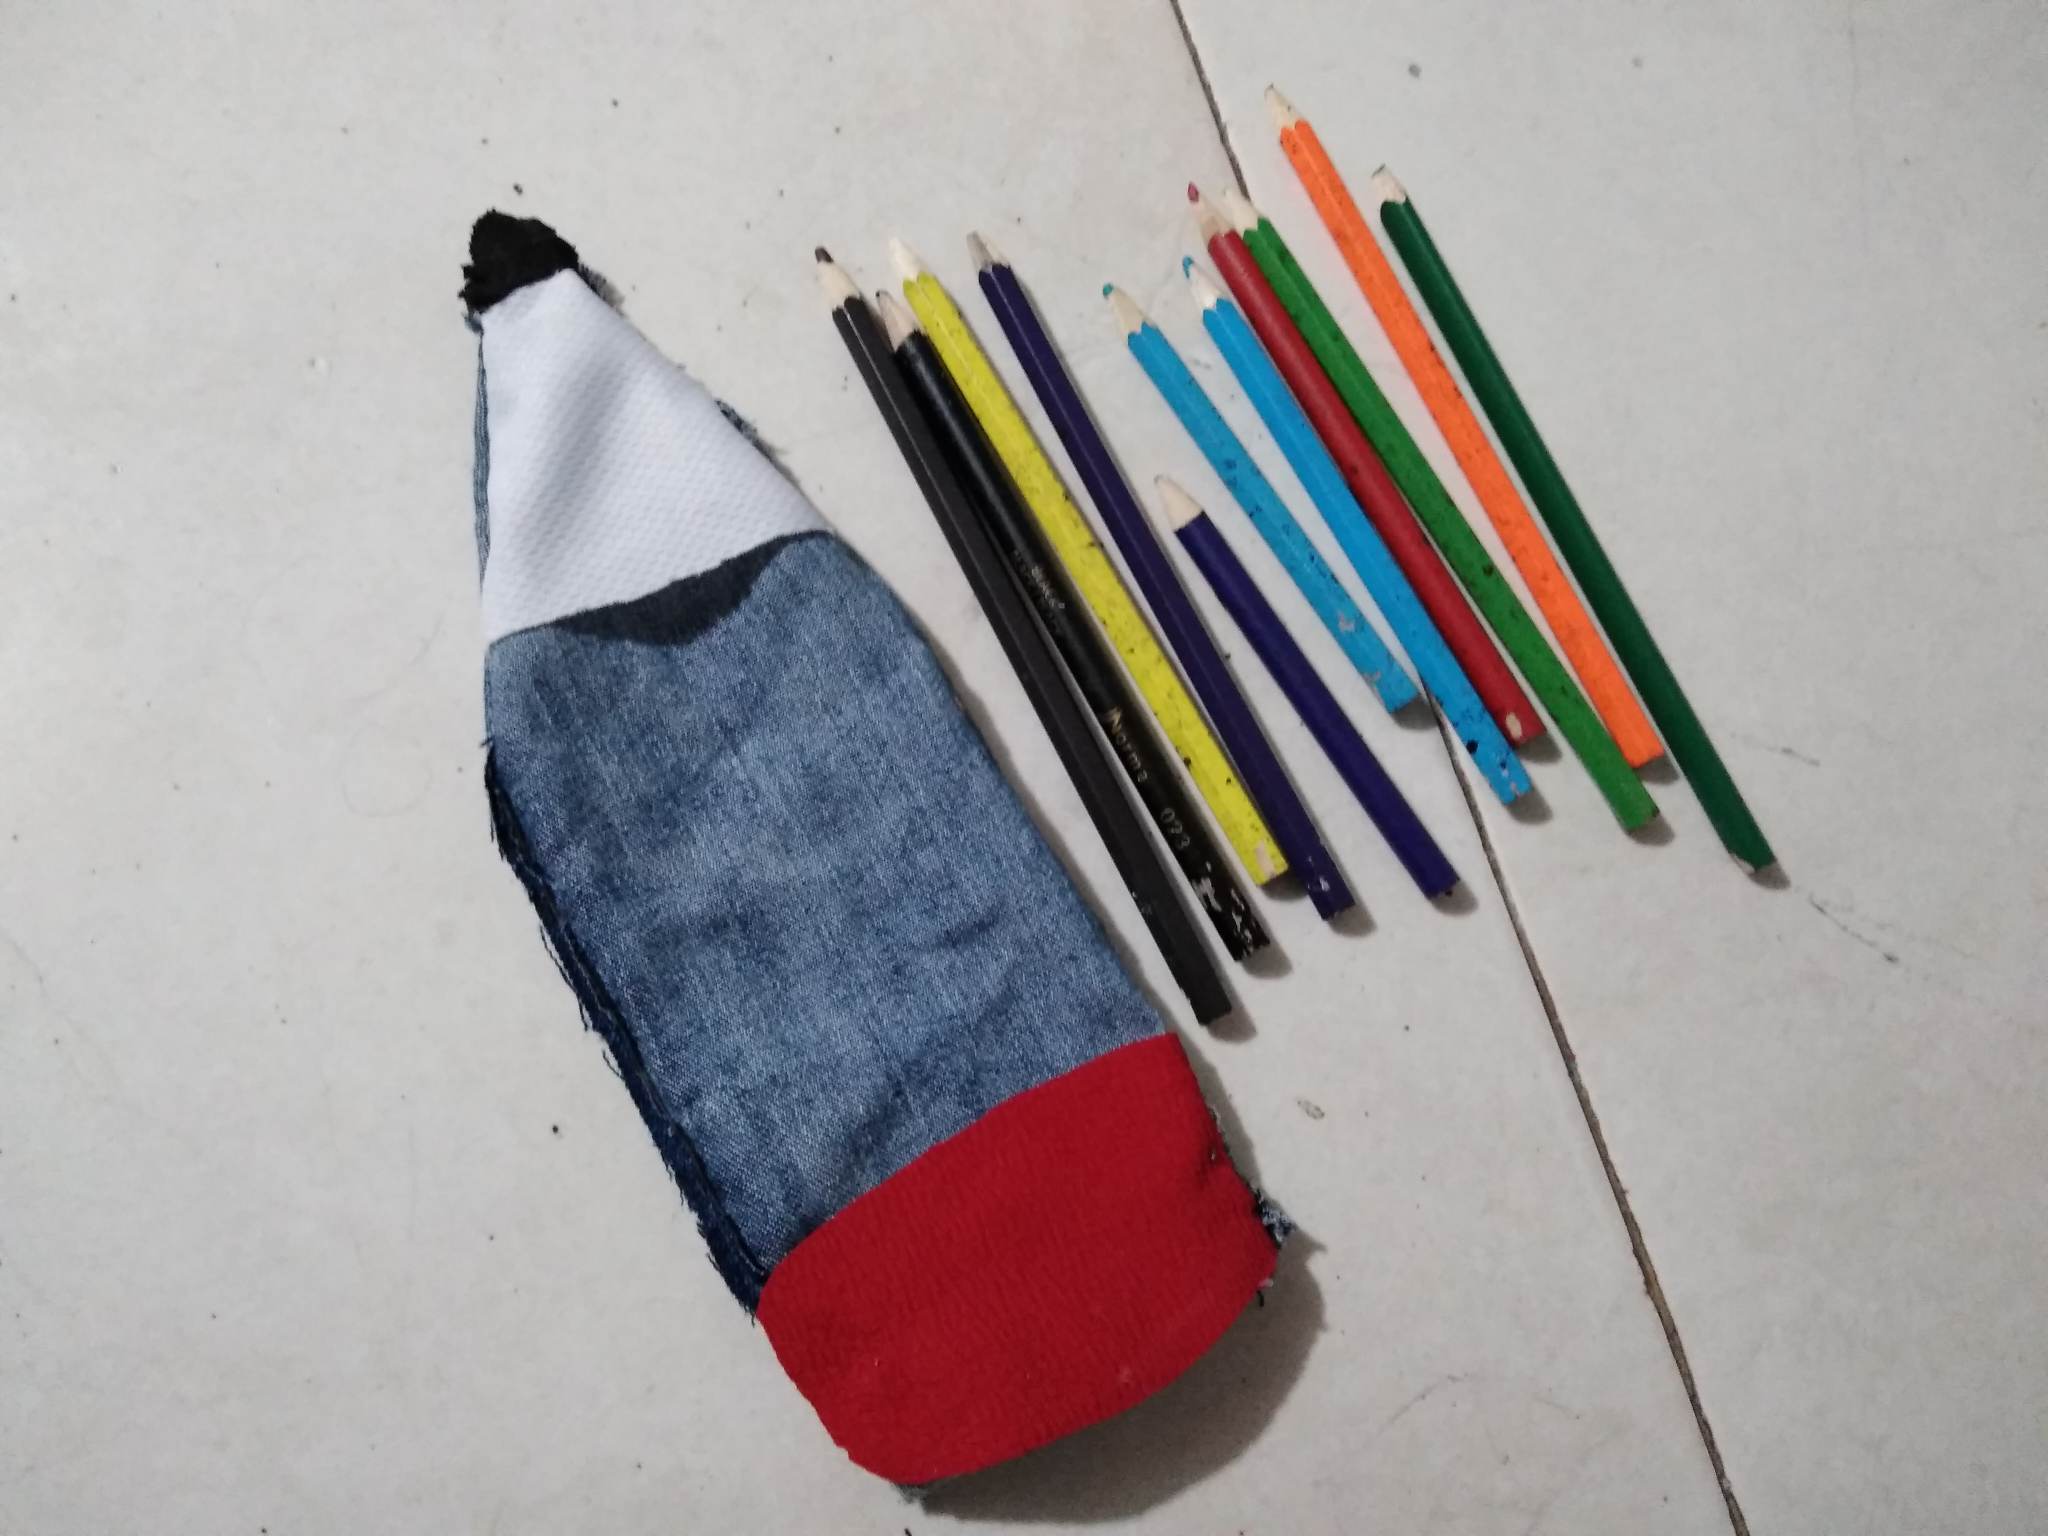

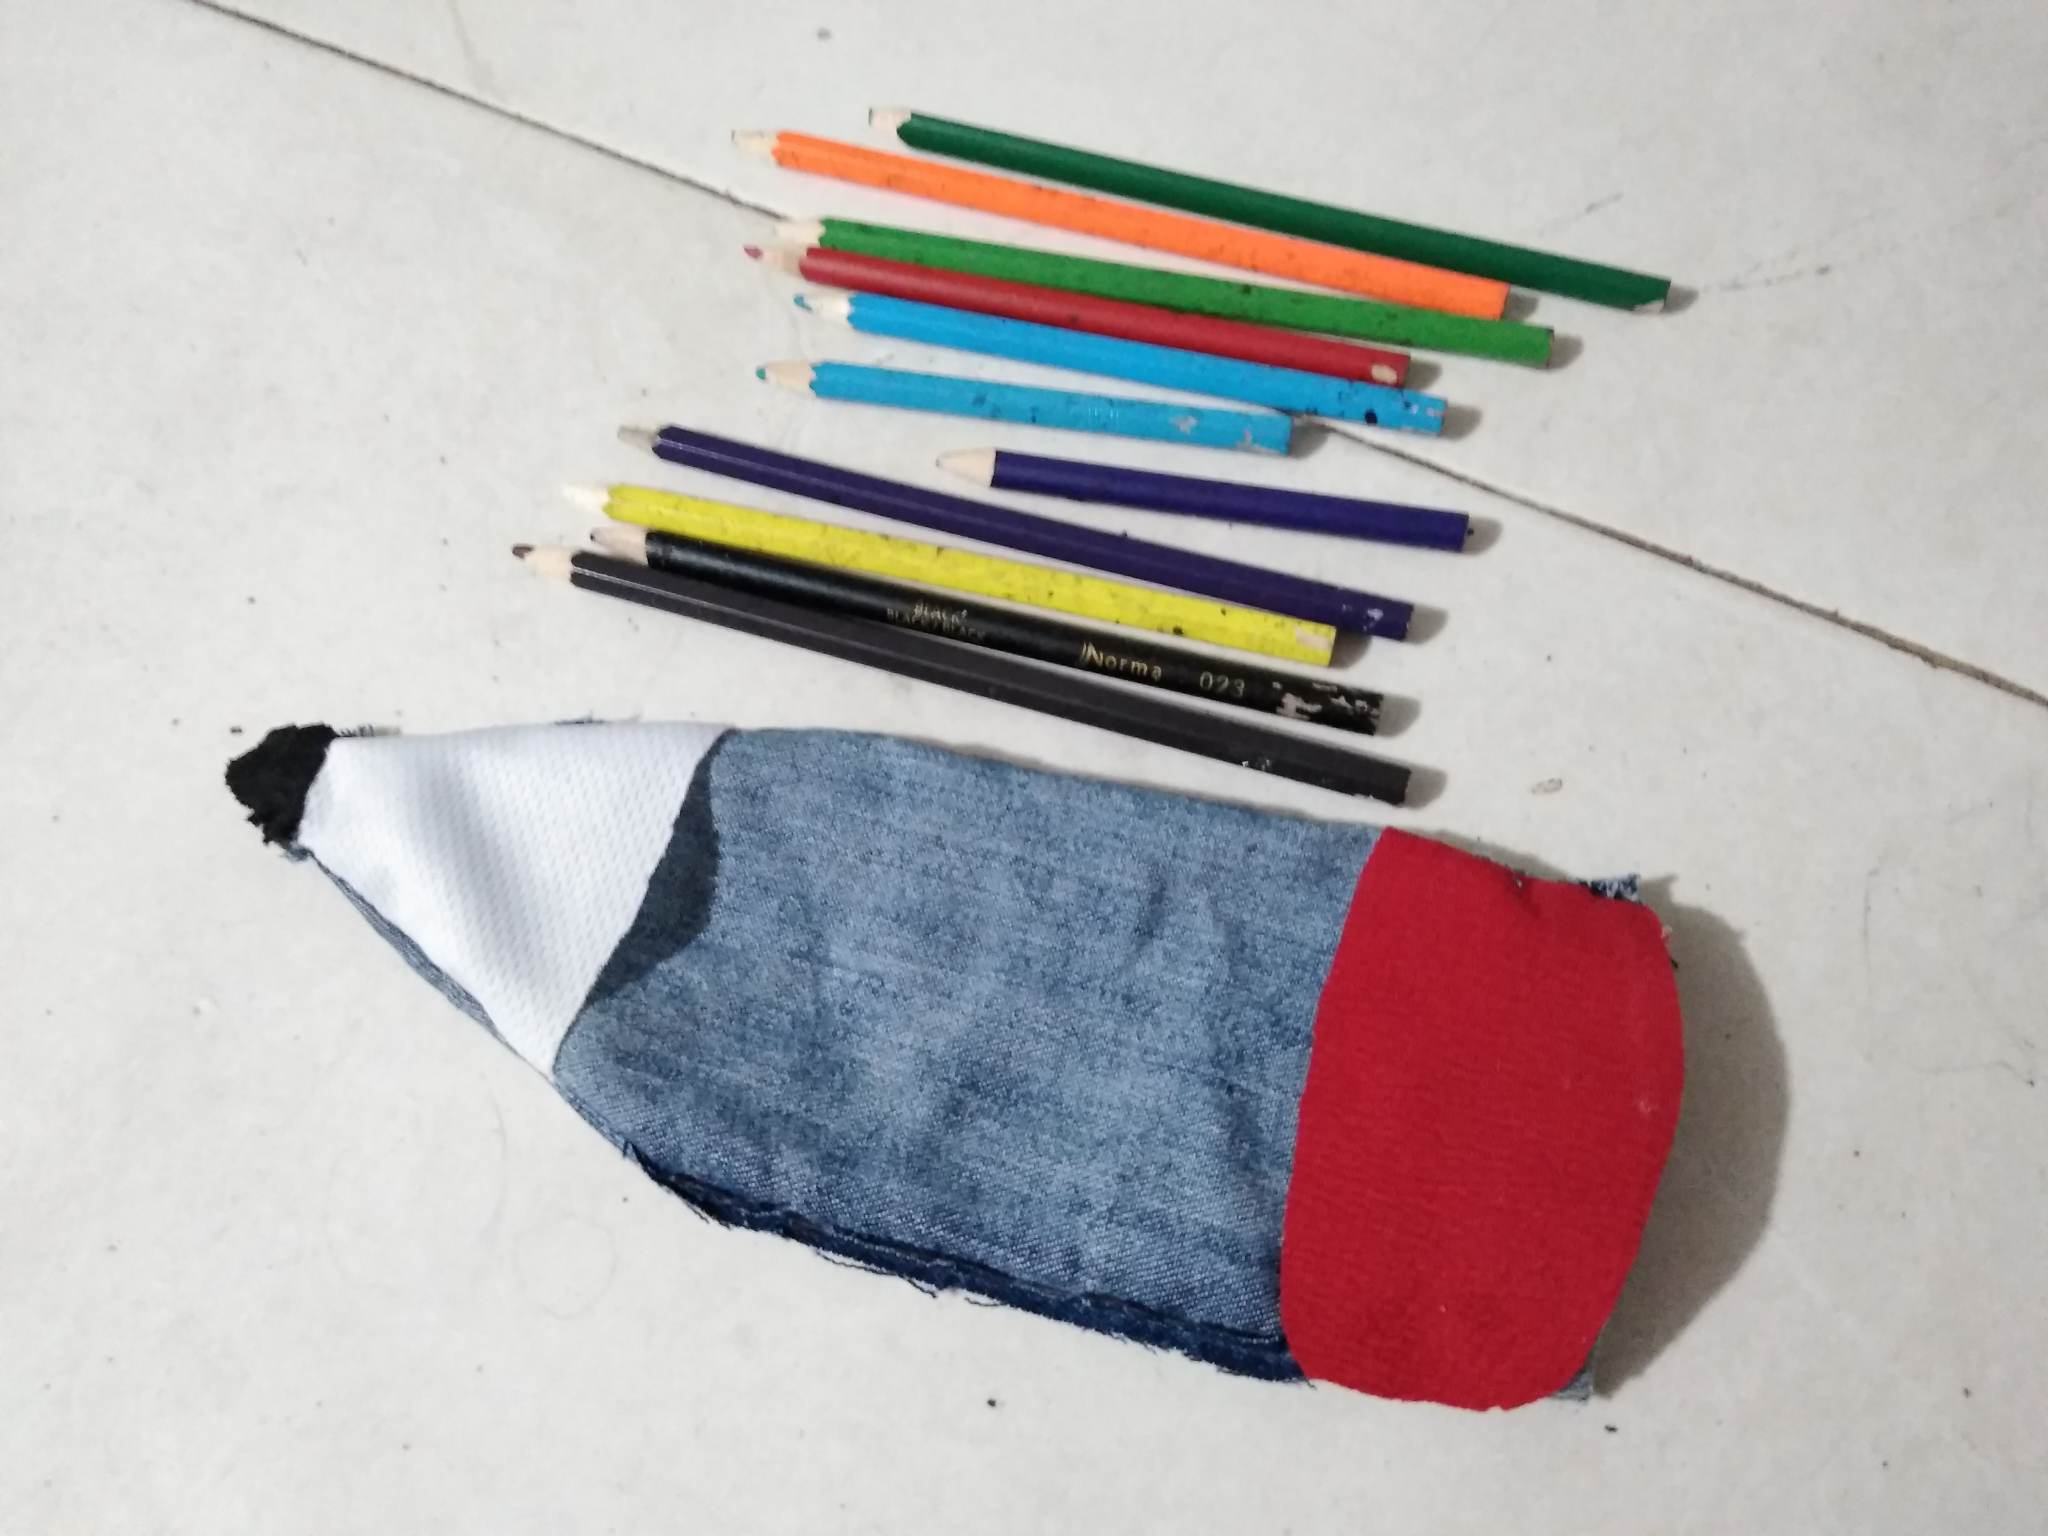

The pencil shape is a real unique idea. Great work.