[ESP-ENG] Amazing Accessory for my cute glasses - A braid made of fabric | Increíble Accesorio para mis lindos Lentes - Una trenza hecha con tela
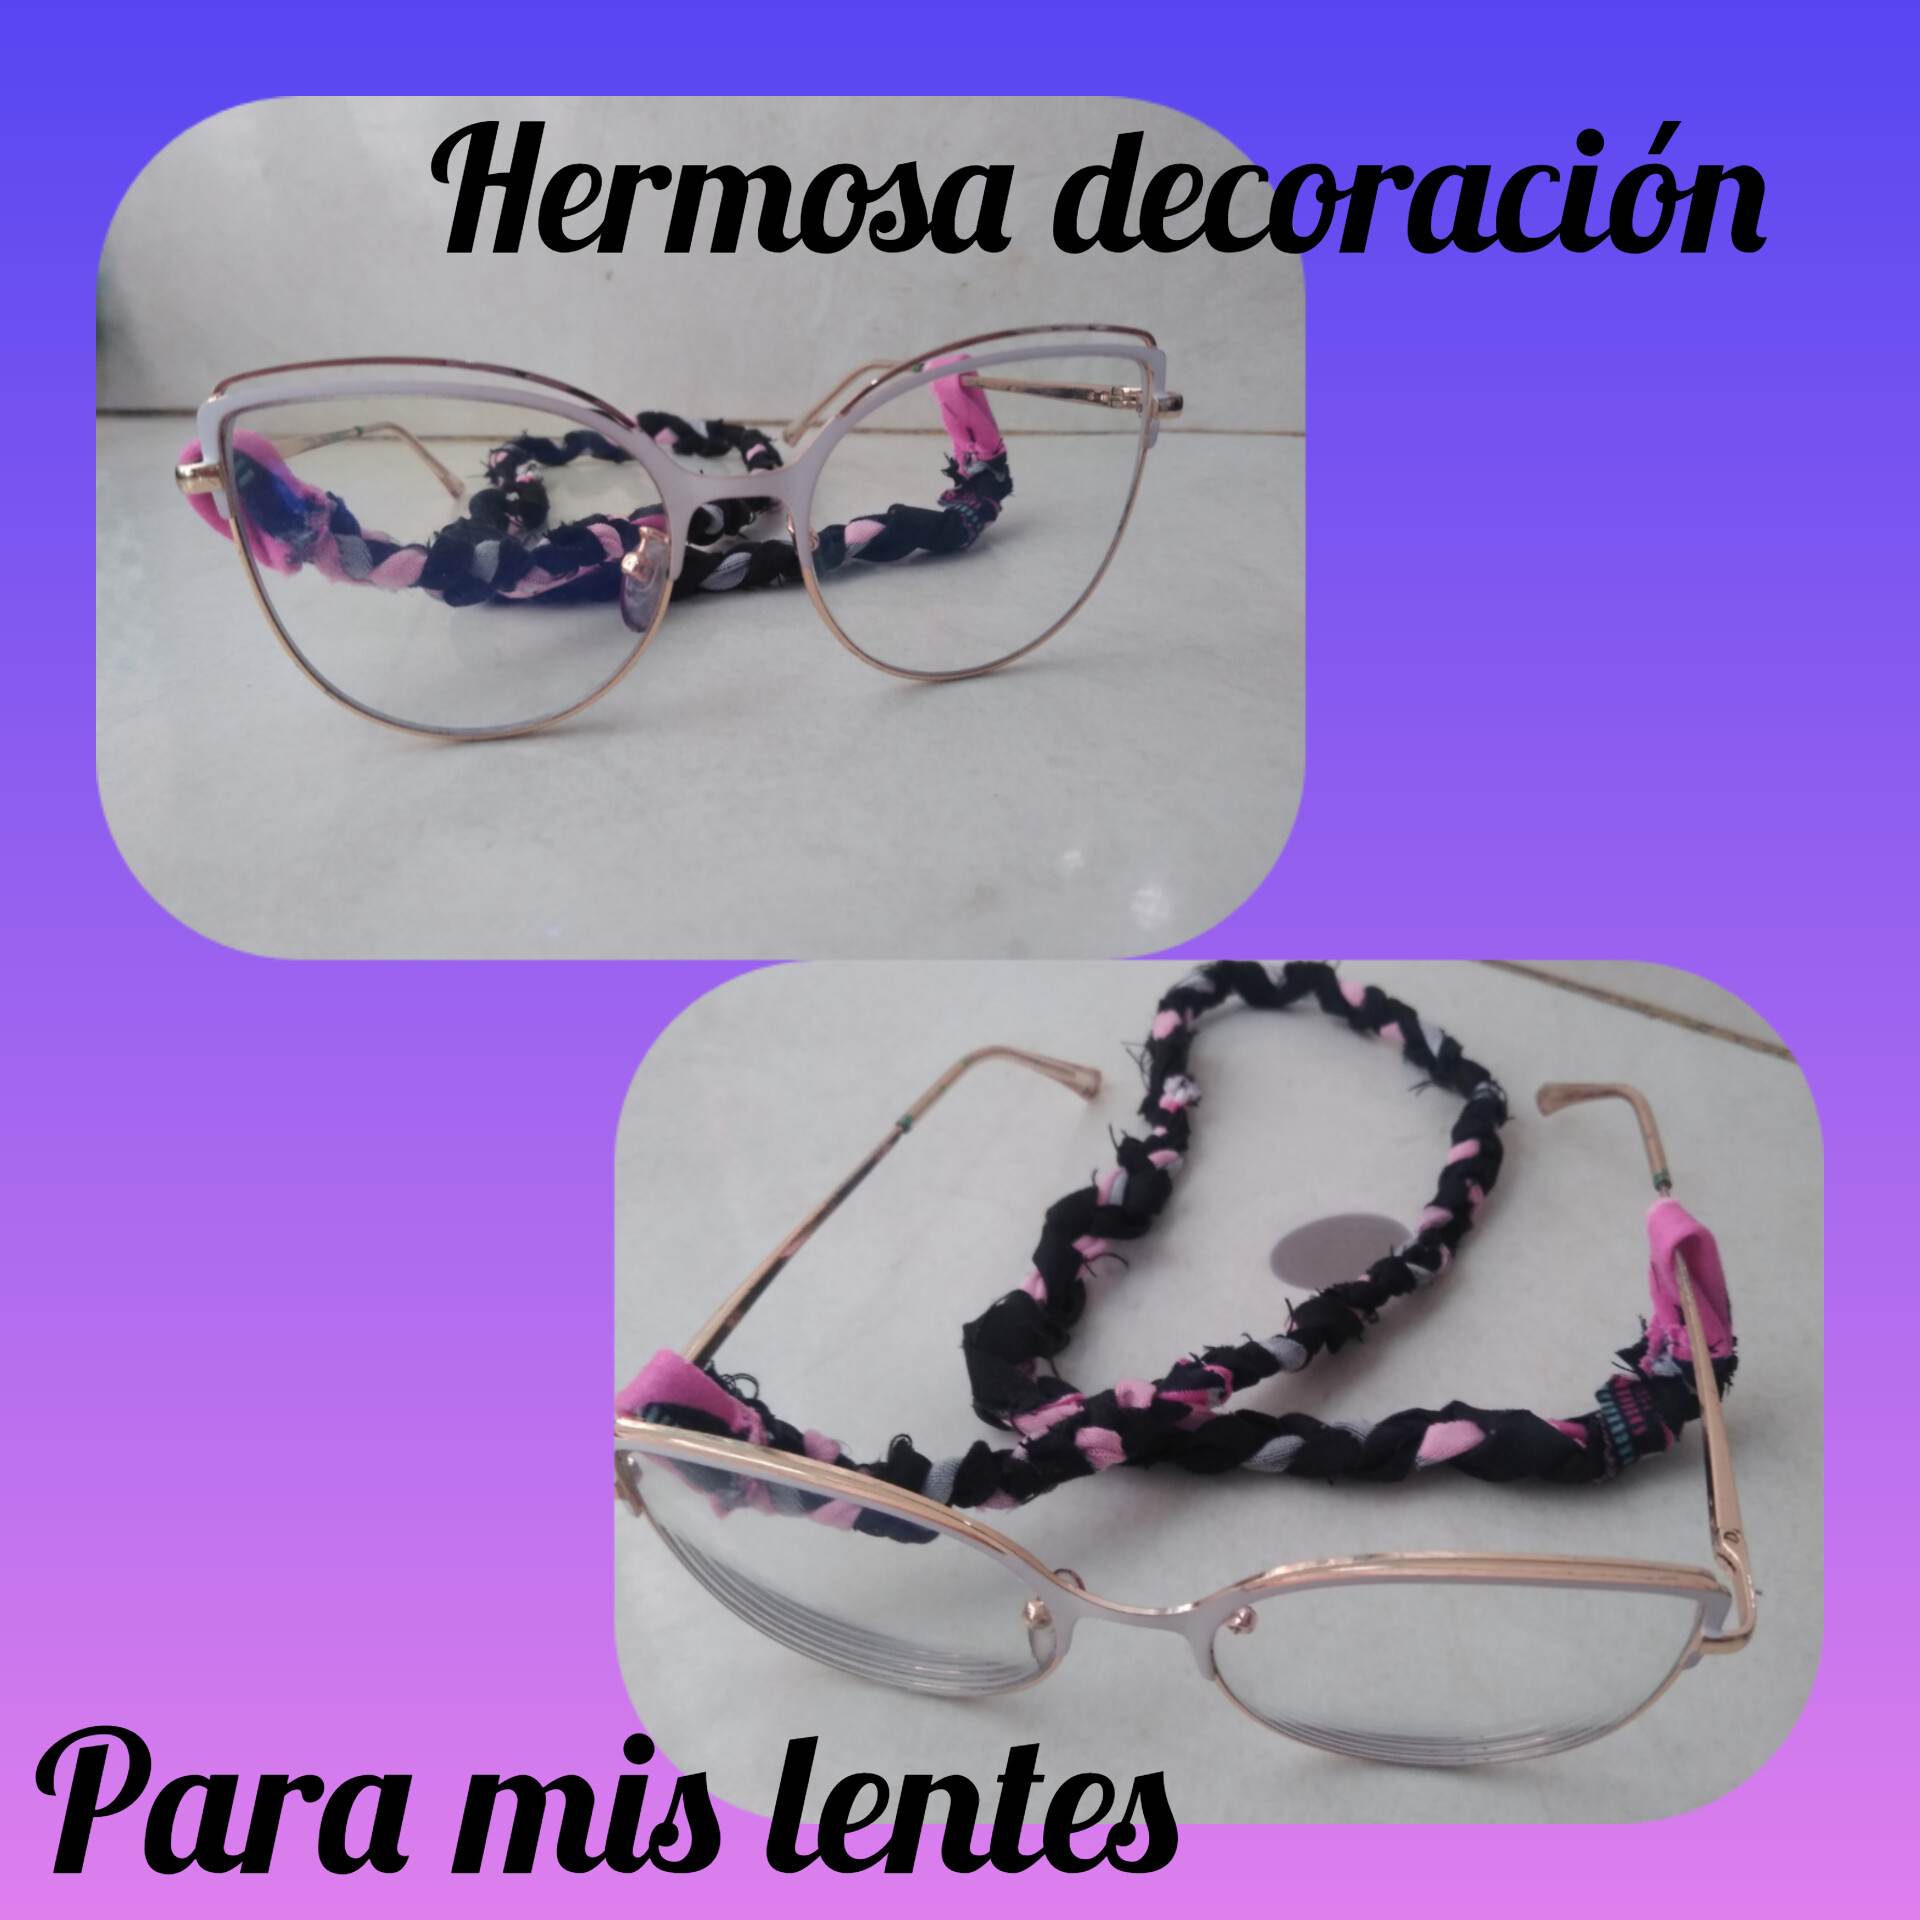
Hello friends of hive, welcome once again to my blog, I am happy that you can be part of each of the experiences that I share through this beautiful community for each of you, today I want to show you a decoration that I made for my glasses, this will draw much more attention of people and help us to be different in the midst of a very common society. What I did was that with fabric I made a braid woven and sewn at both ends by two holes that allow us to hang the braid of the glasses, this braid combined by two colors are my new creation so let's see the step by step.
.jpg)
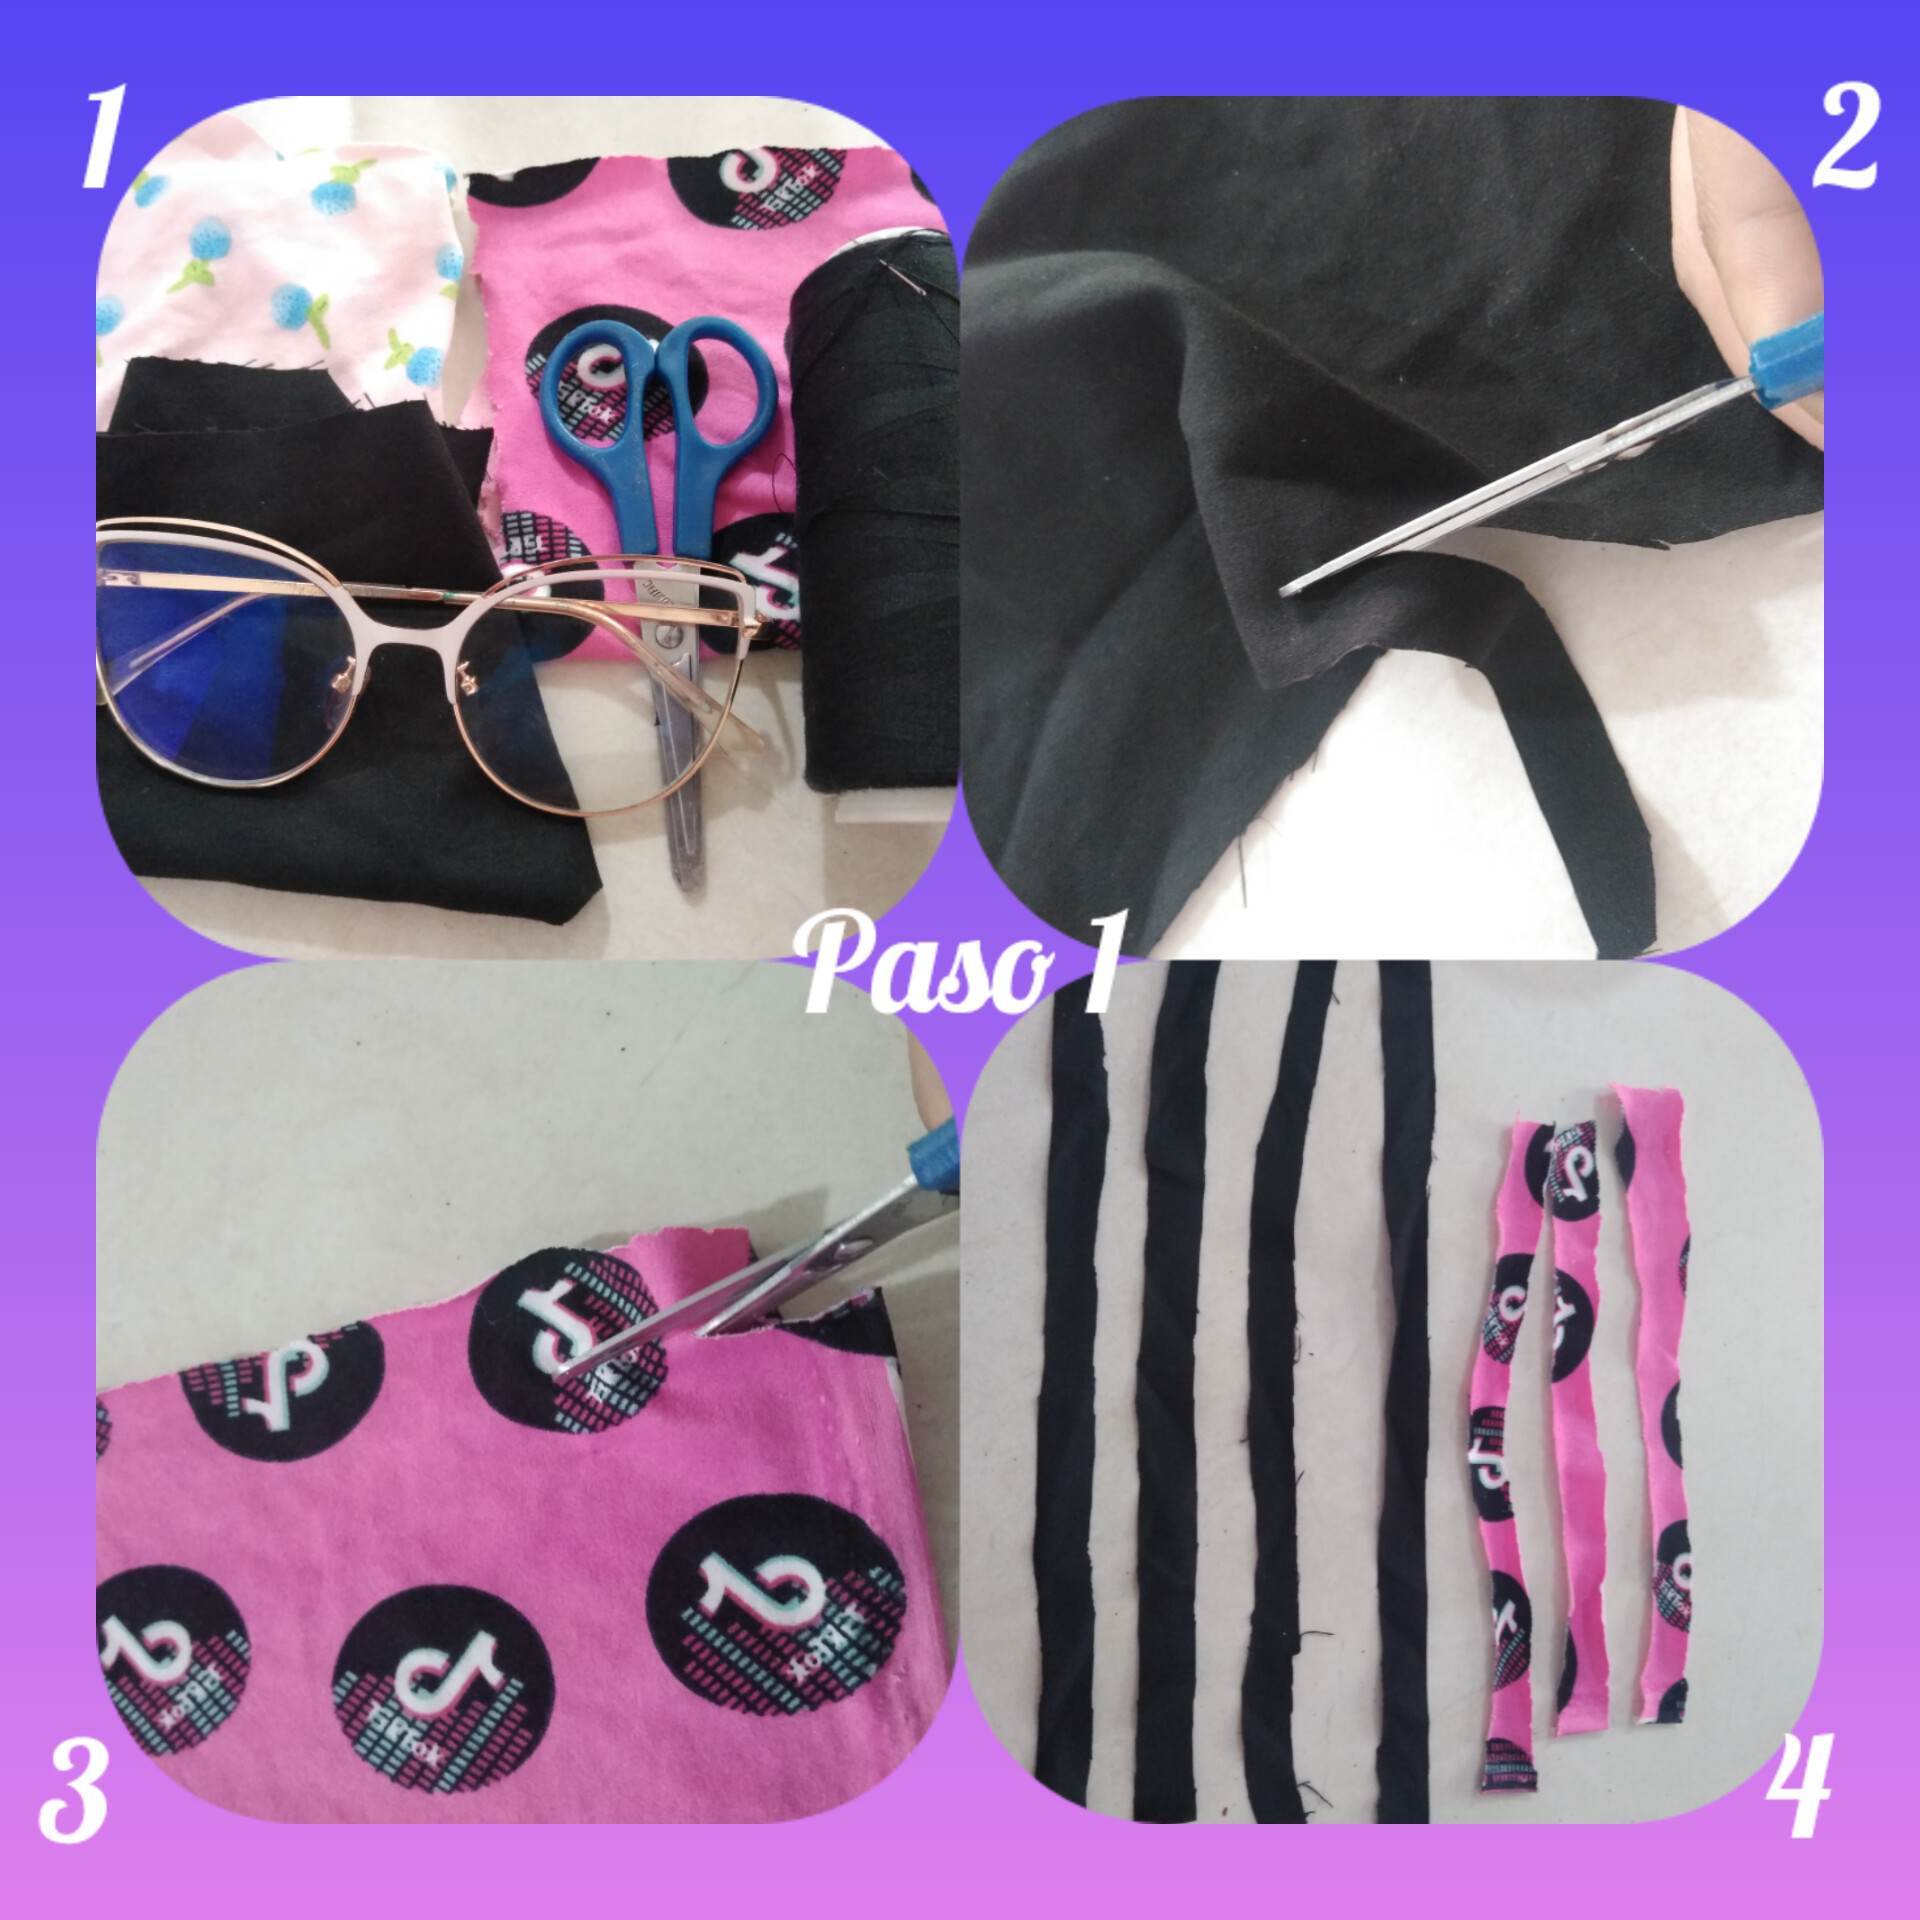
Paso 1: para realizar esta maravillosa creación vamos a necesitar tela suave que se pueda tejer en una trenza, en este caso yo elegí una tela negra y una tela rosada muy suaves. Lo primero que haremos será cortar tiras, ya que los retazos de tela que elegí no son tan largos entonces cortaré tiras que luego uniré a lo largo, bien sabemos que para hacer una trenza vamos a necesitar tres tiras con las que vamos a tejer, esto es para comenzar.
Step 1: to make this wonderful creation we are going to need soft fabric that can be woven into a braid, in this case I chose a very soft black fabric and a very soft pink fabric. The first thing we will do will be to cut strips, since the fabric scraps I chose are not so long then I will cut strips that I will then join lengthwise, well we know that to make a braid we will need three strips with which we are going to weave, this is to start with.
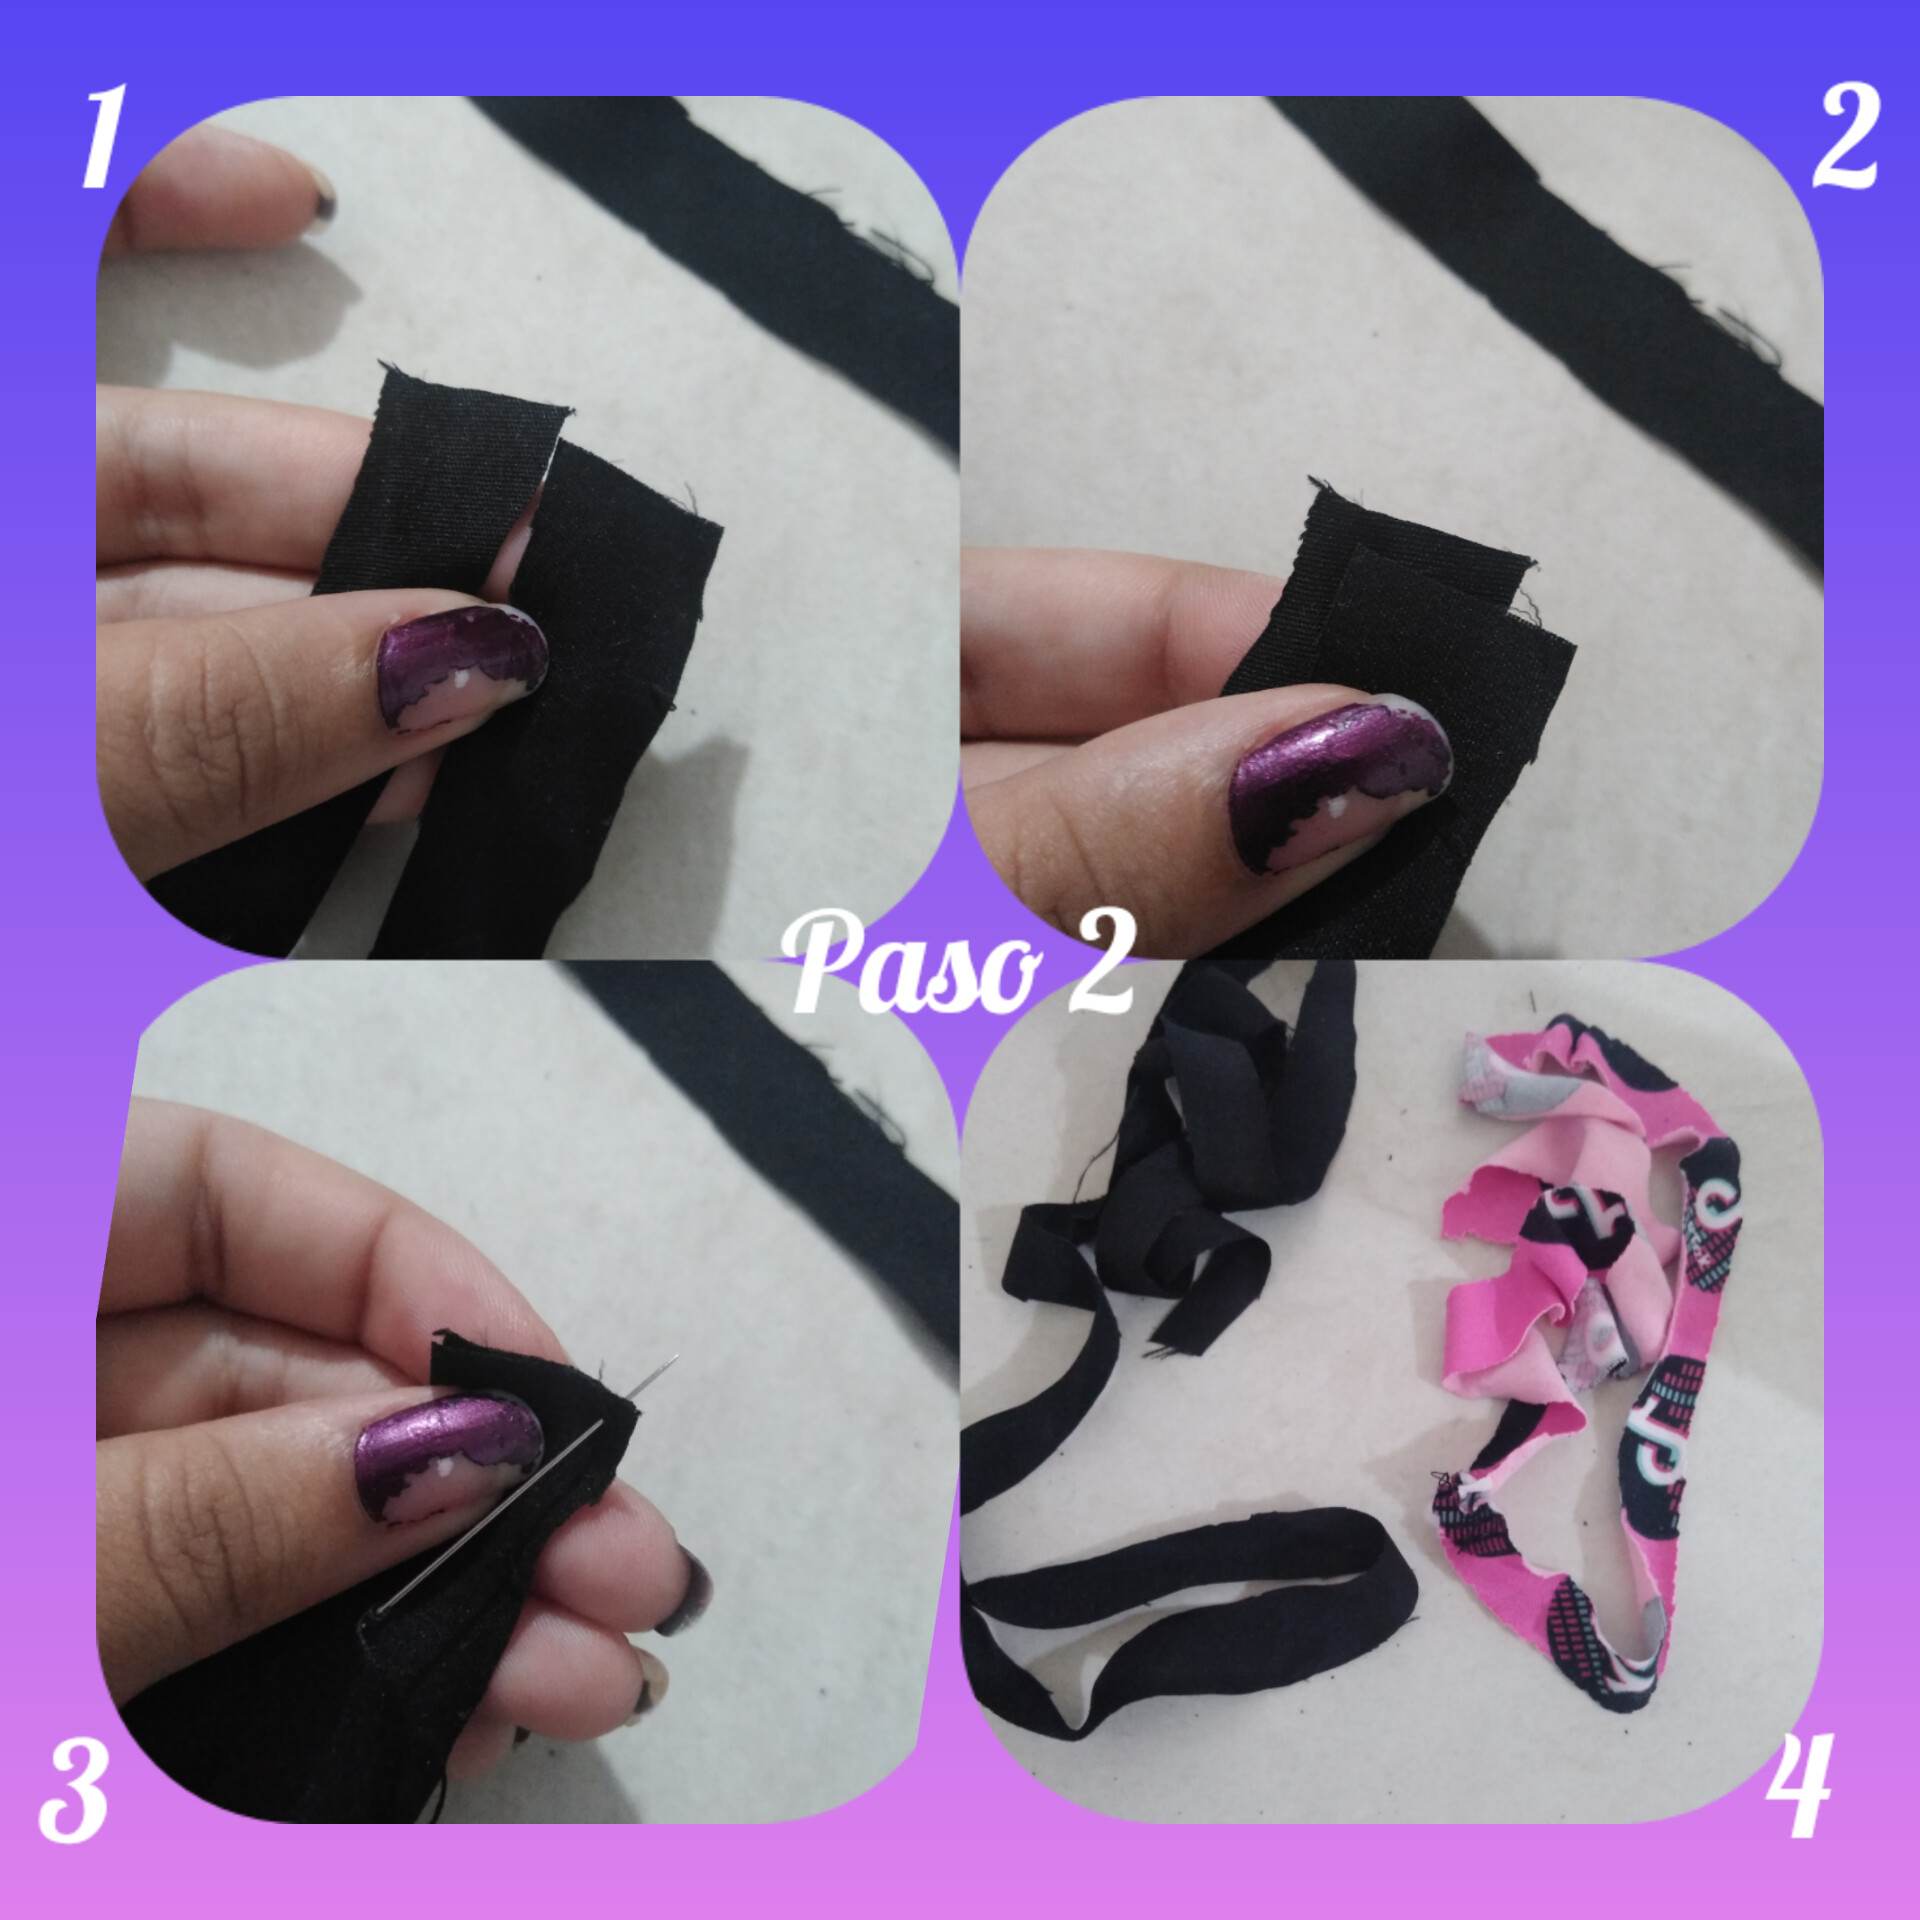
Paso 2: lo siguiente que haremos será unir las dos puntas que coseremos para poder realizar la trenza, unimos ambos extremos los cuales coseremos para que se extiendan y sean mas largo ya que la trenza necesita ser larga para que pueda llegar de un extremo al otro, entonces coseremos estas puntas y así quedarán nuestras tiras ya largas para comenzar a tejer la trenza.
Step 2: the next thing we will do will be to join the two ends that we will sew to make the braid, we join both ends which we will sew so that they extend and are longer since the braid needs to be long so that it can reach from one end to the other, then we will sew these ends and thus our strips will be already long to begin to weave the braid.
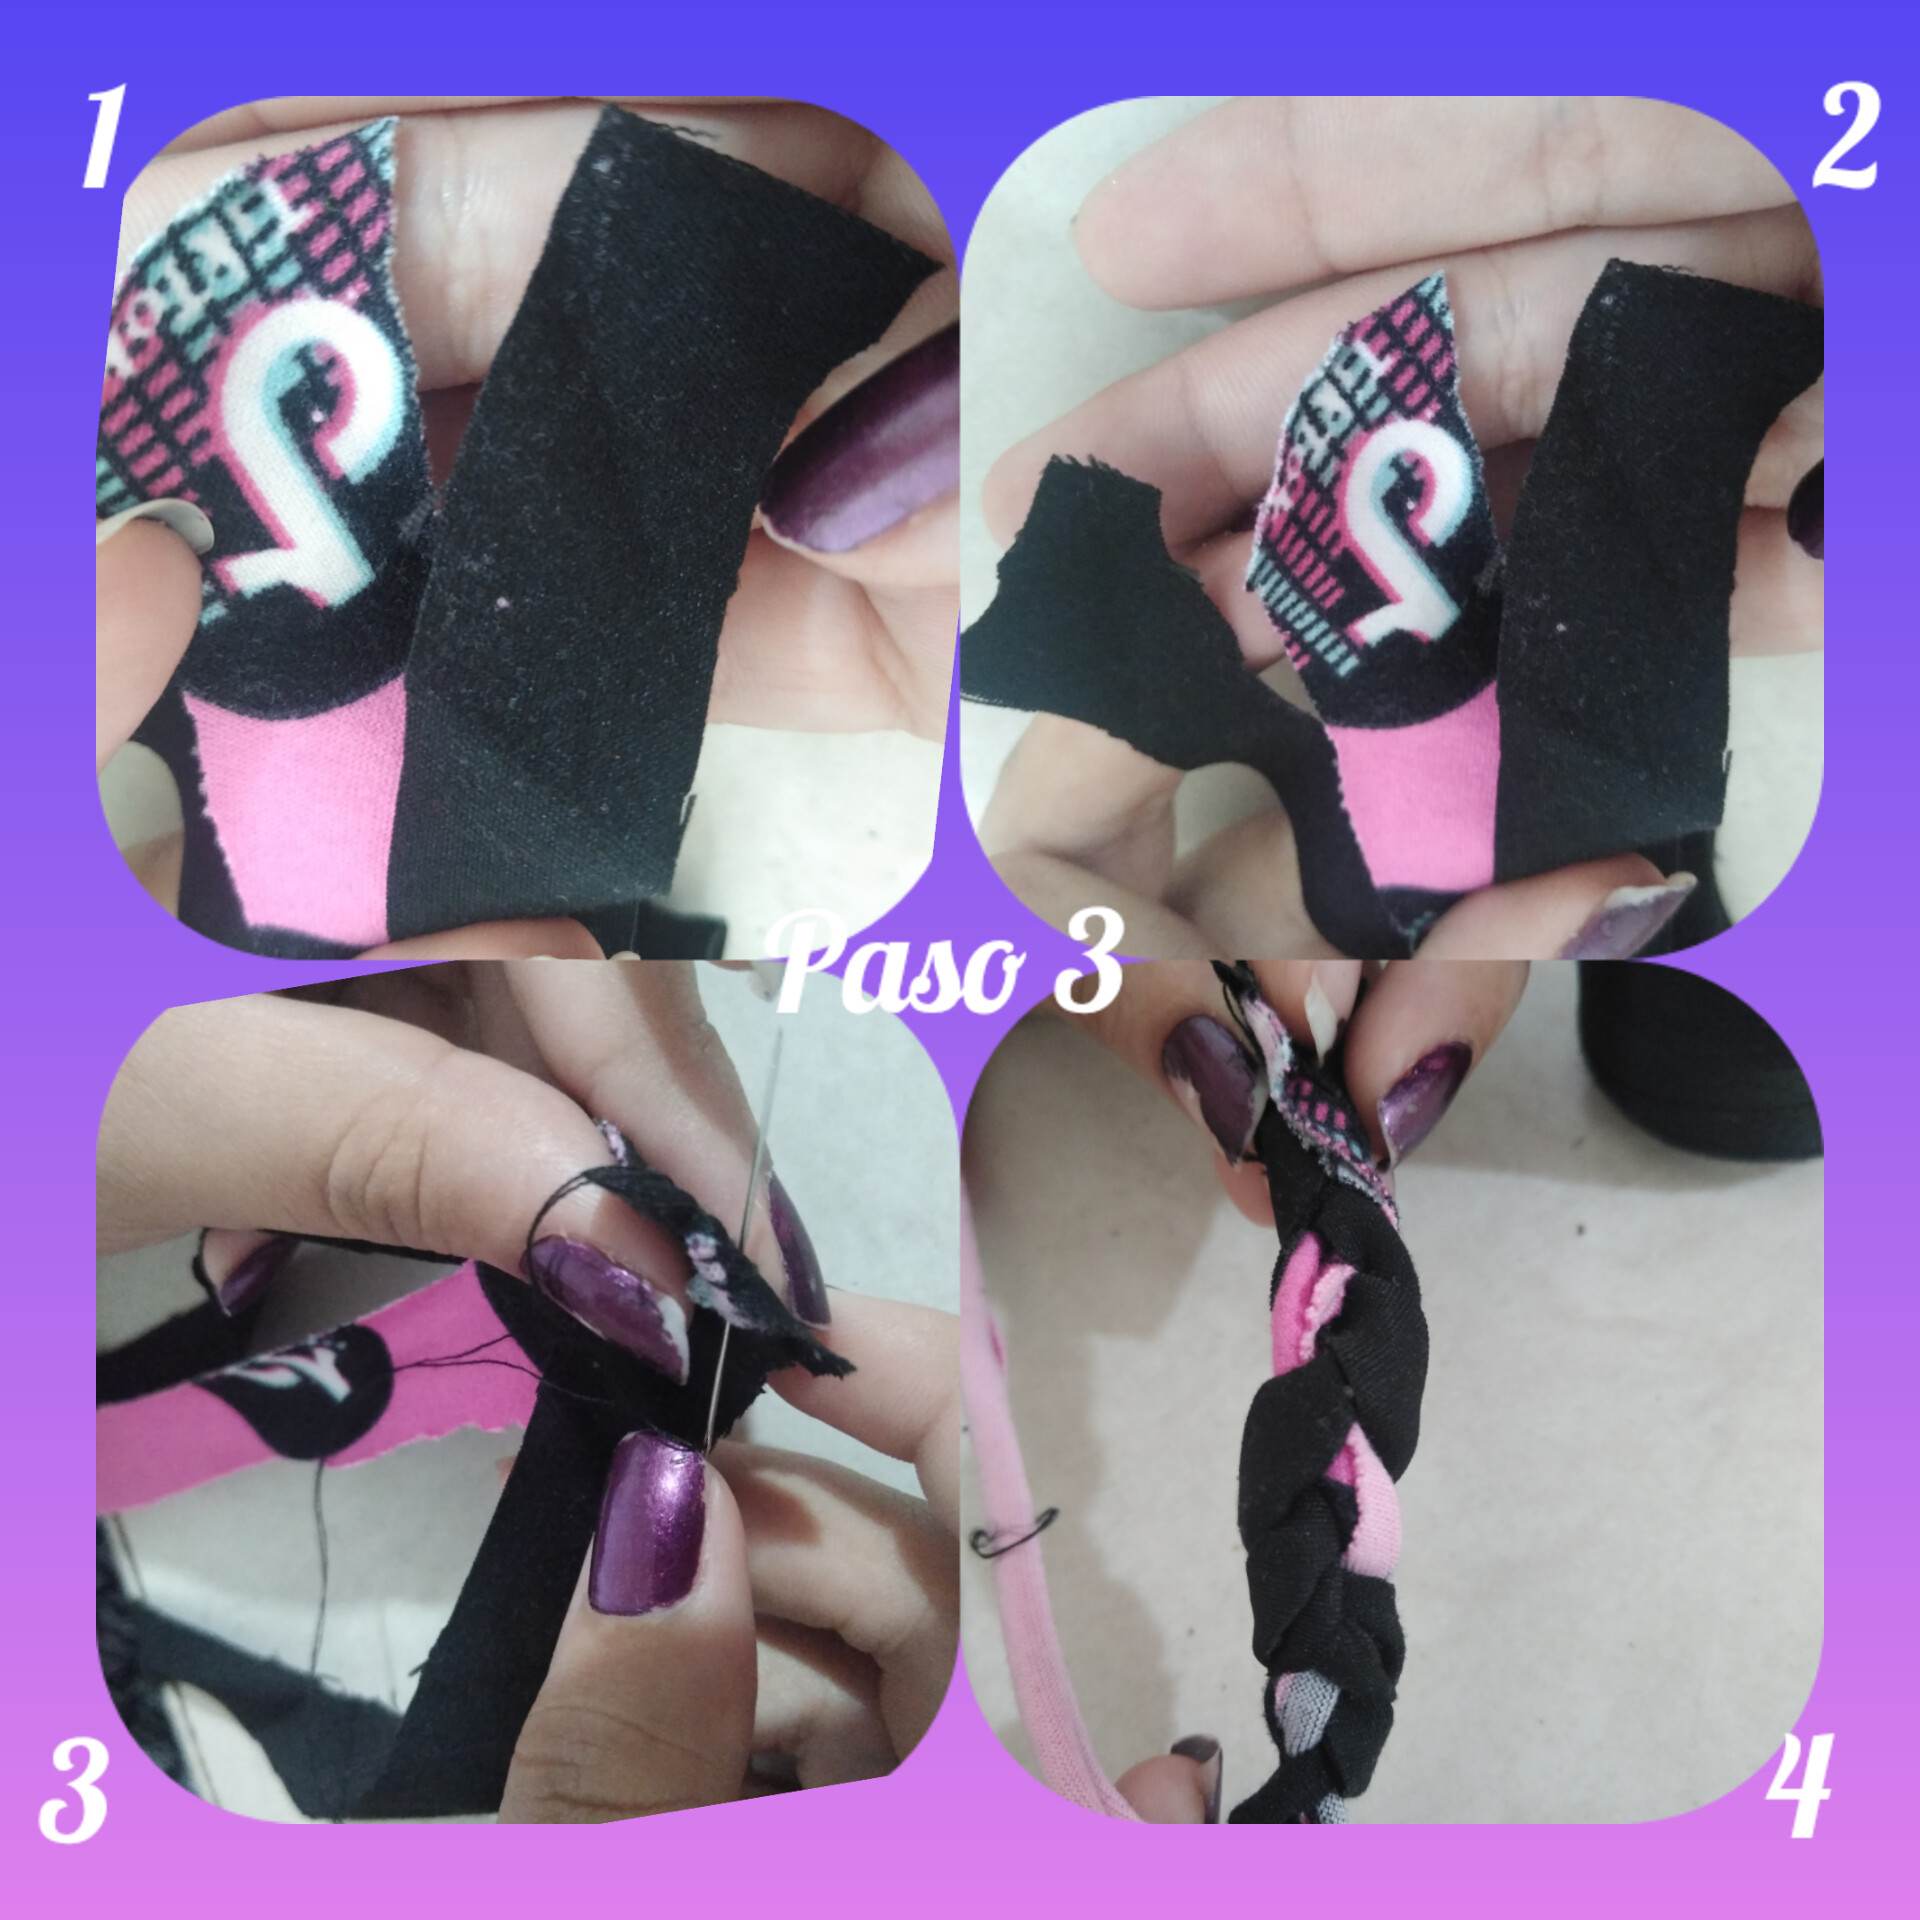
Paso 3: Lo que haremos ahora será unir las puntas de las tres tiras que usaremos para comenzar a tejer nuestra trenza, al unir estos extremos lo que haremos será coser por supuesto aquí en estos 3 extremos para asegurar que la trenza no se vaya a desarmar. Ya habiendo cosido la punta procederemos a hacer la trenza como si estuviéramos cosiendo una trenza en el cabello.
Step 3: What we will do now is to join the ends of the three strips that we will use to start weaving our braid, when we join these ends what we will do is sew of course here at these 3 ends to ensure that the braid will not fall apart. Having sewn the end we will proceed to make the braid as if we were sewing a braid in the hair.
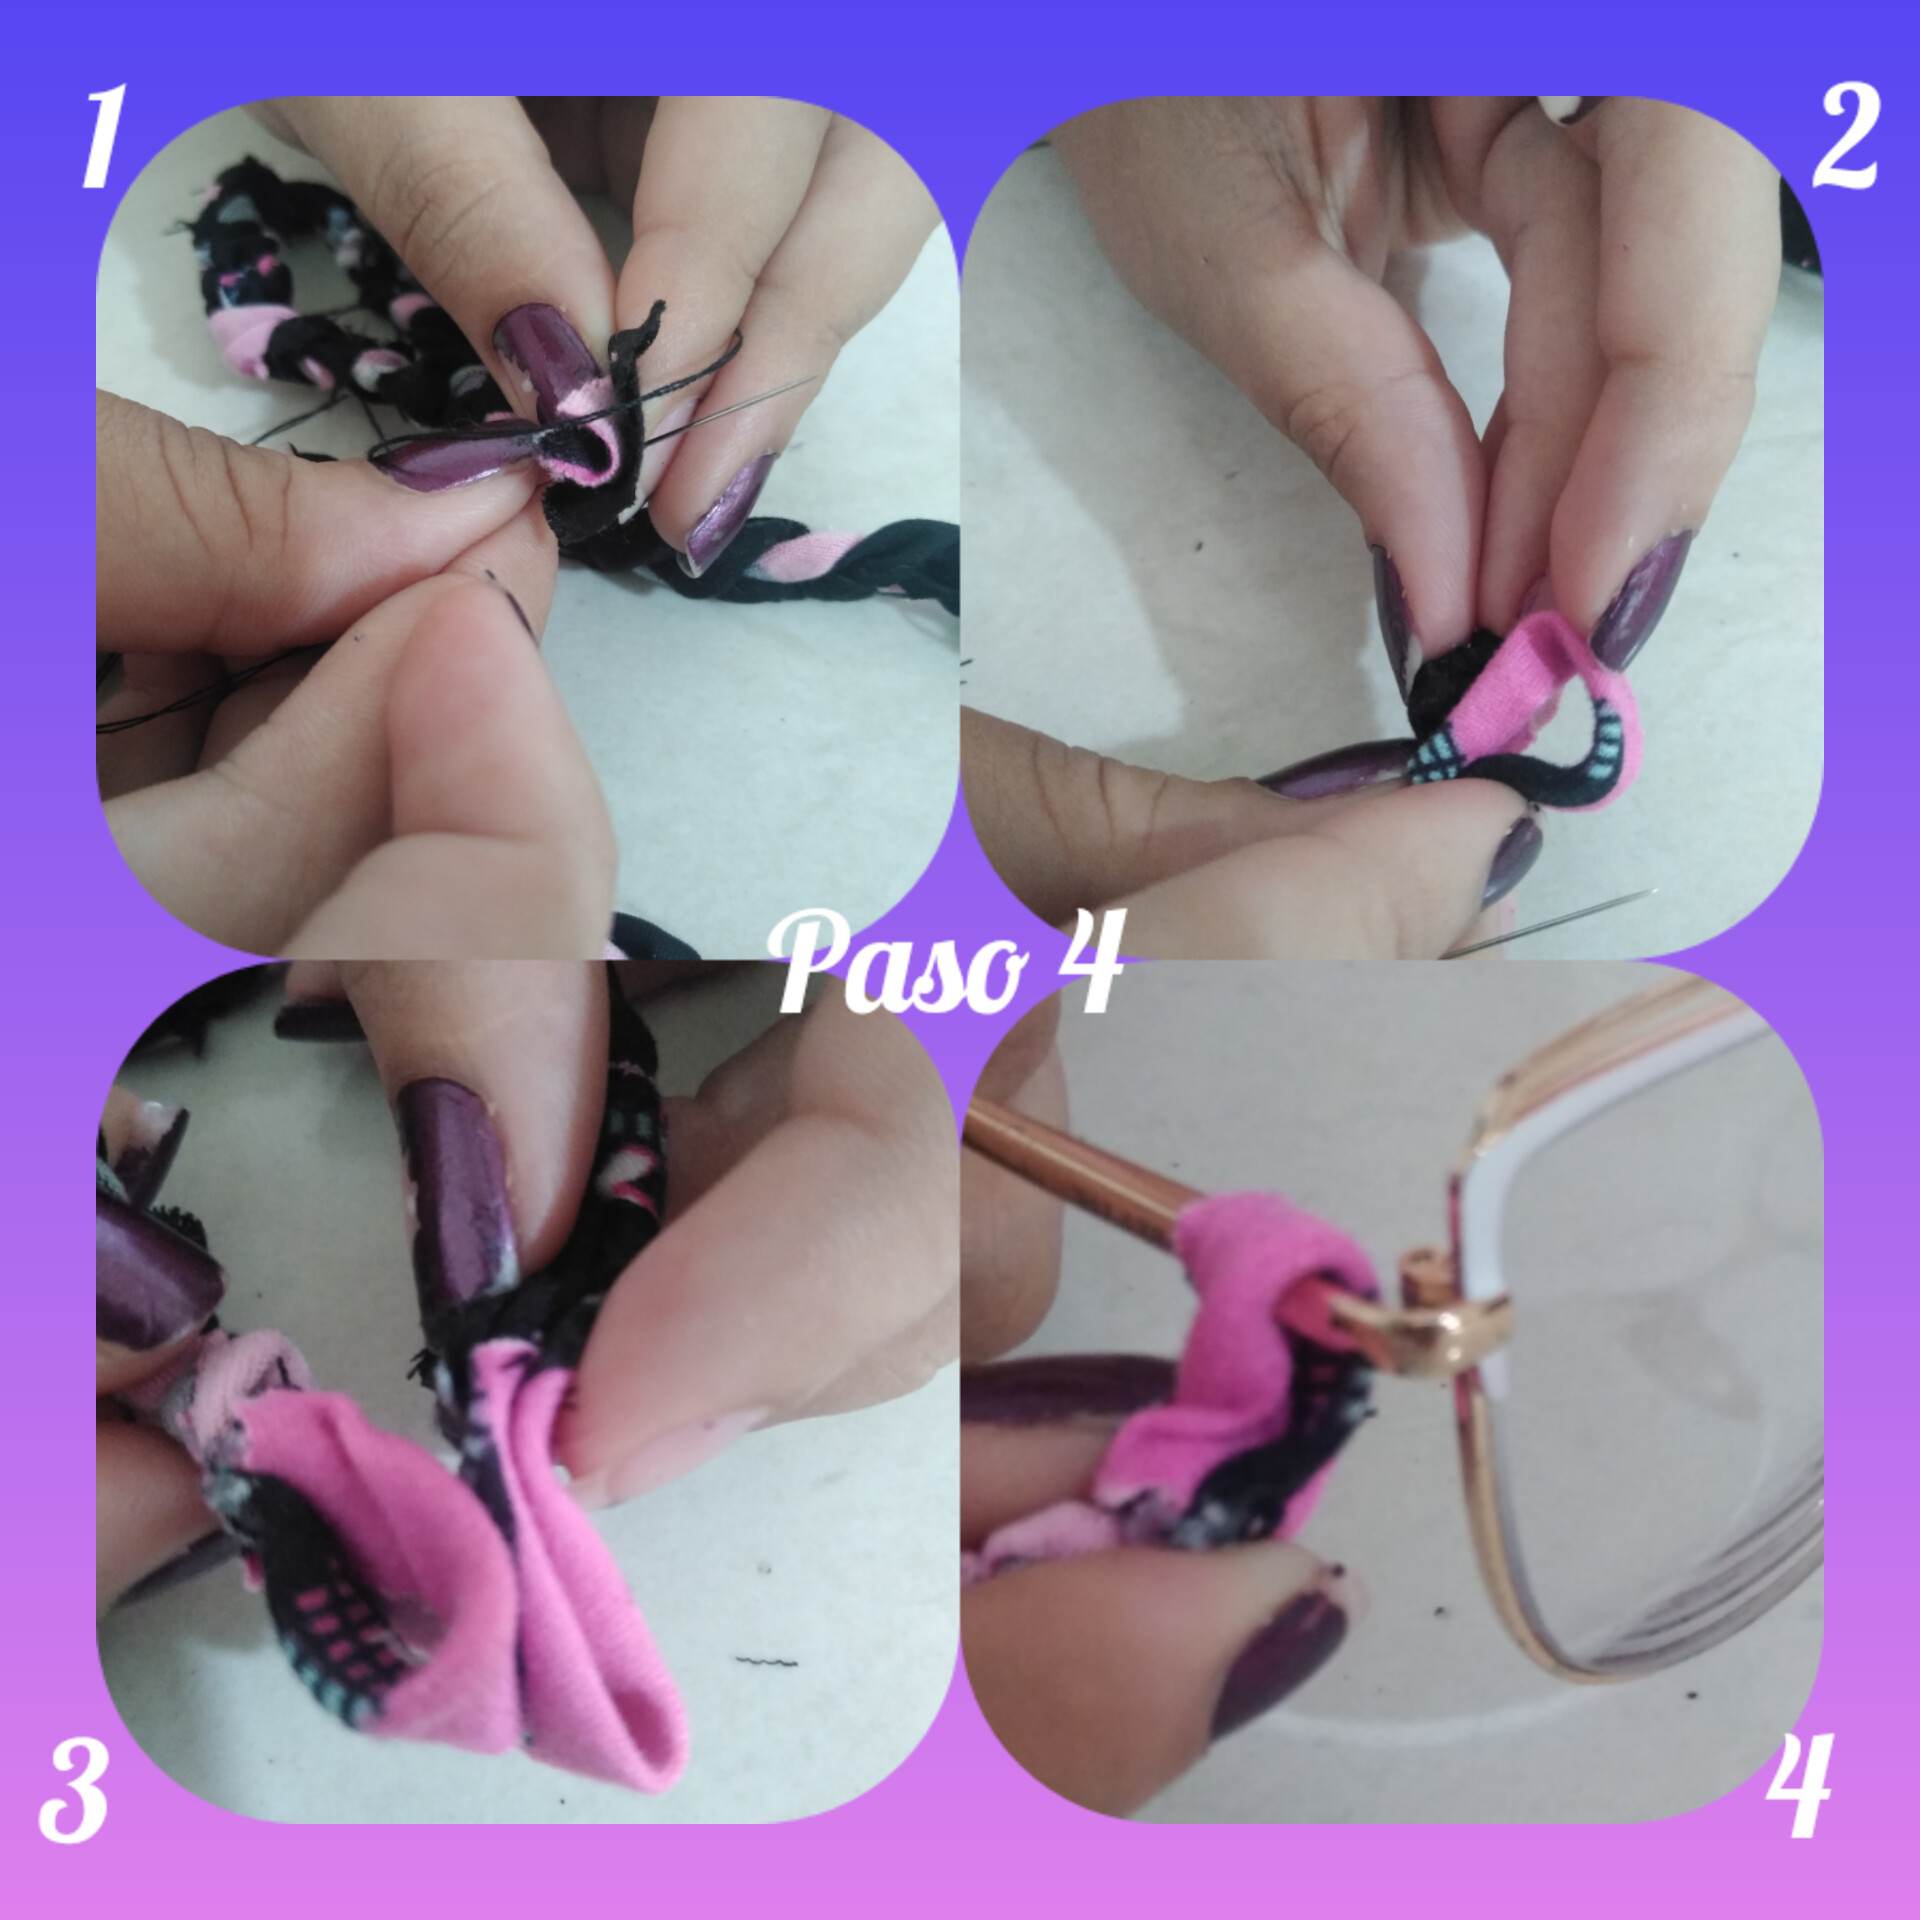
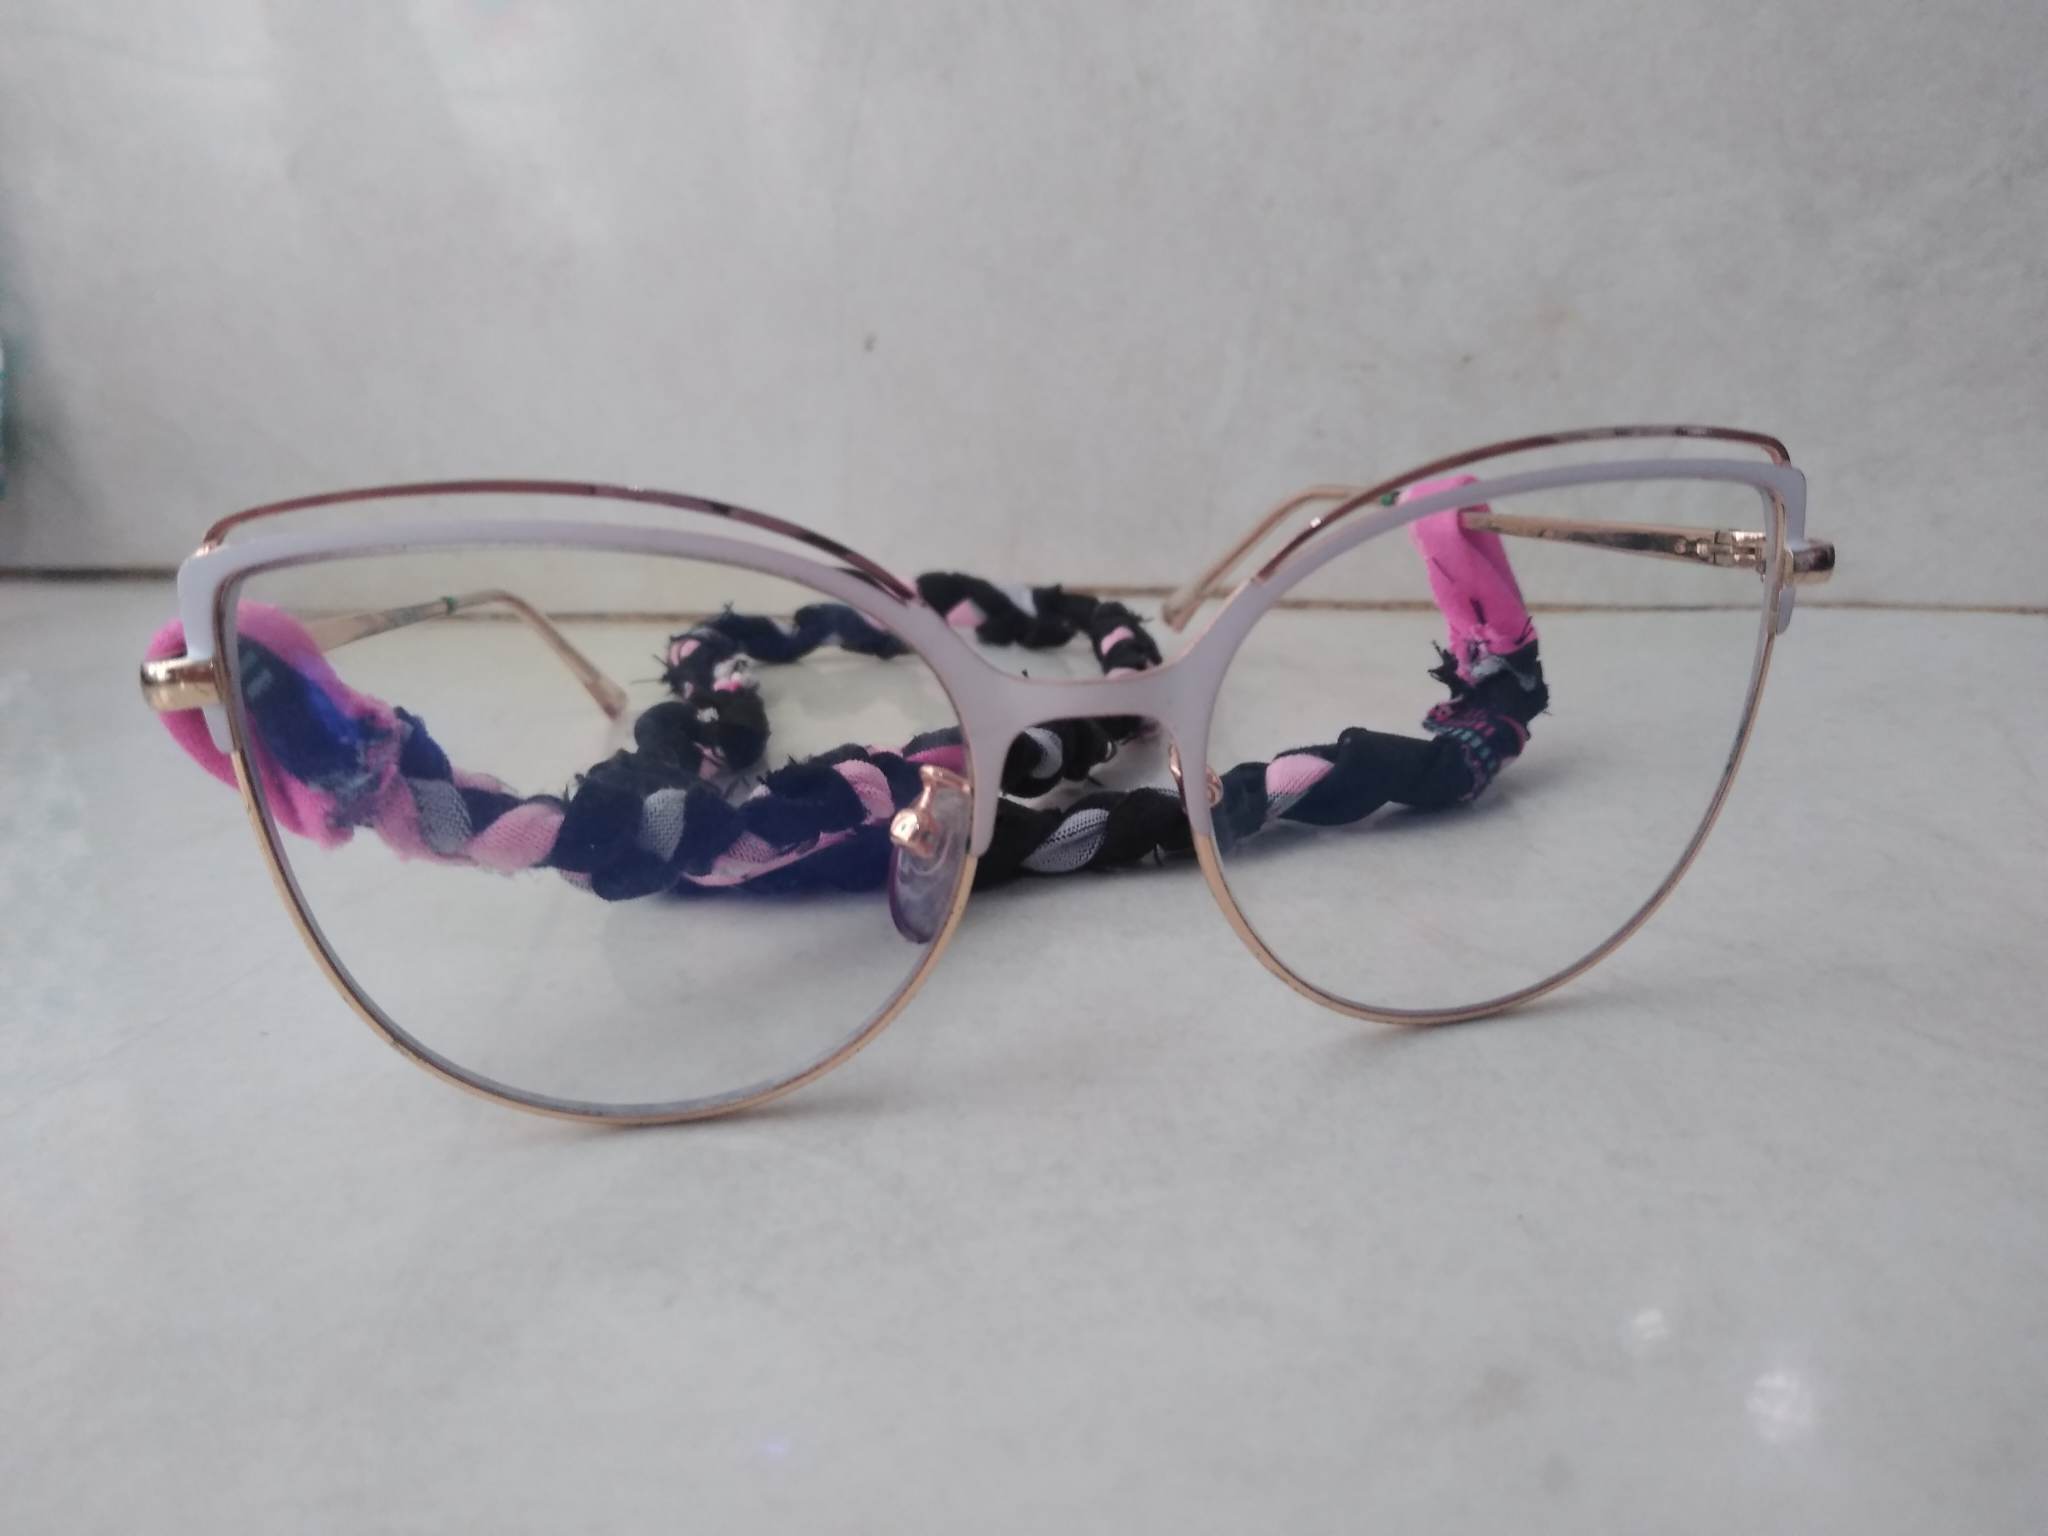
Paso 4: Luego de haber cosido la trenza hasta su final lo que haremos será coser también el otro extremo de la trenza para asegurar su unidad. Recordando que solo es una trenza que dará la vuelta por detrás de nuestra nuca hasta el otro extremos del lente, por último haremos dos agujeros en tela los cuales nos apoyarán para poder sujetar las trenzas del lente, los coseremos individualmente para luego coserlos a los extremos de la trenza, cosemos y luego vamos a colocar la trenza donde debe ir en nuestros lentes.
Step 4: After sewing the braid to its end, we will sew the other end of the braid to ensure its unity. Remembering that it is only a braid that will go around the back of our neck to the other end of the lens, finally we will make two holes in fabric which will support us to hold the braids of the lens, we will sew them individually and then sew them to the ends of the braid, we sew and then we will place the braid where it should go on our glasses.
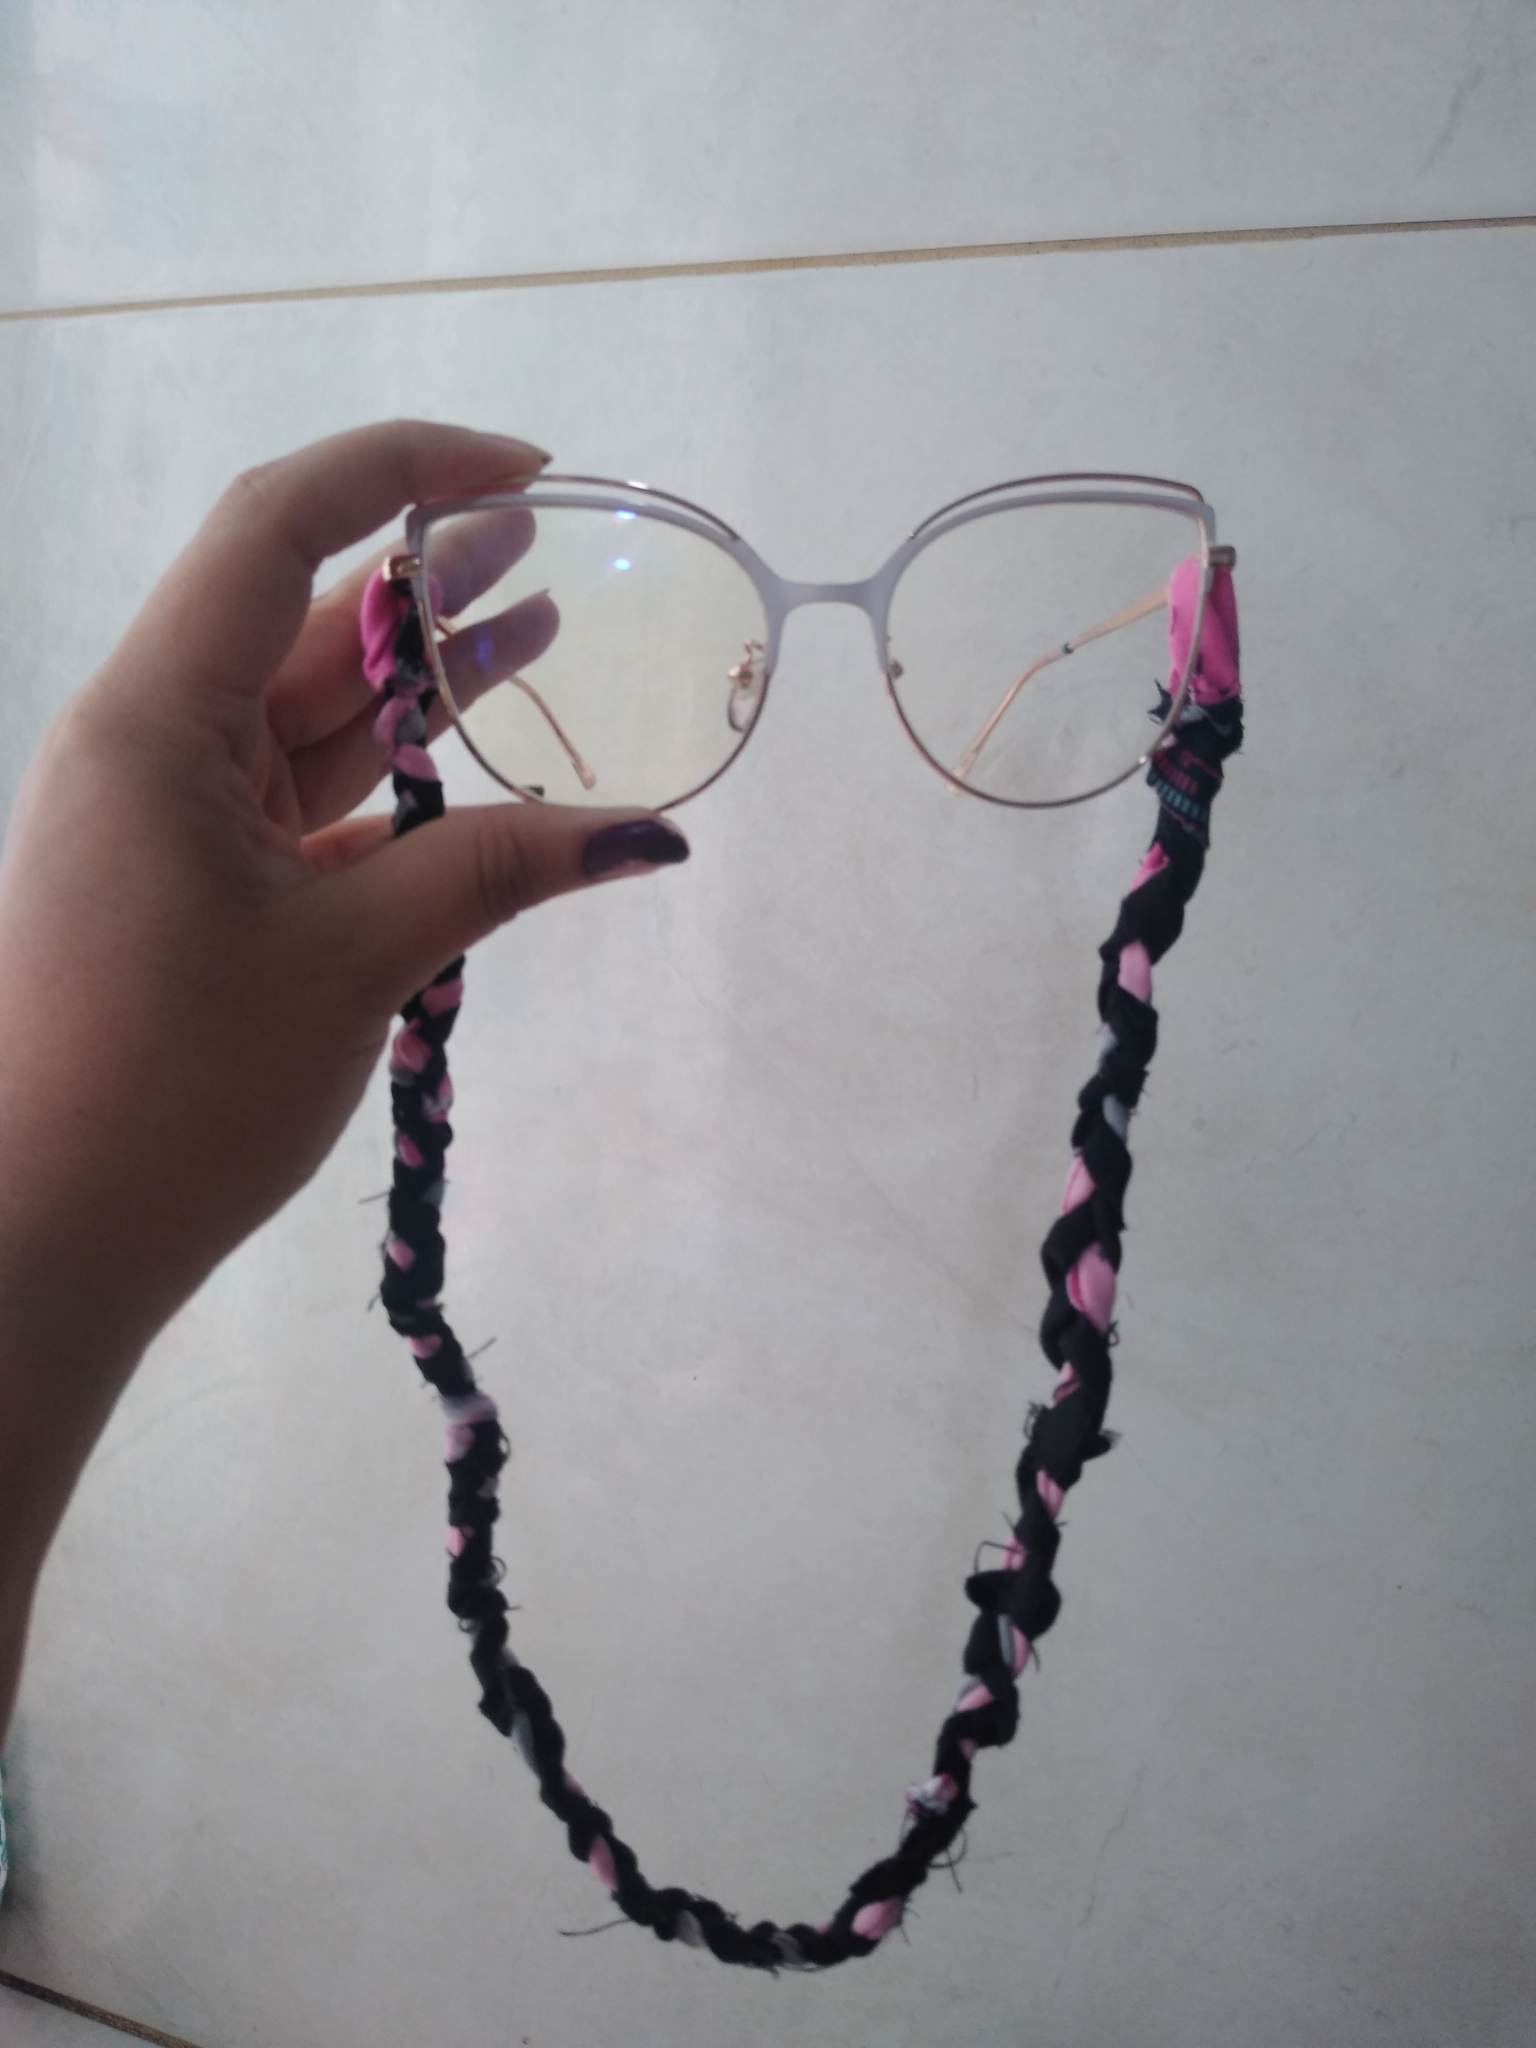
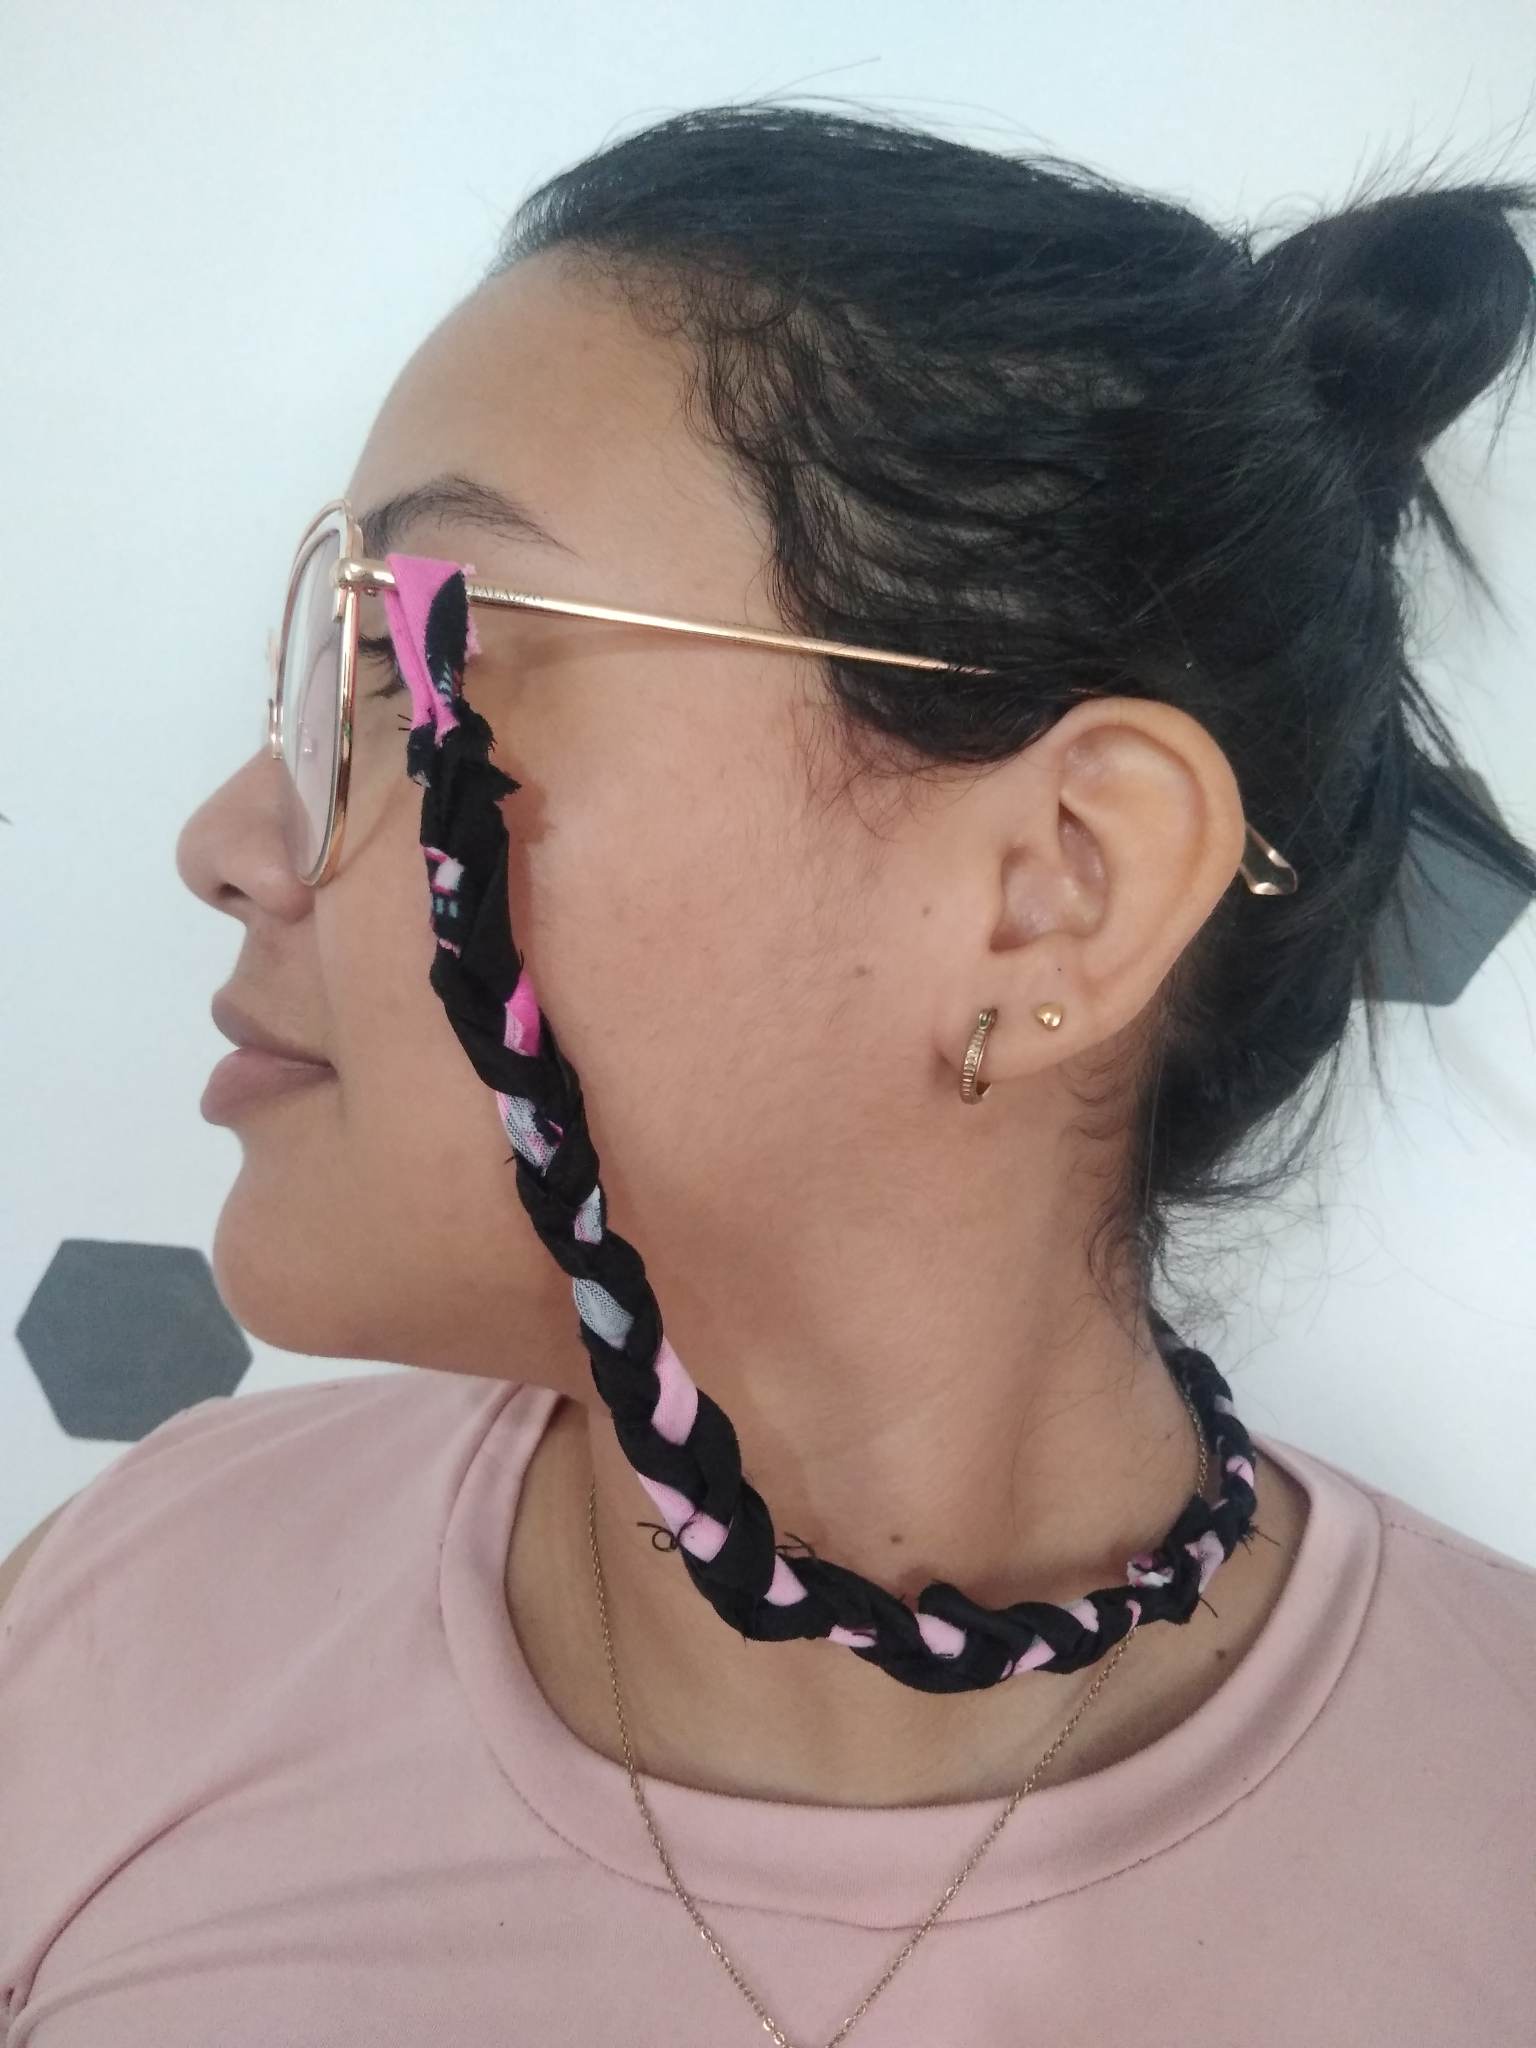
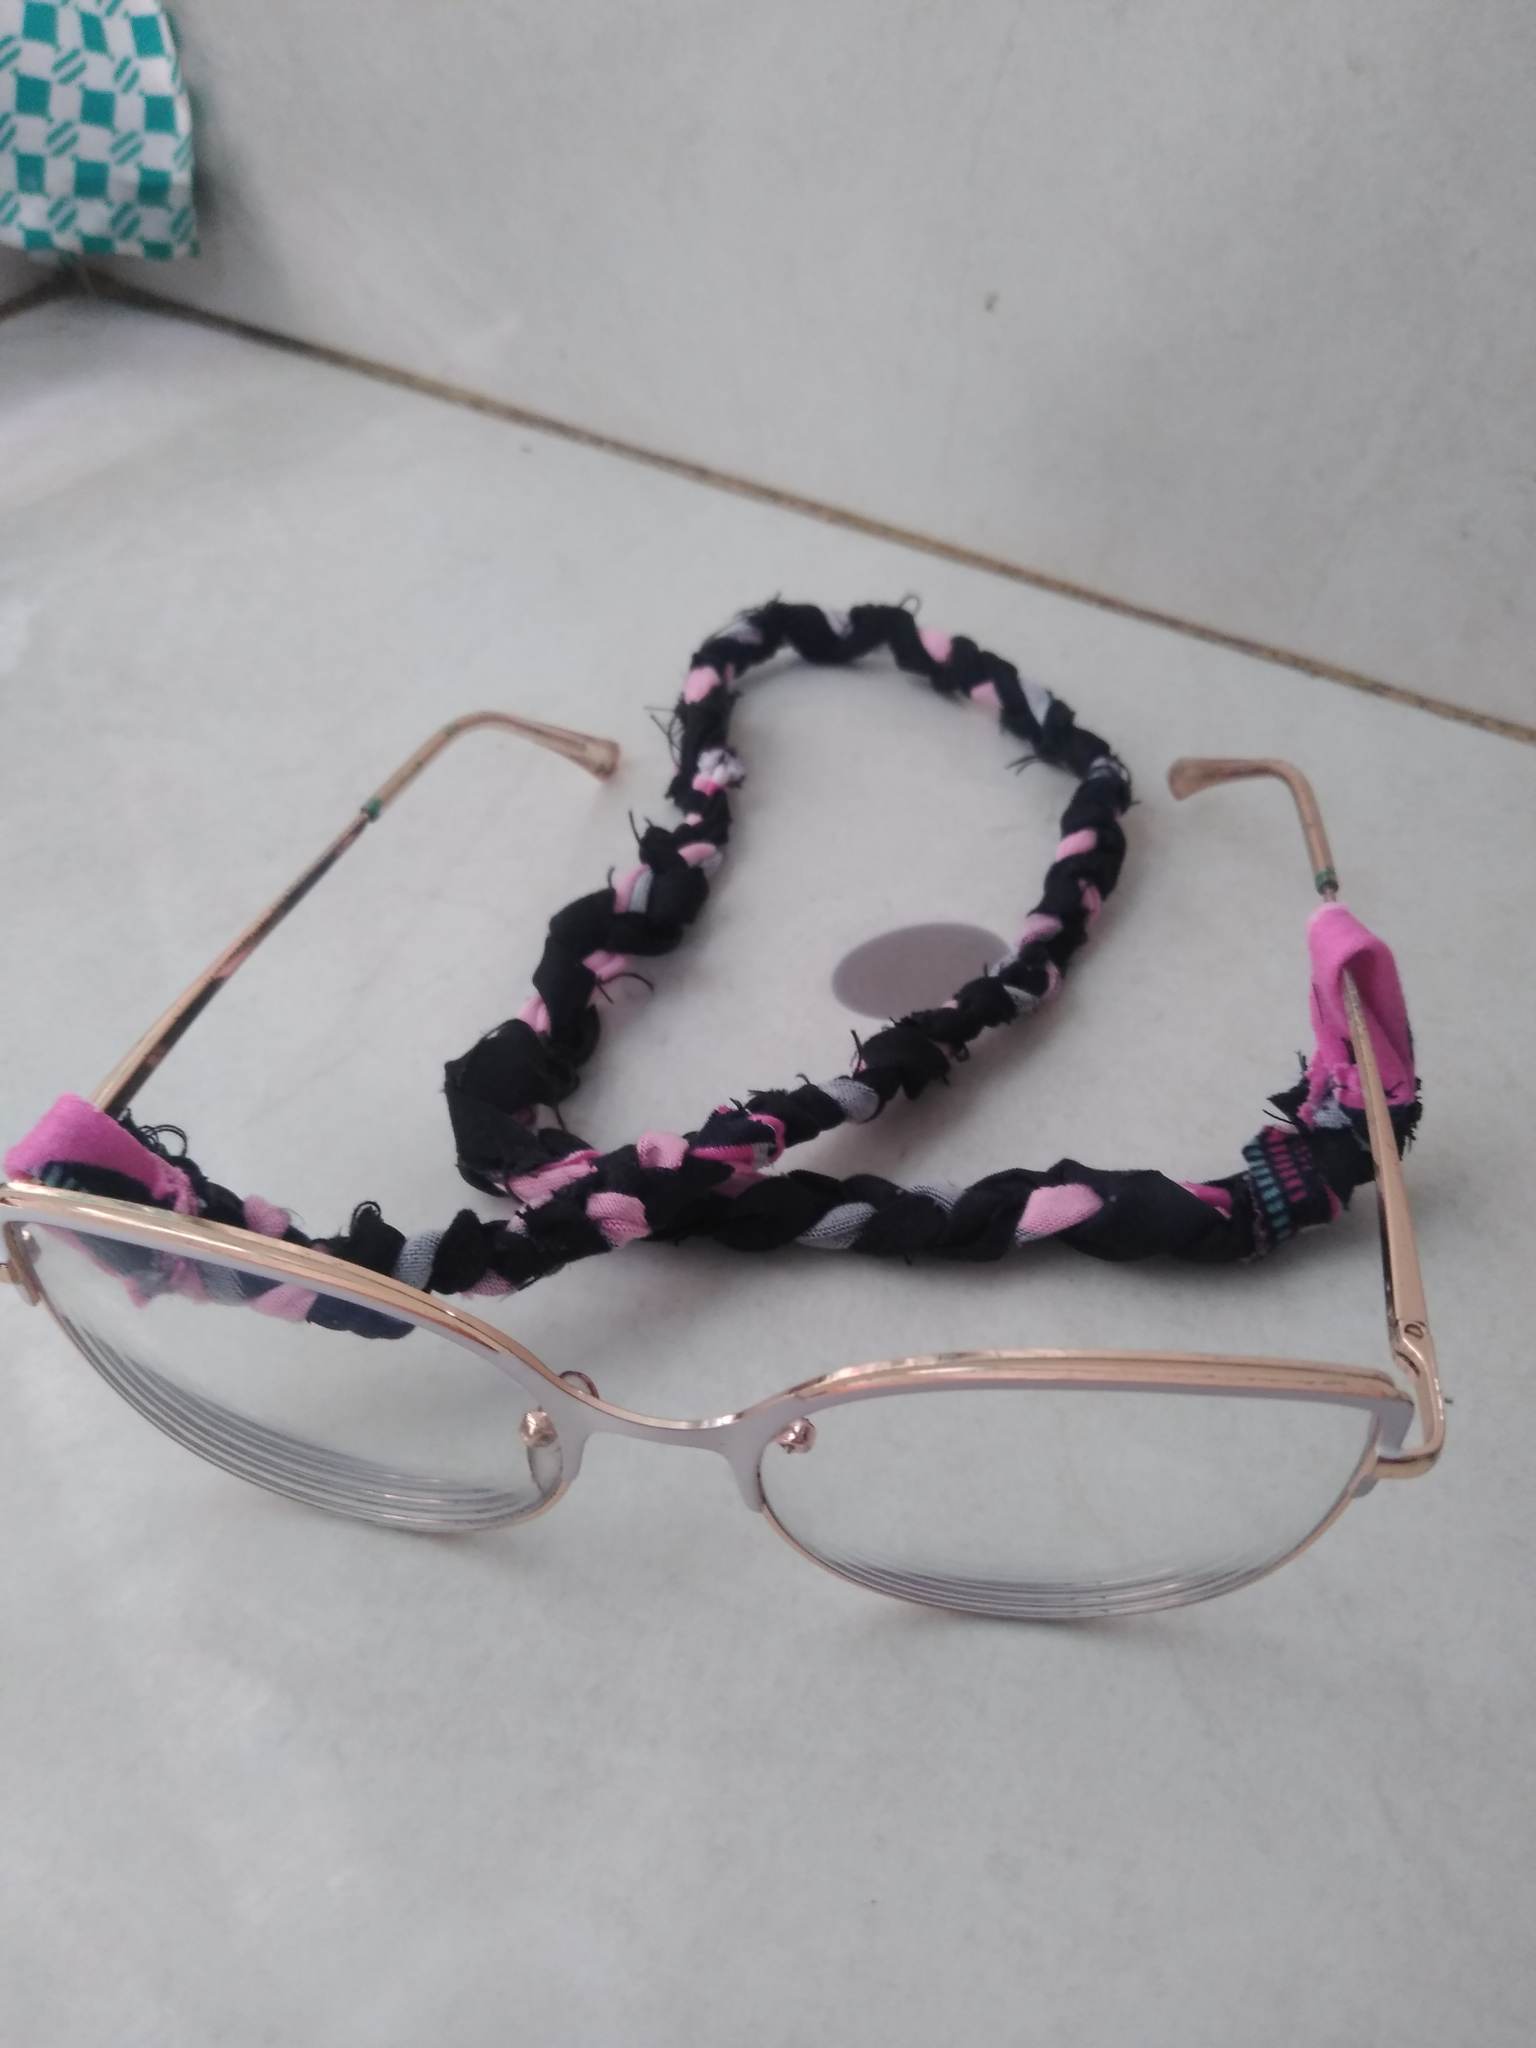
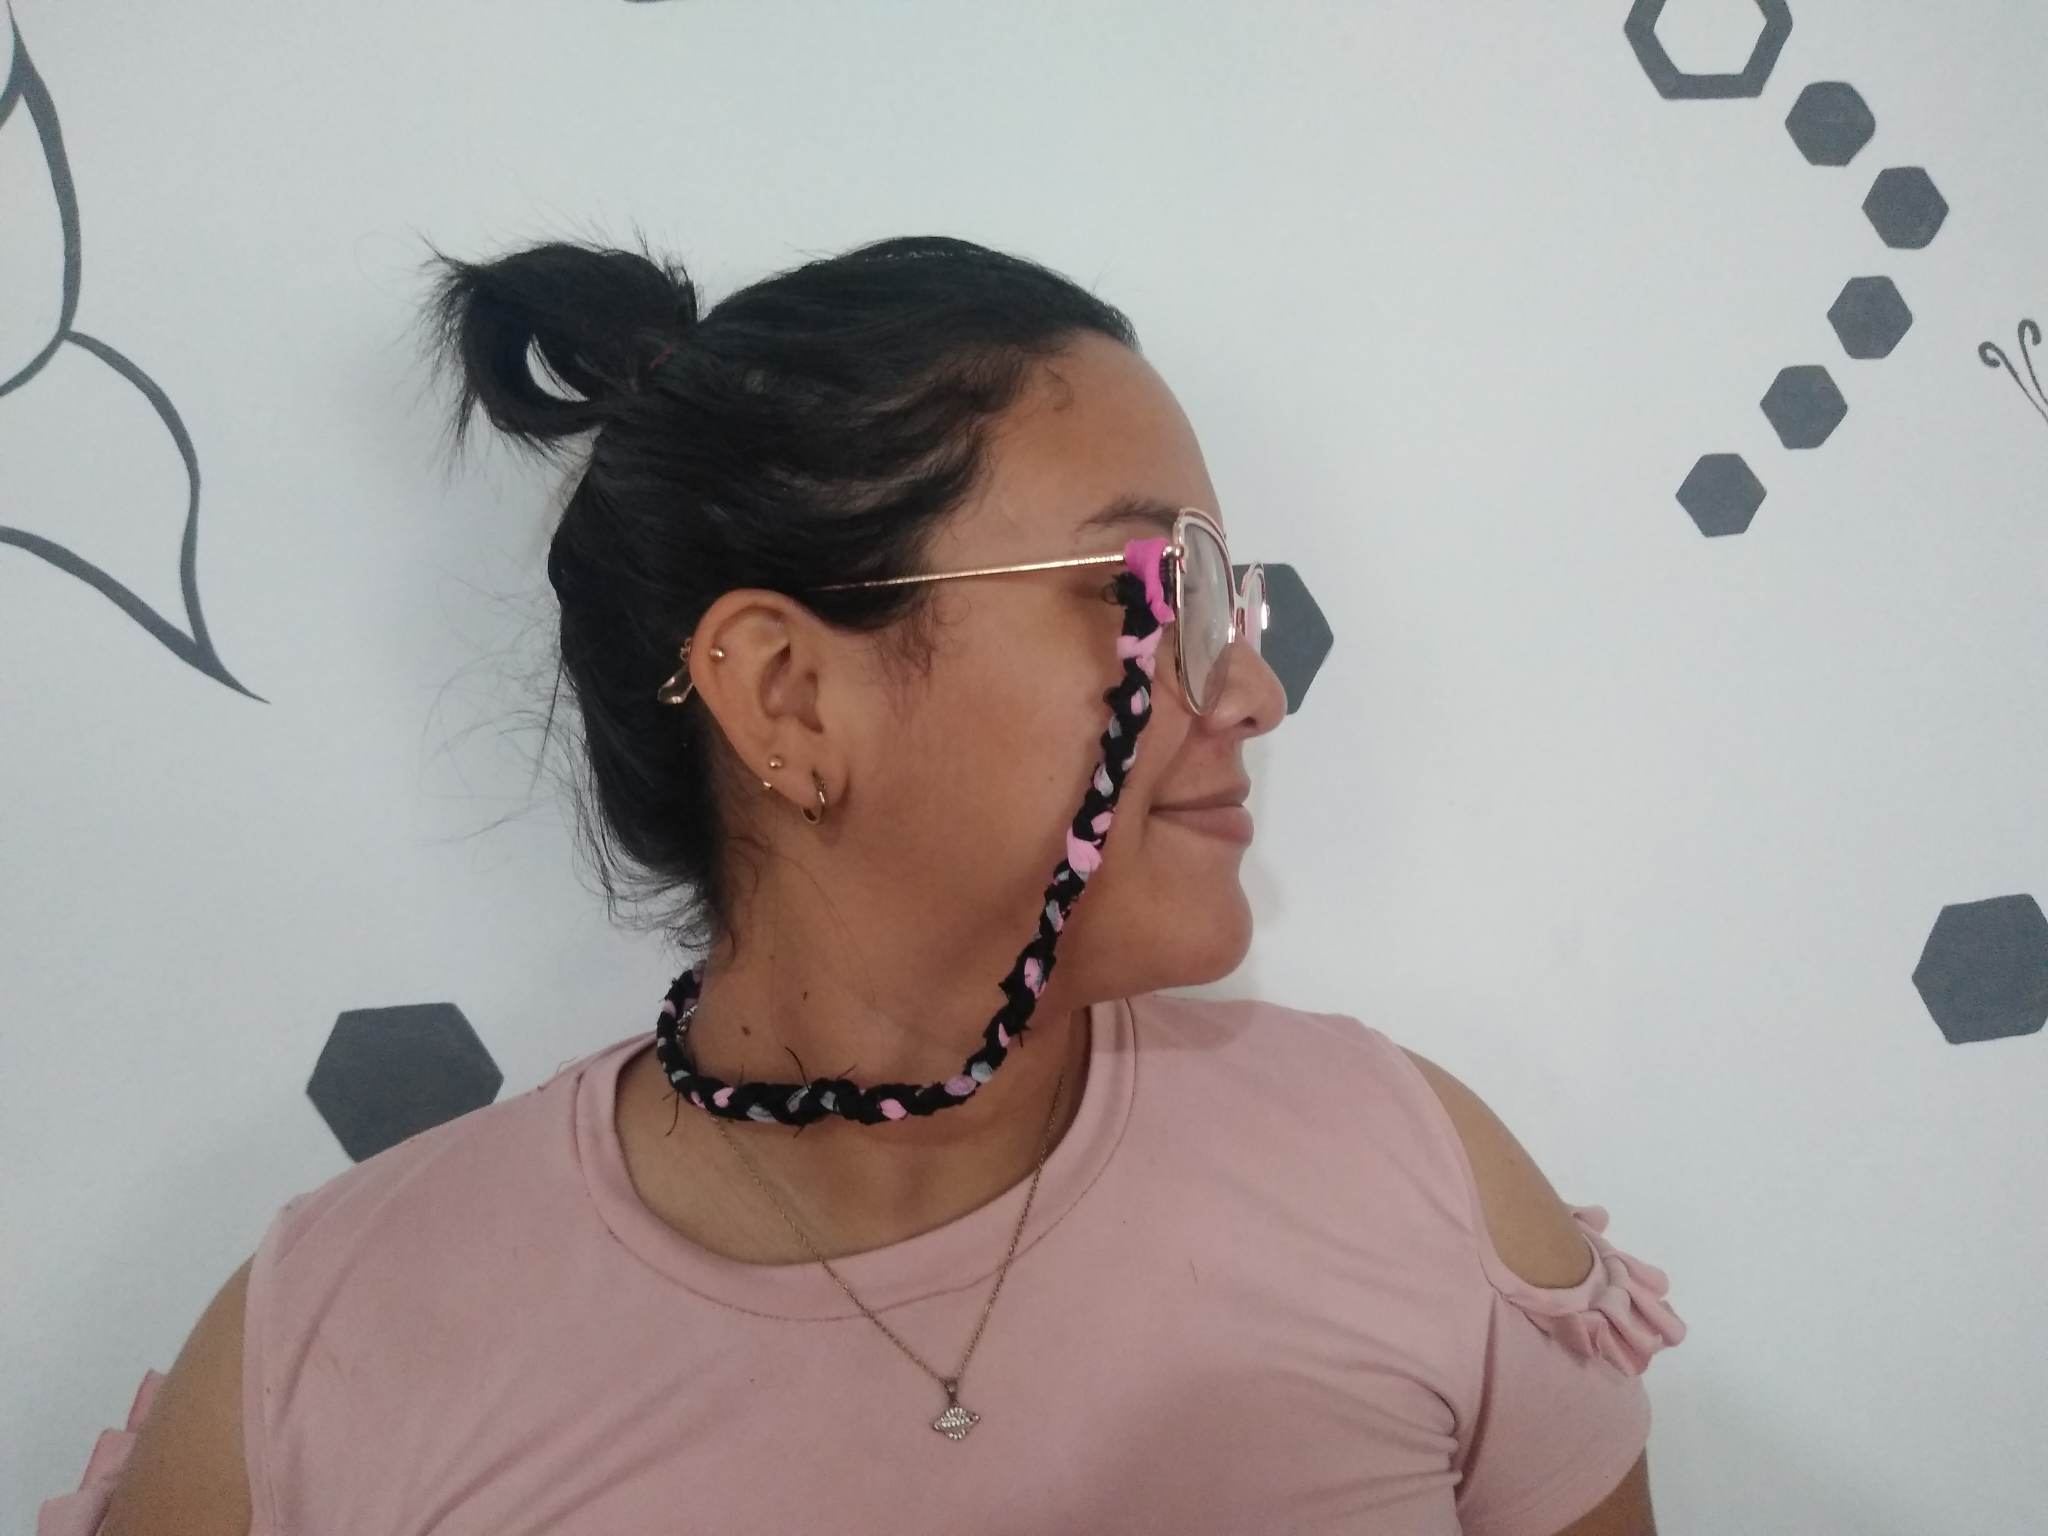
Final Result.


This is so amazing. You really take time to beautify your glass. I love the fabric you attached the
Muchas gracias amigo, que bueno que te gustó.
Thank you for sharing this post on HIVE!
Your content got selected by our fellow curator ashikstd & you just received a little thank you upvote from us for your great work! Your post will be featured in one of our recurring compilations which are aiming to offer you a stage to widen your audience within the DIY scene of Hive. Stay creative & HIVE ON!
Please vote for our hive witness <3