A Simple Top History


Good morning sewmates i hope you are doing well with all creativities. I joined hive few months ago but this will be my debut post in this community. I am a seamstress, teacher and a mother. The new niche i found and trying to develop on is writing, i like to write about what i do and my day to day activities. I hope this meets up with the standard of the community and i am very opento corrections if there is any.., thank you.
Mummy Esther my friend and colleague had an occasion to attend at the church and they picked a material as uniform for the women. She got the material and pleaded with me to make a top for her.
Though I do not like to sew during the week or school term but i had to becausewhy not if not and most importantly, Money Must be made. I made the top from just three things which are the material, stay, hemming gum and thread. Simple and easy right.
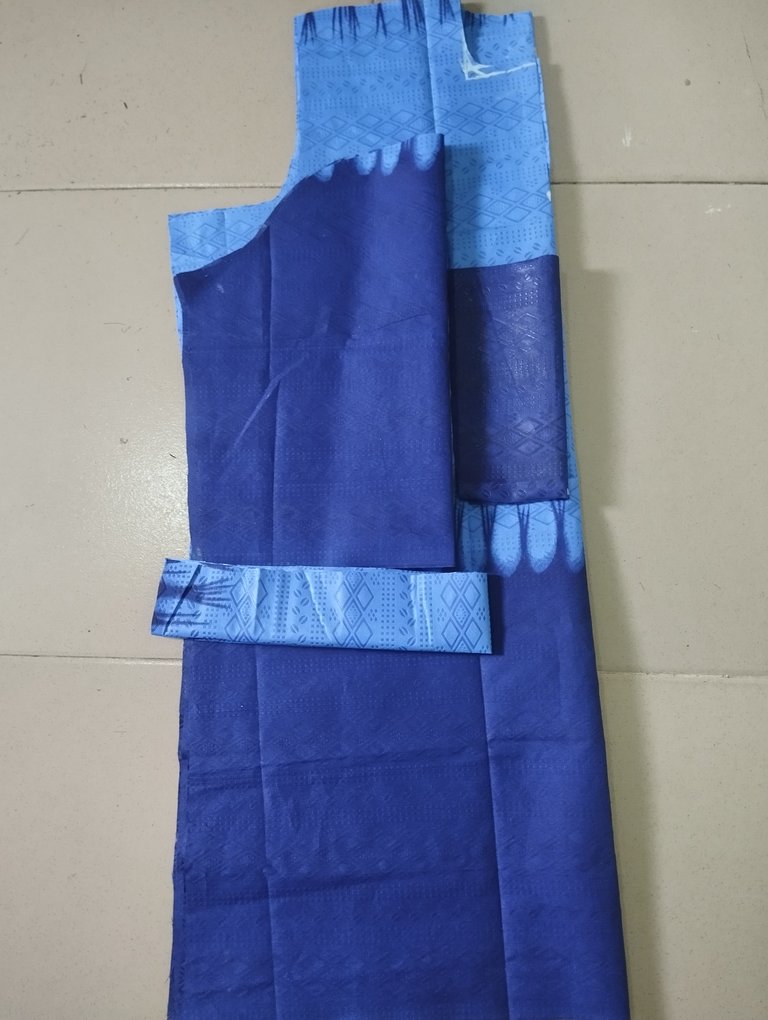
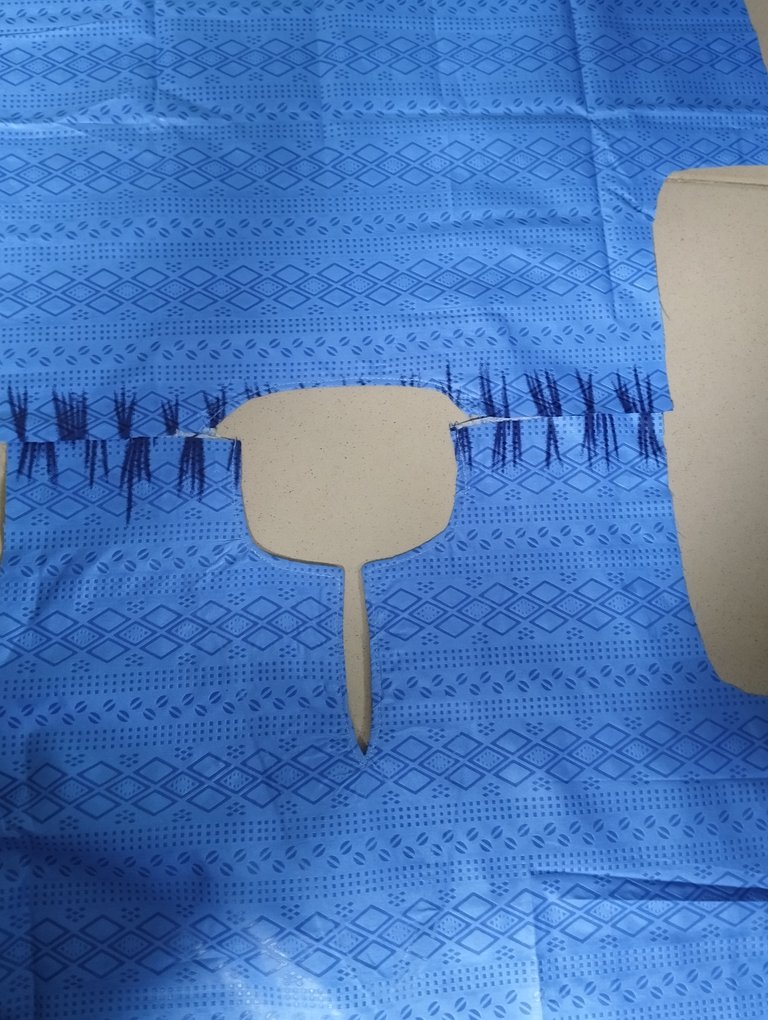
I drafted the bodies and cut it out then I went ahead to cut the neck. The measurements I used for the neck is three by one inches for the back and two and half by three inches for the front. Then I slit the front by three and half inches down.
I cut out the facing then iron stay to it to make it fit. I used soft stay because I do not want it getting unnecessarily hard. After that, I used the facing to turn the neck of the top . After the turning, I joined the front and back shoulders together
I gave the material a good press then seam the edges from front to the back then went ahead to fix the breastpocket then moved to the sleeve. For the sleeve, it's a short sleeve top so I made it ten inches long then added folding of one and half inches. I did the folding then joined it to the sleeve to the body before joining the bodies then folded the down part of the top

I took it to her to size and see if there is need for any corrections or adjustments but she was not feeling too well I had to manage to take just one picture of her before leaving. She couldn't take a picture of herself on the day of the occasion because her phone was bad.
Thanks for taking your time to read through, Yours truly @elizy, a teacher, mother and passionate writer.
All images are mine.
The top looks really cool and simple
Thank you ma
You're welcome
Nice top,I am sure your friend will be excited and happy.
She was supposed to but she was sick when it was delivered
It looks good, thanks for sharing the process with us.
Thank you
You are welcome to the community, we are happy to have you join us. Kindly go through the pinned posts in the community to familiarize yourself with how to write quality blogs. We wish to see more pictures of your diy project and the inspiration behind them. You didn't well for a start, please keep it up.
Thank you. I will for sure. Once again thank you
The top look so nice and beautiful. Welcome to the community I wish you a great time here.
Thank you
Welcome to needleworkmonday community, you did nice to joined us, the top look great