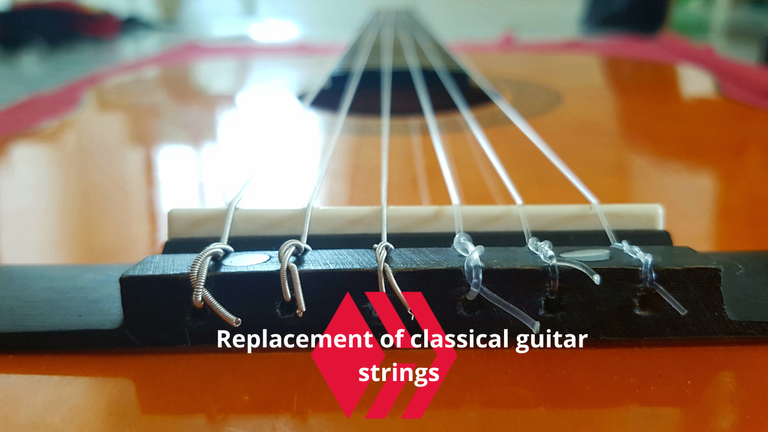
Cambio de cuerdas de guitarra clásica / Replacement of classical guitar strings
Hello friends of the Guitar community this is my first post in this community I am Edcraft and I am a music fan, I have been learning to play guitar in a self-taught way for 2 years and this time I would like to share my way of changing the strings of my guitar and the parts in which I dedicate myself the most during this process.
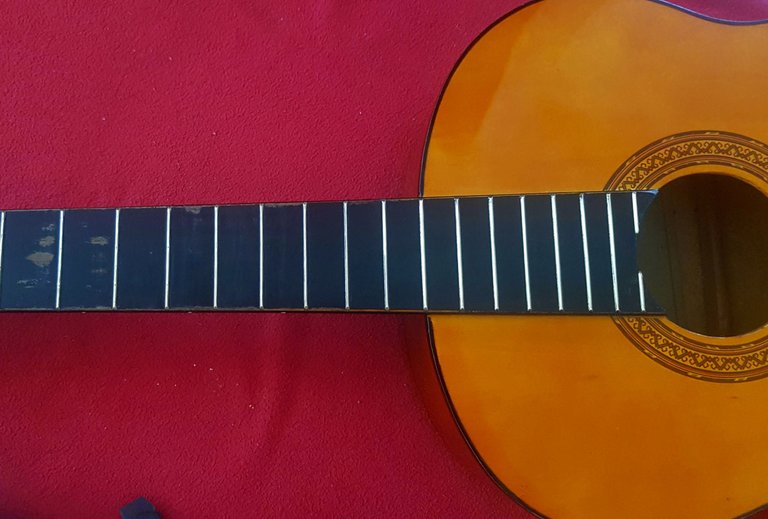
limpieza general / General cleaning
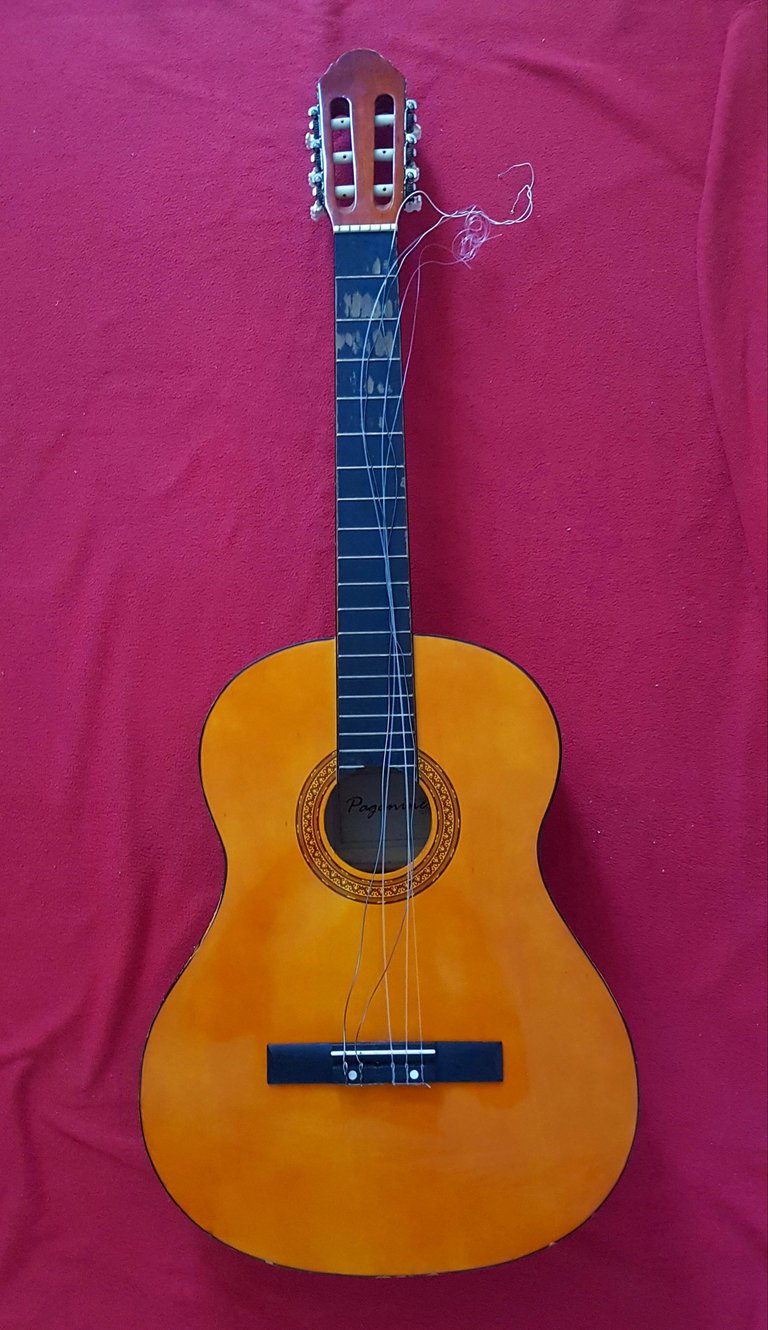
Lo primero obviamente es aflojar las cuerdas de manera gradual y siempre de esquinas a medios para evitar tensiones innecesarias en el mástil, luego de ello comienza la mejor parte de el cambio de cuerdas, podríamos simplemente poner las cuerdas en su lugar y apretar pero si queremos un trabajo bien hecho y que nuestra guitarra se vea mejor por unos cuantos meses (Lo cual era mi caso) debemos aprovechar la ocasión y limpiar y darle cariño a la guitarra en esos lugares donde normalmente no podemos.
The first thing obviously is to loosen the strings gradually and always from corners to mids to avoid unnecessary tension on the neck, after that begins the best part of the string change, we could simply put the strings in place and tighten but if we want a job well done and that our guitar looks better for a few months (Which was my case) we must take the opportunity and clean and give love to the guitar in those places where we normally can not.
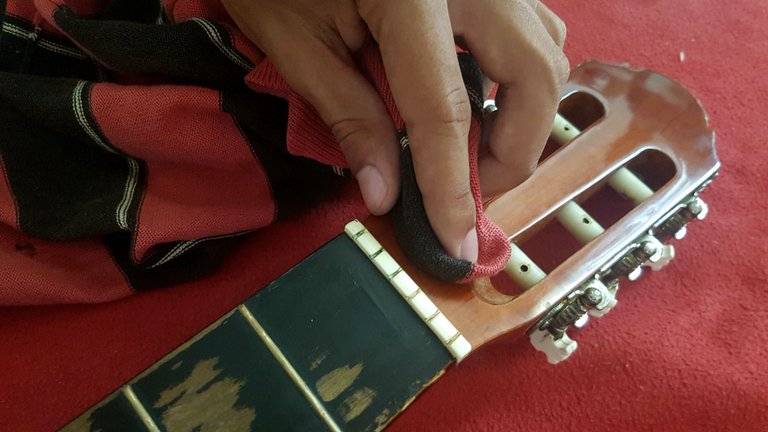
También limpie el puente, cuerpo y paleta de la guitarra para poder sacarle el polvo acumulado, siempre con un paño limpio para evitar rayar la guitarra.
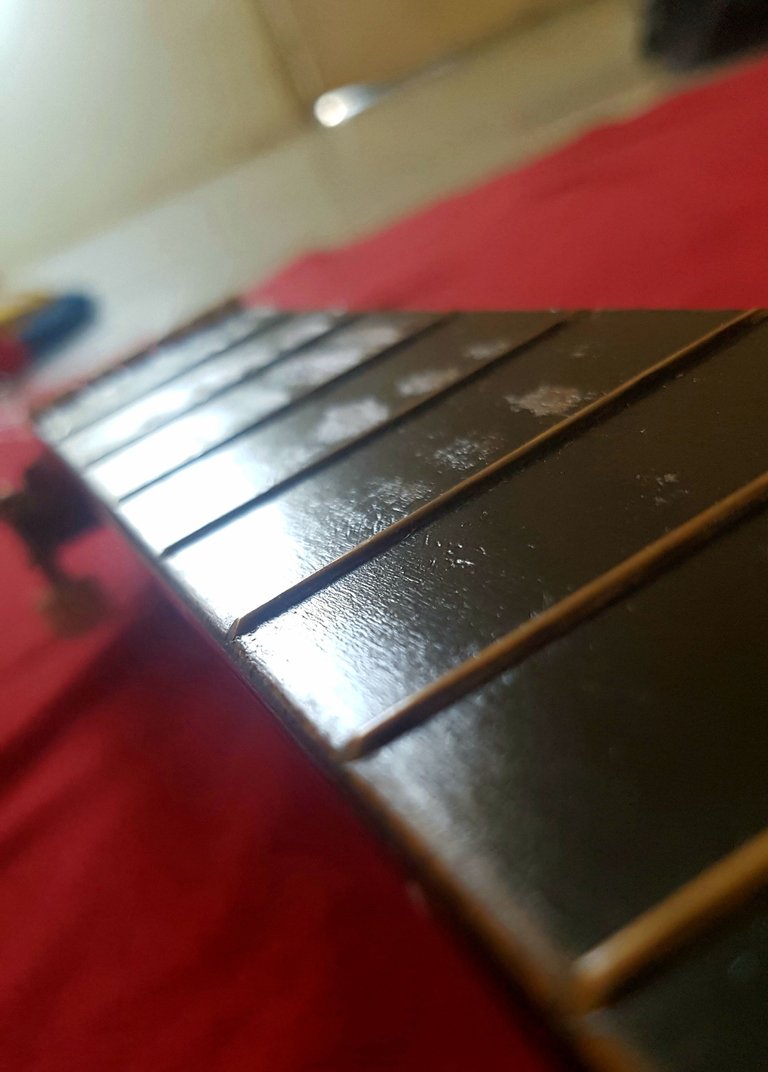
I cleaned between the frets and removed the dirt that is deposited on them, I did it with a flannel that I no longer use and carefully and without being rough I was removing all the dirt from the frets from the first to the last because perfection is in the details.
I also cleaned the bridge, the body and the pallet of the guitar to remove the accumulated dust, always with a clean cloth to avoid scratching the guitar.
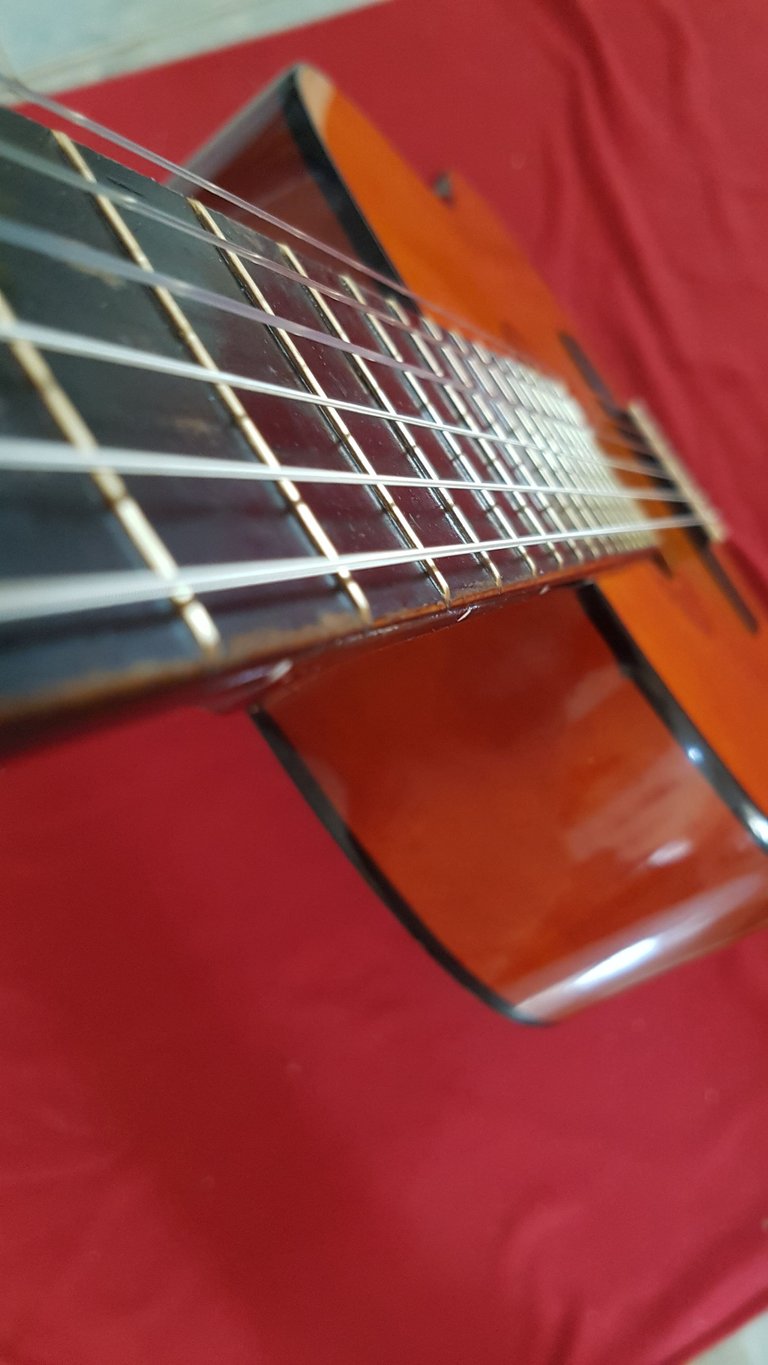
limpieza de trastes / Dish cleaning
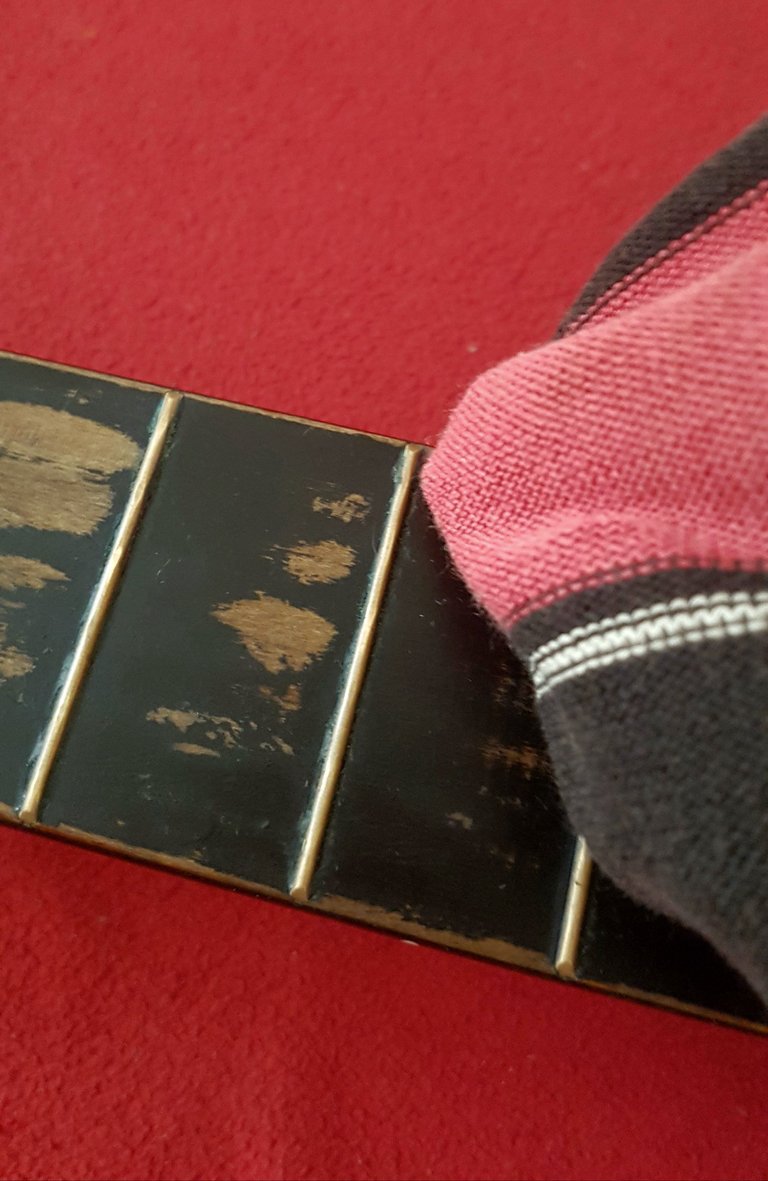
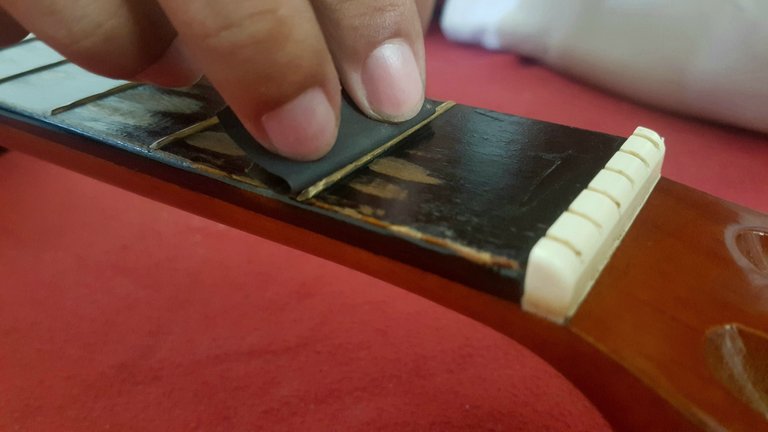
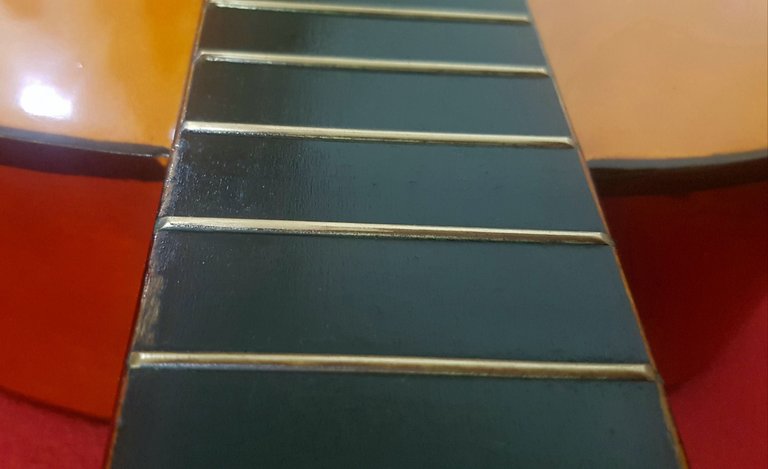
Utilizando una lija 600 la cual es de un gramaje muy fino se les puede sacar brillo y quitar sucio y patina a los trates sin dañarlos, ahora siempre teniendo cuidado de usarla de tal manera que no raye los espacios entre los trates. Y créanme que es un cambio pequeño pero muy notorio a la vista.
Using a 600 grit sandpaper, which is a very fine weight, you can polish them and remove dirt and patina from the fret without damaging them, but always being careful to use it in such a way that it does not scratch the spaces between the fret. And believe me it is a small change but very noticeable to the eye.
cambio de cuerdas / Change strings
La parte más importante del cambio de cuerdas por fin a llegado.
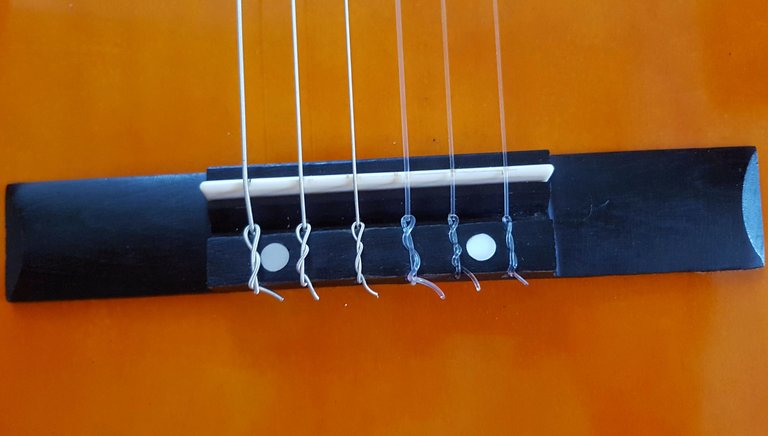
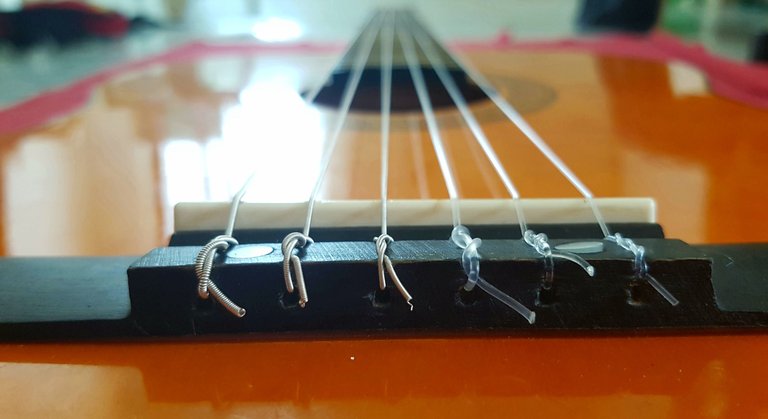
El amarre y ajuste de la cuerdas en el puente es todo un arte, algo que todos pueden hacer pero que no por eso es fácil pues como todo en la vida tiene su tecnica.
Siempre en los paquetes vienen ennumeradas la cuerdas y recomiendo no sacarlas todas para no confundirse al ponerlas. Estás están ennumeradas desde el número 1 al 6. Siendo la cuerda 1 la más delgada y la 6 la más gruesa.
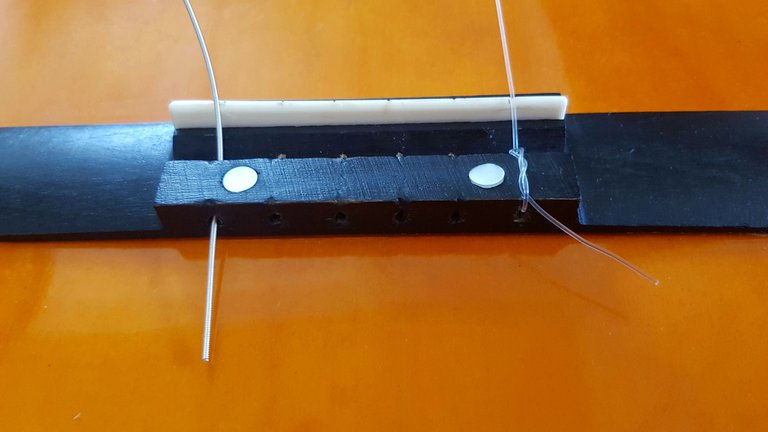
En este caso contamos con 3 cuerdas de nylon y 3 cuerdas de acero entorchado, lo mejor antes de empezar es tener la guitarra sobre una superficie para facilitar el movimiento. Comienza poniendo la cuerda prima que es de nylon,
Acomodo en nudo en el puente haciendo dos giros sobre si misma para evitar que se deslize al comenzar a afinarla, lo cual se hará más adelante pues por ahora basta con acomodar el nudo en el puente y pasar la cuerda por la cejilla y ponerla en su respectiva clavija donde también le daremos dos pasadas atravez del agujero, tensionaremos un poco para que se mantenga en su posición pero no mucho. Este proceso el igual para las tres cuerdas de nylon.
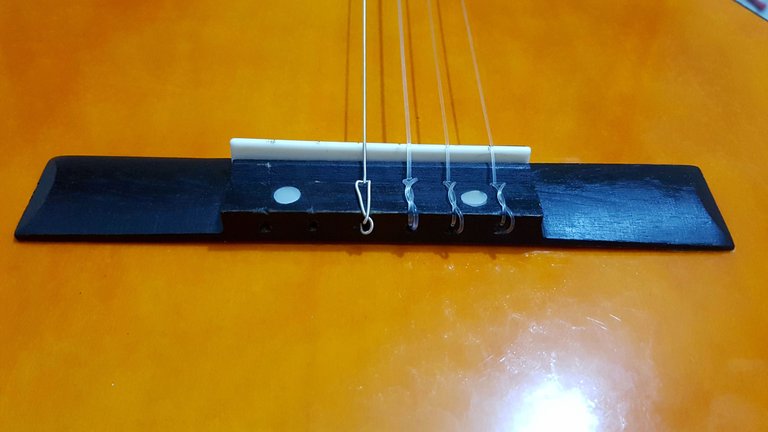
Ahora para las cuerda de acero entorchado cambia un poco el proceso ya que en el puente es opcional darle dos vuelta, yo en mi caso le doy dos vueltas por cuestión estética pero estás cuerdas tienen mucha más aspereza y no se deslizan fácilmente.
De igual manera en las clavijas solo es necesario darles una pasada atravez de estás y como en la cuerdas de nylon solo debemos ajustarlas más no tensionarlas mucho.
The most important part of the string change has finally arrived.
Tying and adjusting the strings on the bridge is an art, something that everyone can do but that is not easy because like everything in life has its technique.
Always in the packages the strings are numbered and I recommend not to take them all out so as not to get confused when putting them on. These are numbered from number 1 to 6. String 1 being the thinnest and 6 the thickest.
In this case we have 3 nylon strings and 3 steel strings, the best thing to do before starting is to have the guitar on a surface to facilitate the movement. Start by placing the first string, which is nylon,
I tie the knot on the bridge making two turns on itself to prevent it from slipping when starting to tune it, which will be done later because for now it is enough to tie the knot on the bridge and pass the string through the nut and put it on its respective peg where we will also give it two passes through the hole, we will tension it a little to keep it in its position but not too much. This process is the same for the three nylon strings.
Now for the steel strings the process changes a little bit since in the bridge it is optional to give it two turns, in my case I give it two turns for aesthetic question but these strings have much more roughness and they do not slide easily.
In the same way in the pegs it is only necessary to give them a pass through them and as in the nylon strings we only have to adjust them but do not tension them too much.
Afinación / Tuning
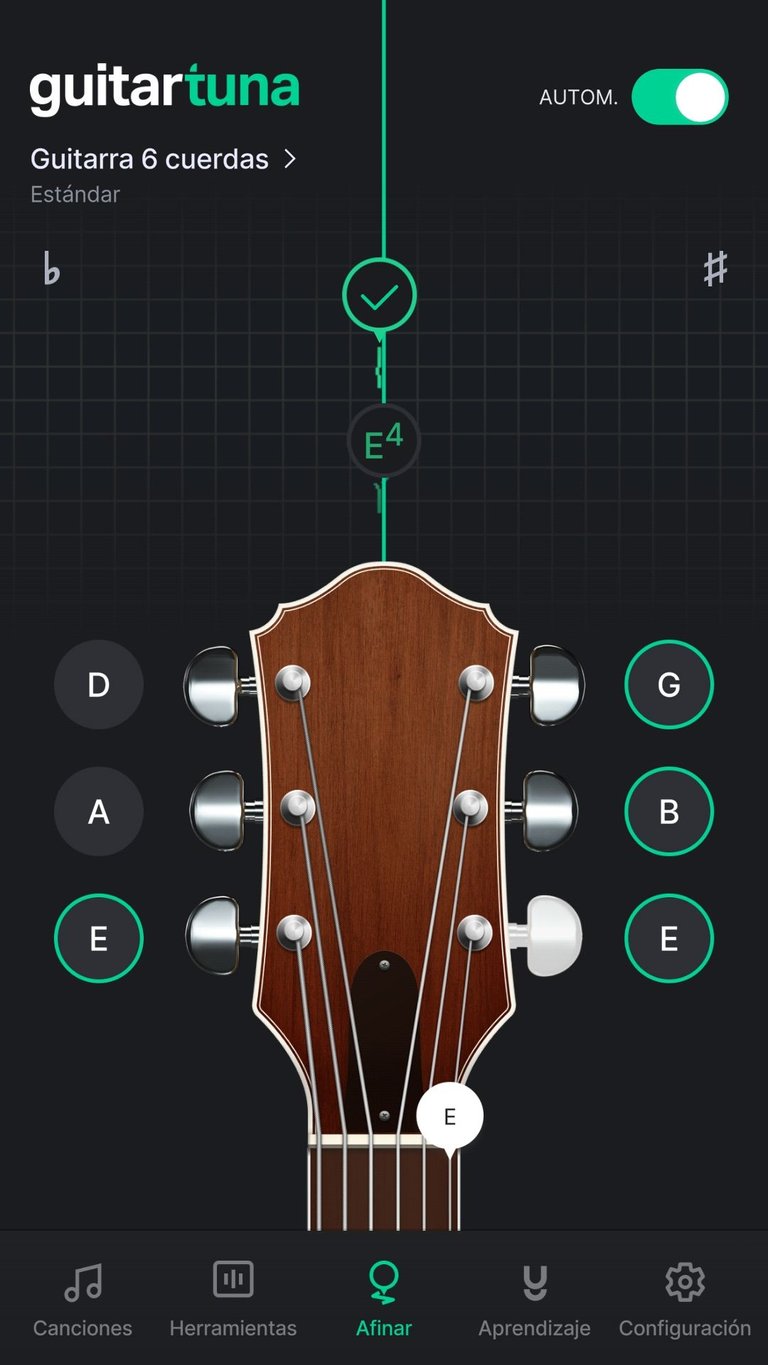
Ahora solo queda la afinación para lo cual yo empleo una app de afinación en mi teléfono.
Siguiendo la afinación estándar que es E , B , G , D , A , E
Siempre comenzando desde la cuerda prima.
Yo afinó las cuerdas por pares, es decir prima y sexta, segunda y quinta, tercera y cuarta. Para poner tensión uniforme en el mástil y evitar desviación o problemas peores.
Al cambiar nuestras cuerdas debemos estar concientes de que estás se desafinaran mucho hasta que se adapten a la tensión, lo cual suele tardar unos cuantos días.
Now all that remains is the tuning for which I use a tuning app on my phone.
Following the standard tuning which is E, B, G, D, A, E, E.
Always starting from the first string.
I tune the strings in pairs, i.e. first and sixth, second and fifth, third and fourth. To put uniform tension on the neck and avoid deviation or worse problems.
When changing our strings we must be aware that they will go out of tune a lot until they adapt to the tension, which usually takes a few days.
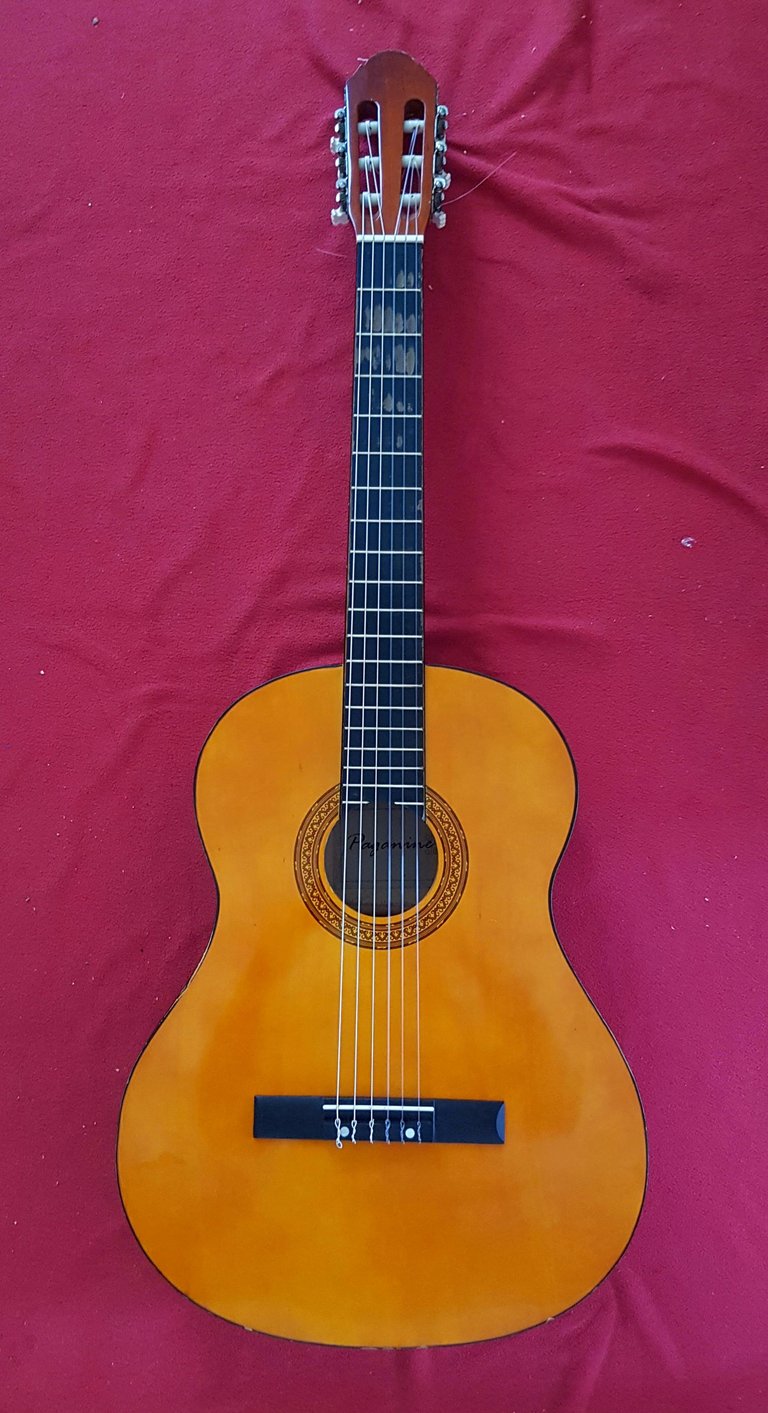
resultado / results
Esos son todos los pasos que yo sigo al cambiarle las cuerdas a mi guitarra para darle cierto cariño y que se mantenga mejor con los años espero les haya gustado y les sirva mi post los dejo con el resultado final de todo el proceso
Traducido con DeepL
Gracias, muy buena explicación