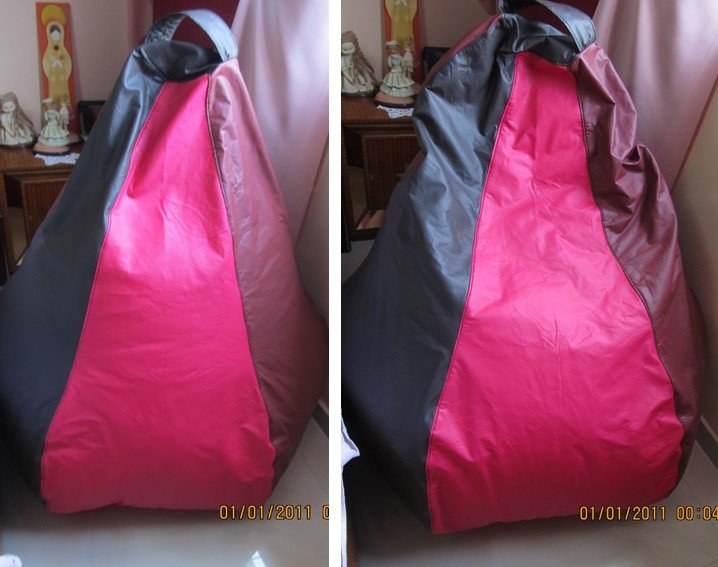
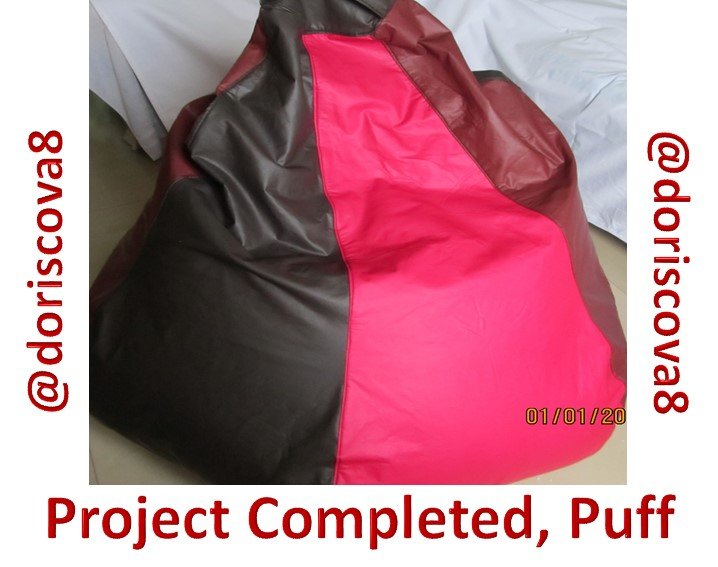
Proyecto Culminado, Puff//Completed Project, Puff[ESP-ENG]

Como les va mis estimados Hivers de esta hermosa comunidad de trabajadores en diferentes proyectos hermosos; estoy nuevamente por acá para enseñarles mi proyecto culminado, pero que me puso a correr, pensaba que no lo terminaba antes del 31 de agosto porque lo que me faltaba necesitaba de bastante dedicación, pero bueno gracias a Dios le puse bastante empeño y aquí estoy enseñándoles como fue esa labor.
Como ya les dije en la publicación del post inicial como había quedado con ese proyecto, que por acá les voy a dejar el link, si desean ver hasta donde llegue anteriormente y cuál fue la razón por la cual lo aparte o paralice por un cierto tiempo.
En esta segunda parte el procedimiento es casi exactamente igual a la primera parte, lo diferencia está en los cierres que en el forro interno donde lleva el relleno la cremallera se le coloca en la pieza parte superior y en esta parte externa en la pieza inferior o base, les indico los materiales para esta parte y, luego continuo con el procedimiento.
Materiales
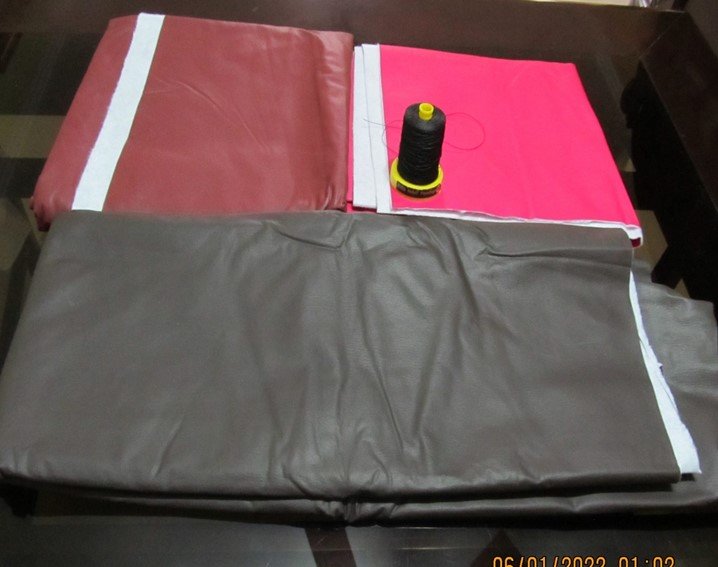
. 1,5 metro simipiel de tapicería tipo suave de 140 cm de ancho color marrón claro
. 1,5 metro semipiel de tapicería tipo suave de 140 cm de ancho color fucsia
. 1,5 metro semipiel de tapicería tipo suave de 140 cm de ancho color marrón oscuro
. Hilo de nylon negro
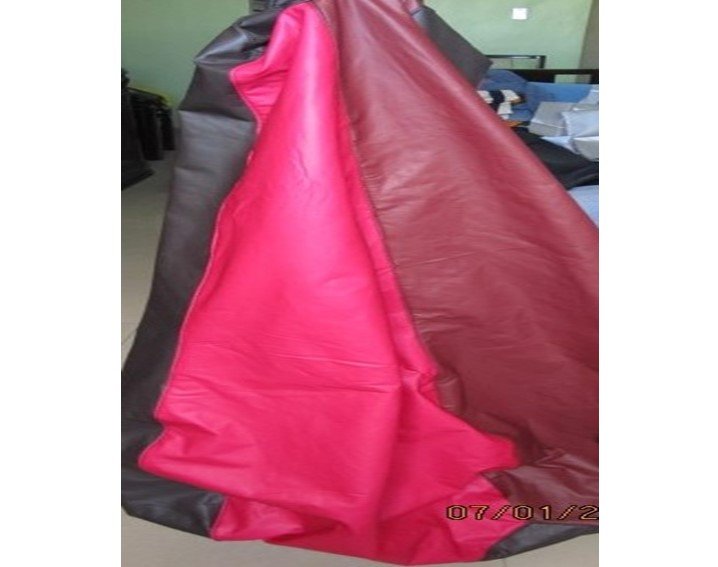
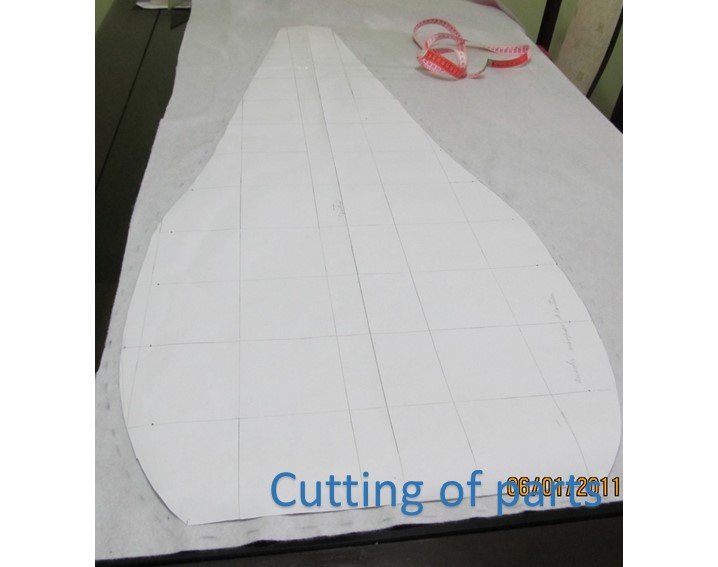
Con los mismos moldes utilizados para realizar la parte interna, voy a utilizar para cortar las piezas externas, teniendo en cuenta que para el corte de la pieza base que es la que lleva cremallera, hay que realizarlo cortando en dos dejando los respectivos márgenes para la costura.

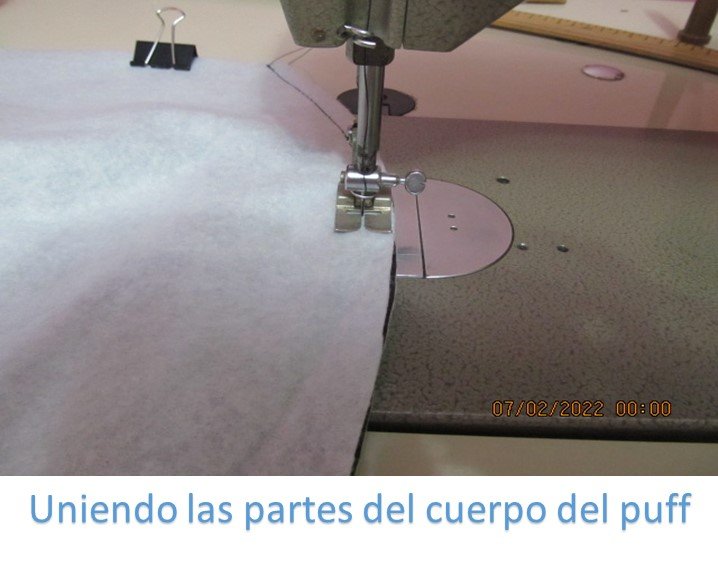
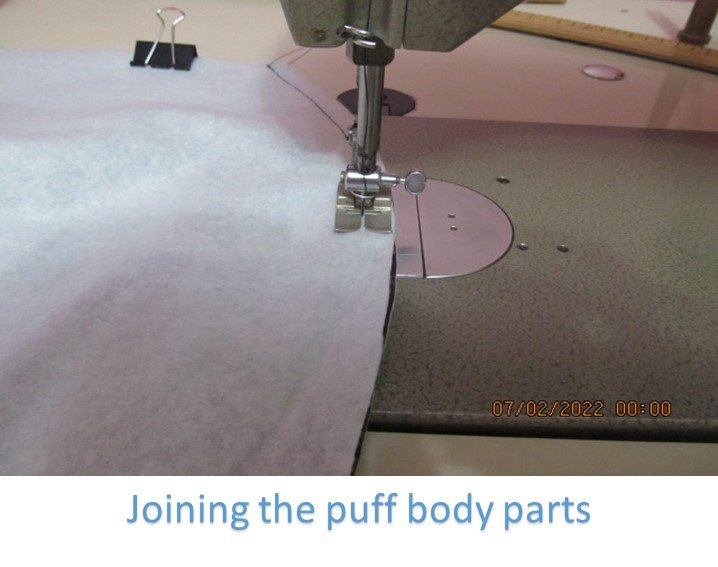
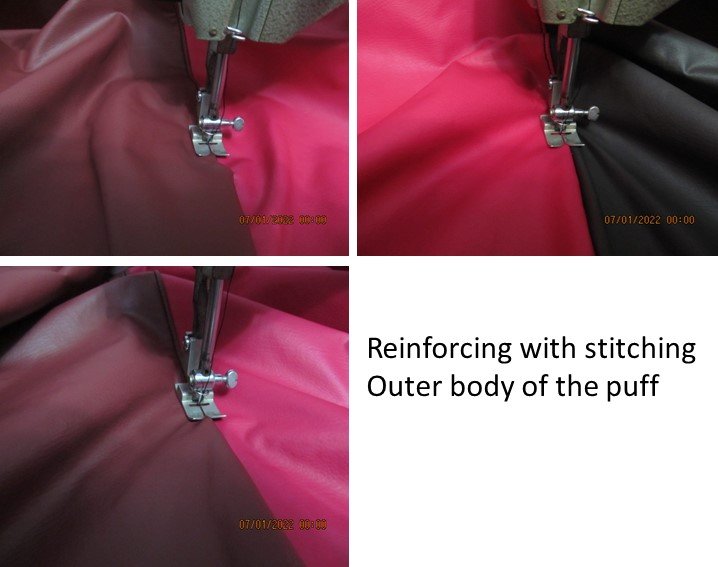
Seguidamente procedo a unir las partes del cuerpo y a la ves irlas repisando o reforzando la costura por la parte externa.

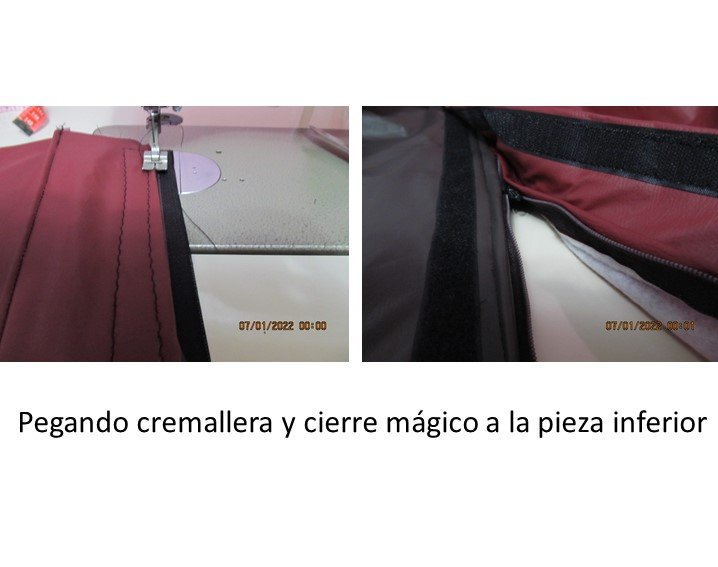
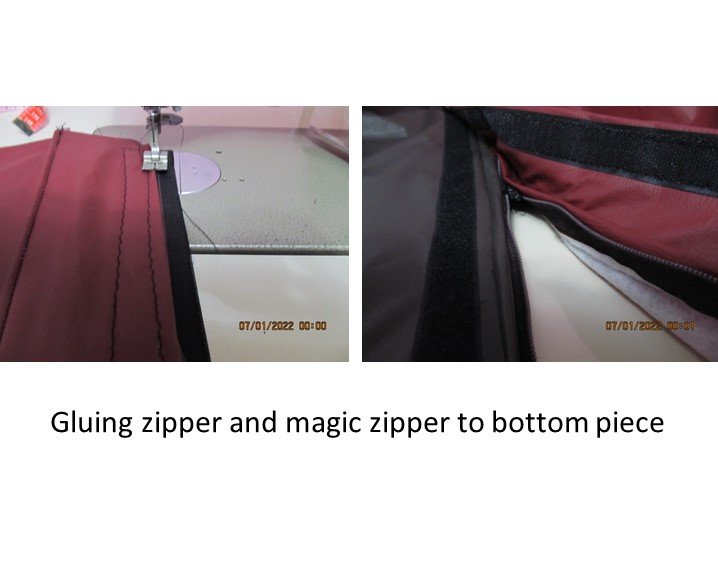
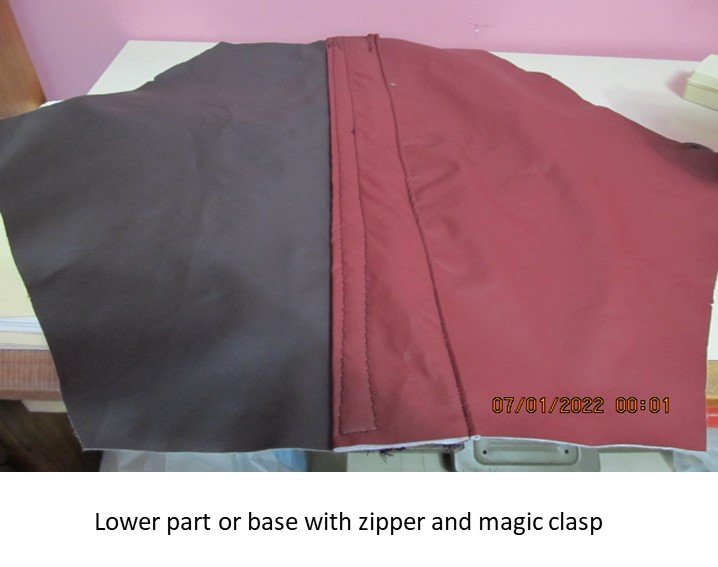
Una vez pegadas todas las partes del cuerpo, prosigo a pegar la cremallera en la pieza de base y a la vez un cierre mágico para proteger la cremallera, ya que es la parte que va a estar en contacto con el suelo.

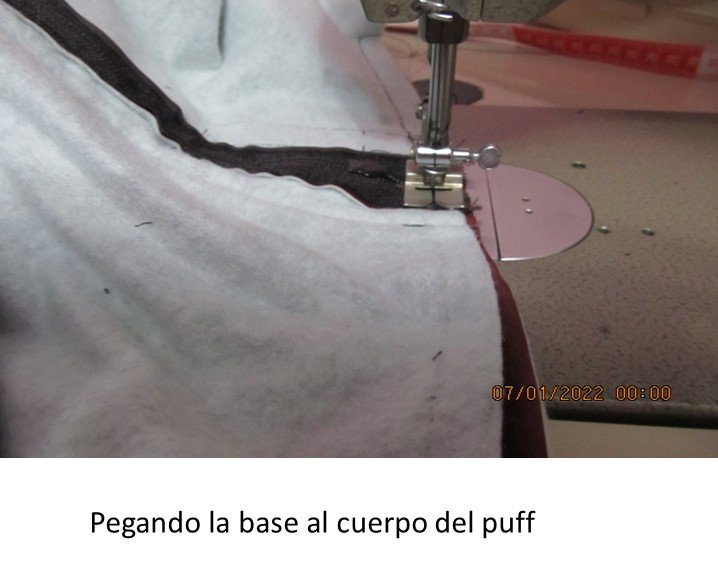
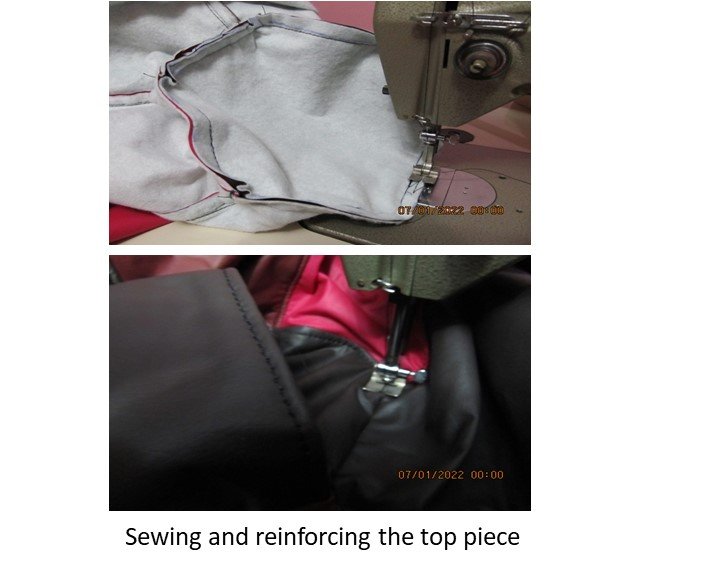
Una vez colocados cremallera y cierre mágico procedo a coser esa pieza al cuerpo del puff y luego a reforzar la costura, repisando por la parte exterior.
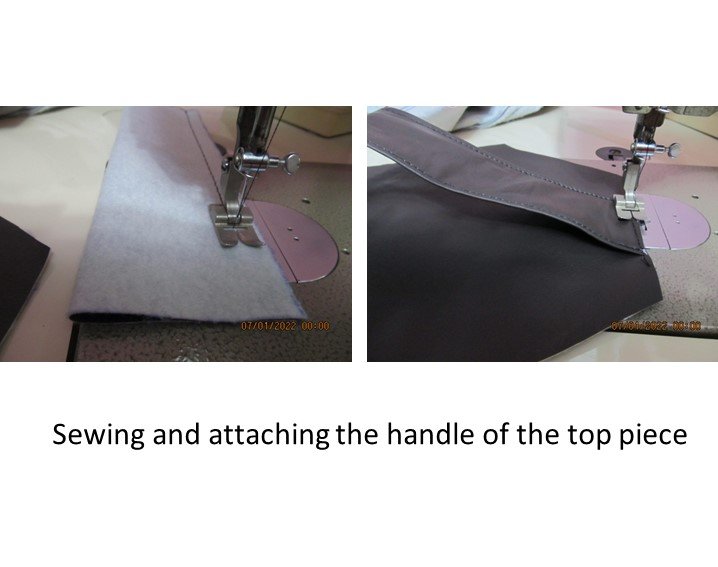
A continuación, coso y pego el asa a la pieza superior, ya que por allí es por donde se manipula o traslada de un sitio a otro el puff.

Procedo luego a pegar al puff la pieza superior y luego a reforzar esa costura por la parte externa.

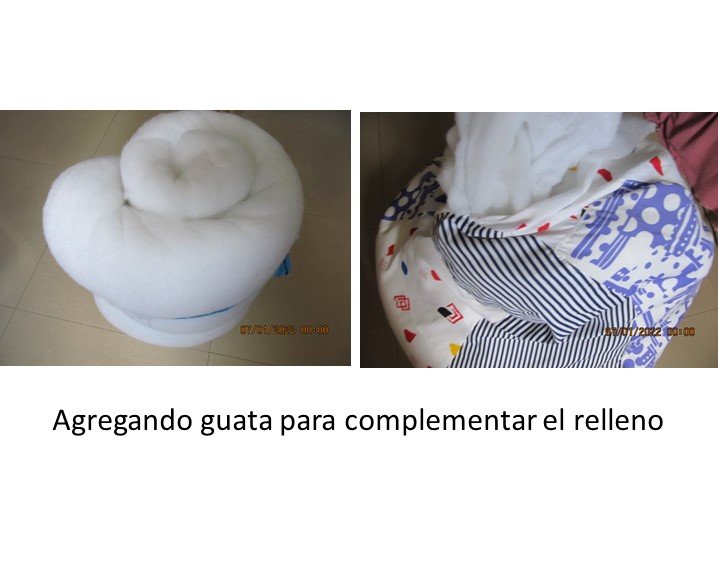
Ya terminada la parte exterior, procedo a culminar con el relleno y en este caso lo complemente las esferitas de anime con guata para darle más firmeza al puff.
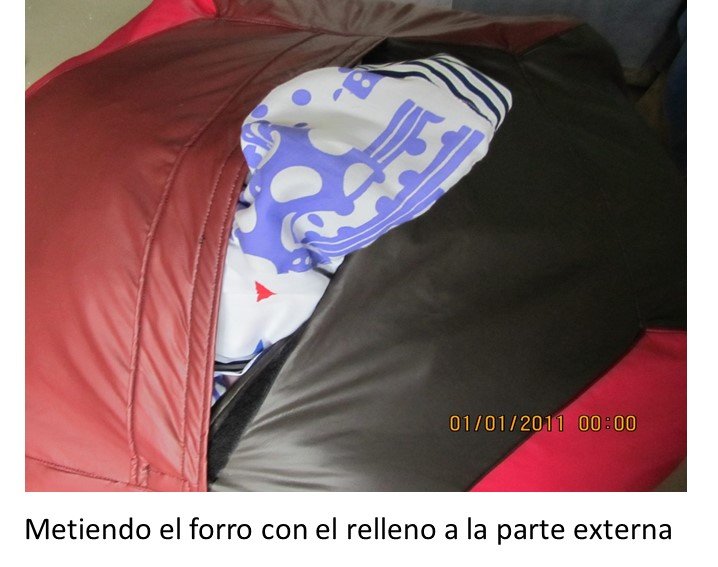
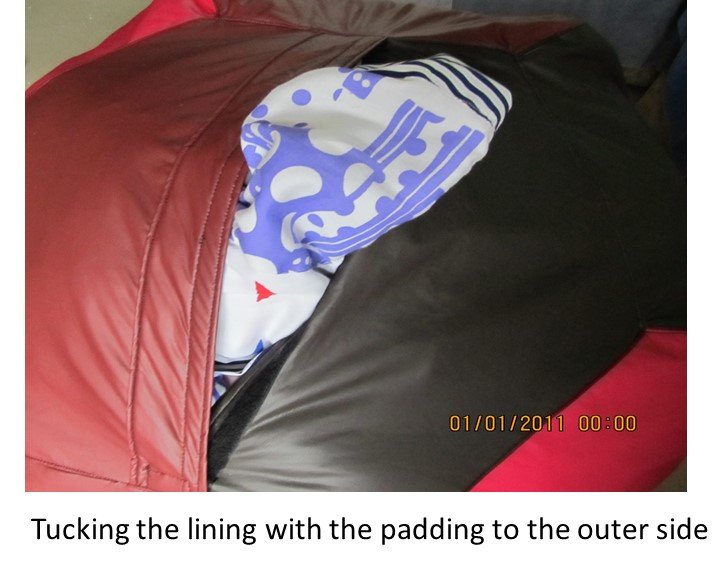
Finalmente procedo a meter la parte interna con el relleno en la pieza completa del puff externo, la verdad esa labor es un poco fuerte, porque a pesar que la guata la podemos comprimir bastante y las esferitas se mueven hacia donde uno las dirija, cuesta mucho; gracias a Dios pude culminar ese proyecto que tenía bastante tiempo paralizado.
English
How is it going my dear Hivers of this beautiful community of workers in different beautiful projects; I'm here again to show you my finished project, but that put me to run, I thought I would not finish it before August 31 because what I lacked needed a lot of dedication, but well thank God I put a lot of effort and here I am showing you how that work was.
As I already told you in the initial post how I was with this project, I am going to leave the link, if you want to see how far I got before and what was the reason why I put it aside or paralyzed it for a certain time.
In this second part the procedure is almost exactly the same as the first part, the difference is in the closures that in the internal lining where the zipper is placed in the upper part and in this external part in the lower part or base, I indicate the materials for this part and then I continue with the procedure.
Materials
. 1.5 meter of soft type upholstery leatherette 140 cm wide, light brown color.
. 1.5 meter of soft type upholstery faux leather, 140 cm wide, fuchsia color.
. 1,5 meter of soft faux leather upholstery 140 cm wide, dark brown color.
. Black nylon thread
With the same molds used to make the internal part, I will use to cut the external pieces, taking into account that for the cutting of the base piece, which is the one with the zipper, it is necessary to cut it in two, leaving the respective margins for the seam.
Next, I proceed to join the body parts together and at the same time, I proceed to smooth or reinforce the stitching on the outside.
Once all the body parts are glued, I proceed to glue the zipper on the base piece and at the same time a magic zipper to protect the zipper, since it is the part that will be in contact with the ground.
Once the zipper and the magic zipper are in place, I proceed to sew that piece to the body of the puff and then reinforce the seam, re-stitching on the outside.

Next, I sew and glue the handle to the upper piece, since that is where the puff is handled or moved from one place to another.
I then proceed to glue the top piece to the puff and then reinforce the seam on the outside.
Once the outer part is finished, I proceed to finish with the stuffing and in this case I complement the anime spheres with wadding to give more firmness to the puff.
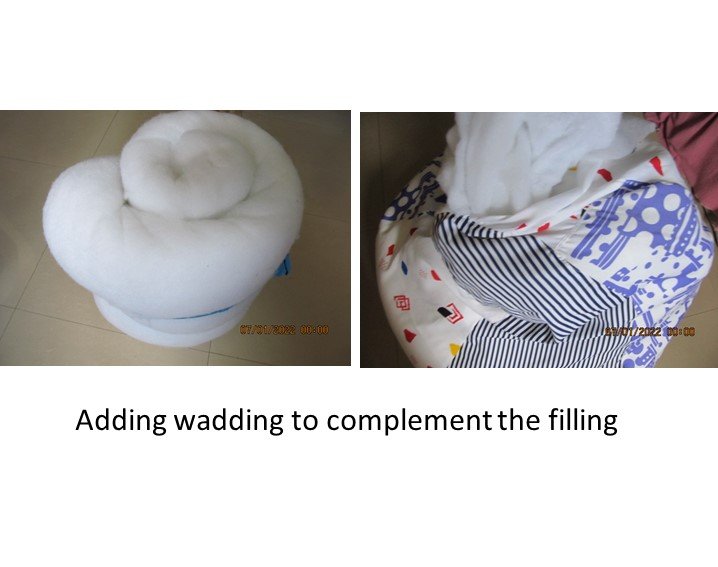
Finally I proceed to put the internal part with the stuffing in the complete piece of the external puff, the truth is that work is a little strong, because although the wadding can be compressed enough and the spheres move to where one directs them, it costs a lot; thank God I could finish this project that had long been paralyzed.
Translated with www.DeepL.com/Translator (free version)
Fuente de imágenes: Archivo personal


MIS REDES SOCIALES


https://twitter.com/doriscova8/status/1564674597328396291
The rewards earned on this comment will go directly to the people sharing the post on Twitter as long as they are registered with @poshtoken. Sign up at https://hiveposh.com.
Congratulations @doriscova8! You have completed the following achievement on the Hive blockchain and have been rewarded with new badge(s):
Your next target is to reach 80 posts.
You can view your badges on your board and compare yourself to others in the Ranking
If you no longer want to receive notifications, reply to this comment with the word
STOPTo support your work, I also upvoted your post!
Check out the last post from @hivebuzz:
Support the HiveBuzz project. Vote for our proposal!
Good to see you completed your WIP because I am very much happy for you unlike me that have not completed mine.
Hola Doris, que bueno ver este proyecto terminado. Ahora todos van a poder disfrutar de este cómodo sillón, buena suerte levantándose de él y no quedándose ahí todo el día jajaja.
Saludos y felicidades por concluir el reto WIP ❣️.
I love your work @doriscova, ideal for relaxing after a day of work.