MÍ PRIMERA VEZ HACIENDO HALLACAS./MY FIRST TIME MAKING HALLACAS./
¡Hola! Saludos a todos los amantes y apasionados por la comida, a todos los que día a día le vamos tomando más amor a cocinar y compartir nuestra experiencia. ¿Cómo está la comunidad tan bonita de HiveBlog, en especial este grupo maravilloso de personas que me abrió las puertas para darme a conocer Foodies Bee Hive? Hoy vengo con todo, ja, ja, ja para mostrarle el proceso y el resultado de como me fue, siendo primeriza haciendo las Famosas Hallacas Venezolanas, comida que no puede faltar en los platos de los venezolanos y venezolanas, sobre todo en la época de diciembre y por supuesto todo enero, a comerla recalentada. Me aventuré a hacerlas, así que me puse manos a la obra y, ya con toda la experiencia, ja, ja, ja, de años viéndola hacer, tenía un conocimiento sobre todo lo que requería. Lo que sí es un hecho es que hacer este plato es costoso, pero se hizo el esfuerzo y el resultado valió la pena a mil por ciento.
Hello! Greetings to all food lovers and passionate about food, to all of us who day by day are taking more love to cook and share our experience. How is the beautiful community of HiveBlog, especially this wonderful group of people who opened the doors for me to make myself known # Foodies Bee Hive? Today I come with everything, ha, ha, ha, ha to show you the process and the result of how it went, being a first timer making the famous Venezuelan Hallacas, food that can not miss on the plates of Venezuelans, especially in December and of course all January, to eat it reheated. I ventured to make them, so I got down to work and, already with all the experience, ha, ha, ha, ha, from years of watching it being made, I had a knowledge of everything it required. What is a fact is that making this dish is expensive, but the effort was made and the result was a thousand percent worth it.
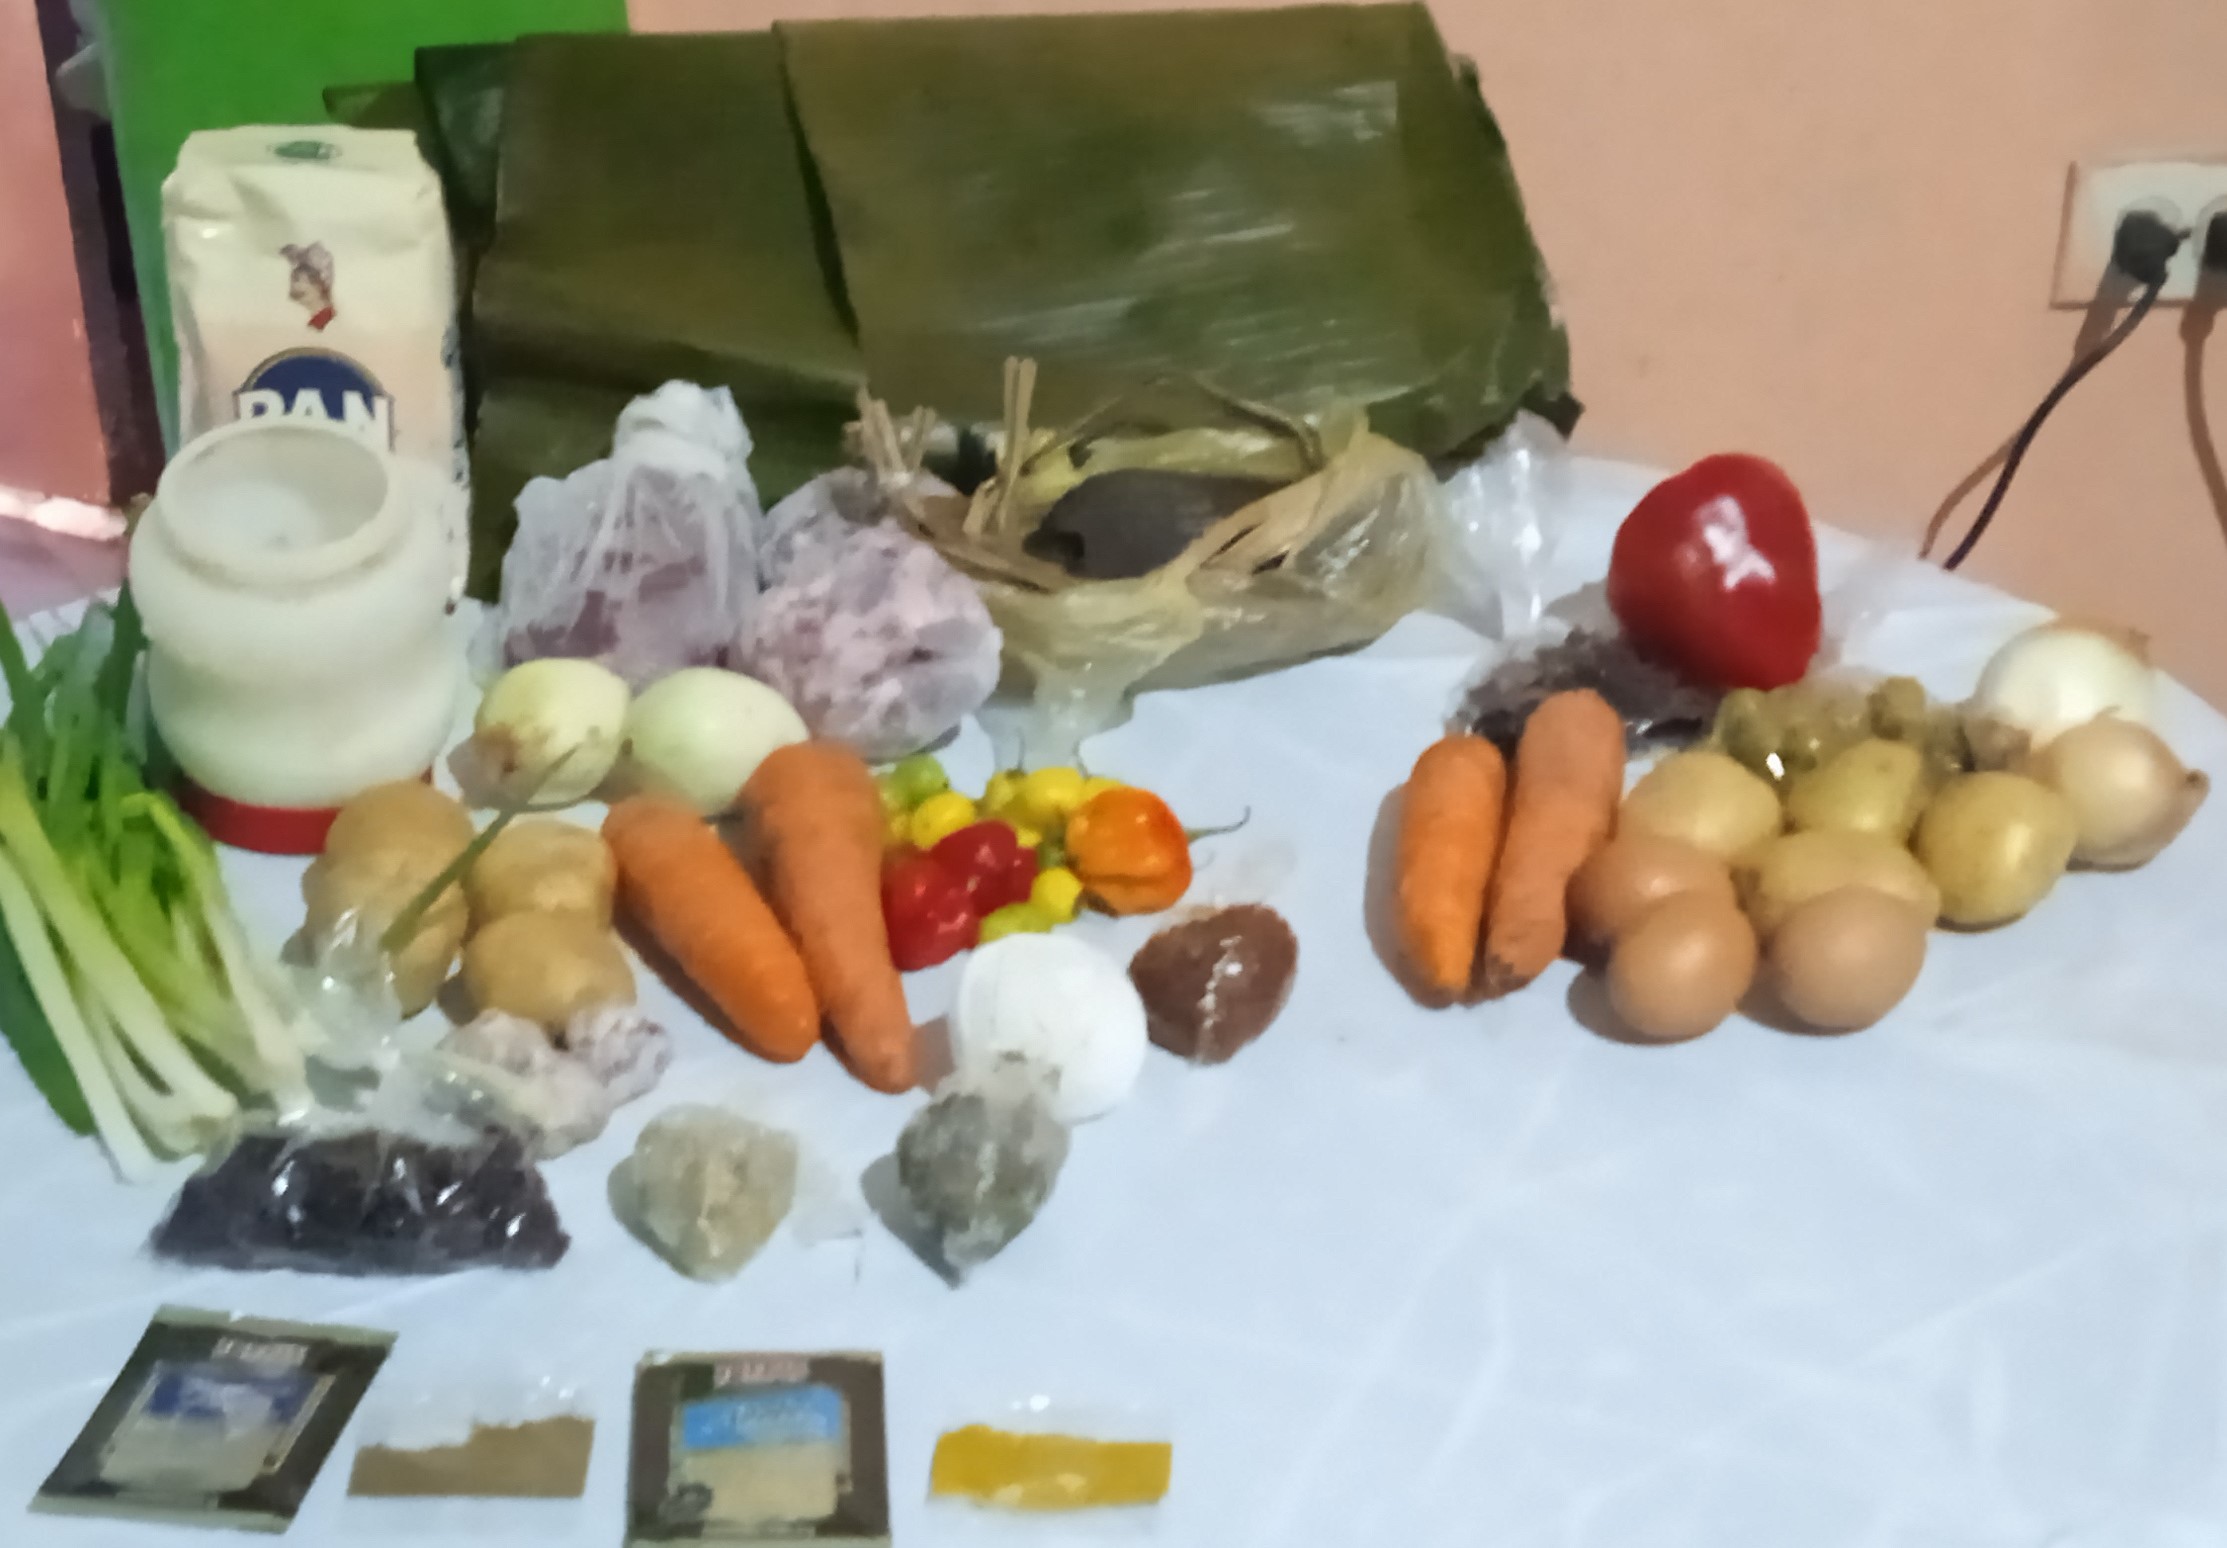
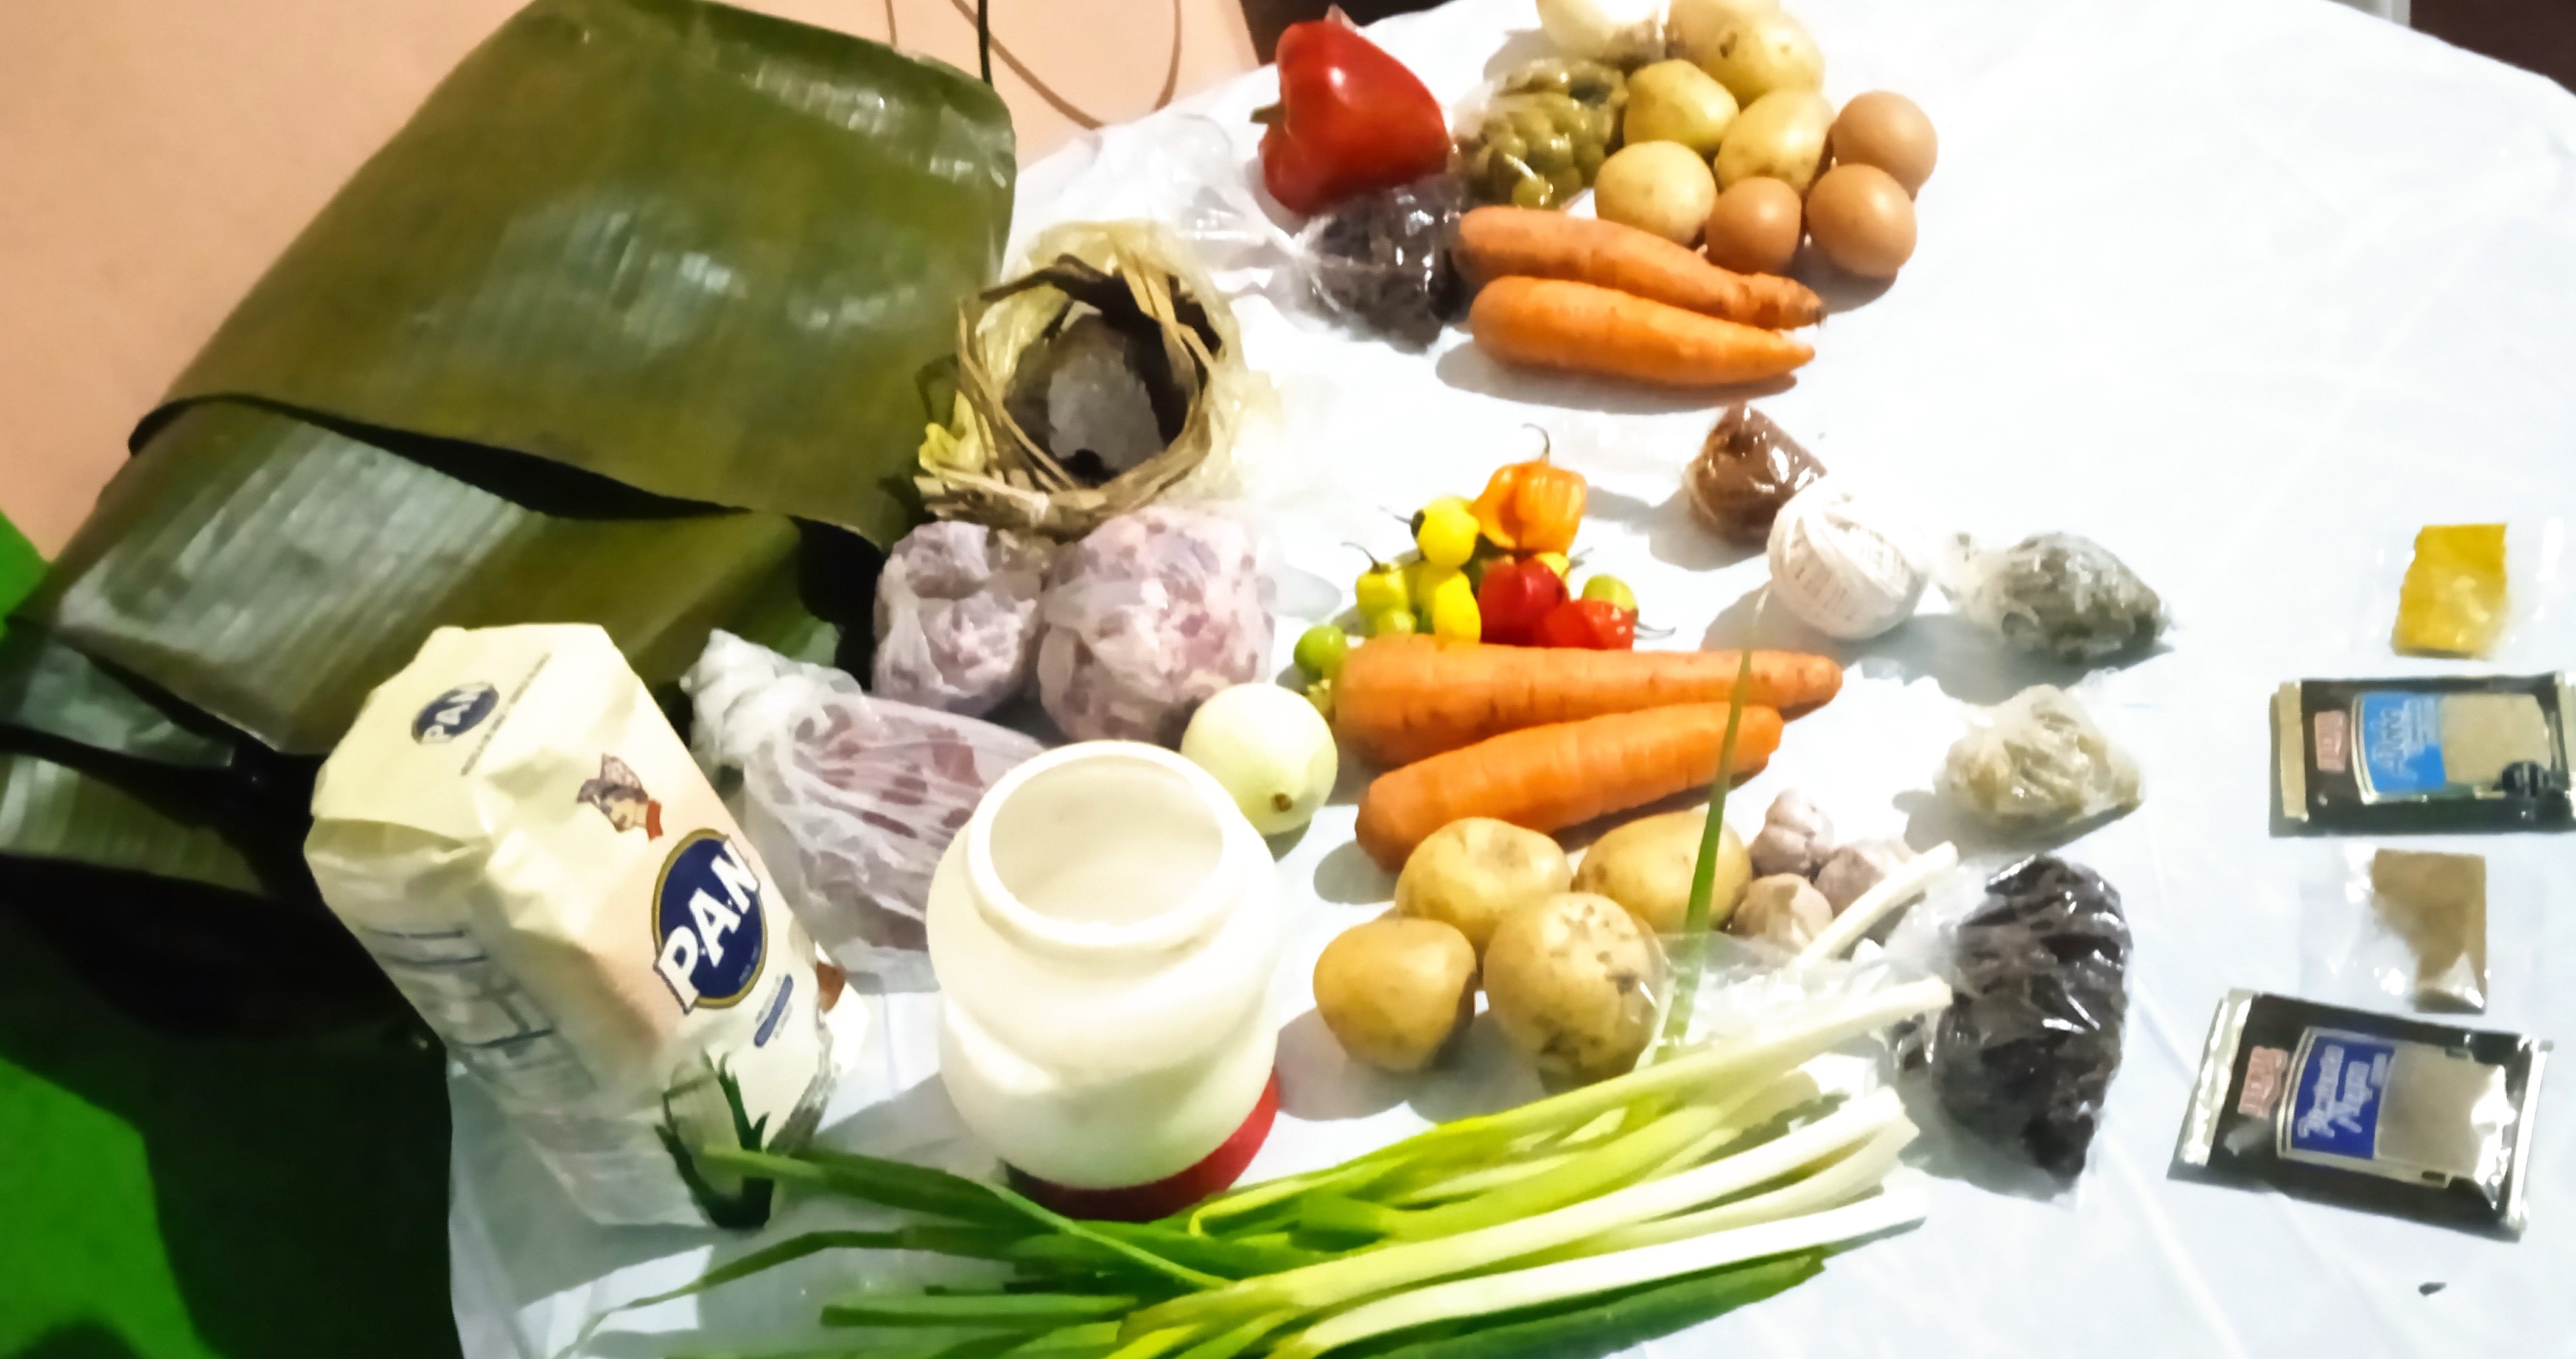
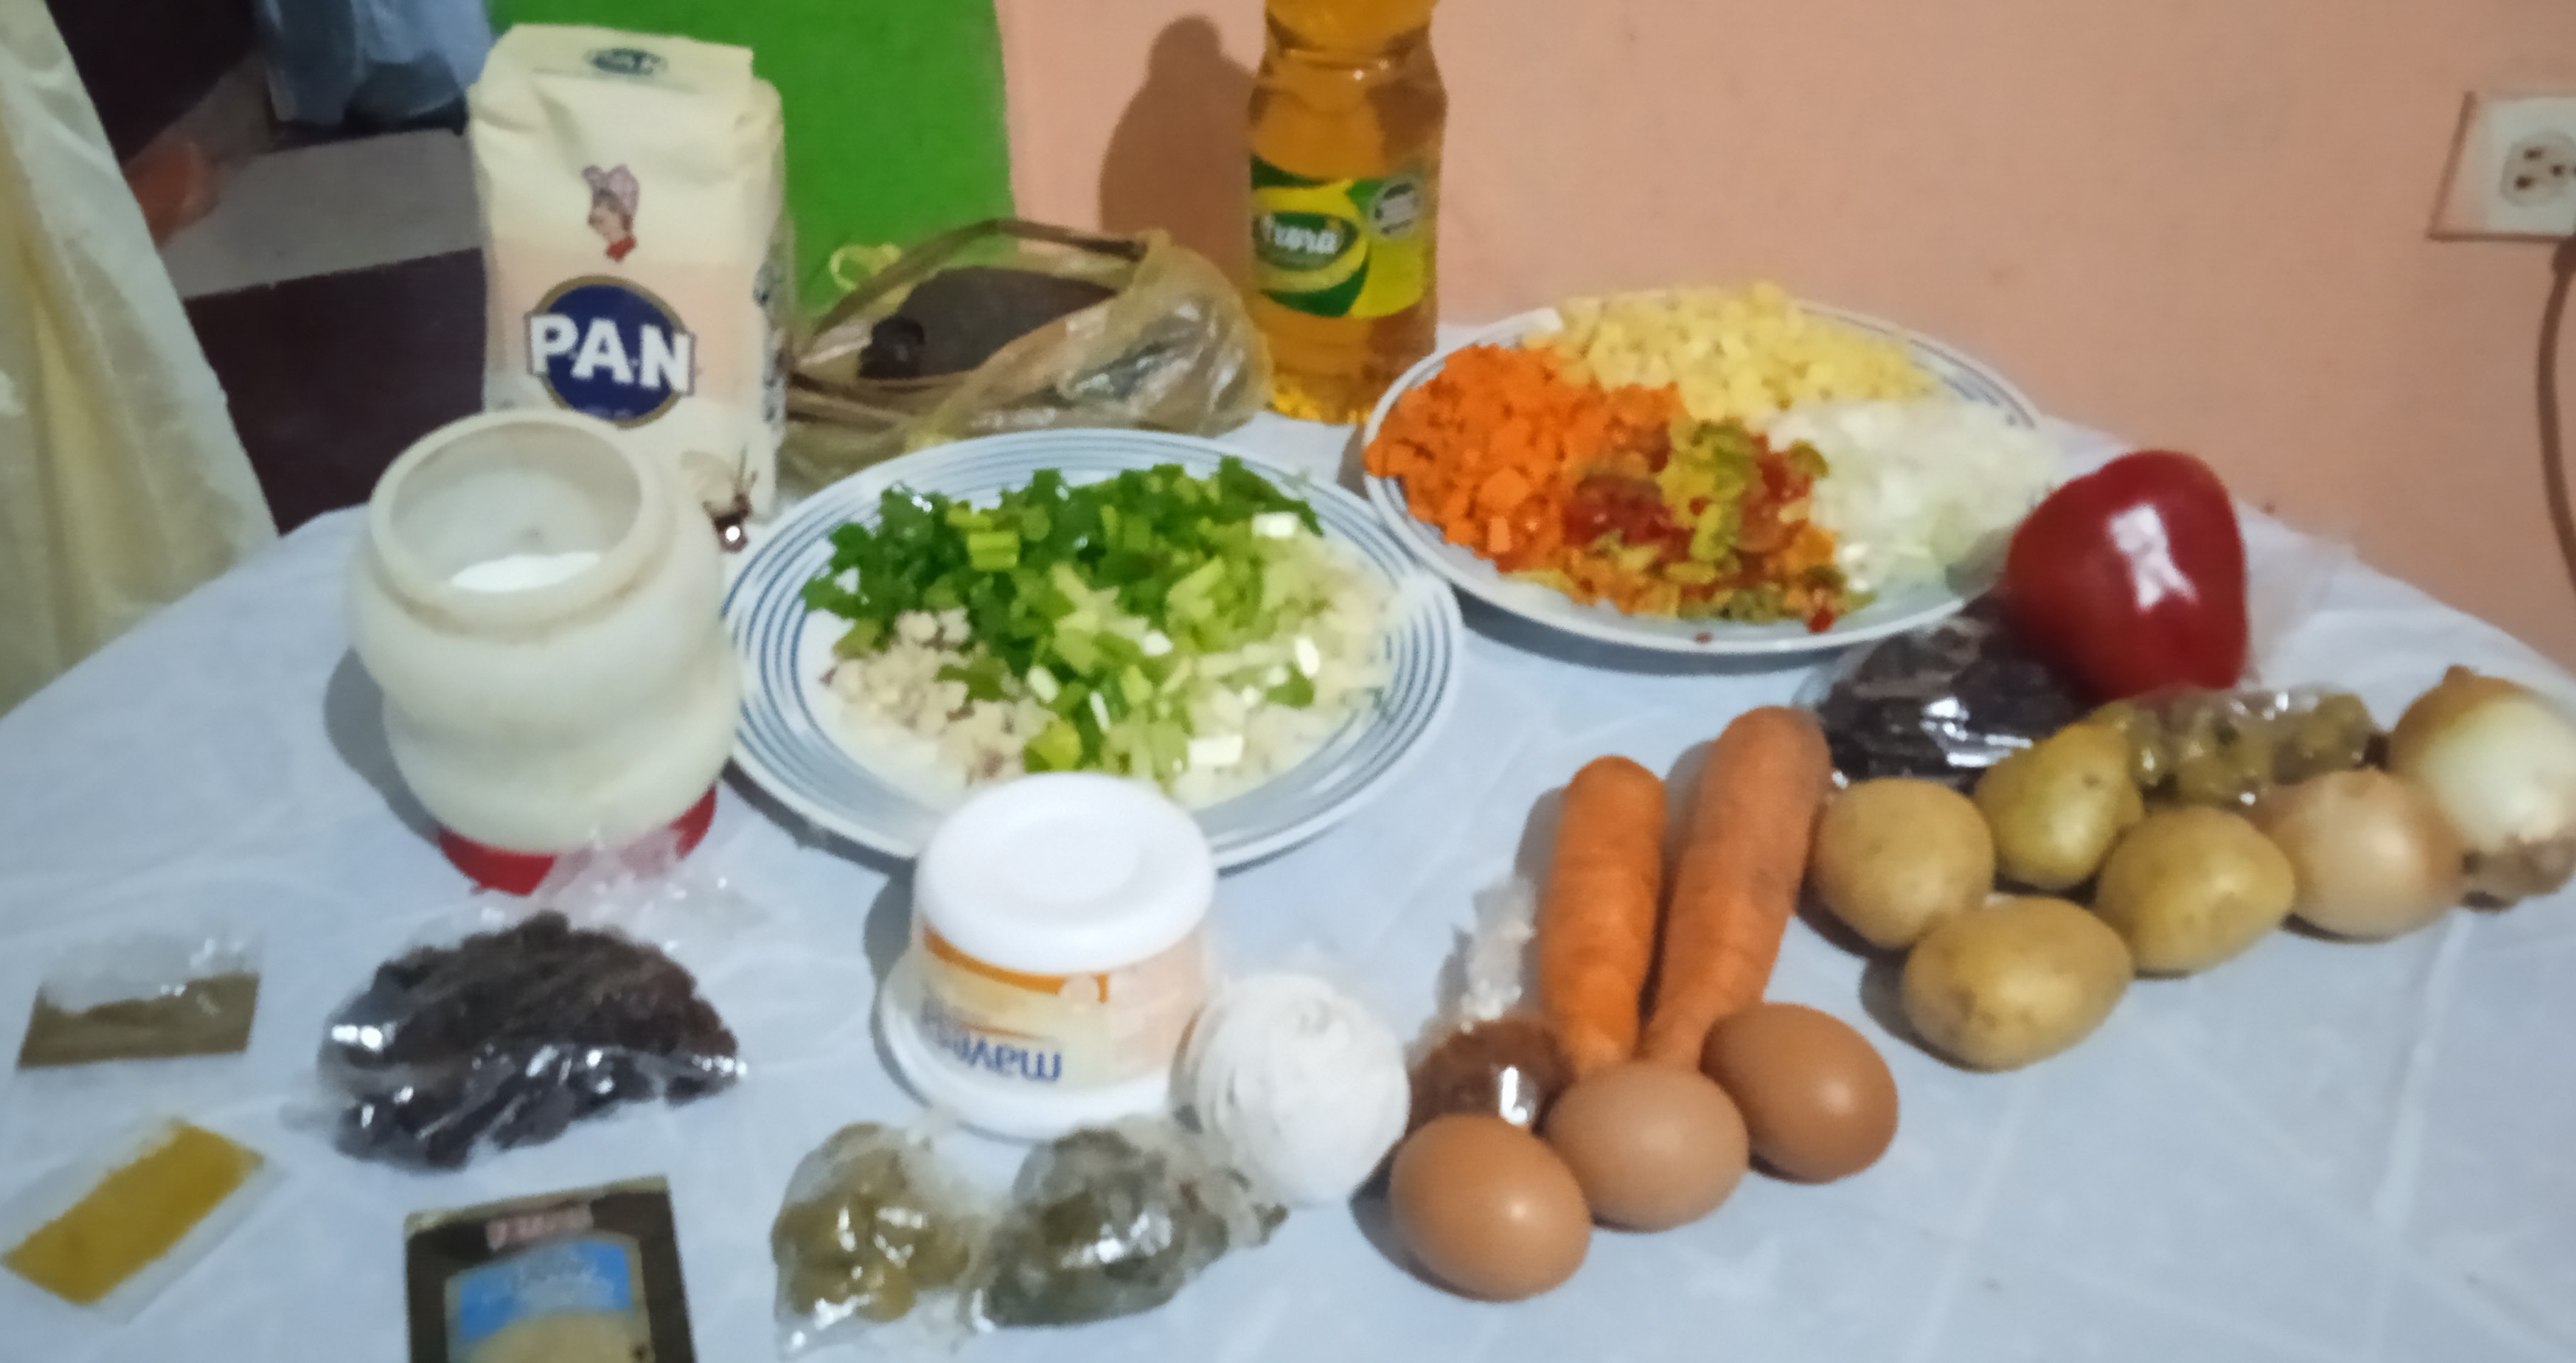
Empiezo explicándoles cuáles son los ingredientes a usar para la preparación de este delicioso plato:
Para la masa:
- (1 kg) Un kilo de harina de maíz.
- Media tasa de aceite con onoto.
- ( 1.5 l) Un punto de cinco litros de agua.
- (2) Dos cucharaditas de sal.
Para el guiso:
- (1/2 kg) Un kilo de carne de cochino.
- (1/2 kg) Medio kilo de carne de res para guisar.
3.(1/2 kg) Medio kilo de papa. - (1/2 kg) Medio kilo de zanahoria.
- (150 gr) Ciento cincuenta gramos de cebolla.
- (50 gr) Cincuenta gramos de ají dulce.
- (100 gr) Cien gramos de cebollin.
- (50 gr) Cincuenta gramos de ajo.
- (100 gr) Cien gramos de pasas.
- (50 gr) Cincuenta gramos de aceitunas con hueso.
- (50 gr) Cincuenta gramos de alcaparras.
- (1) Una cucharadita de pimienta.
- (1) Una cucharadita de adobo.
- (1) Una cucharadita de comino.
- (1) Una cucharadita de curry.
- Una taza de papelón.
Para darle color a la masa y bañar las hojas de plátano:
- (1) Una cucharada colmada de onoto en granos.
- (1) Una taza de aceite vegetal, el de su preferencia.
Para adornarlas:
- (1 kg) Un kilo de hoja de plátanos.
- (1) Una bobina de hilo pábilo.
- (3) Tres huevos cocidos.
- (1/2 kg) Medio kilo de papa cocida.
- (1/2 kg) Medio kilo de zanahoria cocida.
- (100 gr) Cien gramos de cebolla.
- (100 gr) Cien gramos de pimentón rojo.
- (100 gr) Cien gramos de pasas.
- (100 gr) Cien gramos de aceitunas sin huesos.
I begin by explaining the ingredients to be used for the preparation of this delicious dish: For the dough: 1. (1 kg) A kilo of corn flour. 2. Half a cup of oil with onoto. 3. ( 1.5 l) One point of five liters of water. 4. (2) Two teaspoons of salt. For the stew: 1. (1/2 kg) One kilo of pork. 2. (1/2 kg) Half a kilo of beef for stewing. 3. (1/2 kg) Half a kilo of potato. 4. (1/2 kg) Half a kilo of carrot. 5. (150 gr) One hundred and fifty grams of onion. 6. (50 grams) Fifty grams of sweet chili bell pepper. 7. (100 grams) One hundred grams of onion. 8. (50 grams) Fifty grams of garlic. 9. (100 grams) One hundred grams of raisins. 10. (50 grams) Fifty grams of olives with stone. 11. (50 grams) Fifty grams of capers. 12. (1) One teaspoon of pepper. 13. (1) One teaspoon of marinade. 14. (1) One teaspoon cumin. 15. (1) One teaspoon curry. 16. One cup of papelón. To give color to the dough and to coat the plantain leaves: 1. (1) One heaping tablespoon of onoto beans. 2. (1) One cup of vegetable oil, the one of your preference. To garnish them: 1. (1 kg) One kilogram of banana leaves. 2. (1) One spool of pábilo thread. 3. (3) Three boiled eggs. 4. (1/2 kg) Half a kilo of boiled potato. 5. (1/2 kg) Half a kilo of cooked carrot. 6. (100 grams) One hundred grams of onion. 7. (100 grams) One hundred grams of red bell pepper. 8. (100 grams) One hundred grams of raisins. 9. (100 grams) Hundred grams of pitted olives.
Preparación para hacer las famosa Hallacas Venezolanas:
Preparation for making the famous Hallacas Venezolanas:
Para el guiso:
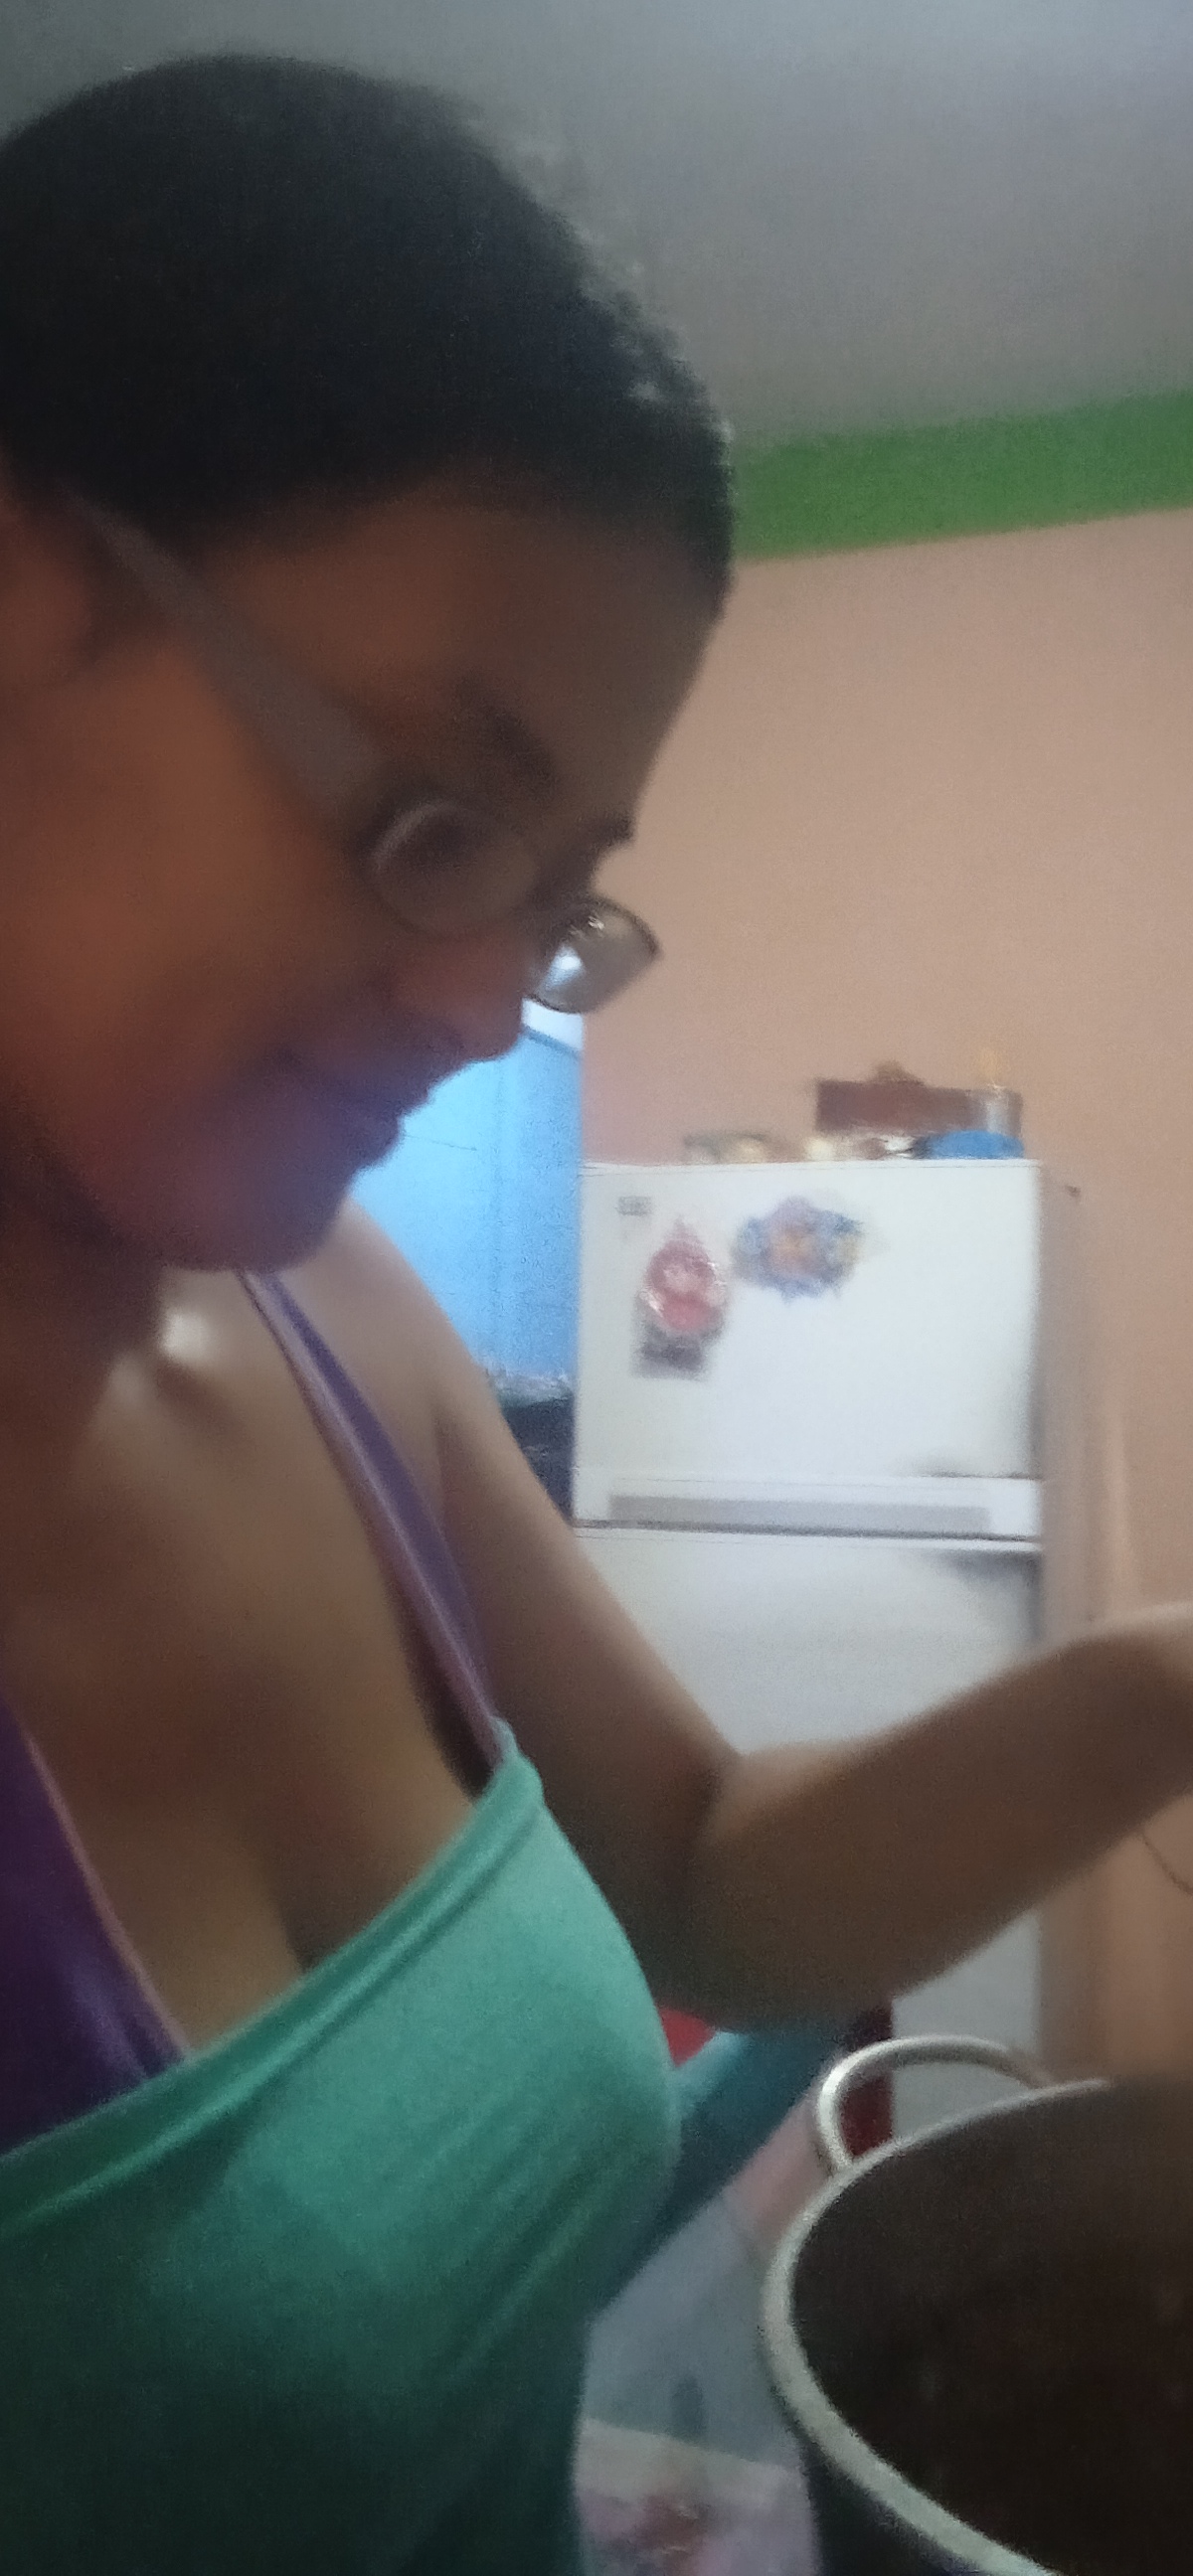
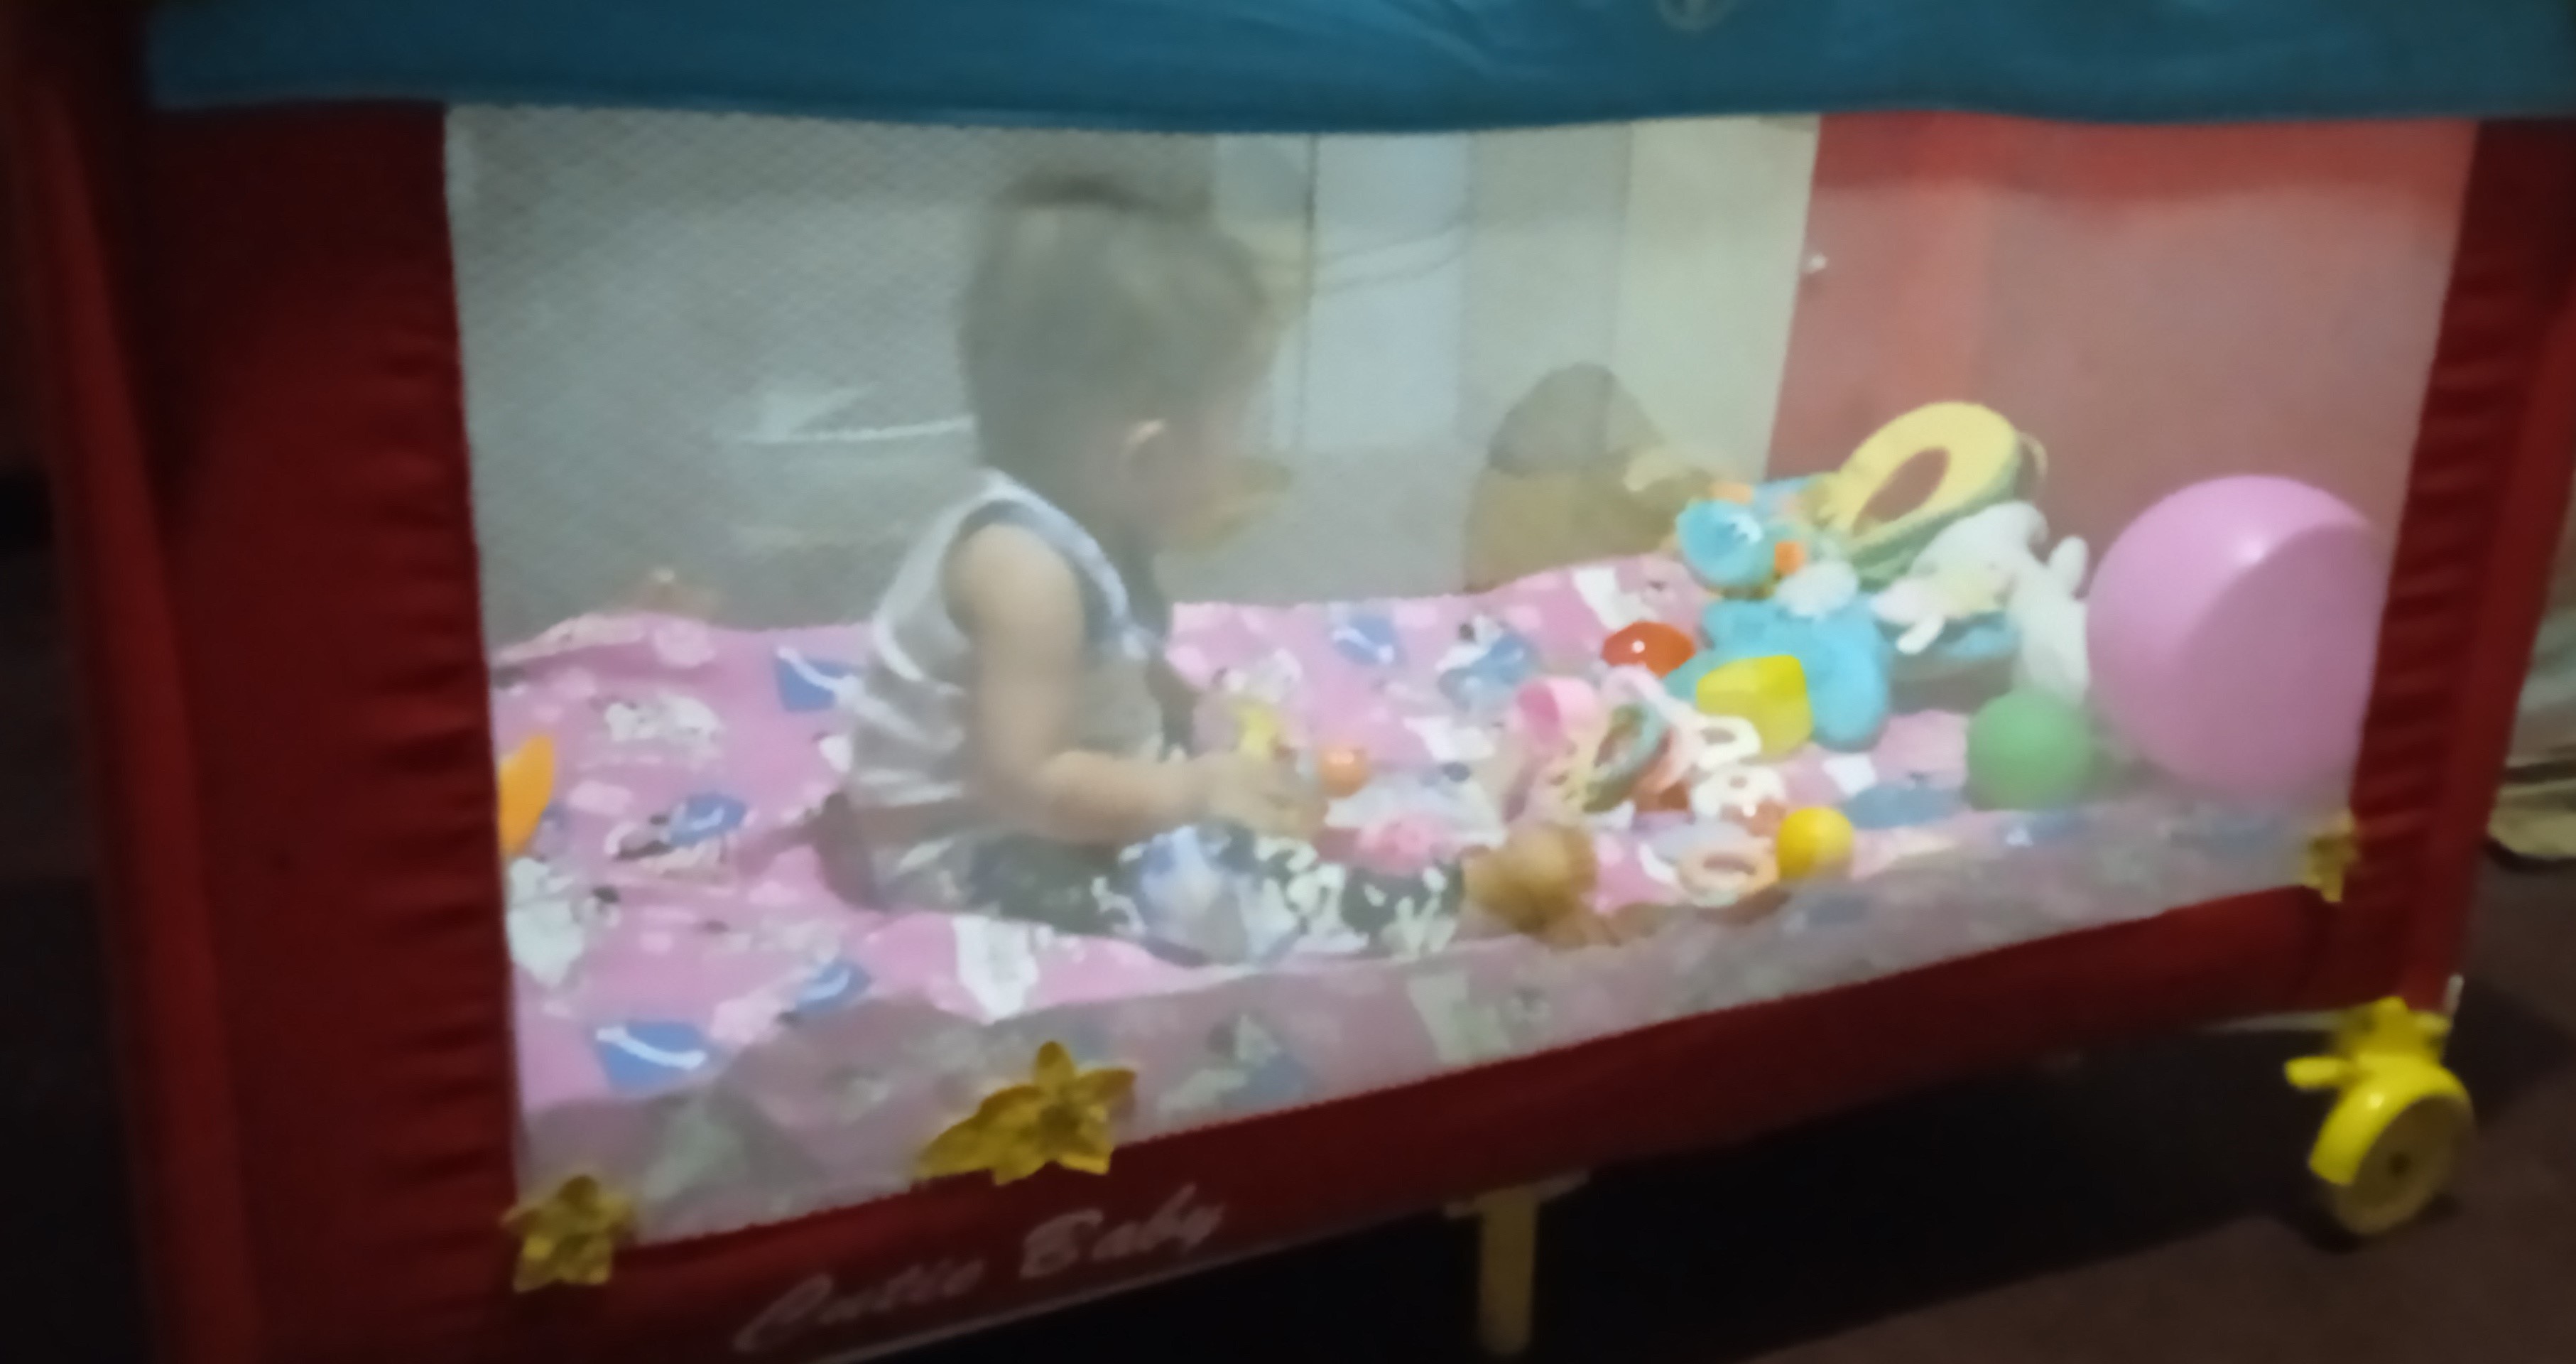
- Como madre, ja, ja, ja, inicié, colocando a mi hija en el corral para poder hacer las cosas.
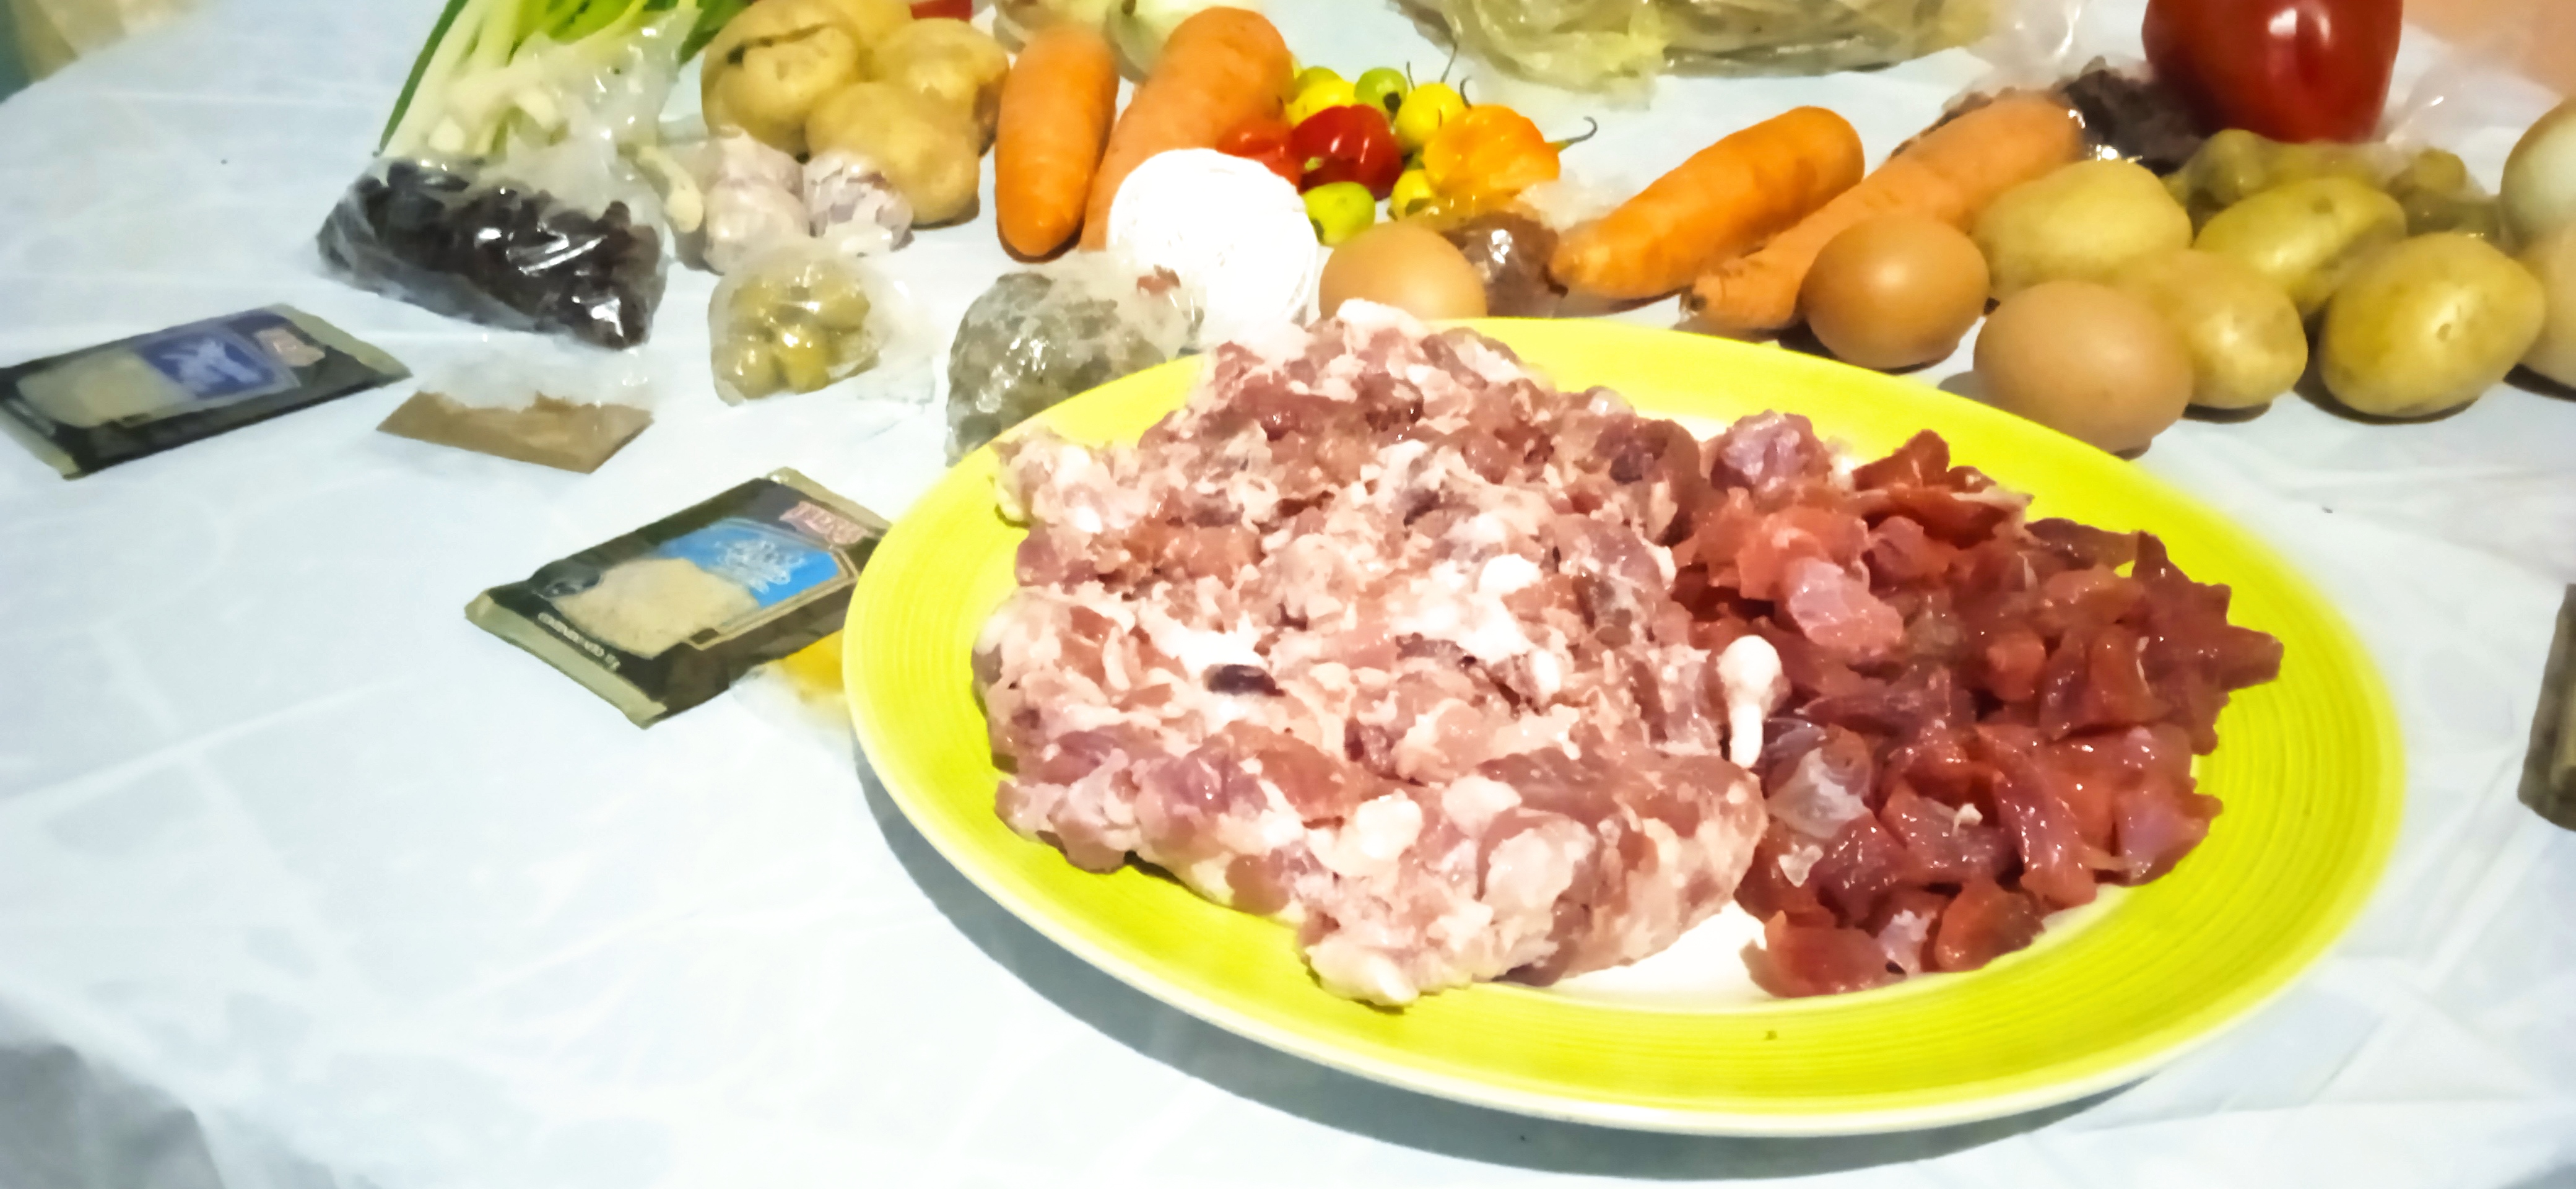
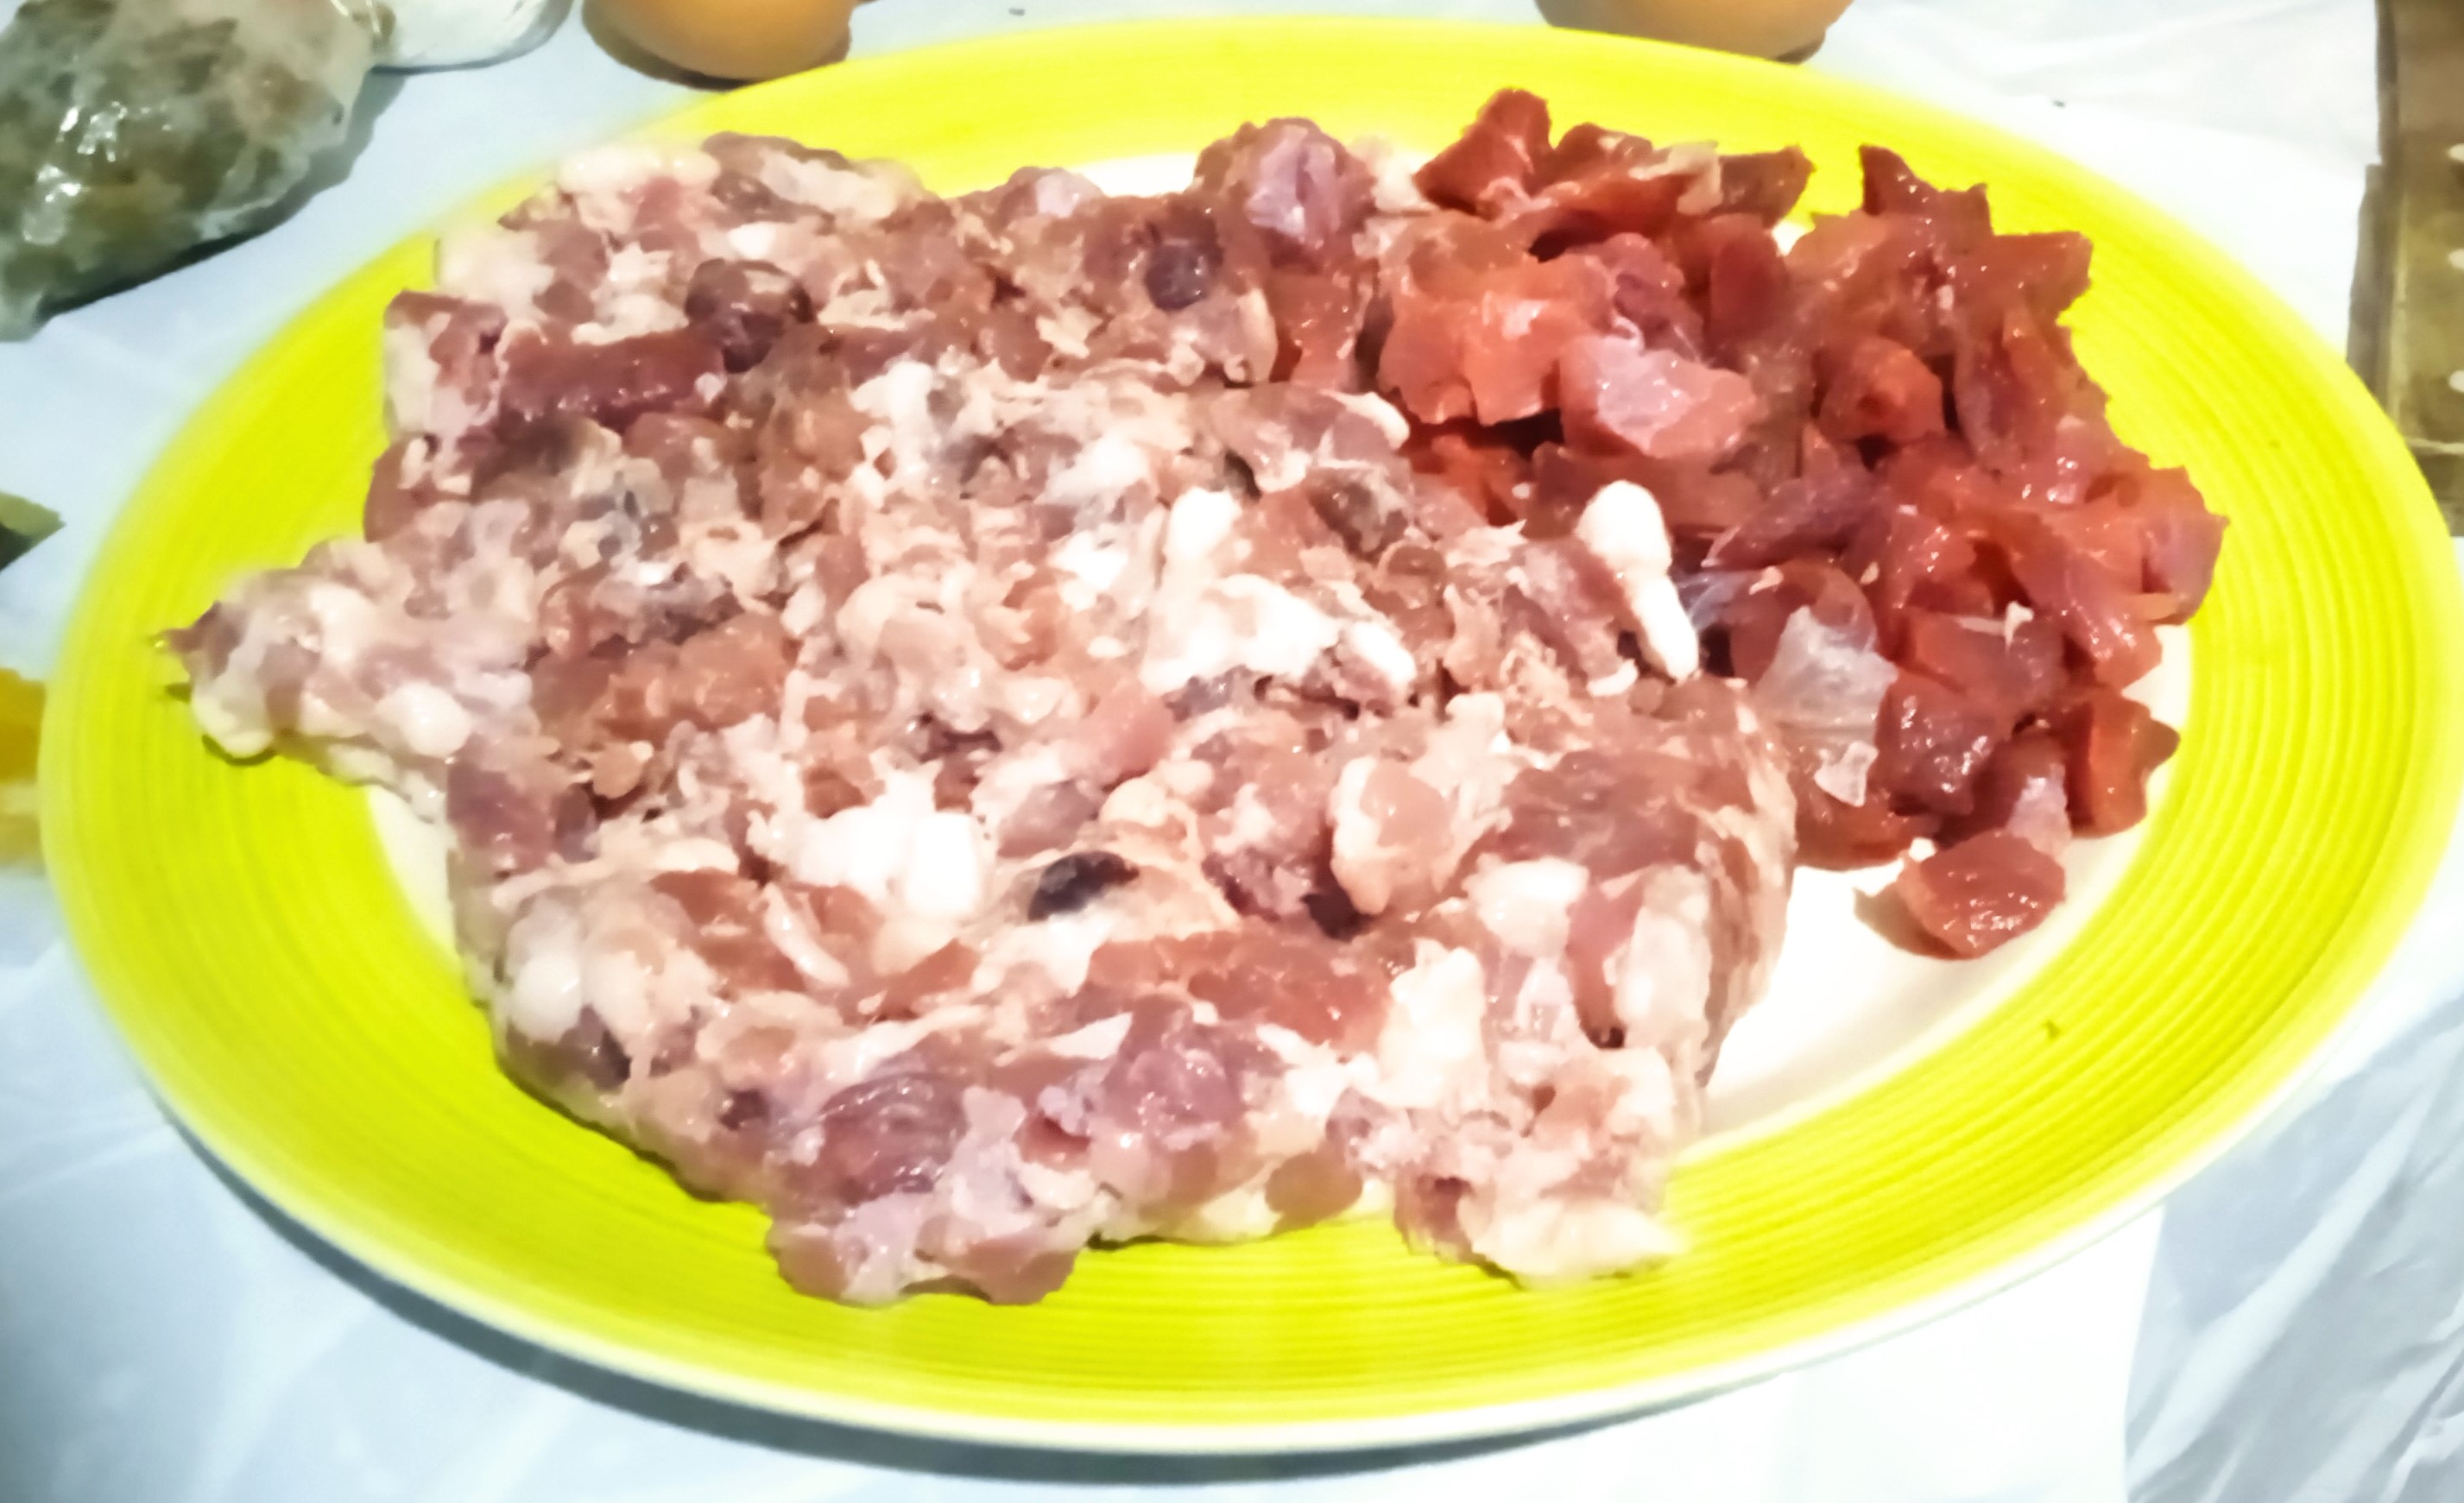
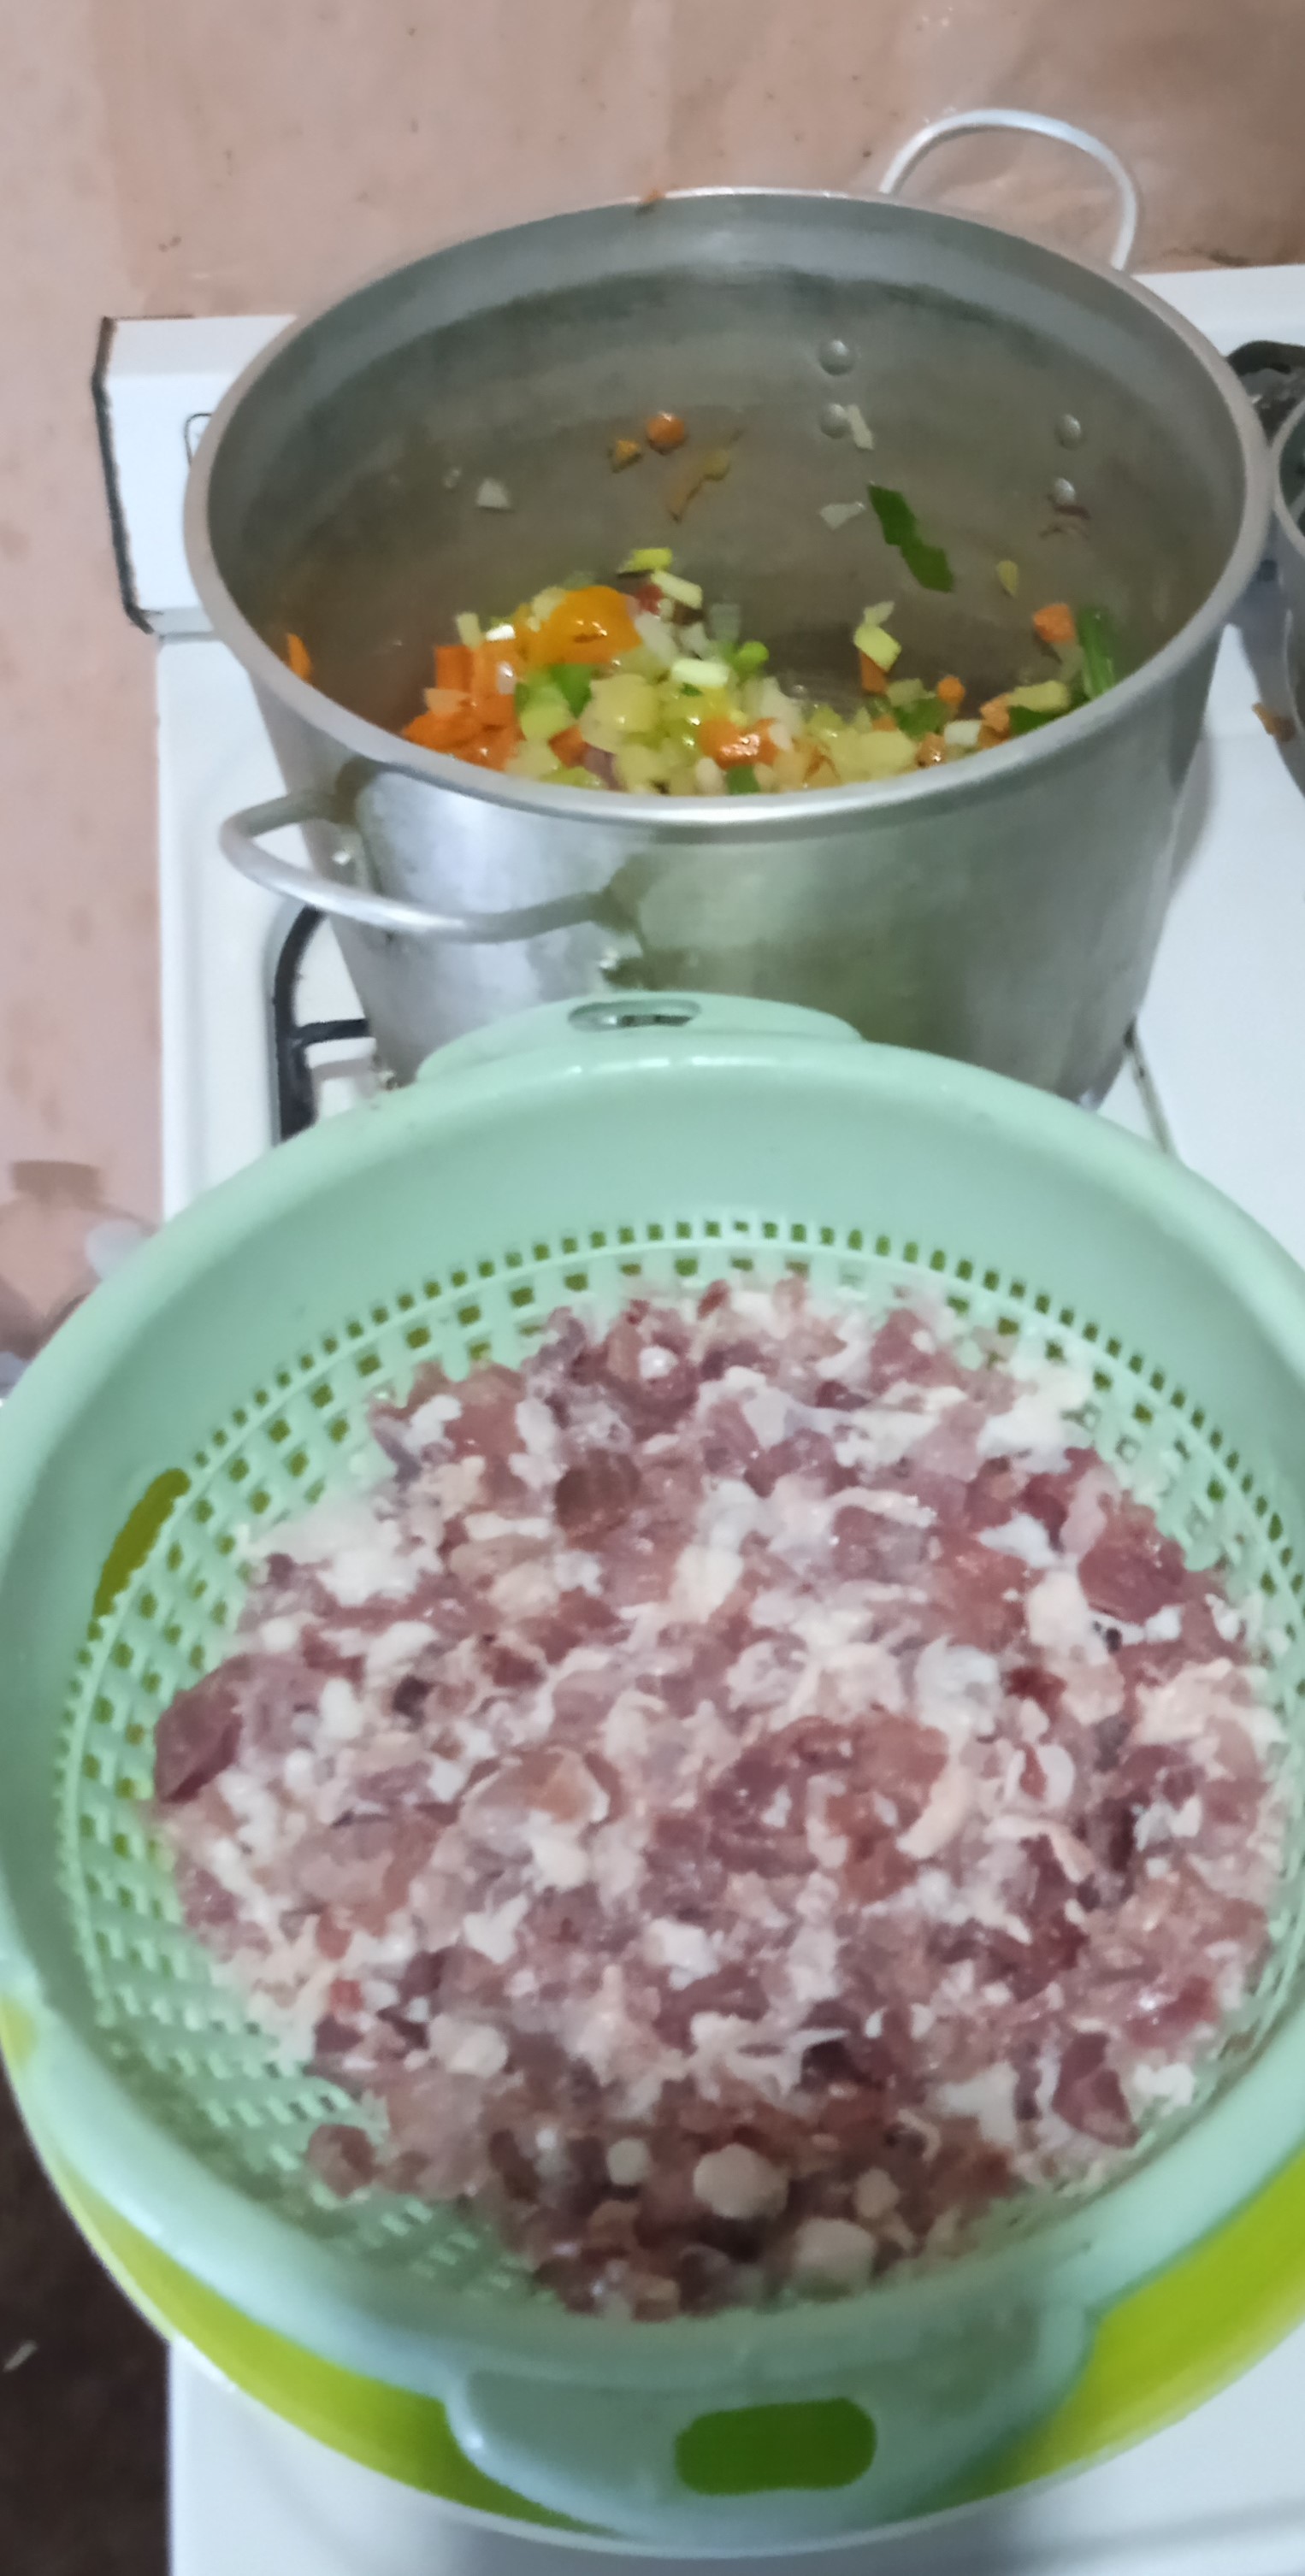
- Después, si manos a la obra, me puse a picar las carnes. En mi caso compré ya ambas carnes picadas, pero la carne de res para mi gusto estaba muy grande, así que la troce en cubos más pequeños. Mientras que la carne de cerdo no tuve que picarla, porque donde la compré más bien la cortaron demasiado pequeña.
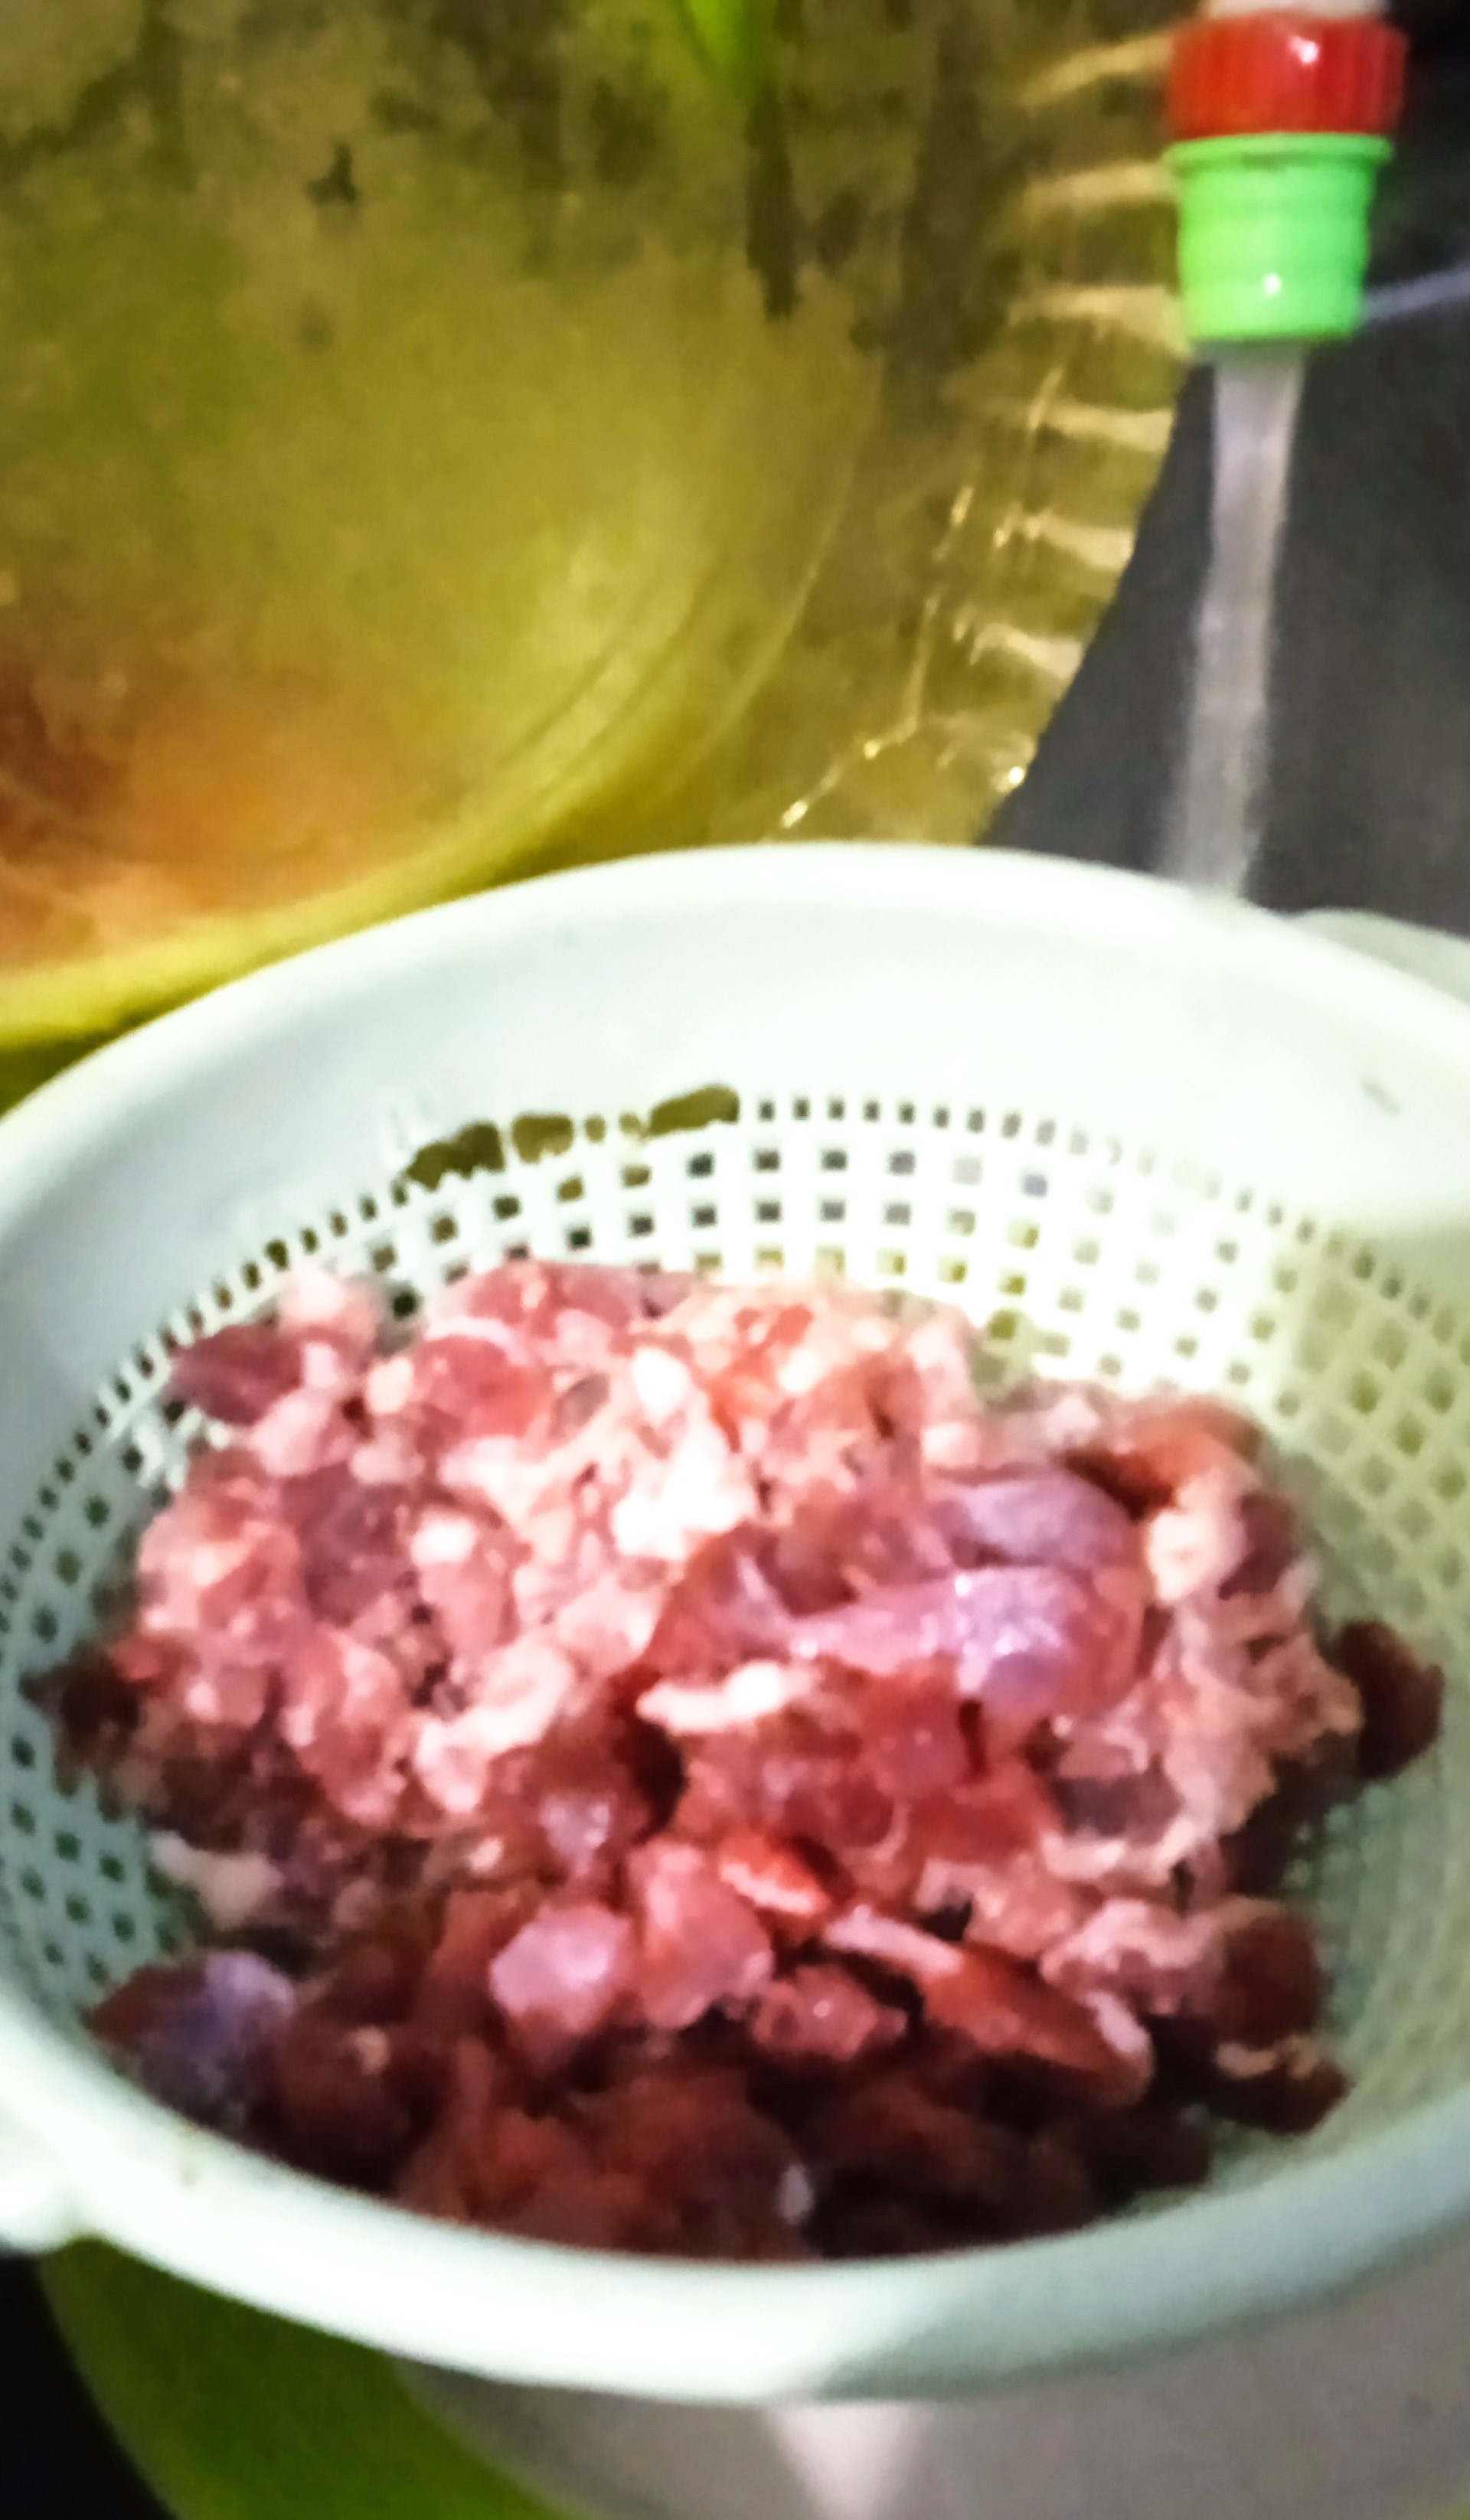
- Ya cortadas ambas carnes, se colocan en un plato para lavarlas muy bien con agua de grifo. Ya limpias, colocarlas en el plato previamente limpio nuevamente.
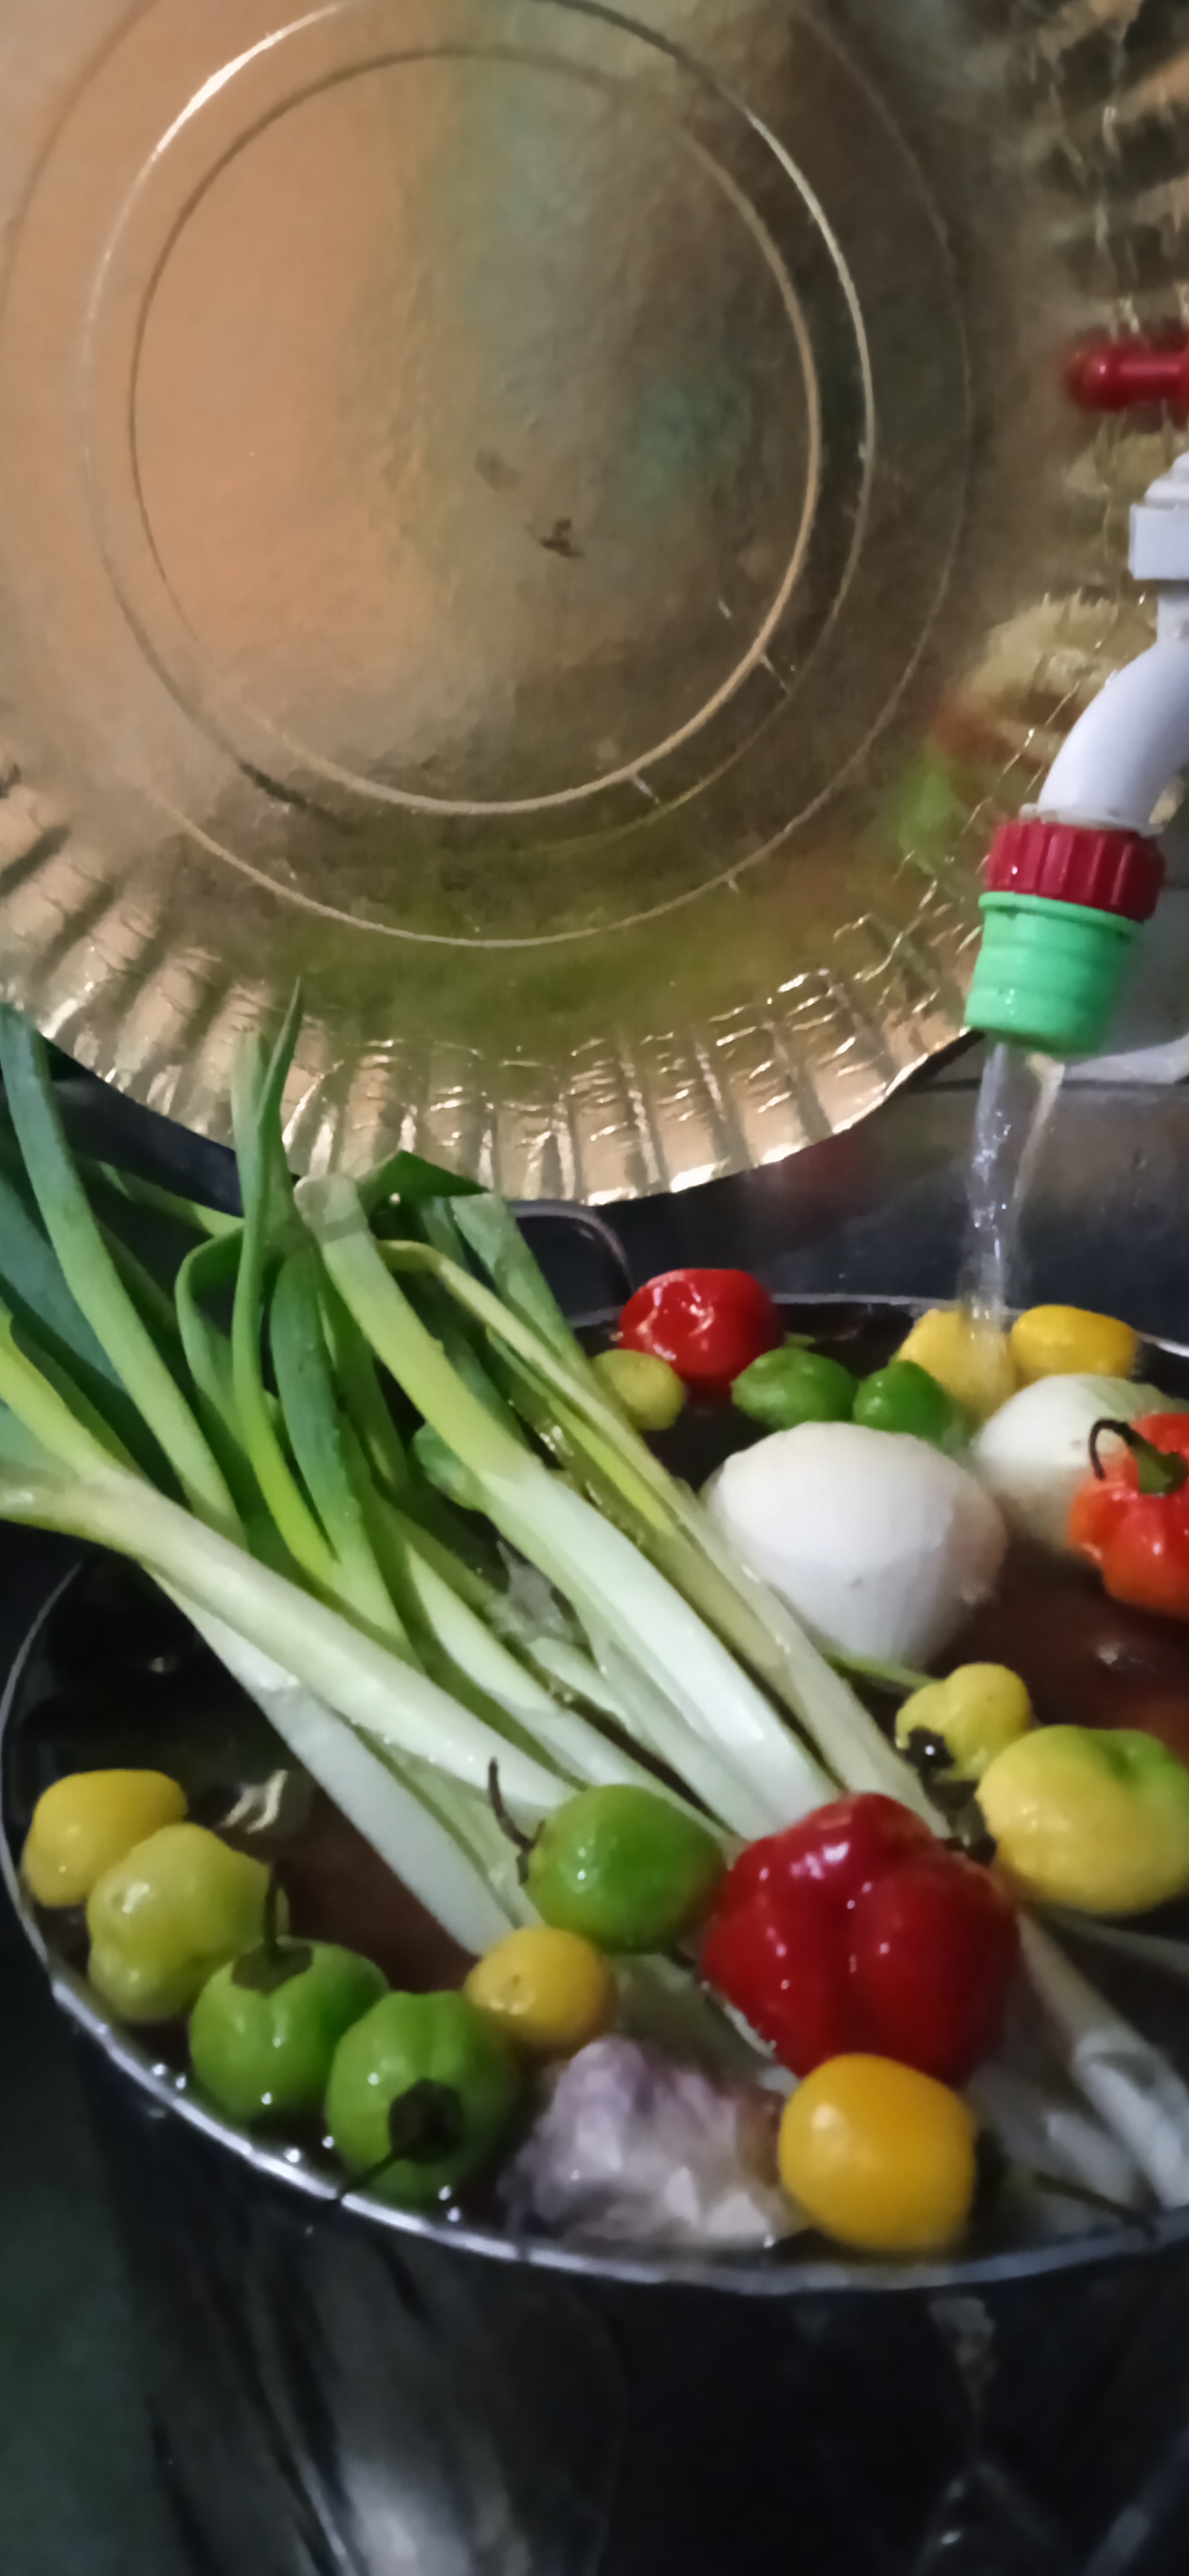
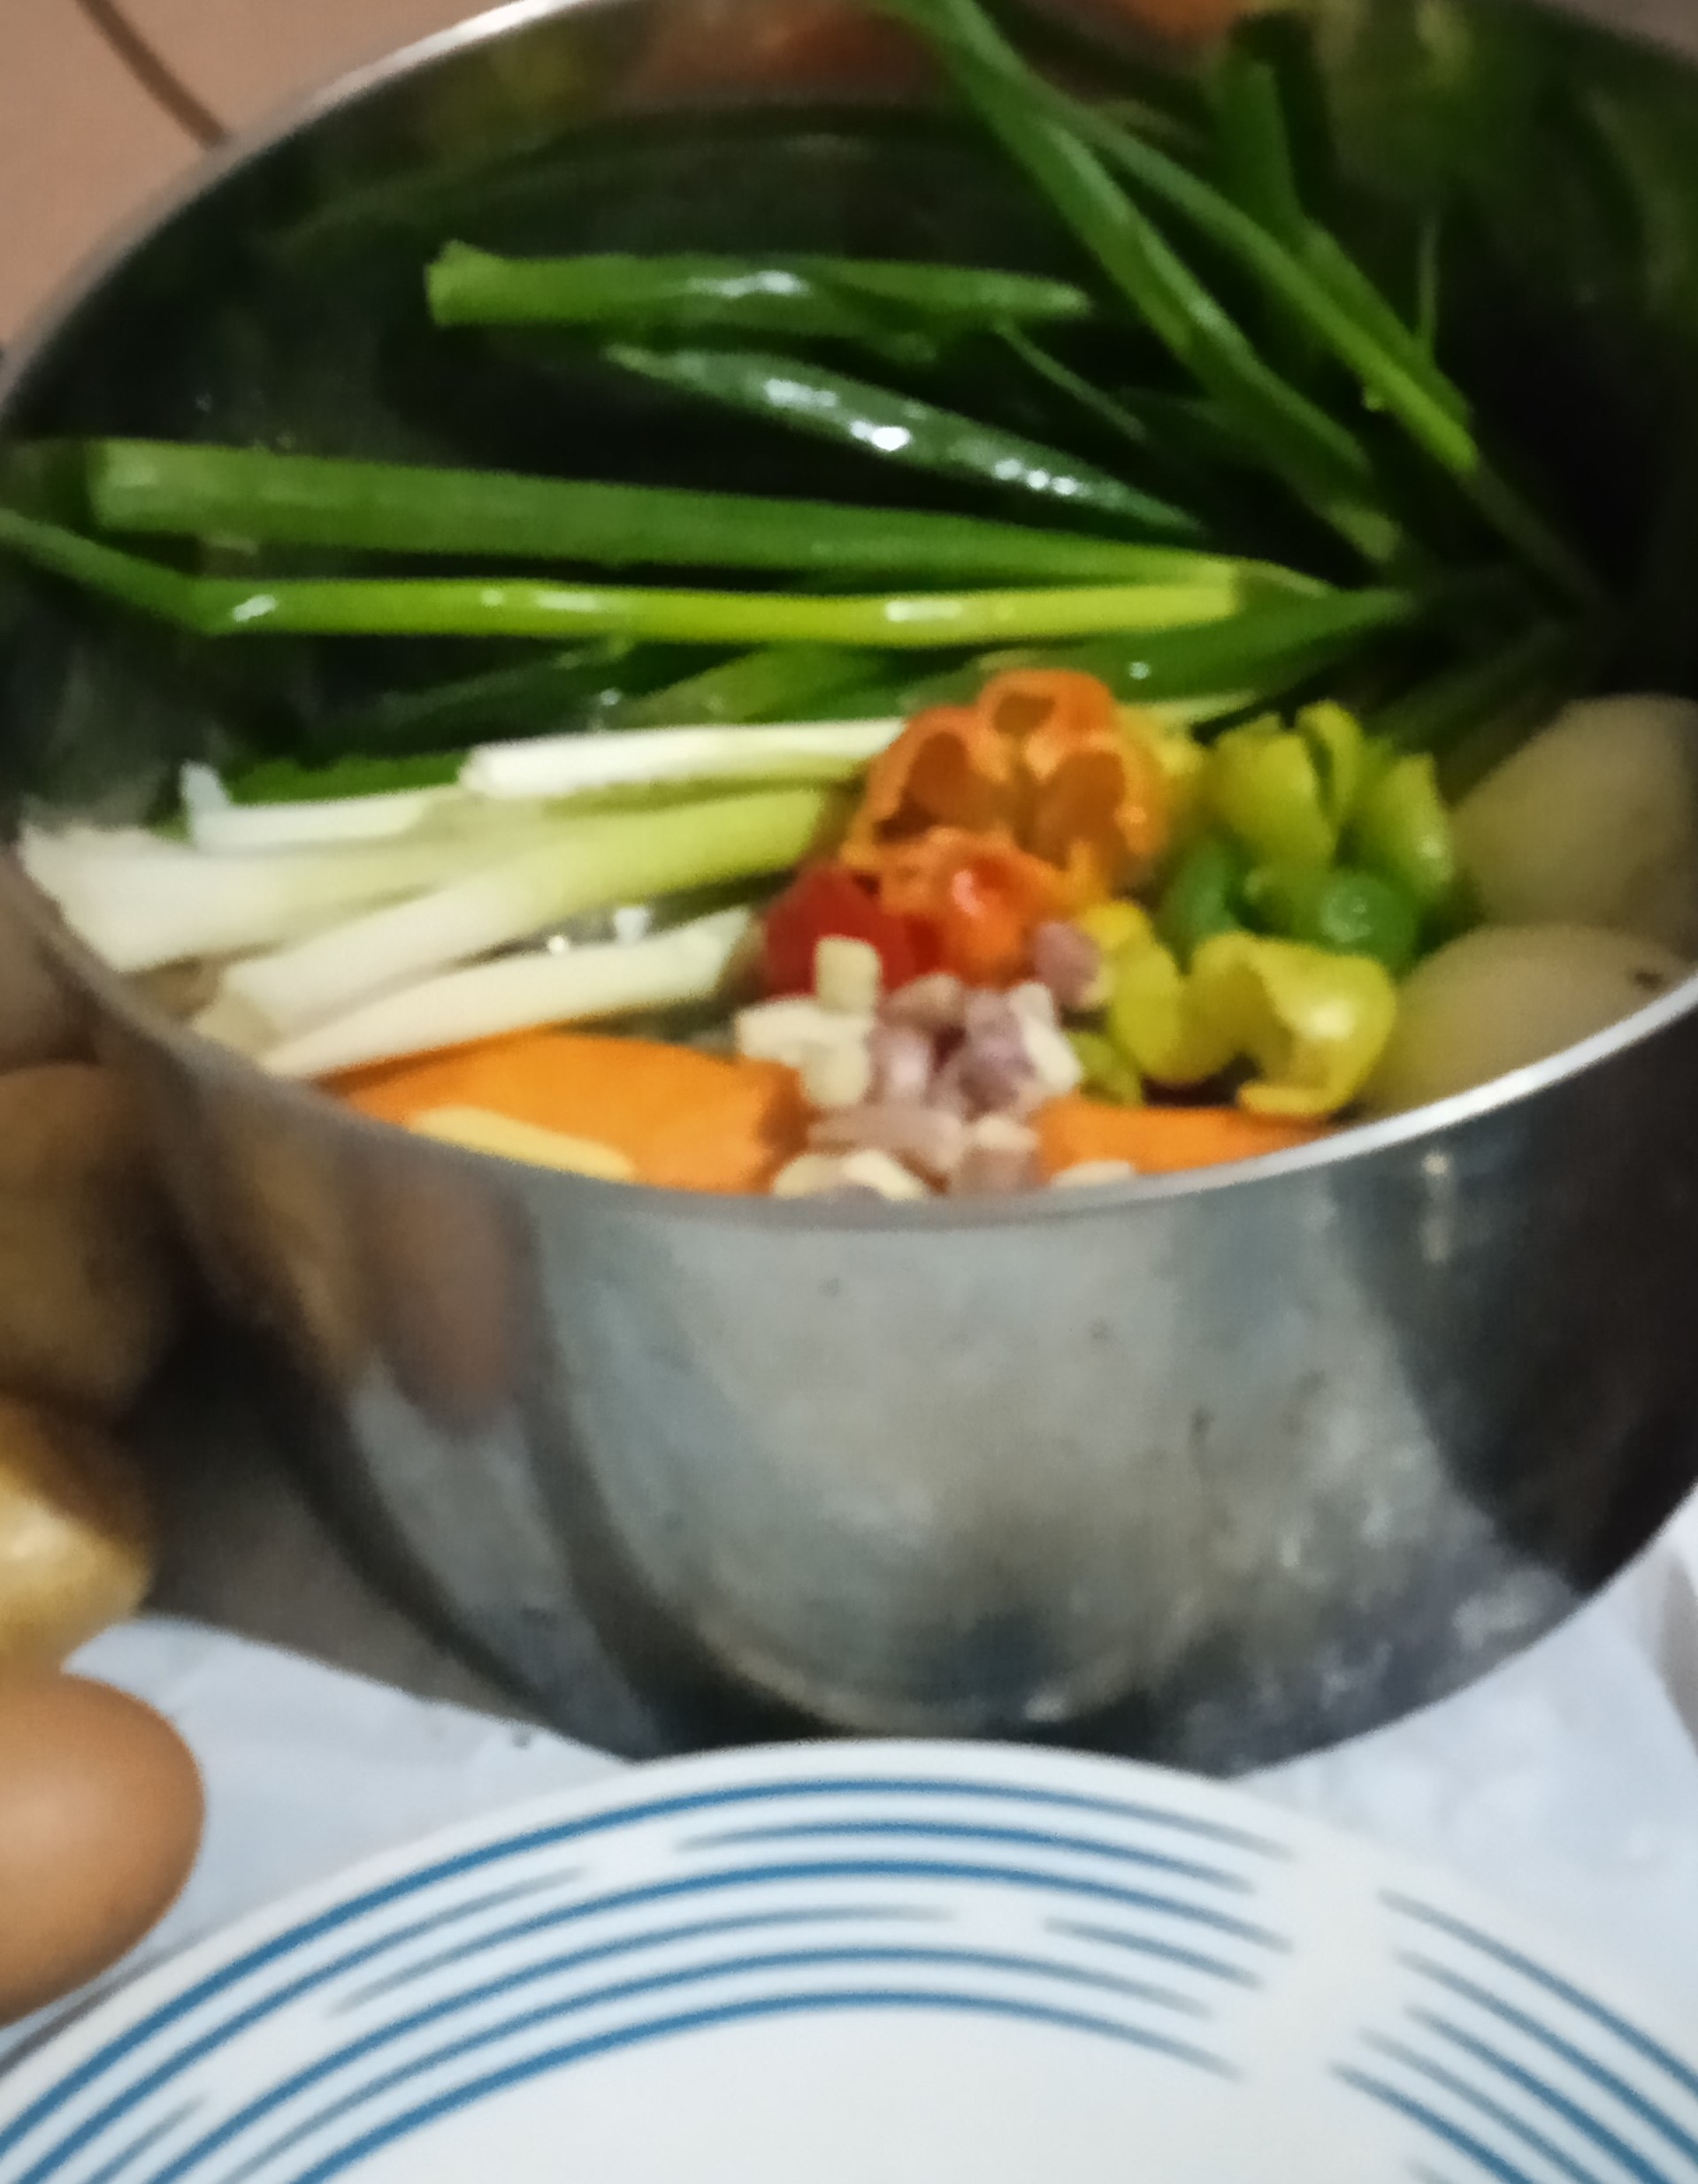
- Después, se procede a lavar todos los vegetales muy bien con agua del grifo y se coloca otra vez en la olla previamente lavada.
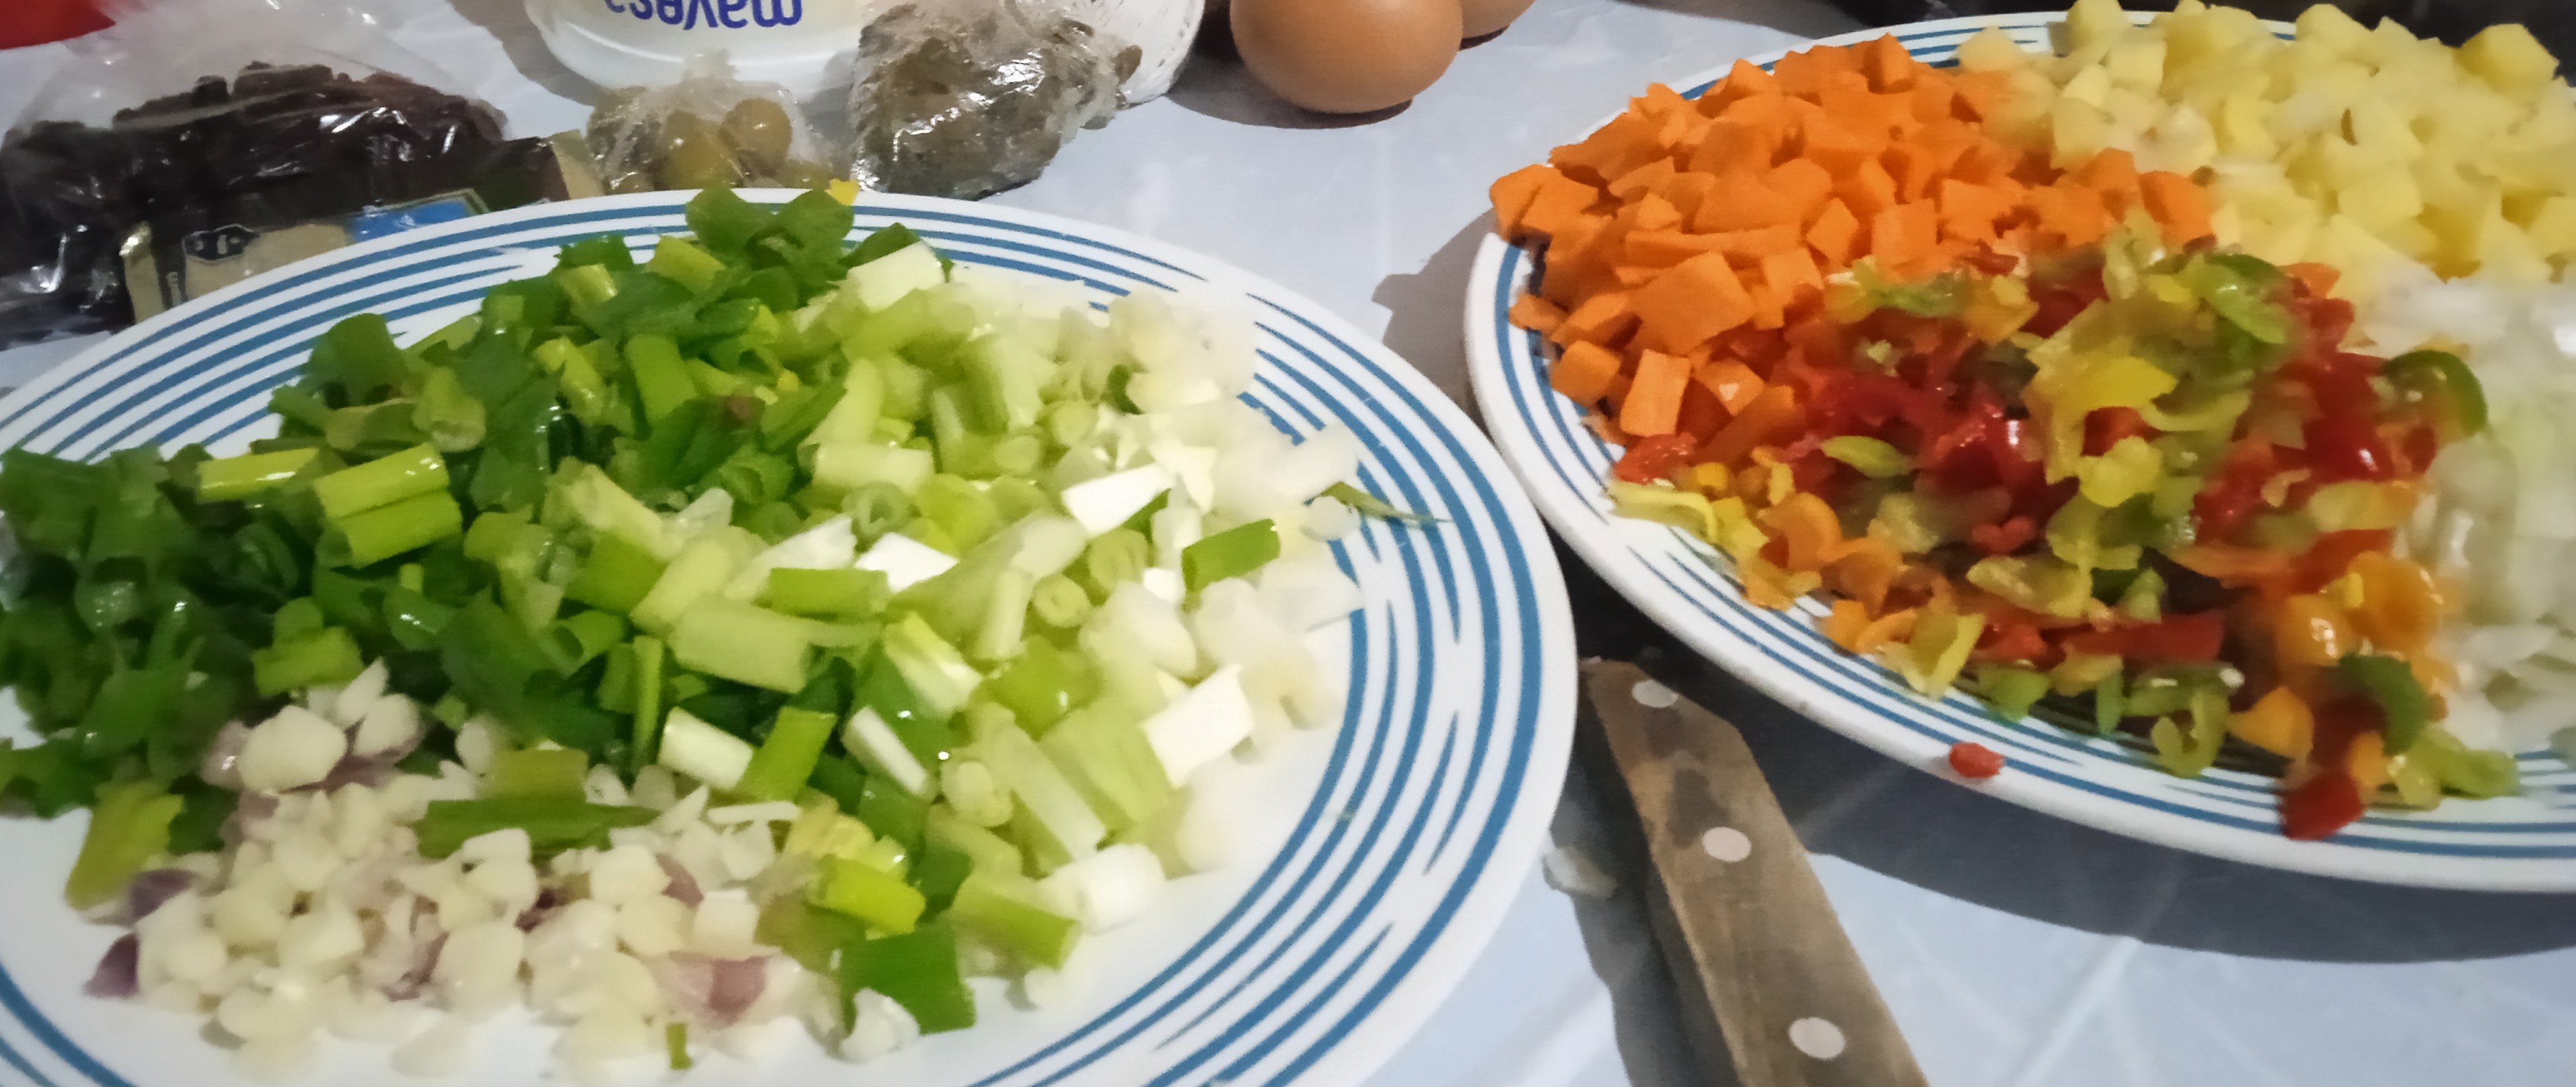
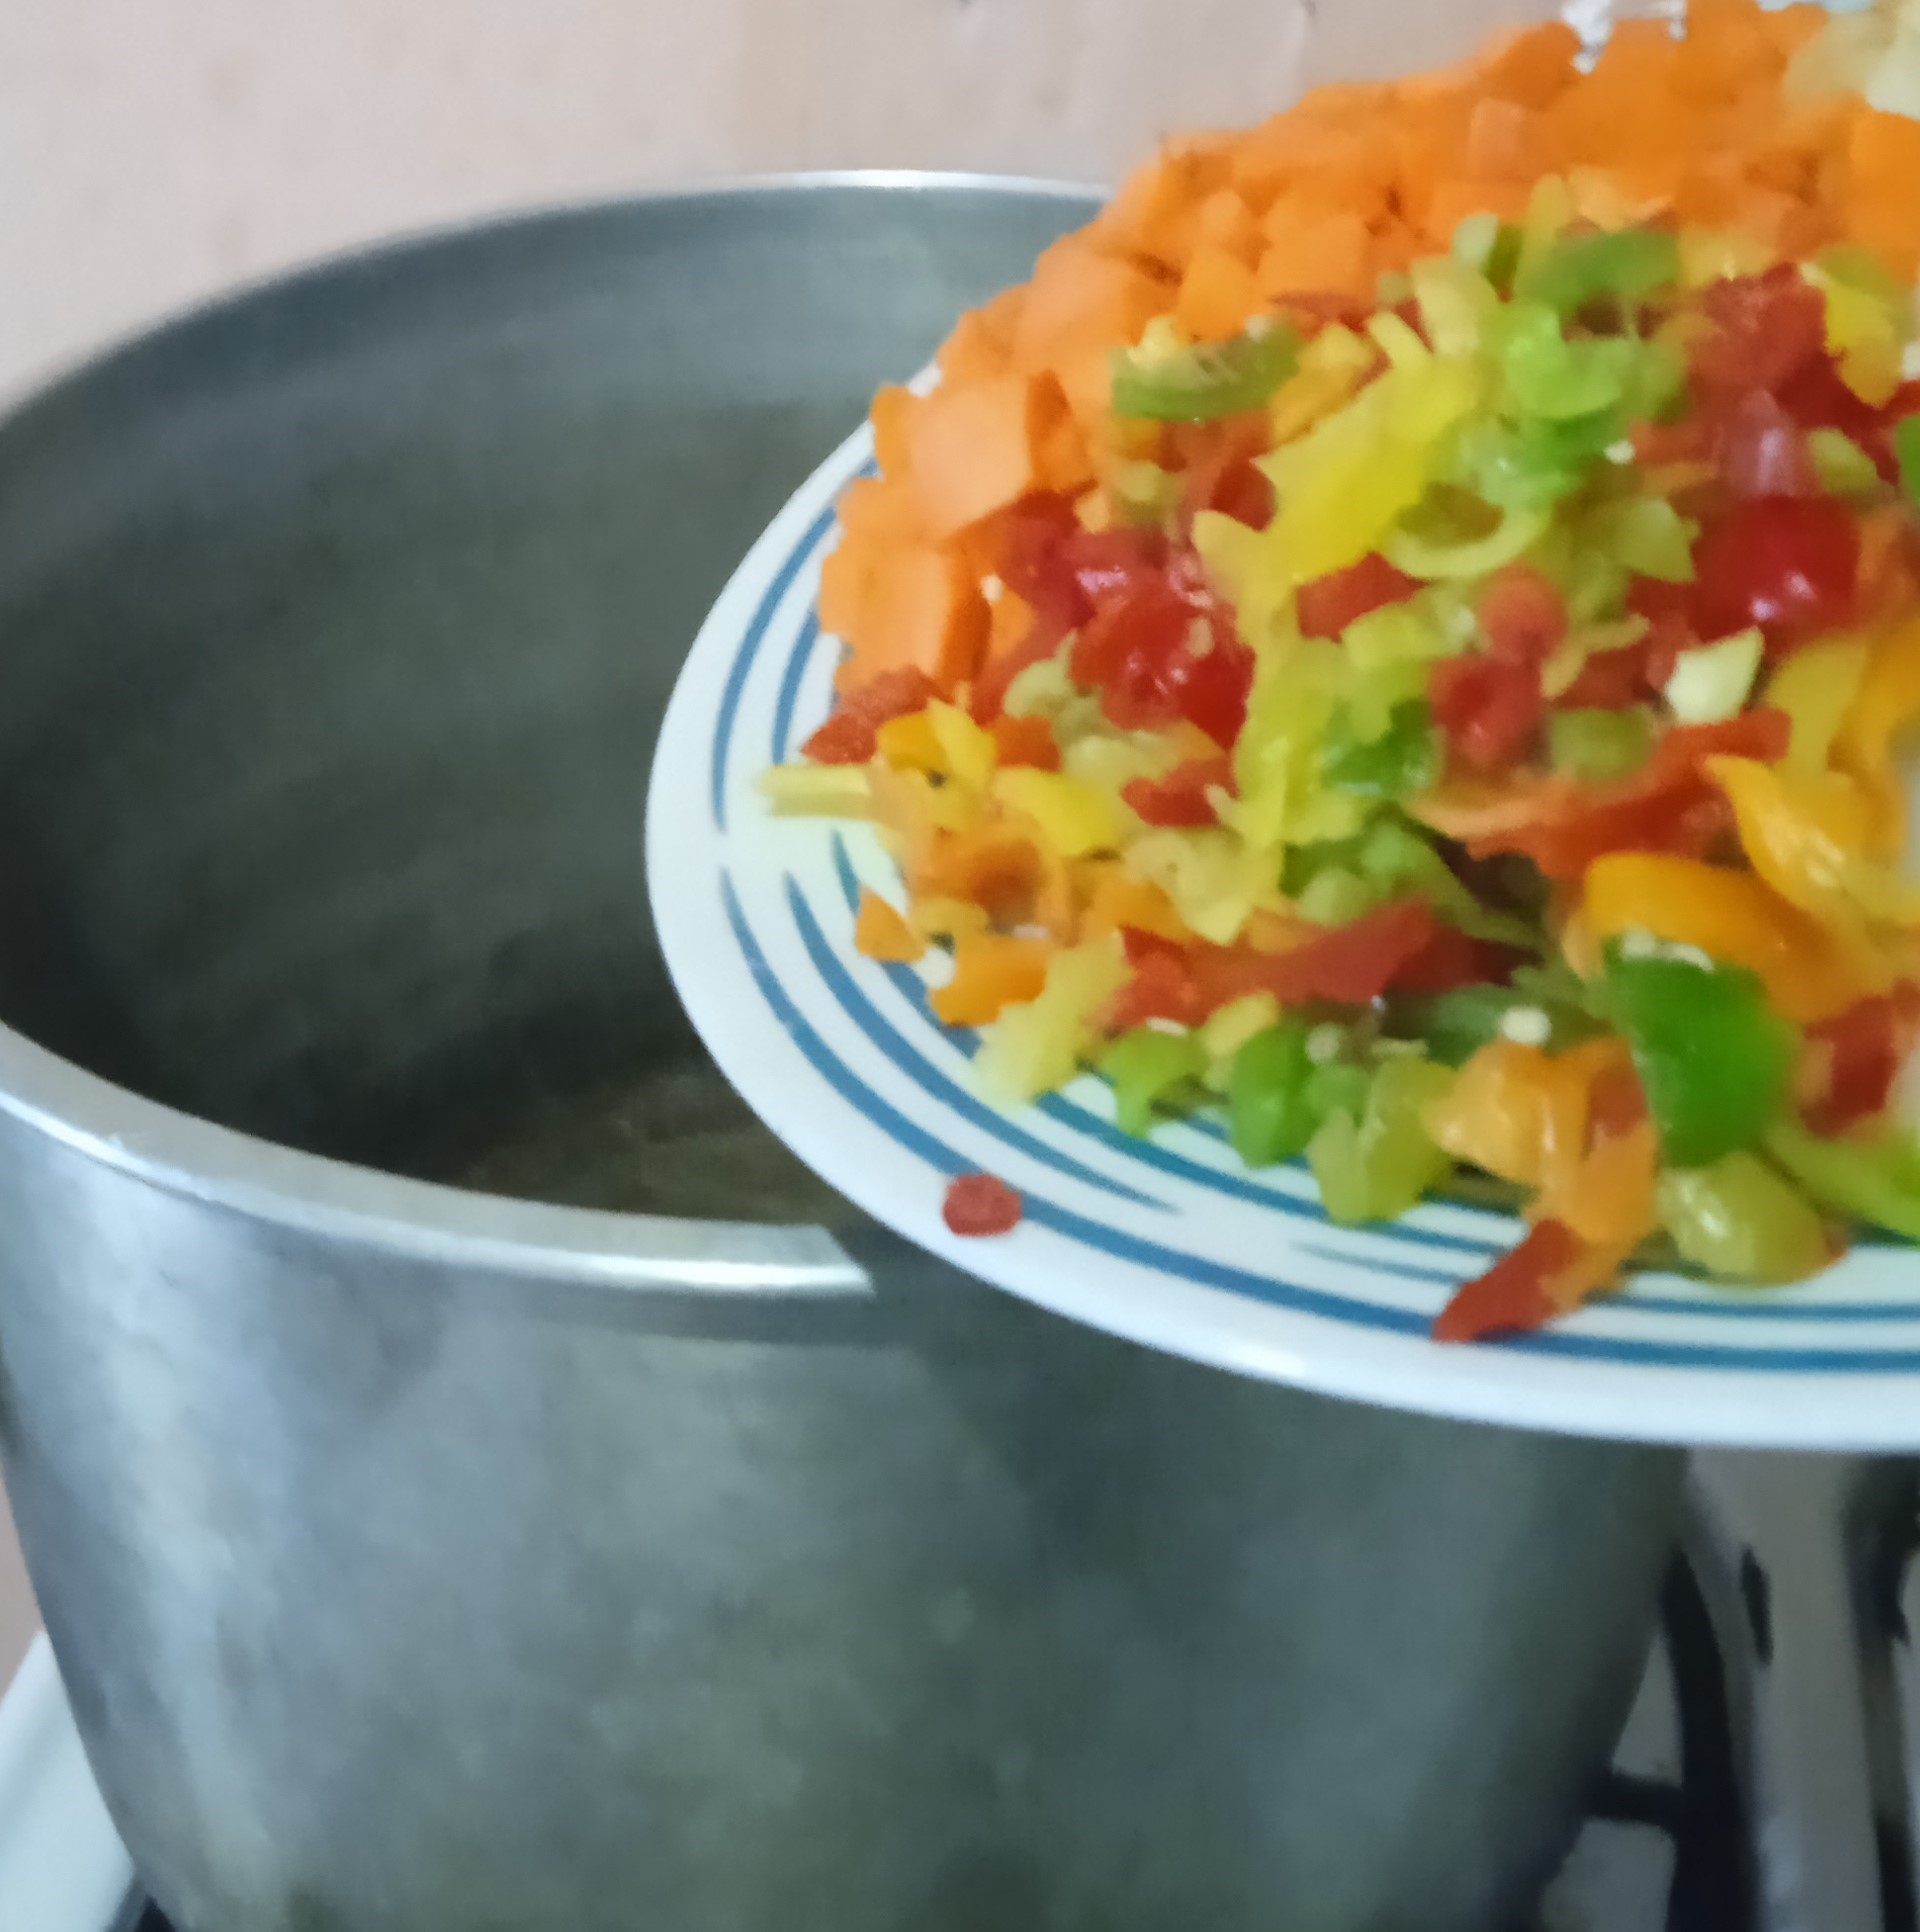
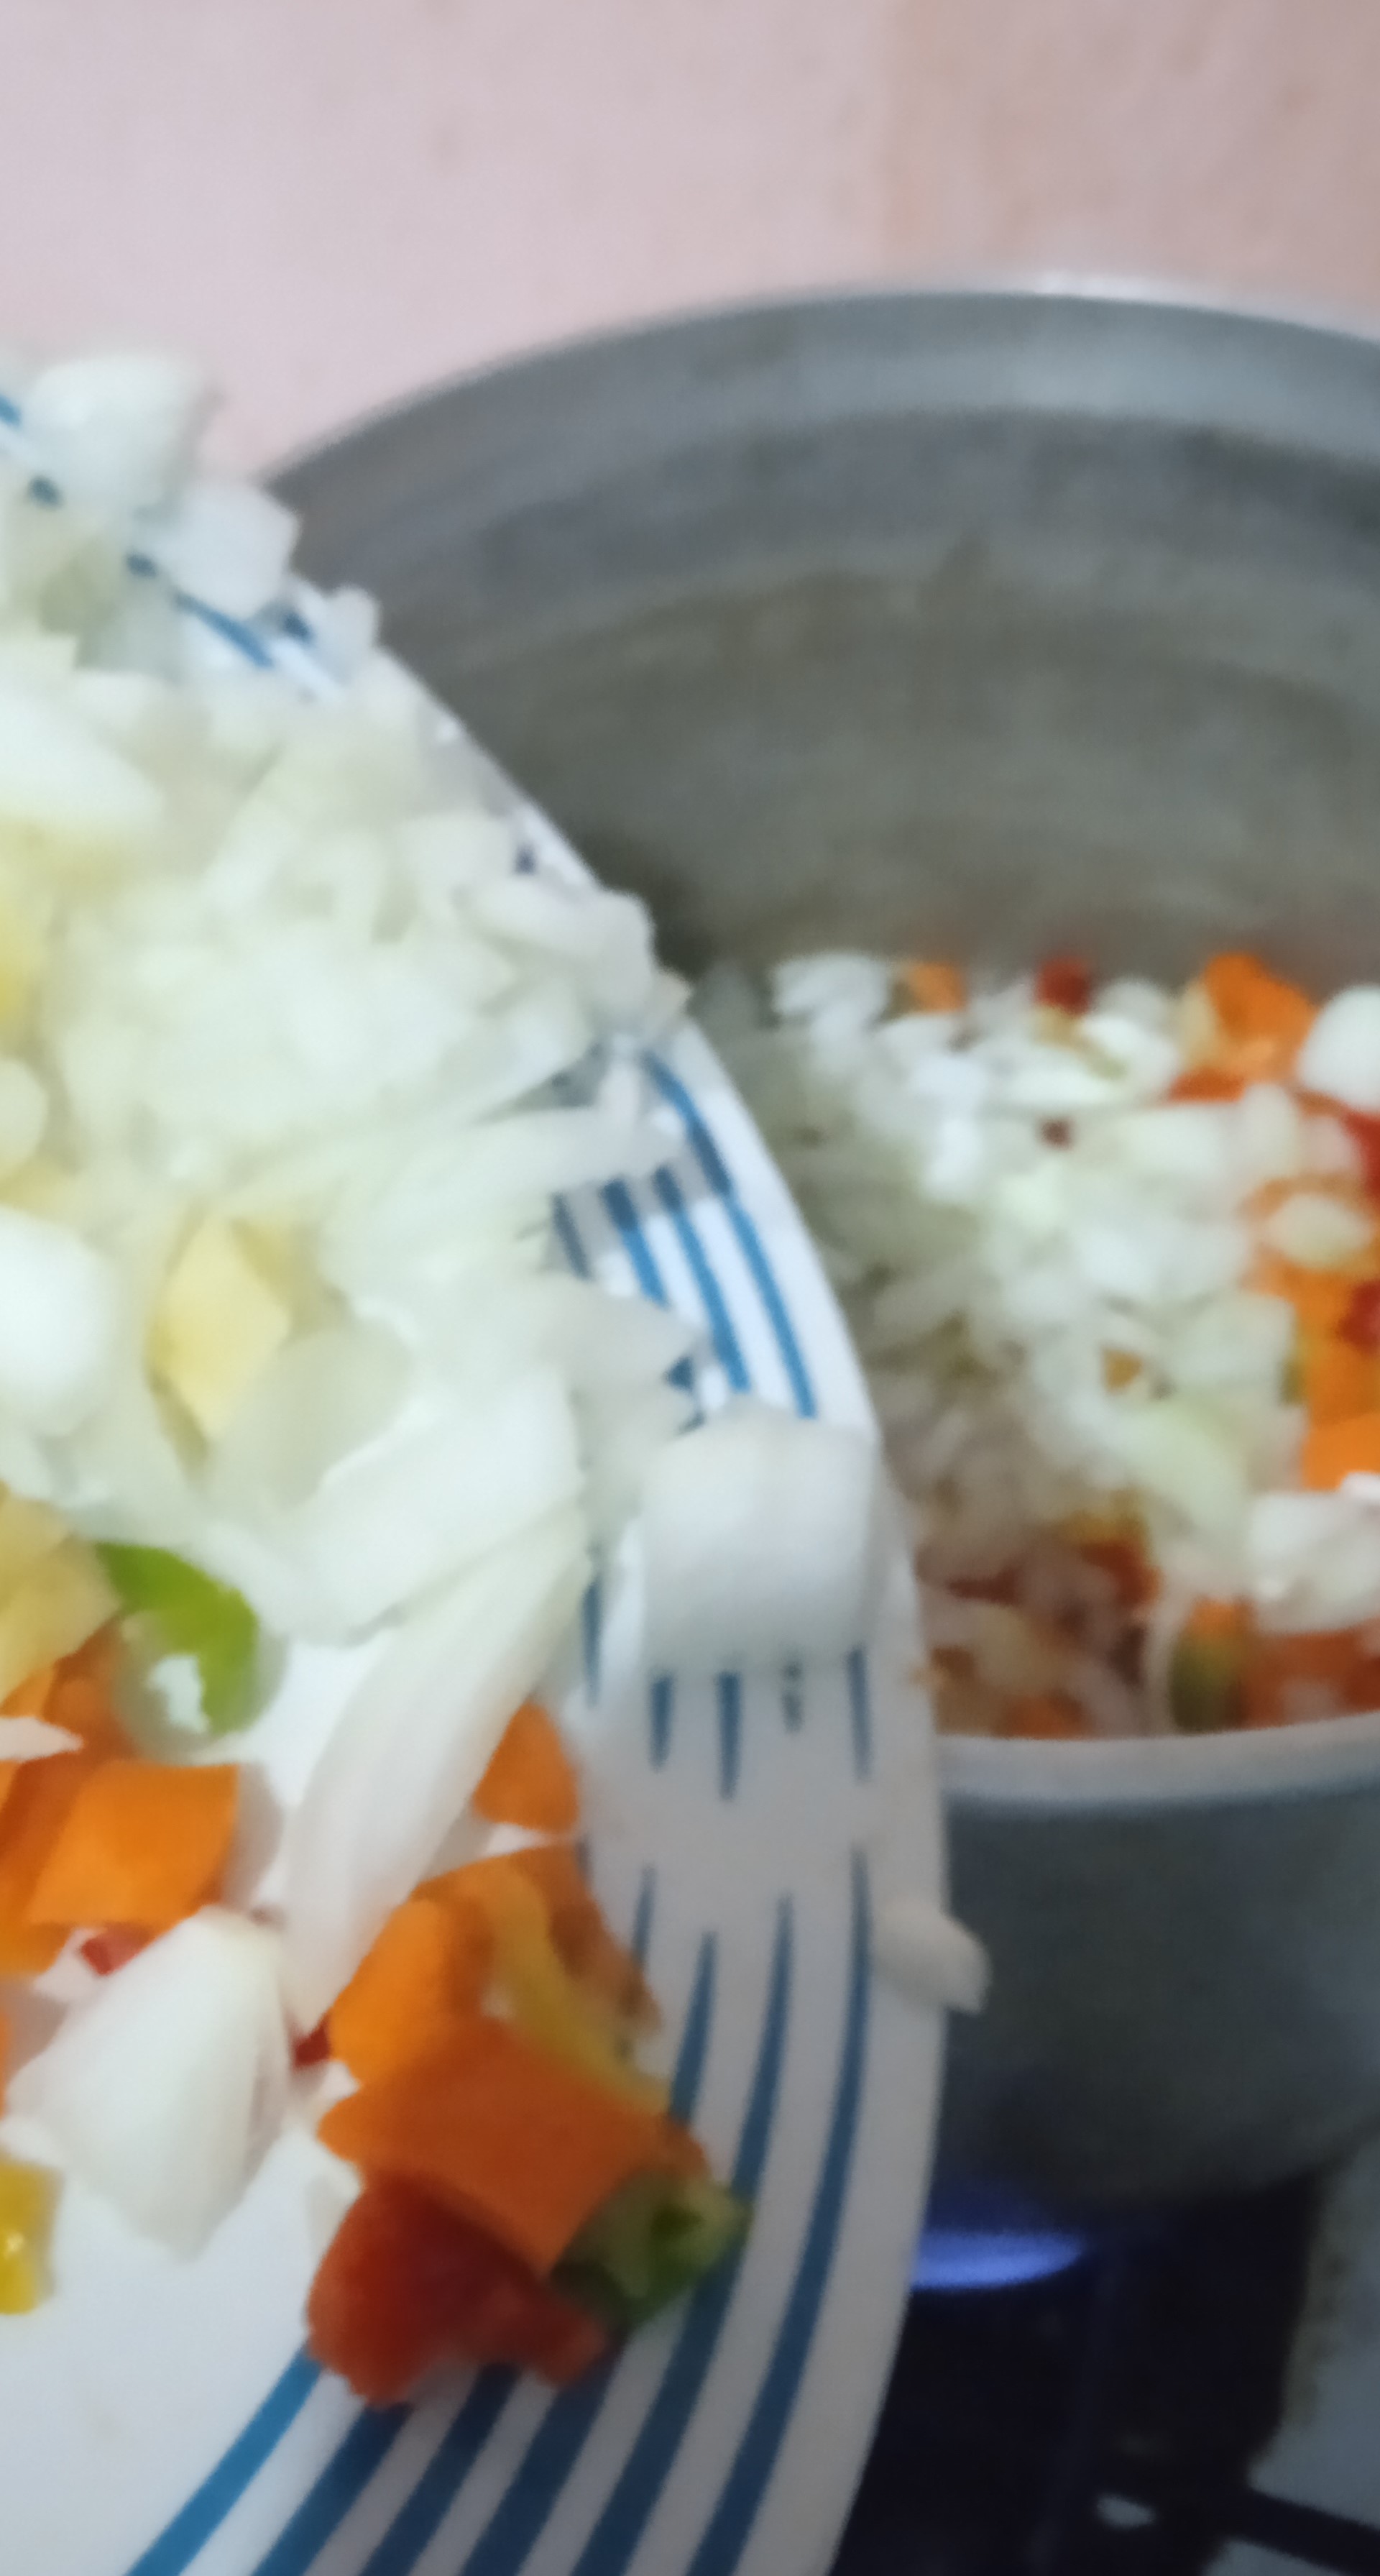
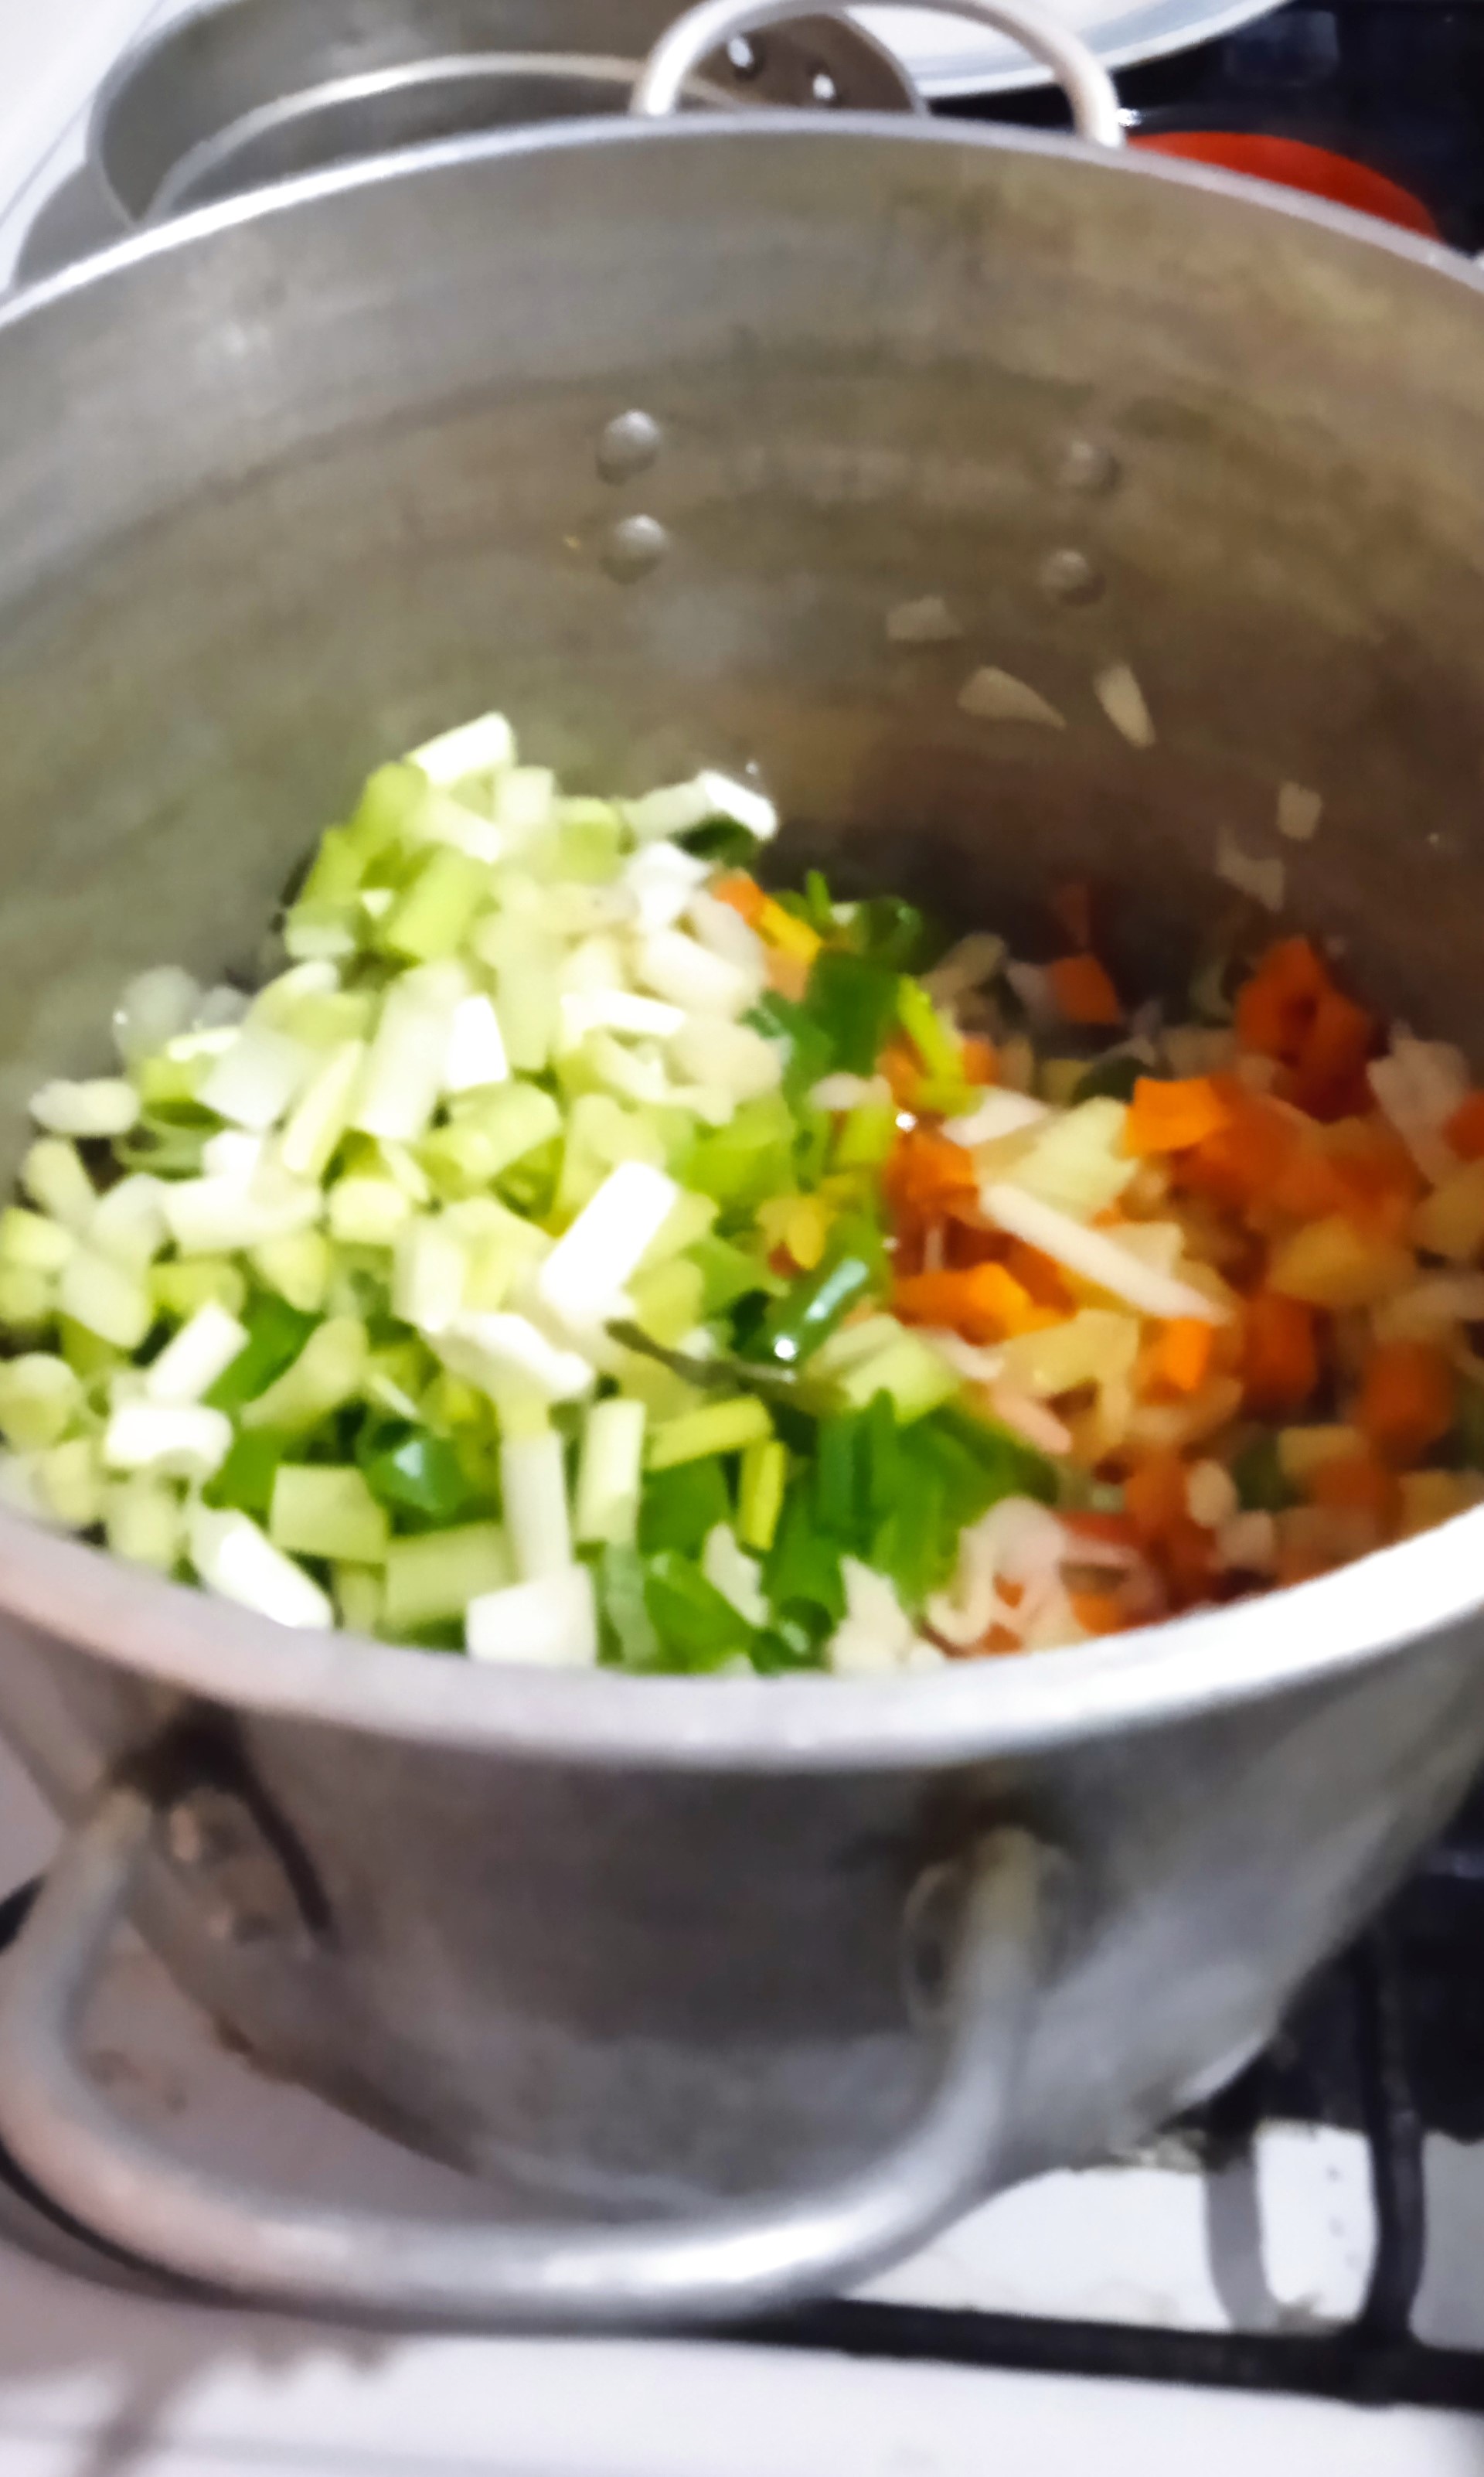
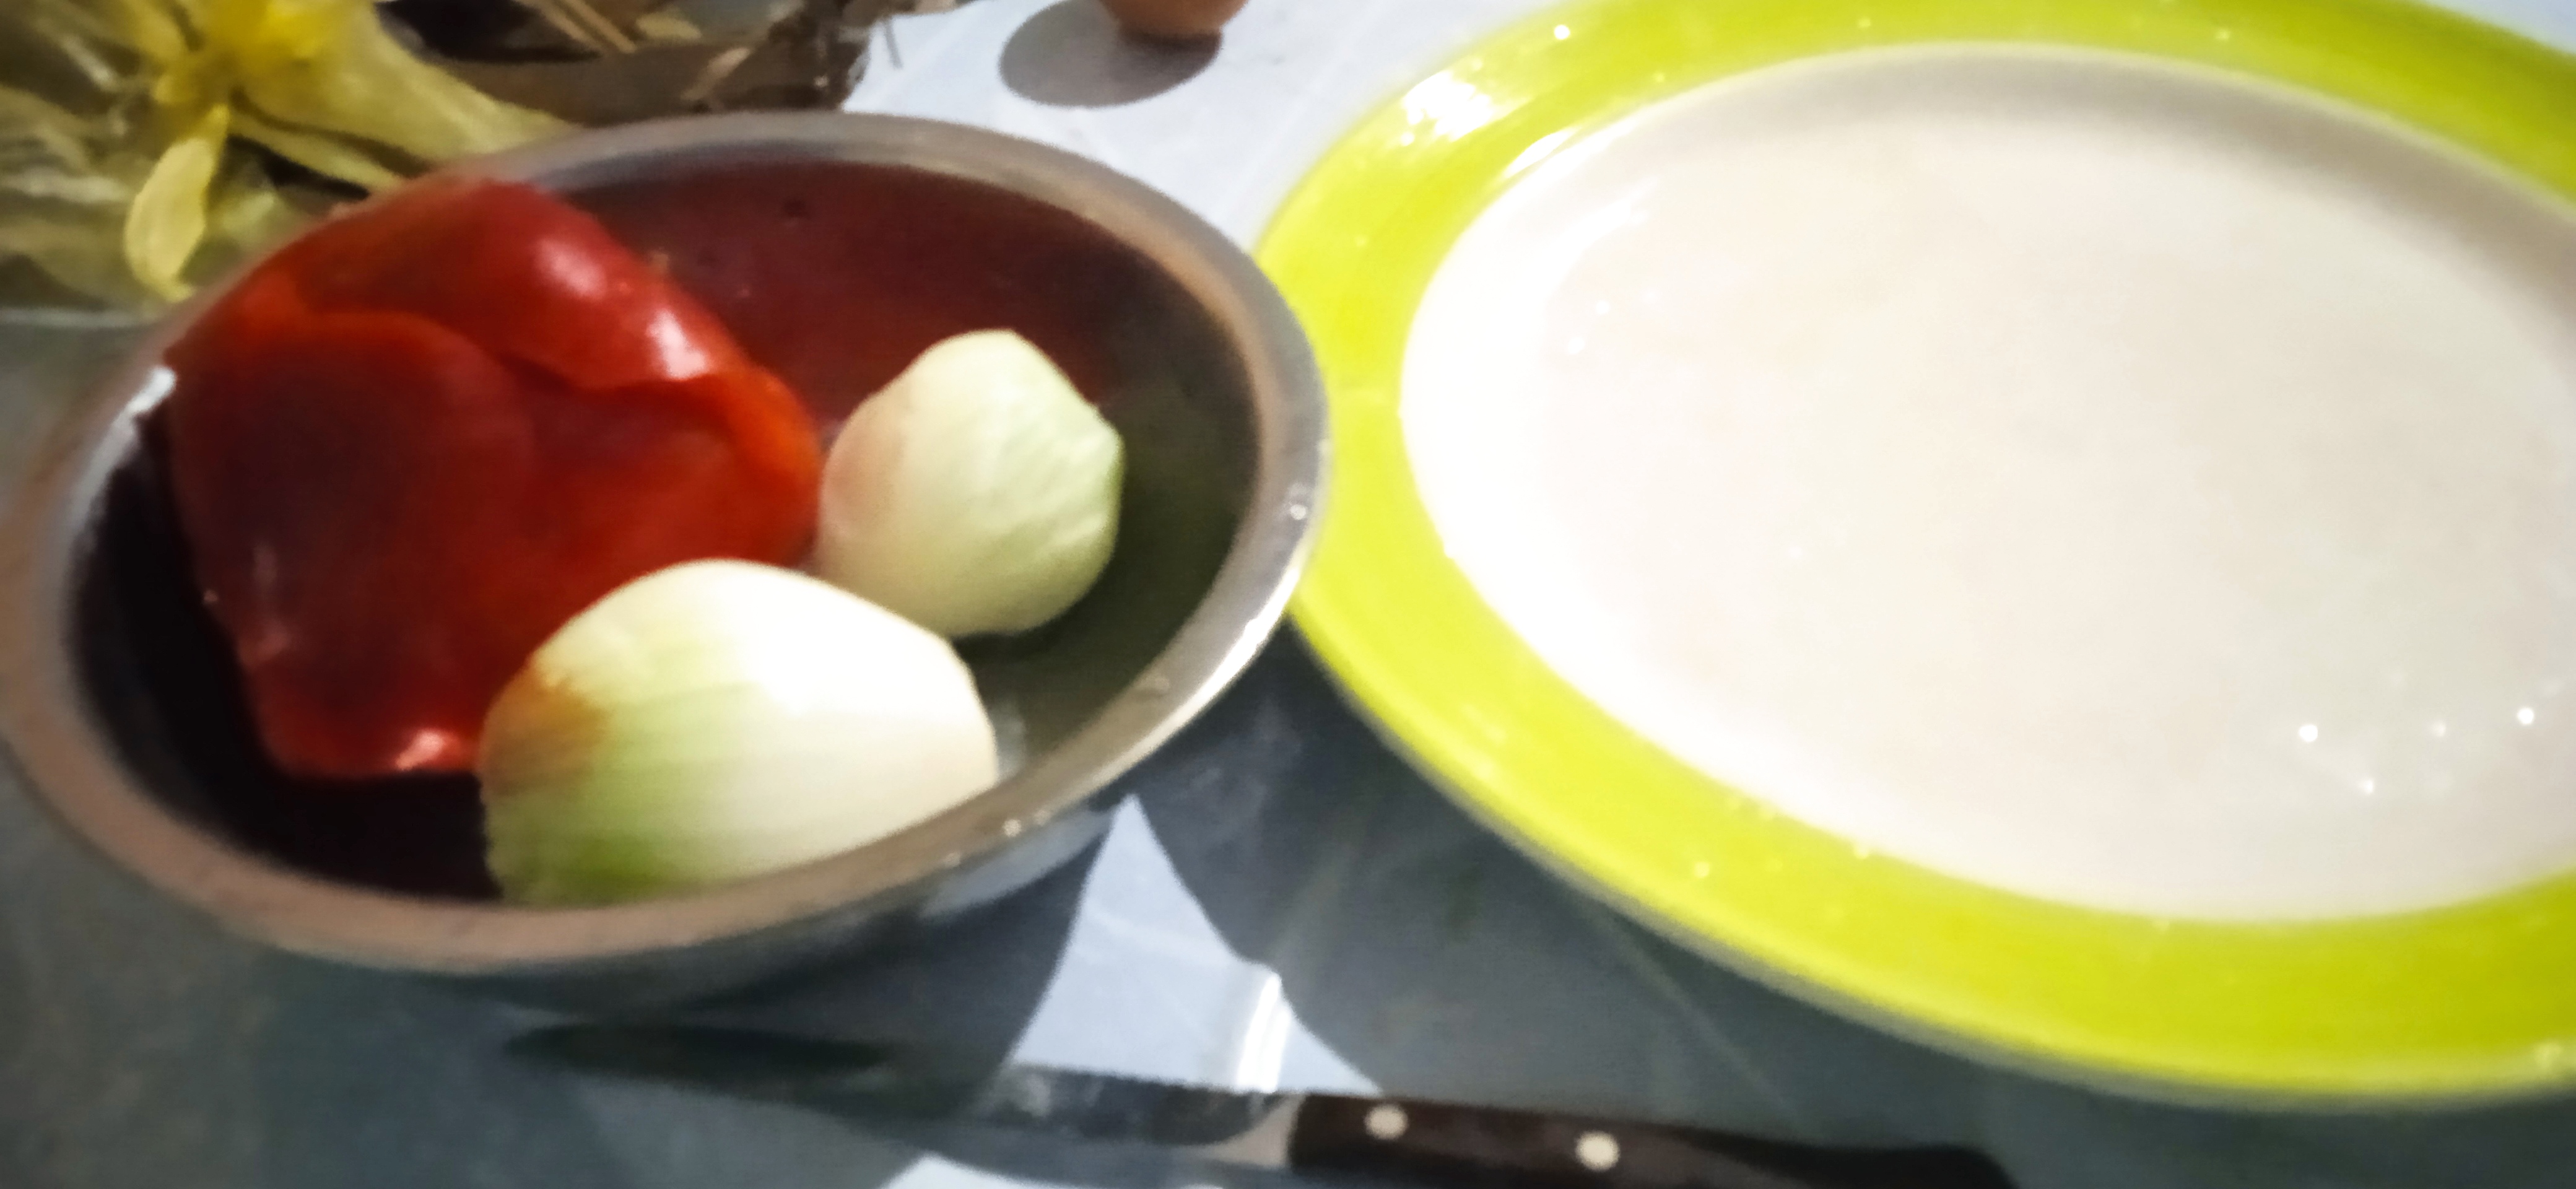
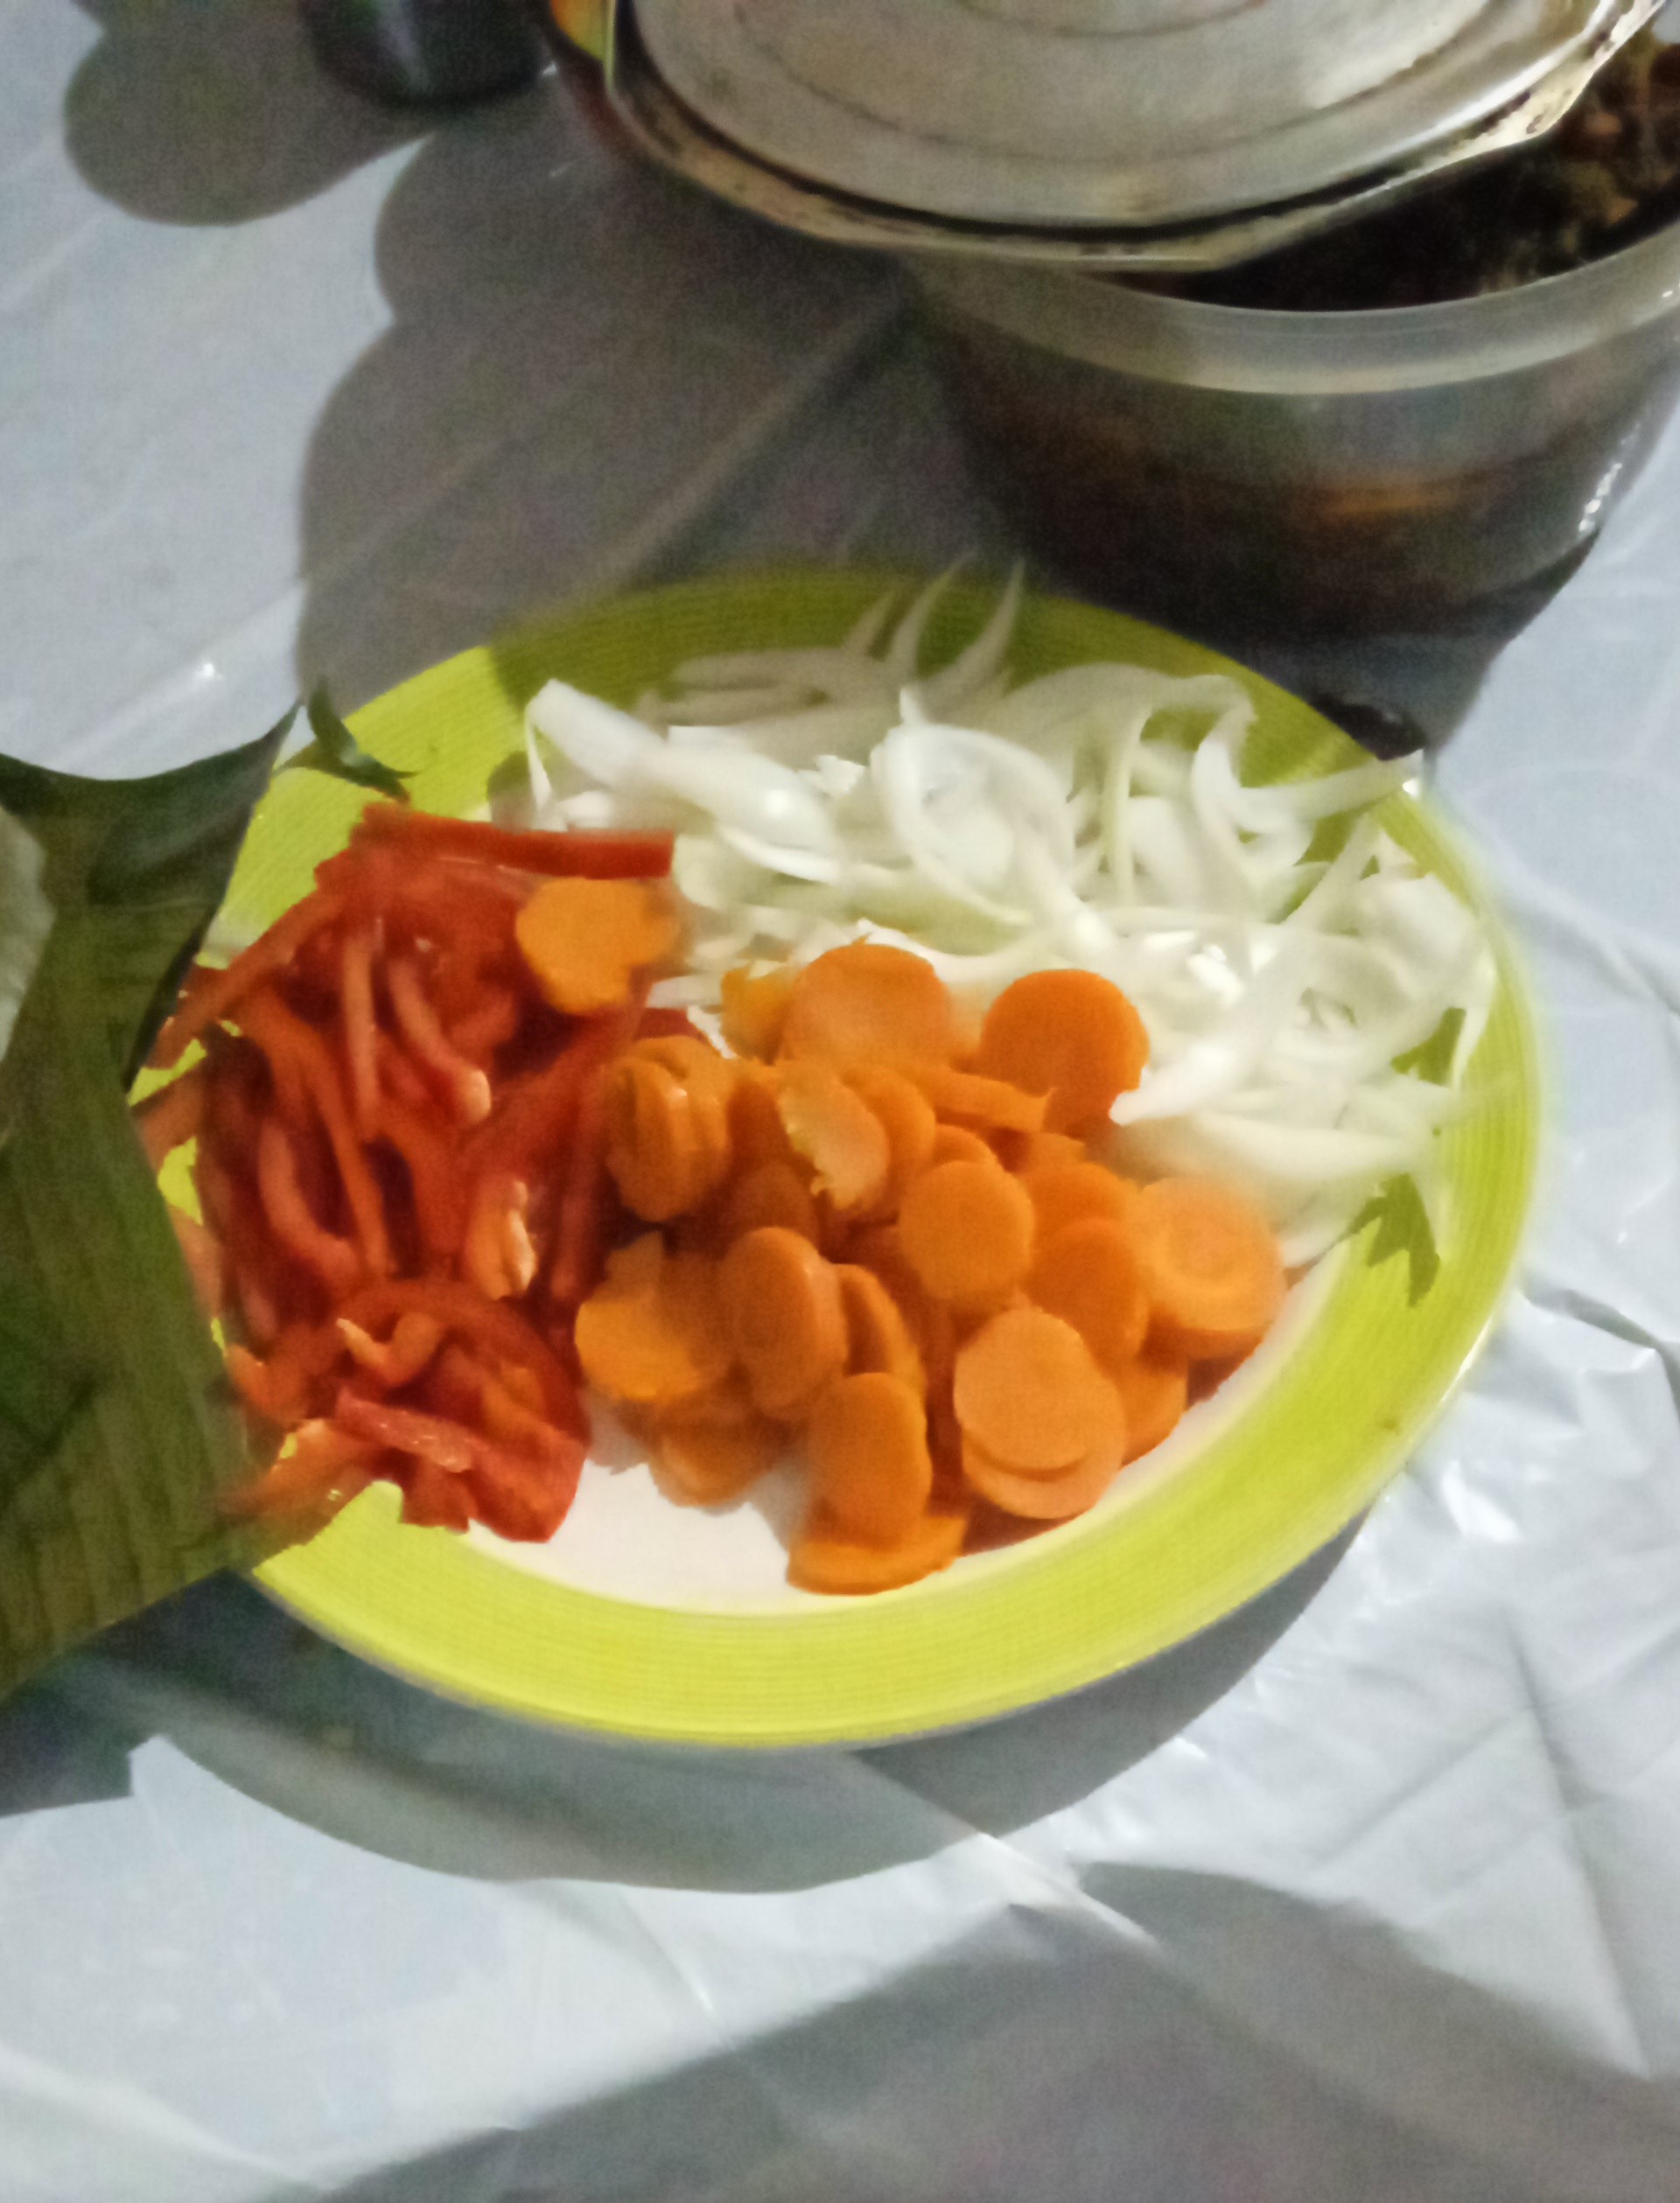
- Luego, se comienza a cortar todos los vegetales para el guiso en trozos pequeños, y se coloca en sus platos respectivamente.
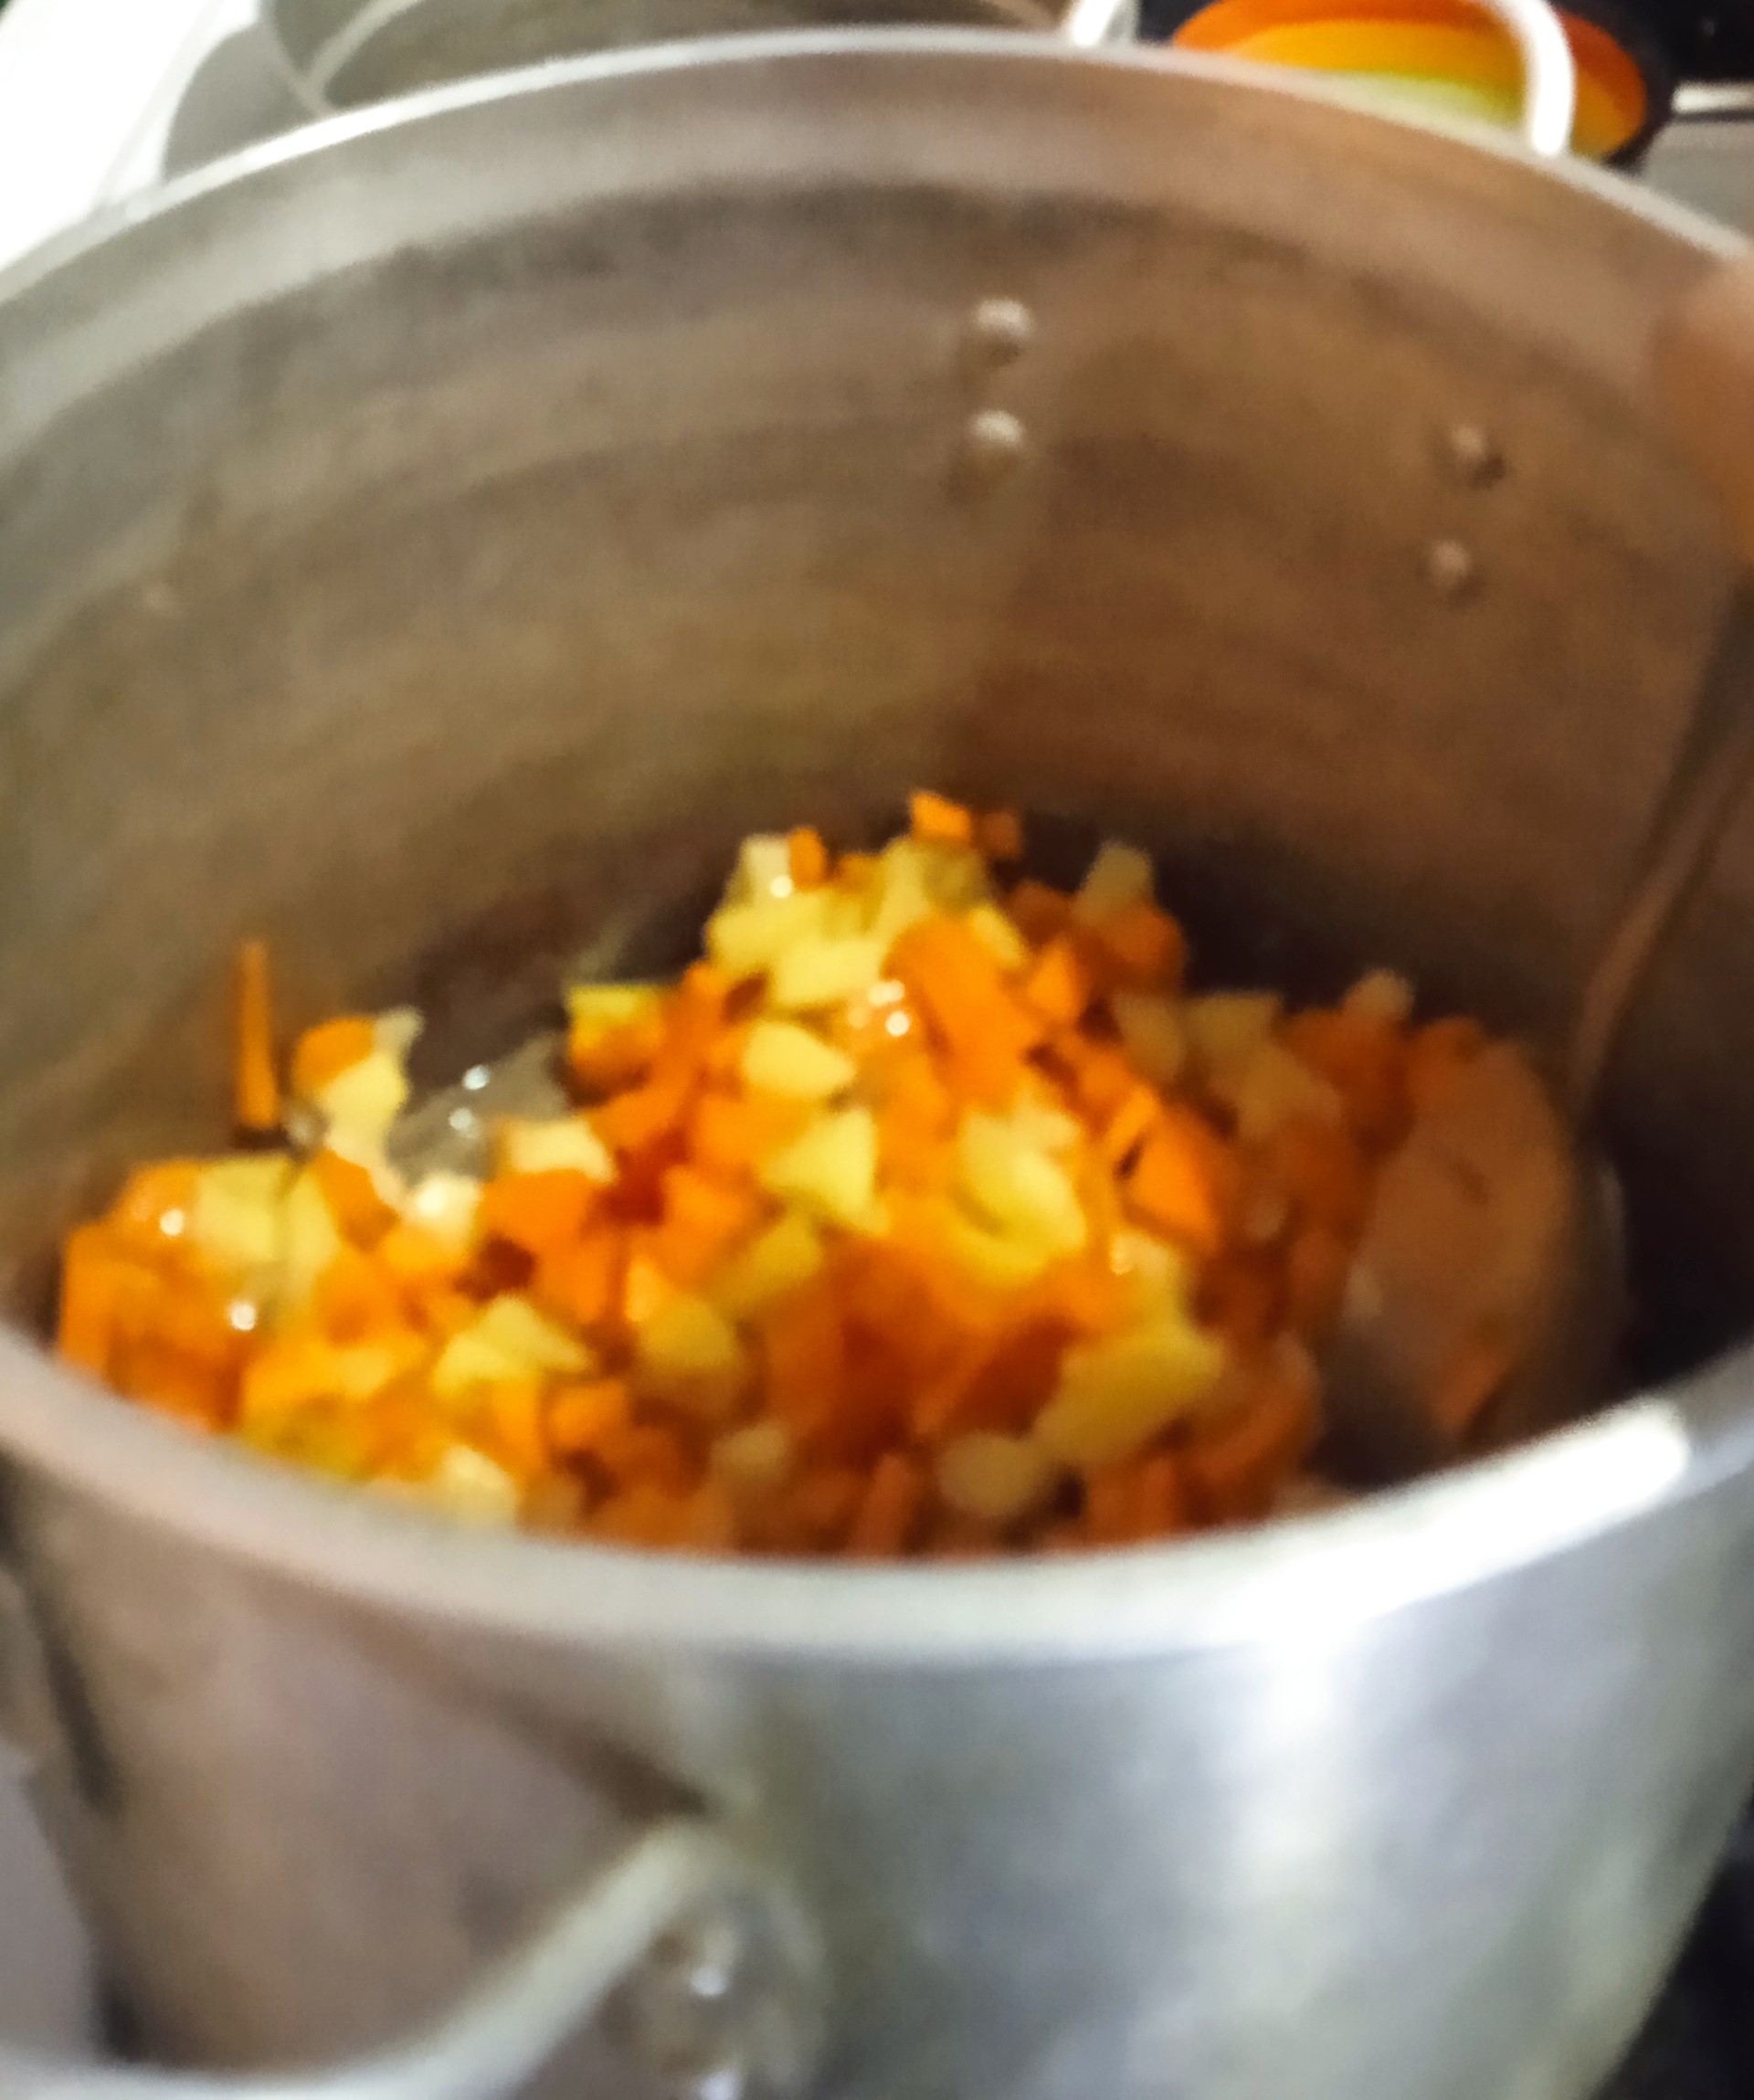
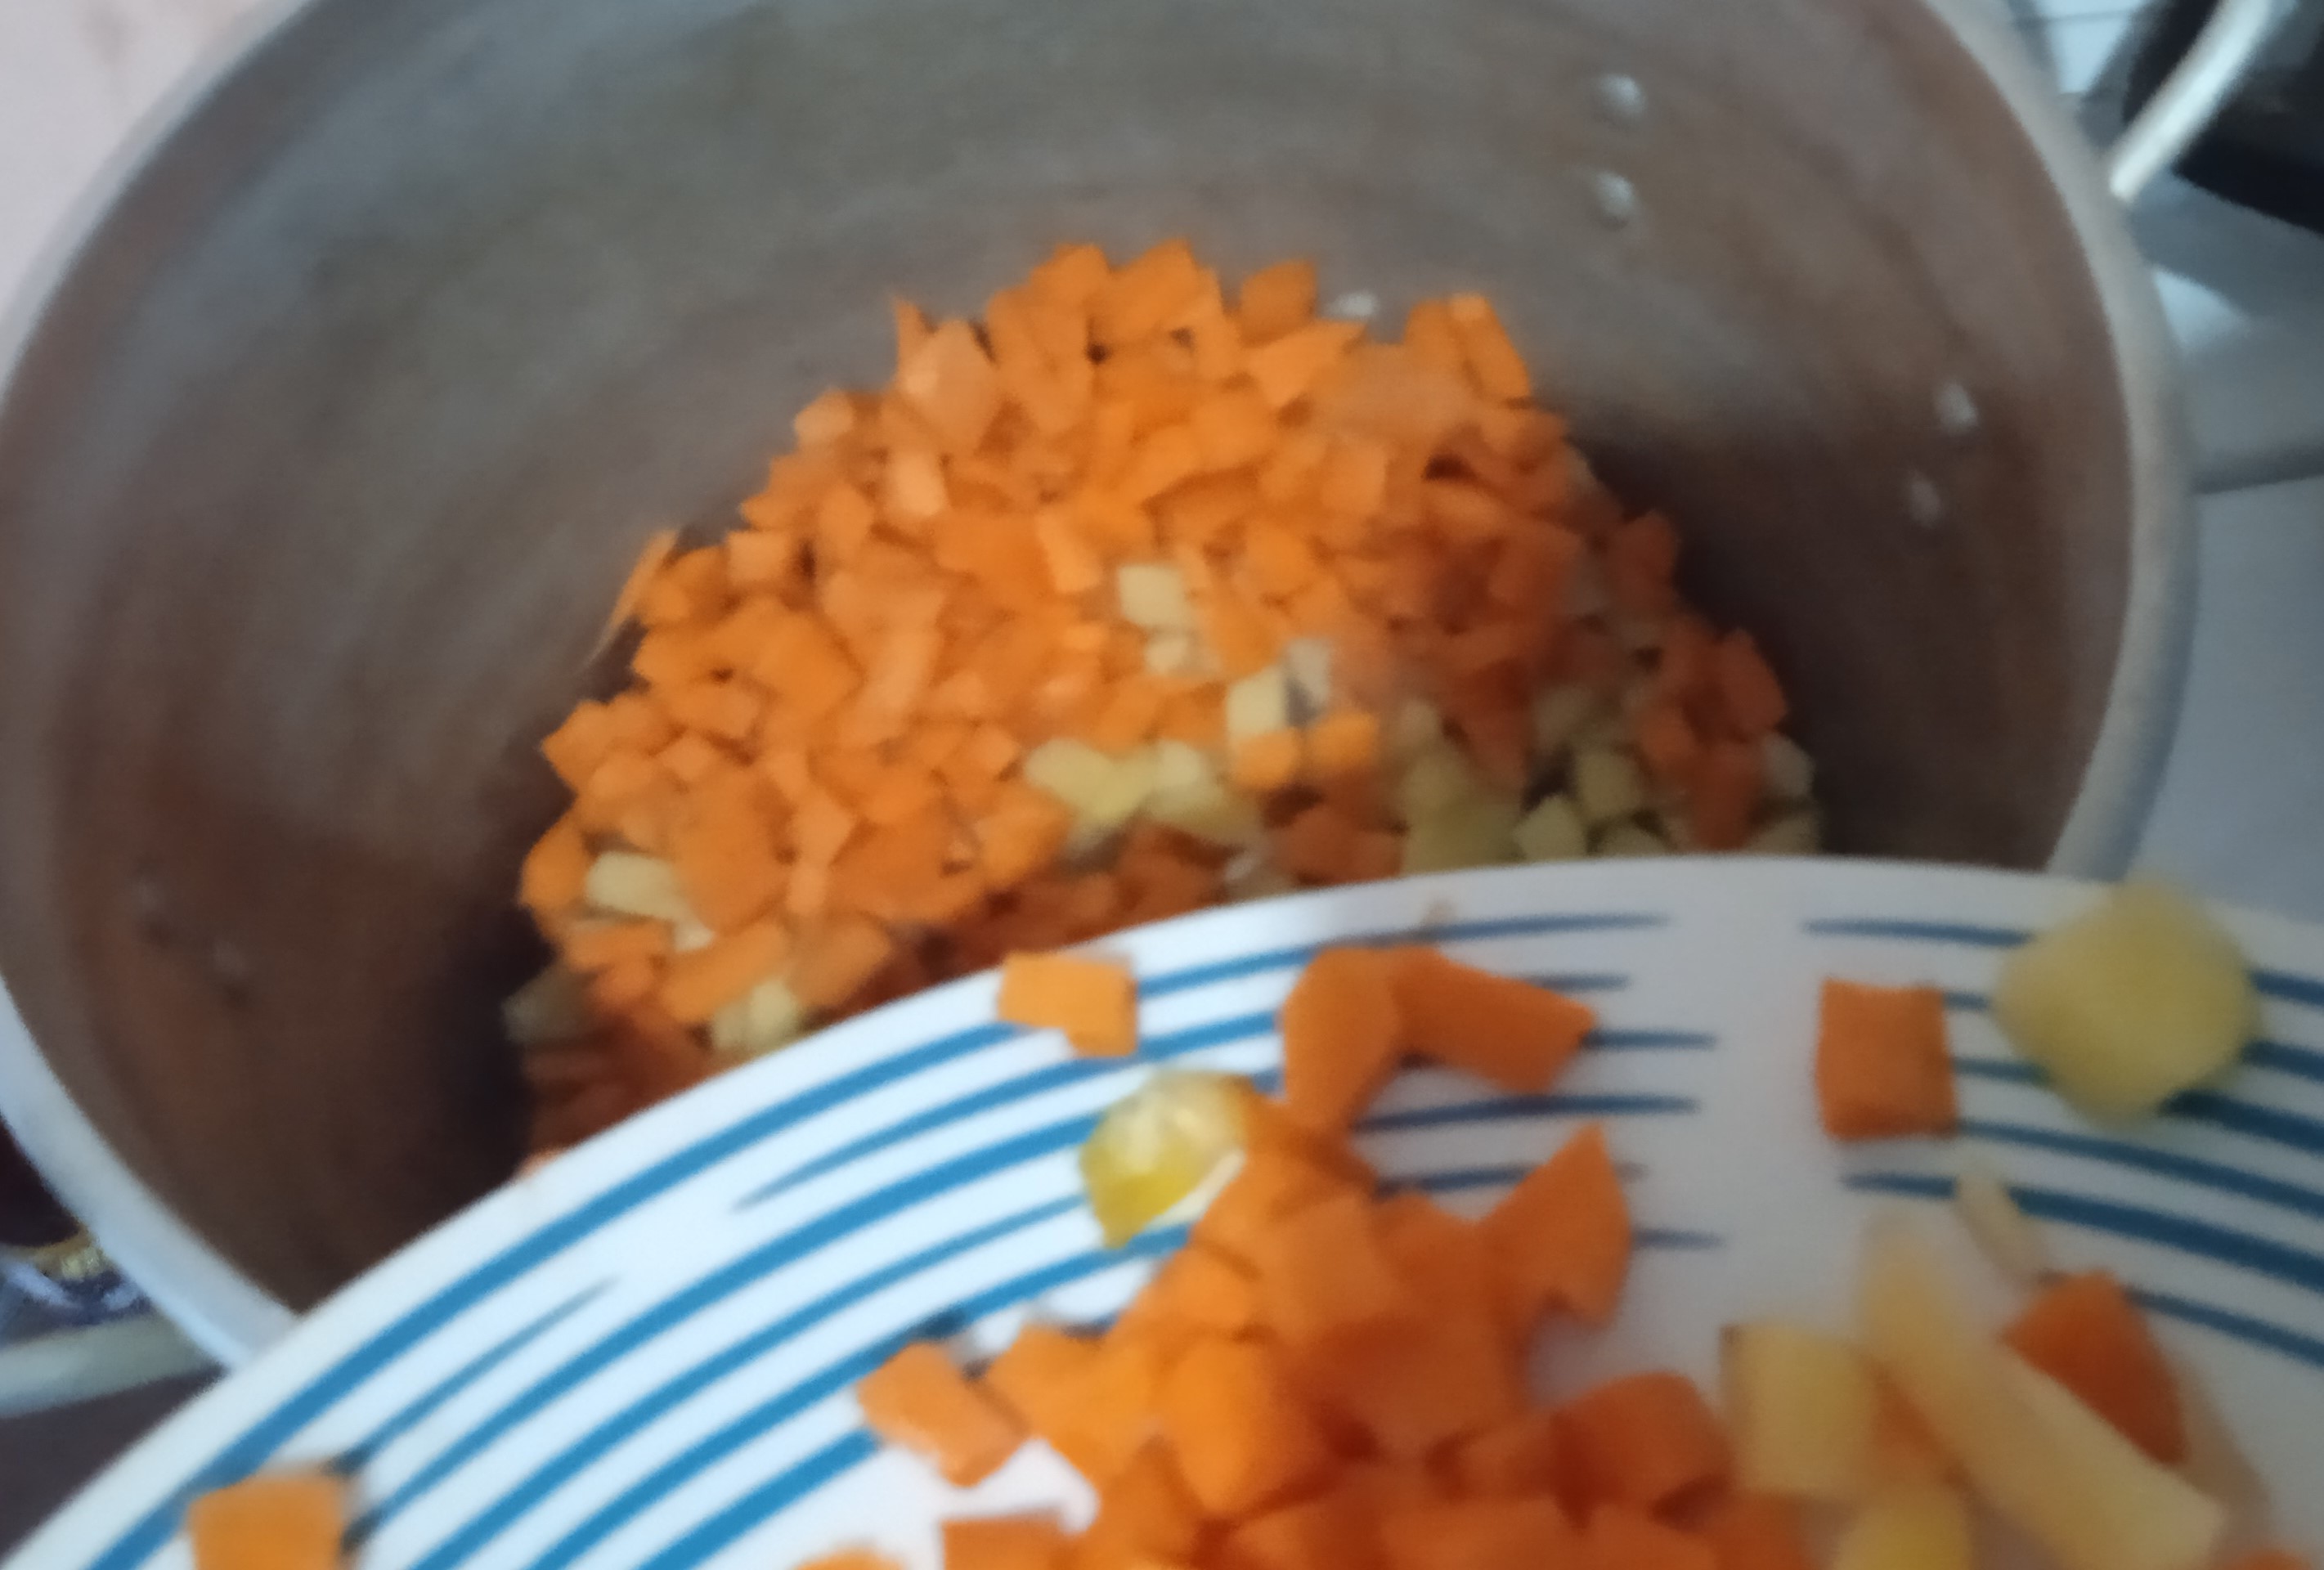
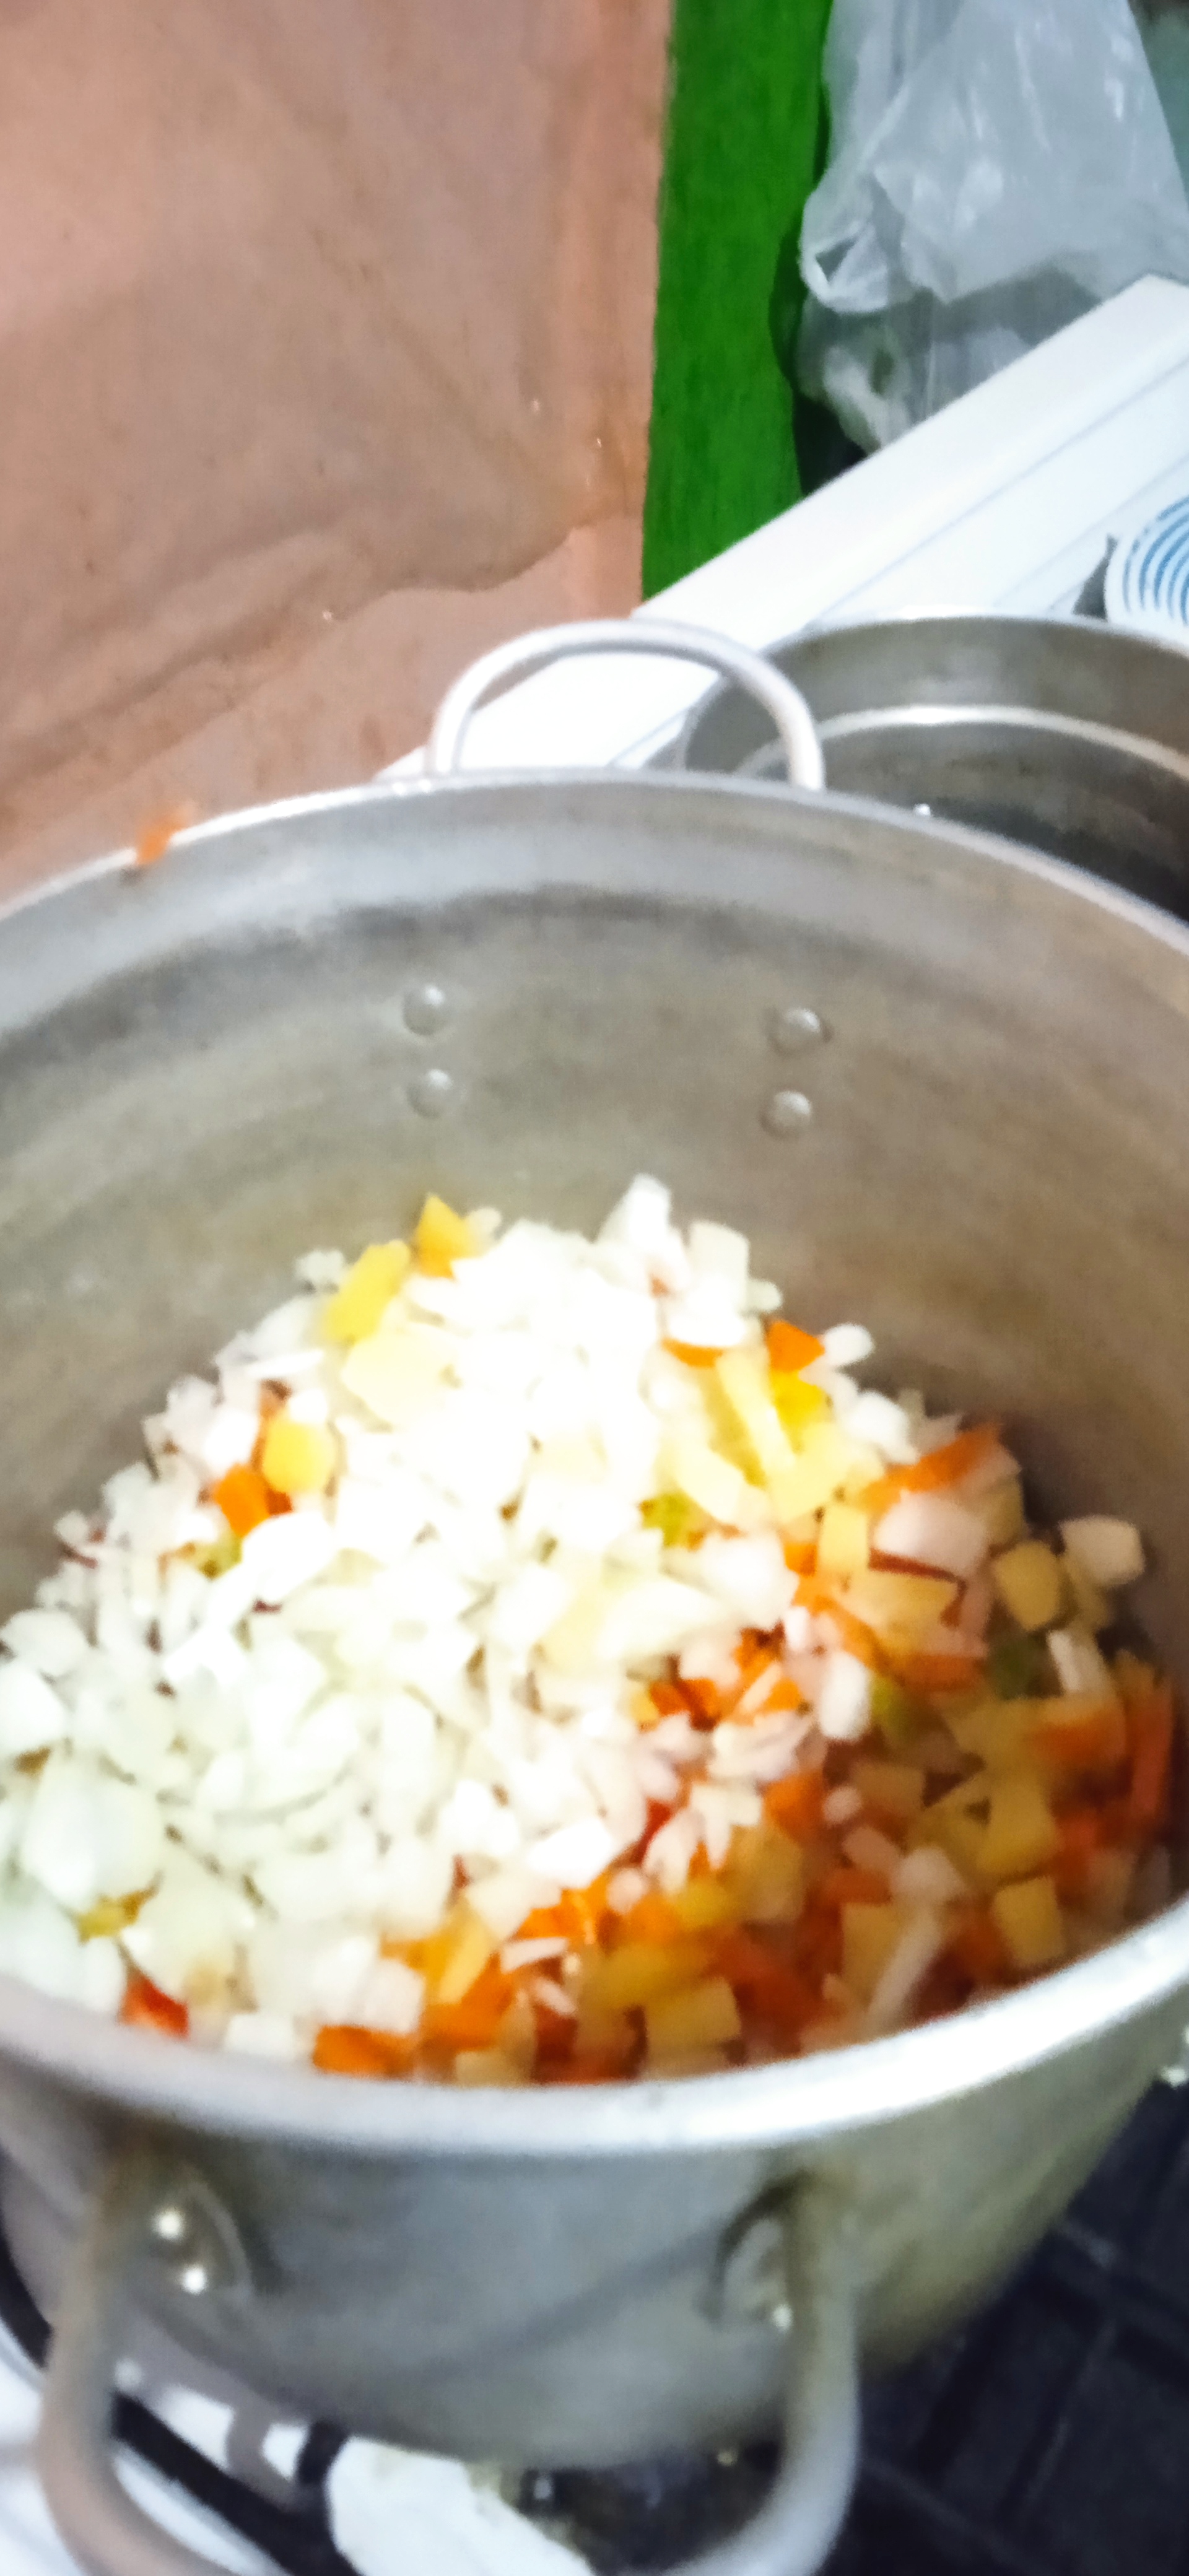
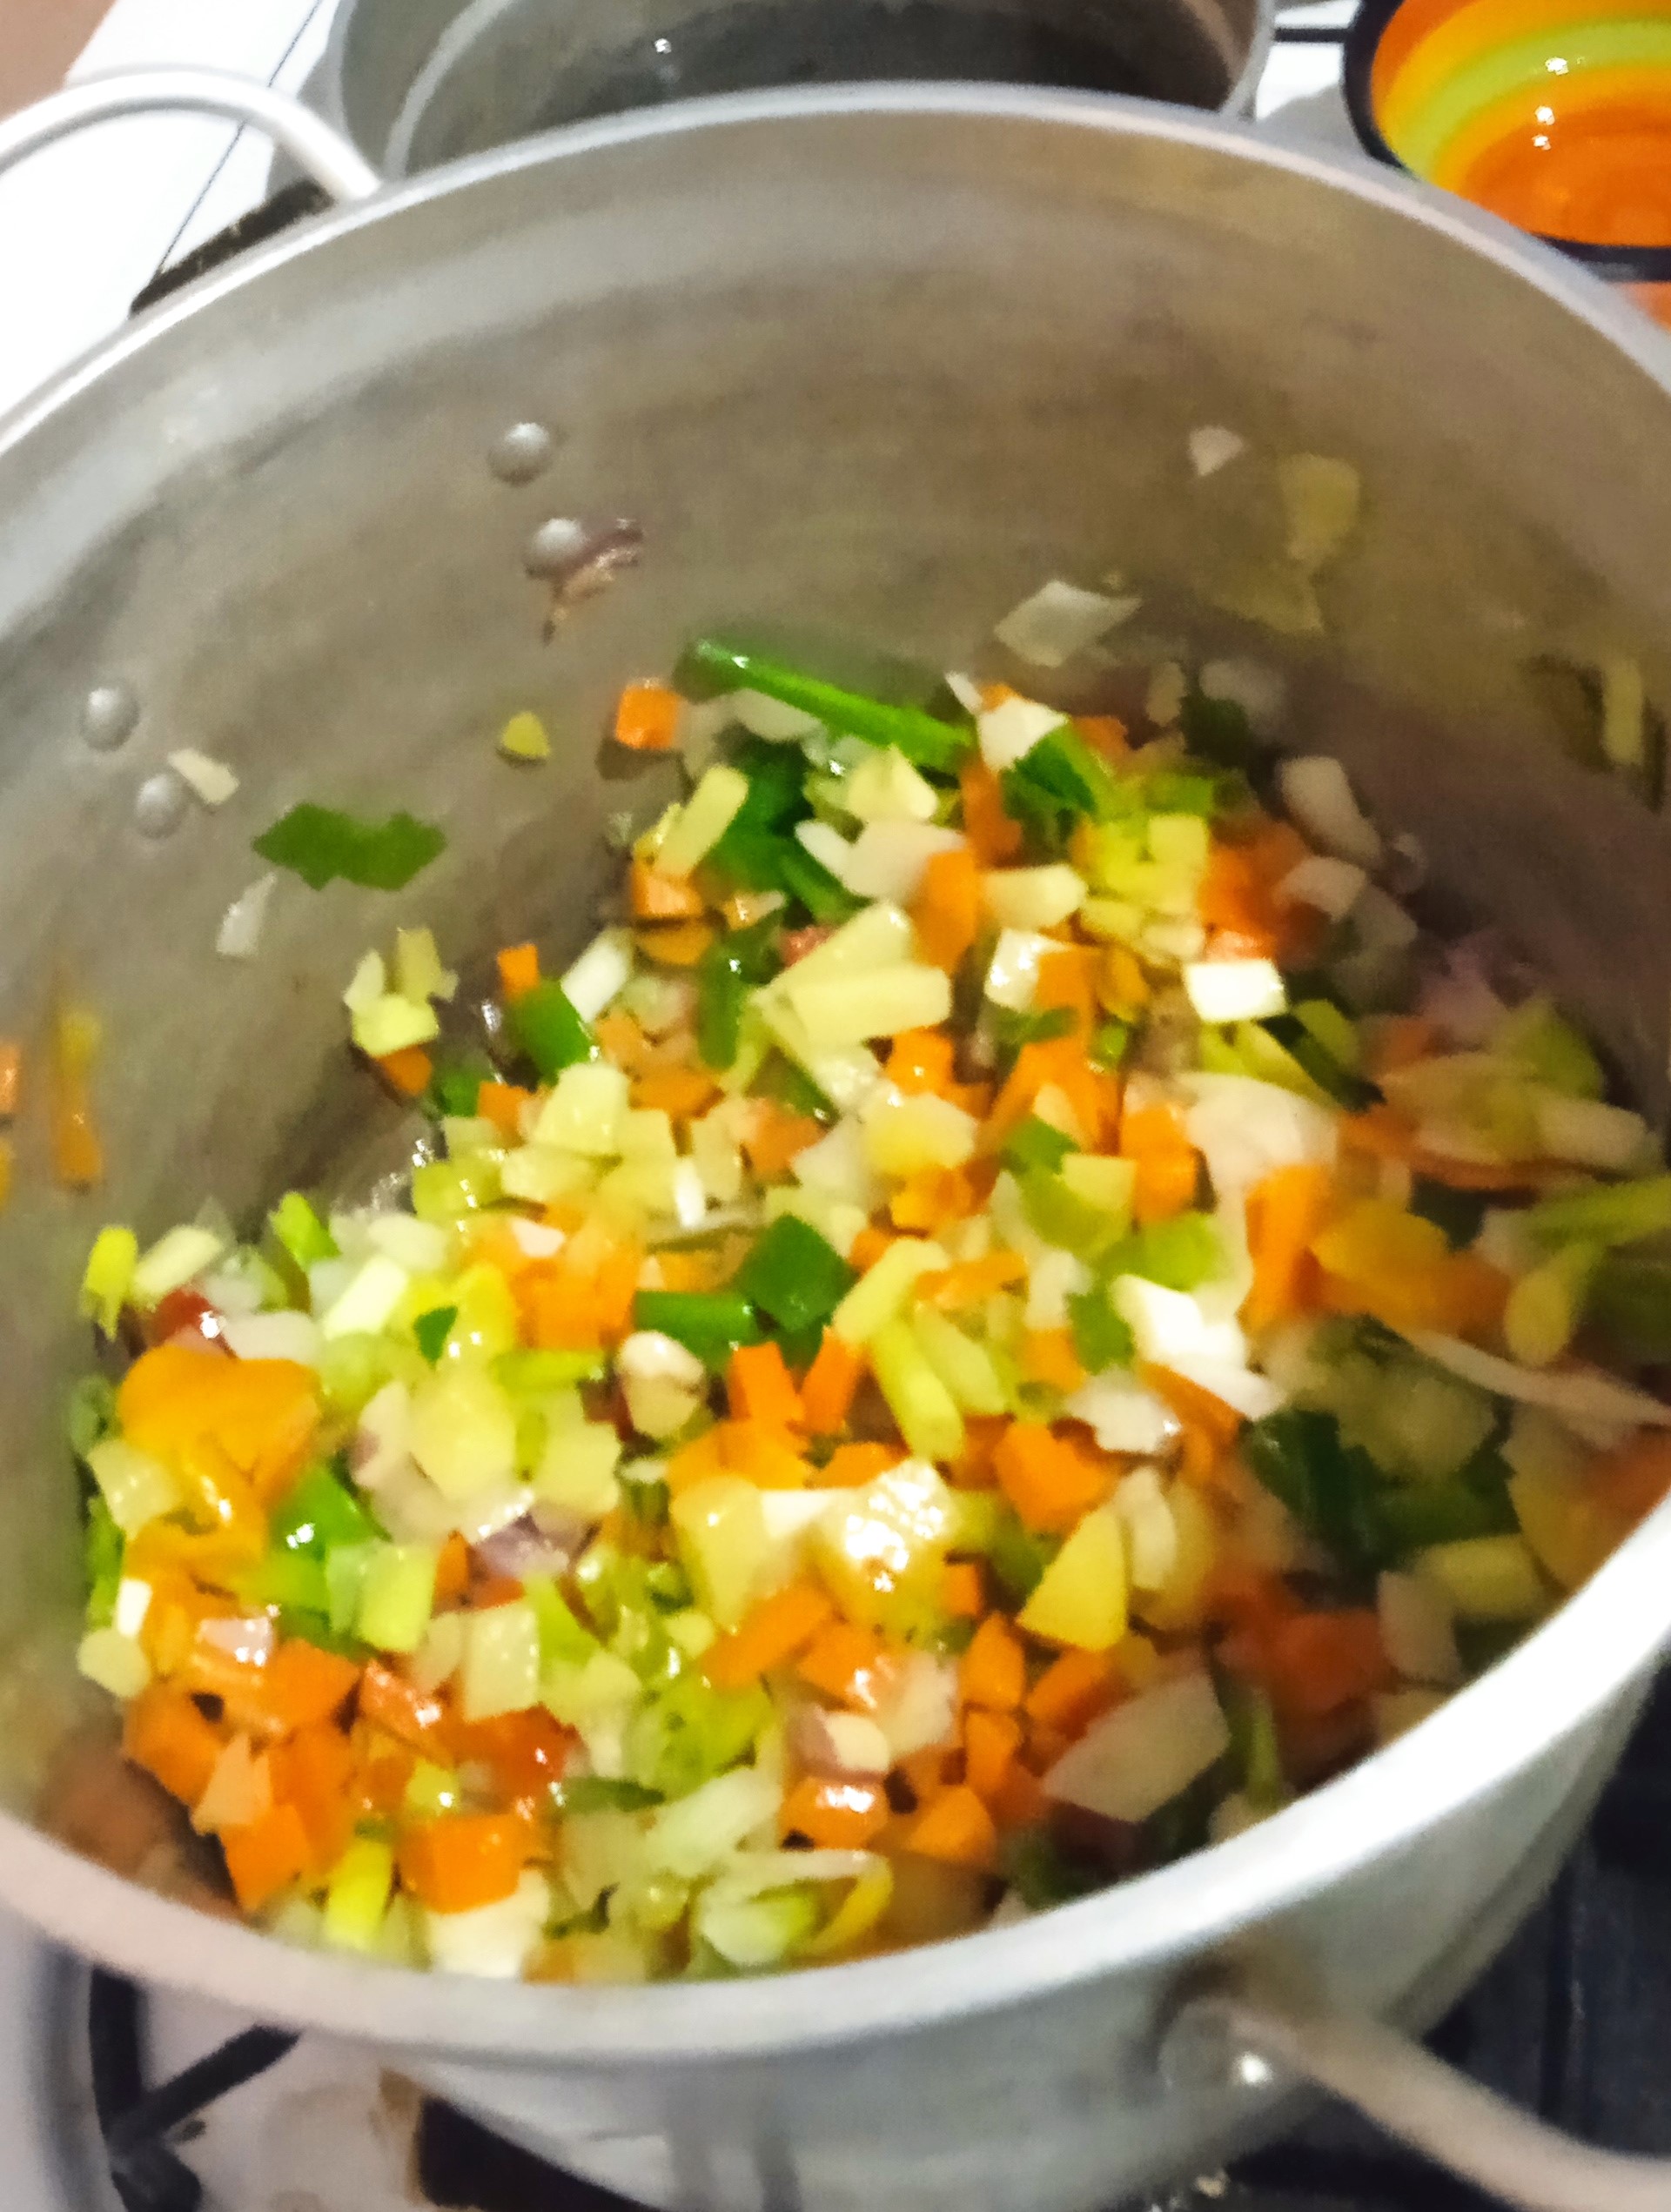
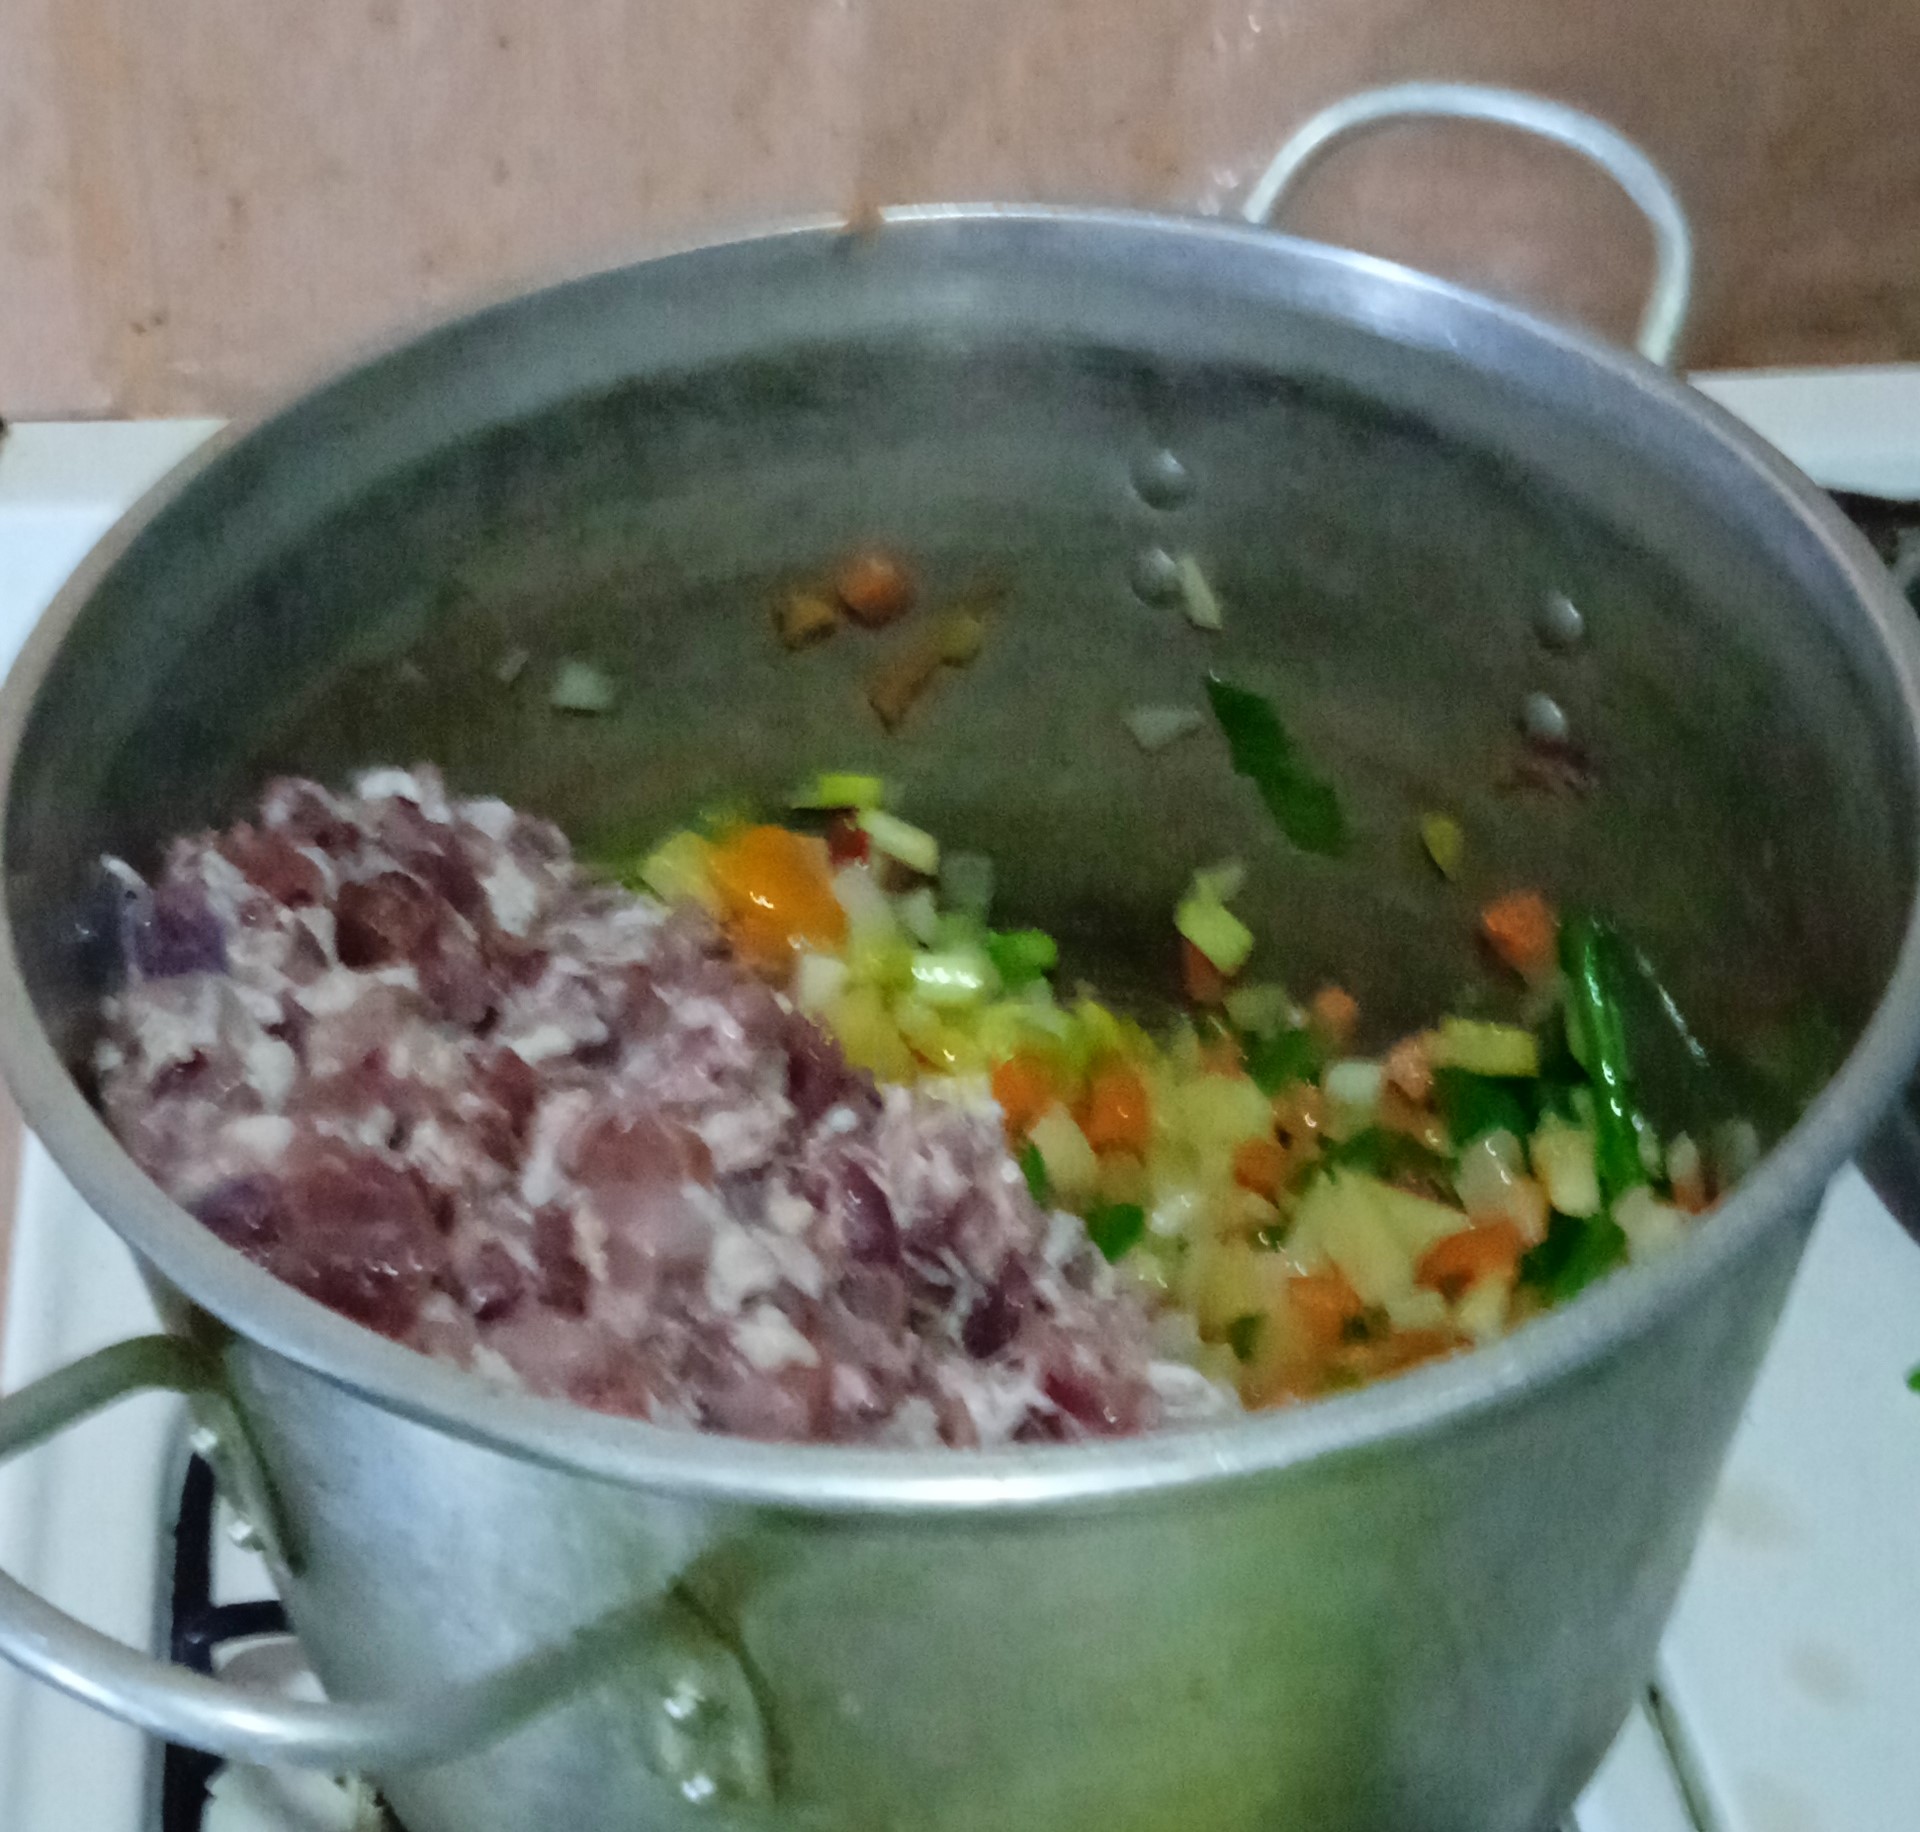
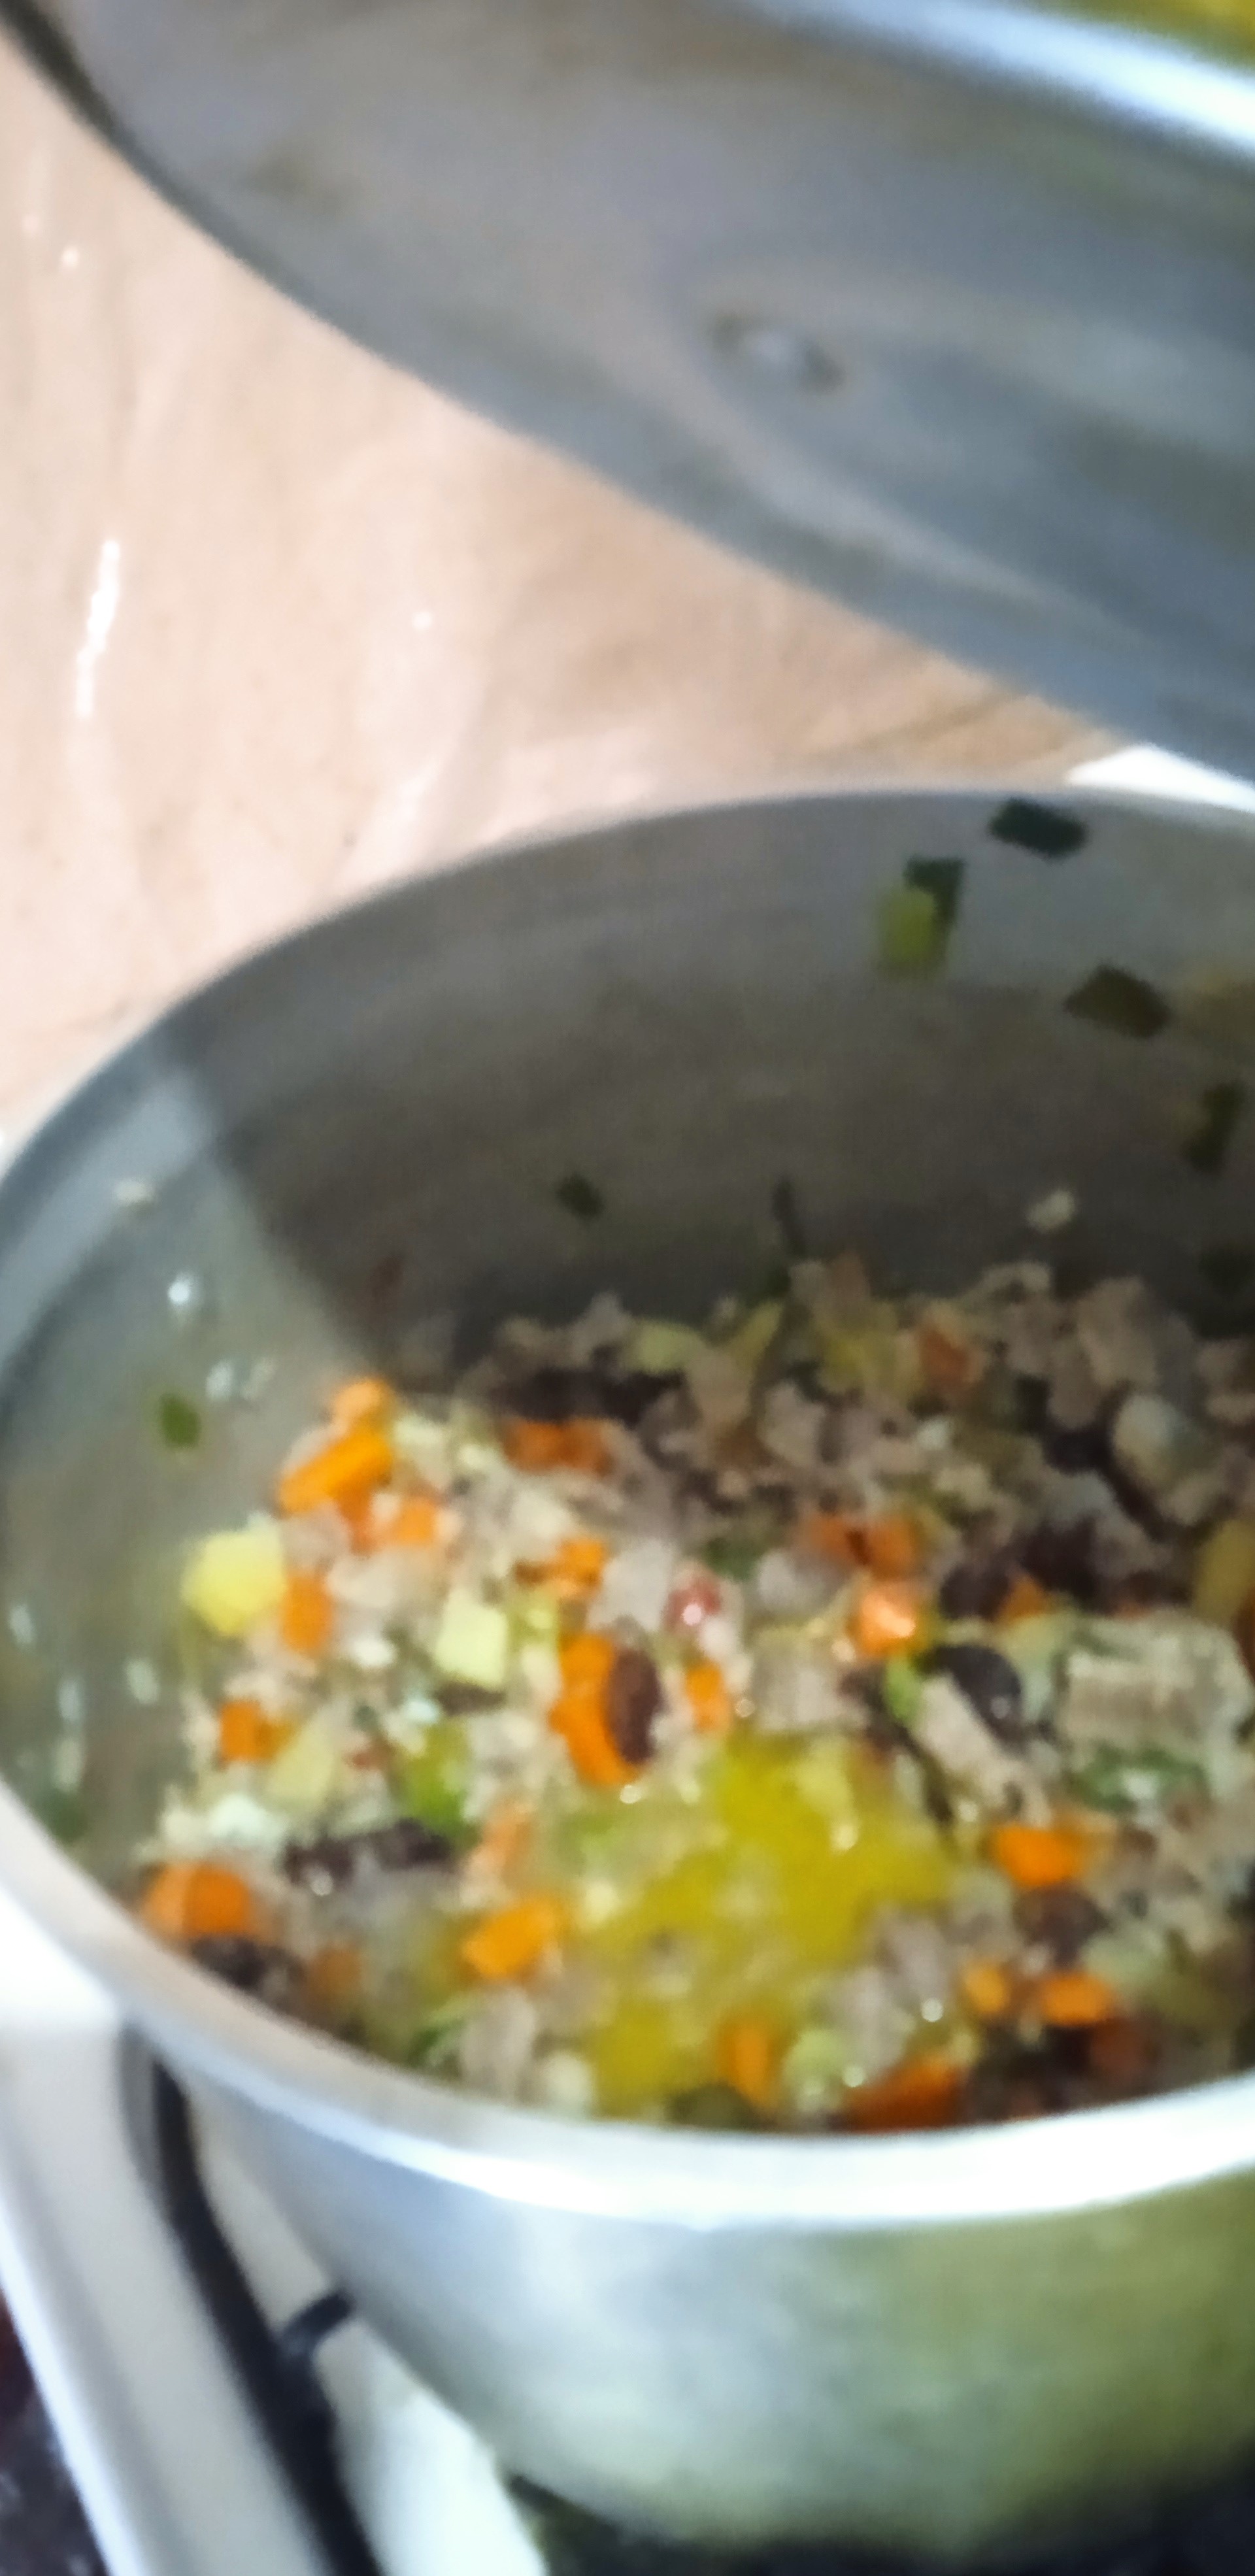
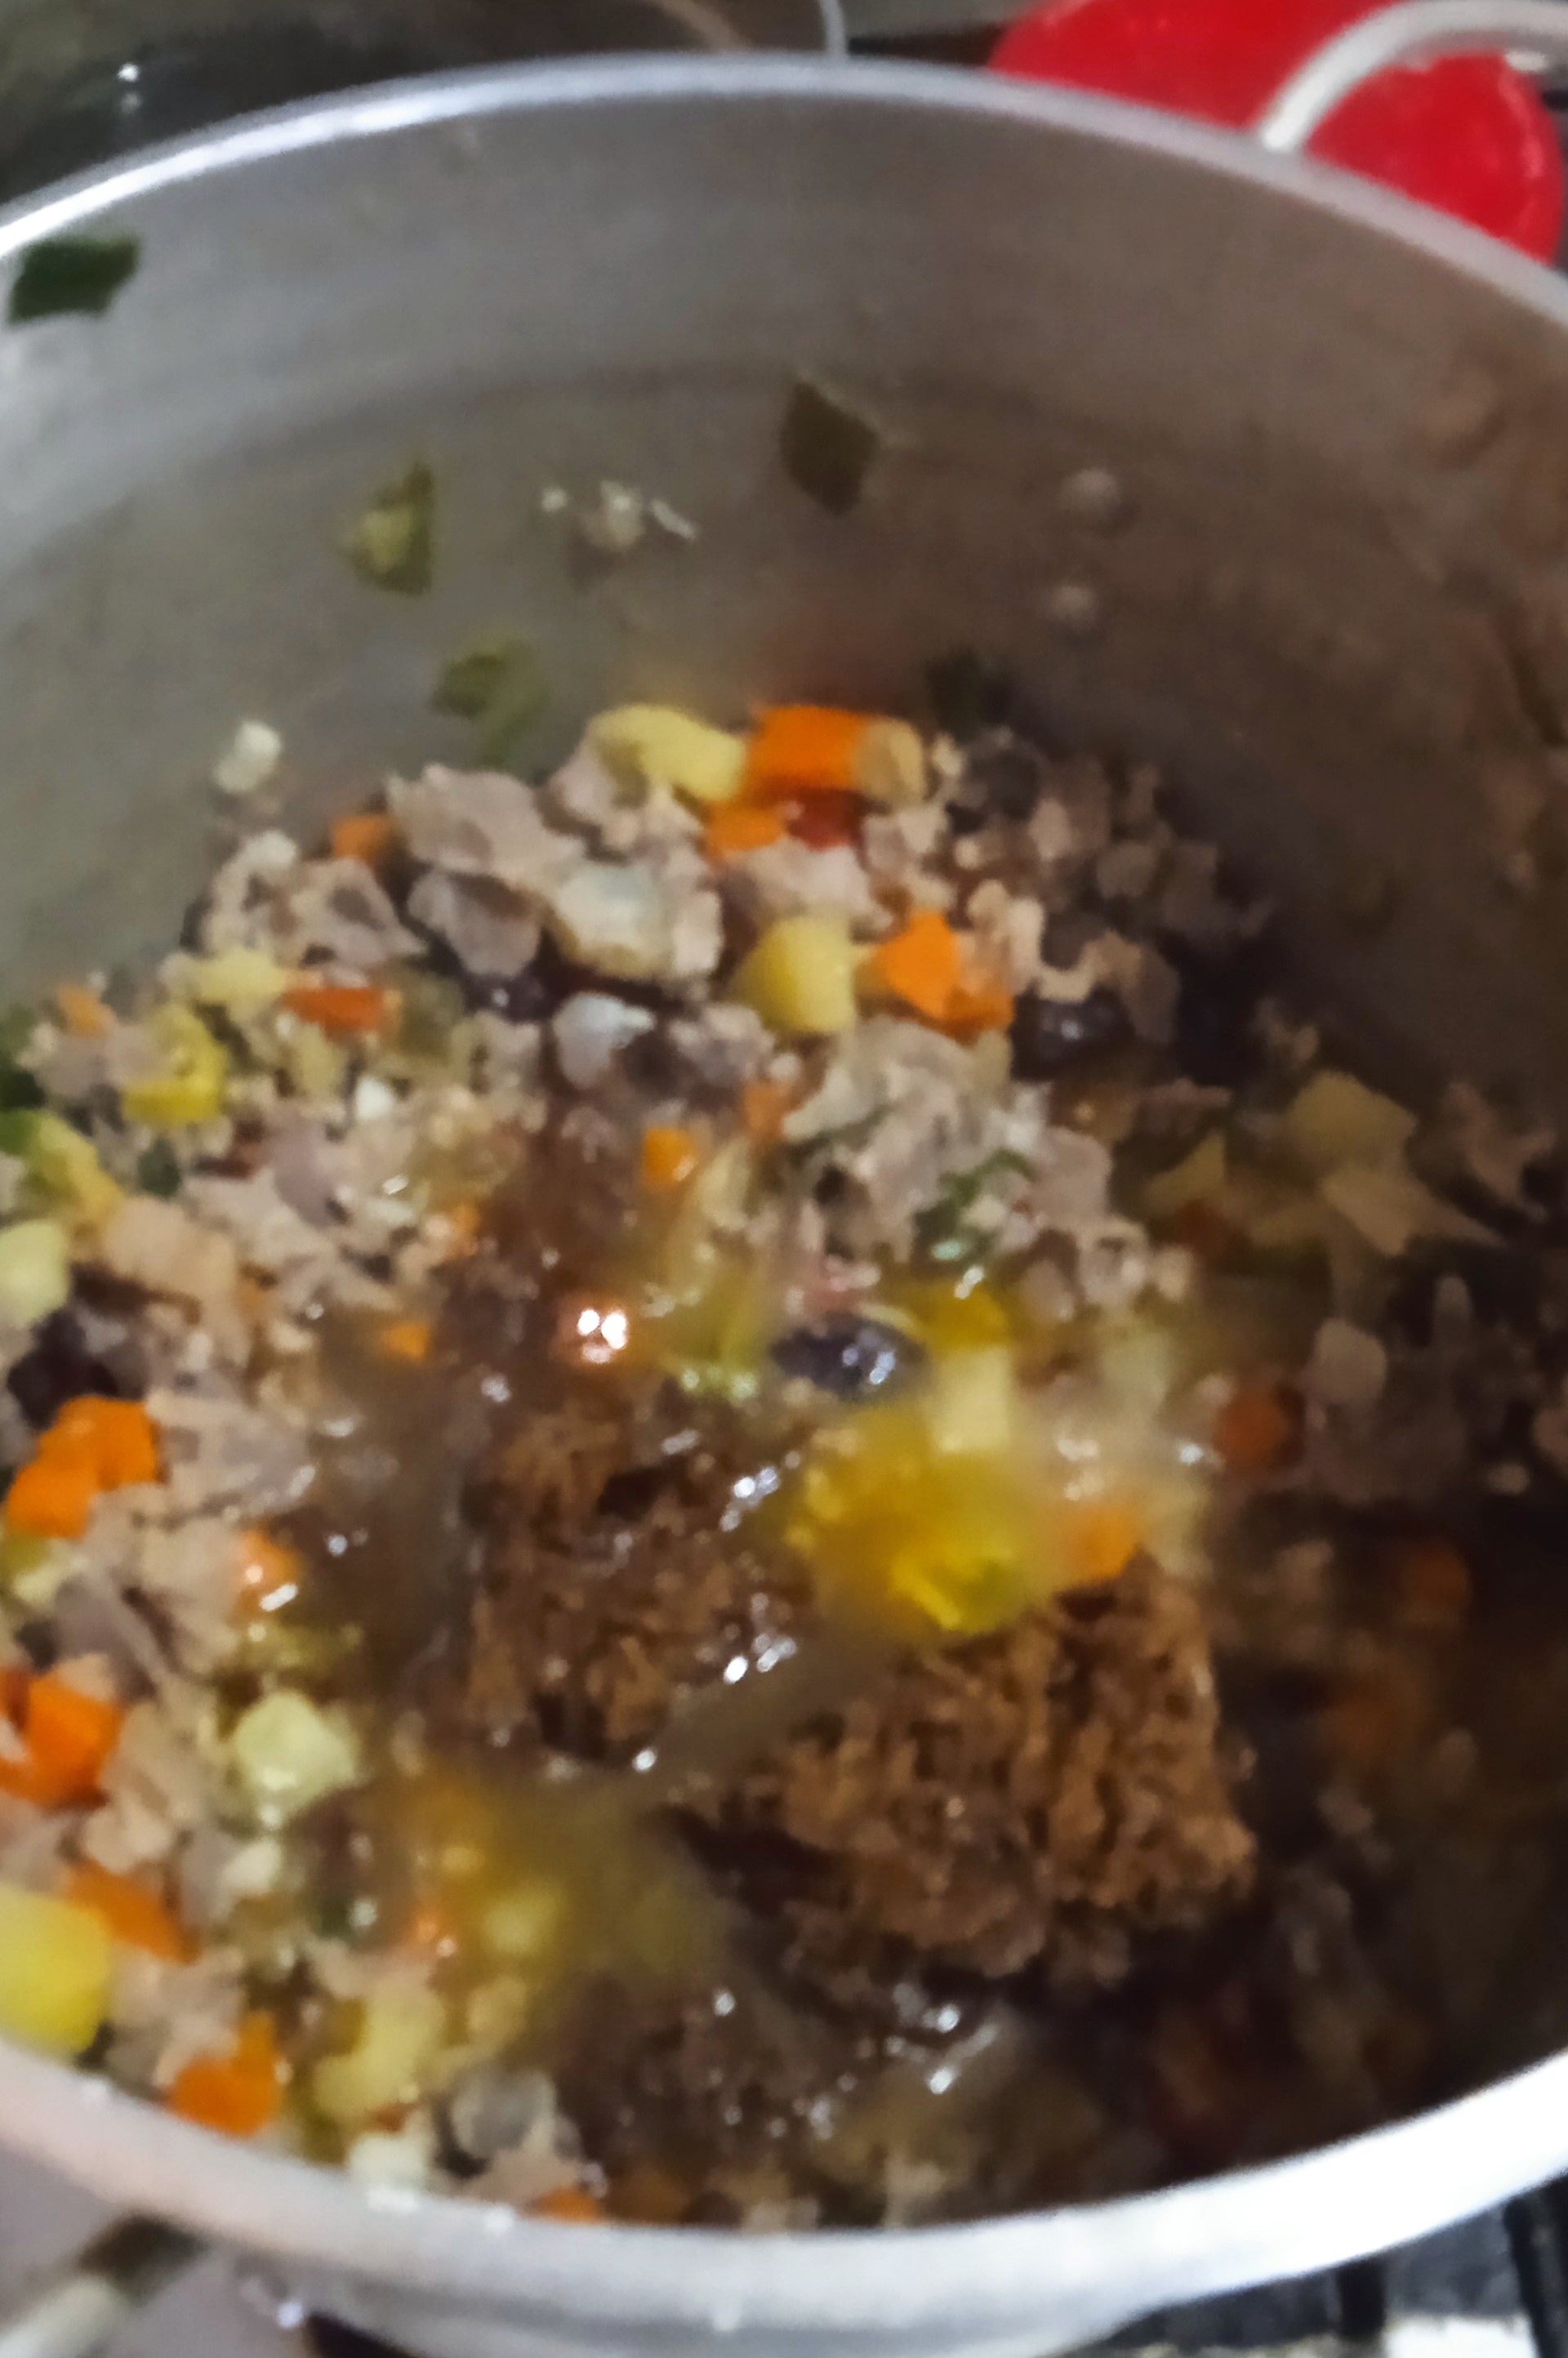
- Luego se enciende la hornilla, a máxima temperatura, y se coloca una olla honda, y se le añade media taza de aceite vegetal. Una vez calienta el aceite, se incorporan los vegetales y se sofríen: comenzando desde los más duros: (la zanahoria y la papa) hasta los más flojos: (la cebolla, el ají dulce, el ajo y el cebollin). Y se va removiendo, hasta que tome un color acaramelado los vegetales. Más o menos diez minutos.
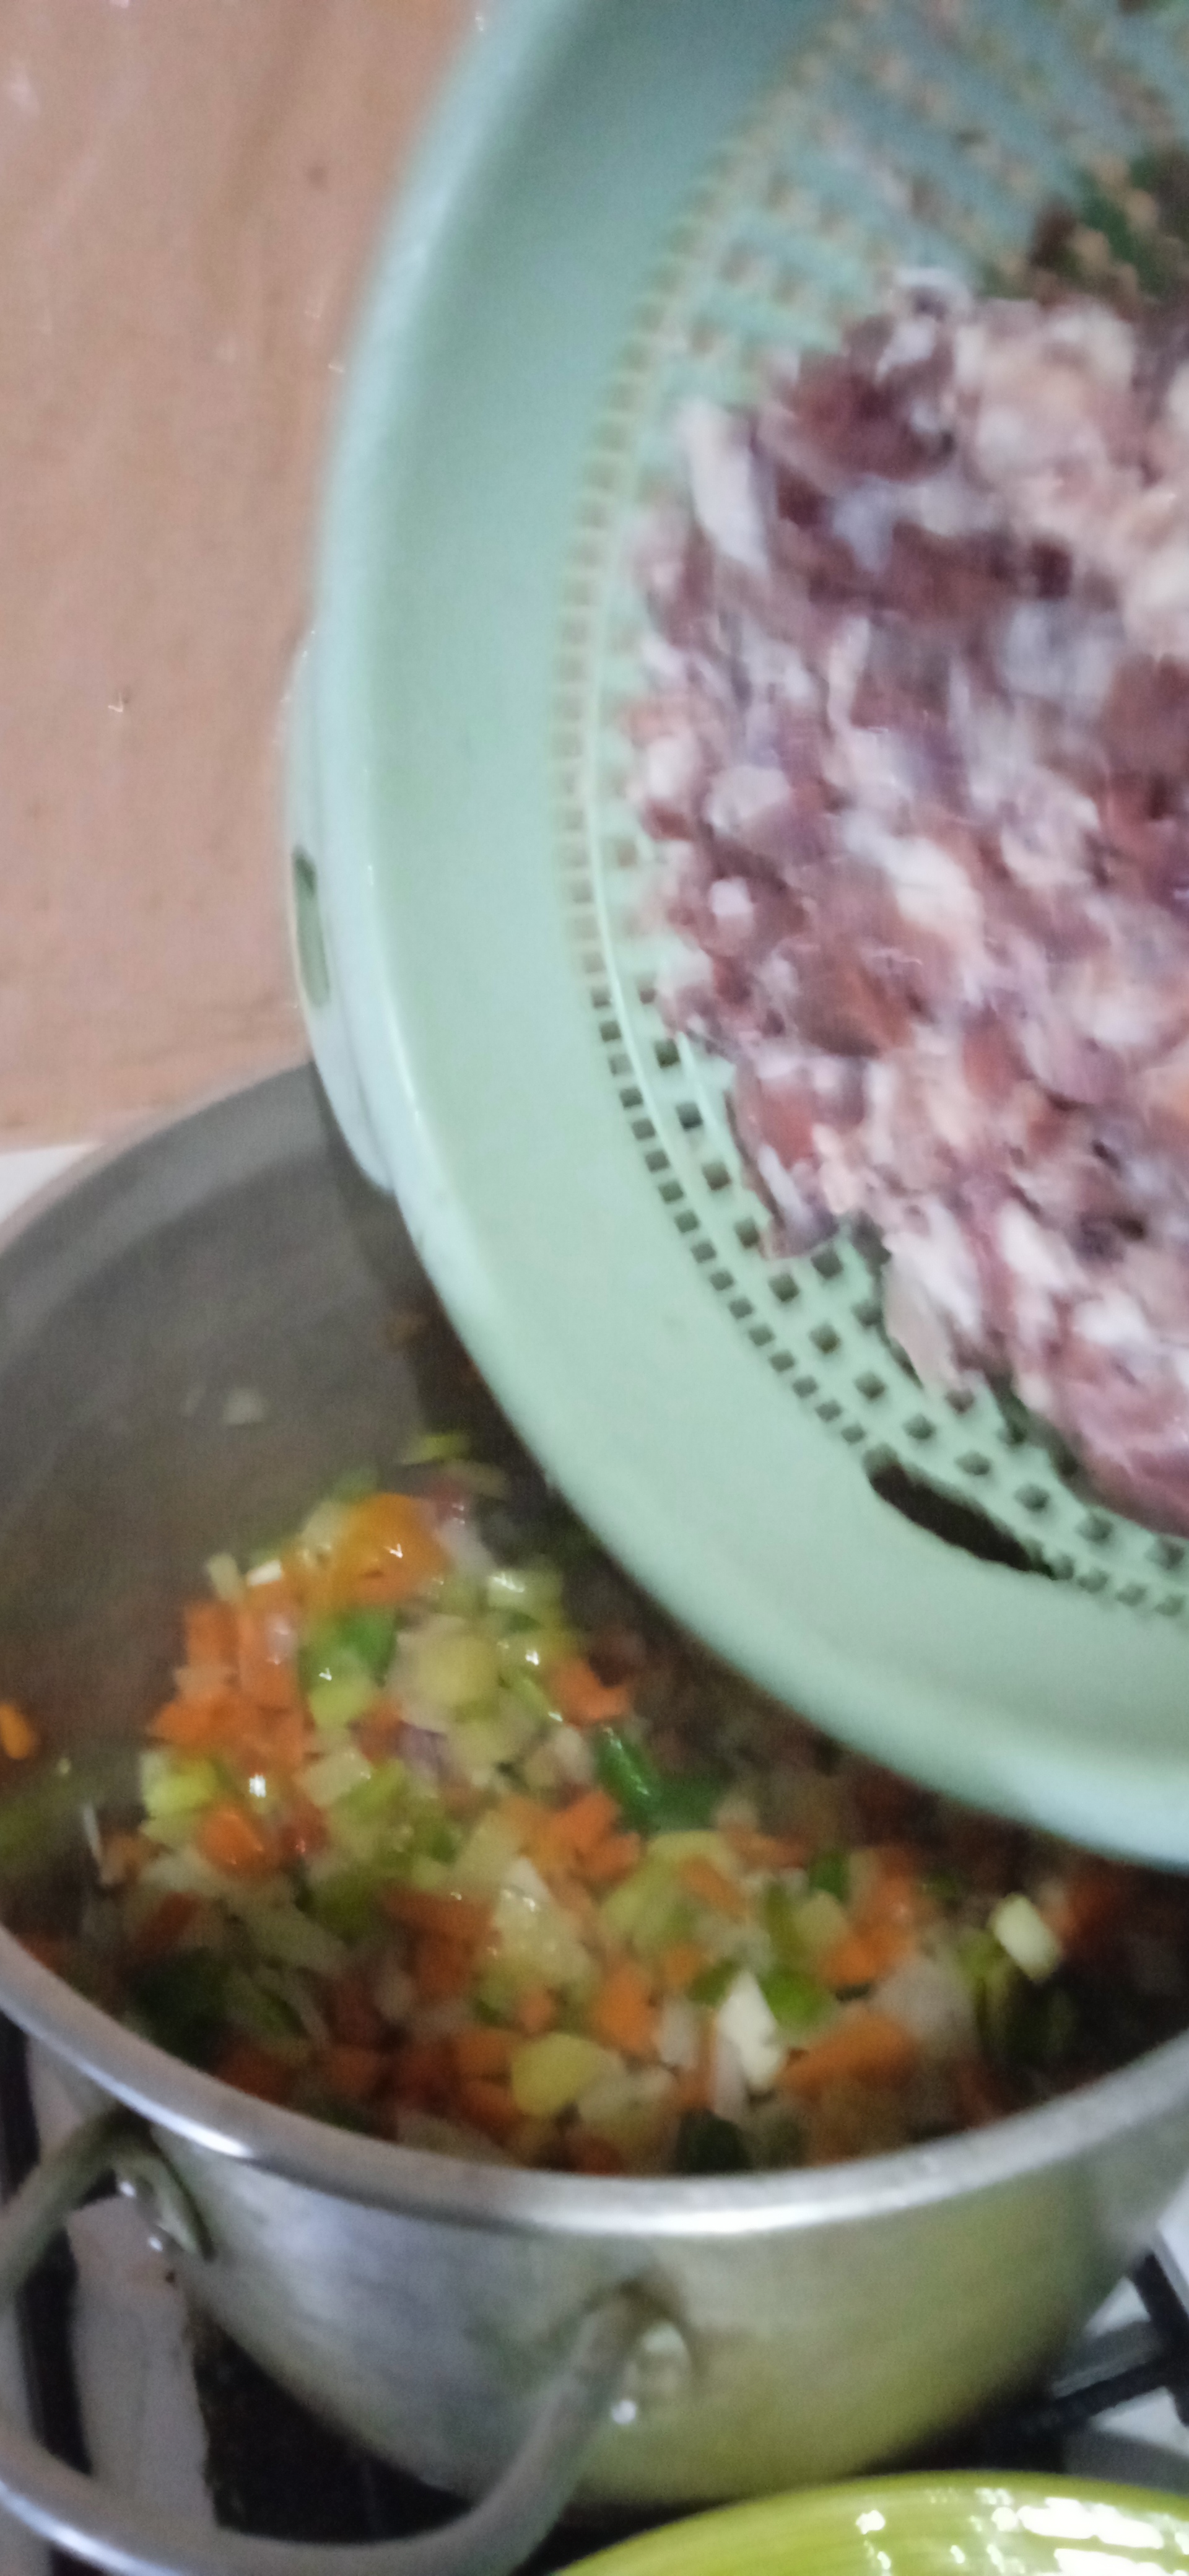
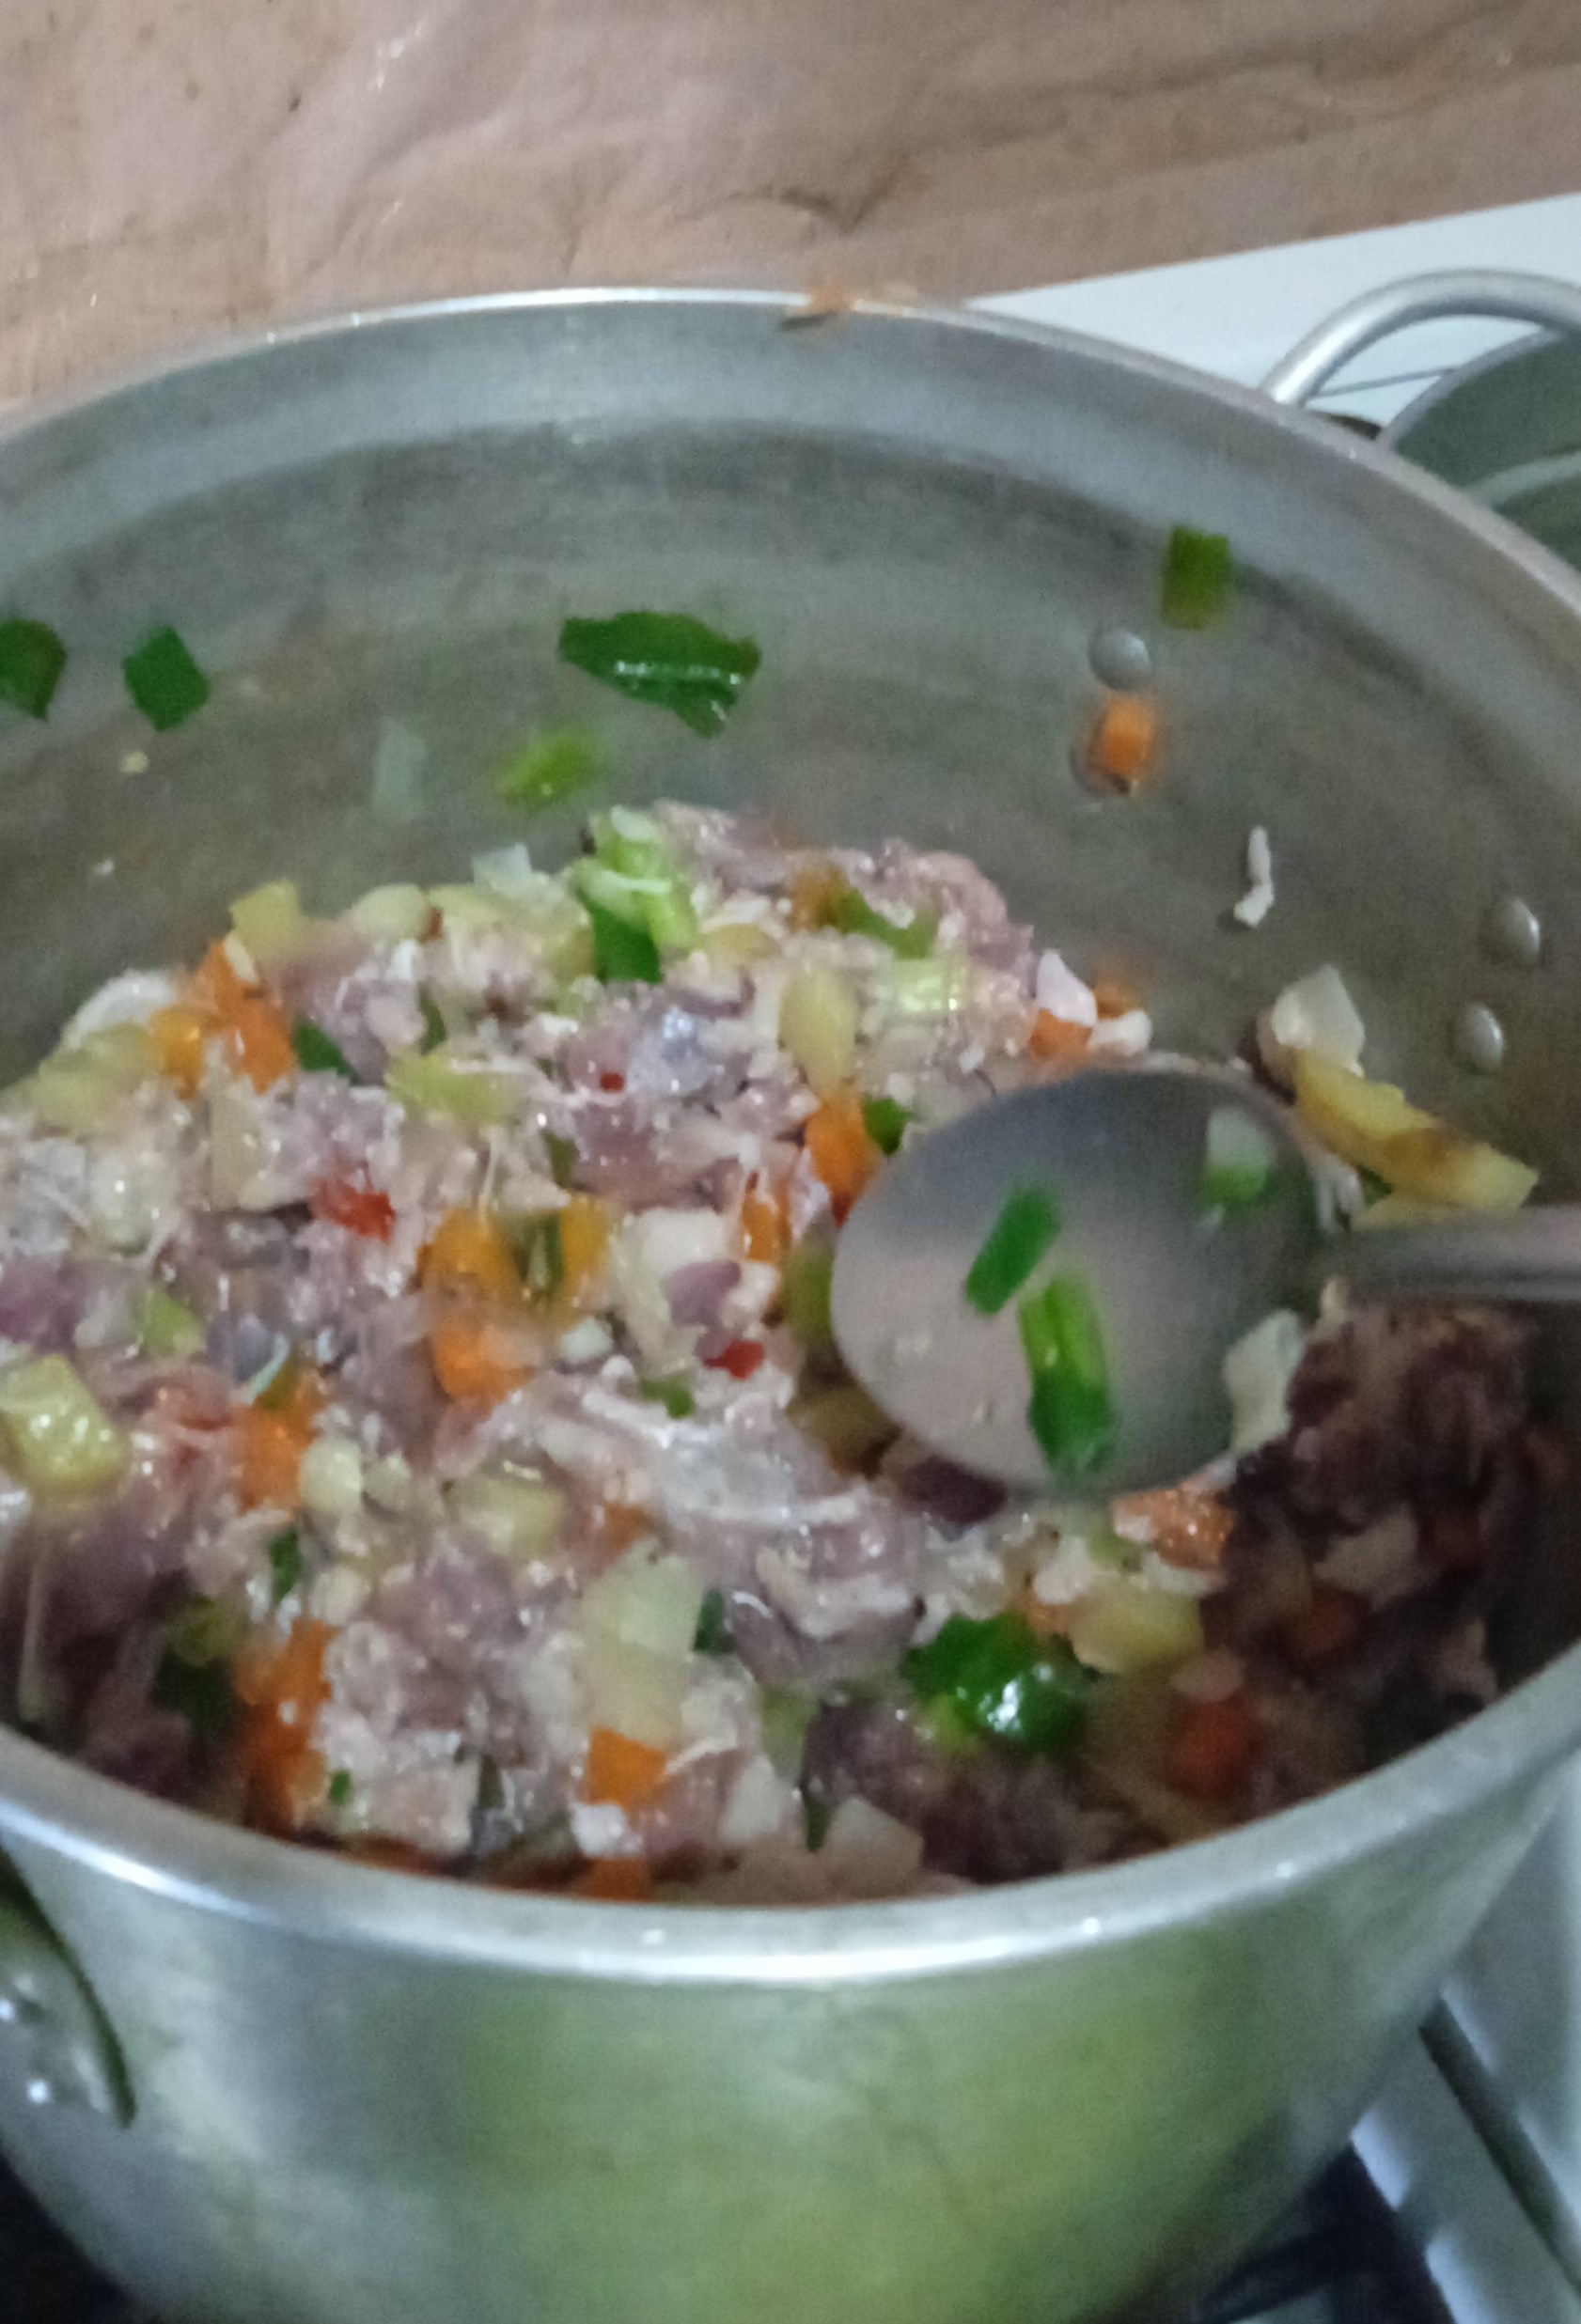
- Una vez estén bien sofreídos los vegetales, se incorporan las carnes de cerdo y de res, y se va mezclando todo muy bien. Se tapa durante alrededor de diez minutos más.
- Mientras tanto, la bebé seguía en el corral portándose muy bien, ja, ja, ja.
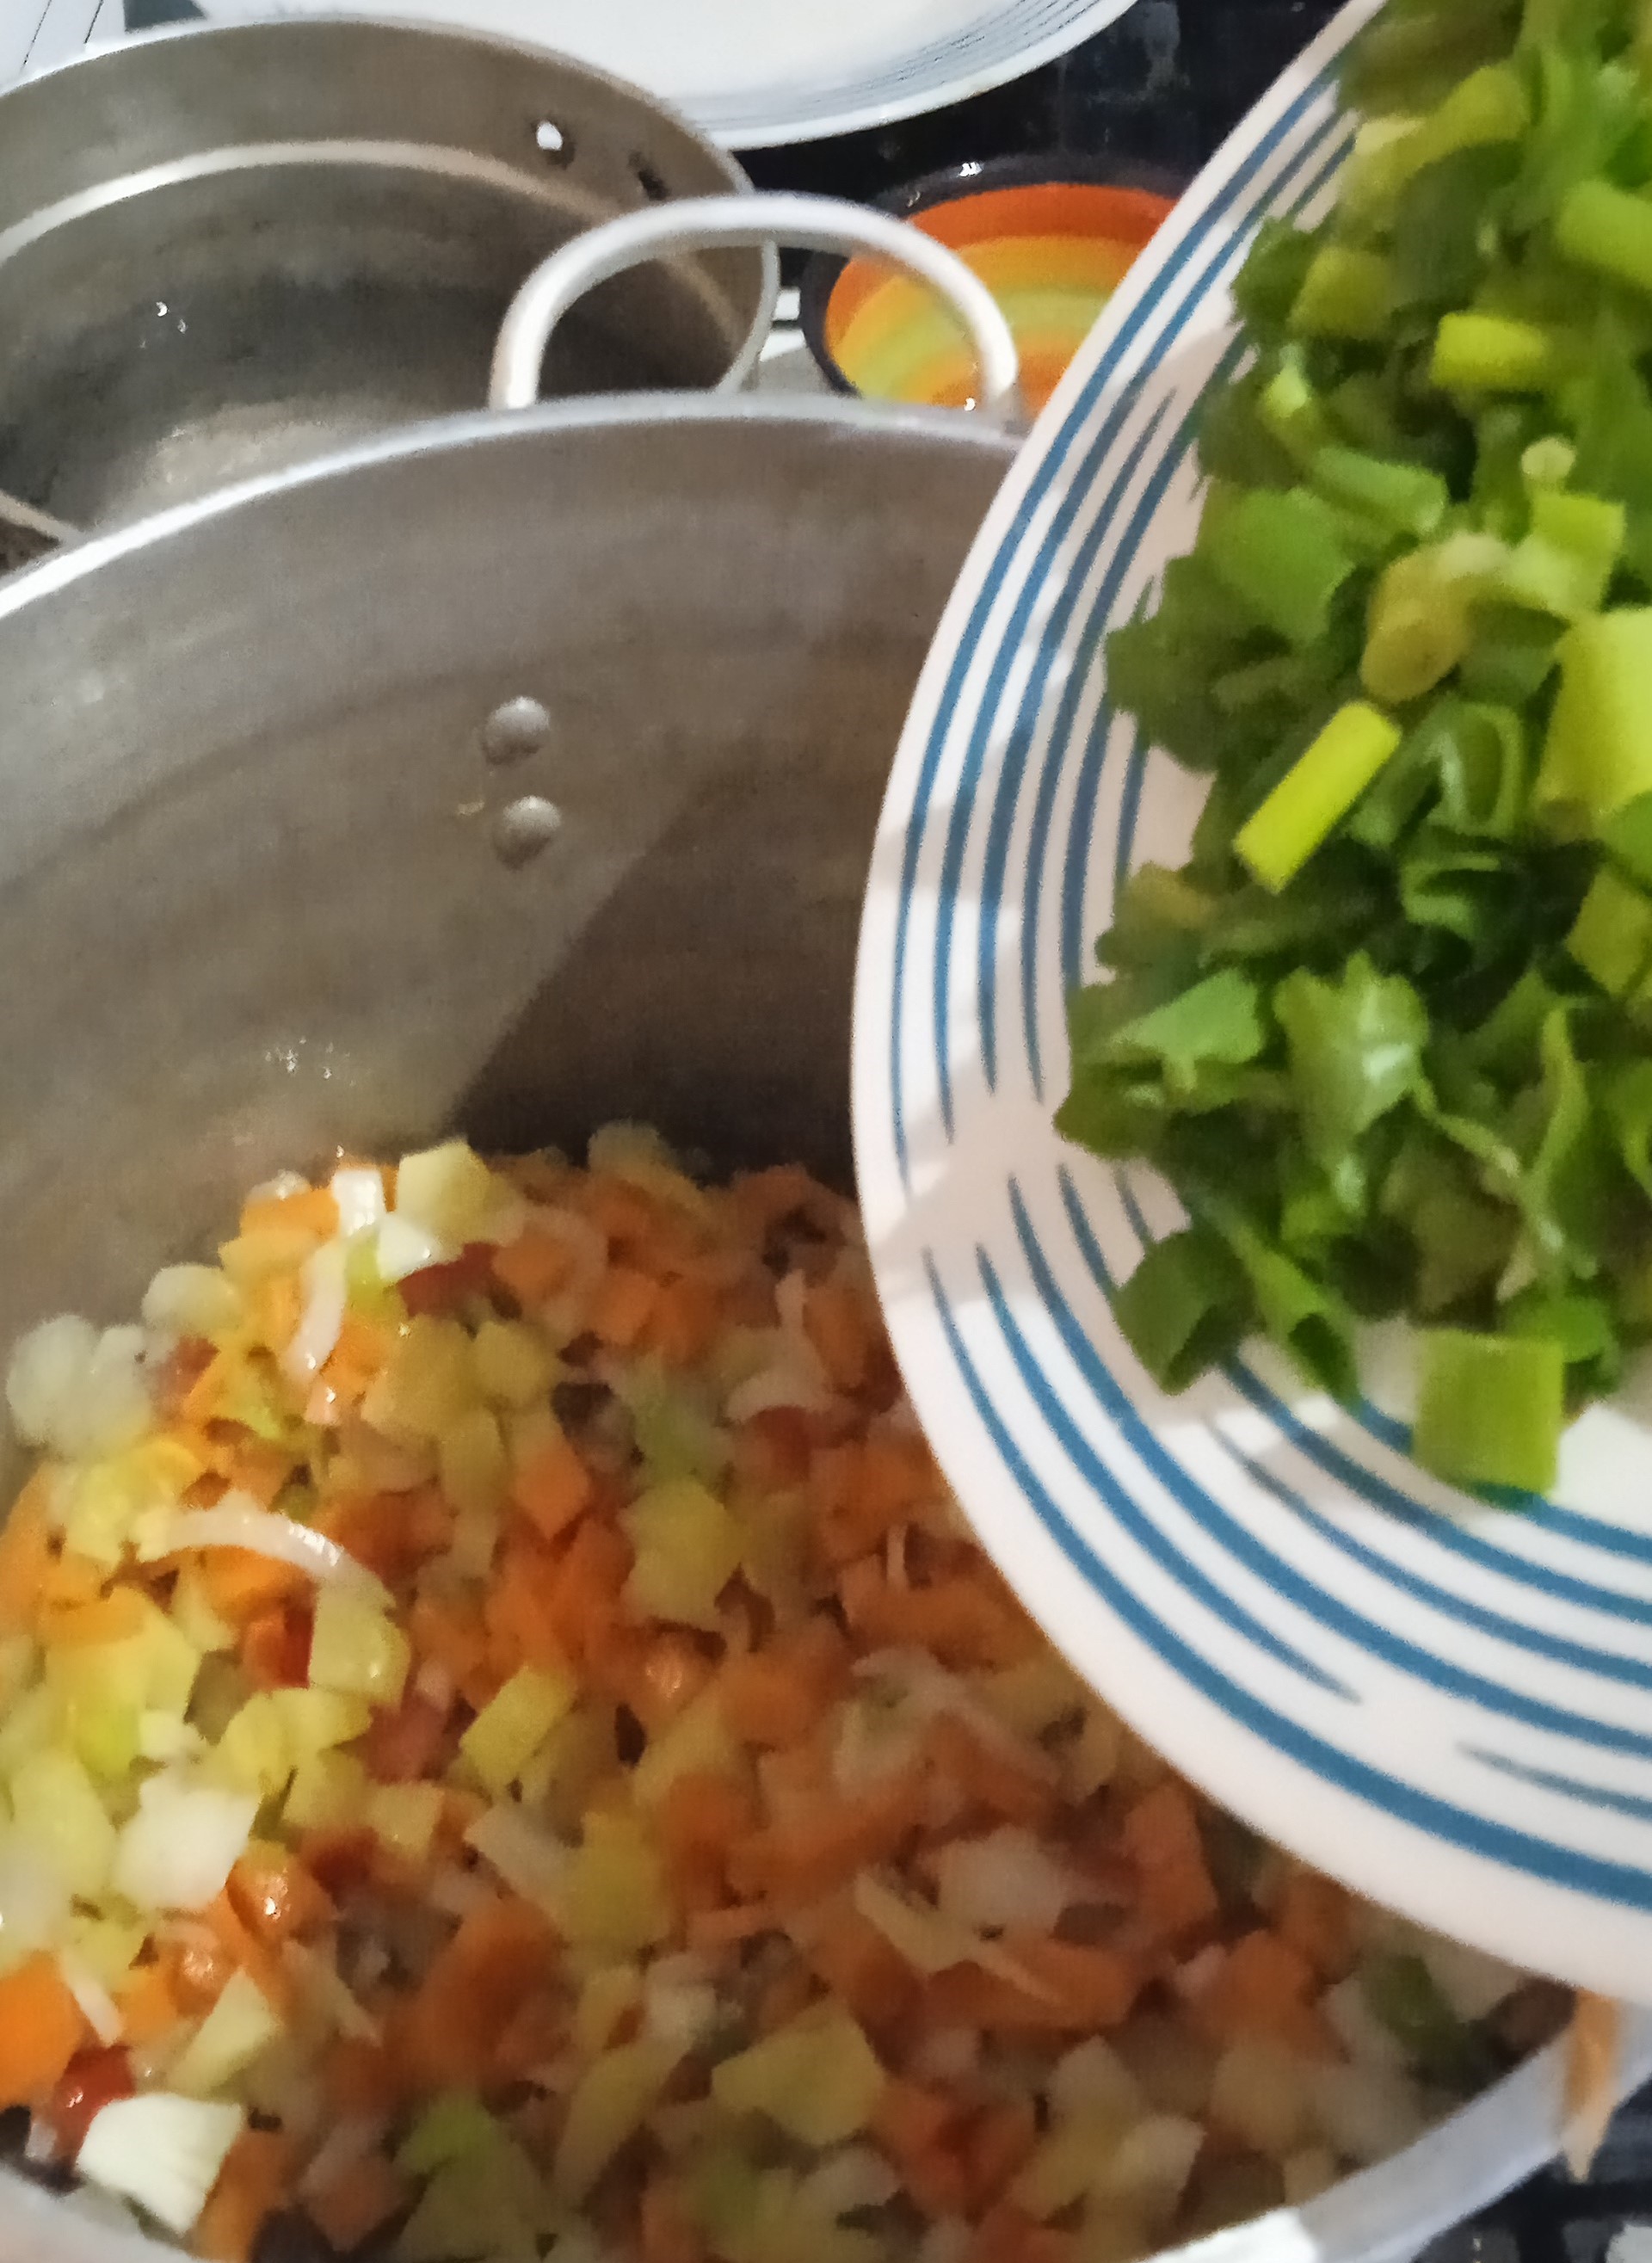
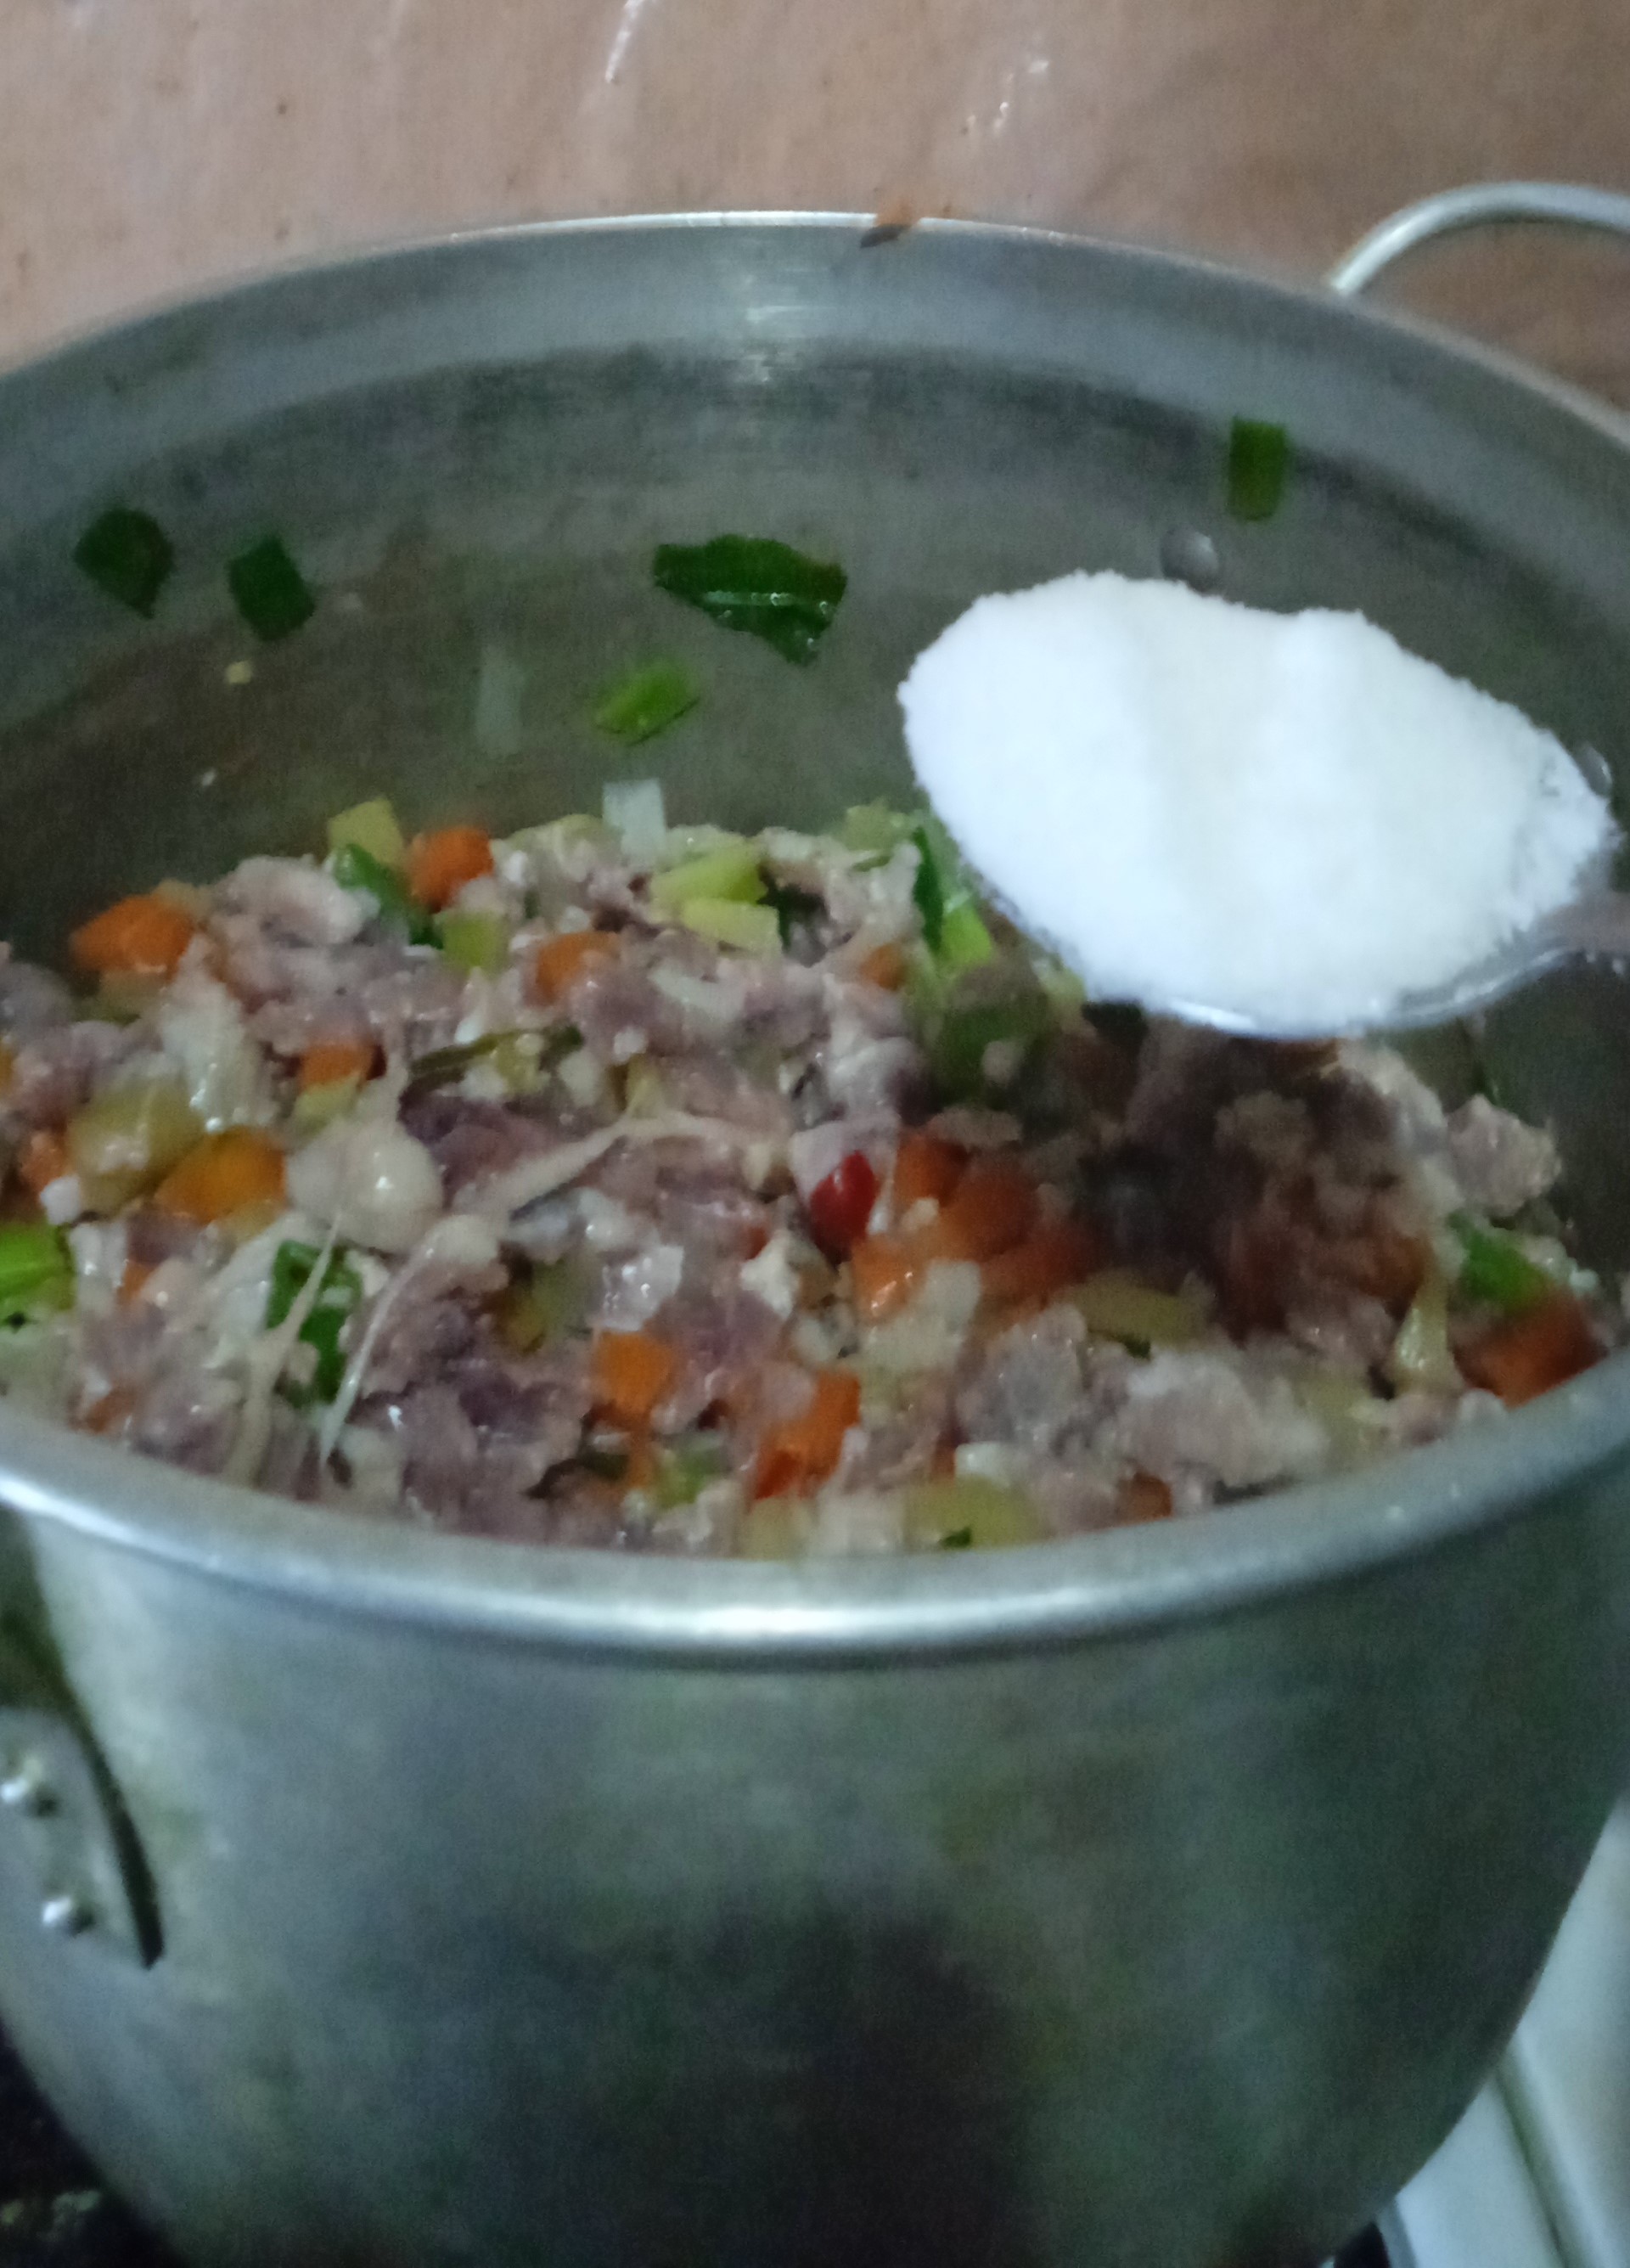
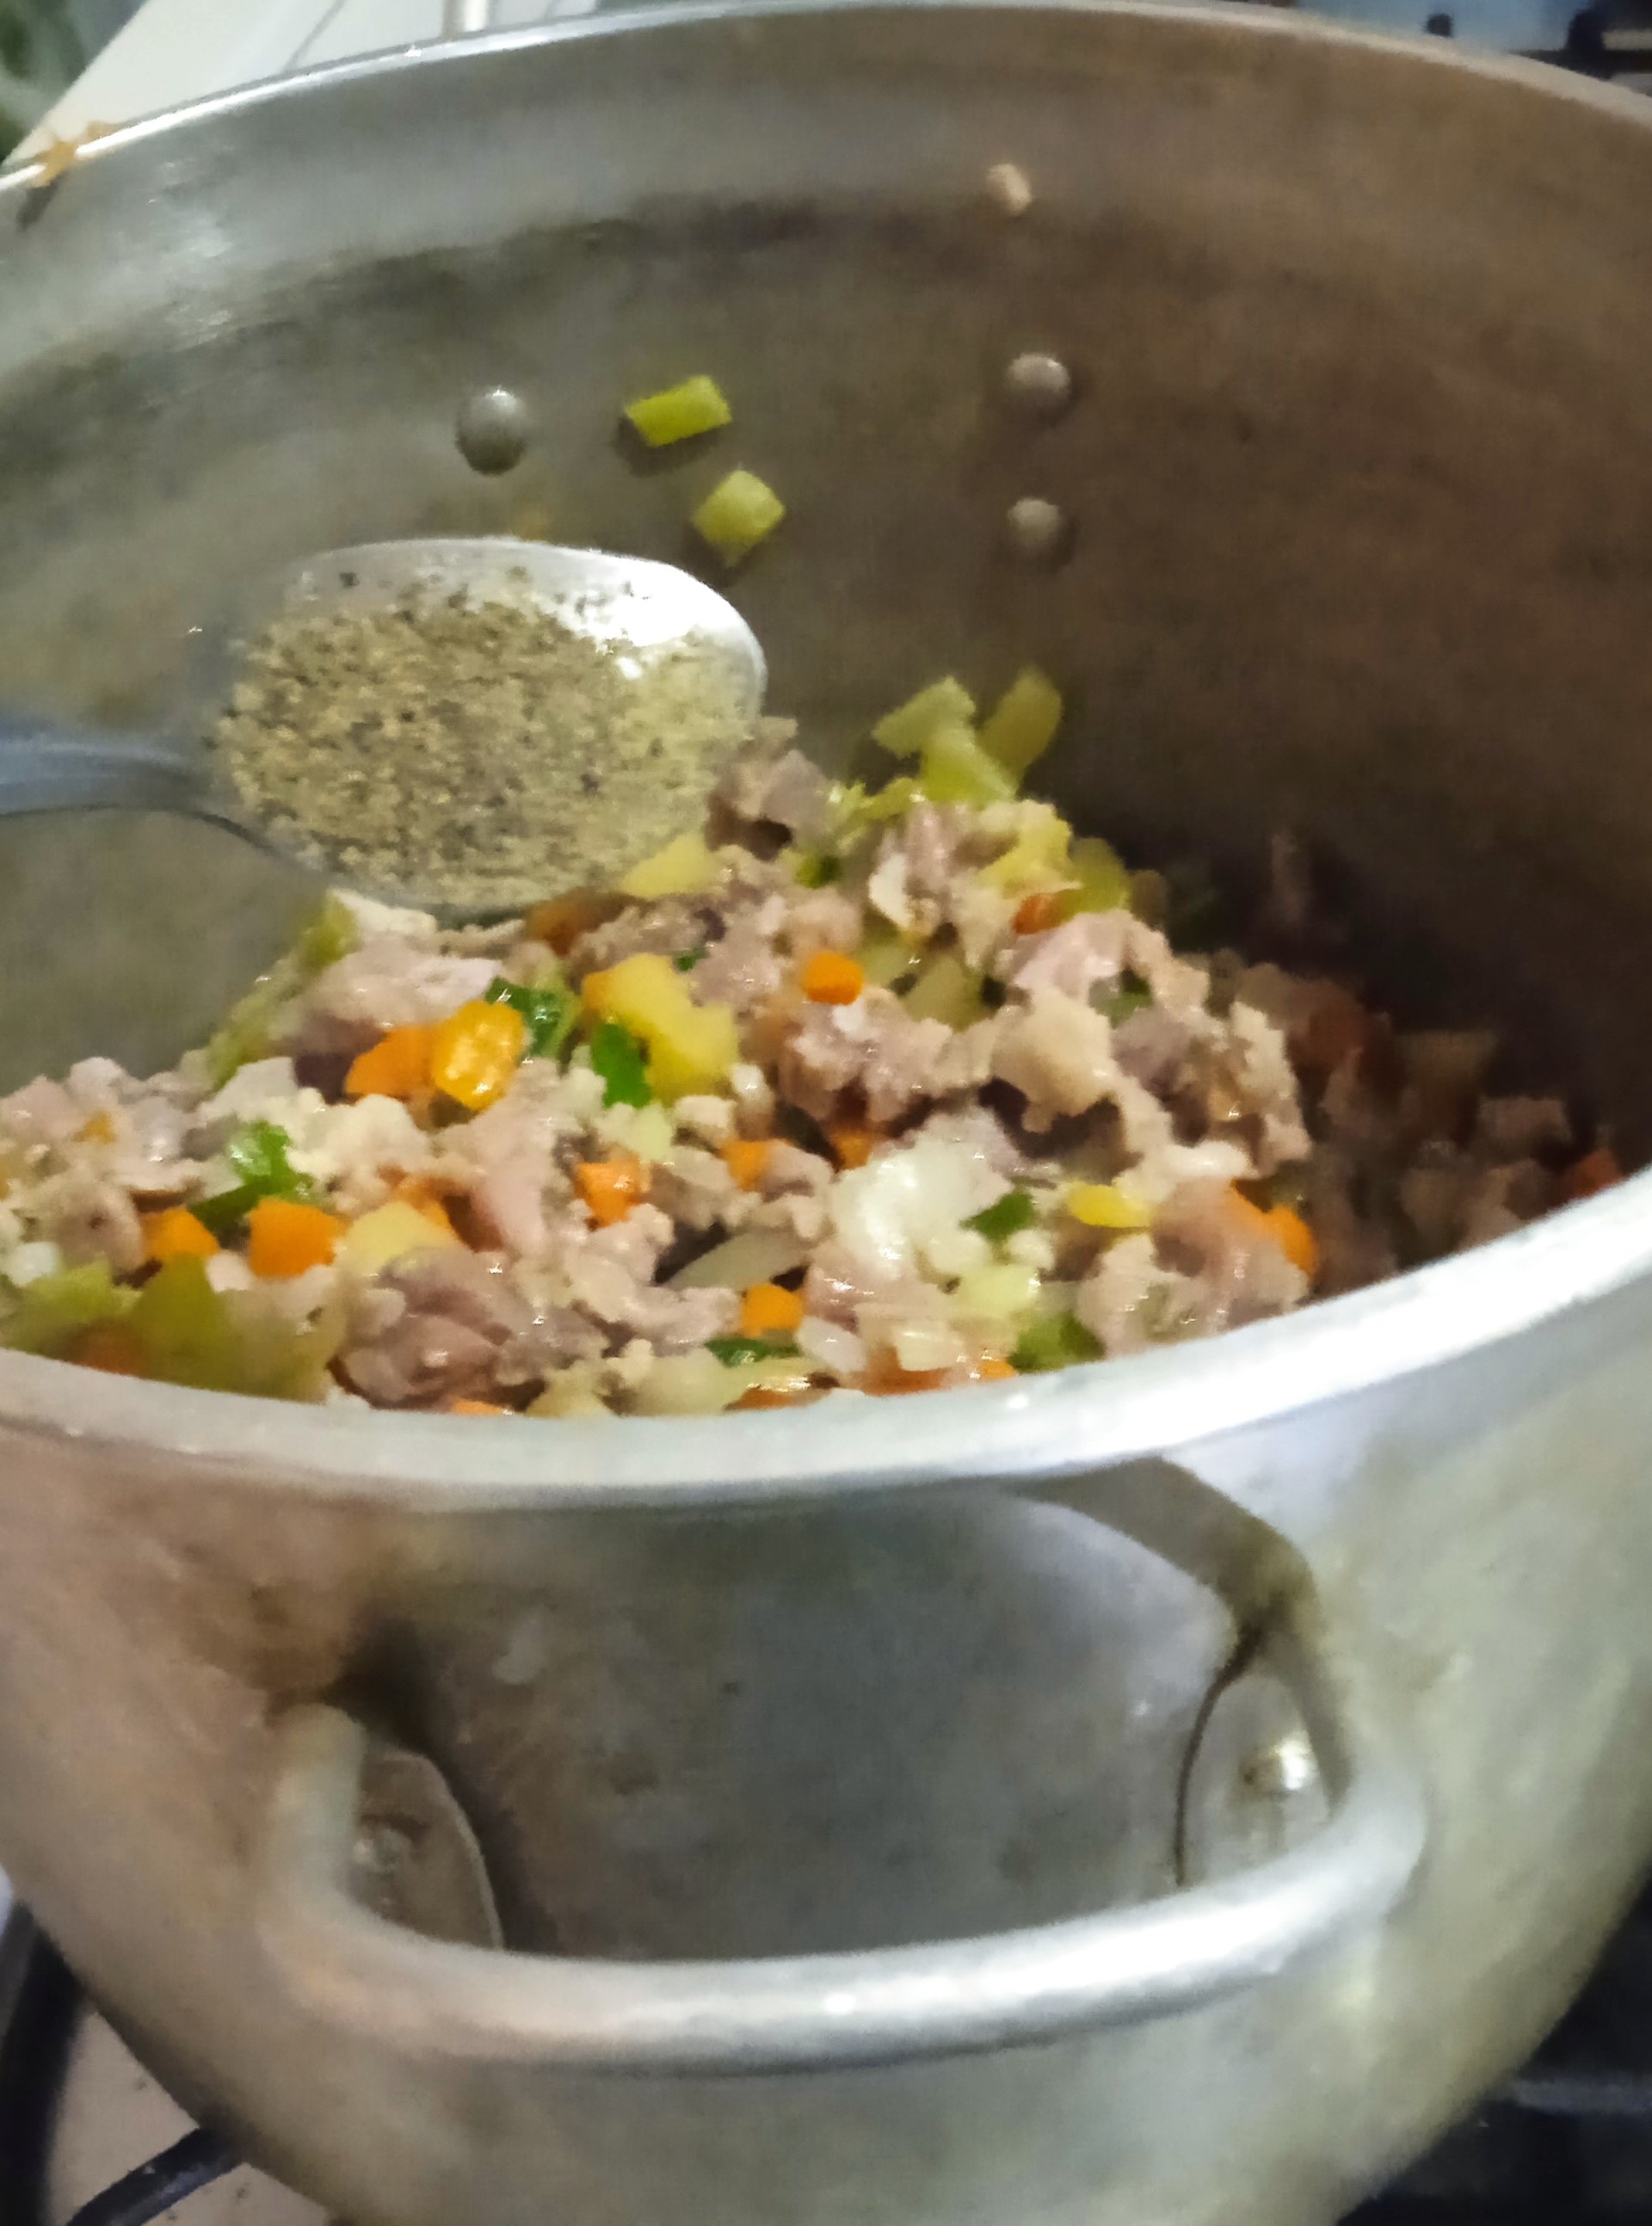
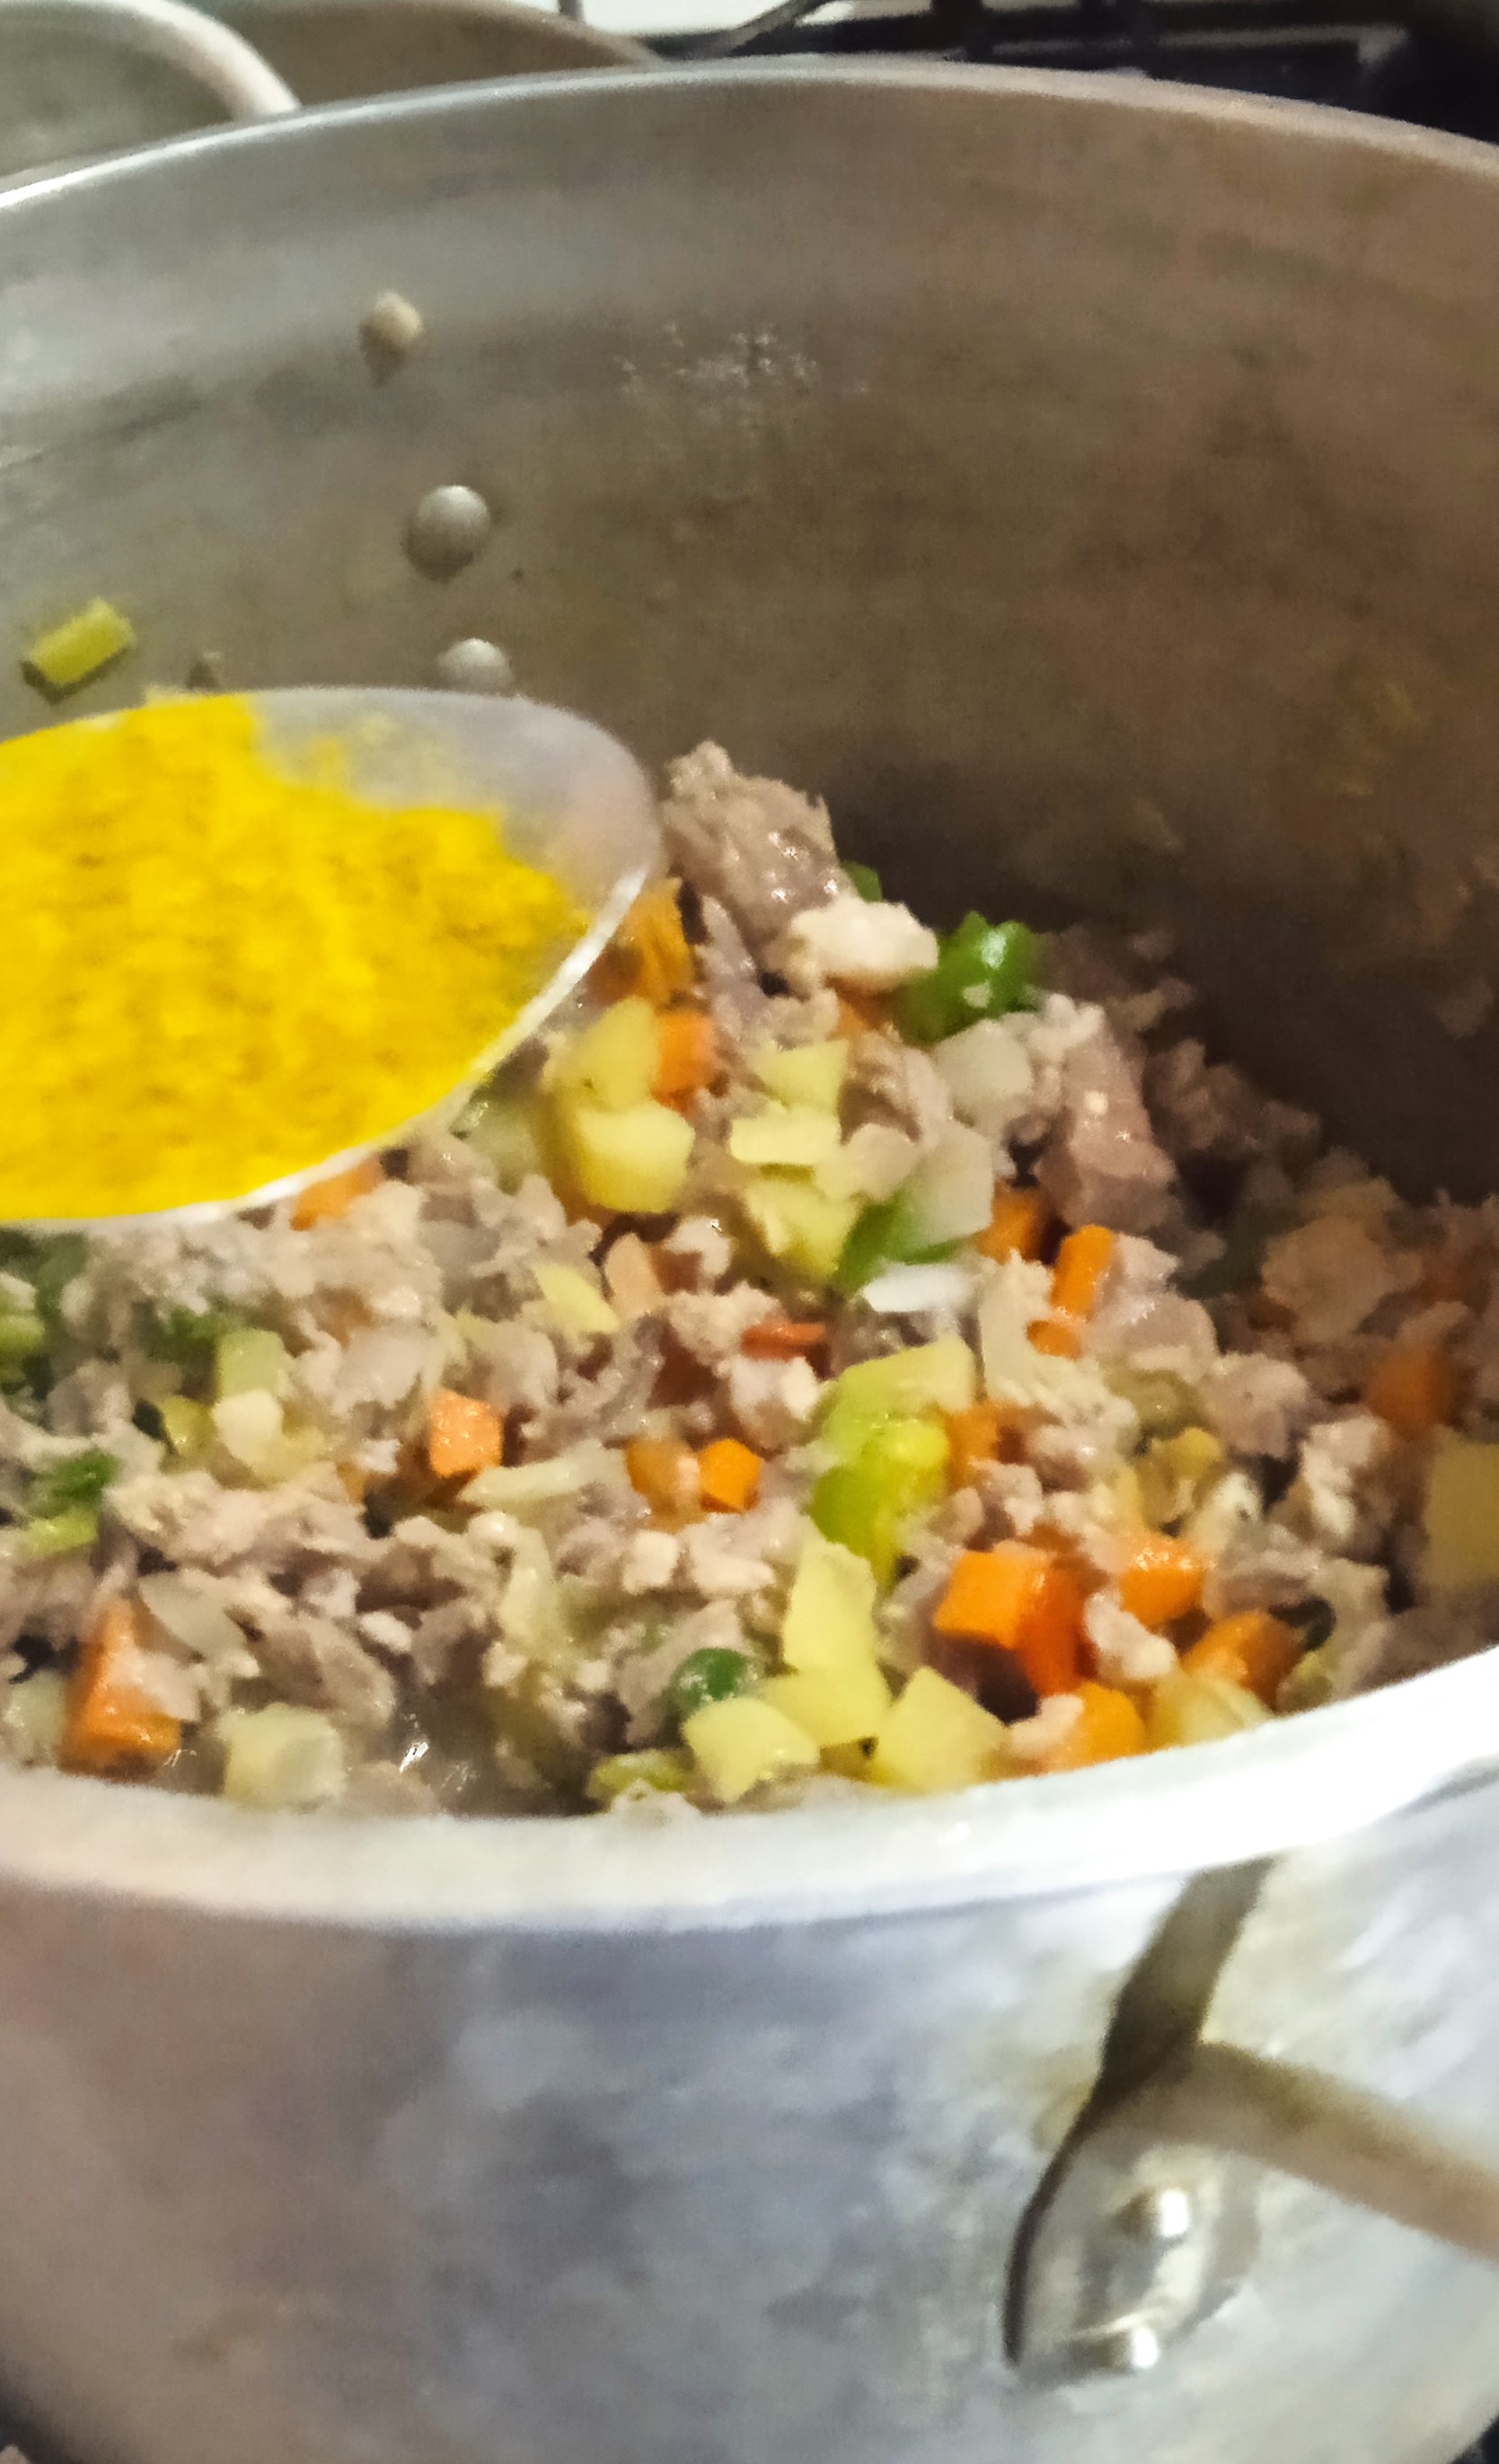
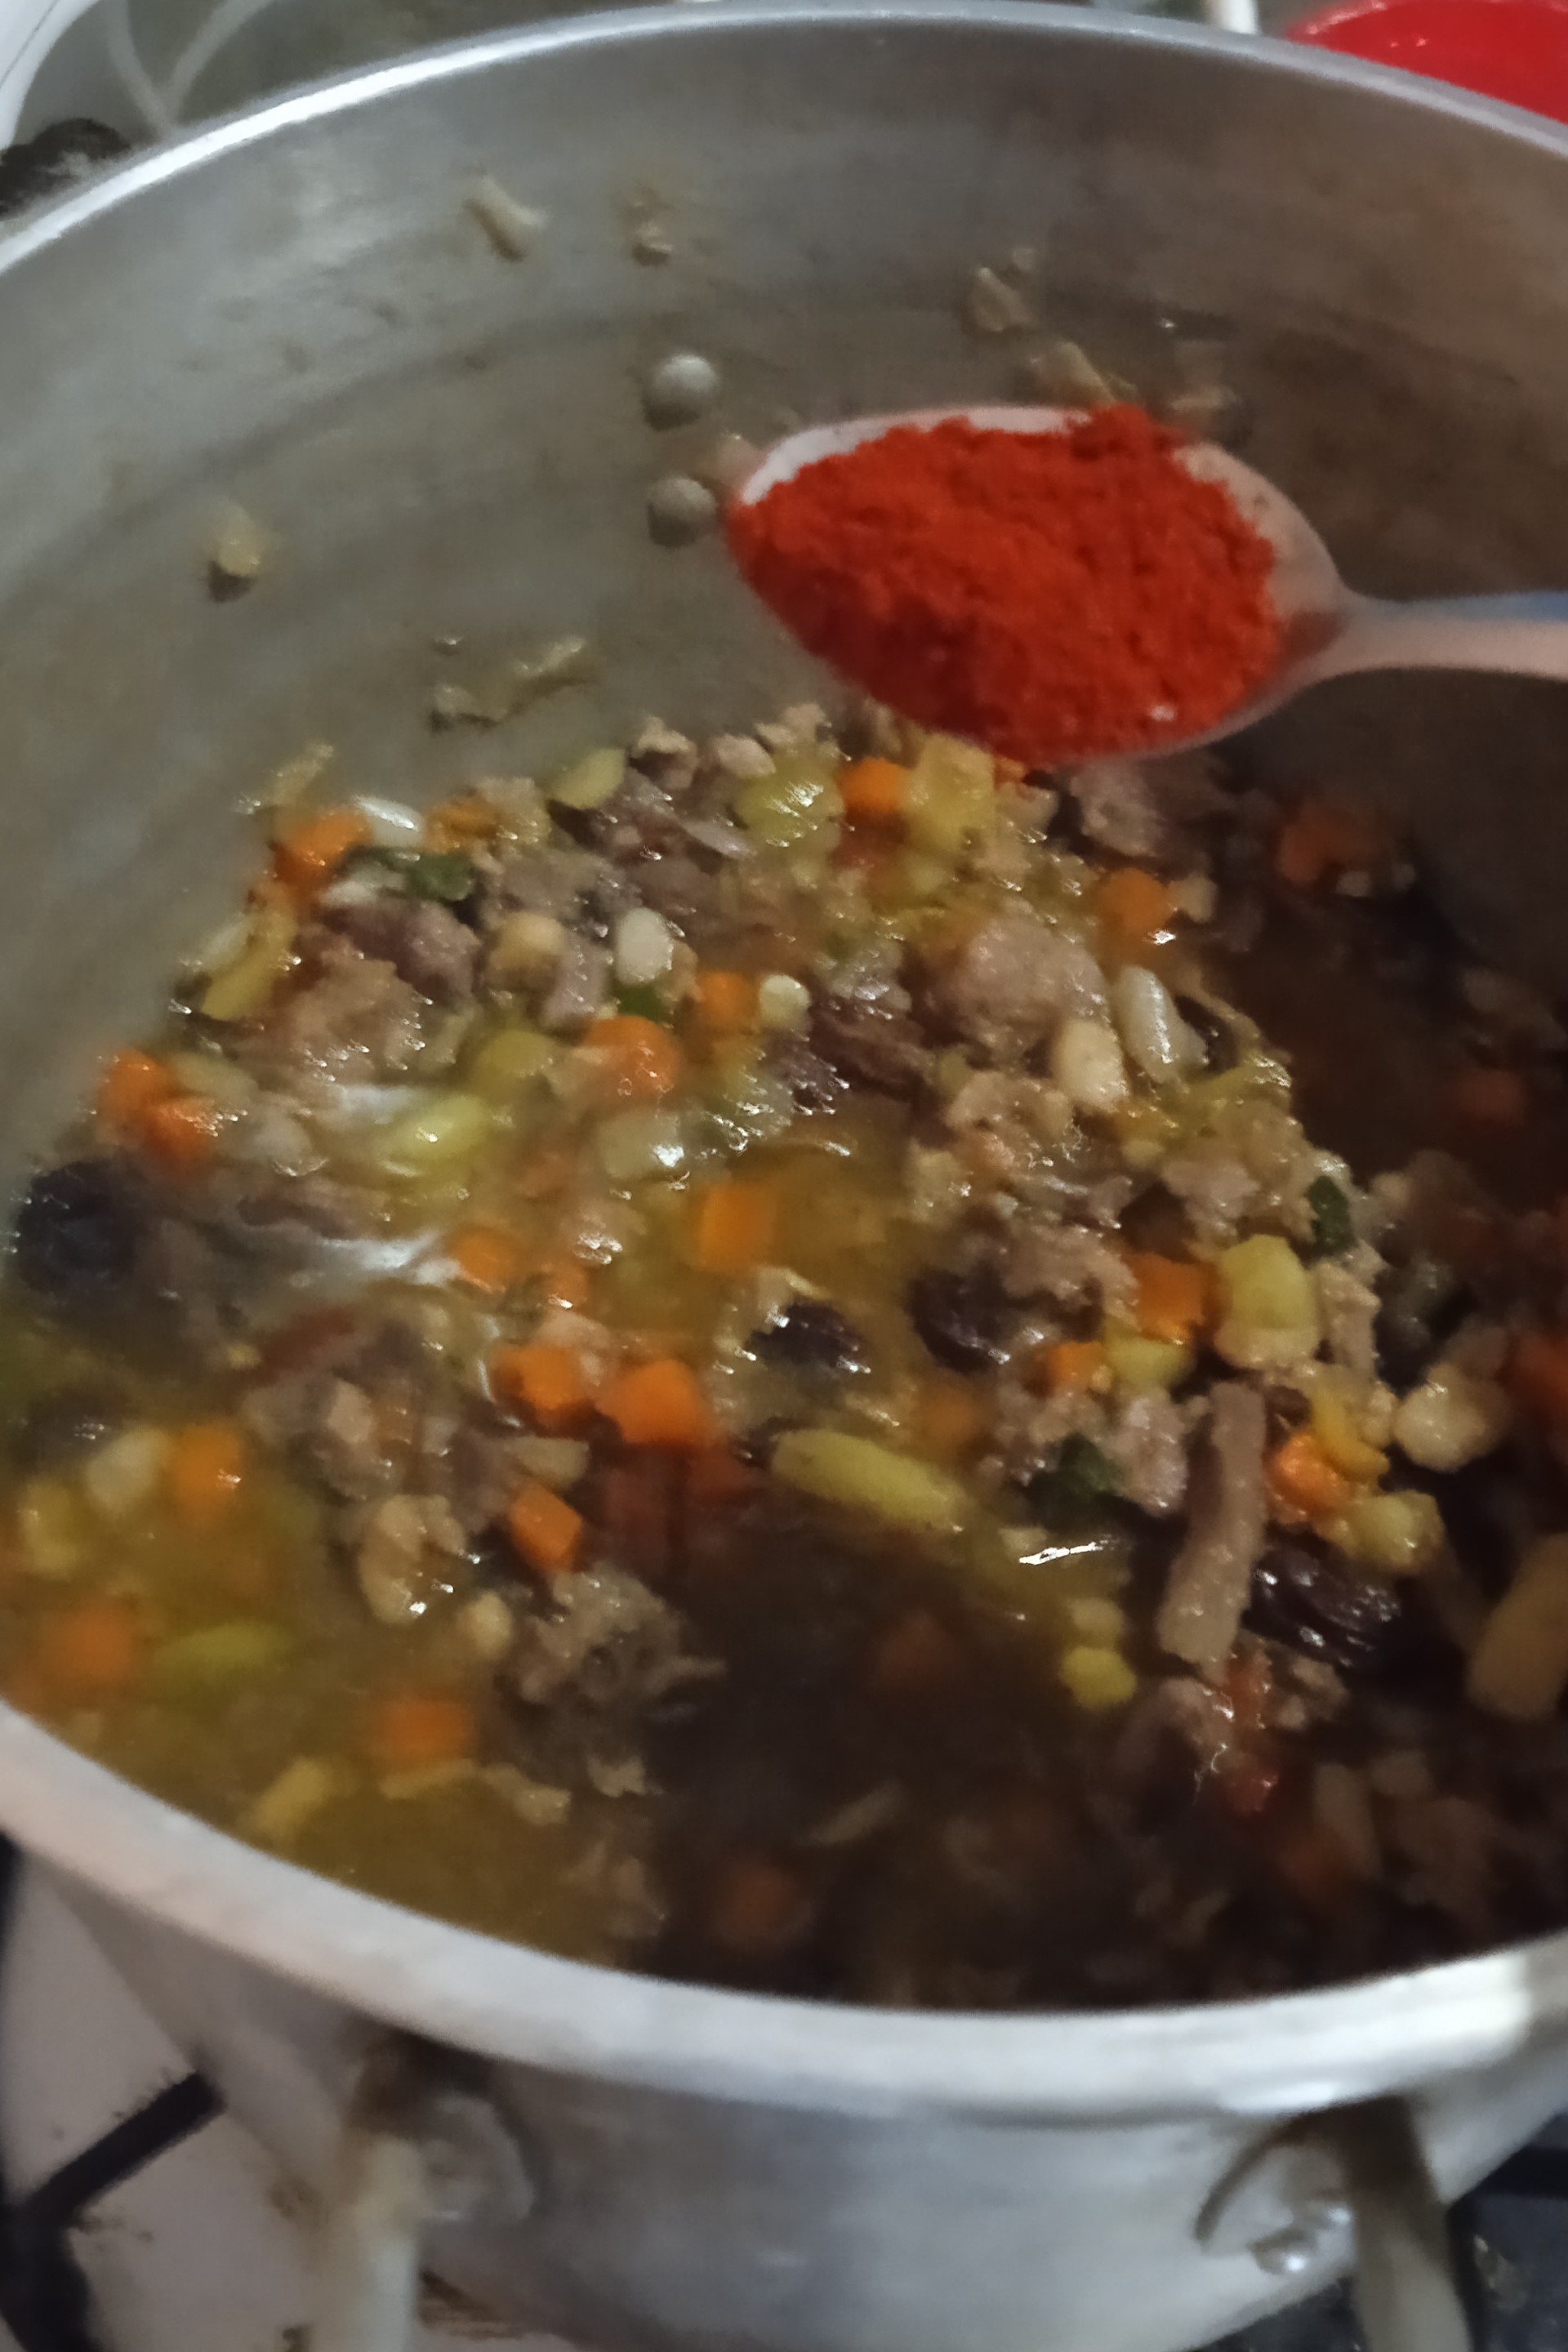
- Transcurrido el tiempo, se va a ir adicionando la sal, el adobo, el curry y el comino y se remueve muy bien hasta que todo se disuelva en la preparación y se deja cocinar cinco minutos más.
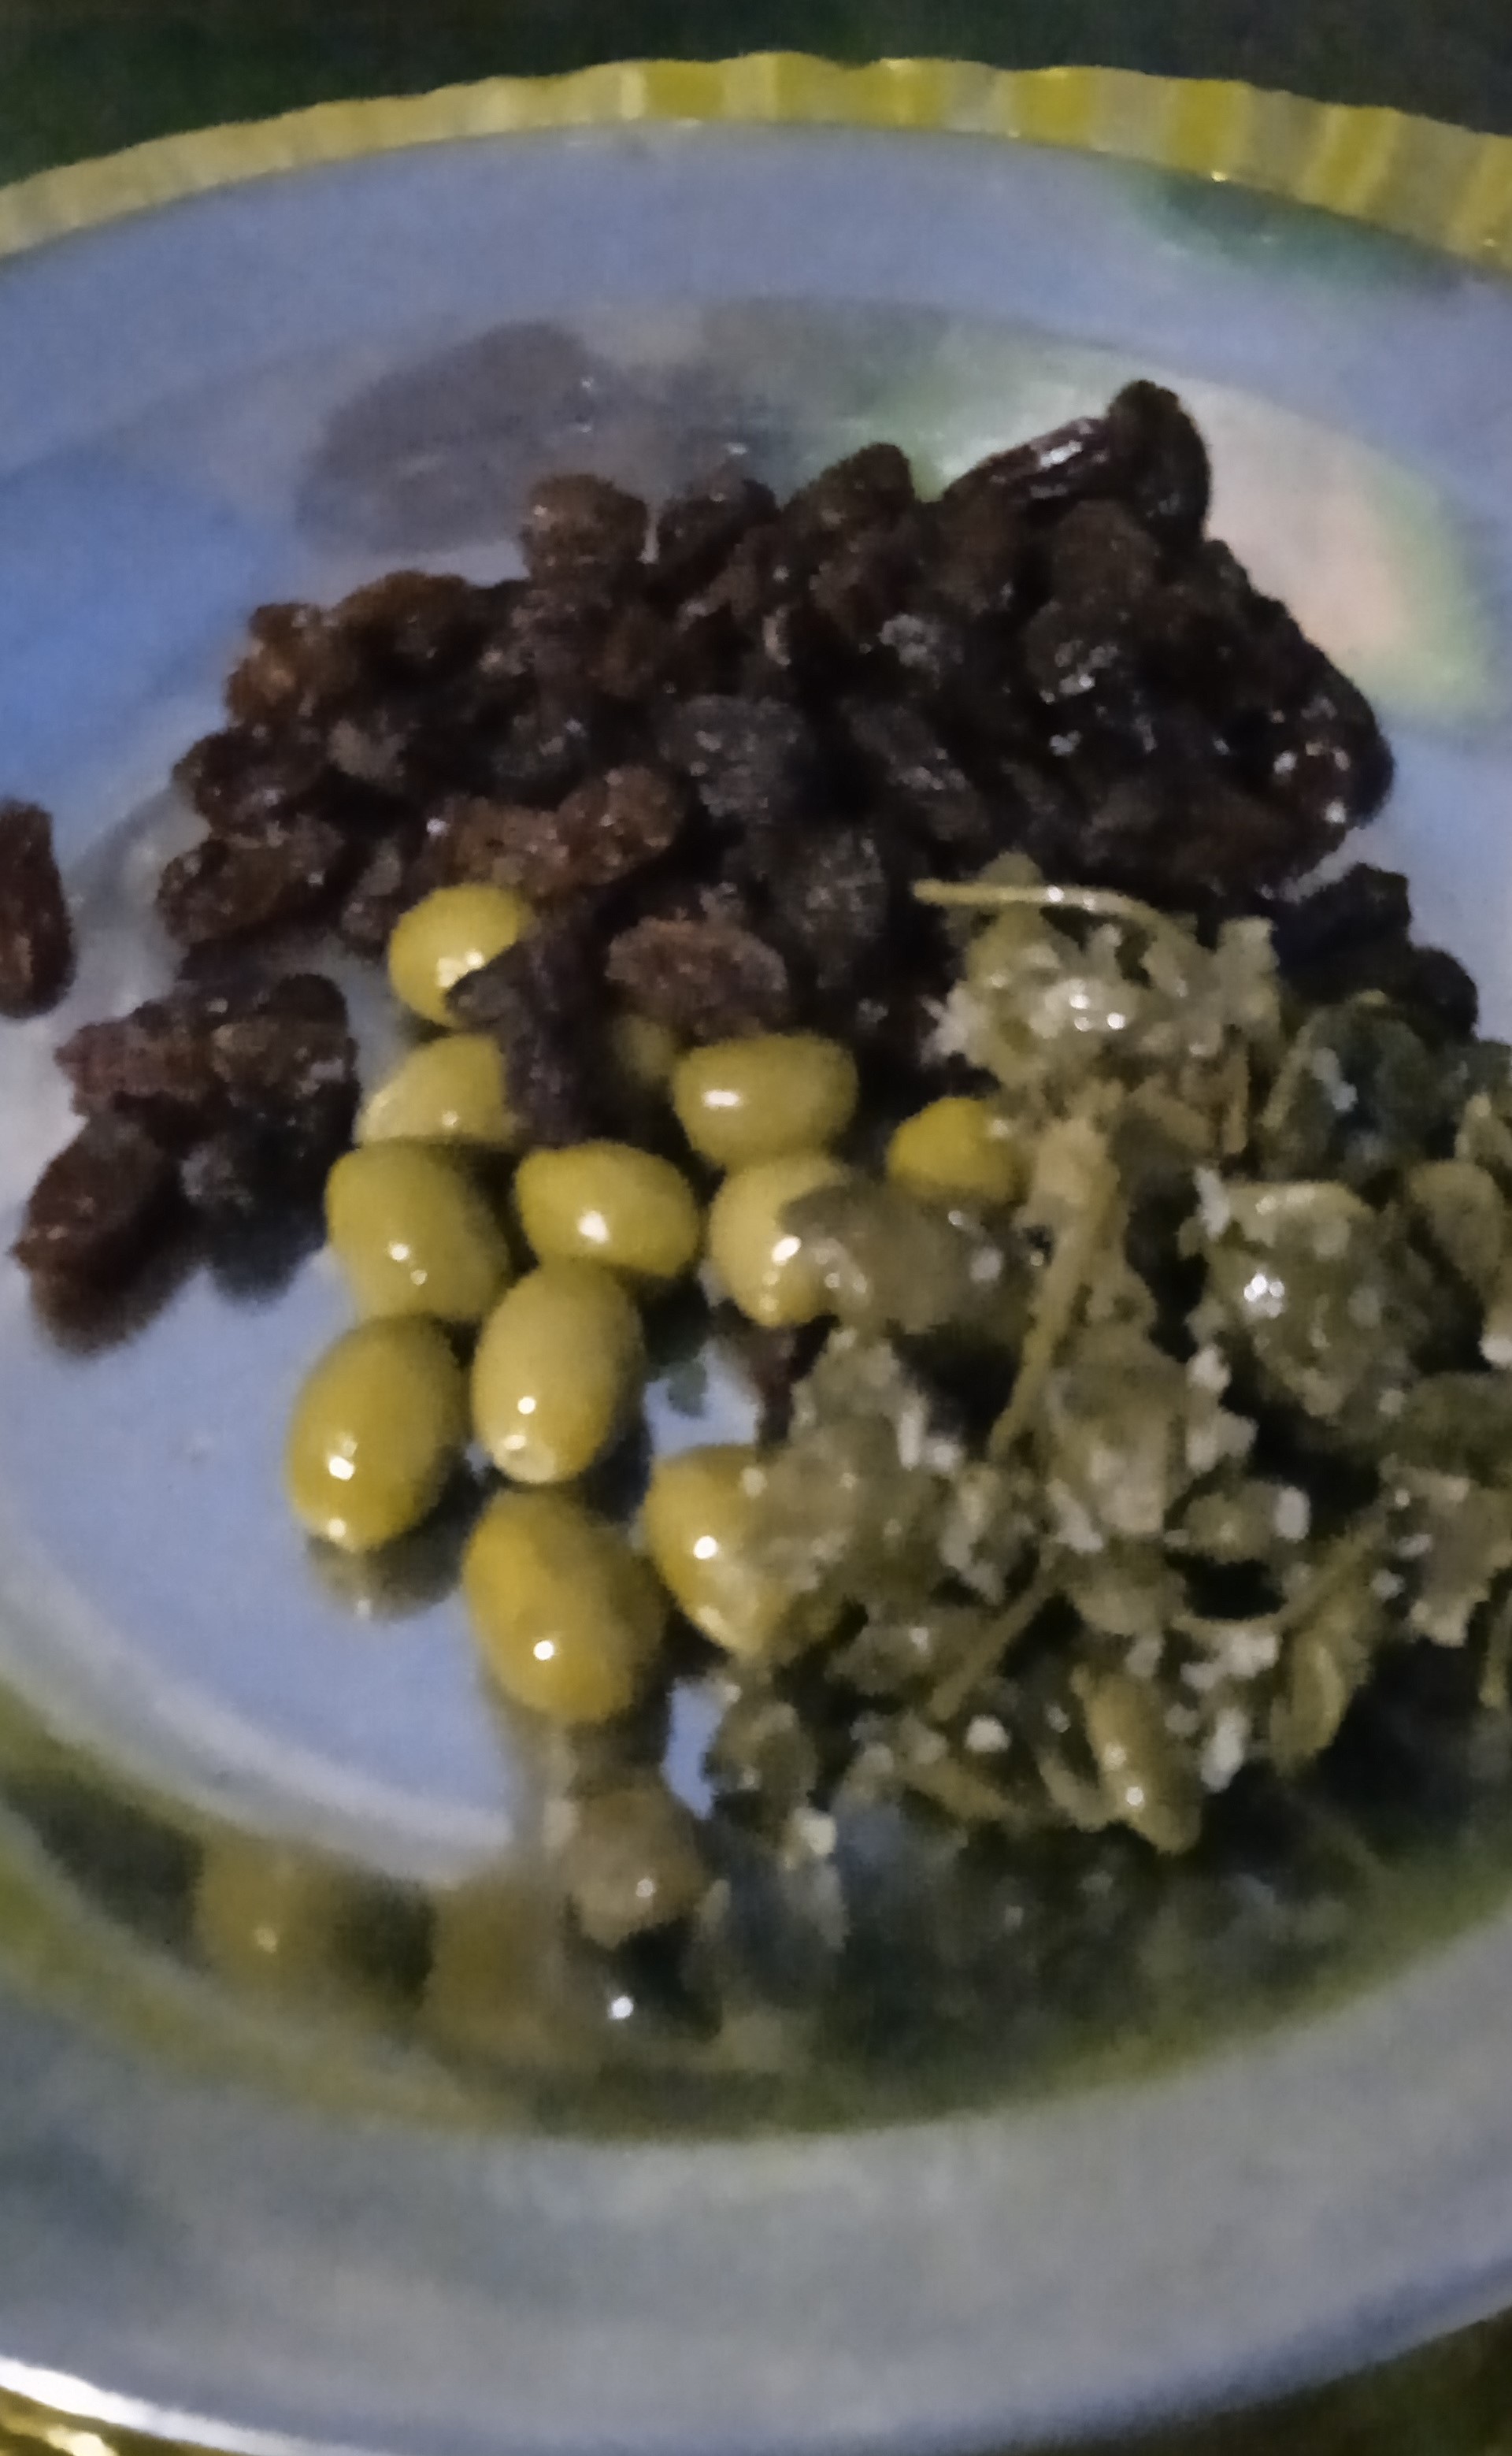
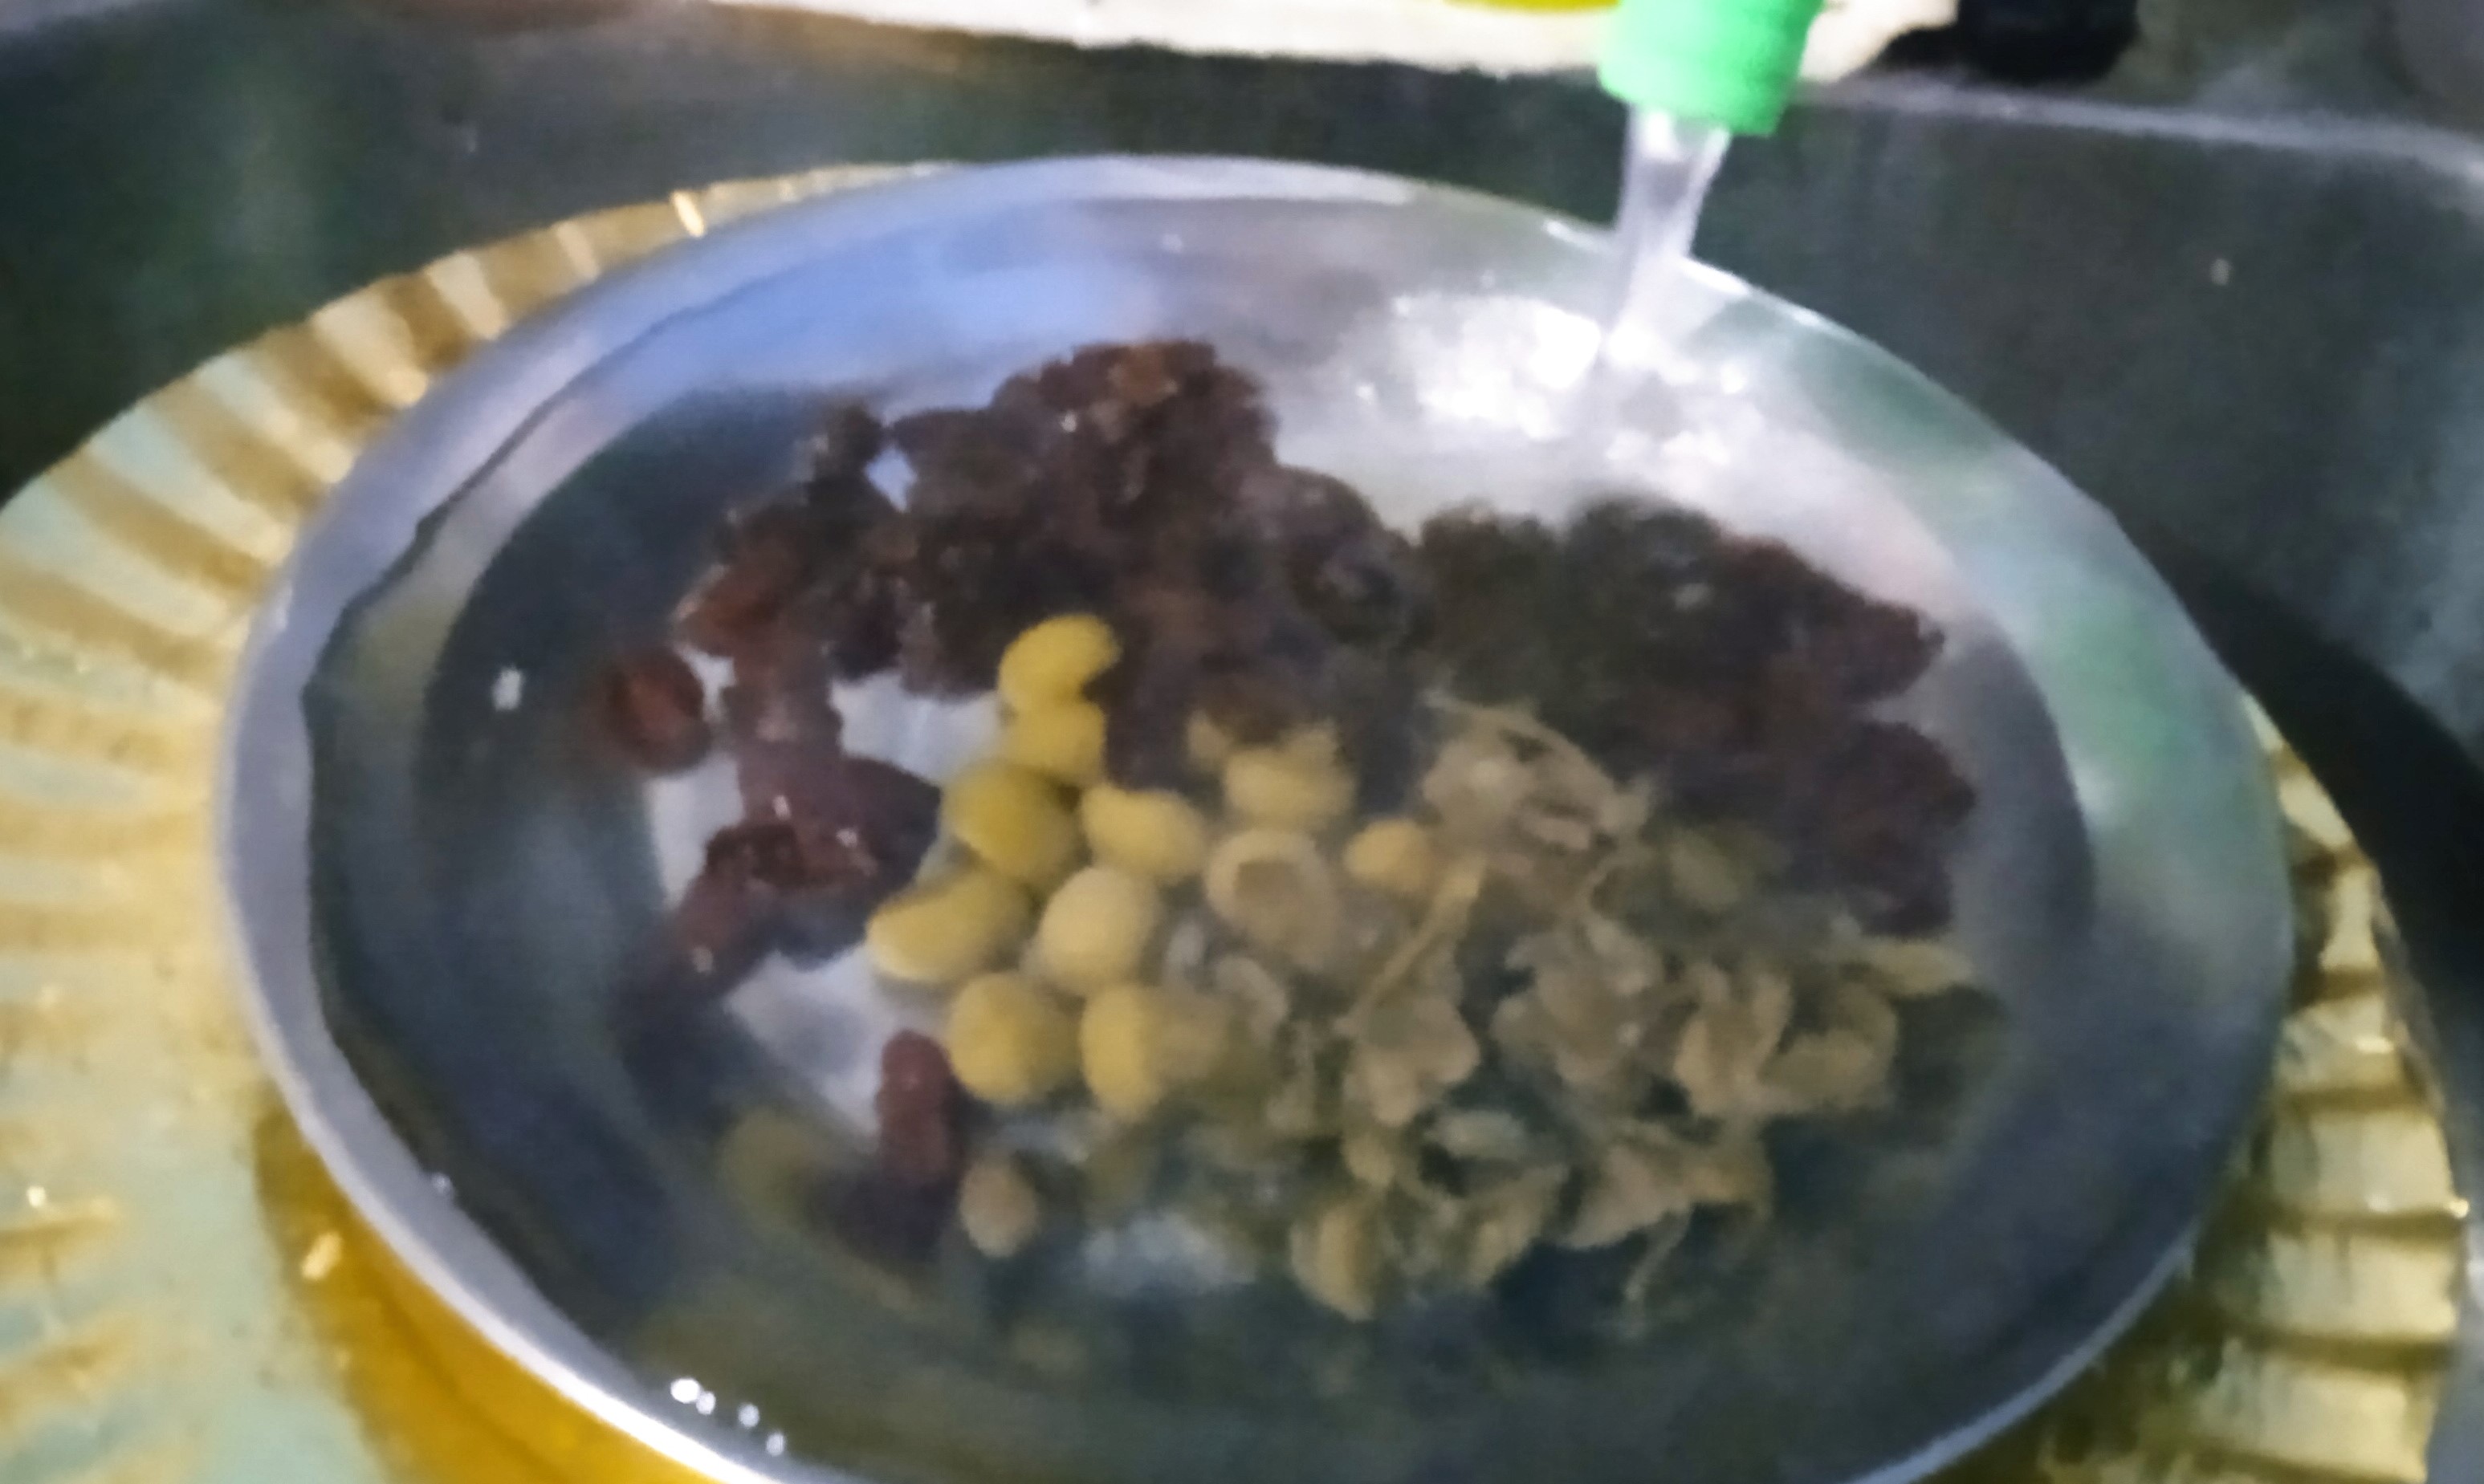
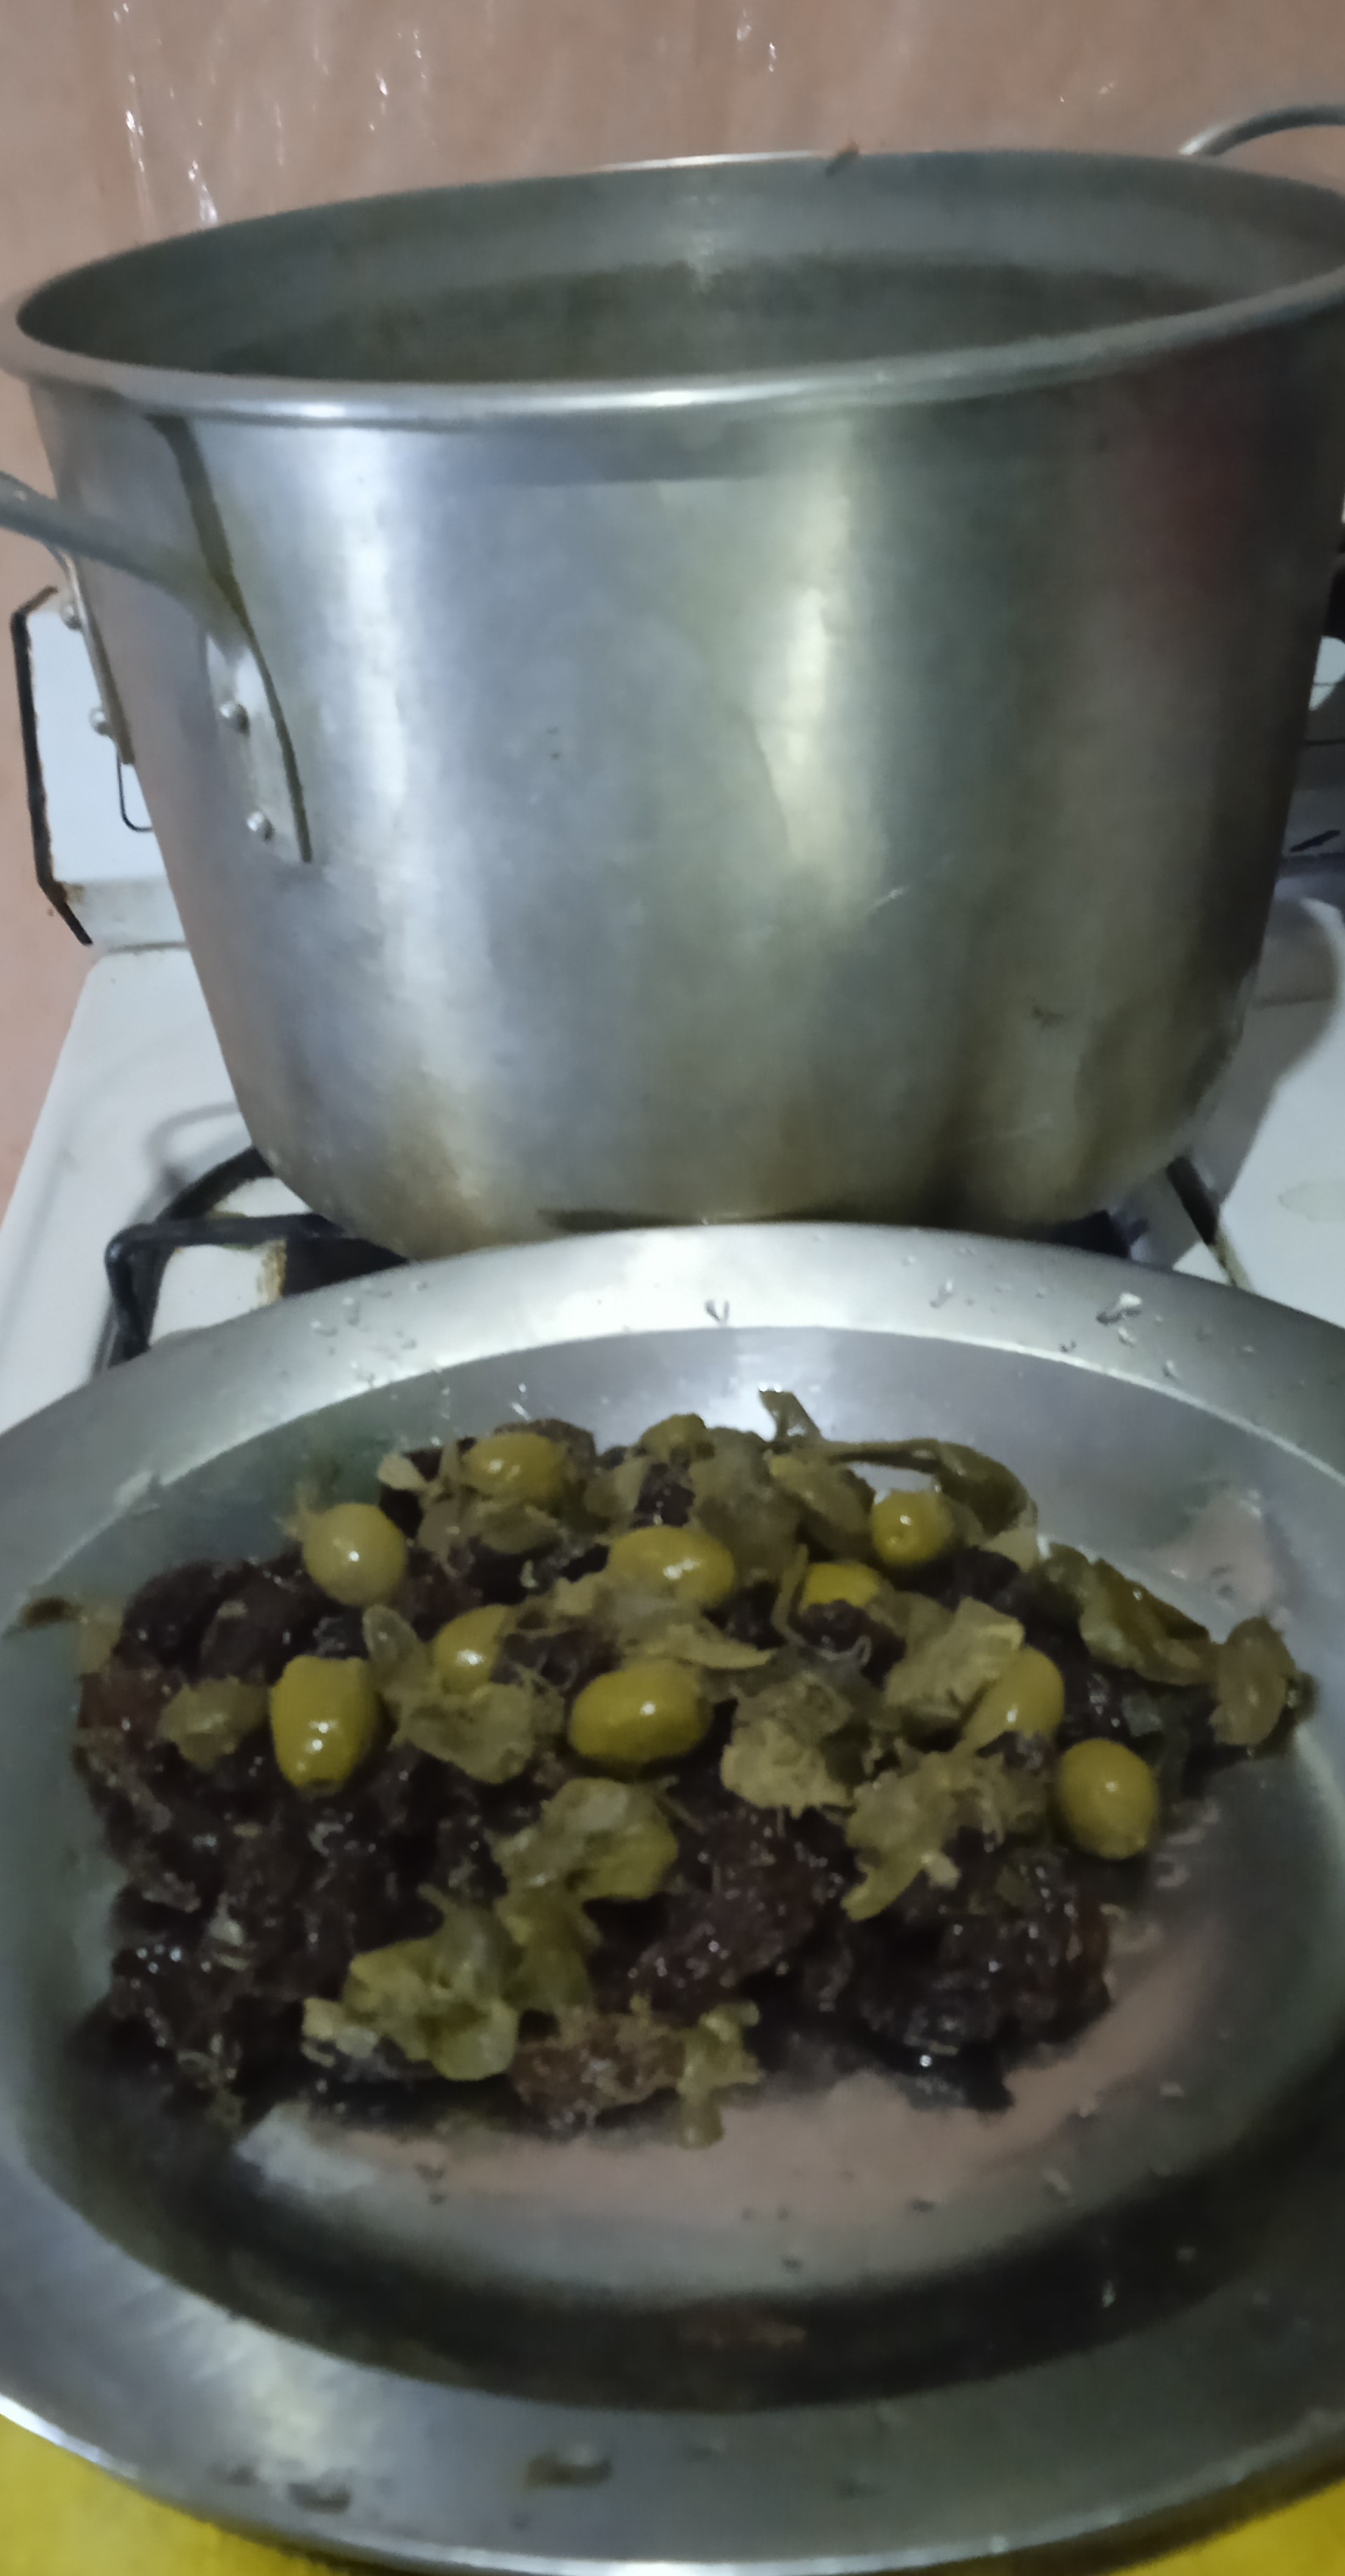
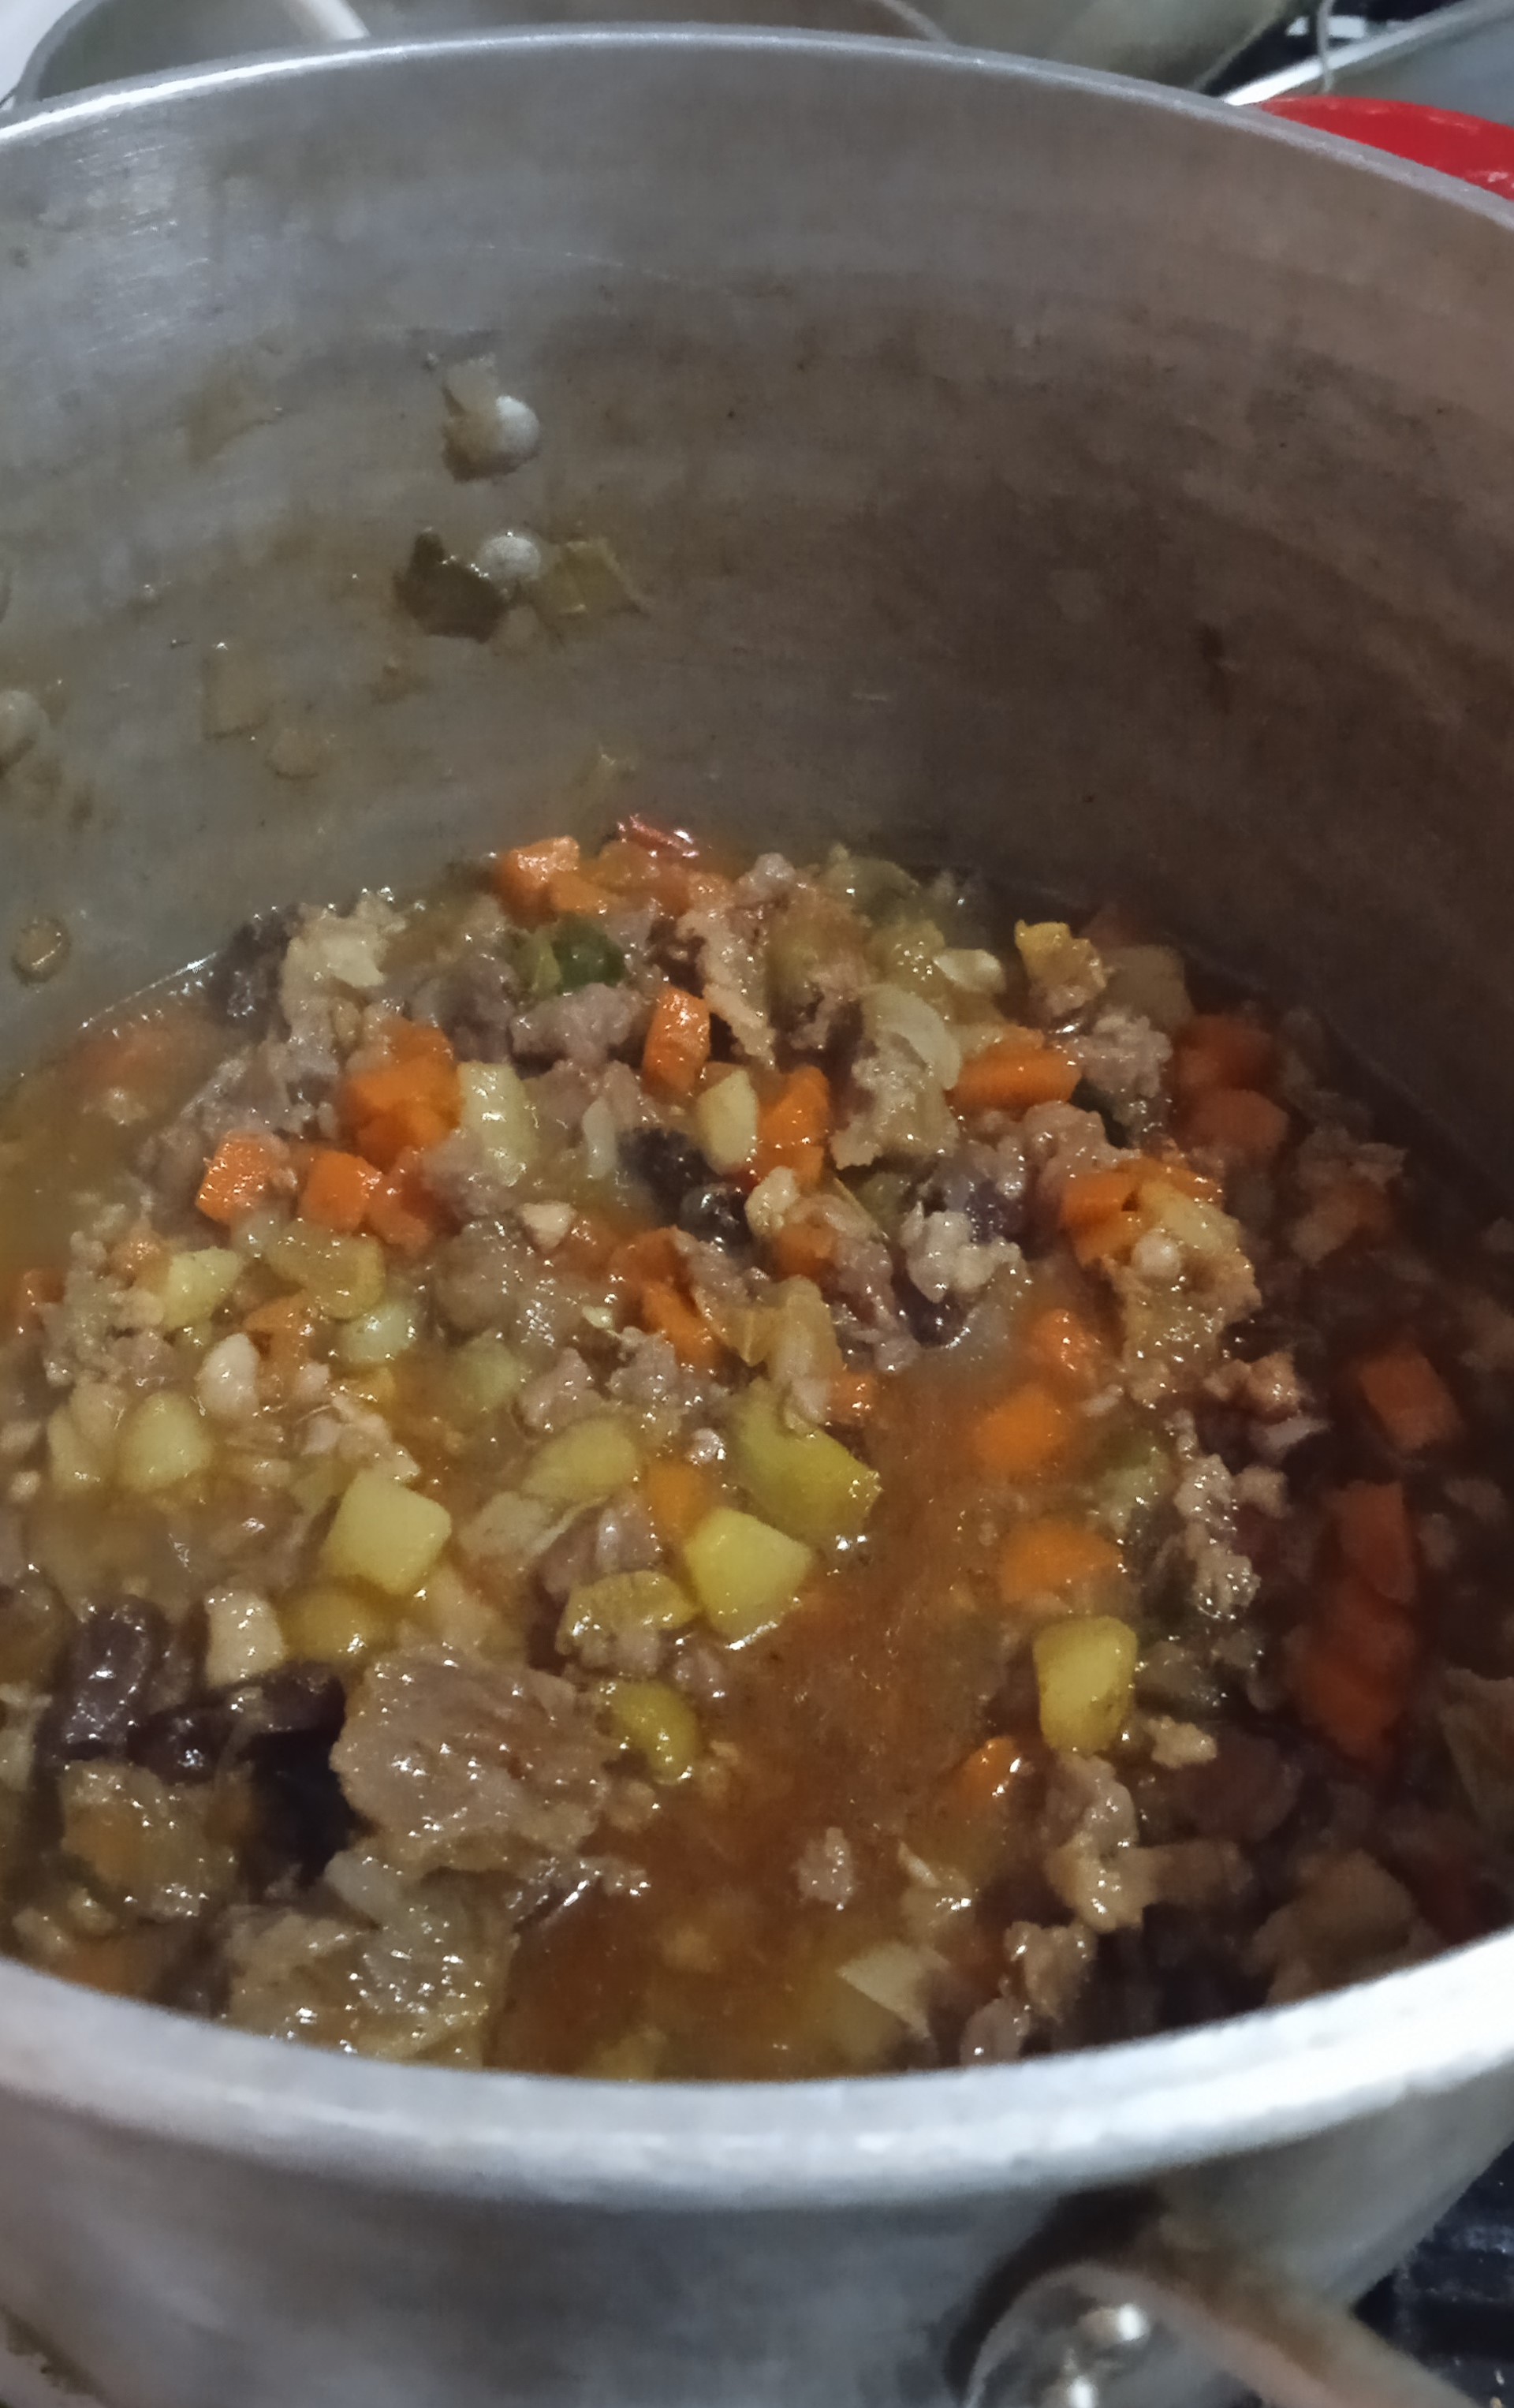
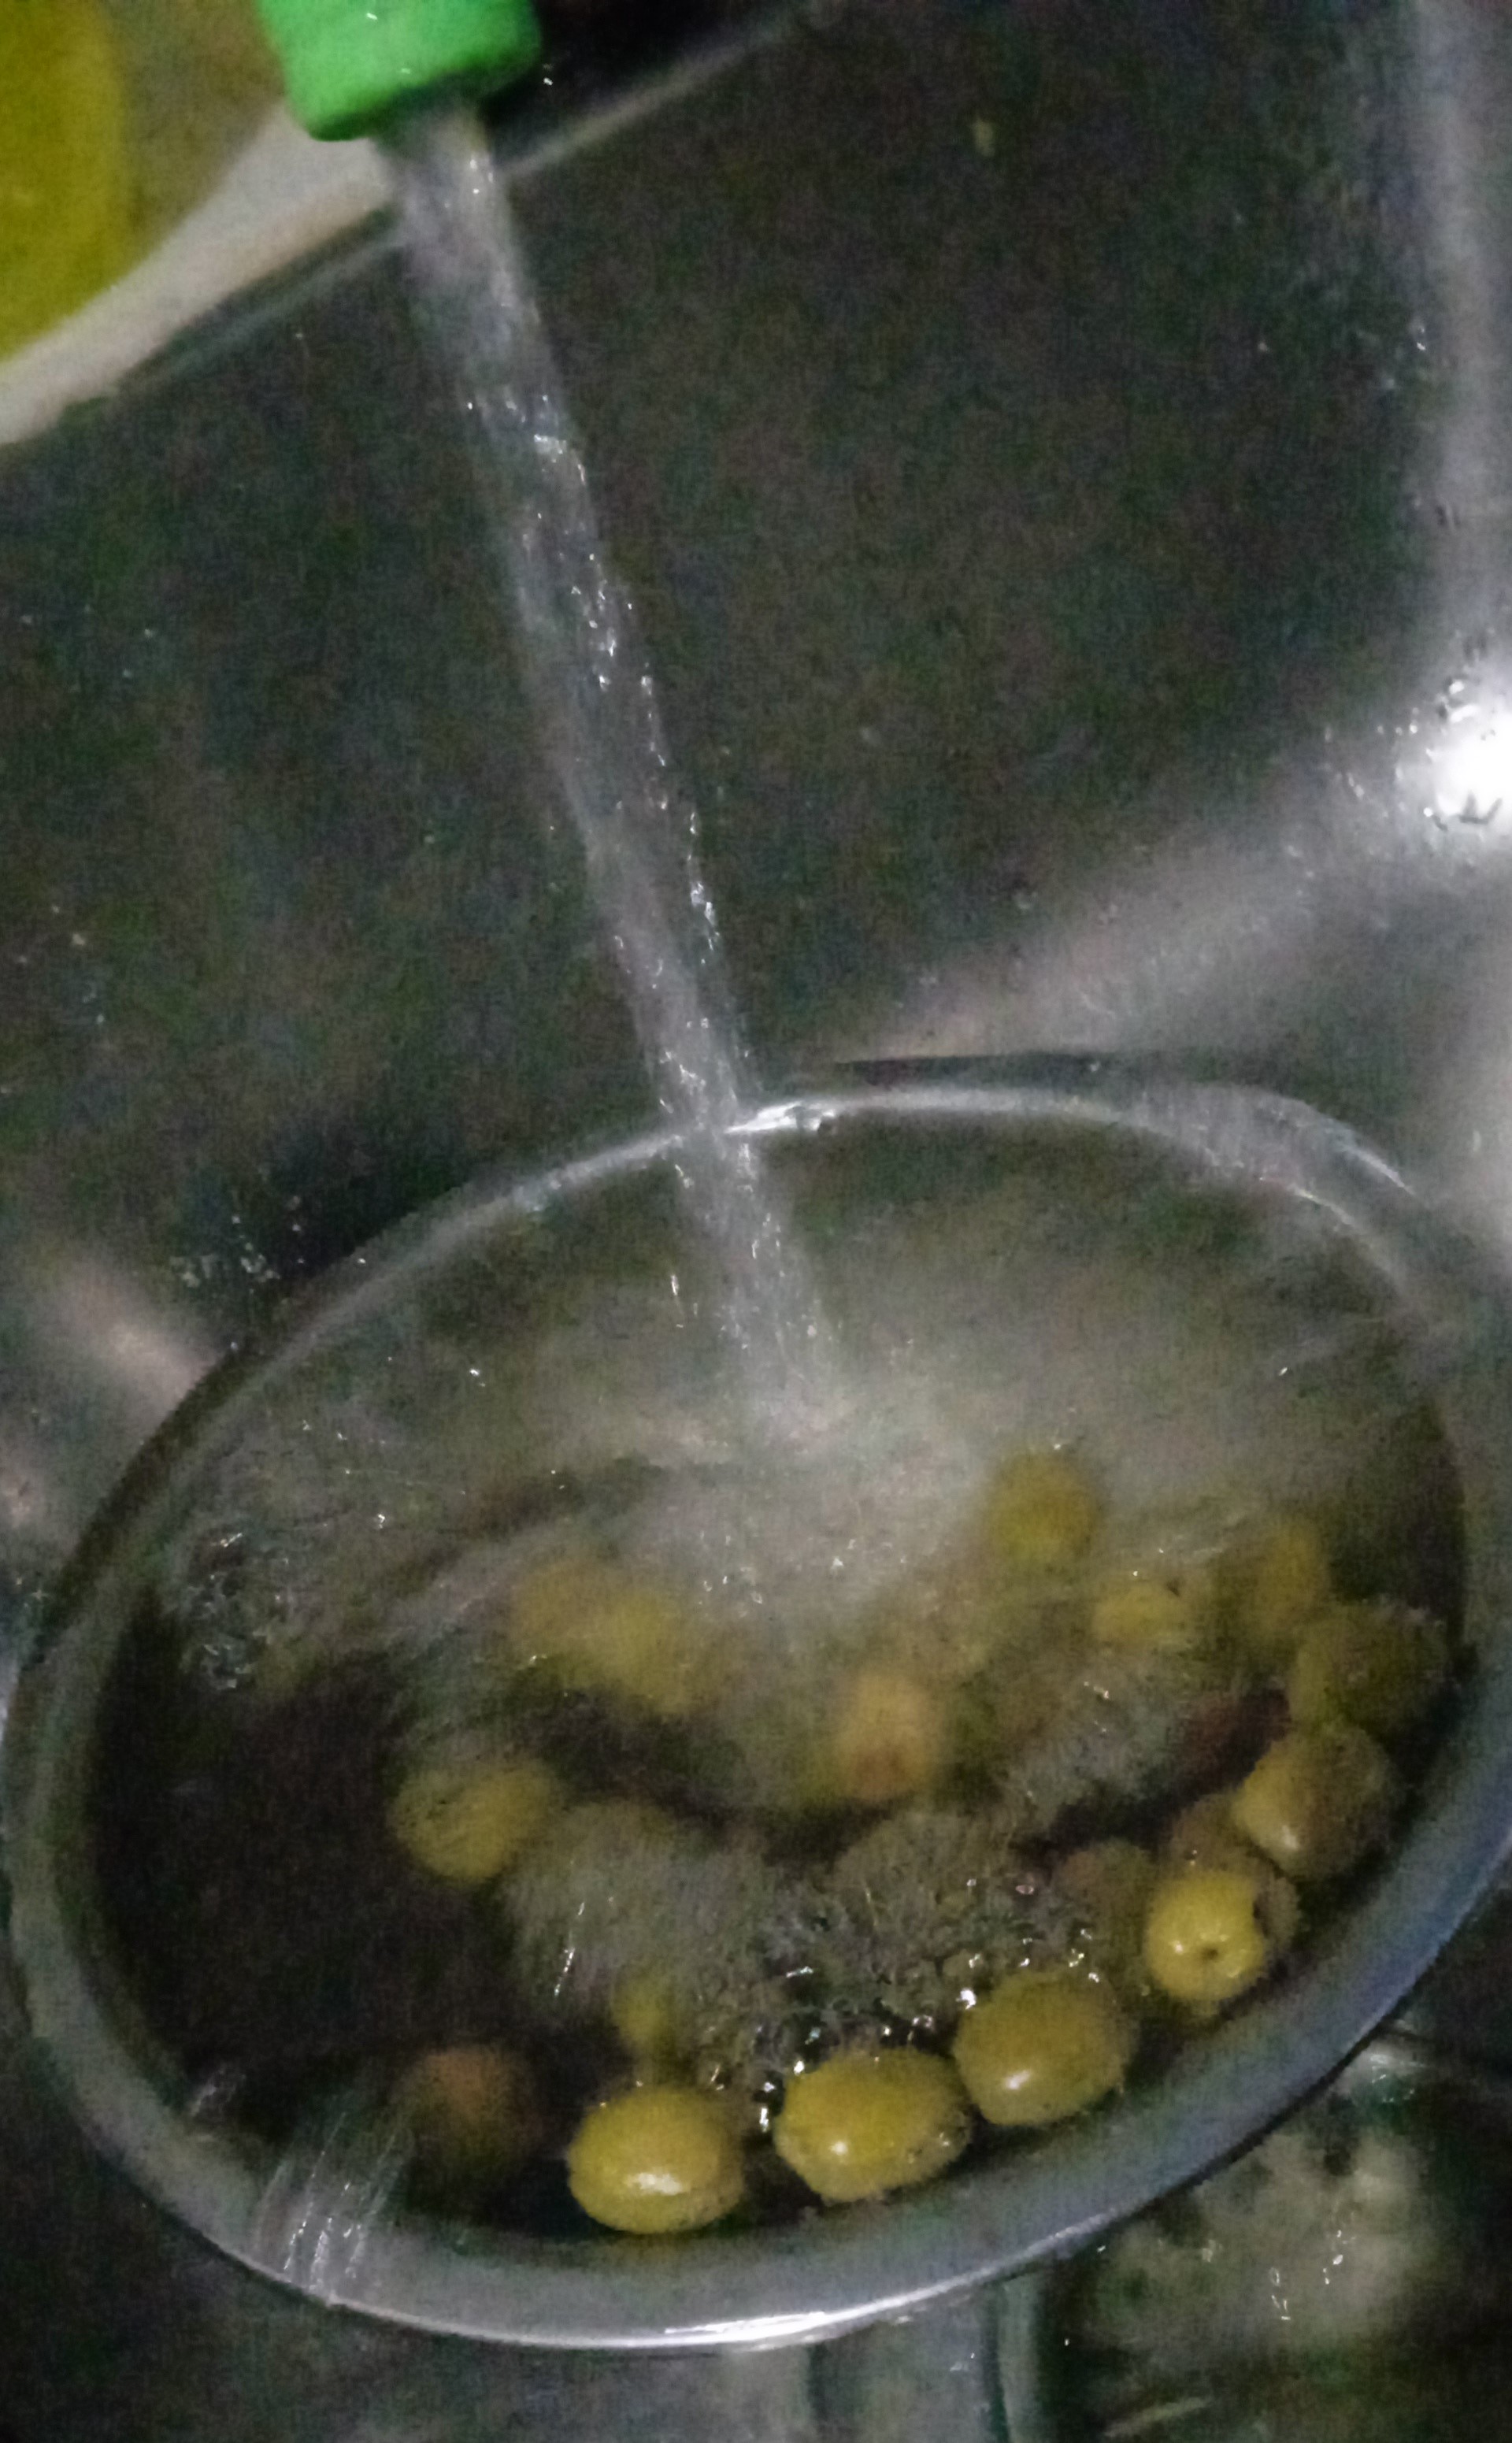
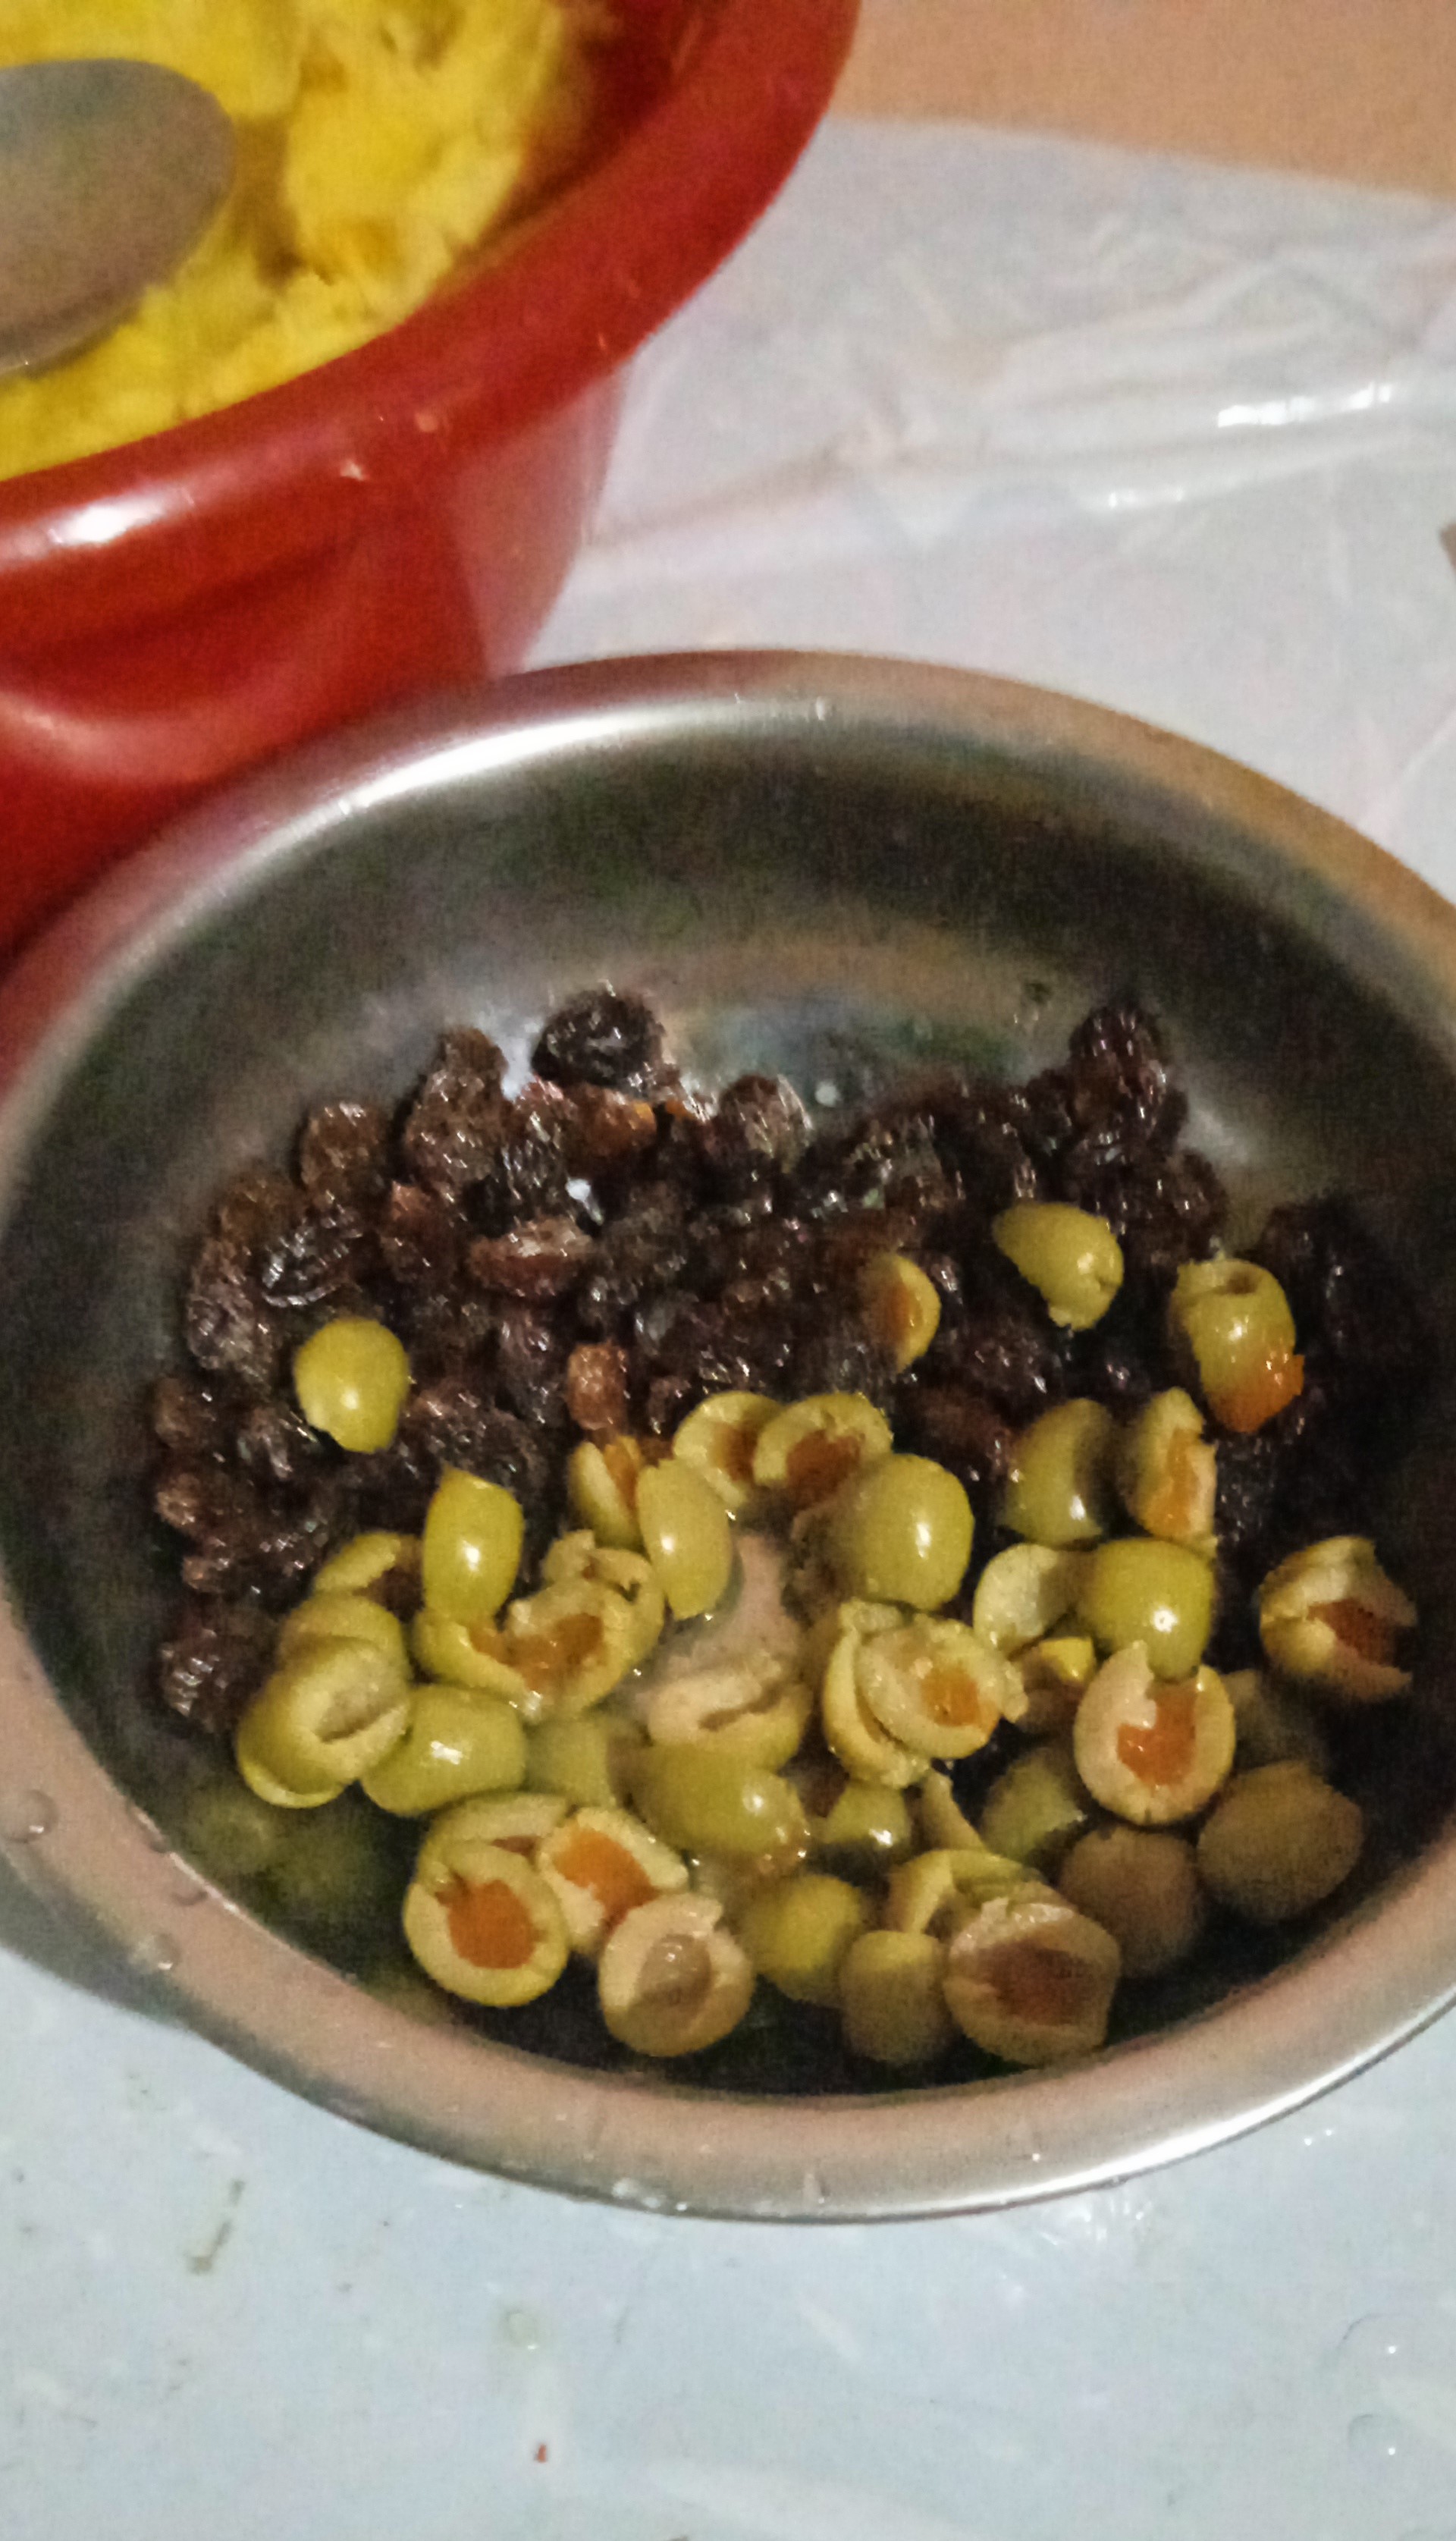
- En tanto, se van lavando las pasas, las aceitunas y las alcaparras y se colocan en un plato y se llevan al grifo para lavar con abundante agua. Una vez limpias, se cortan e incorporan a la preparación: las pasas, las aceitunas picadas (sacándole el hueso) y las alcaparras. Y se tapa el guiso por alrededor de diez minutos más.
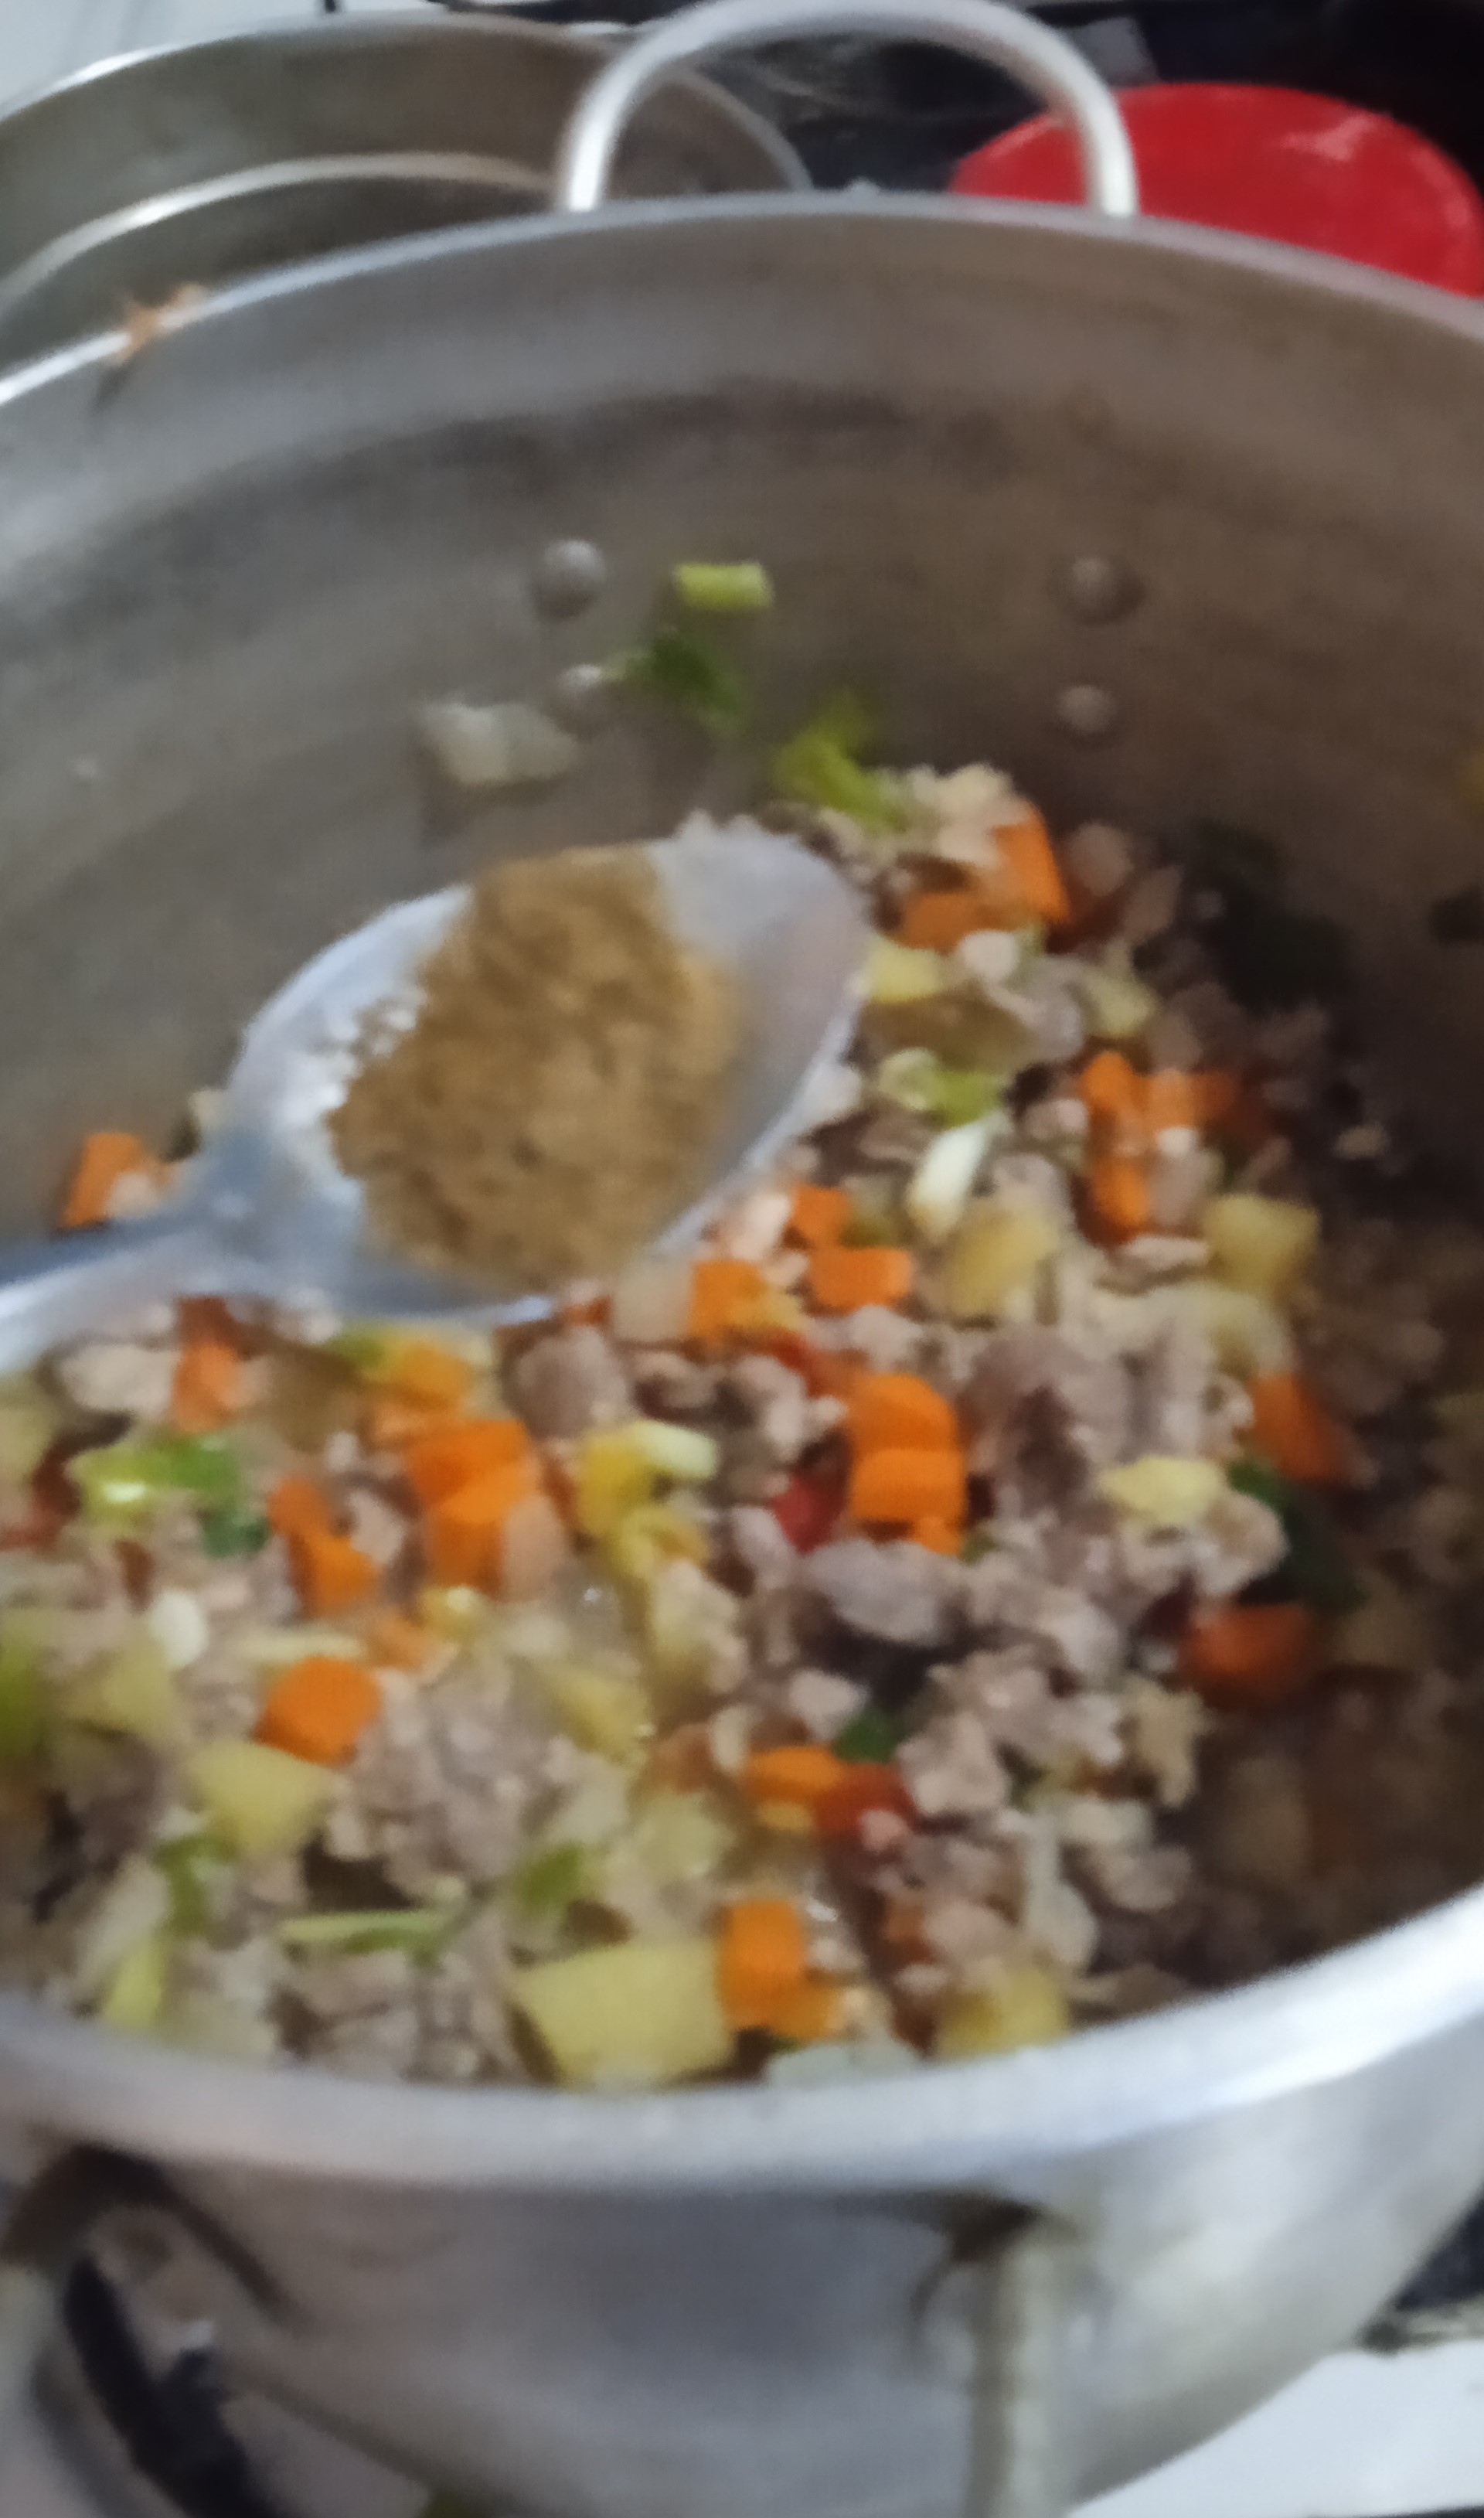
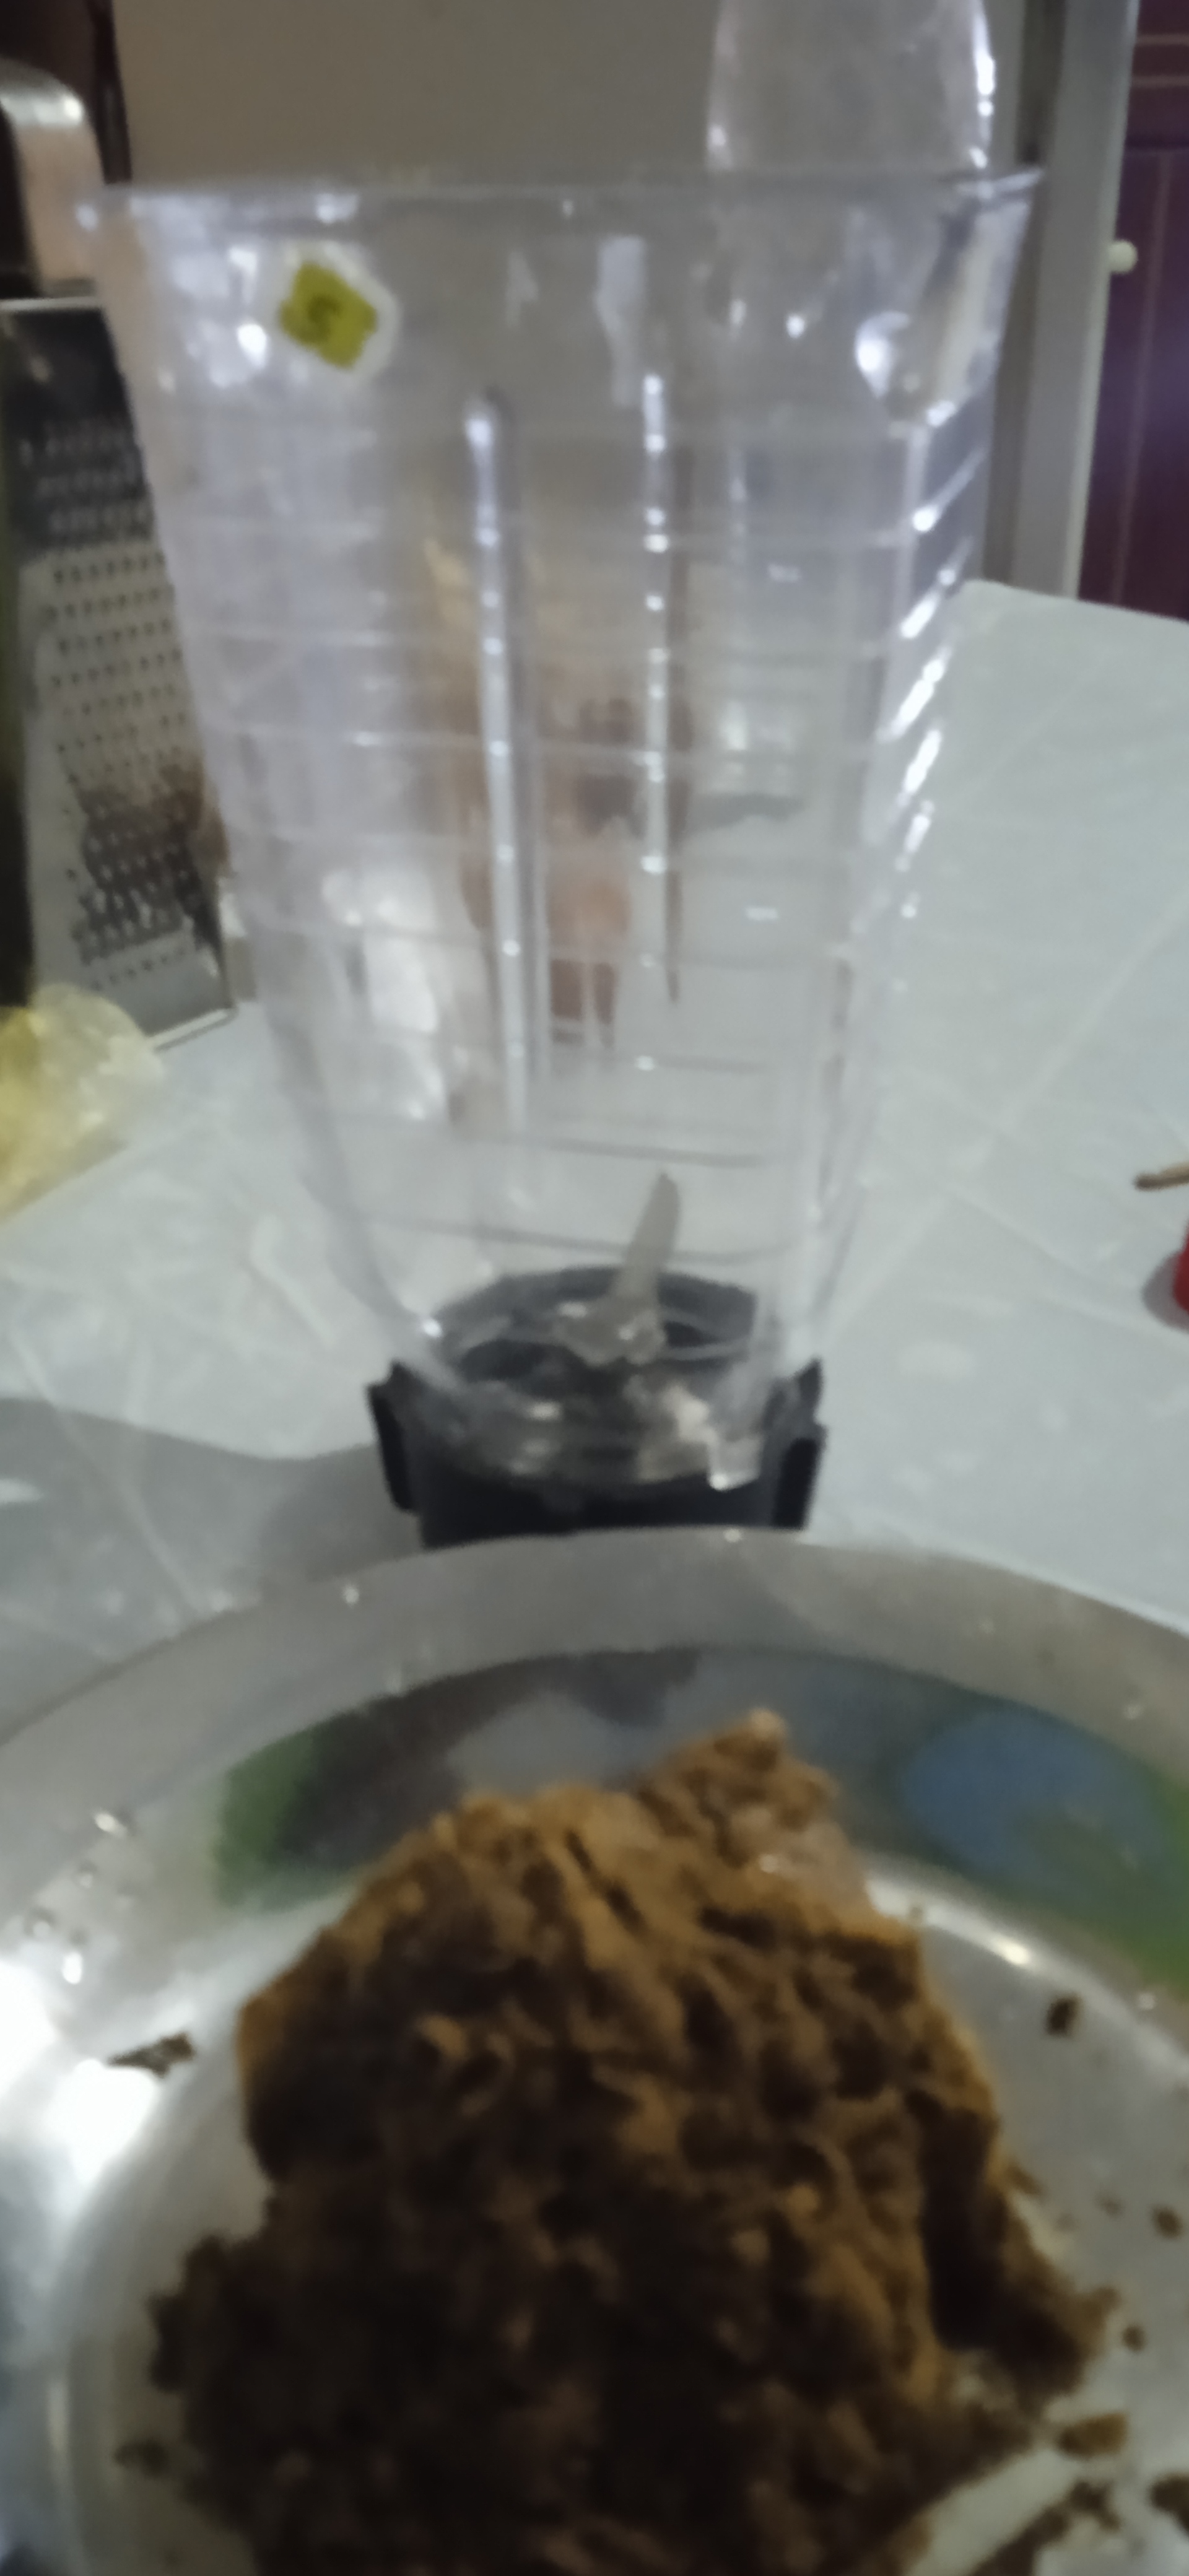
- Posteriormente, se va rallando la taza de papelón y se incorpora en el guiso, más el color en polvo y se remueve muy bien.
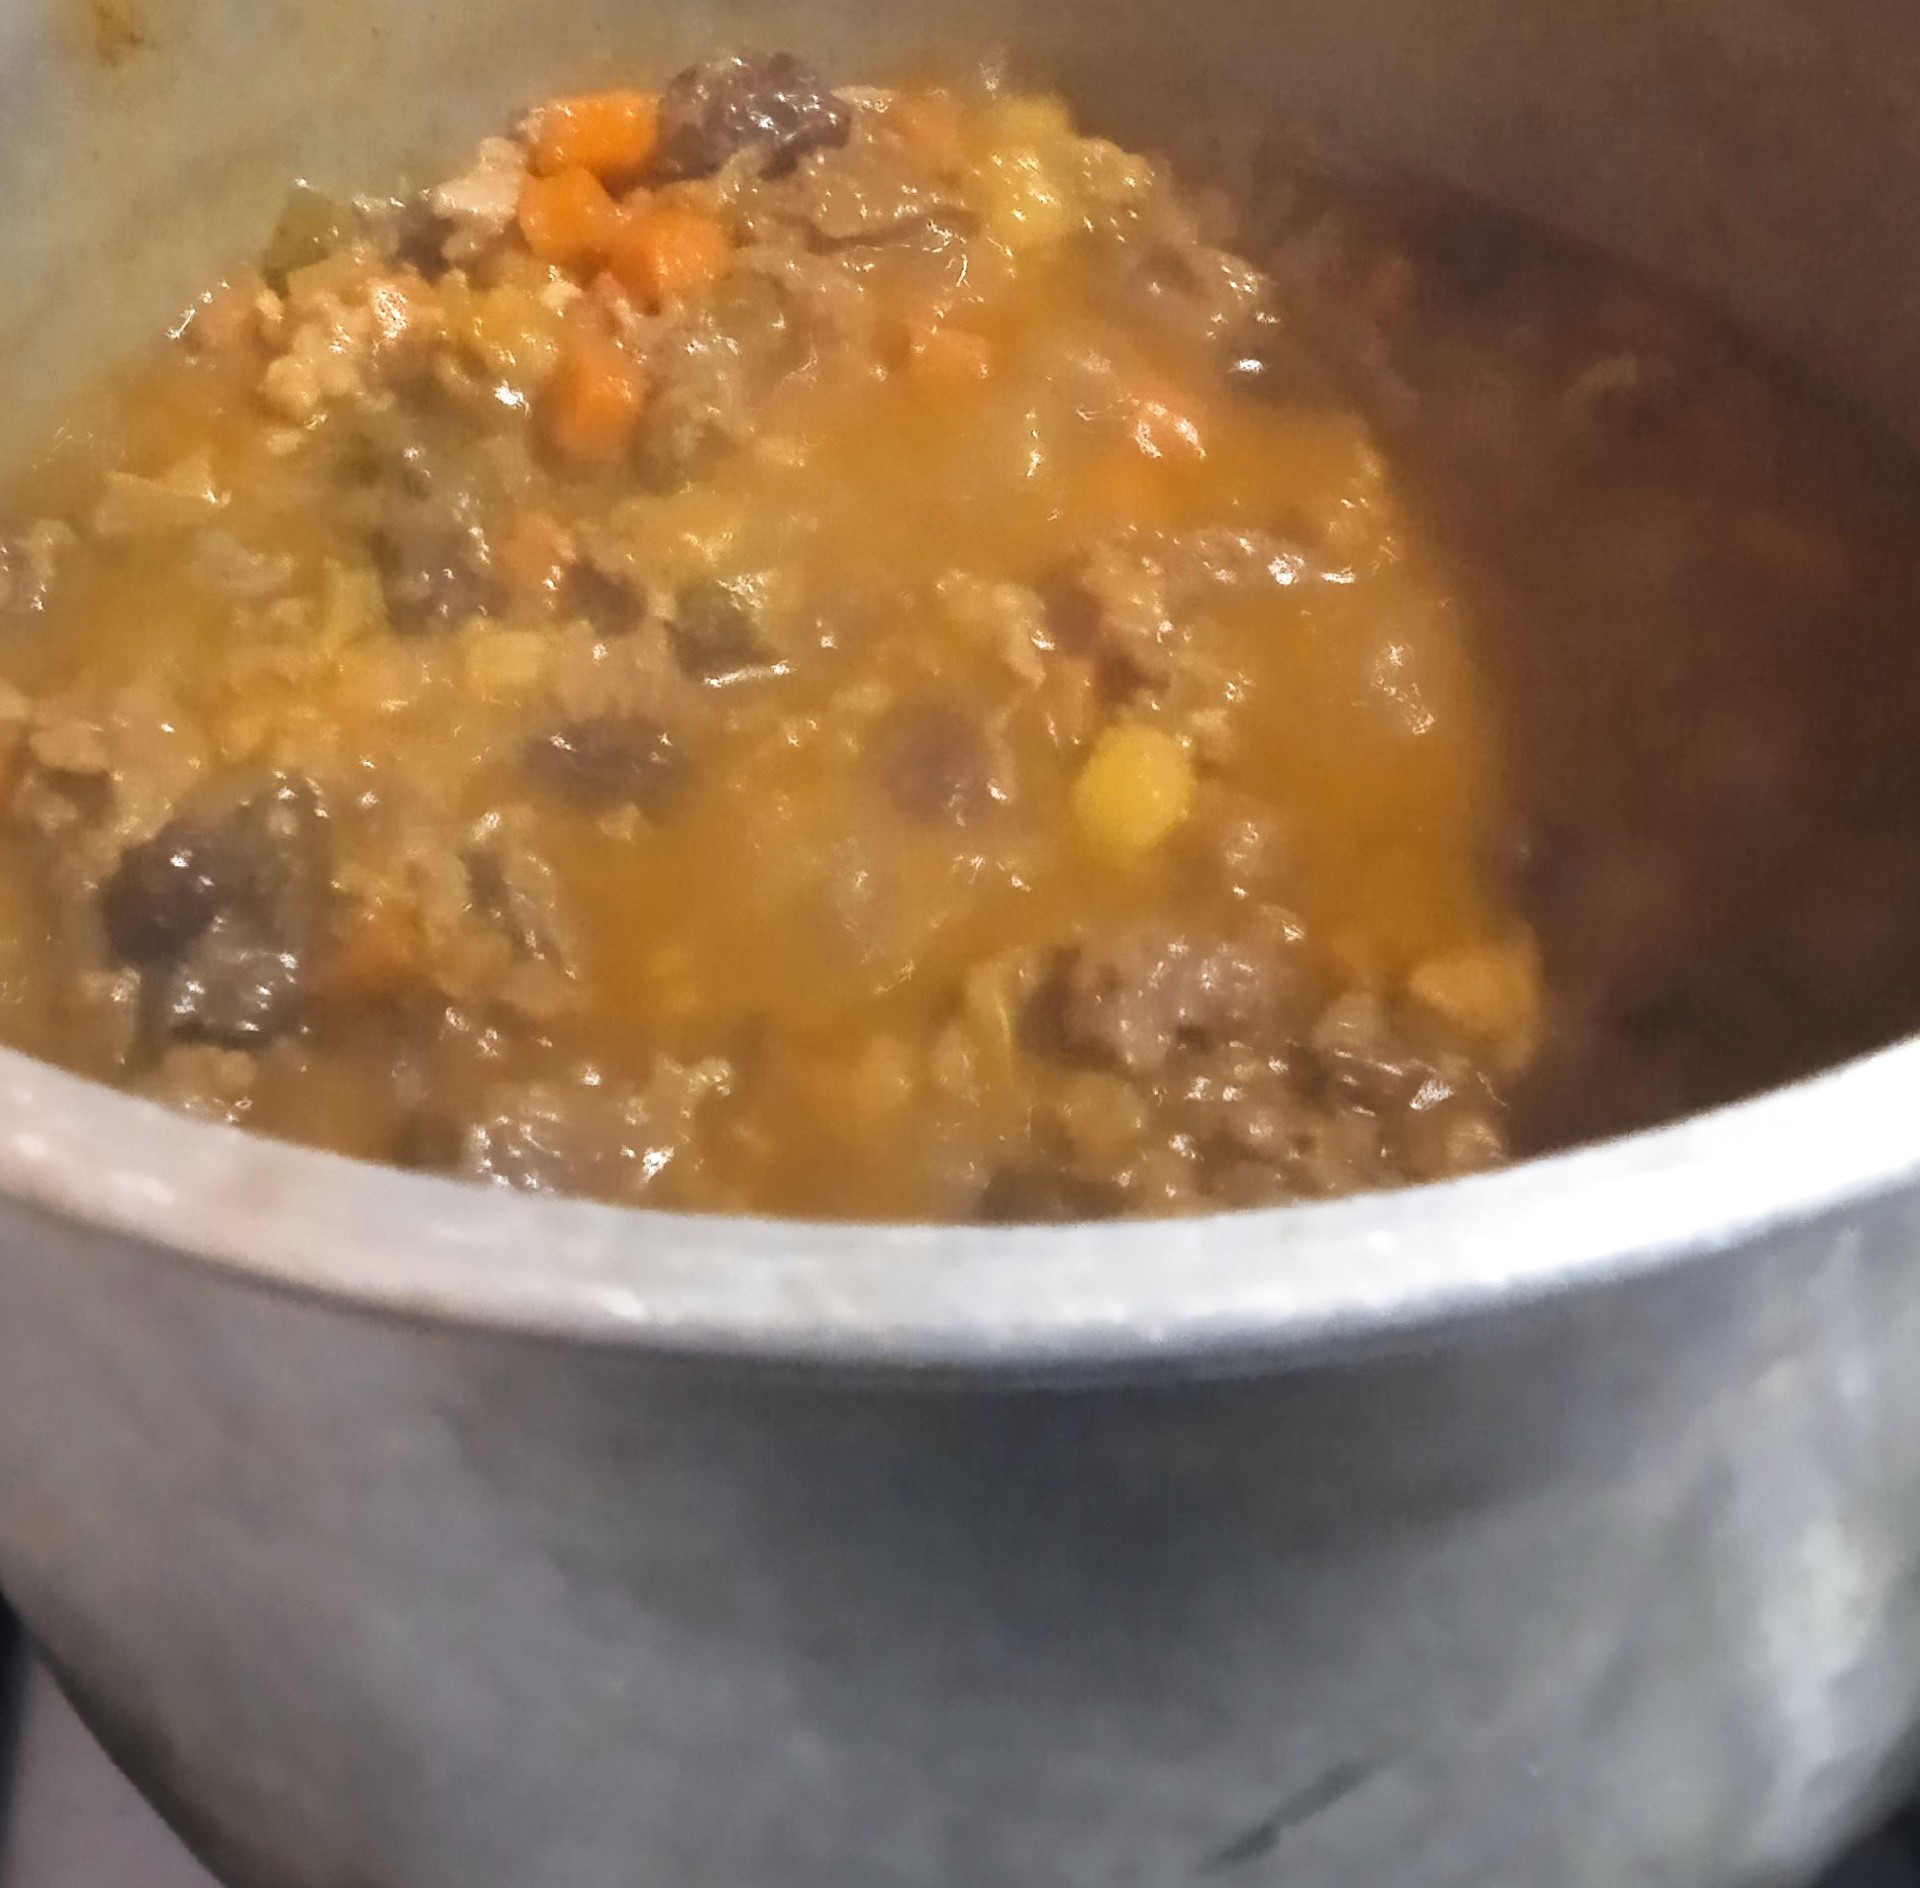
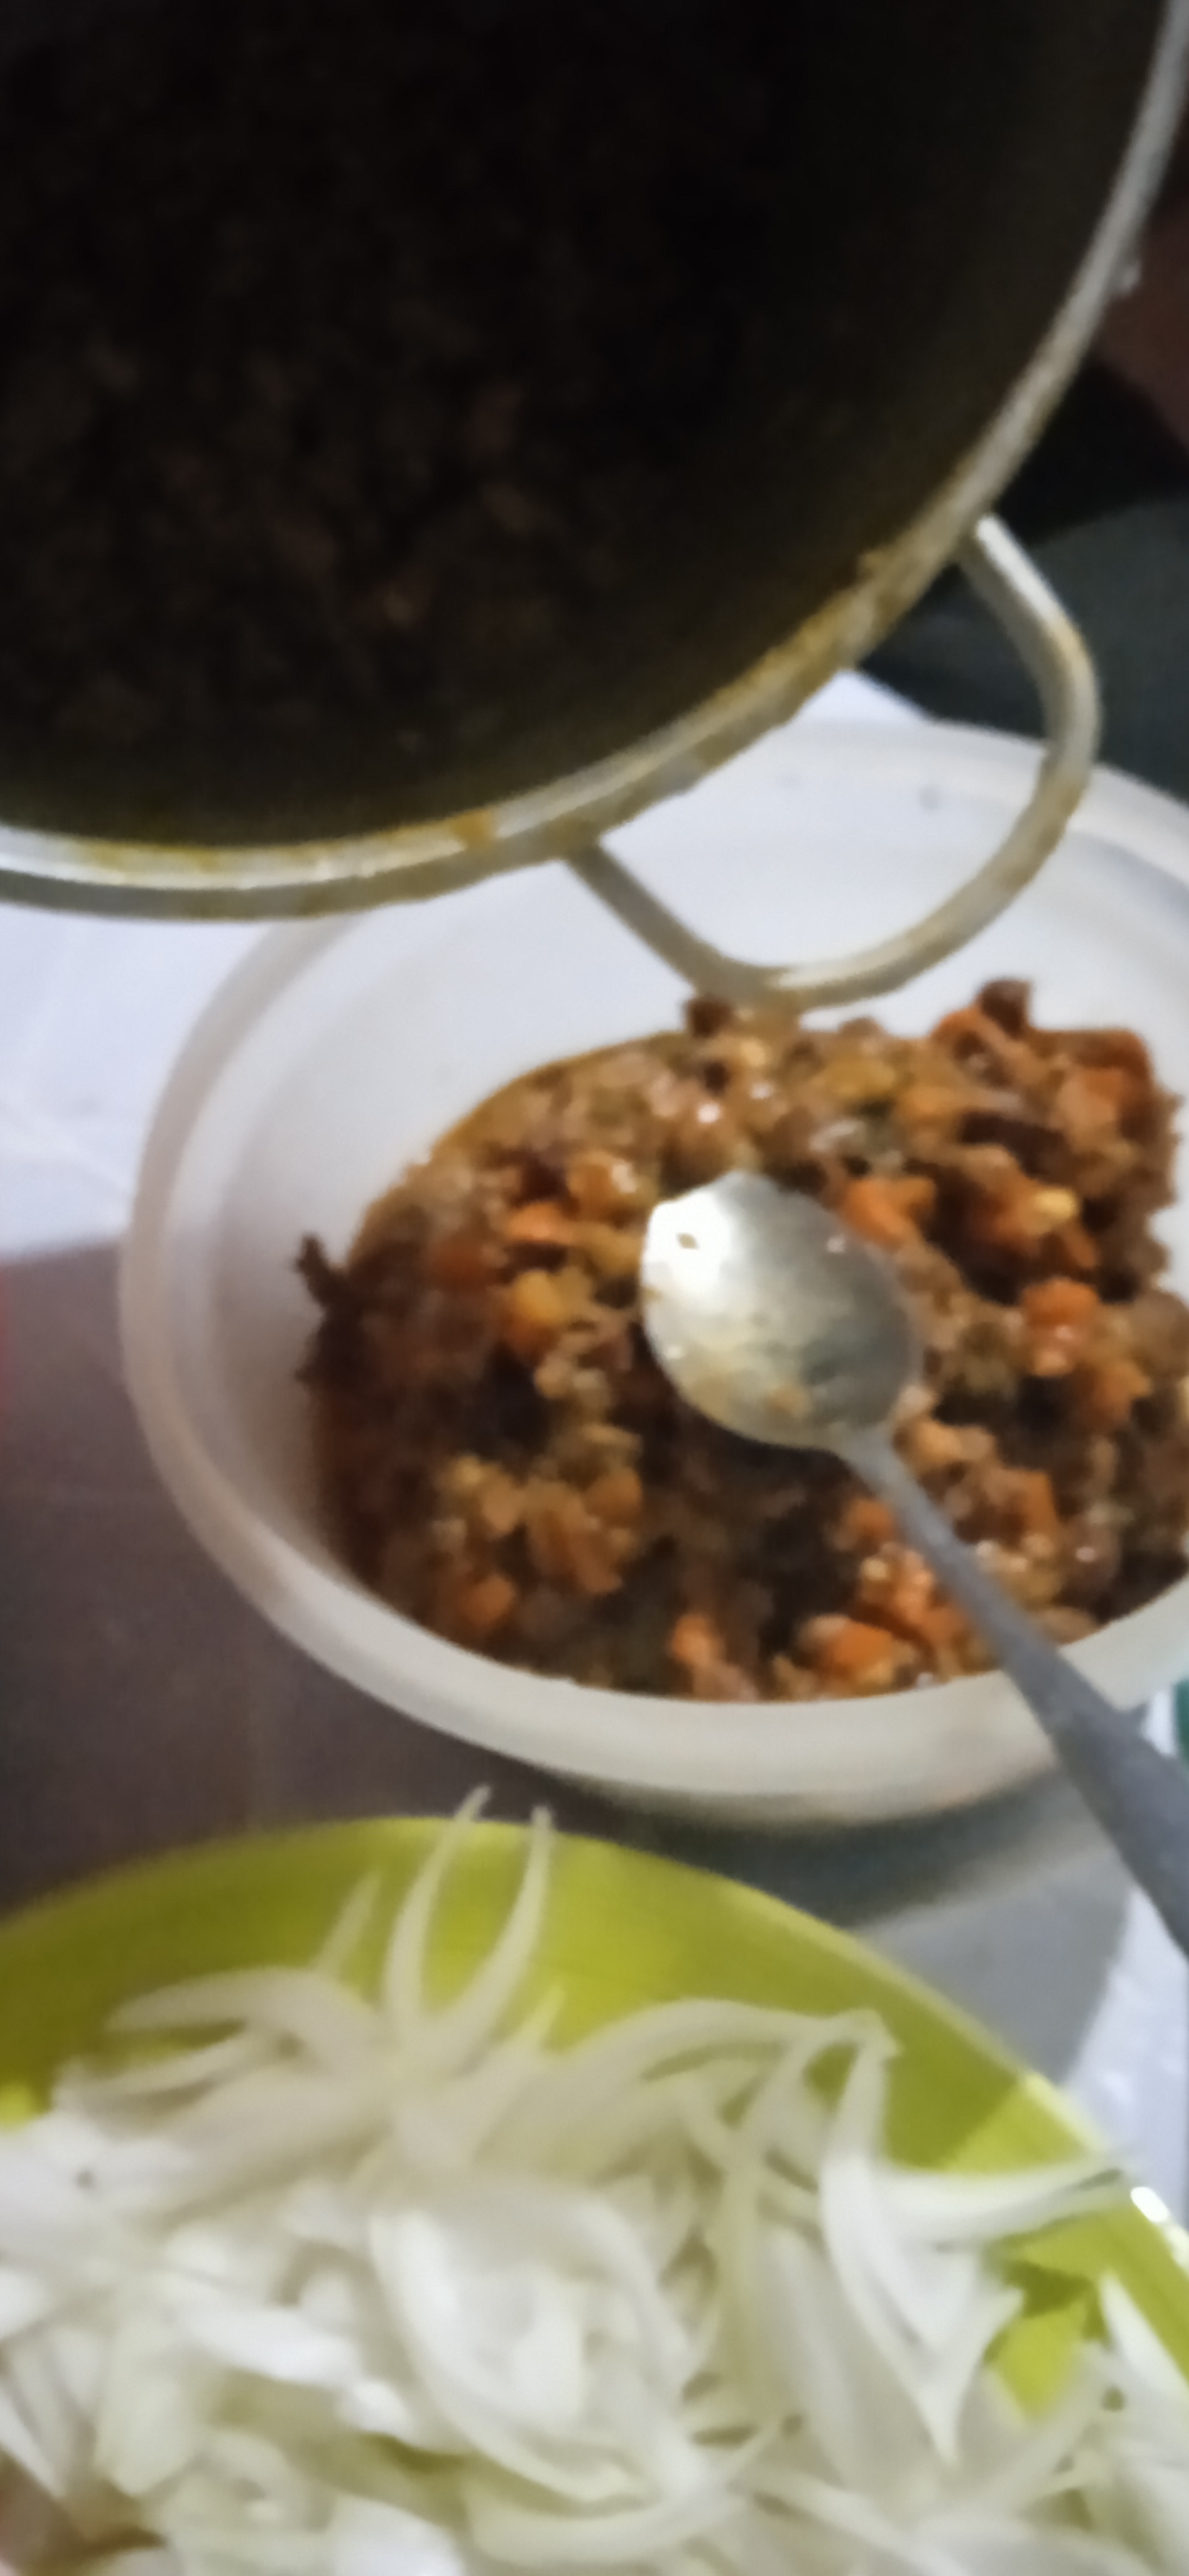
- Y, por último, se deja cocinarlo por 20 minutos más, removiendo frecuentemente. Y una vez listo, se agrega el guiso en un bol a reposar para ser usado más tarde.
For the stew: 1. as a mother, ha, ha, ha, ha, I initiated, placing my daughter in the pen so I could get things done. 2. Then, if hands on, I set about mincing the meats. In my case I bought both meats already chopped, but the beef was too big for my taste, so I chopped it into smaller cubes. While the pork I did not have to mince it, because where I bought it they cut it too small. 3. Once both meats are cut, place them in a dish to wash them very well with tap water. Once cleaned, place them in the previously cleaned dish again. 4. Then, proceed to wash all the vegetables very well with tap water and place them again in the previously washed pot. 5. Then, start cutting all the vegetables for the stew in small pieces, and place them in their respective plates. 6. Then turn on the stove, at maximum temperature, and place a deep pot, and add half a cup of vegetable oil. Once the oil is heated, add the vegetables and fry them: starting from the hardest: (the carrot and the potato) to the weakest: (the onion, the sweet bell pepper, the garlic and the onion). And it is stirred, until the vegetables take a caramelized color. More or less ten minutes. 7. Once the vegetables are well sautéed, add the pork and beef, and mix everything very well. Cover for about ten more minutes. 8. Meanwhile, the baby was still in the corral behaving very well, ha, ha, ha, ha. 9. After the time has elapsed, add the salt, the marinade, the curry and the cumin and stir very well until everything is dissolved in the preparation and let it cook for five more minutes. 10. In the meantime, wash the raisins, olives and capers and place them on a plate and take them to the faucet to wash them with abundant water. Once cleaned, cut them and add to the preparation: the raisins, the chopped olives (removing the stone) and the capers. Cover the stew for about ten more minutes. 11. Subsequently, grate the cup of paprika and add it to the stew, plus the powdered color and stir it very well. 12. And, finally, let it cook for 20 minutes more, stirring frequently. Once ready, put the stew in a bowl to rest to be used later.


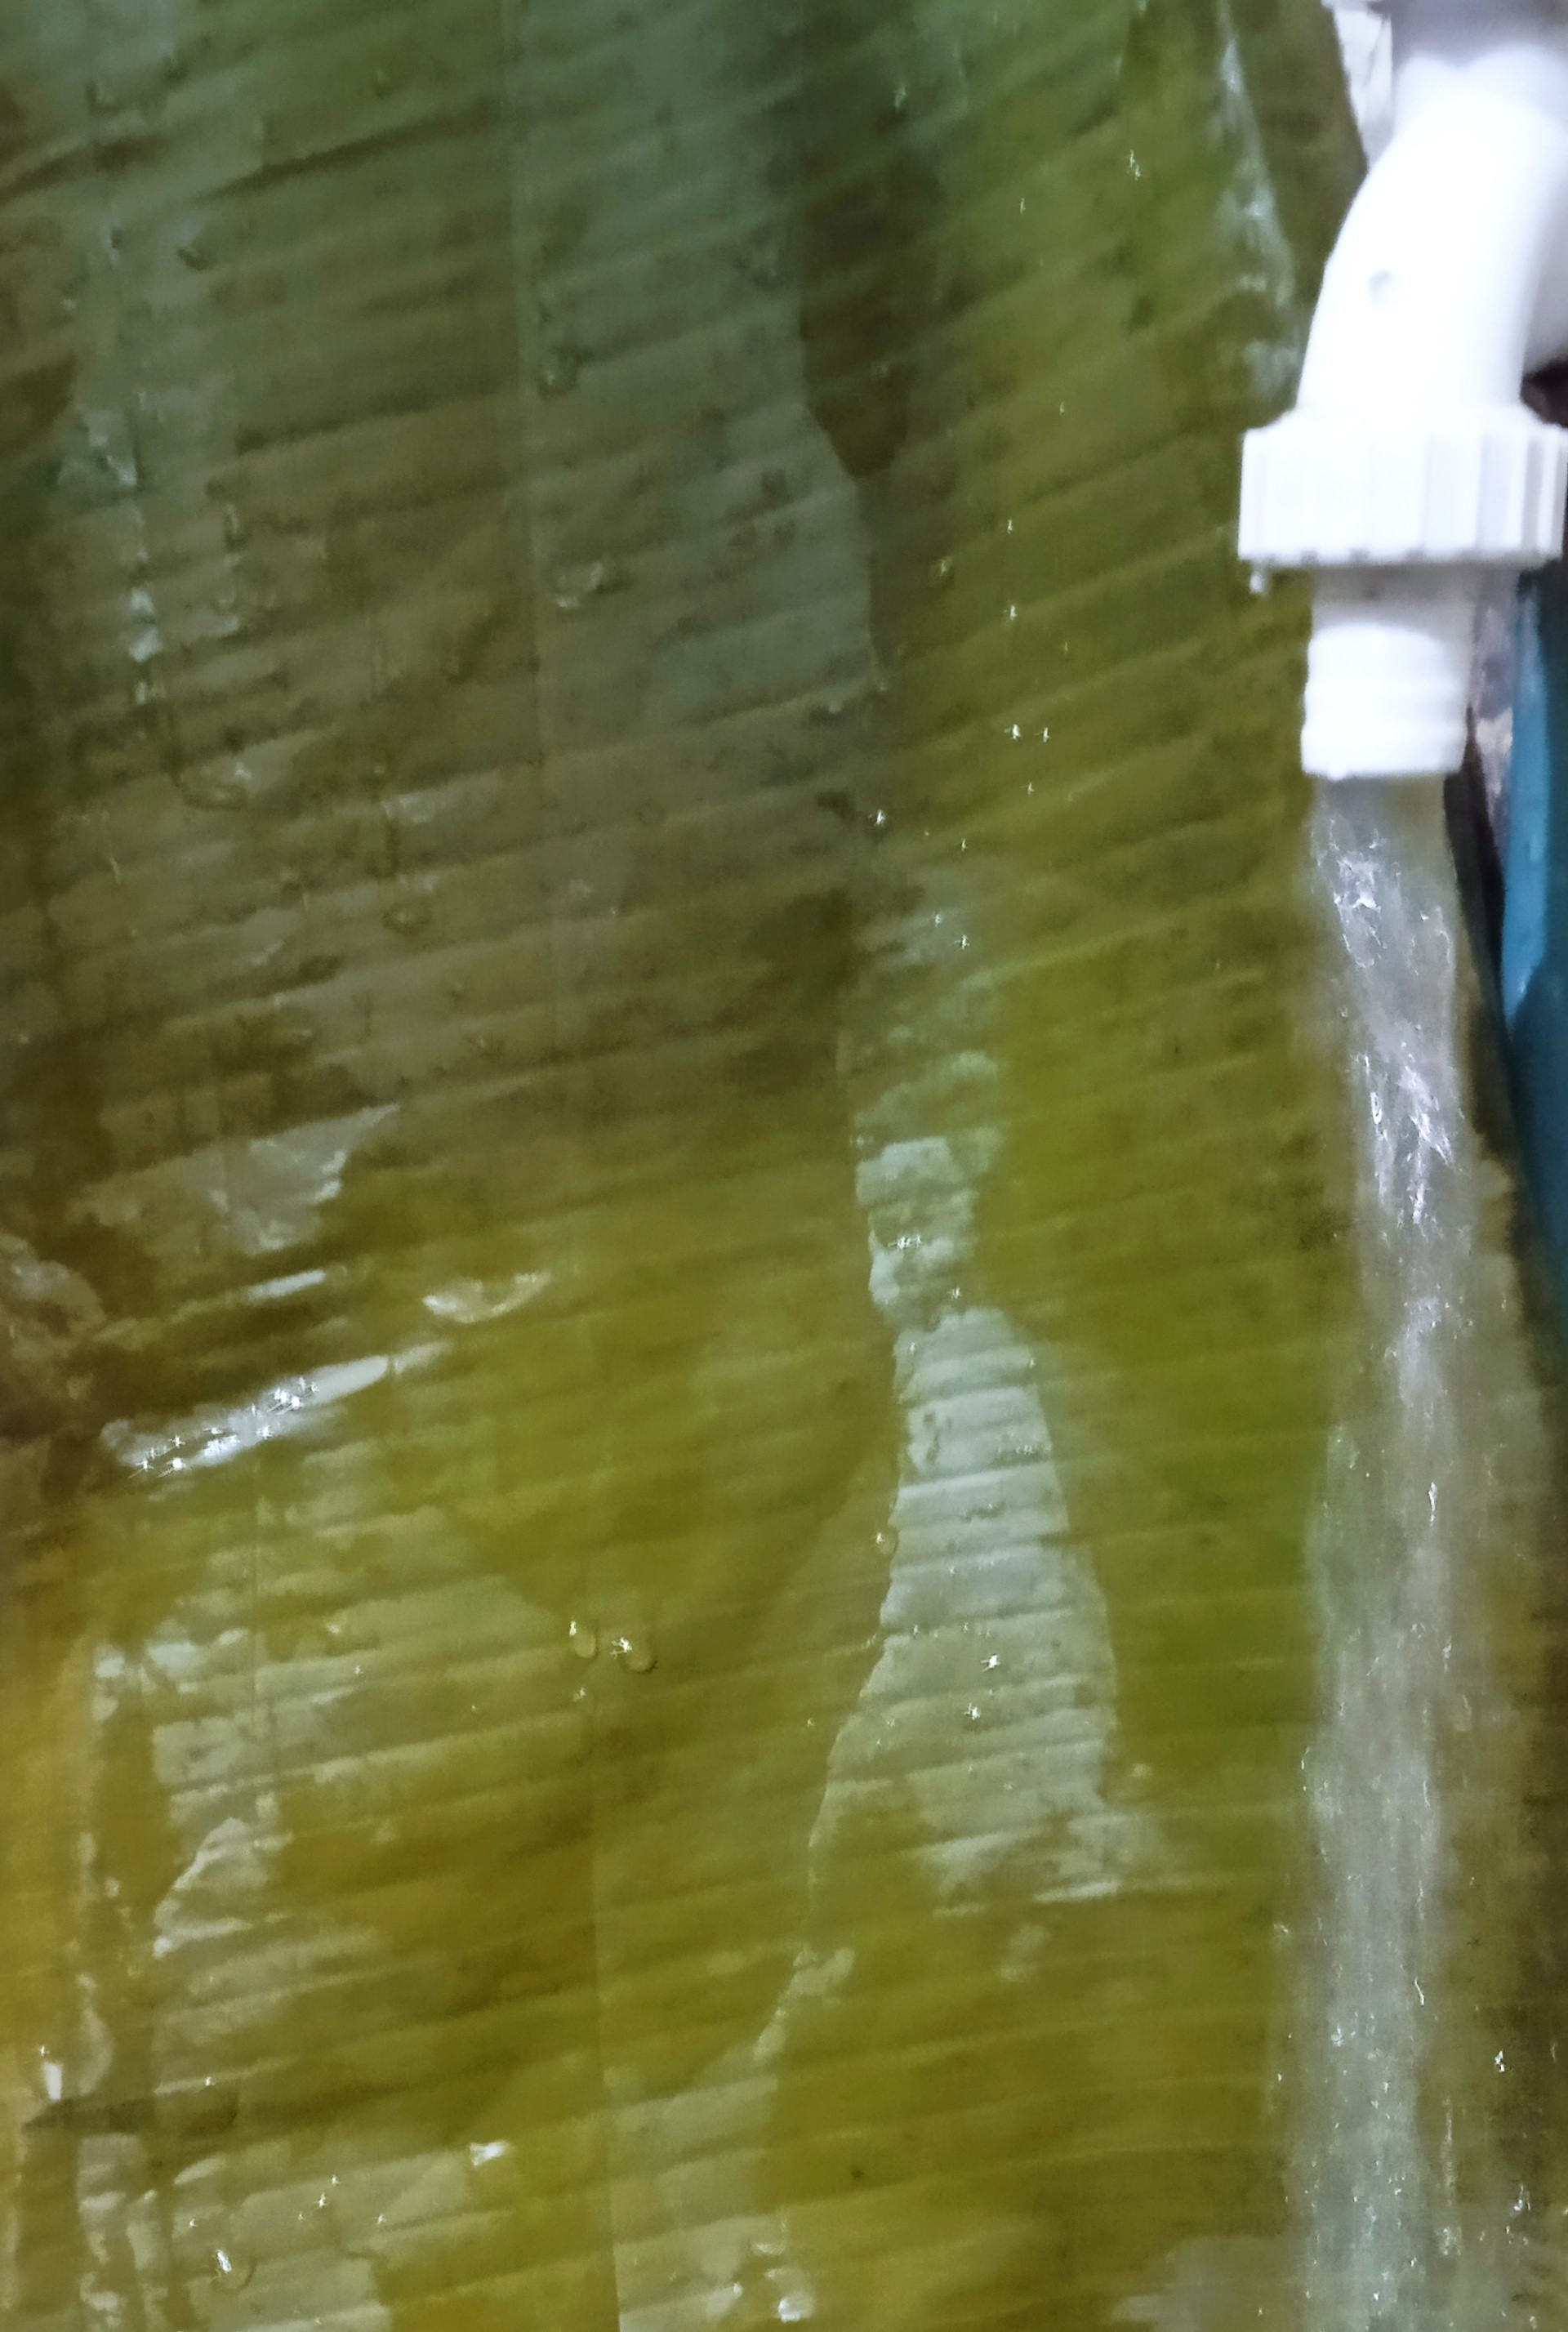
Para darle color a la masa y bañar las hojas de plátanos:
🙏😜🥰🥳🤤👍🤝🤞🤛💪👩🍳🤱👨👩👦🎄🍽
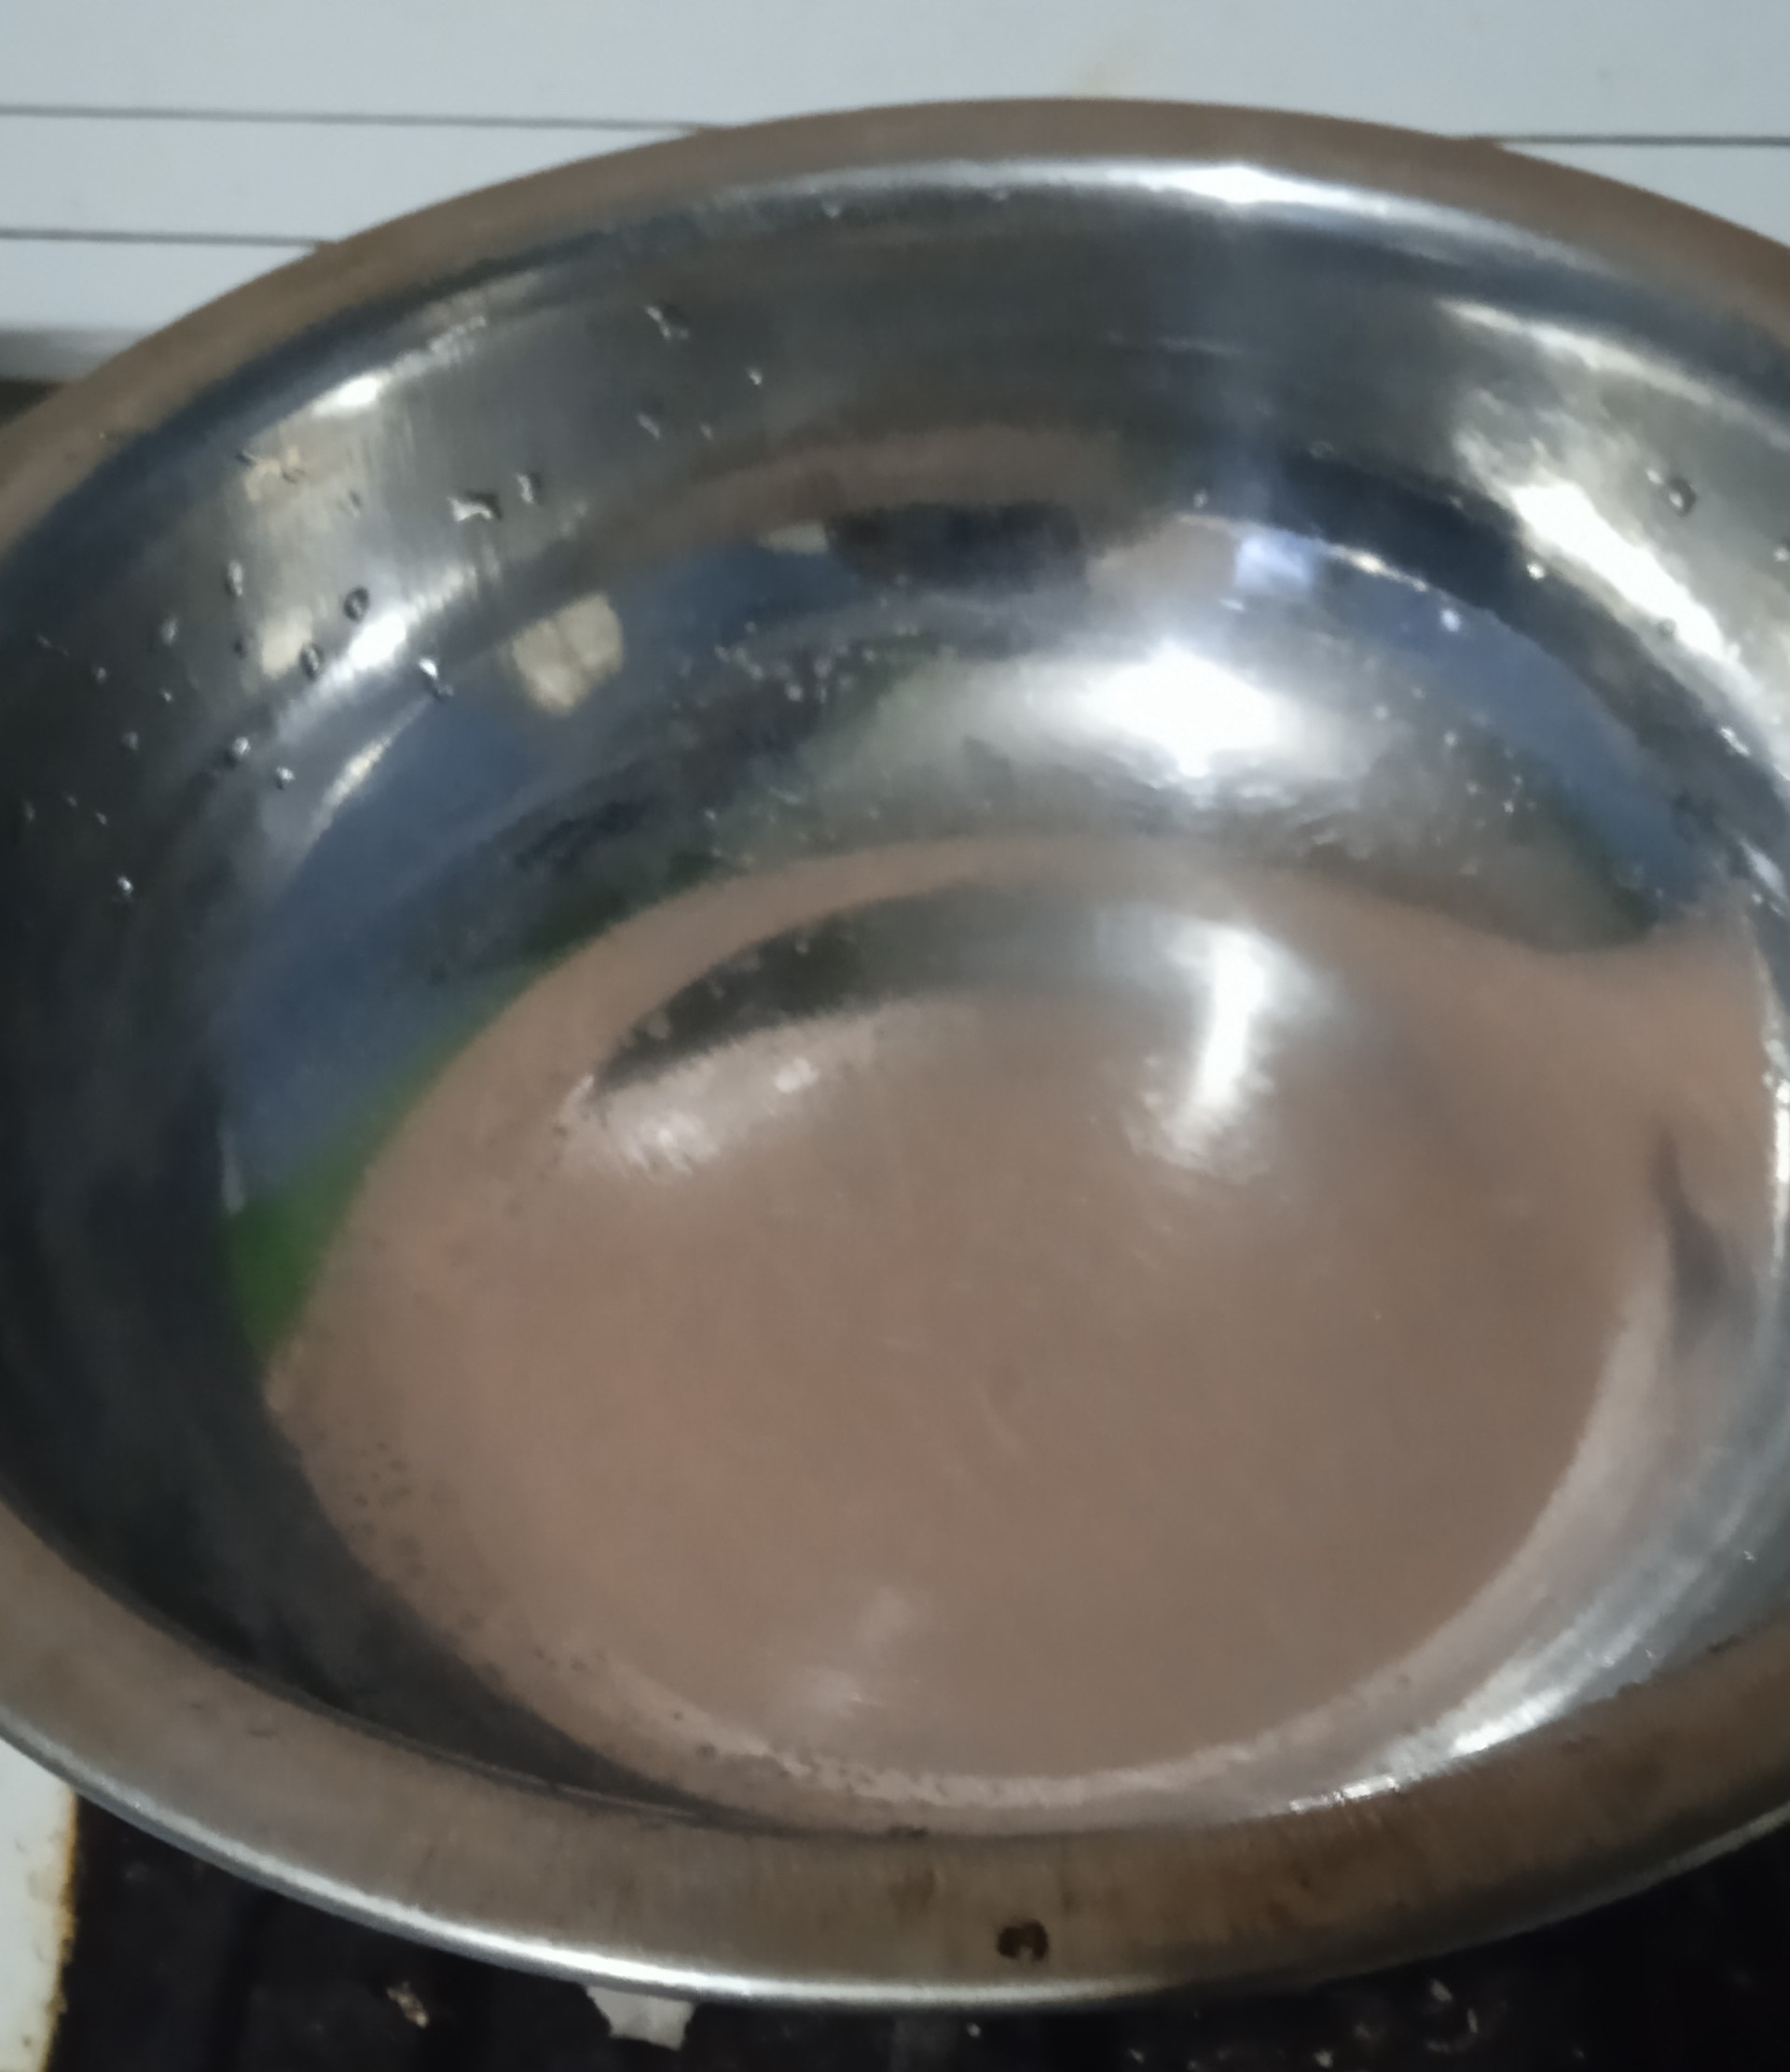
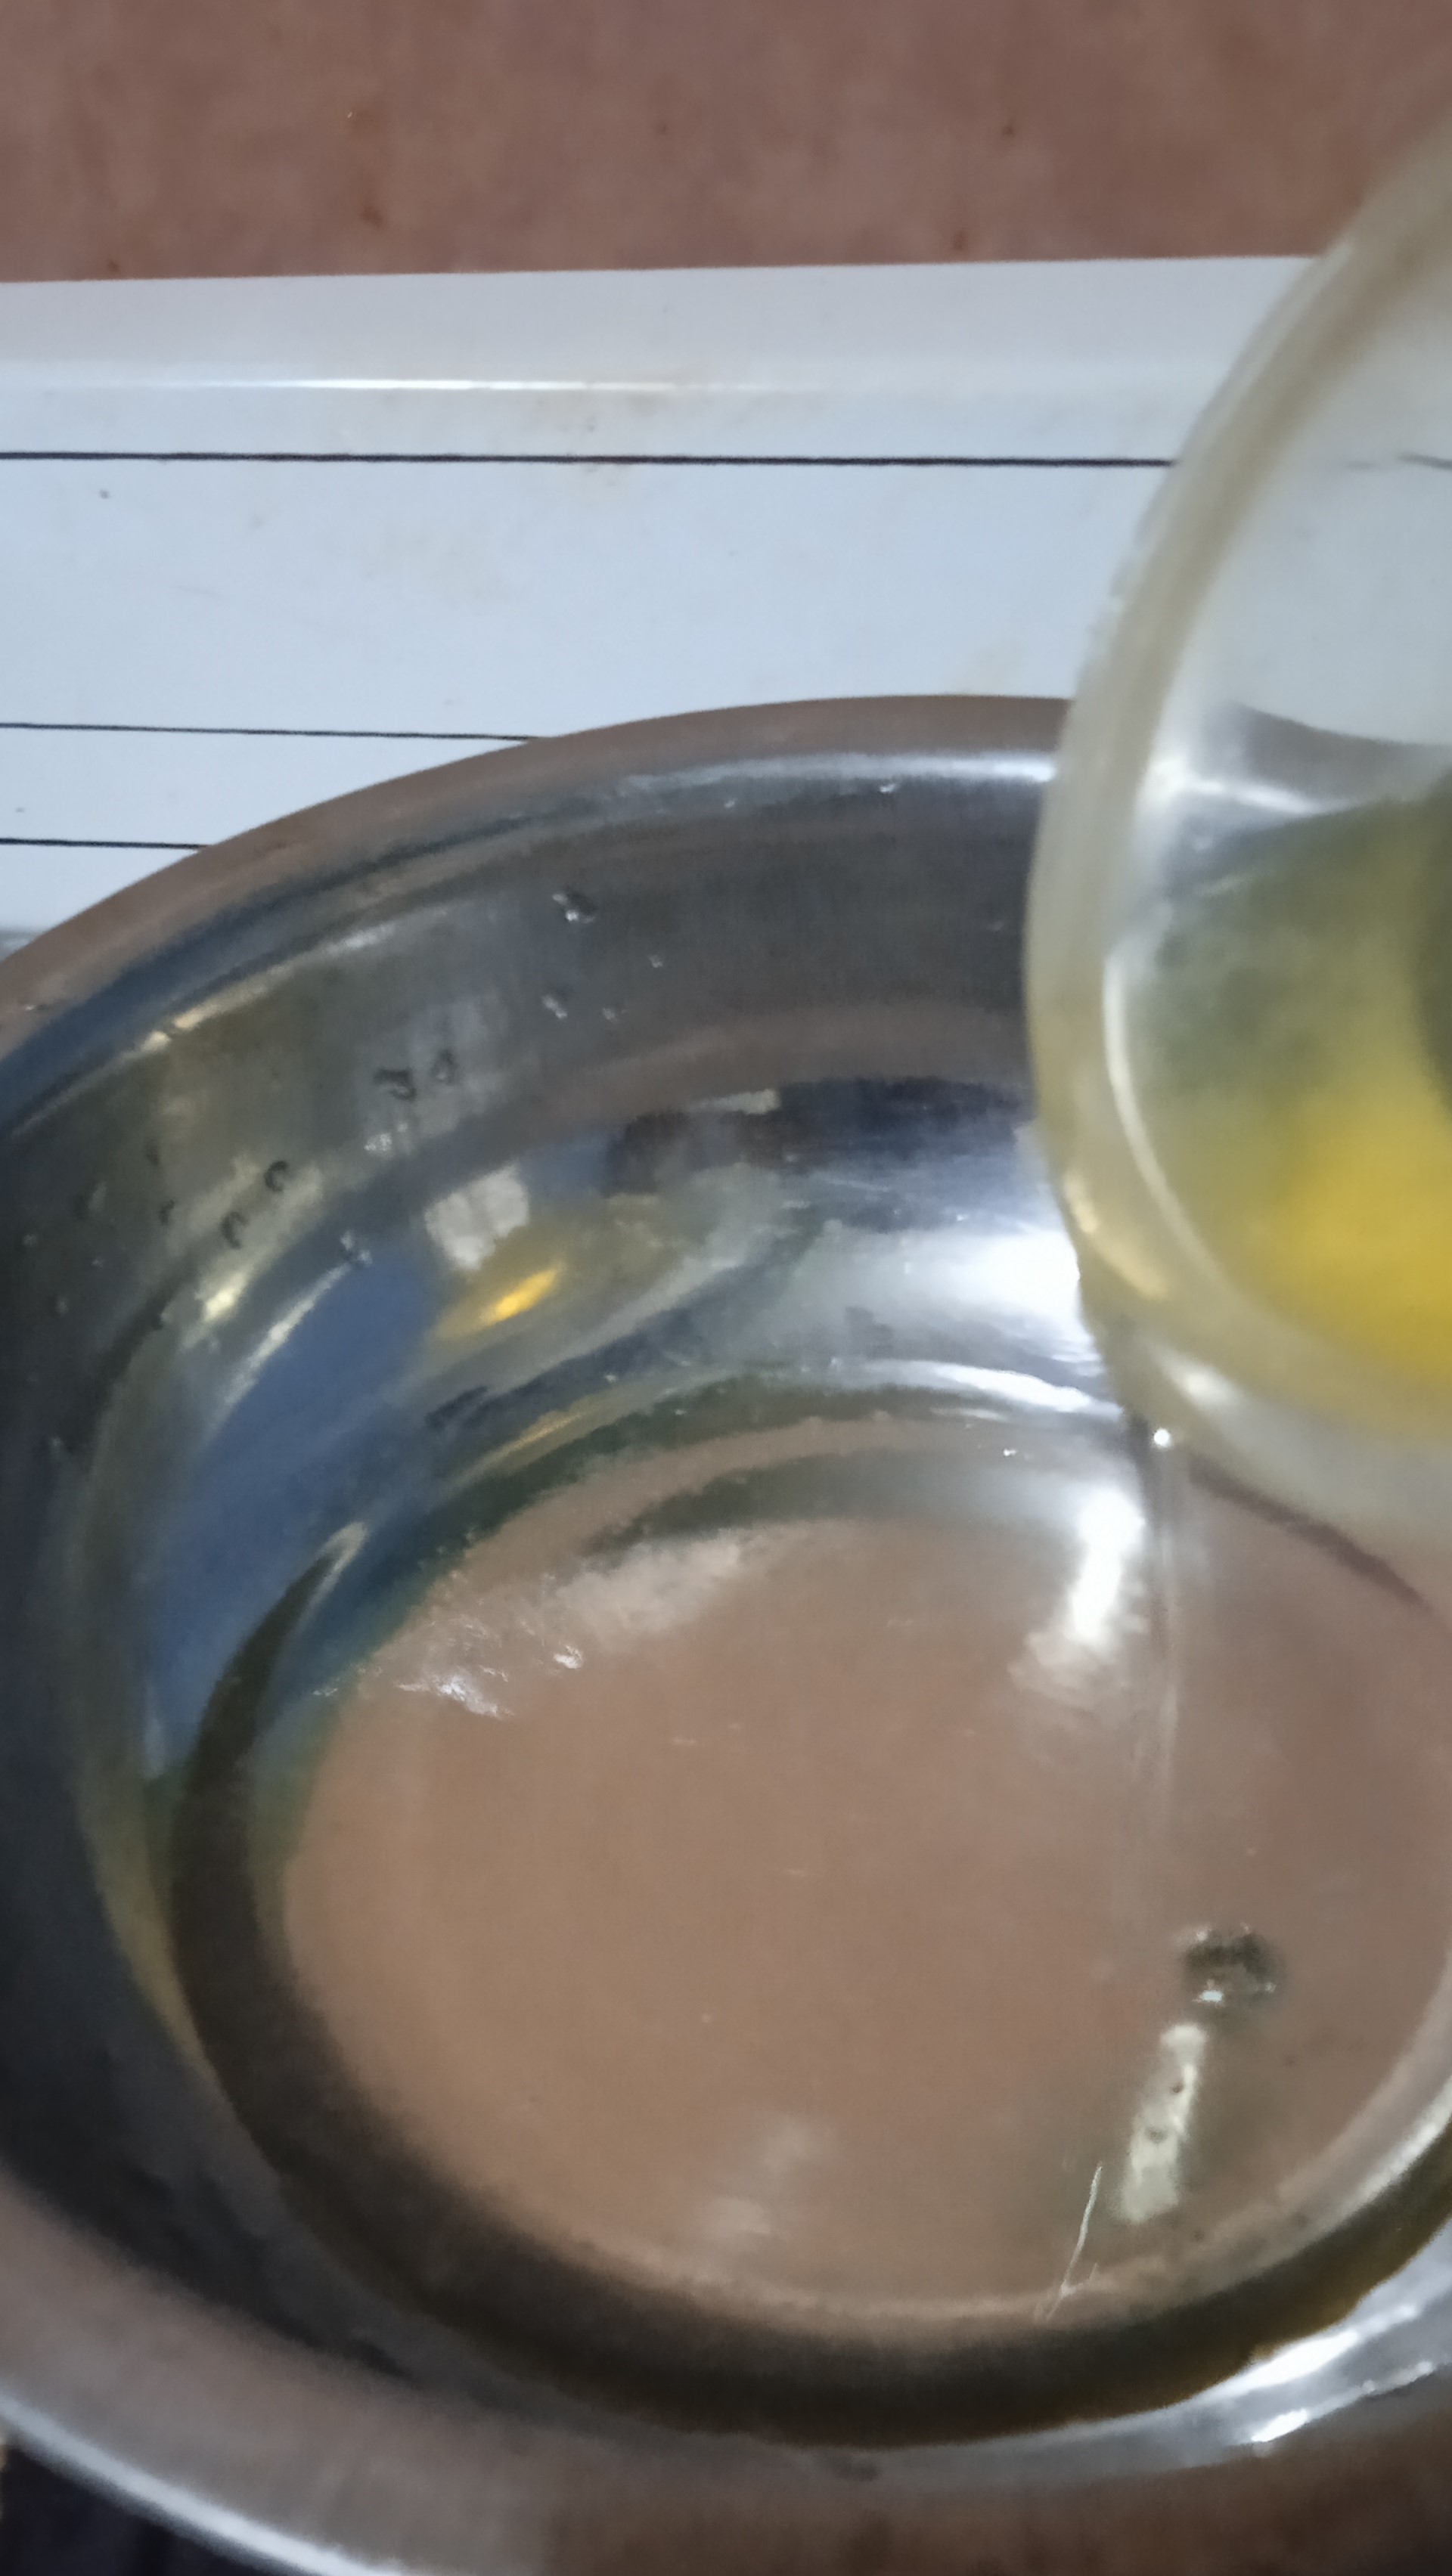
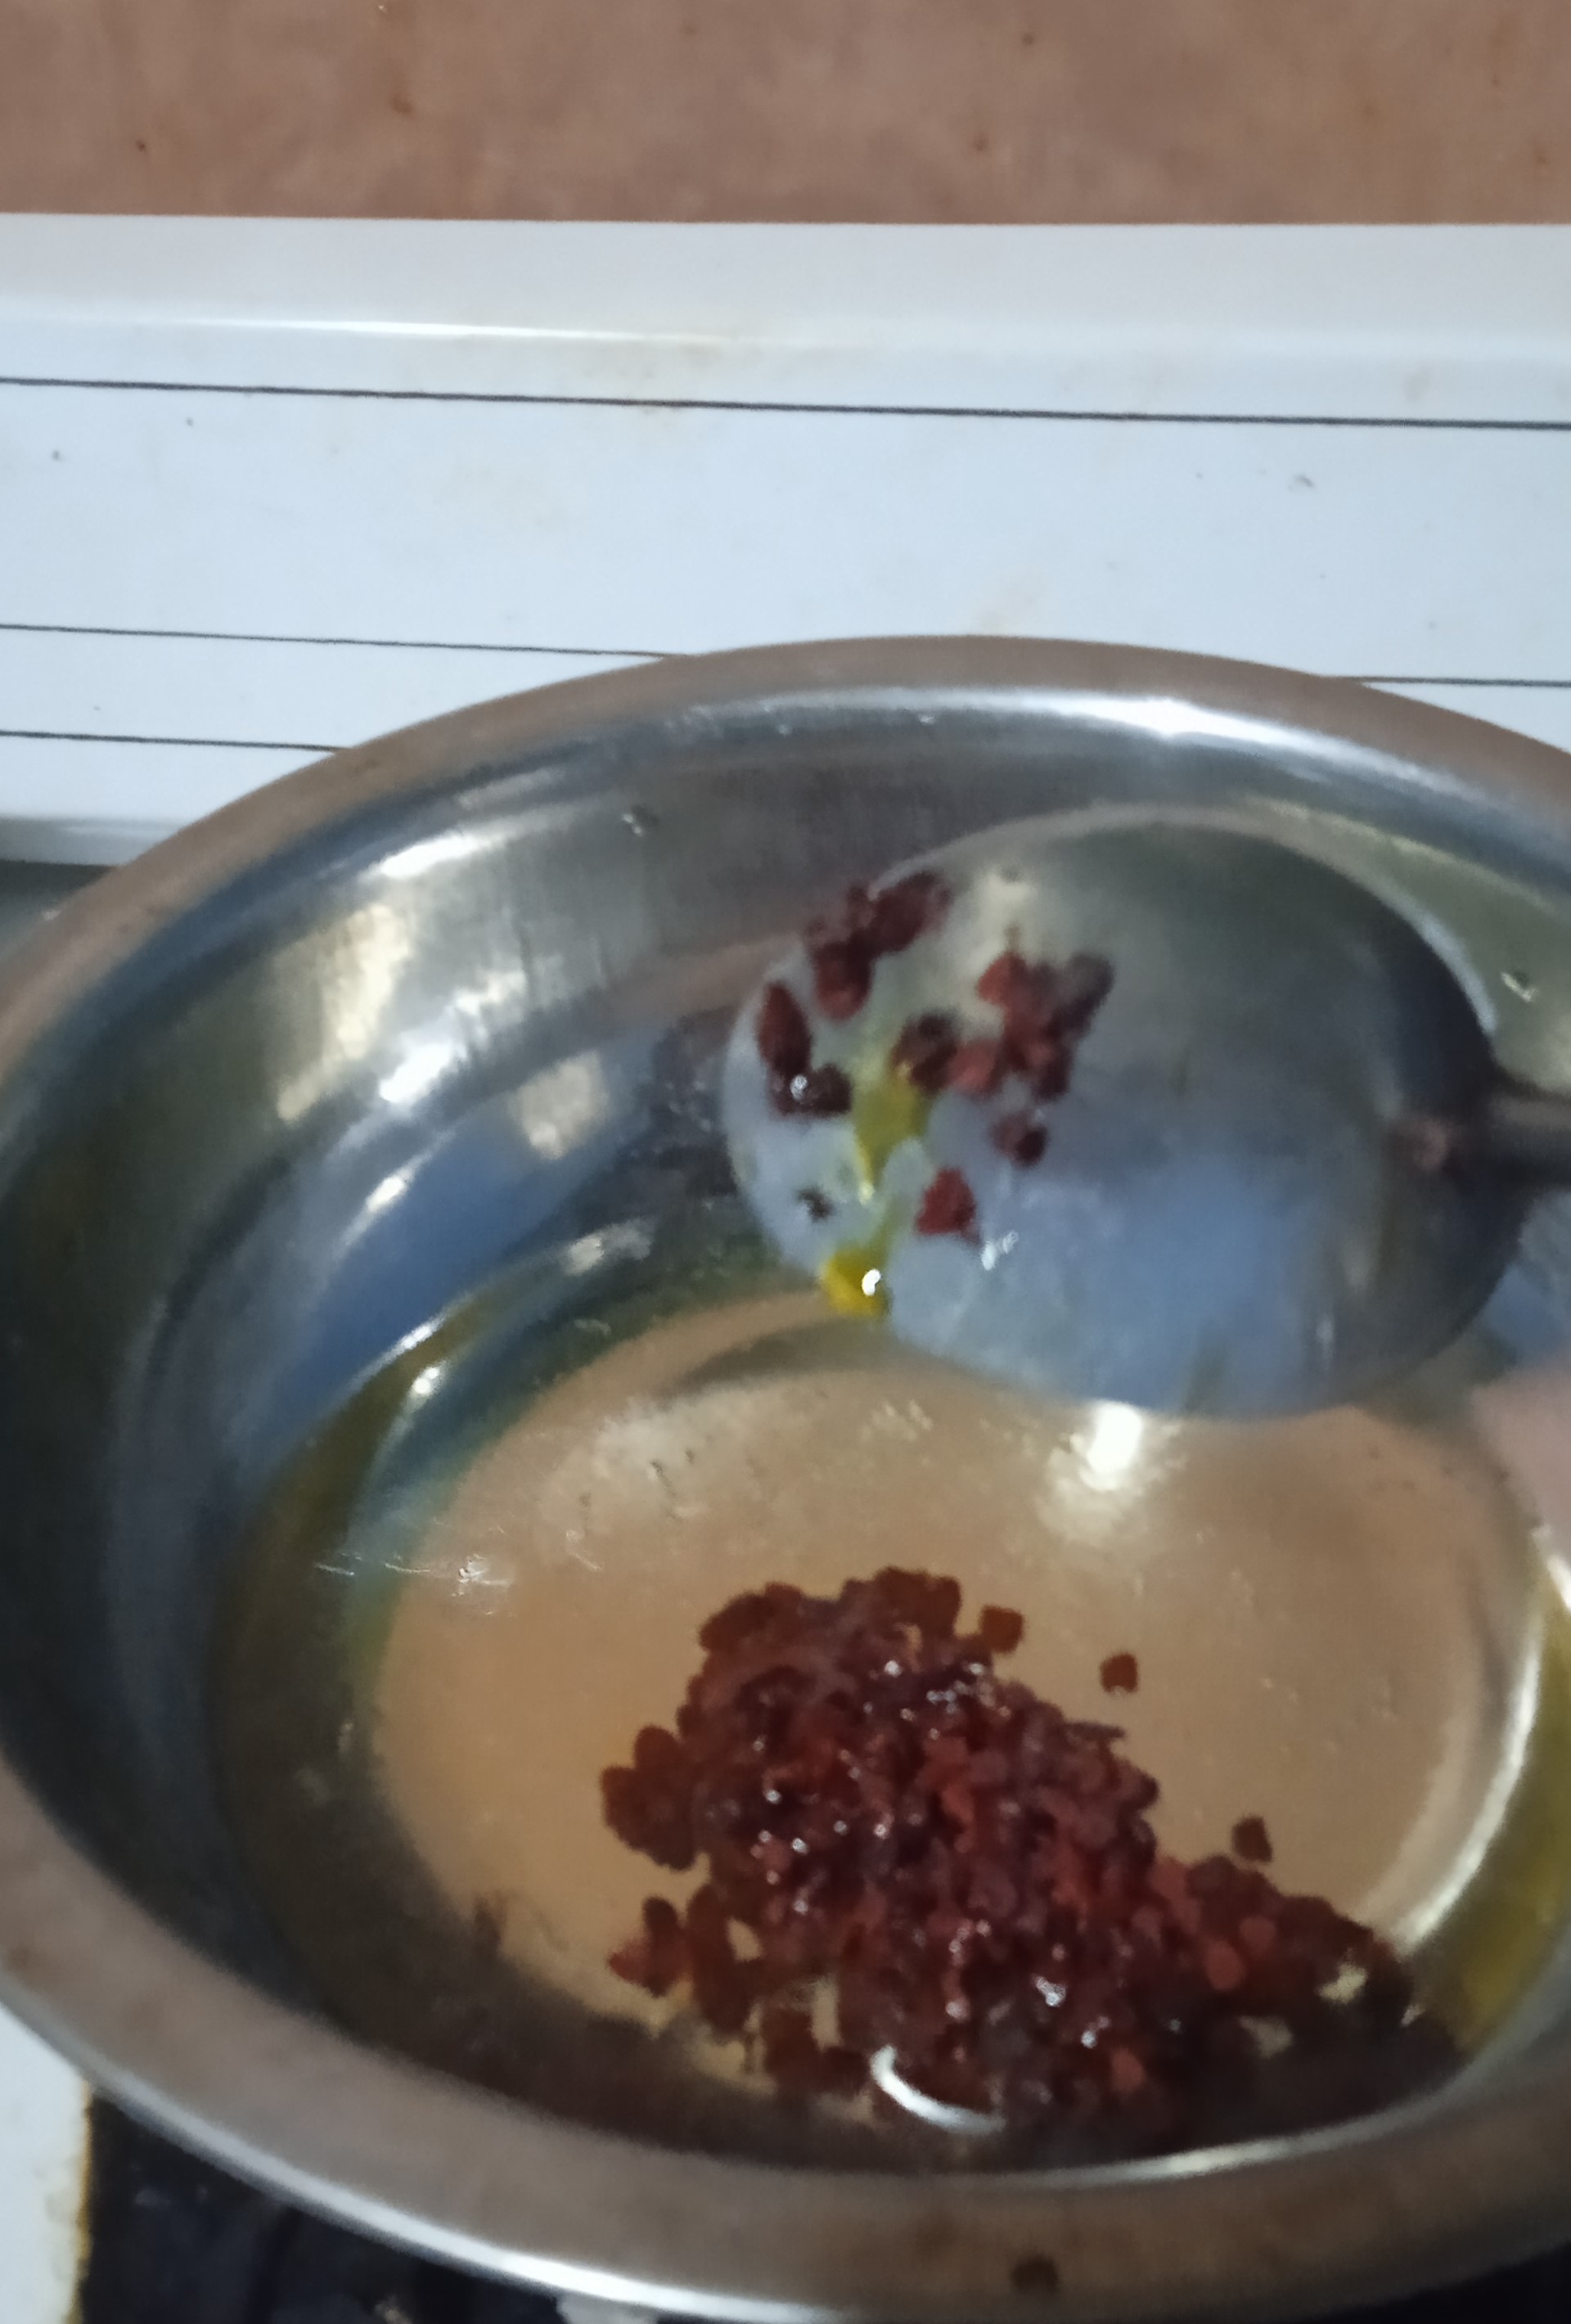
- Se toma una taza de aceite y se le agrega a una olla, y se enciende la cocina a fuego bajo.
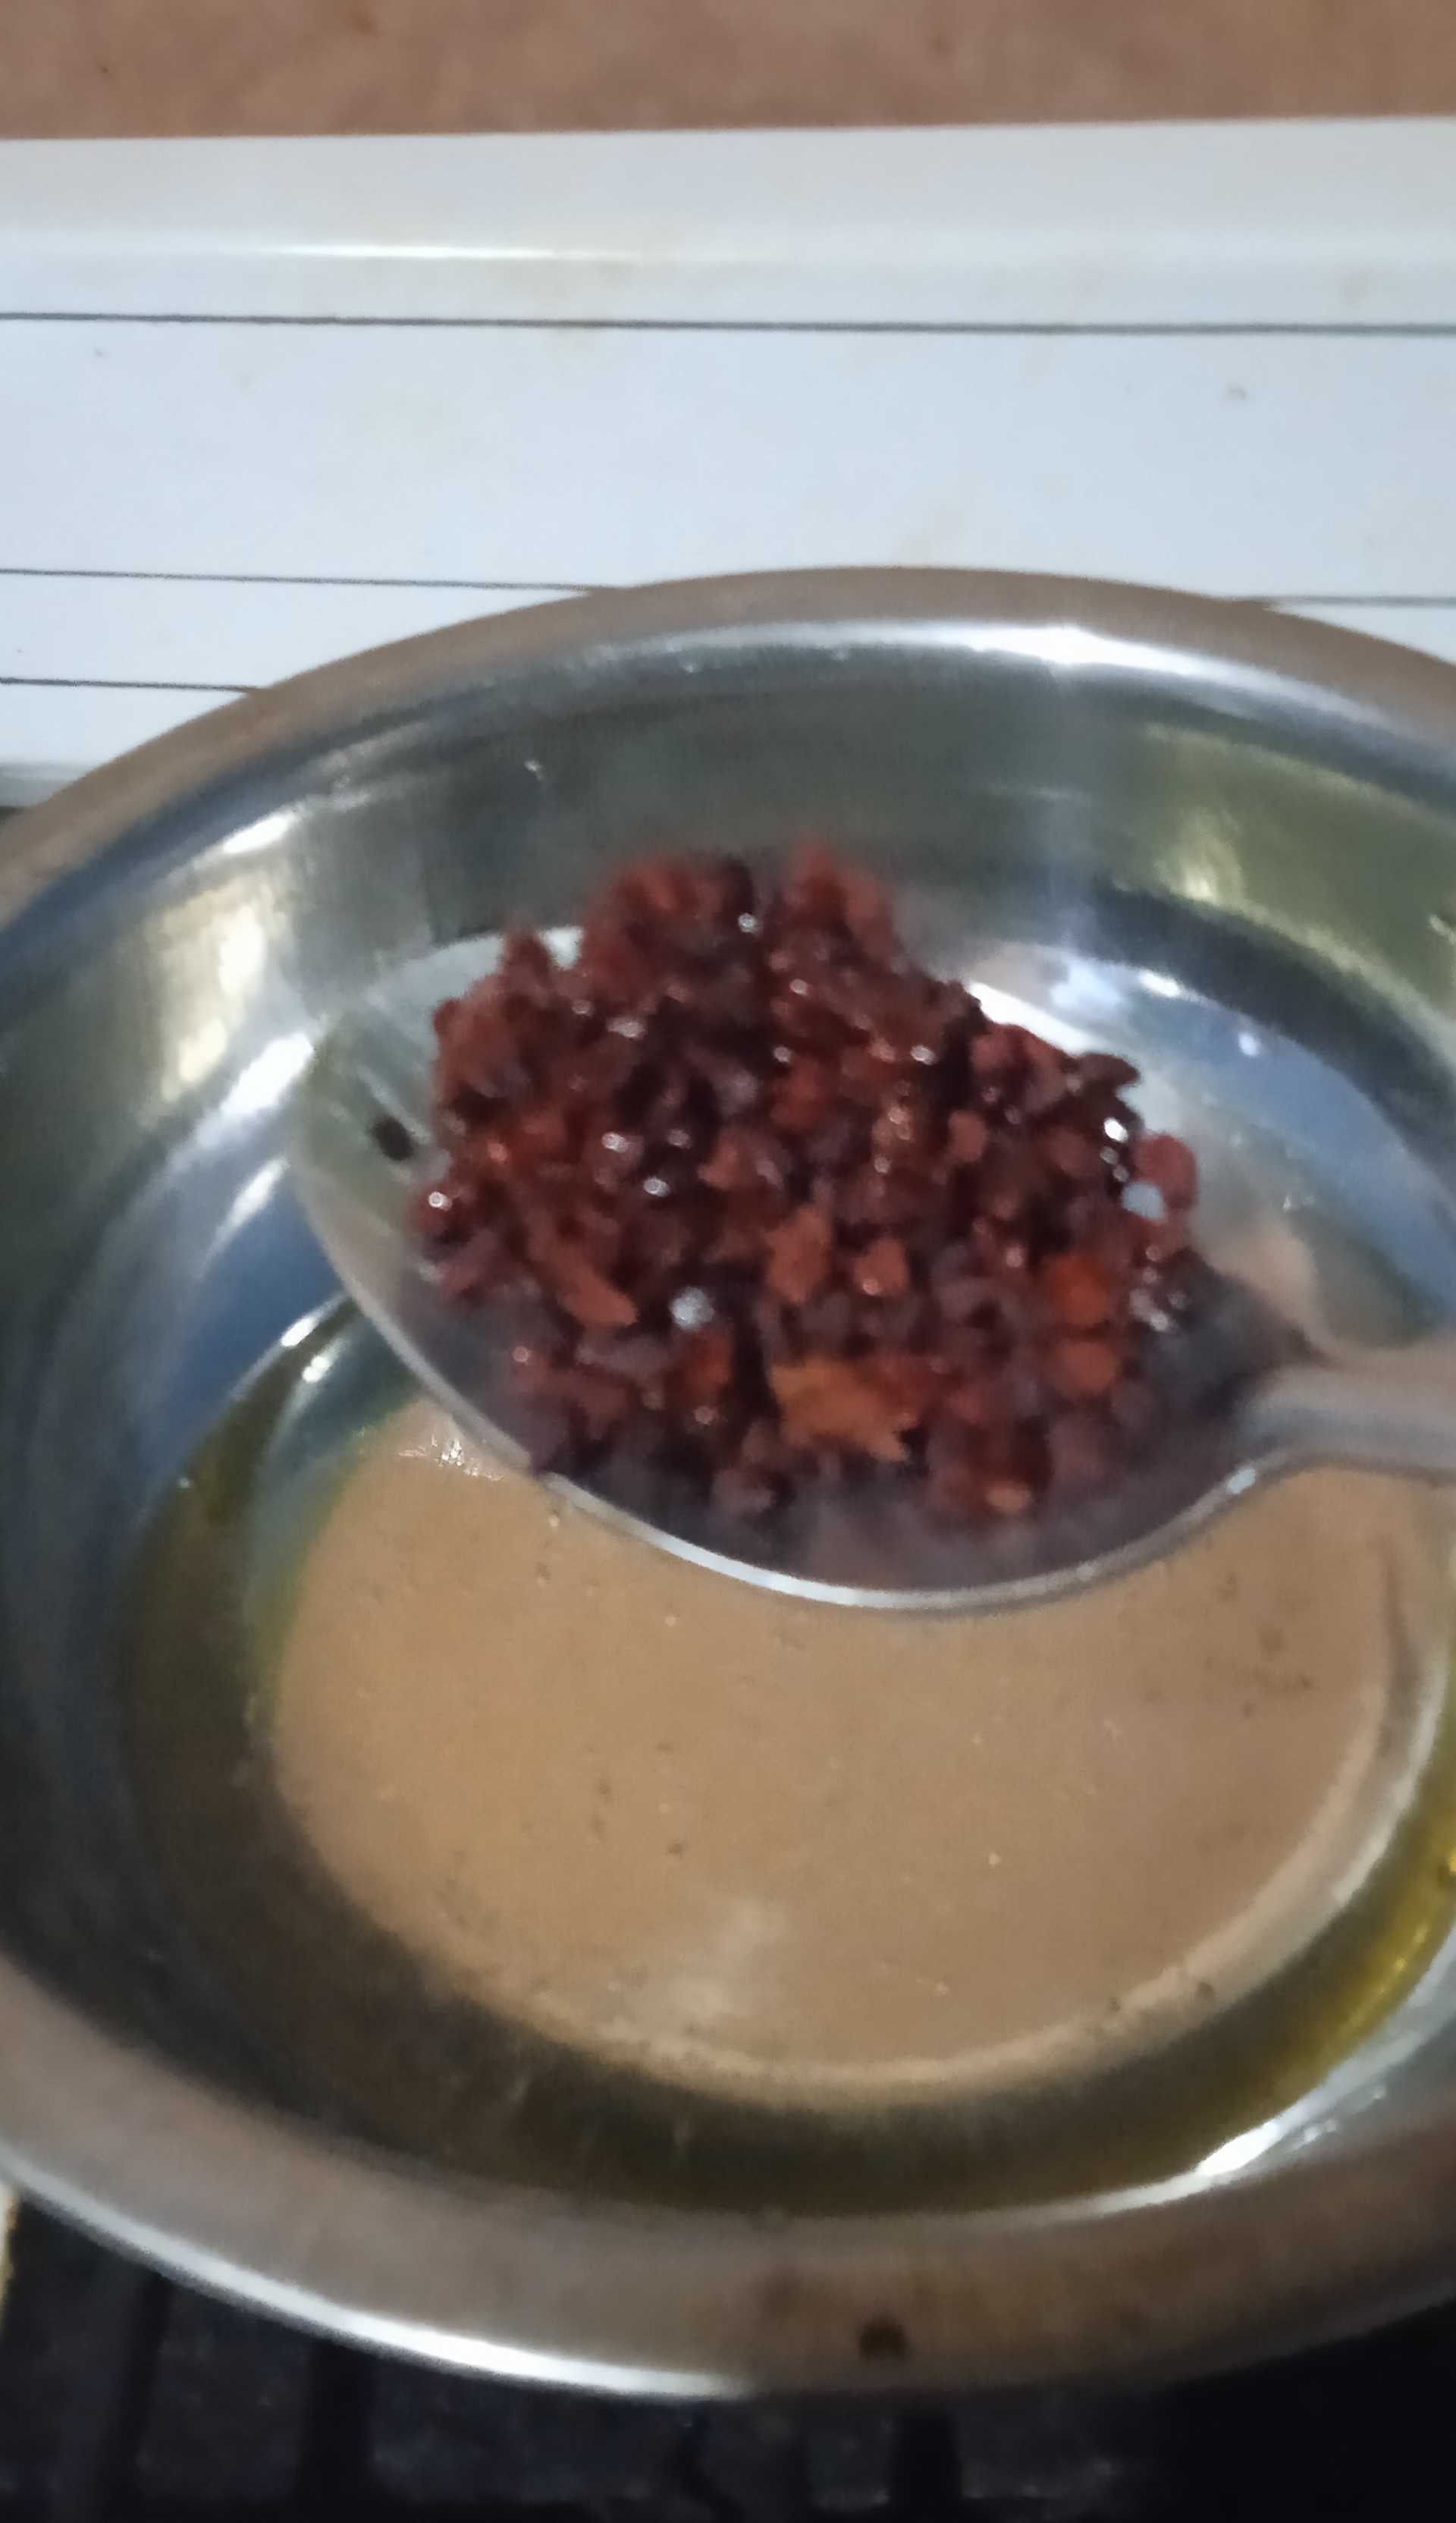
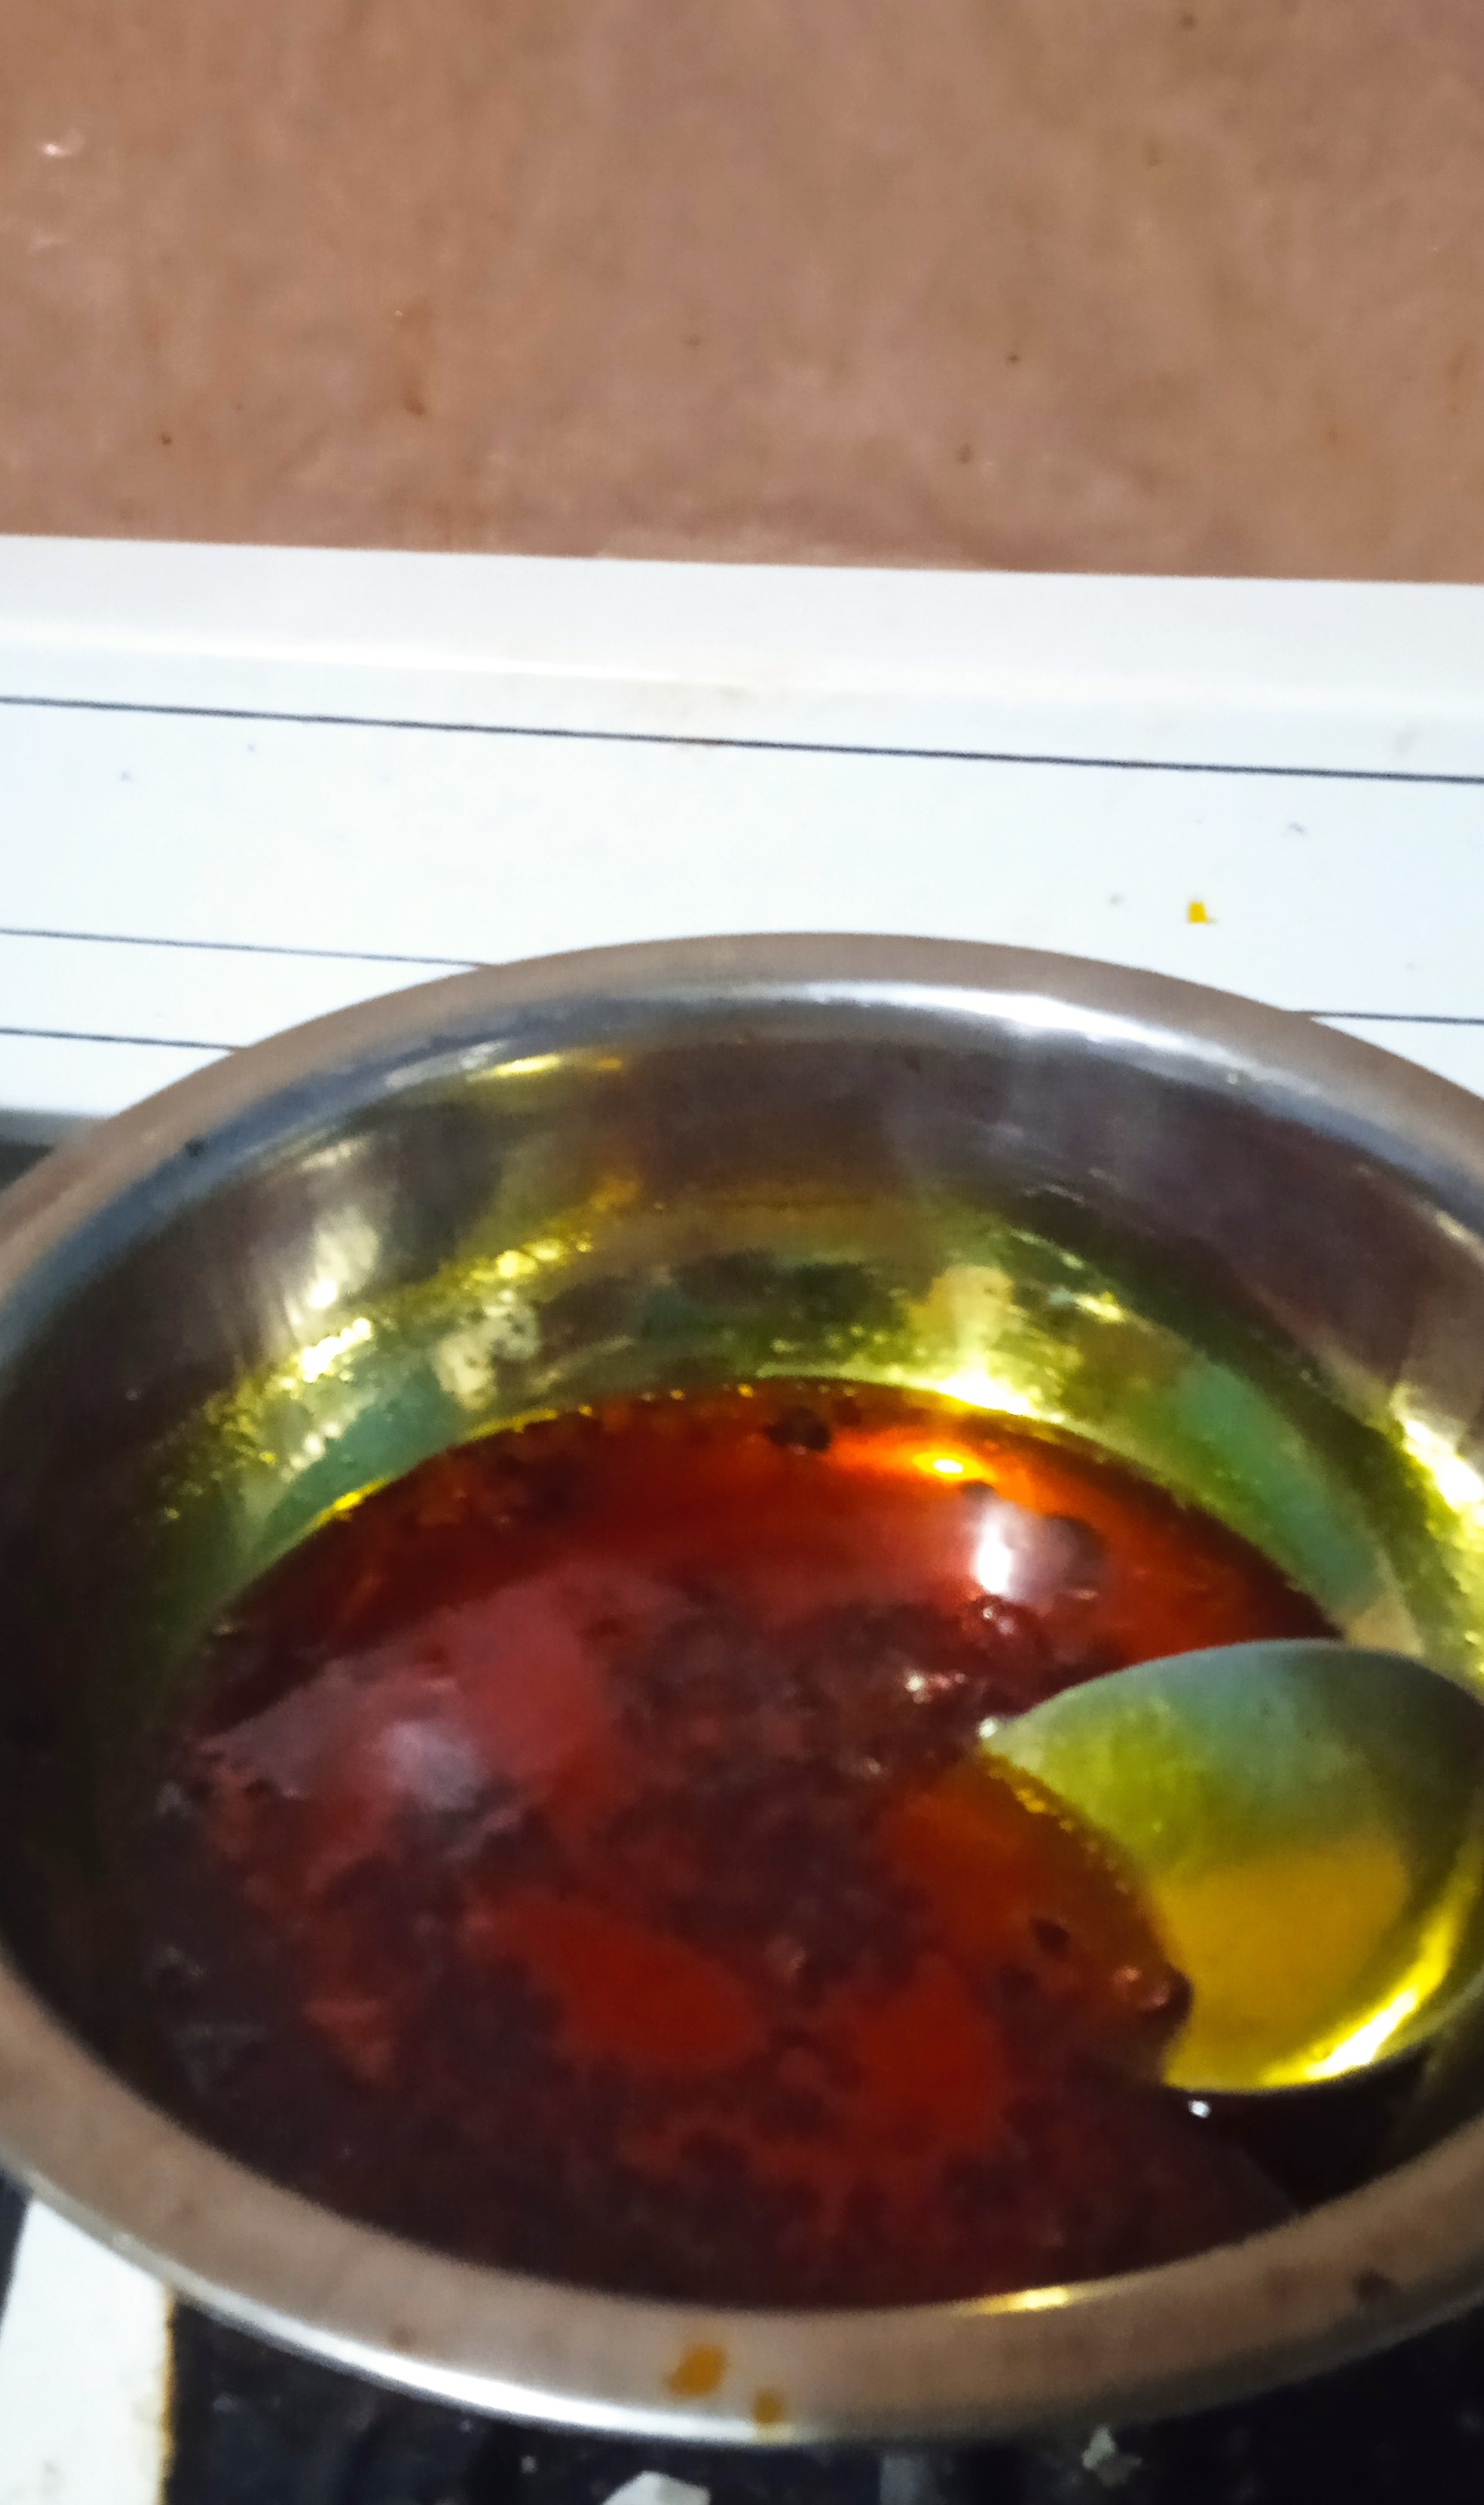
- Una vez esté caliente el aceite, incorporar los granos de onoto, e ir removiendo con la ayuda de una cuchara poco a poco.
- Estará listo cuando el aceite empiece a tomar un color rojizo. Se debe estar atento a que no se queme el aceite. El proceso apenas dura unos minutos.
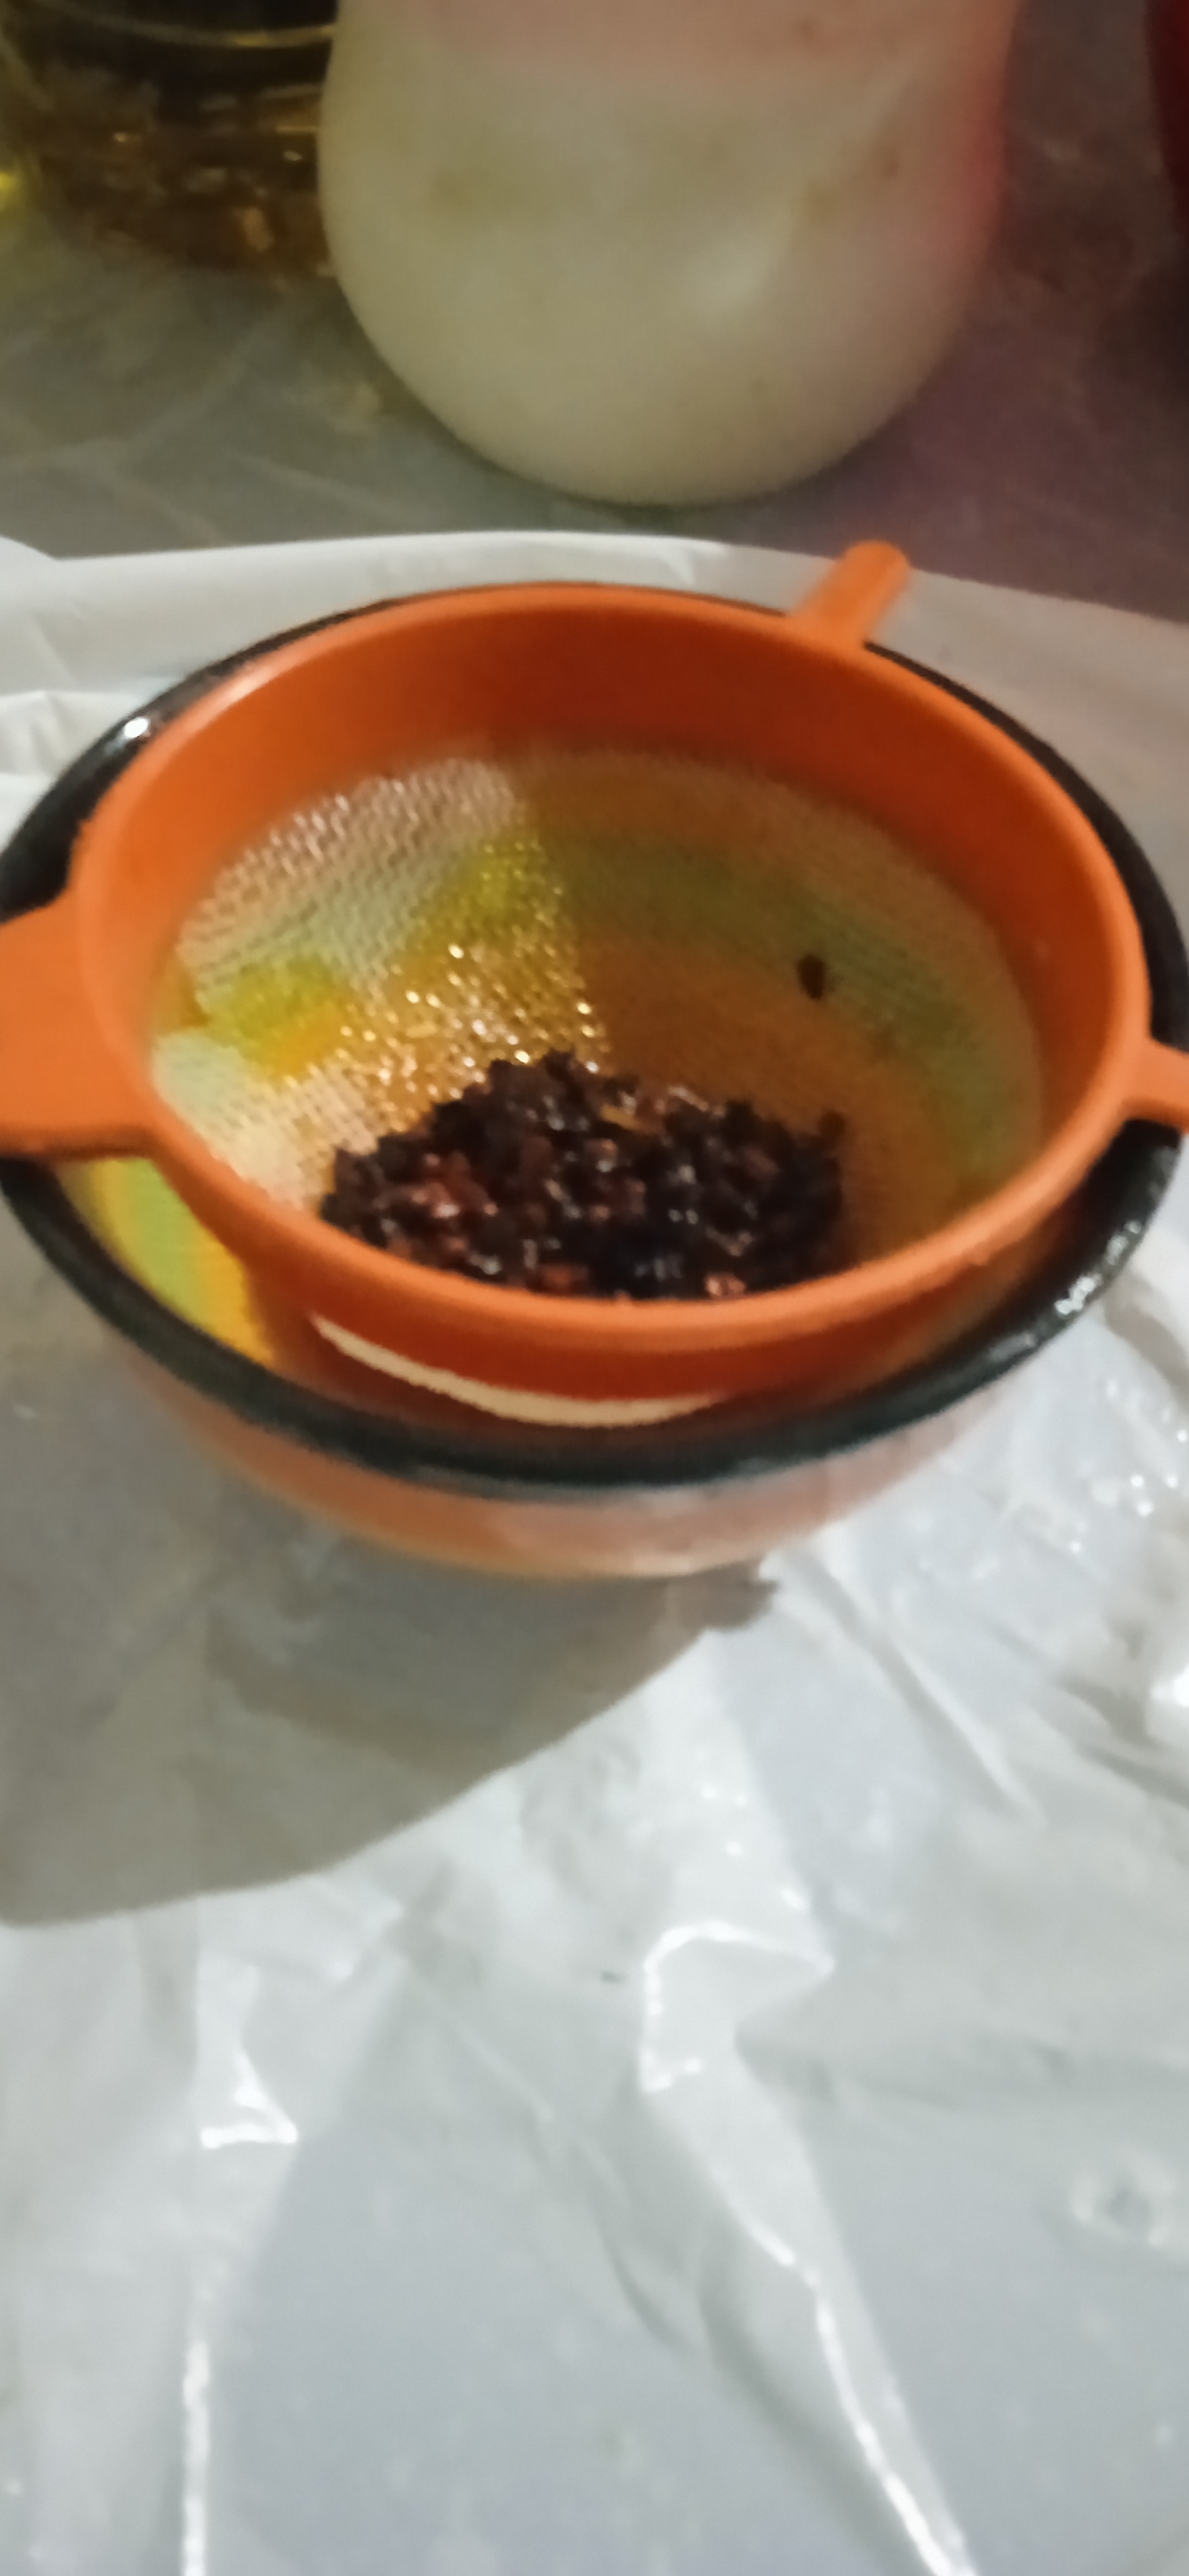
- Por último, buscar un colador y añadir el aceite con los granos de onoto; al final quedará en el envase solo el aceite de color rojo intenso.
To color the dough and coat the banana leaves: 1. Take a cup of oil and add it to a pot, and turn the stove on low heat. 2. Once the oil is hot, add the onoto grains, and stir with a spoon little by little. 3. It will be ready when the oil begins to take a reddish color. Be careful not to burn the oil. The process only takes a few minutes. 4. Finally, look for a strainer and add the oil with the onoto grains; at the end only the oil of intense red color will remain in the container.
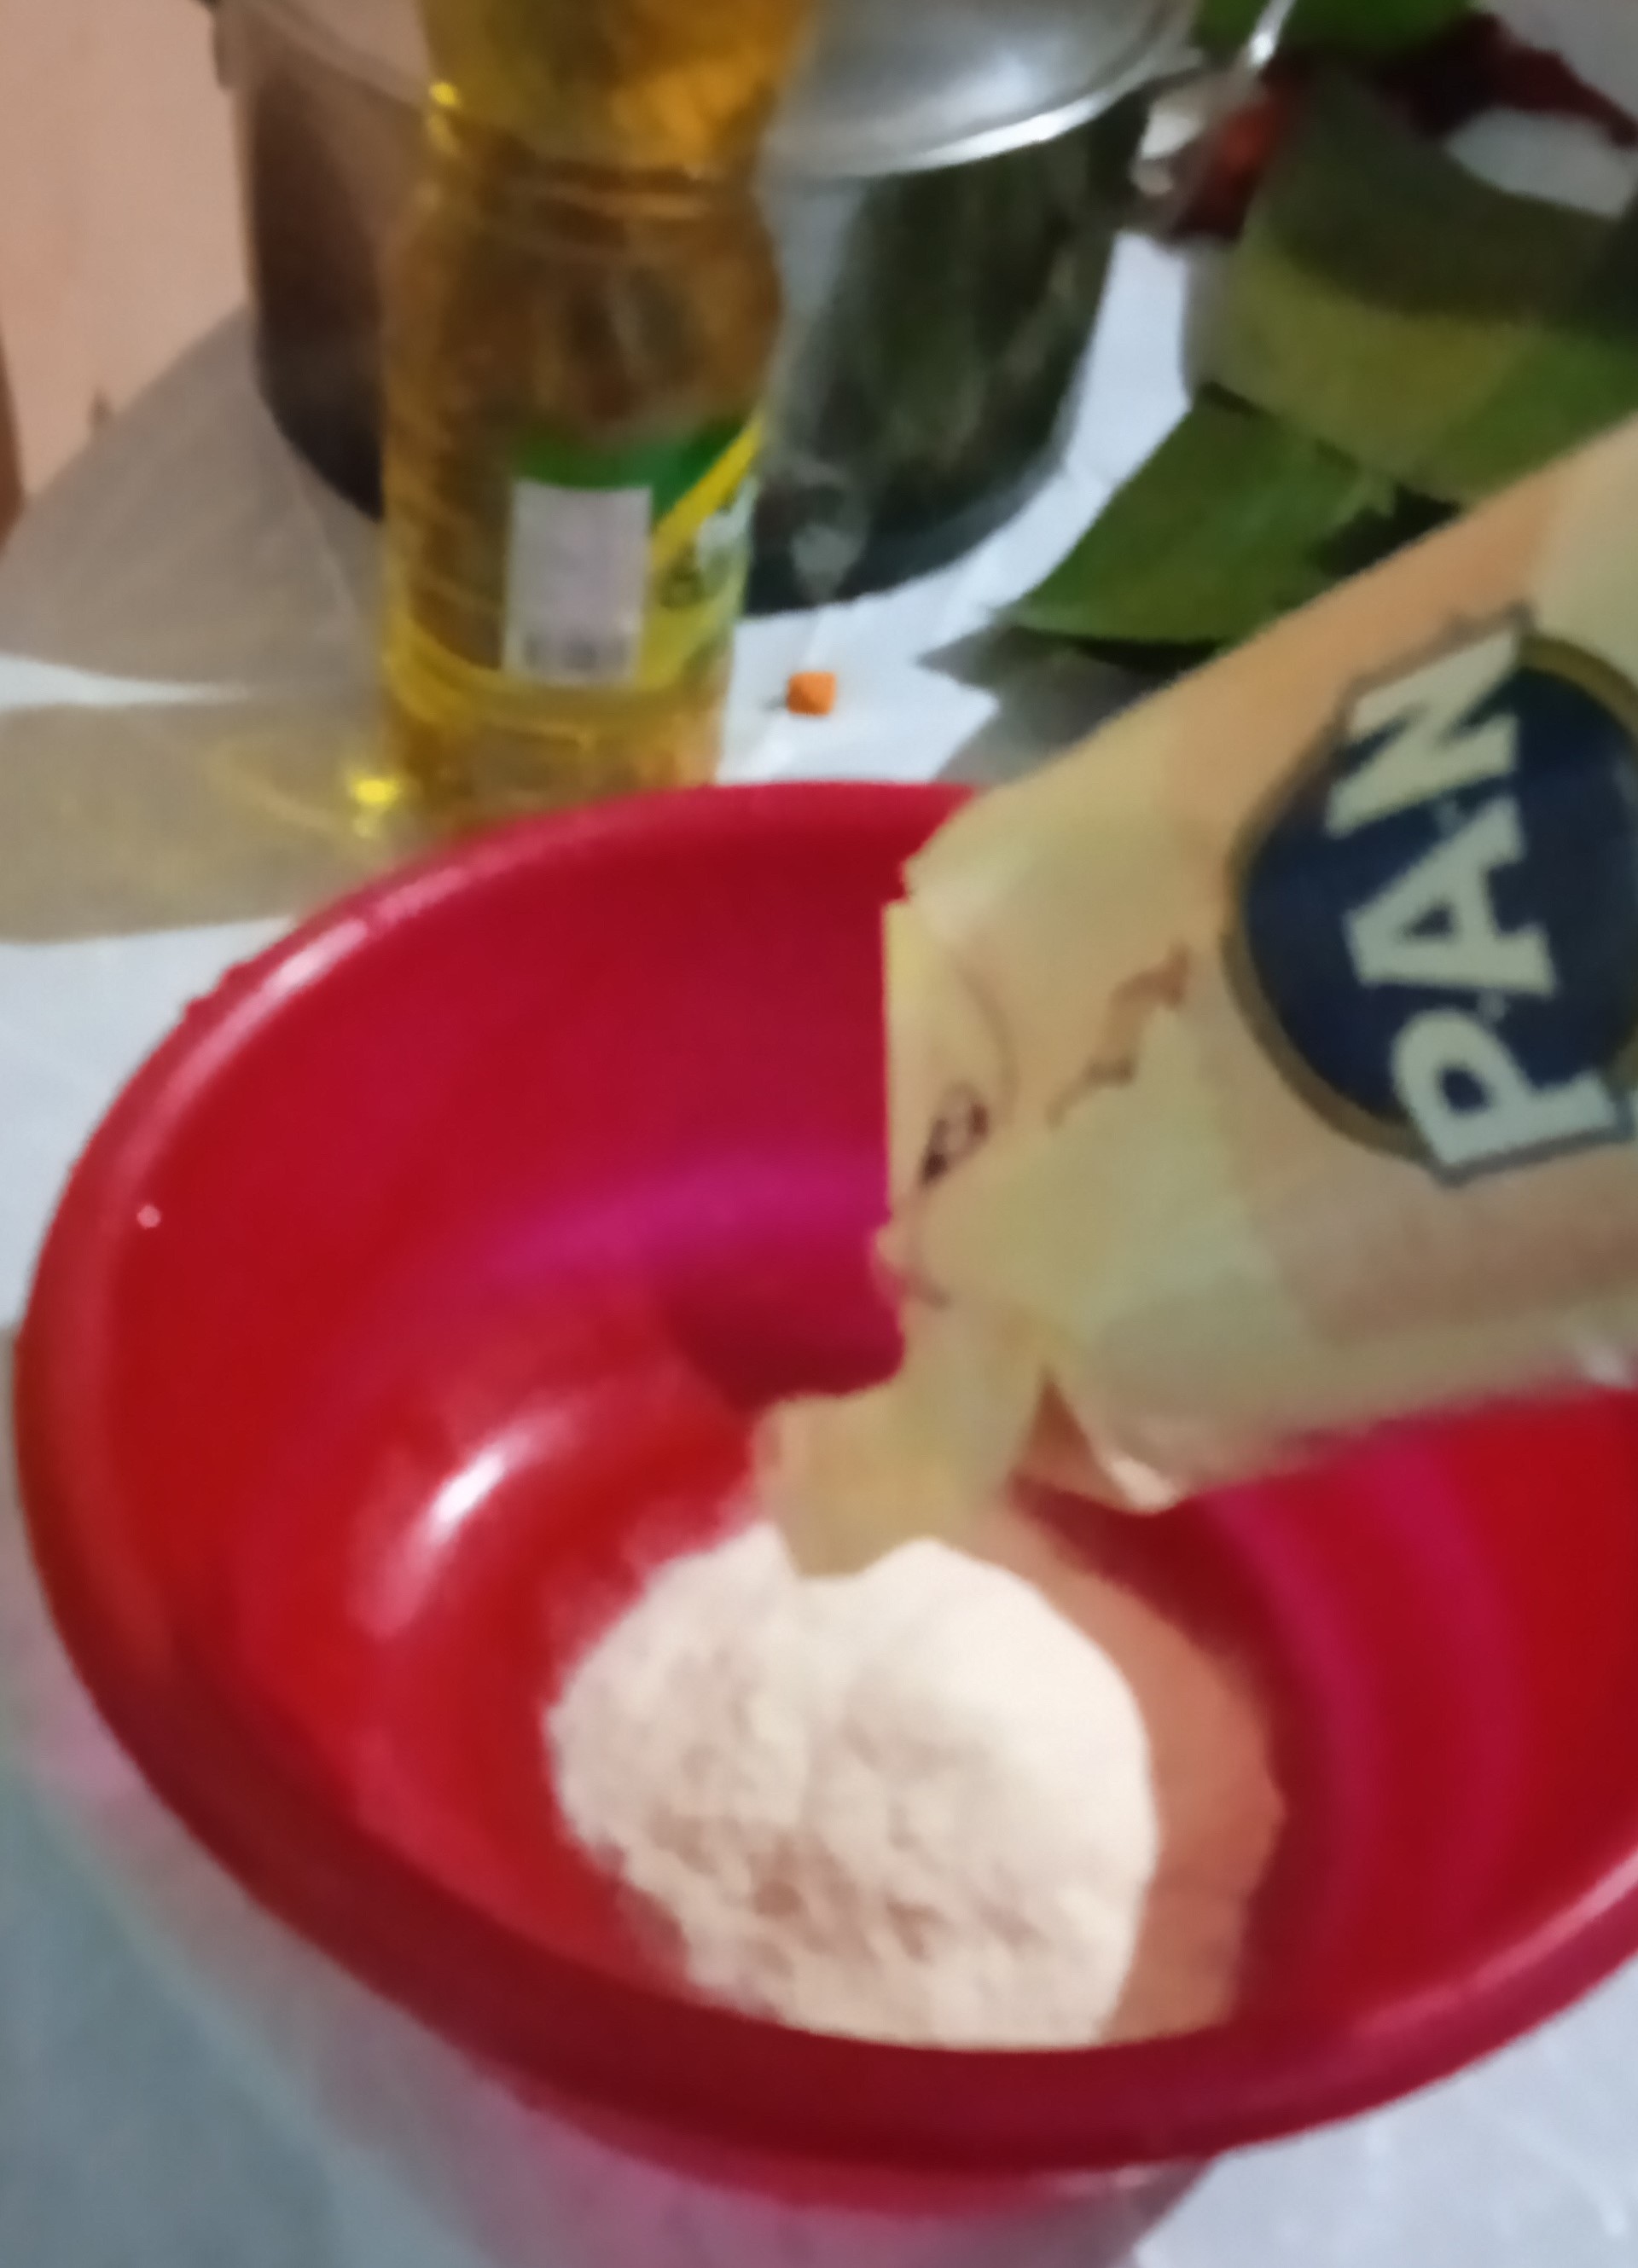
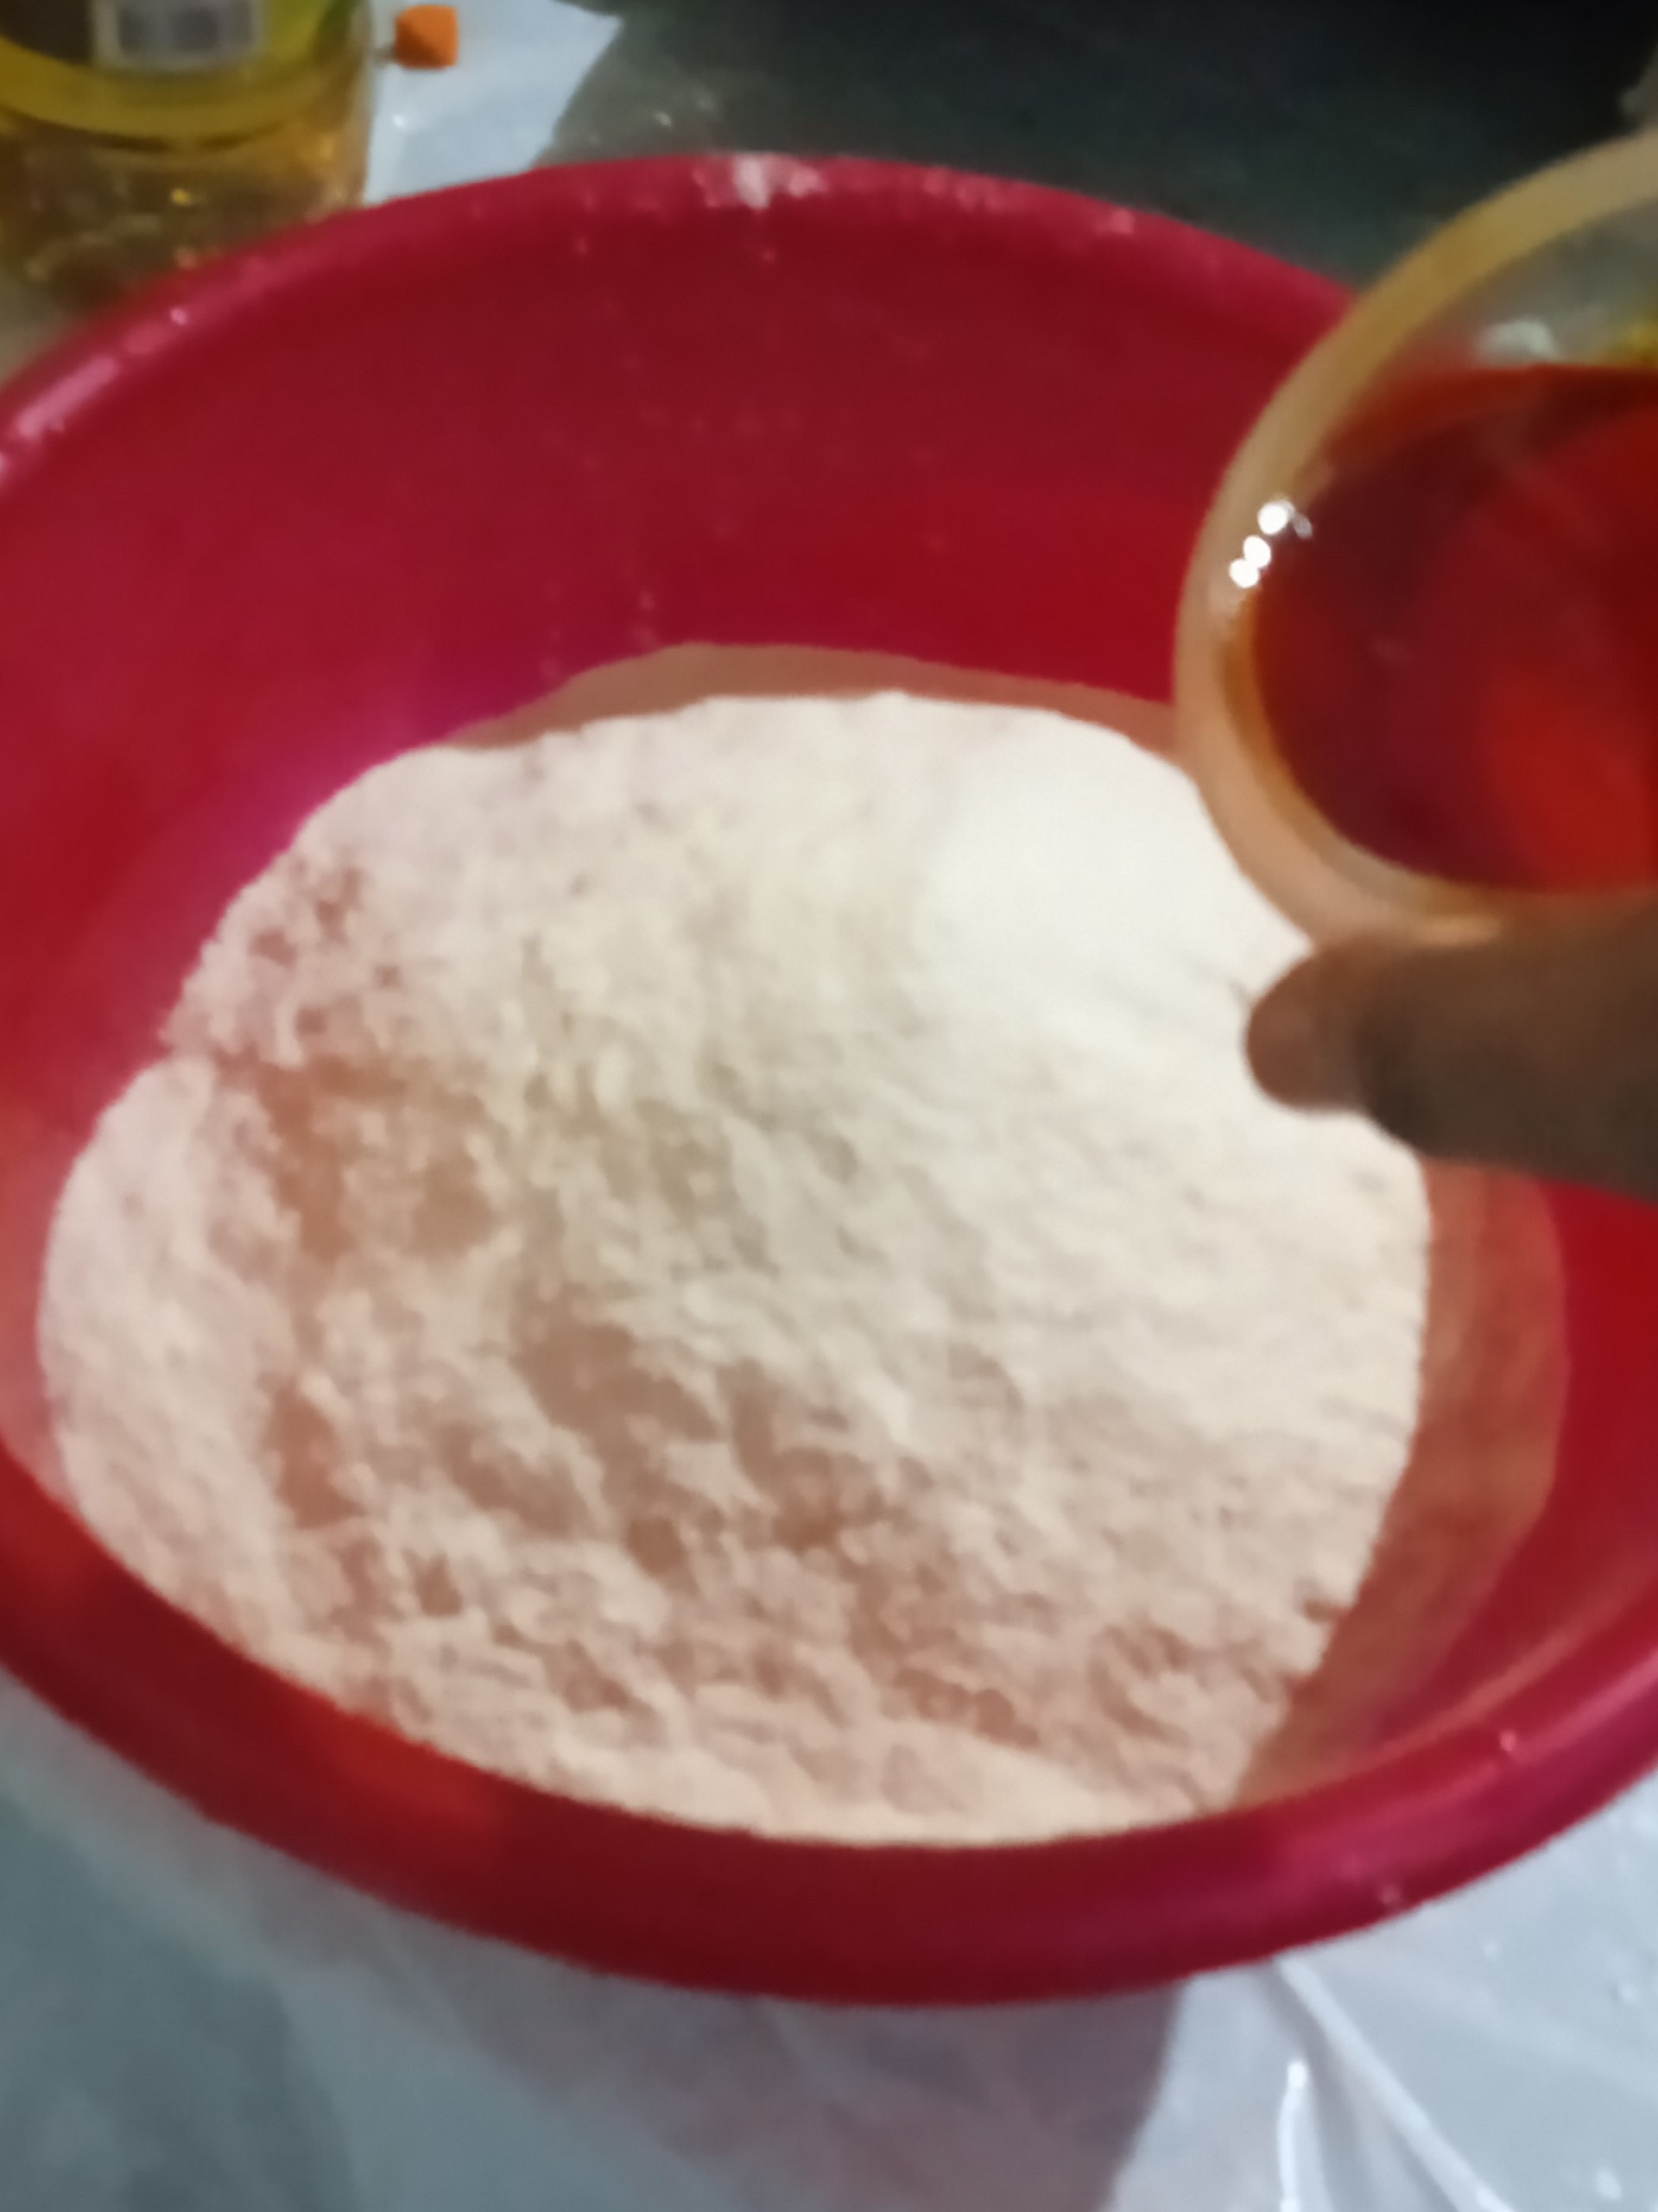
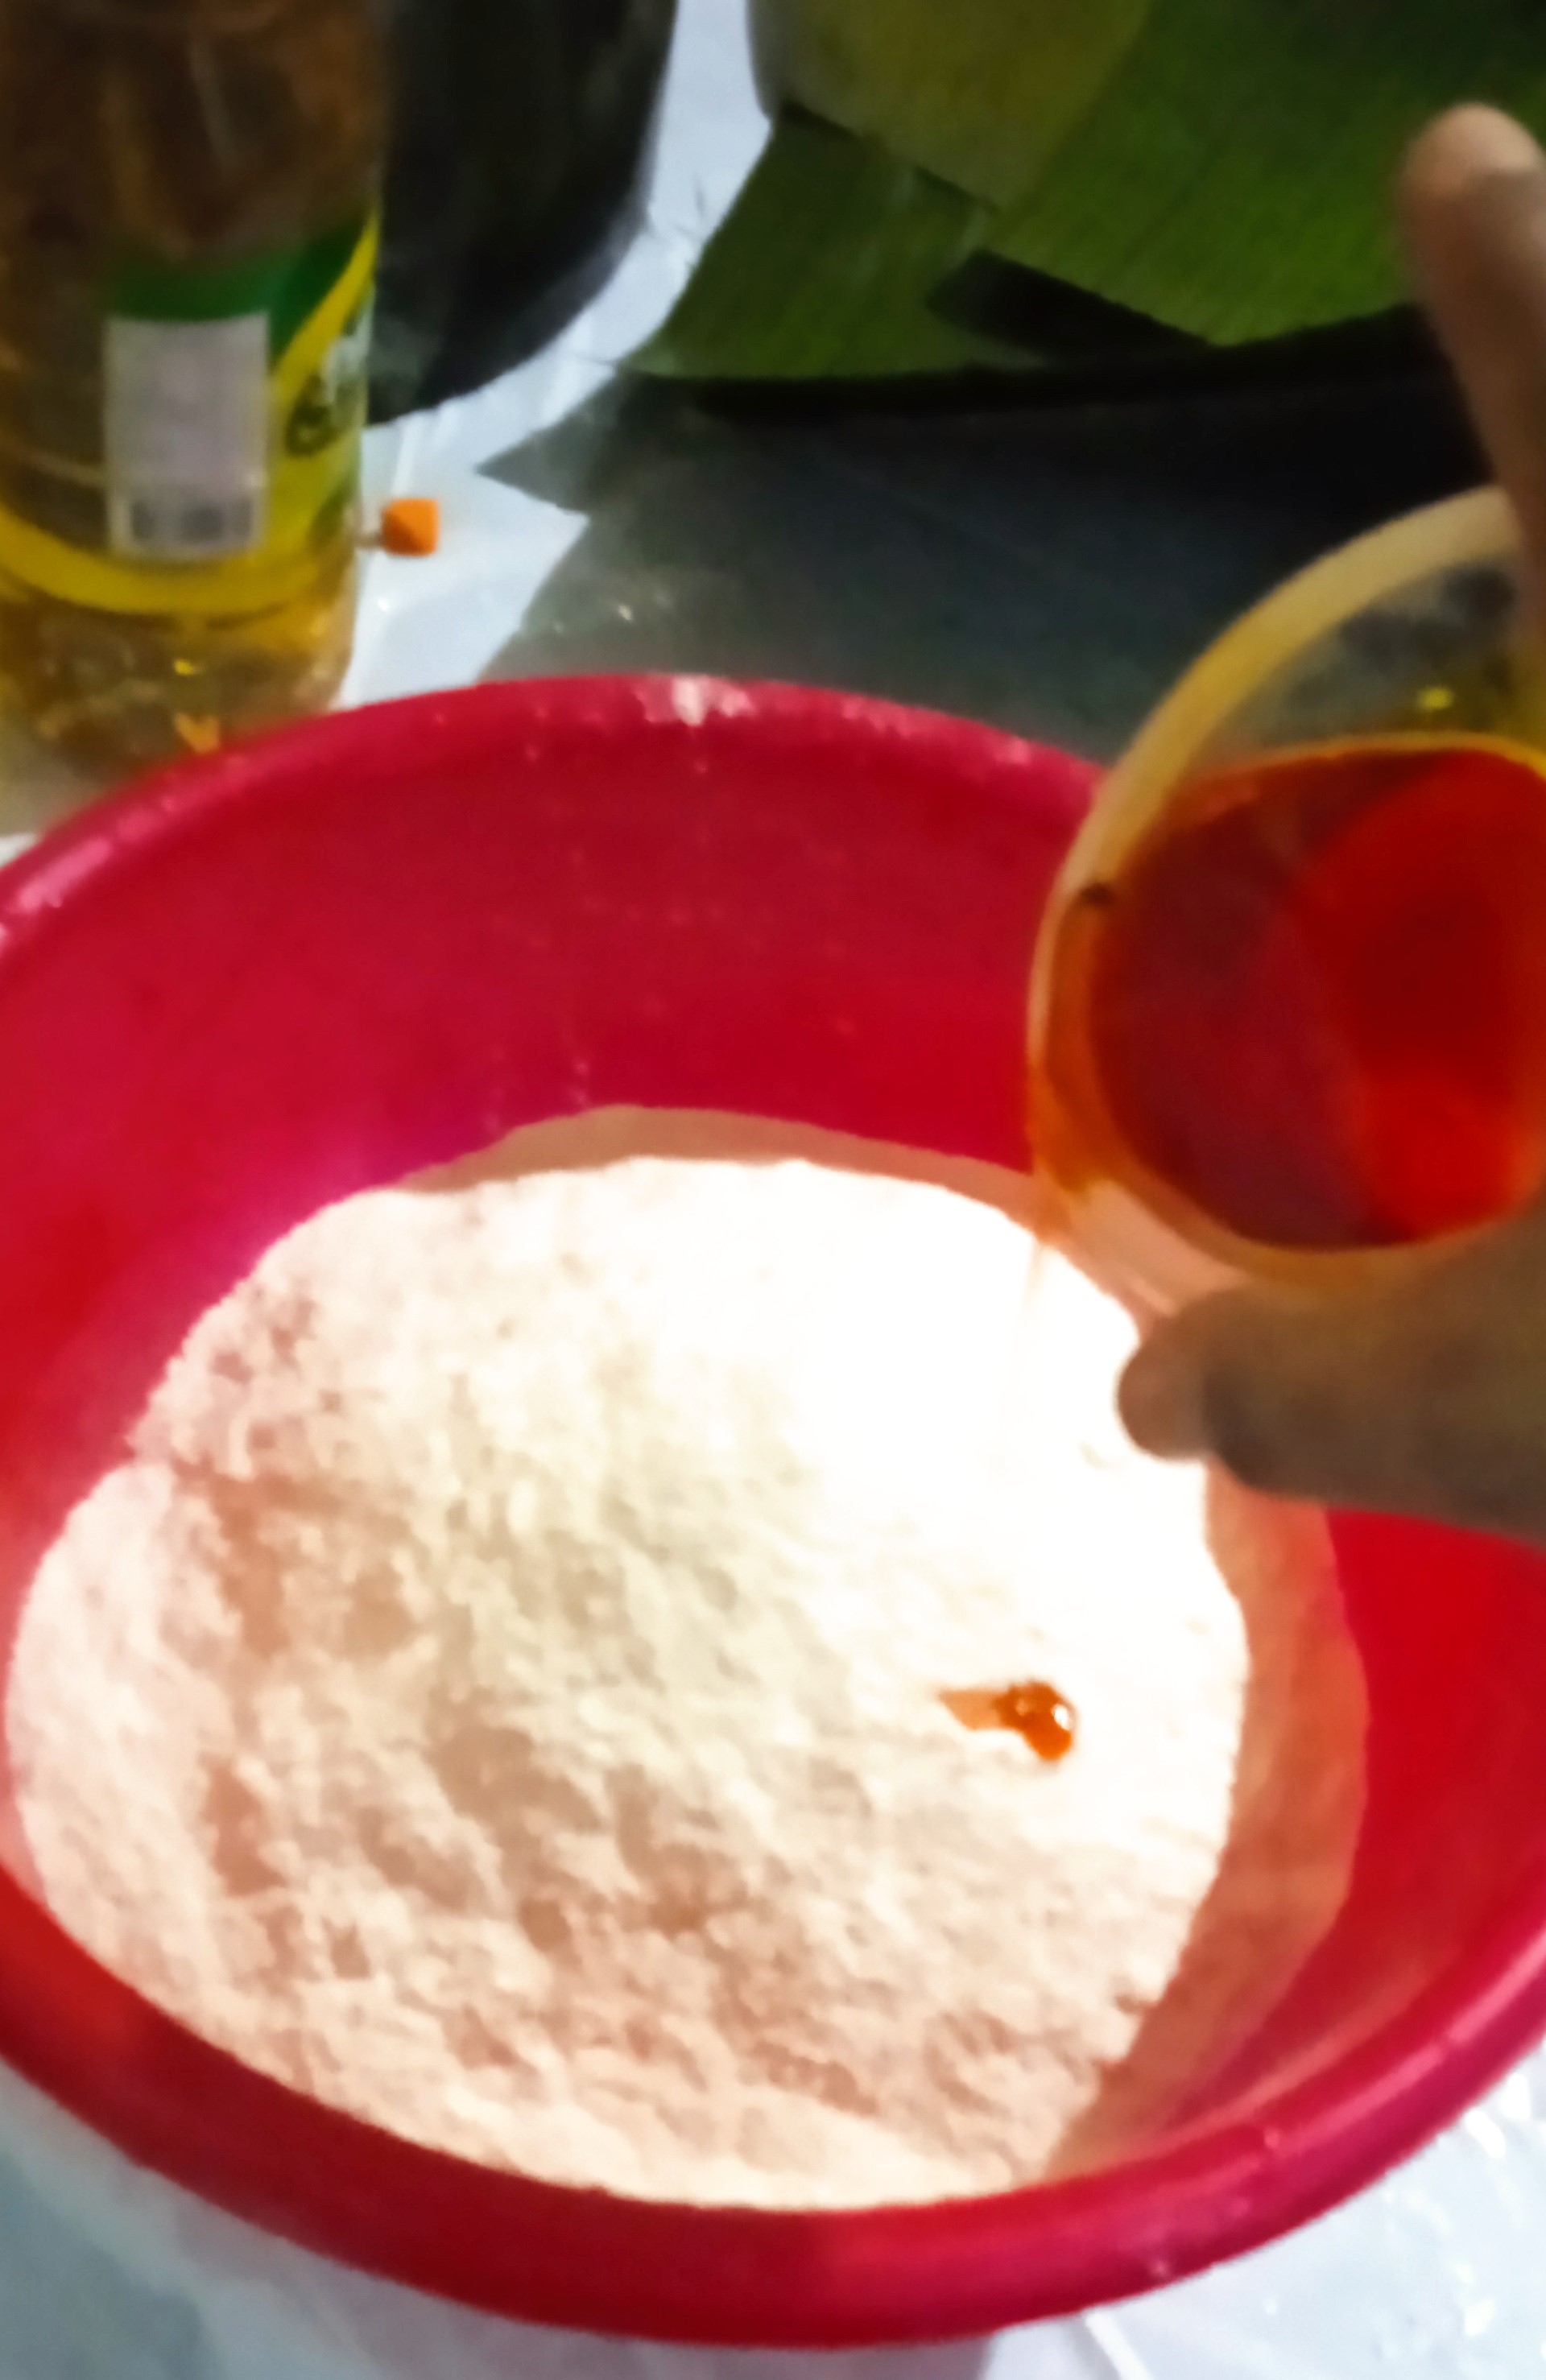
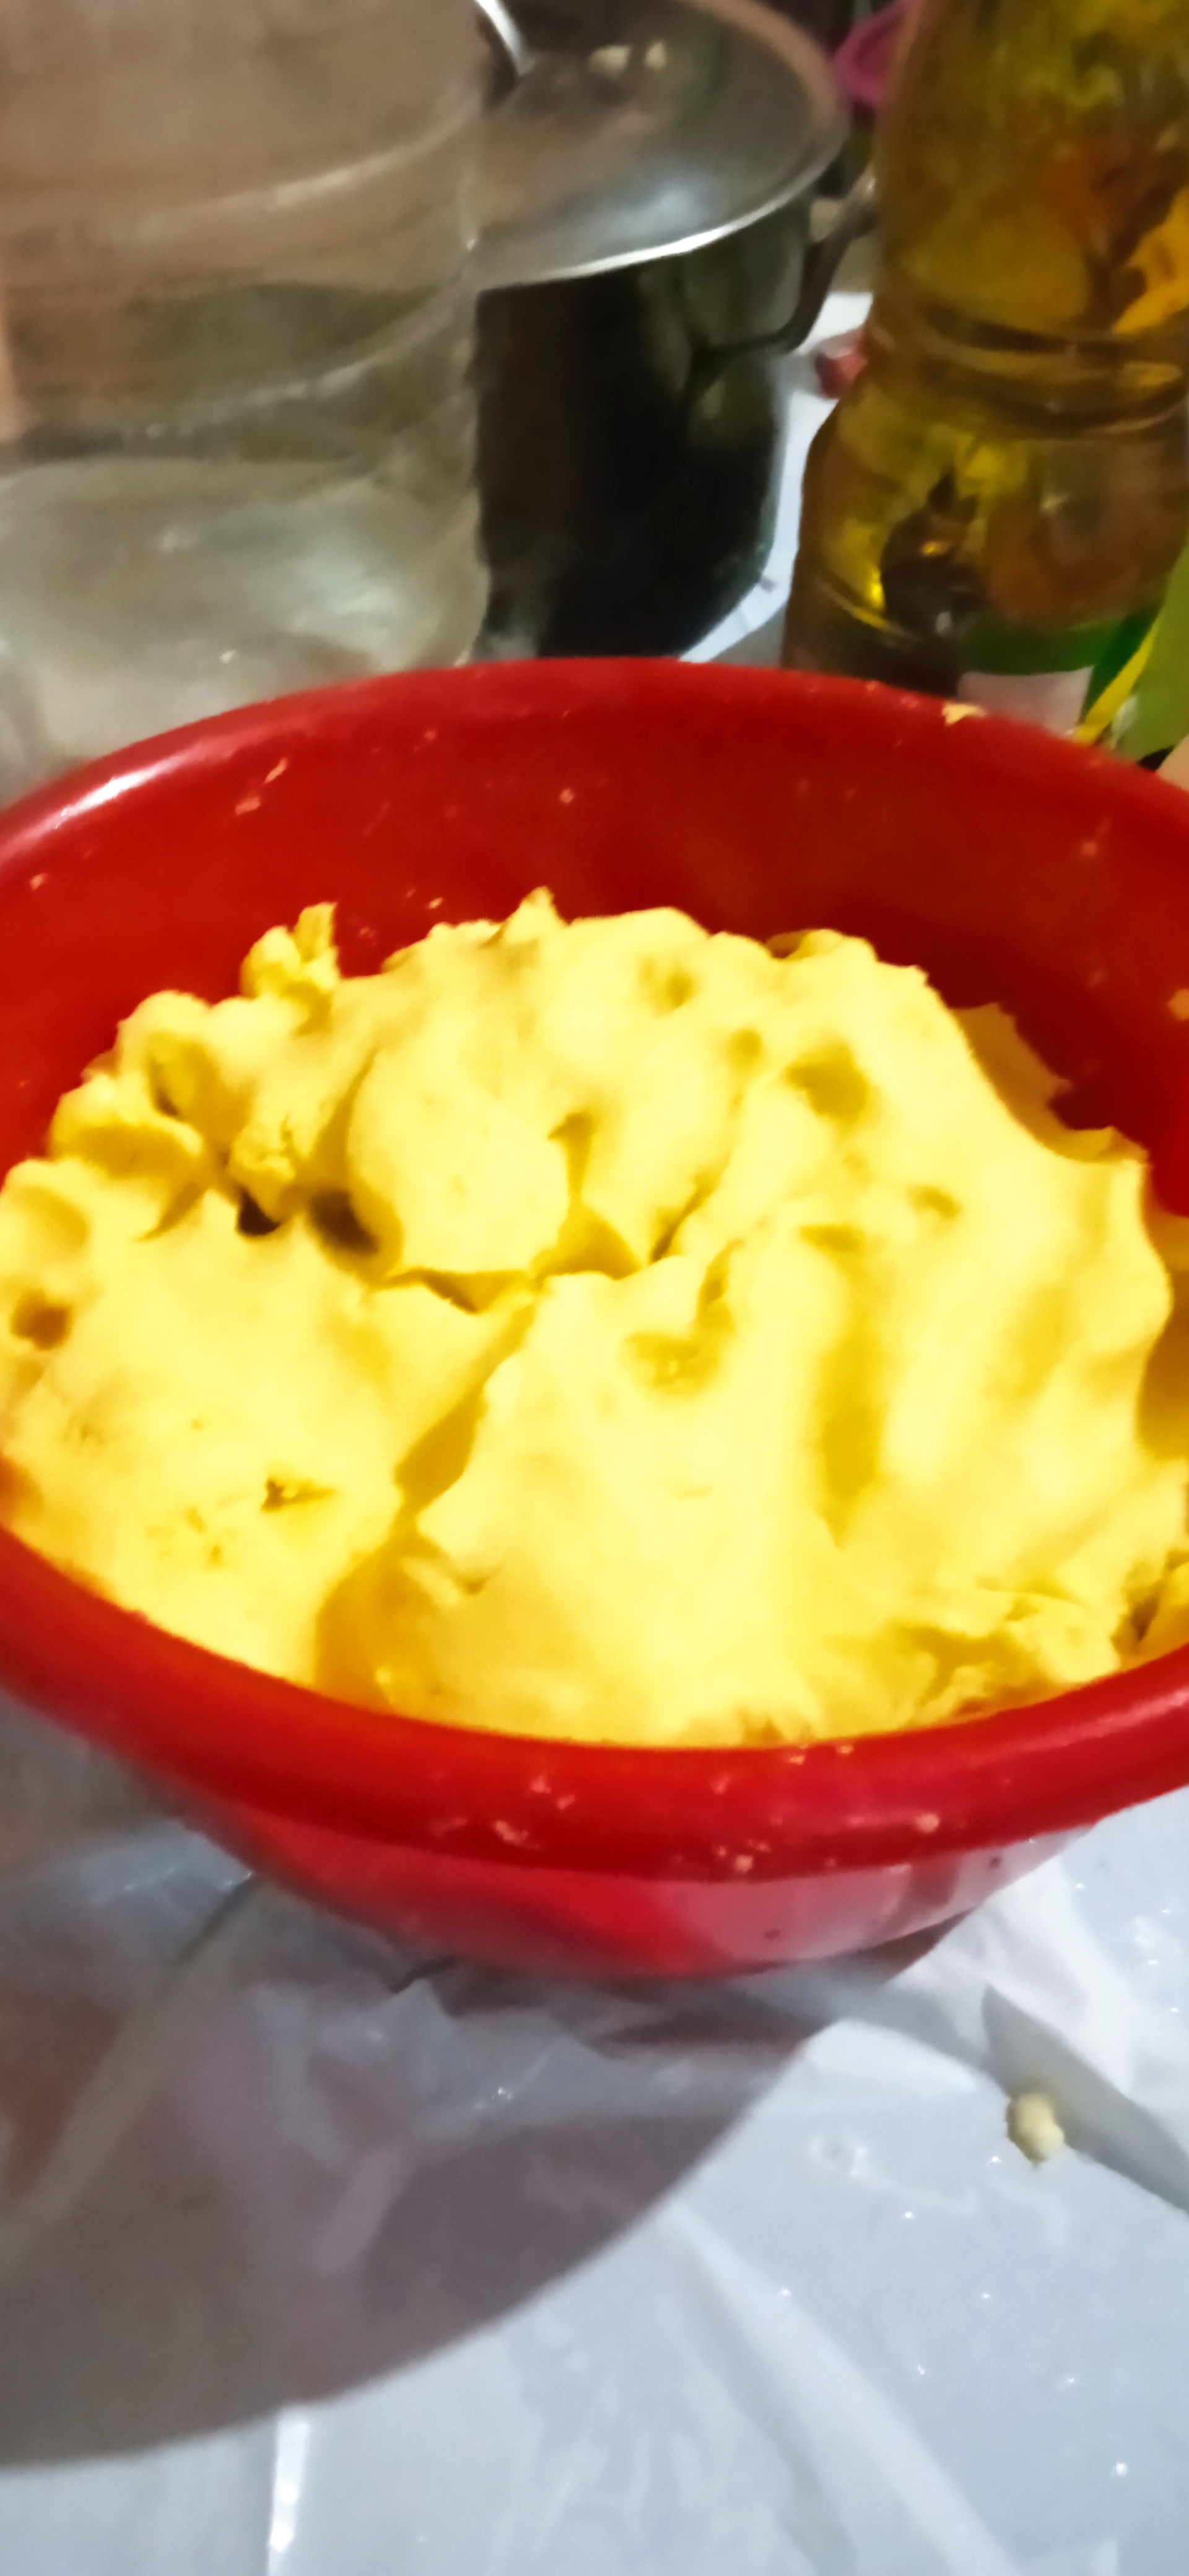
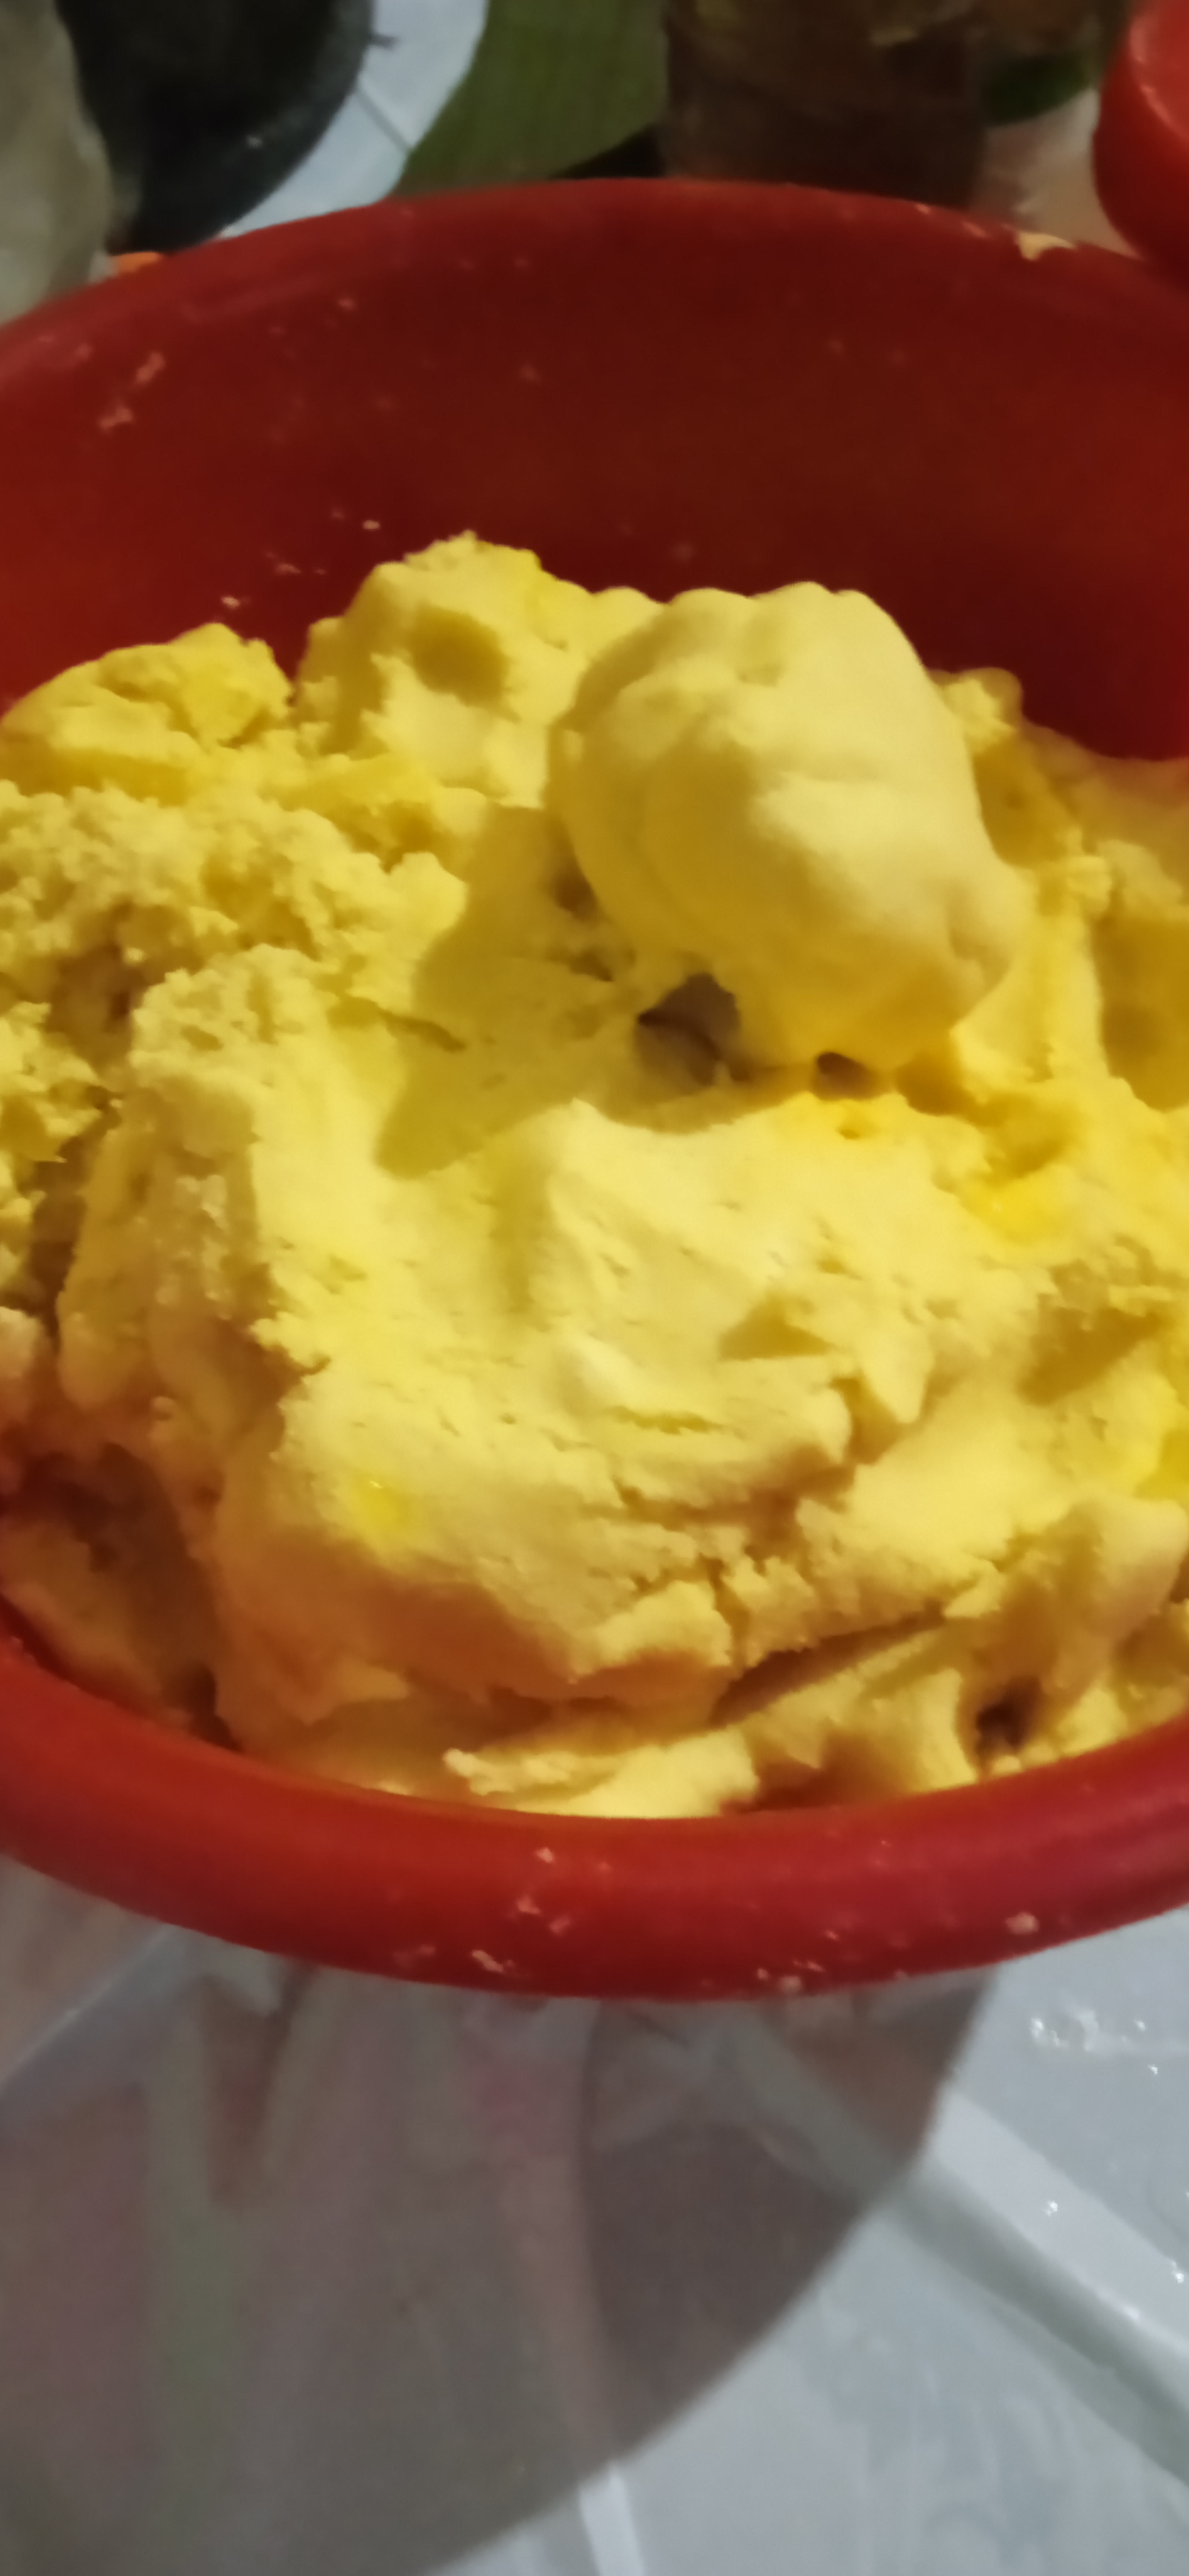
Para la masa:
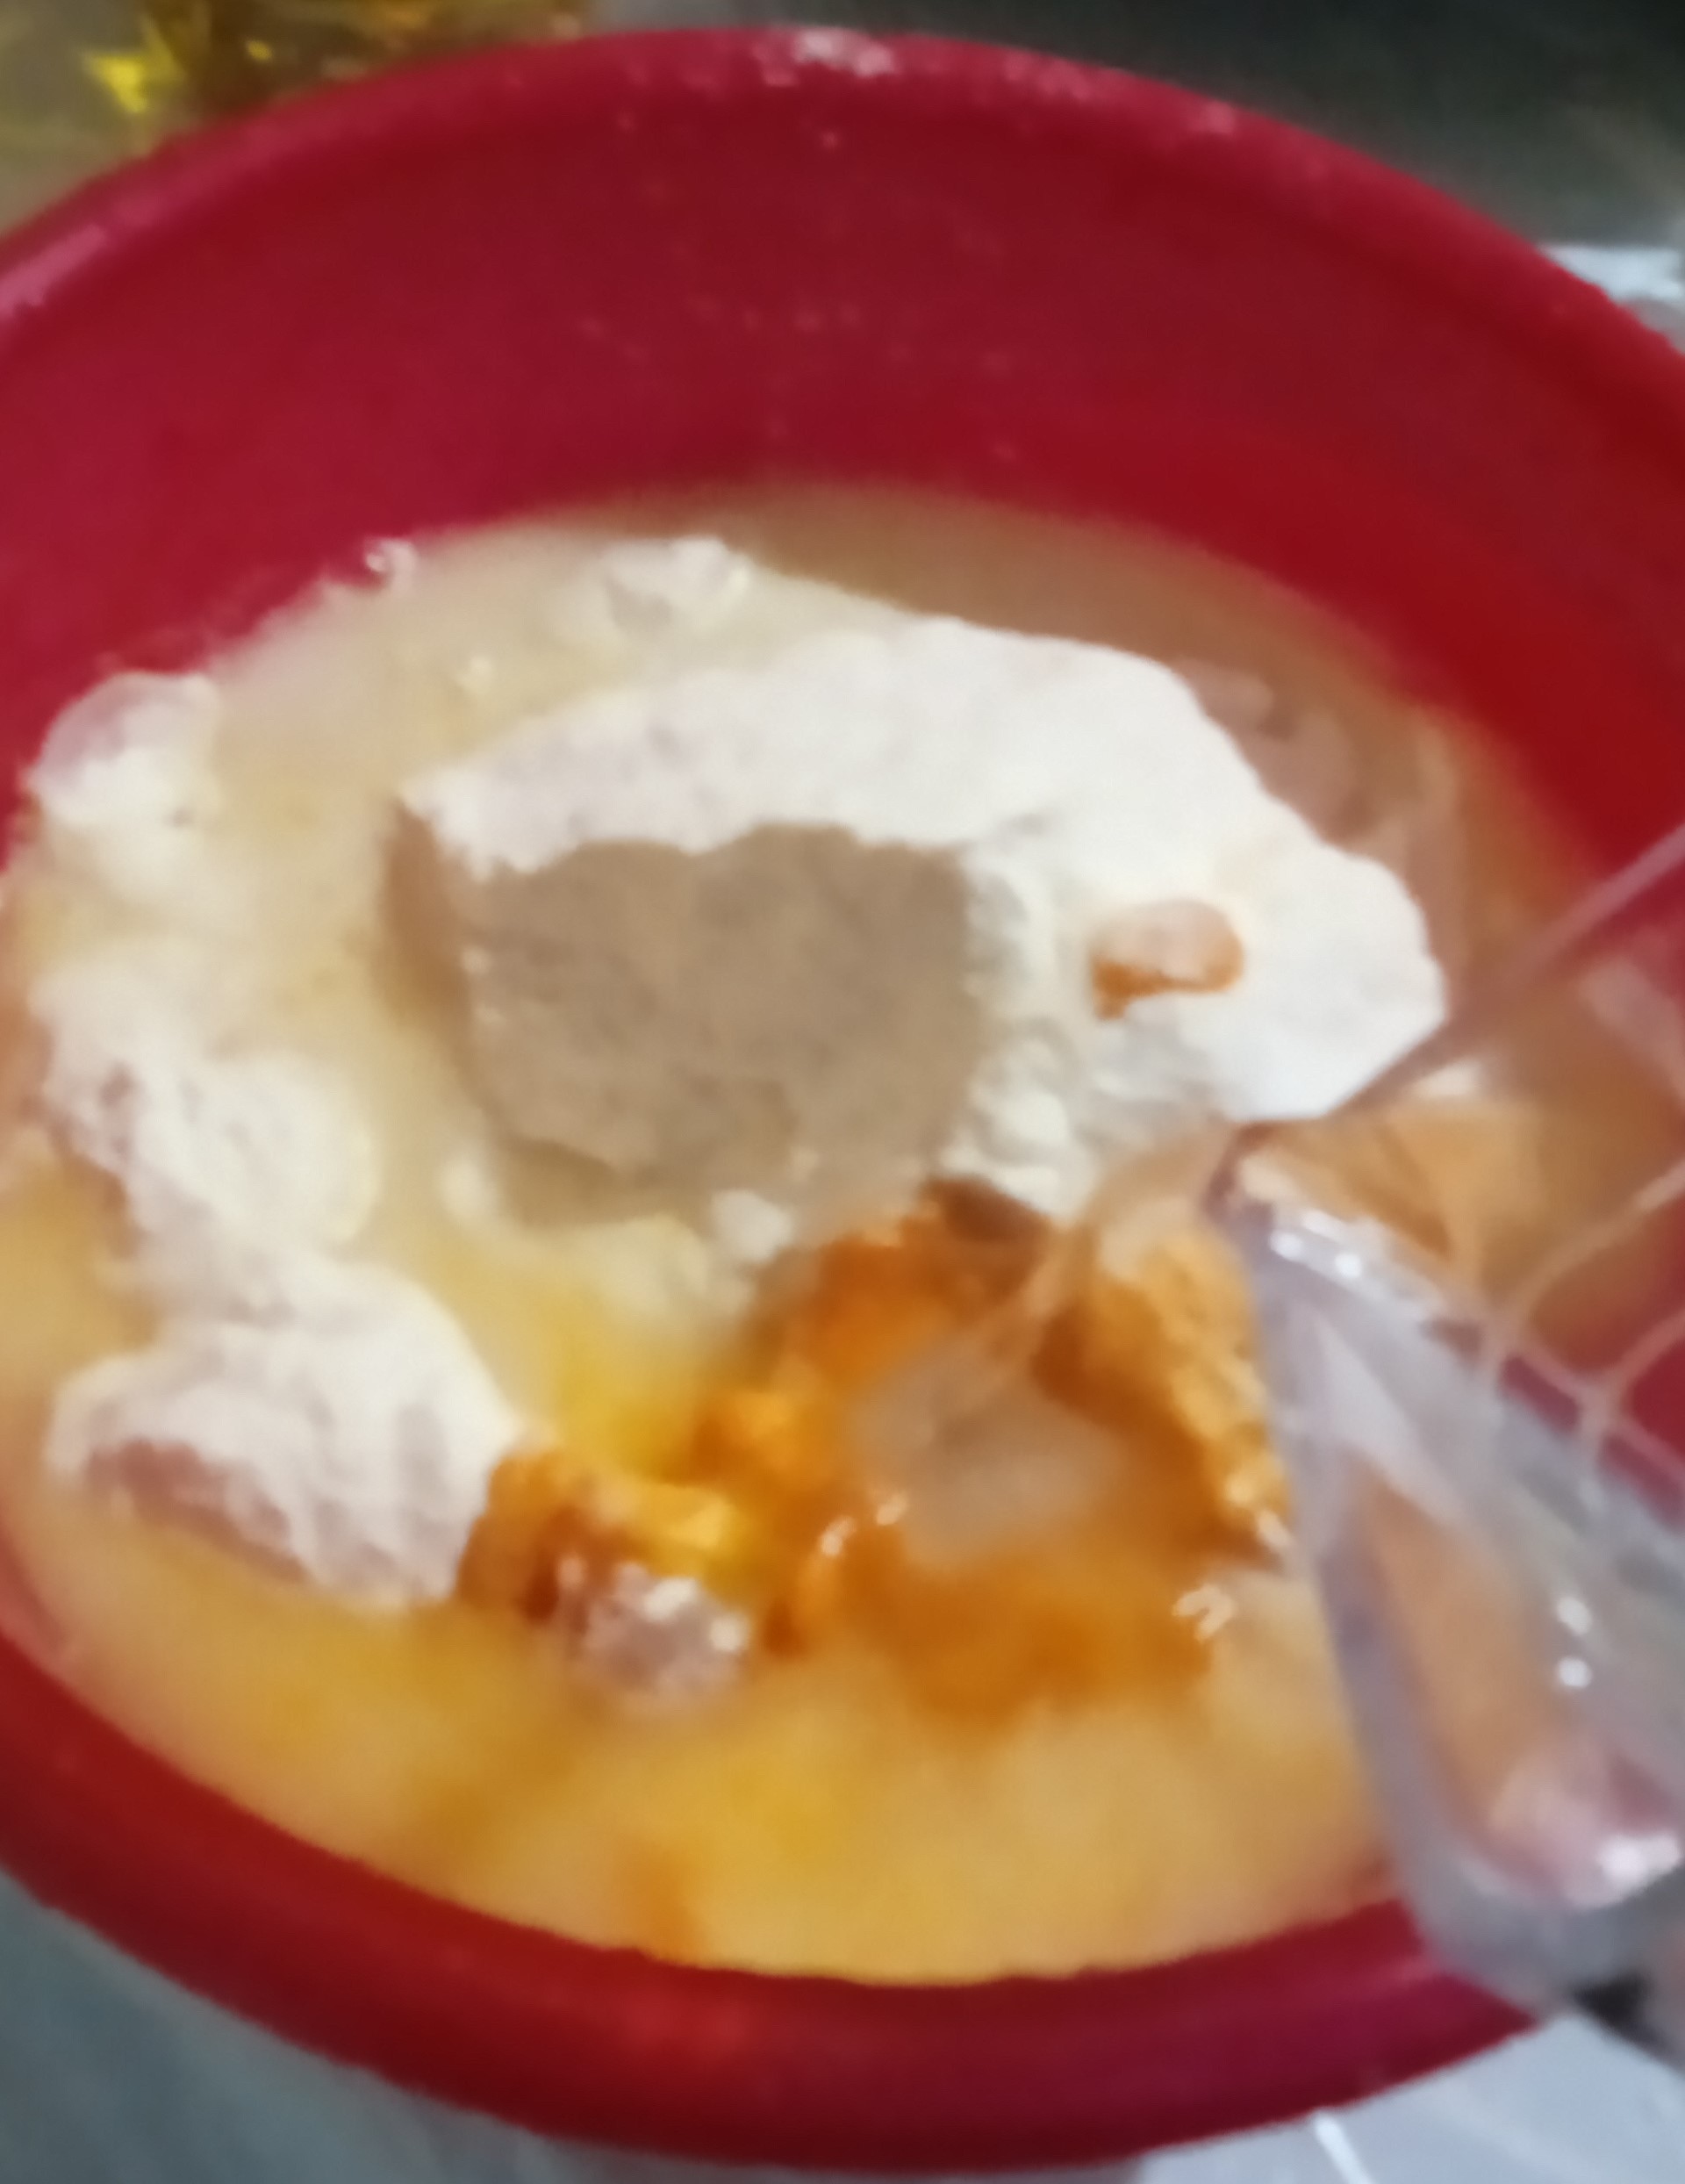
1. Se toma el paquete de harina de maíz y se coloca en un bol hondo toda la harina.
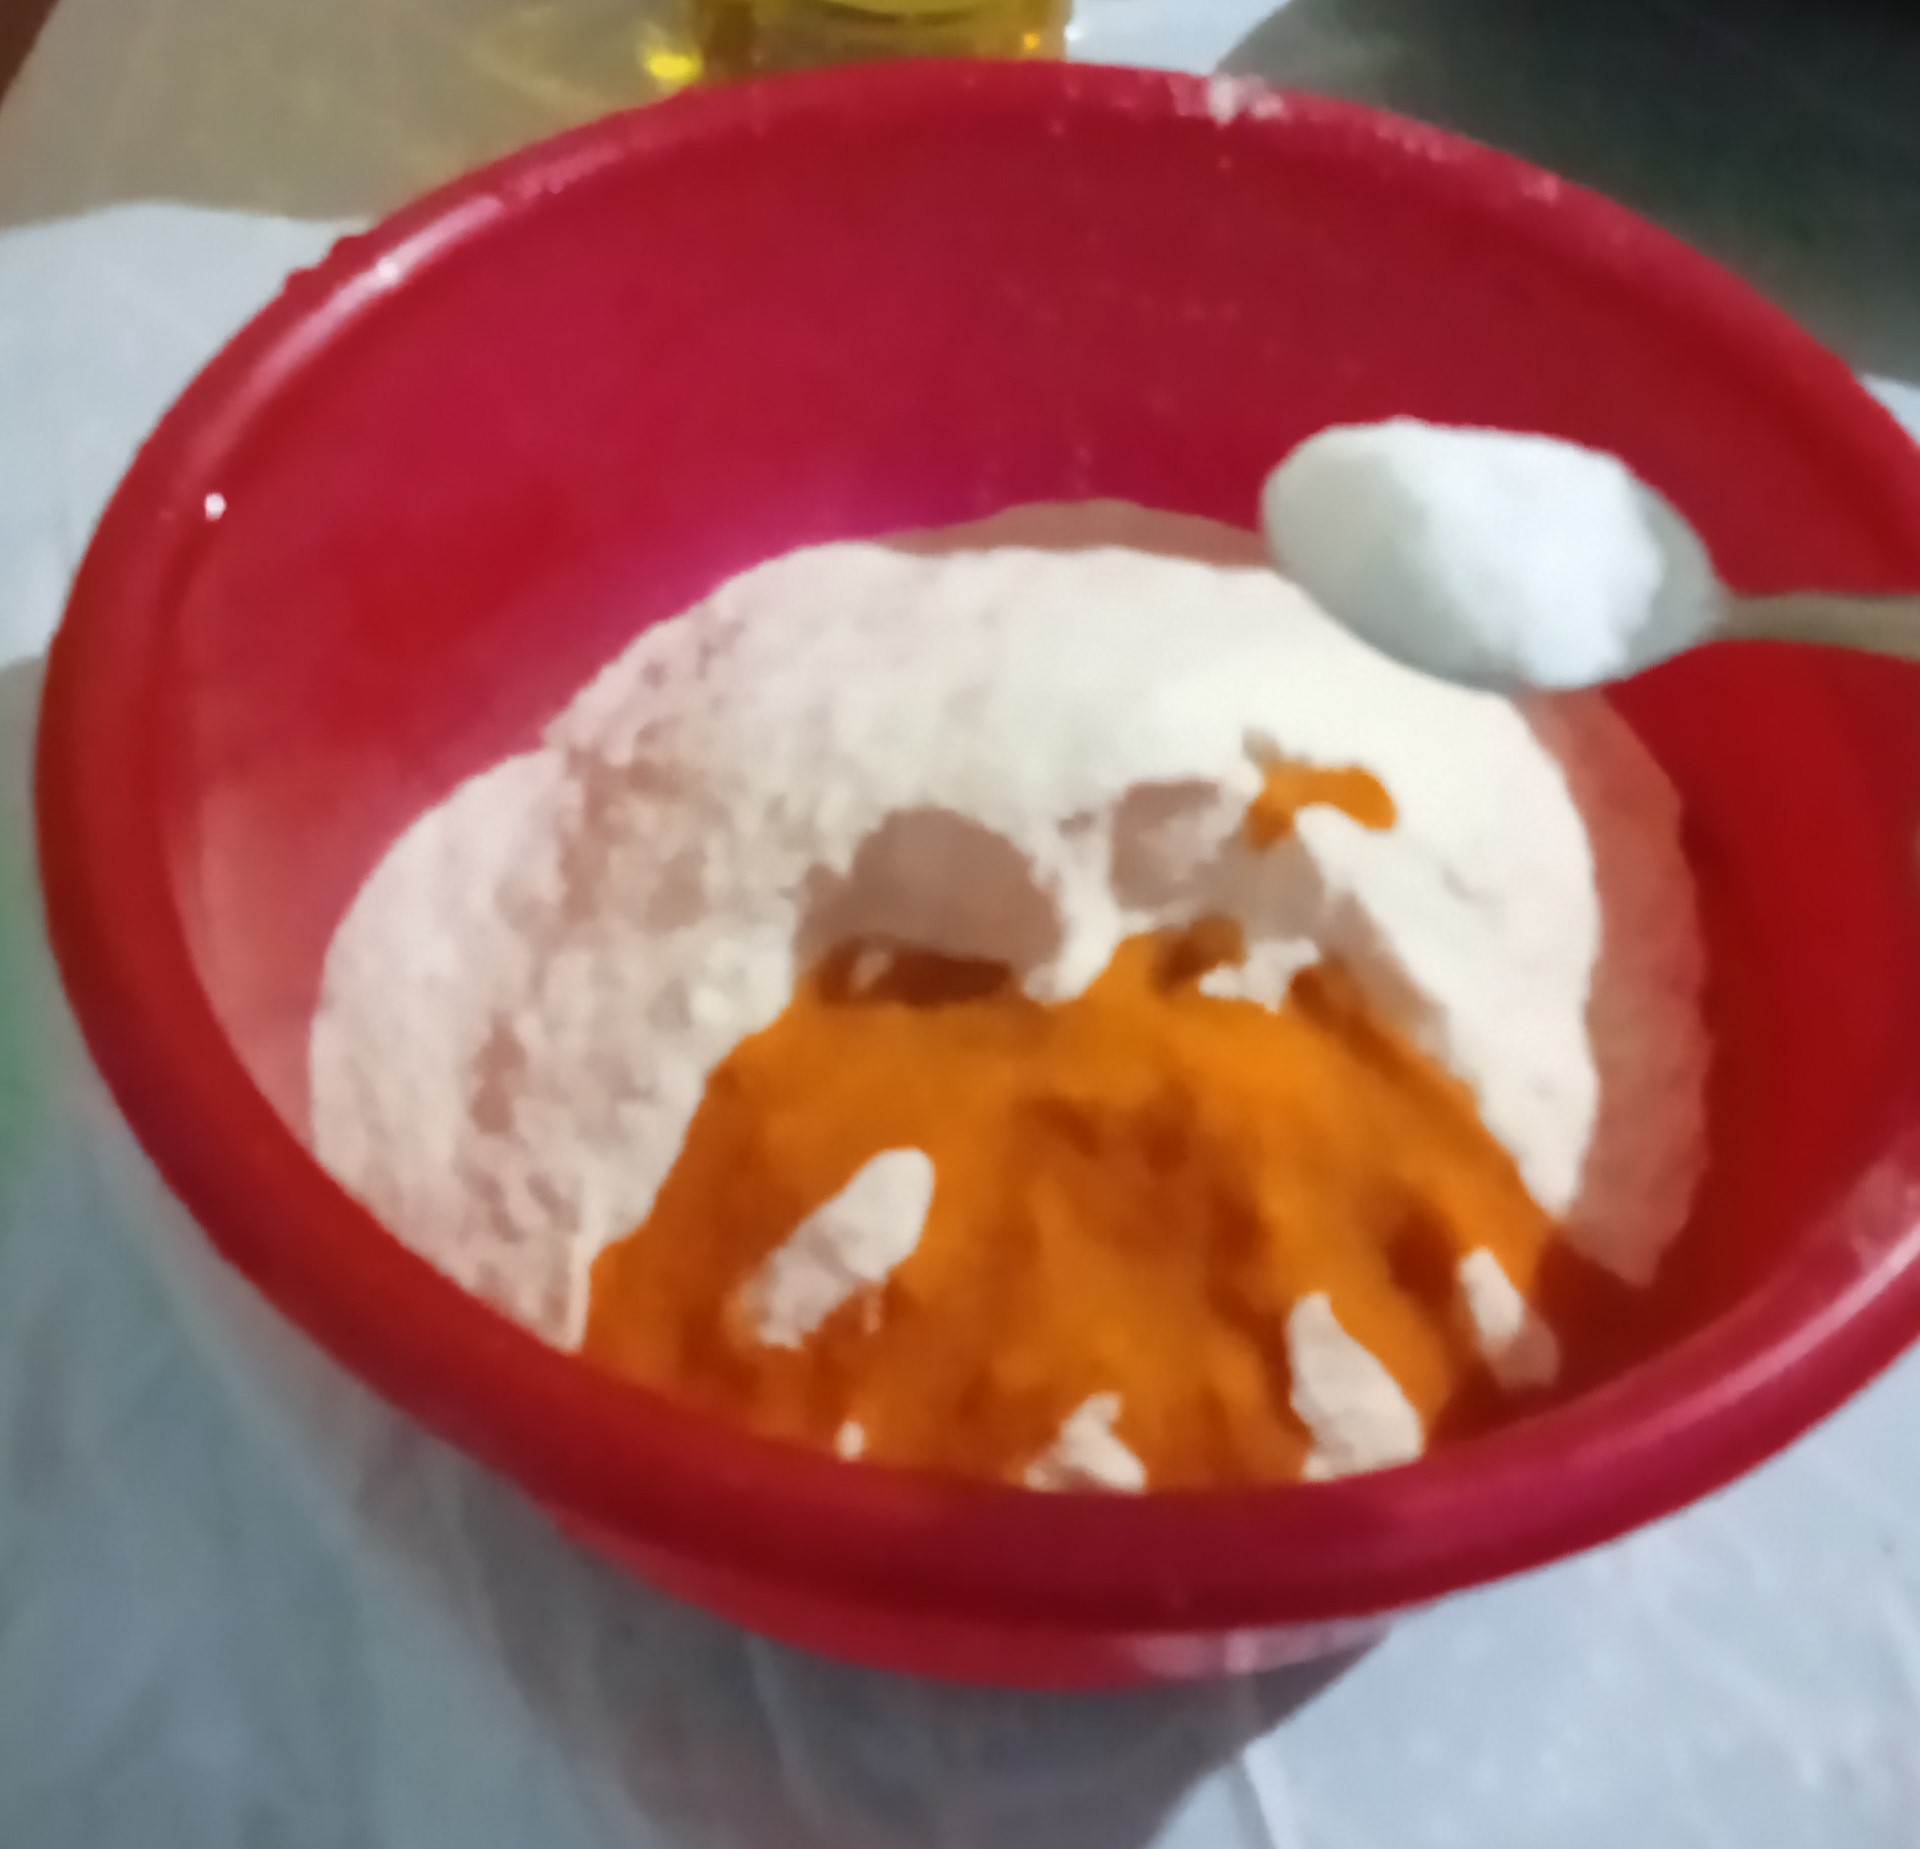
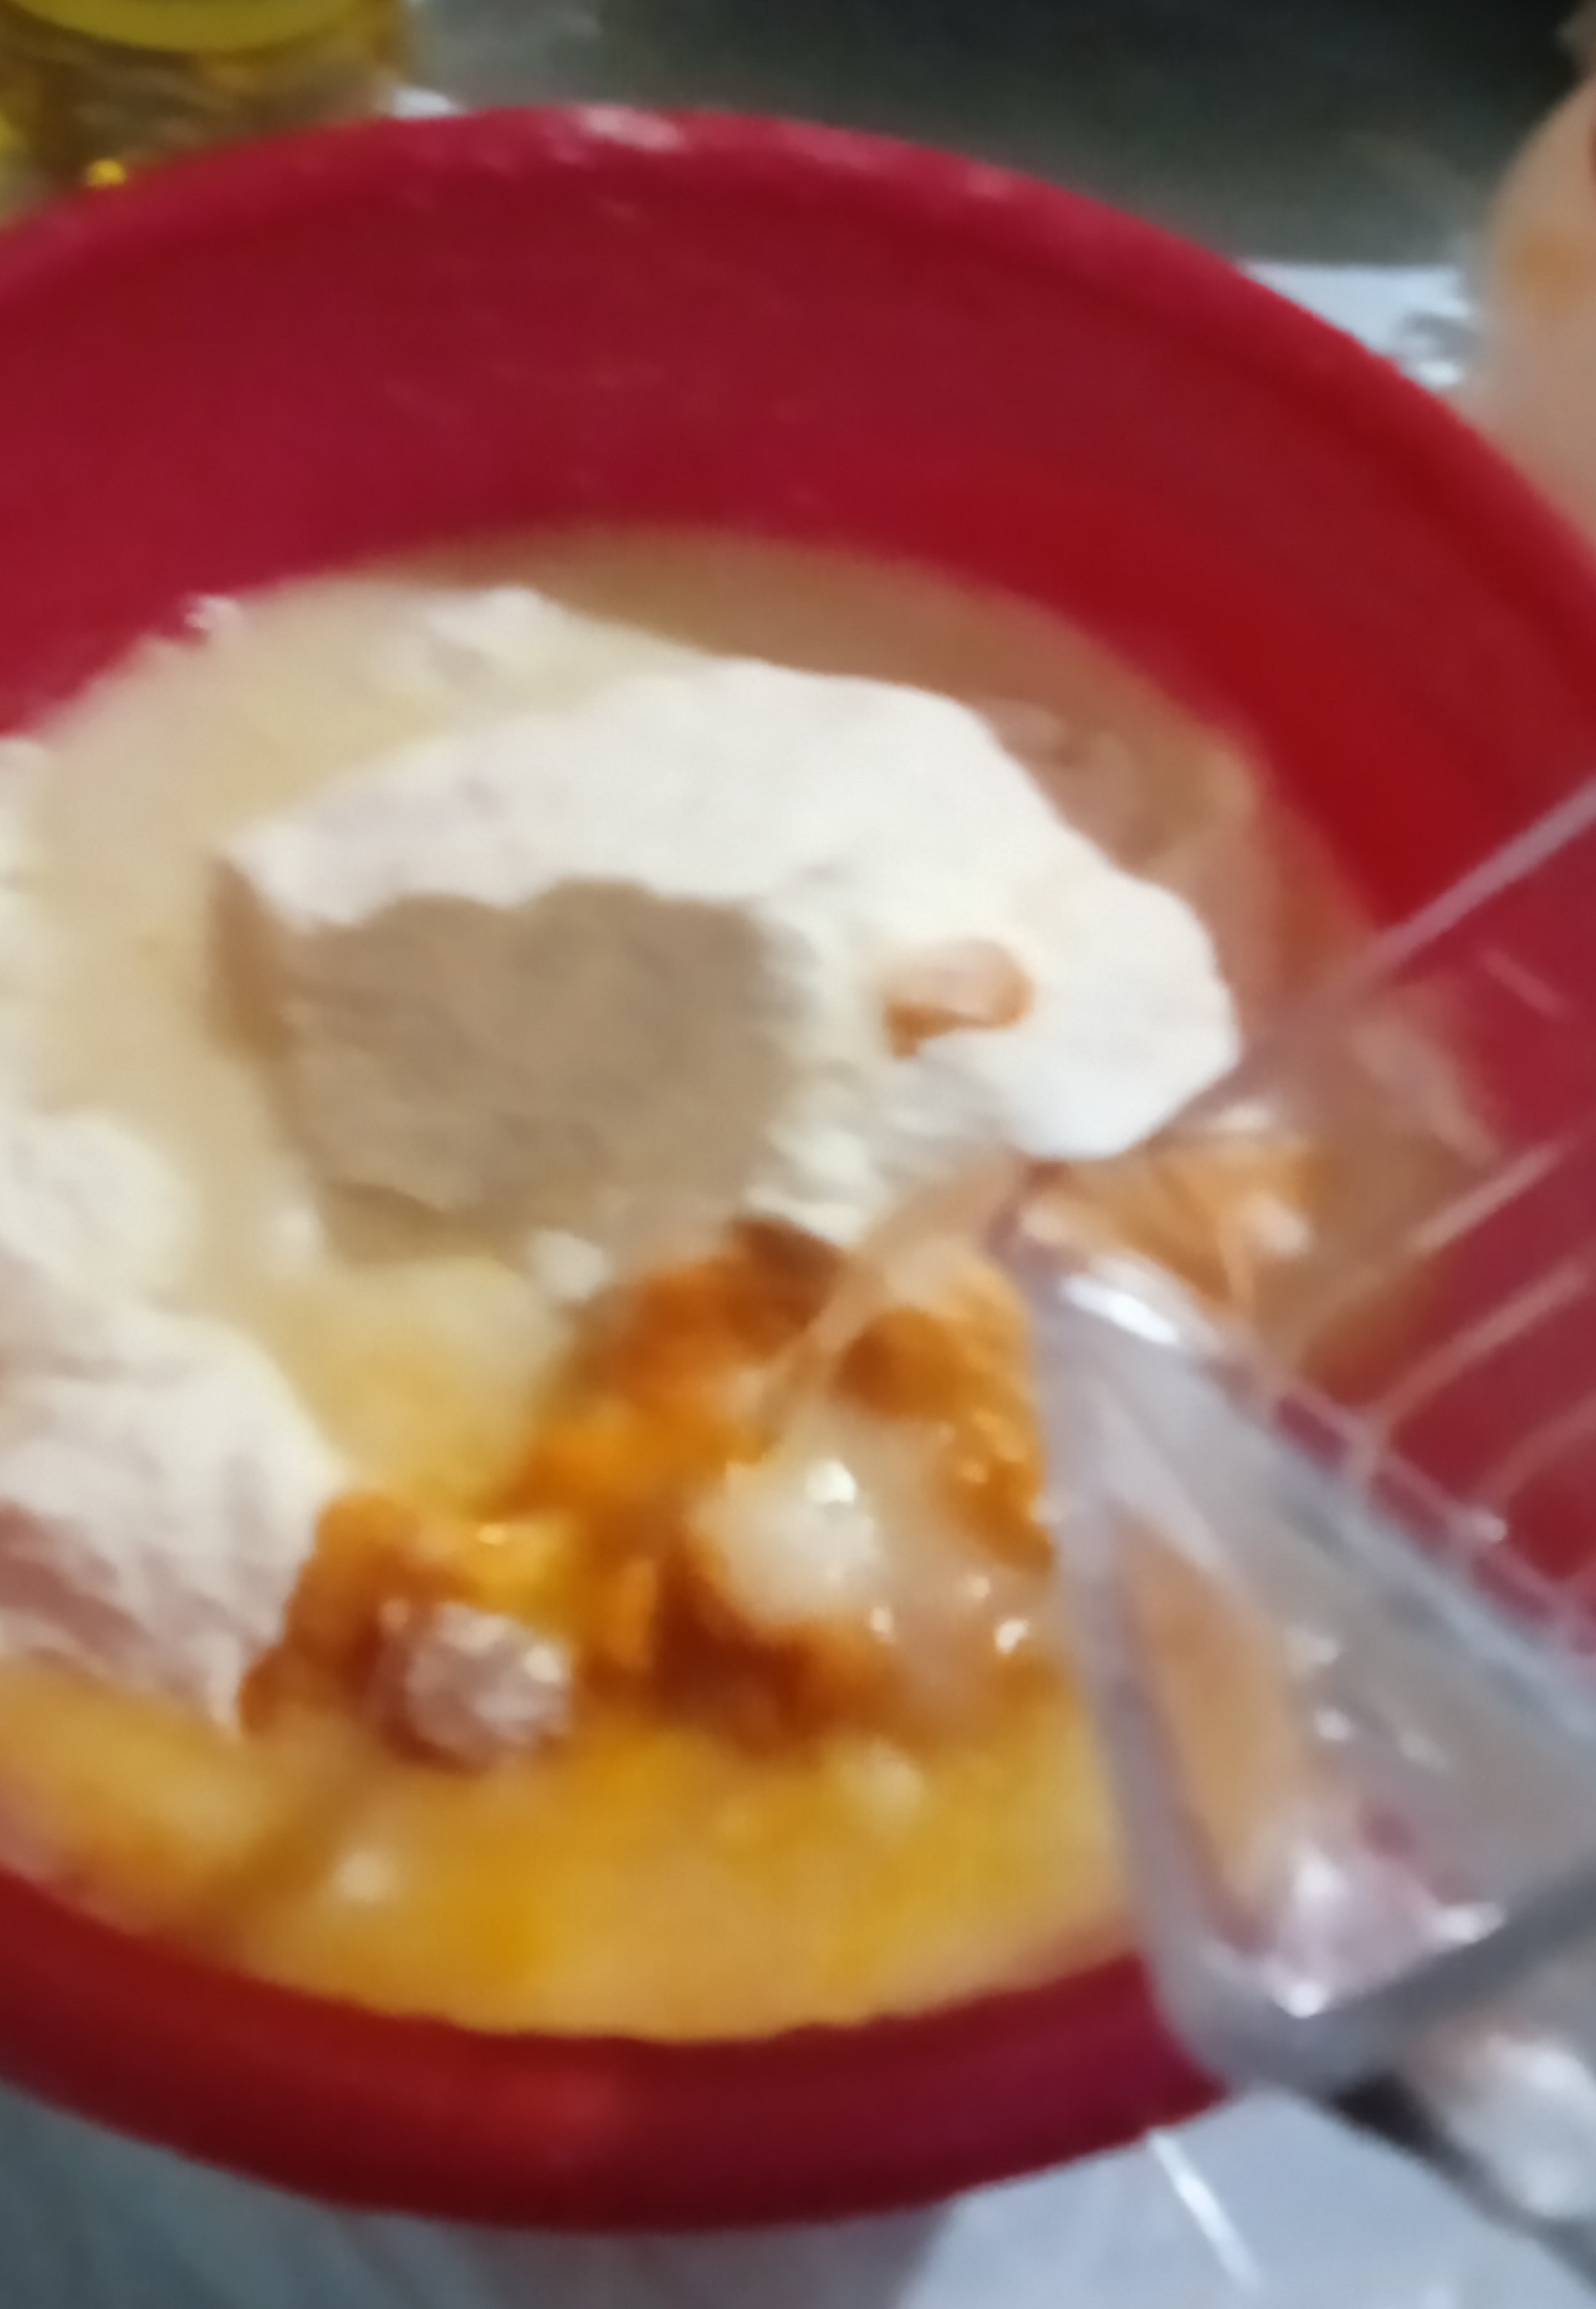
2. Después se le añade la media taza de aceite onotada.
3. Seguidamente, las dos cucharaditas de sal.
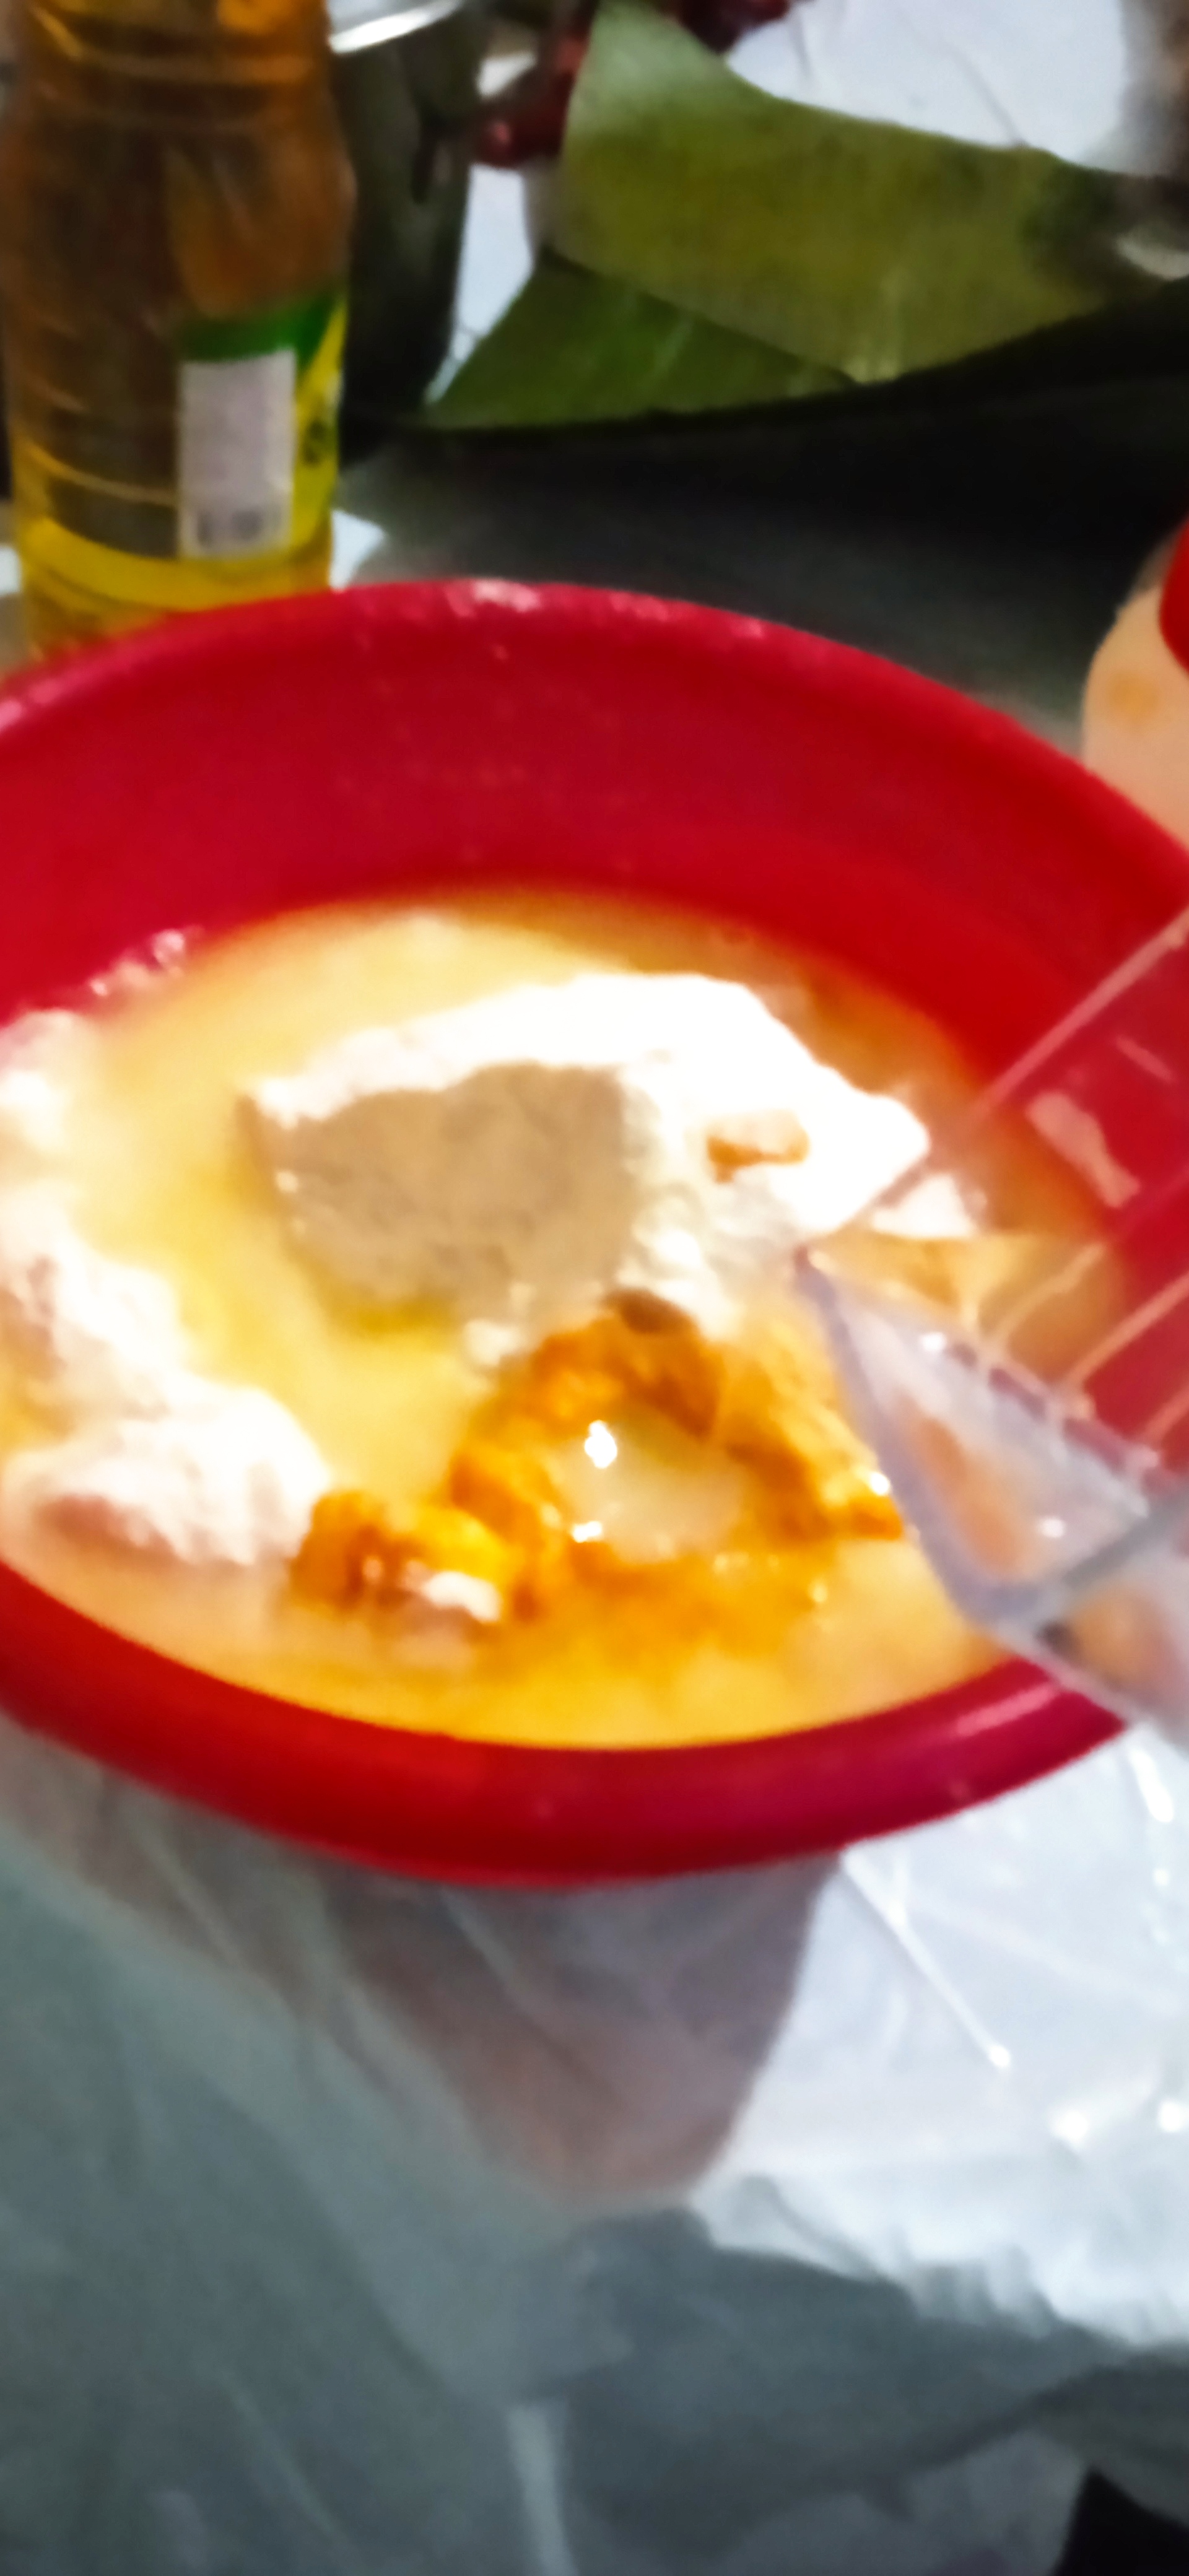
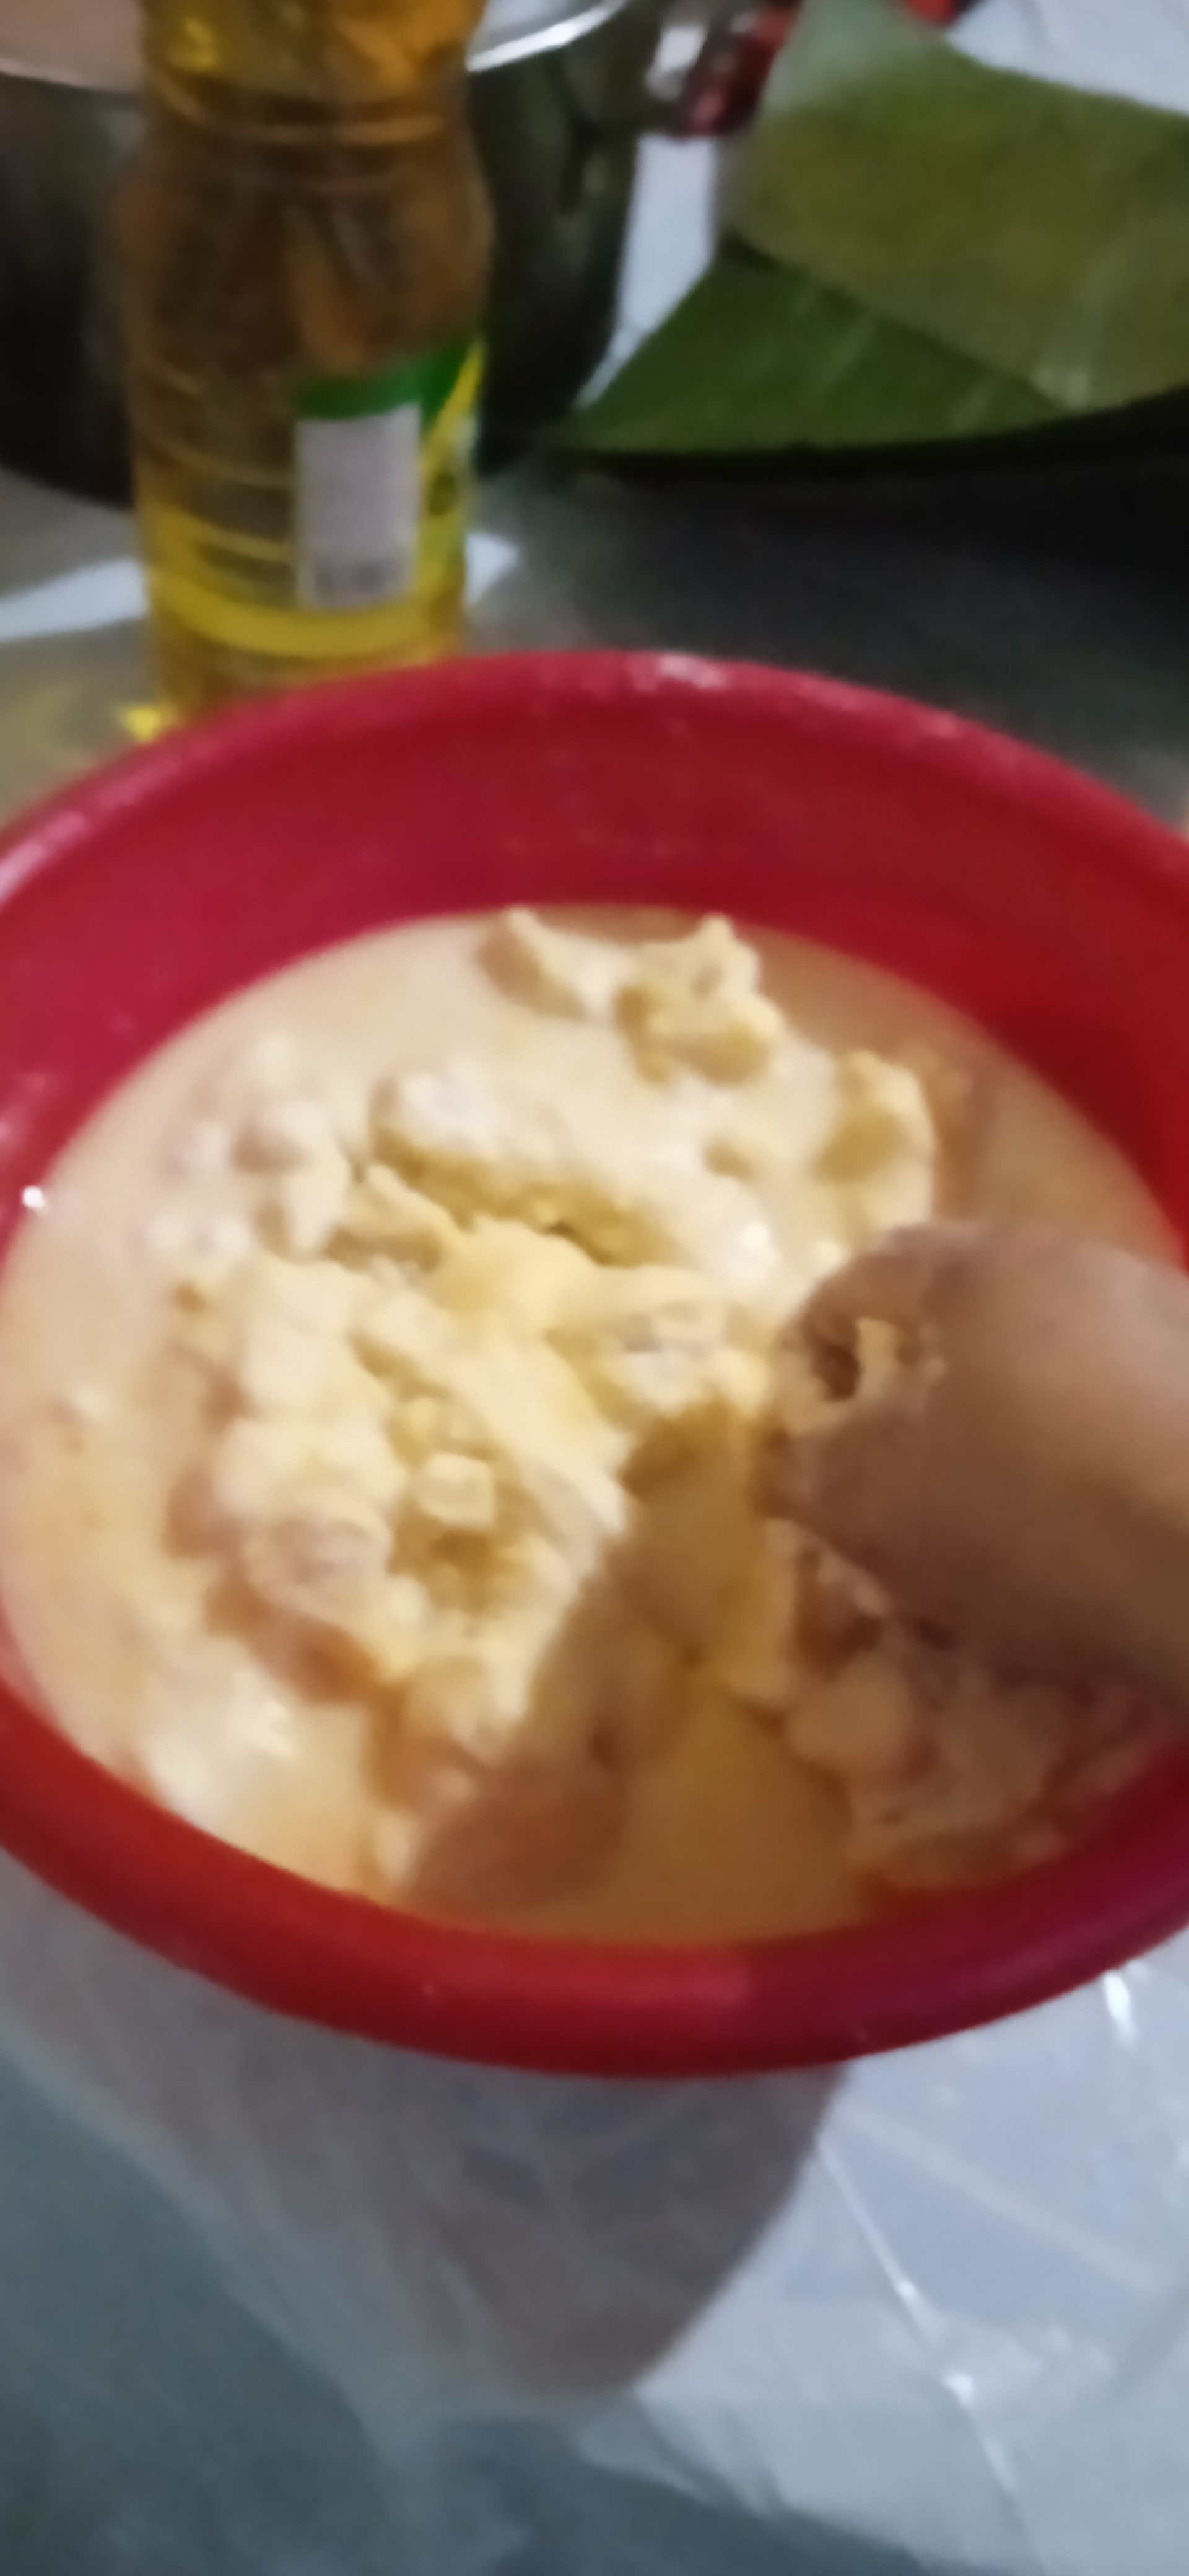
4. Luego se le adiciona 1.5 litros de agua (se va incorporando poco a poco y amasando hasta lograr la textura deseada: suave y sin grumos).
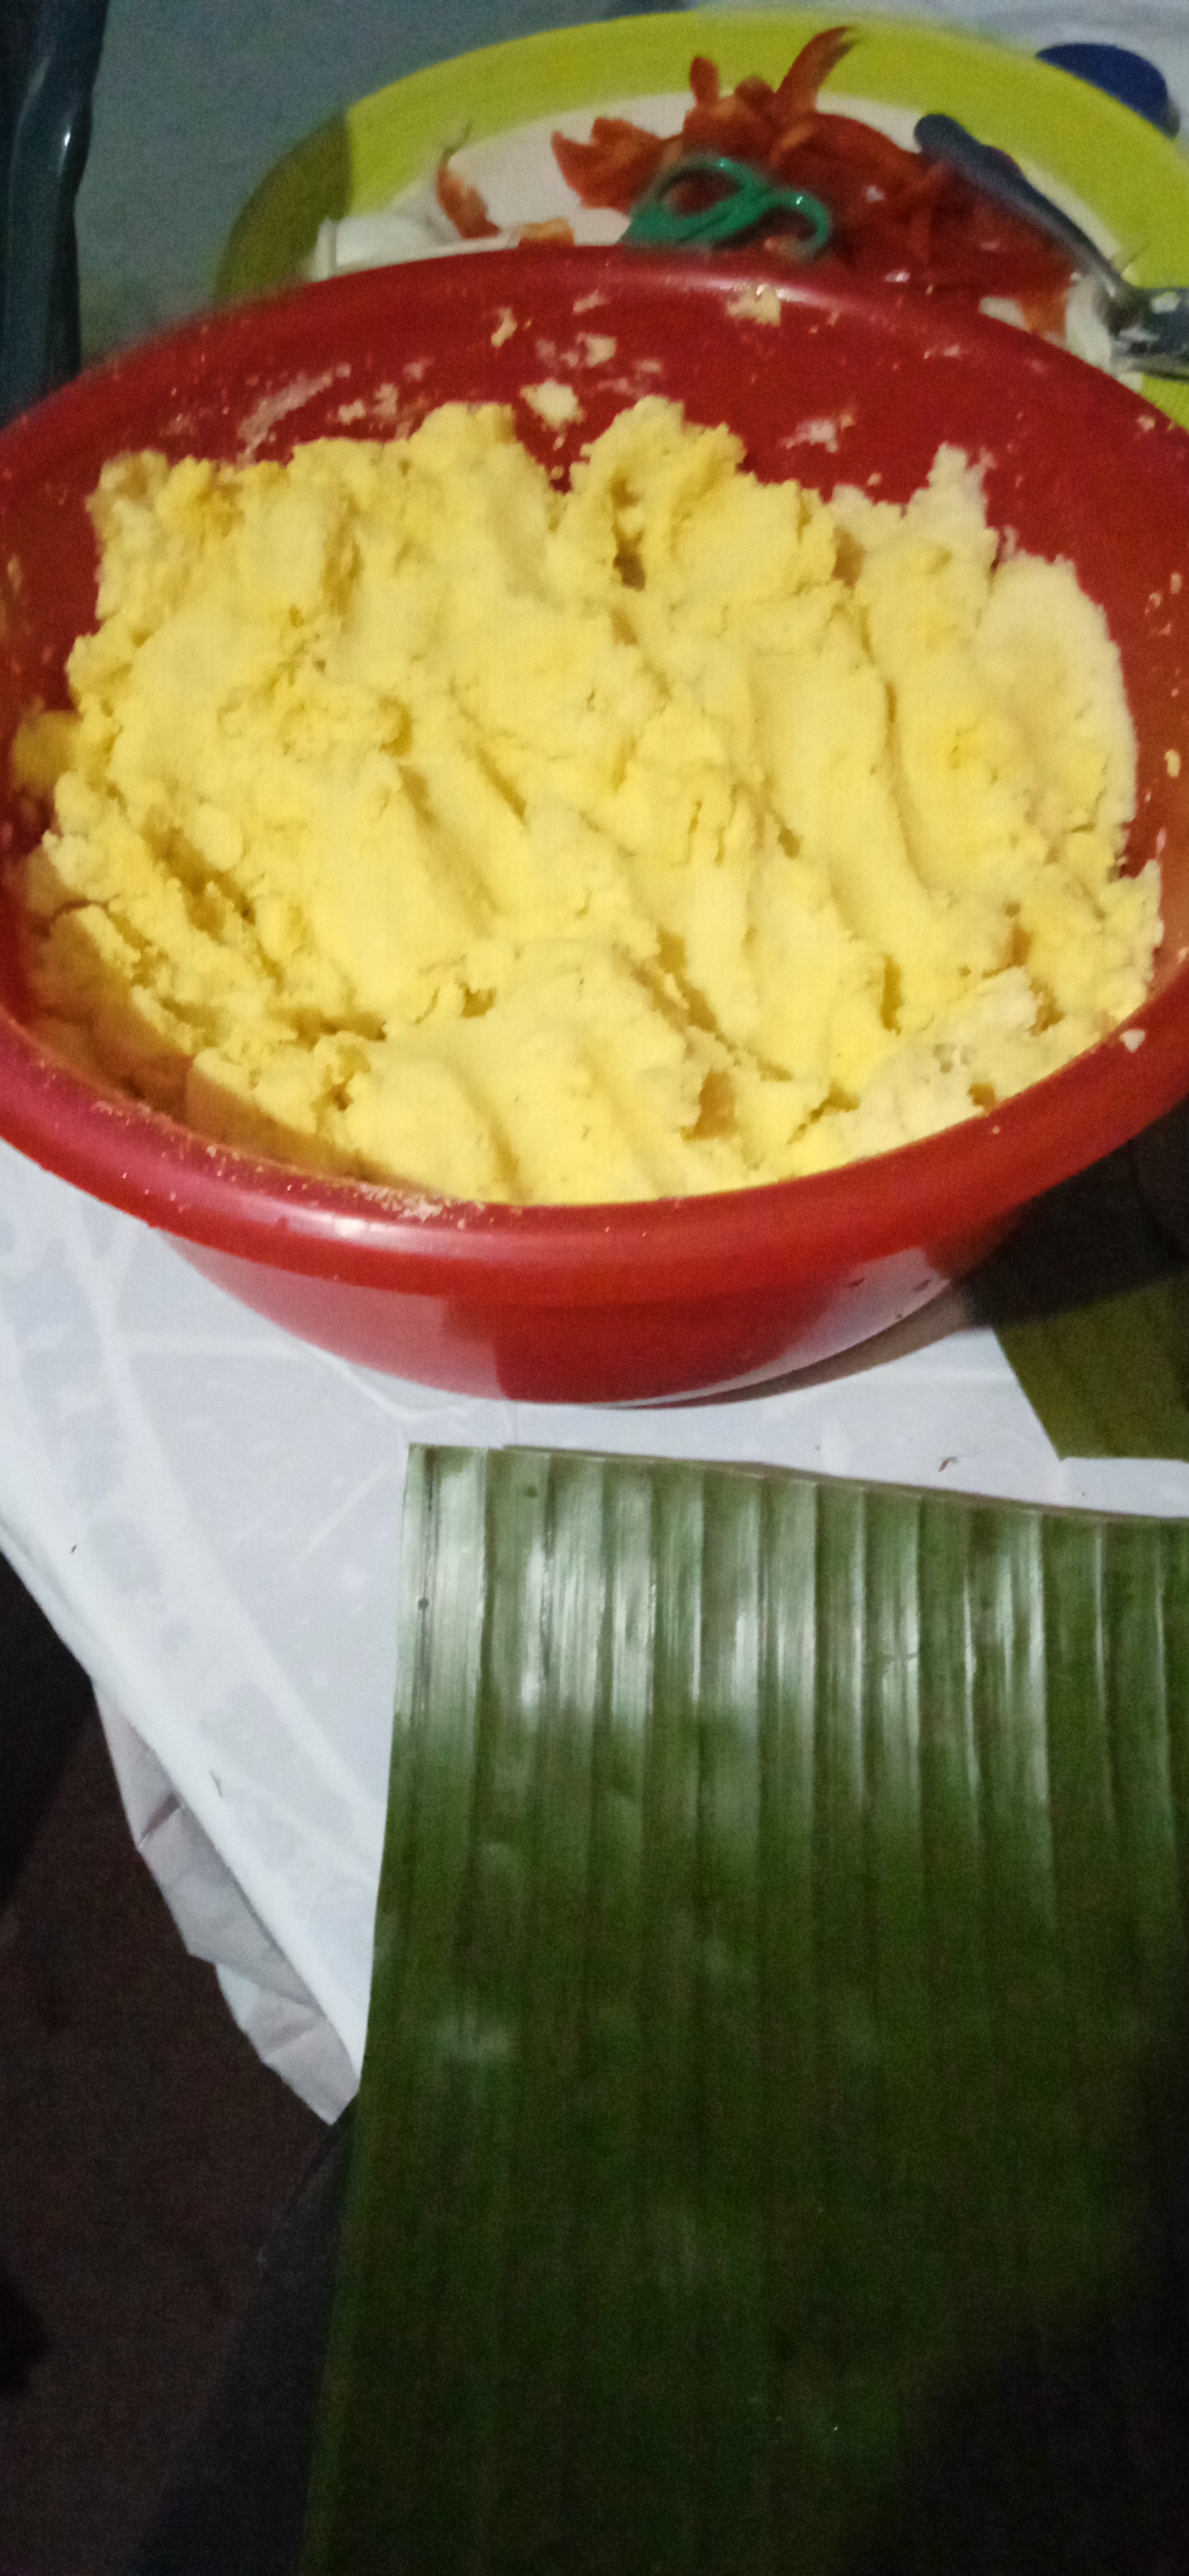
5. Y finalmente se hacen bolas para armar las hallacas, según nuestra preferencia.

🙏😜🥰🥳🤤👍🤝🤞🤛💪👩🍳🤱👨👩👦🎄🍽
For the dough: 1. Take the package of corn flour and place in a deep bowl all the flour. 2. Then add the half cup of oil onotada. 3. Next, the two teaspoons of salt. 4. Then add 1.5 liters of water (add little by little and knead until the desired texture is achieved: smooth and without lumps). 5. And finally, balls are made to assemble the hallacas, according to our preference.
Decoración de las hallacas:
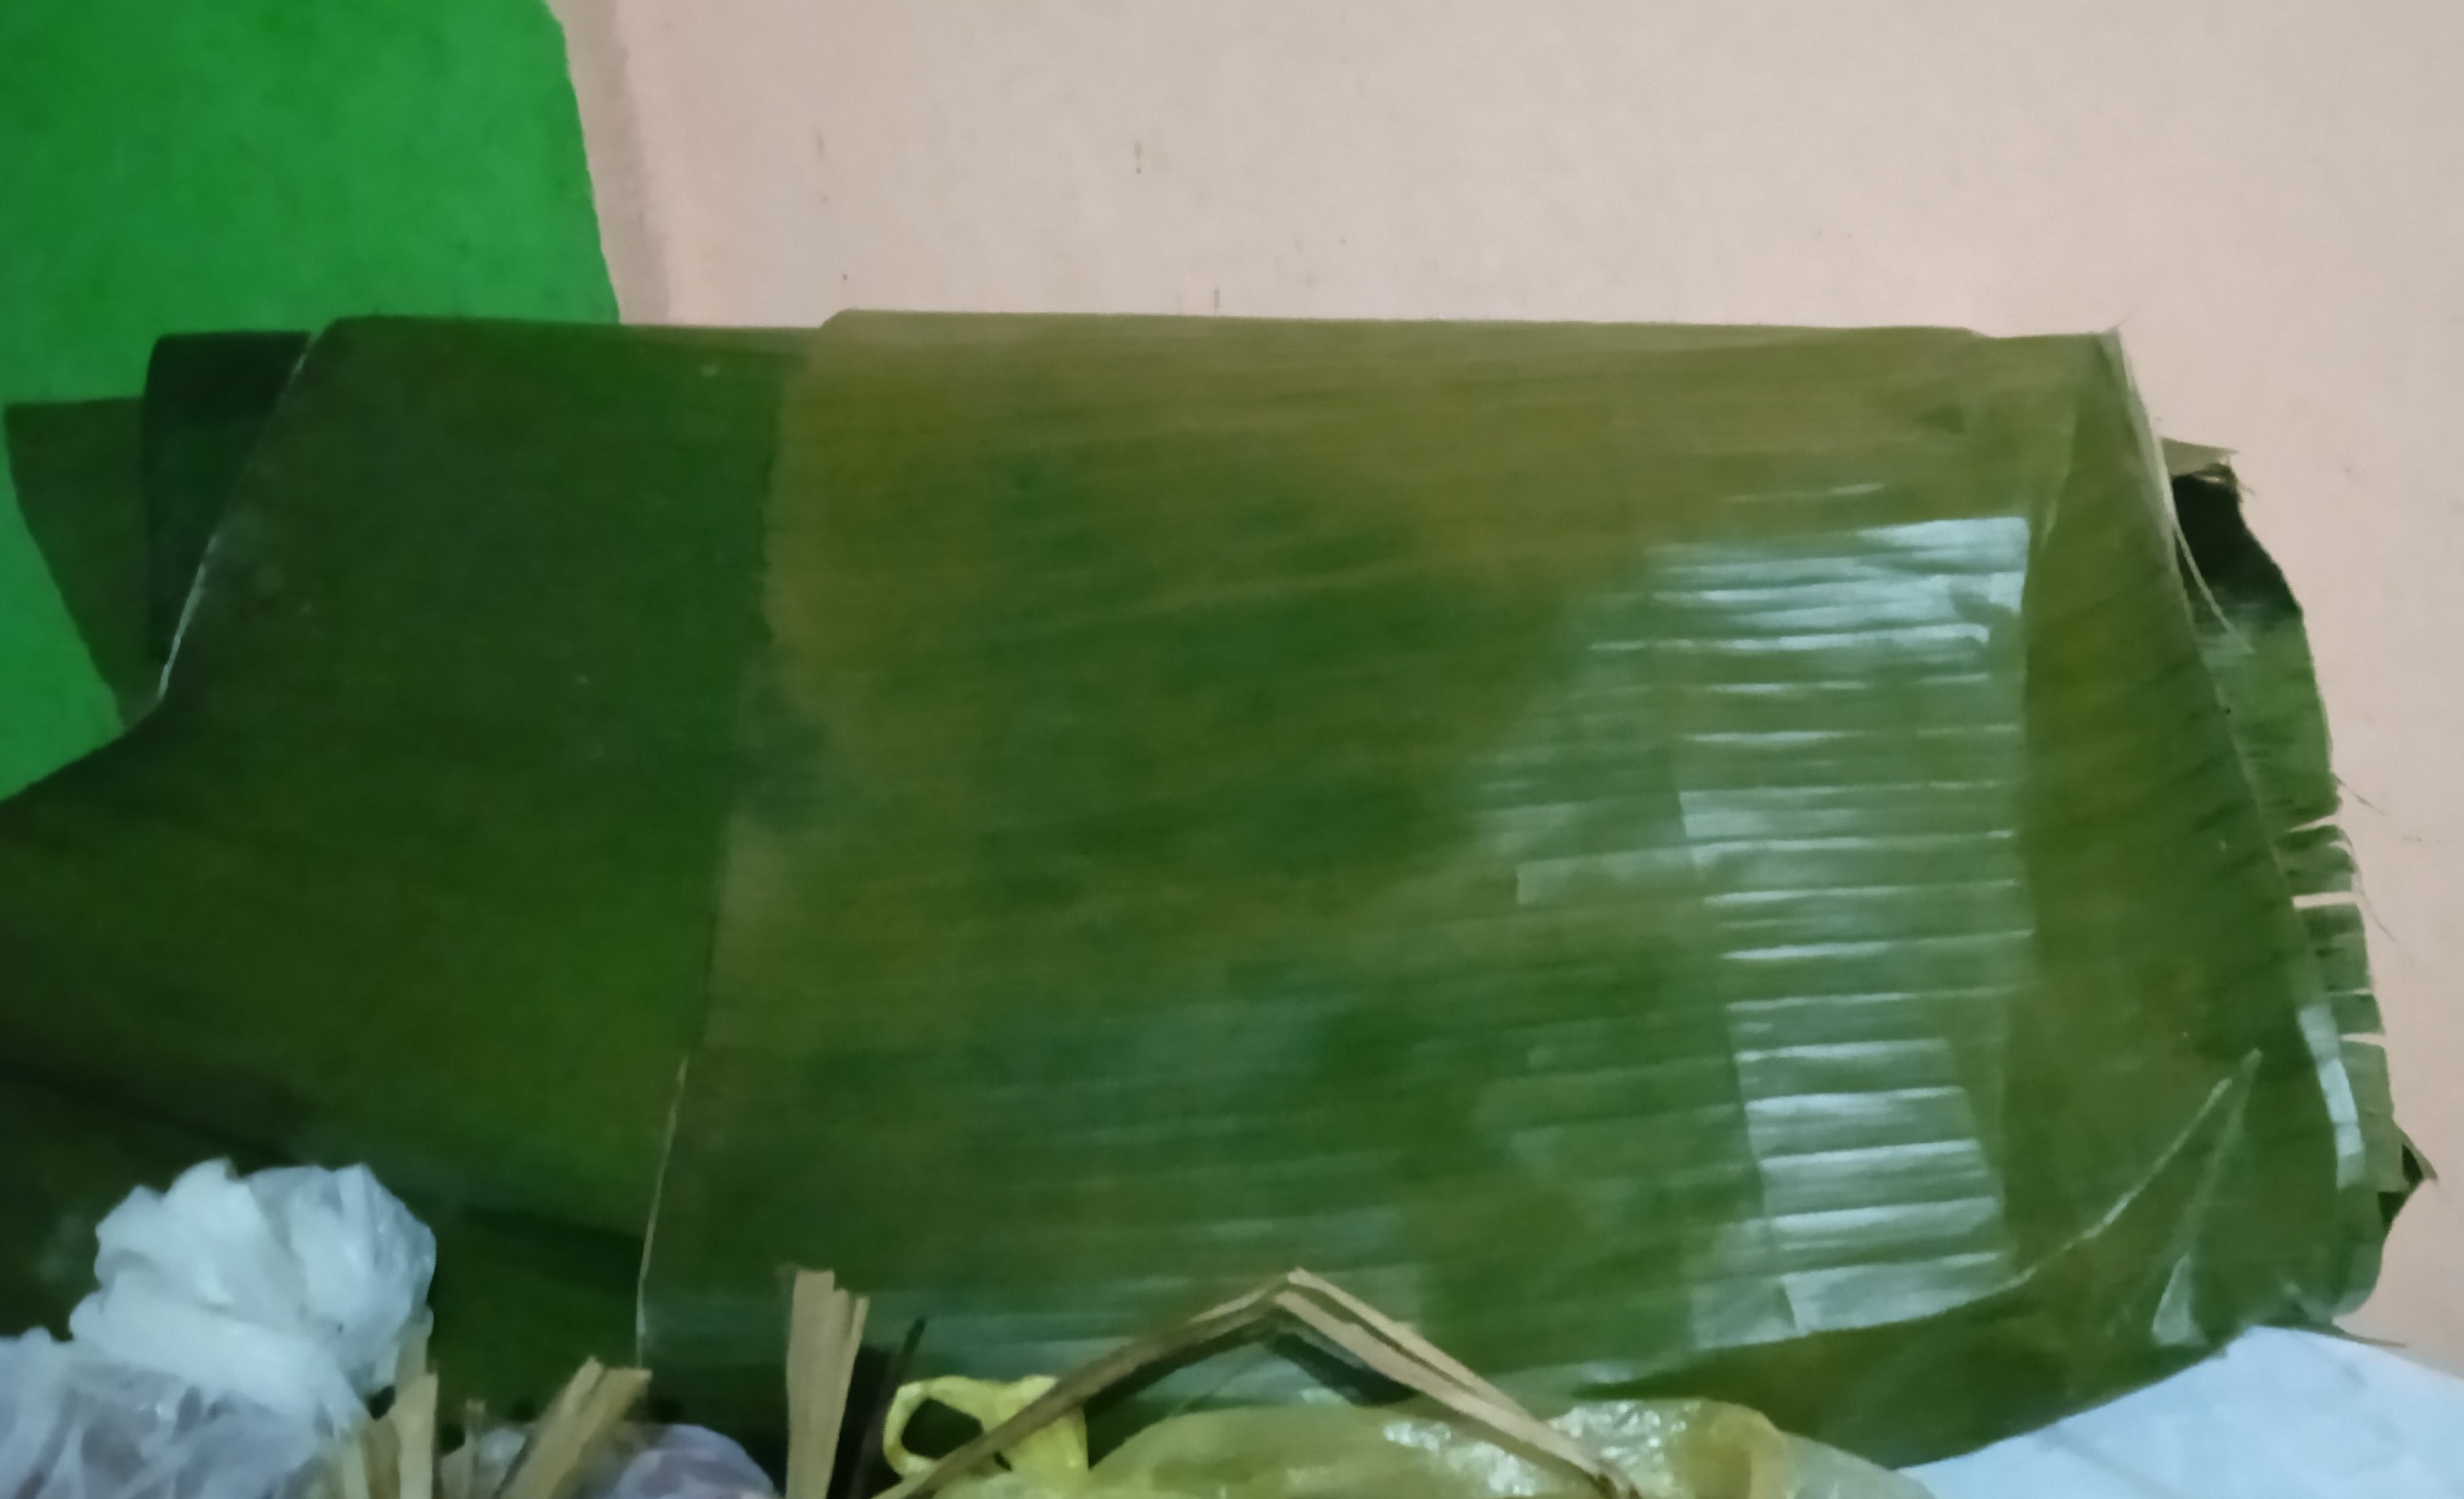
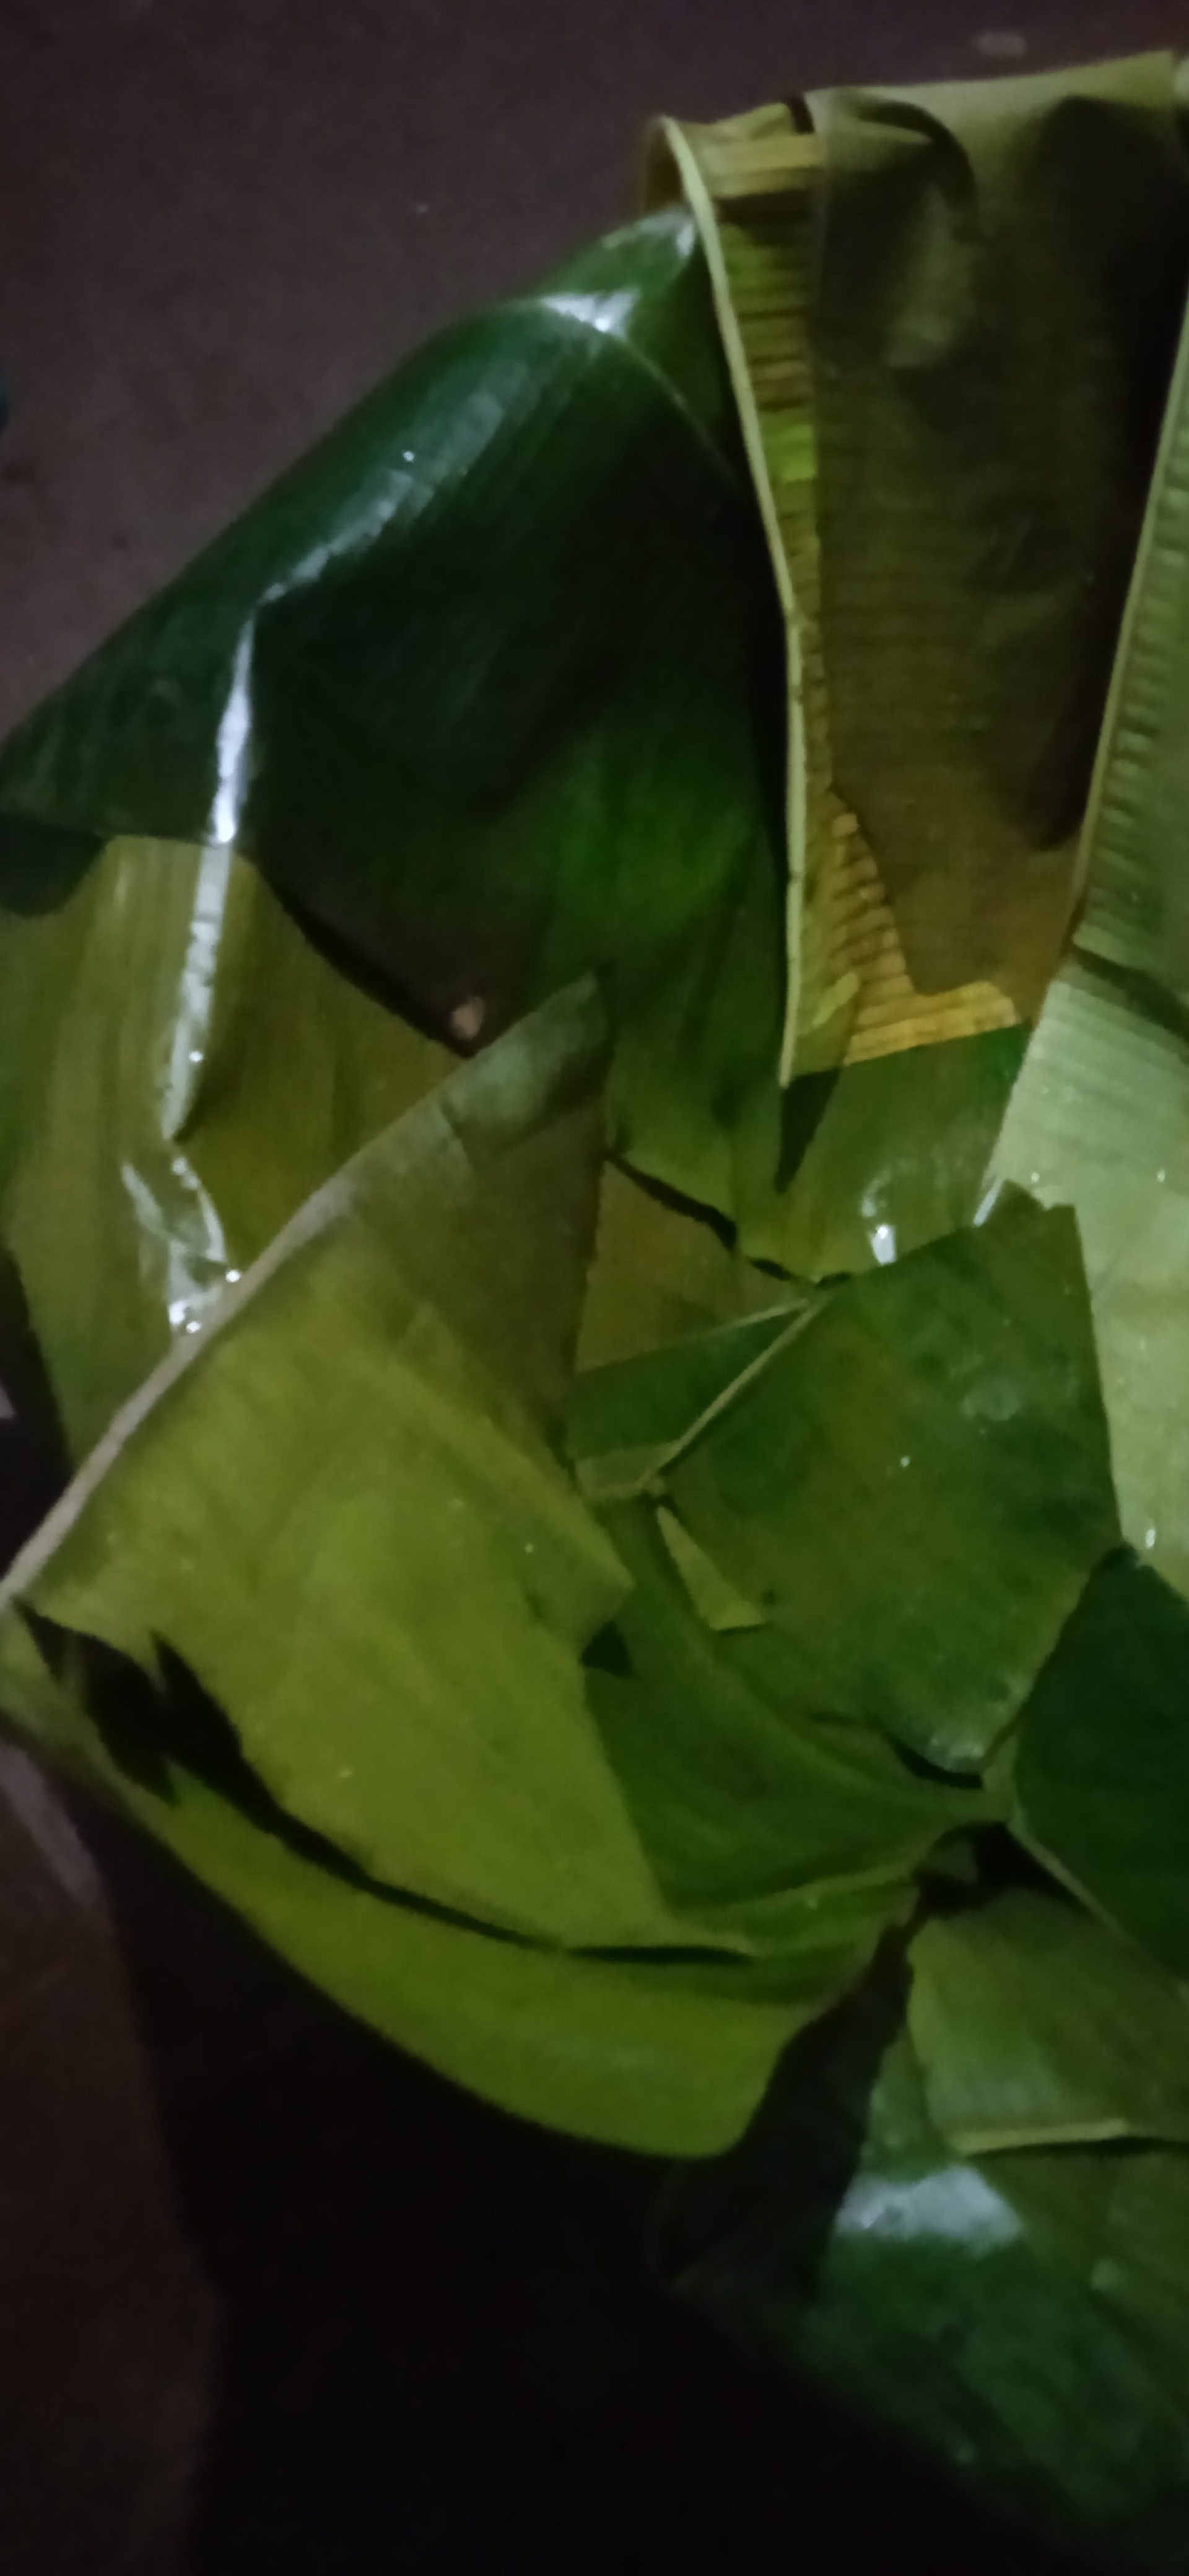
1. Se toma el kilo de hoja de plátanos, y se empiezan a lavar en el grifo con abundante agua, y luego se extiende cada hoja para que se sequen. Una vez secas, se quitan el borde grueso que tiene la hoja, y se cortan en pedazos, uno grande y otro más pequeño (eso va según el tamaño que queremos que quede la hallaca).
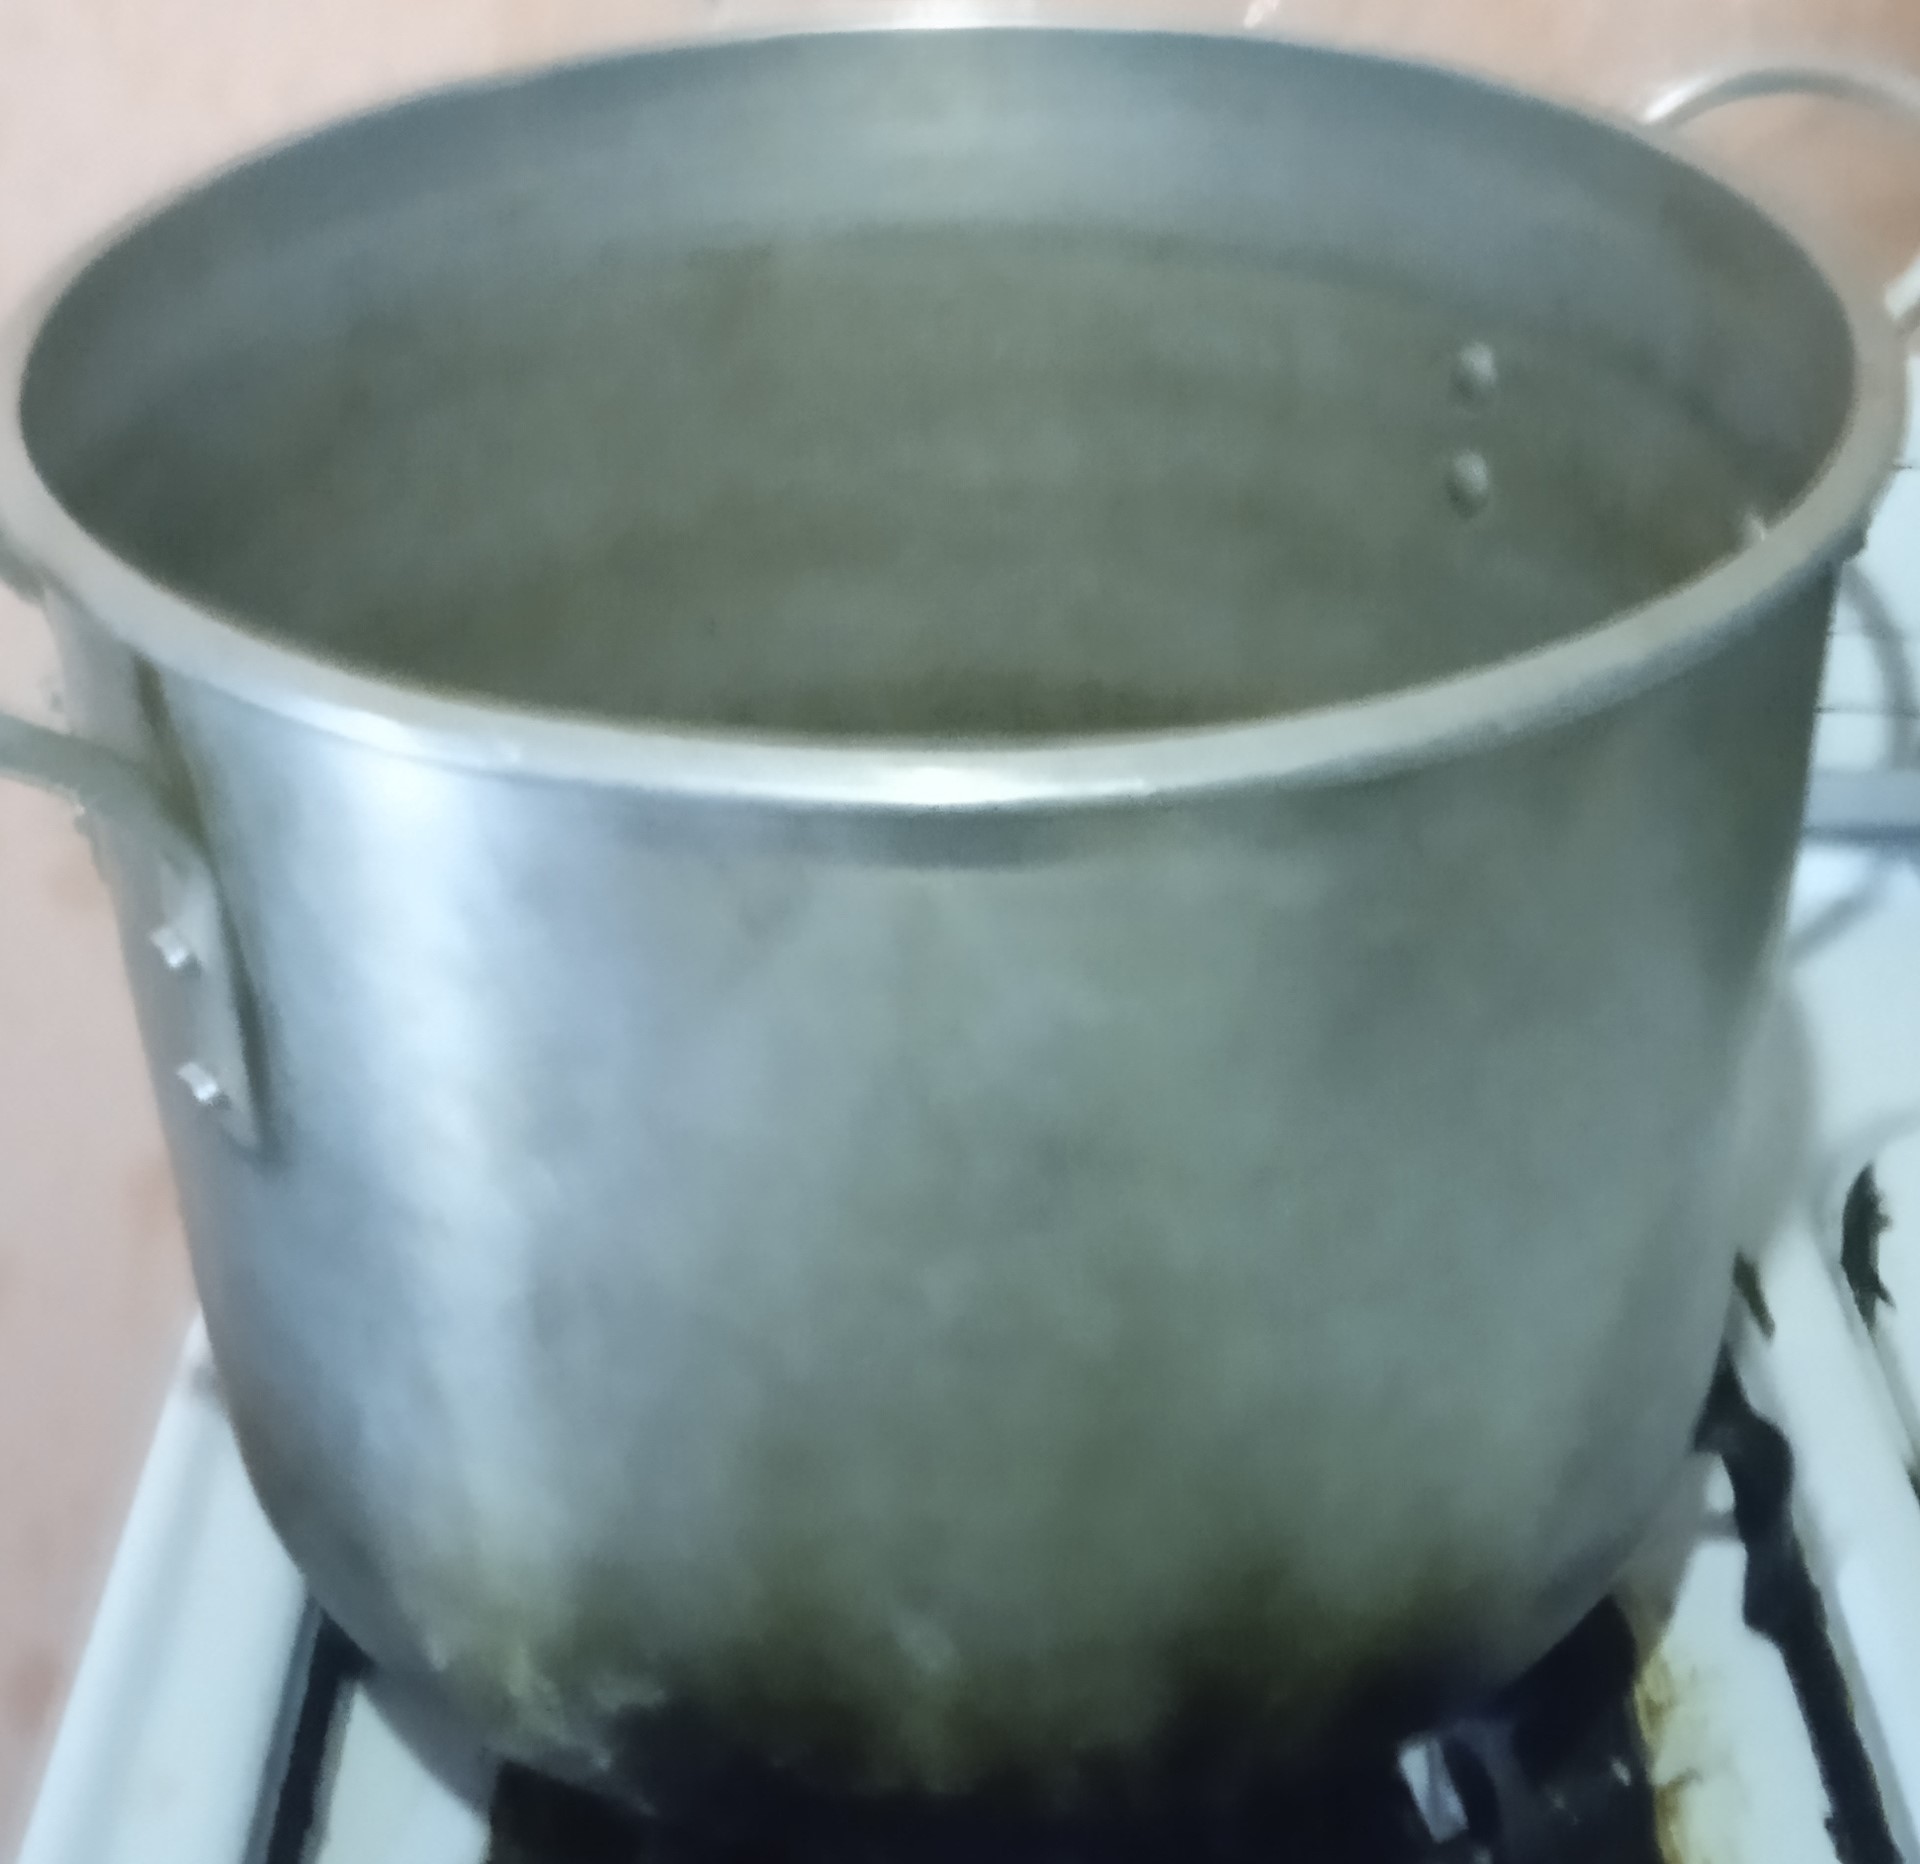
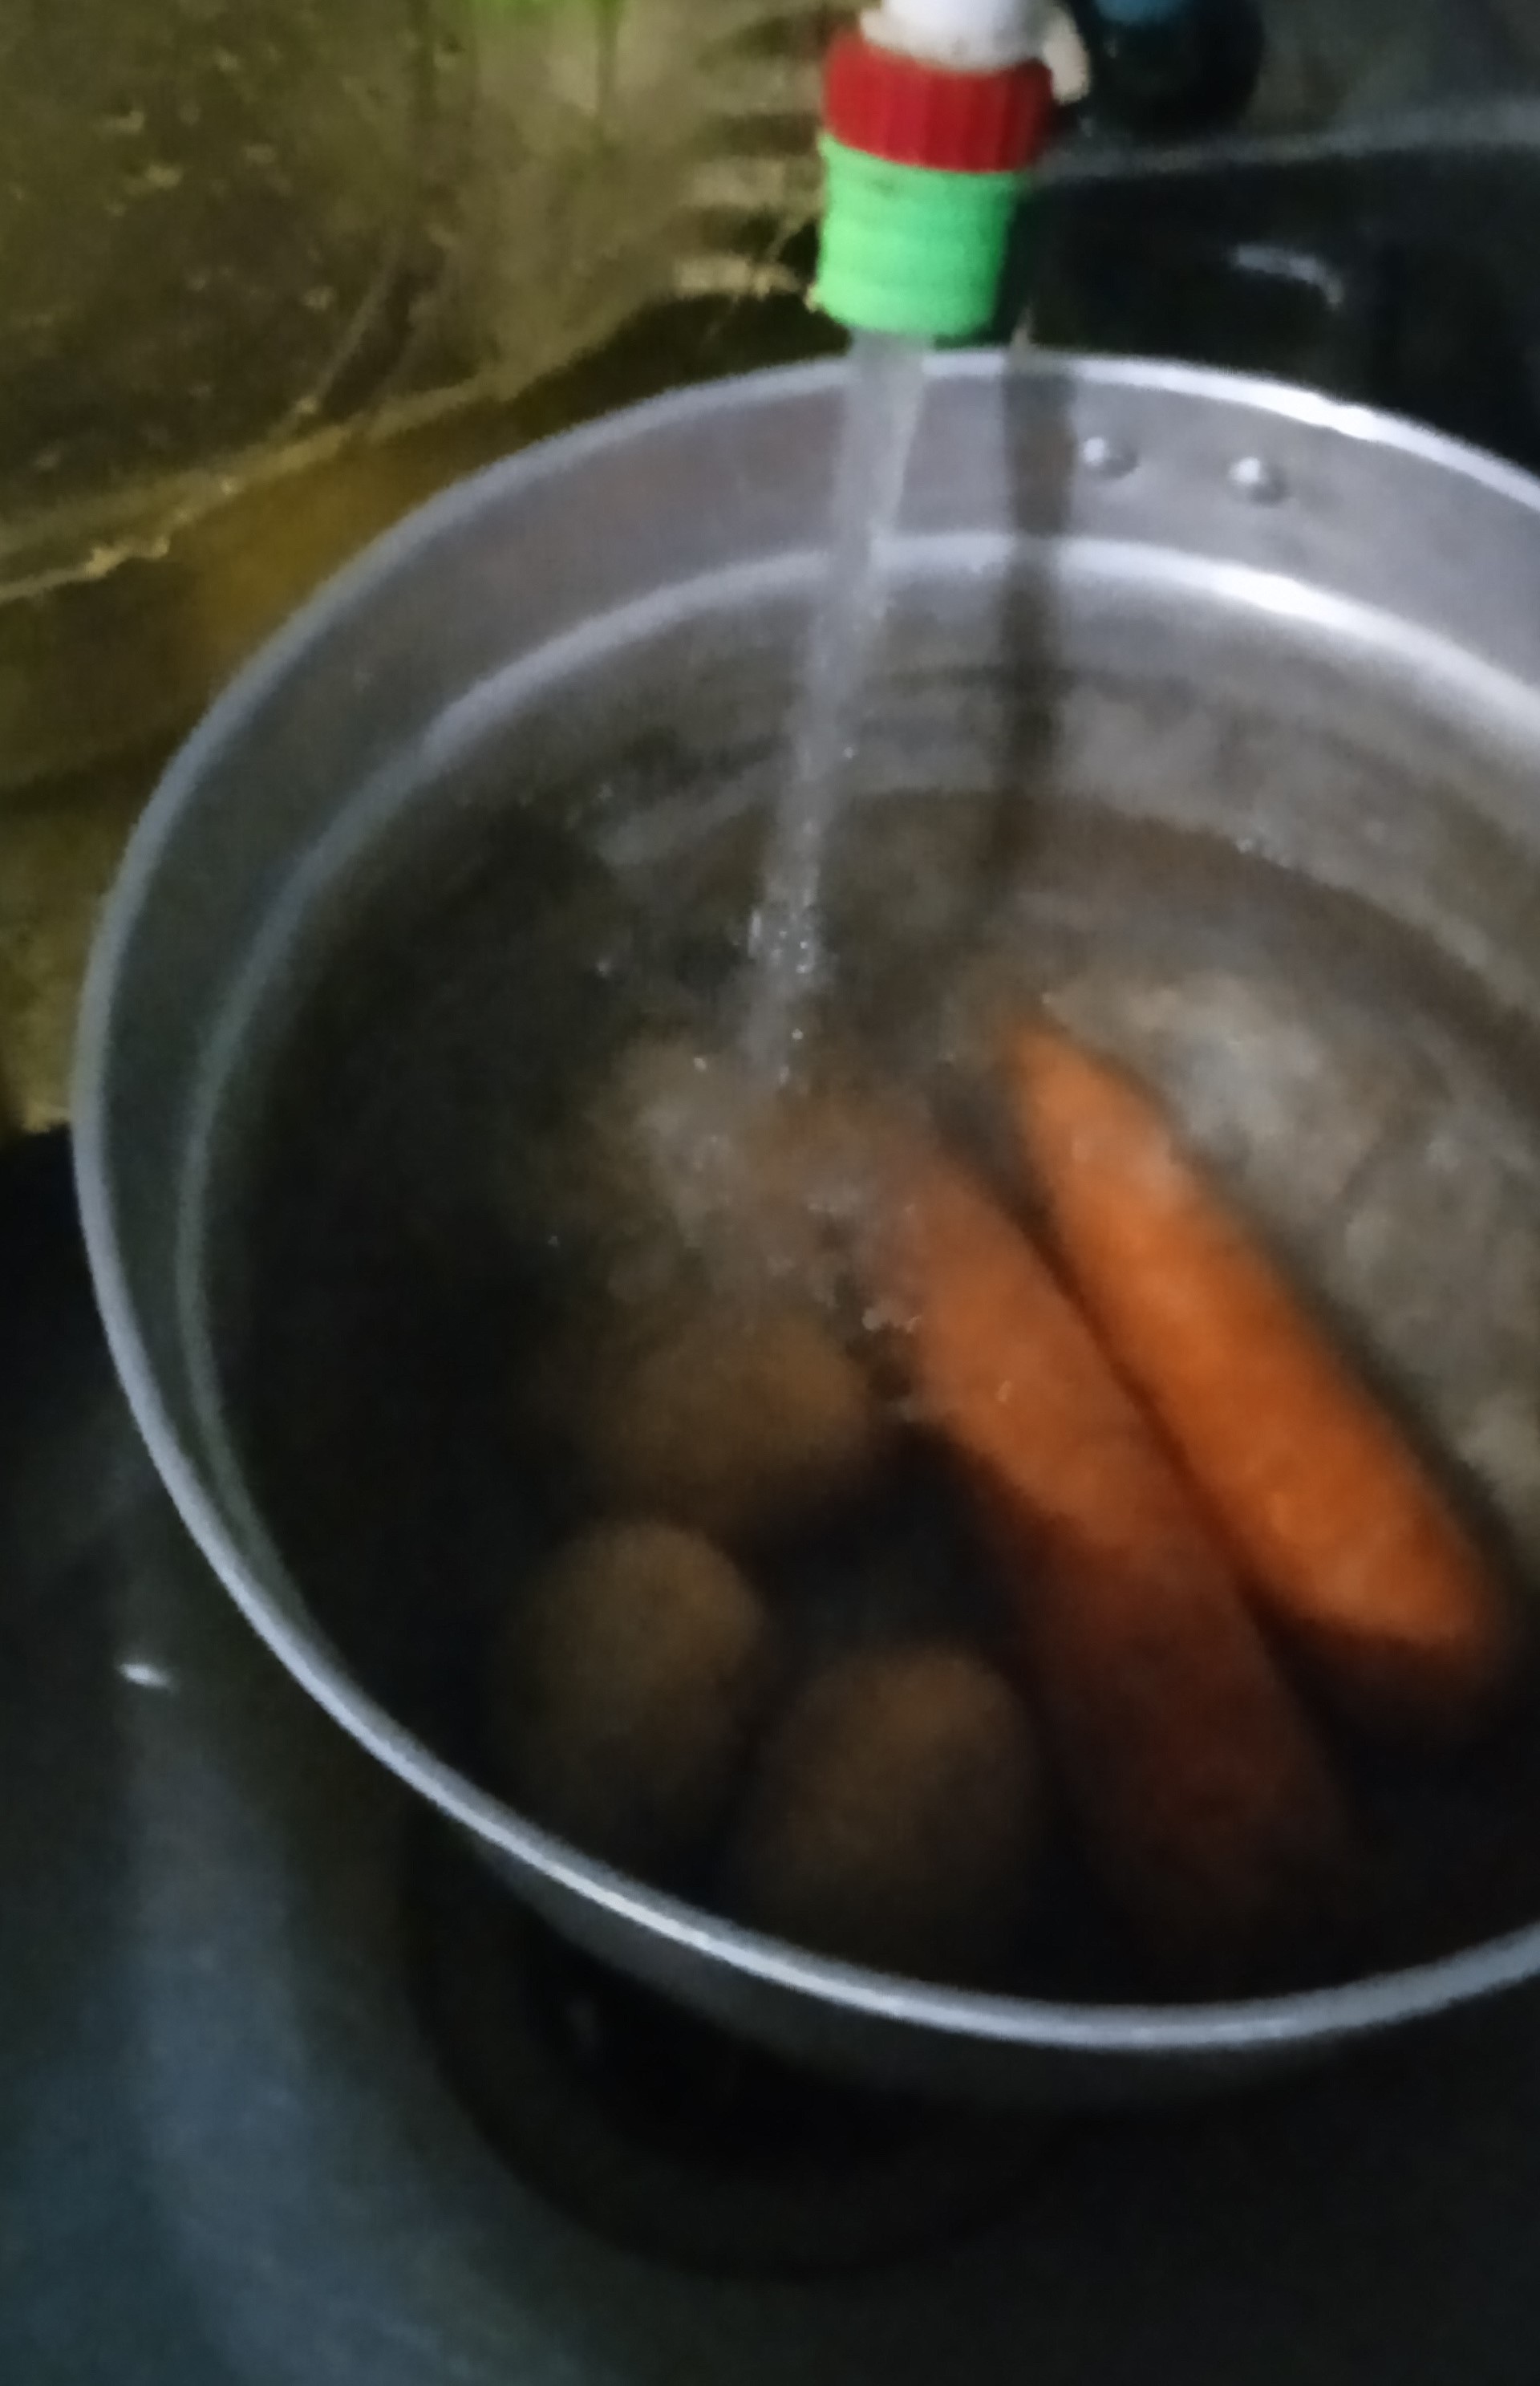
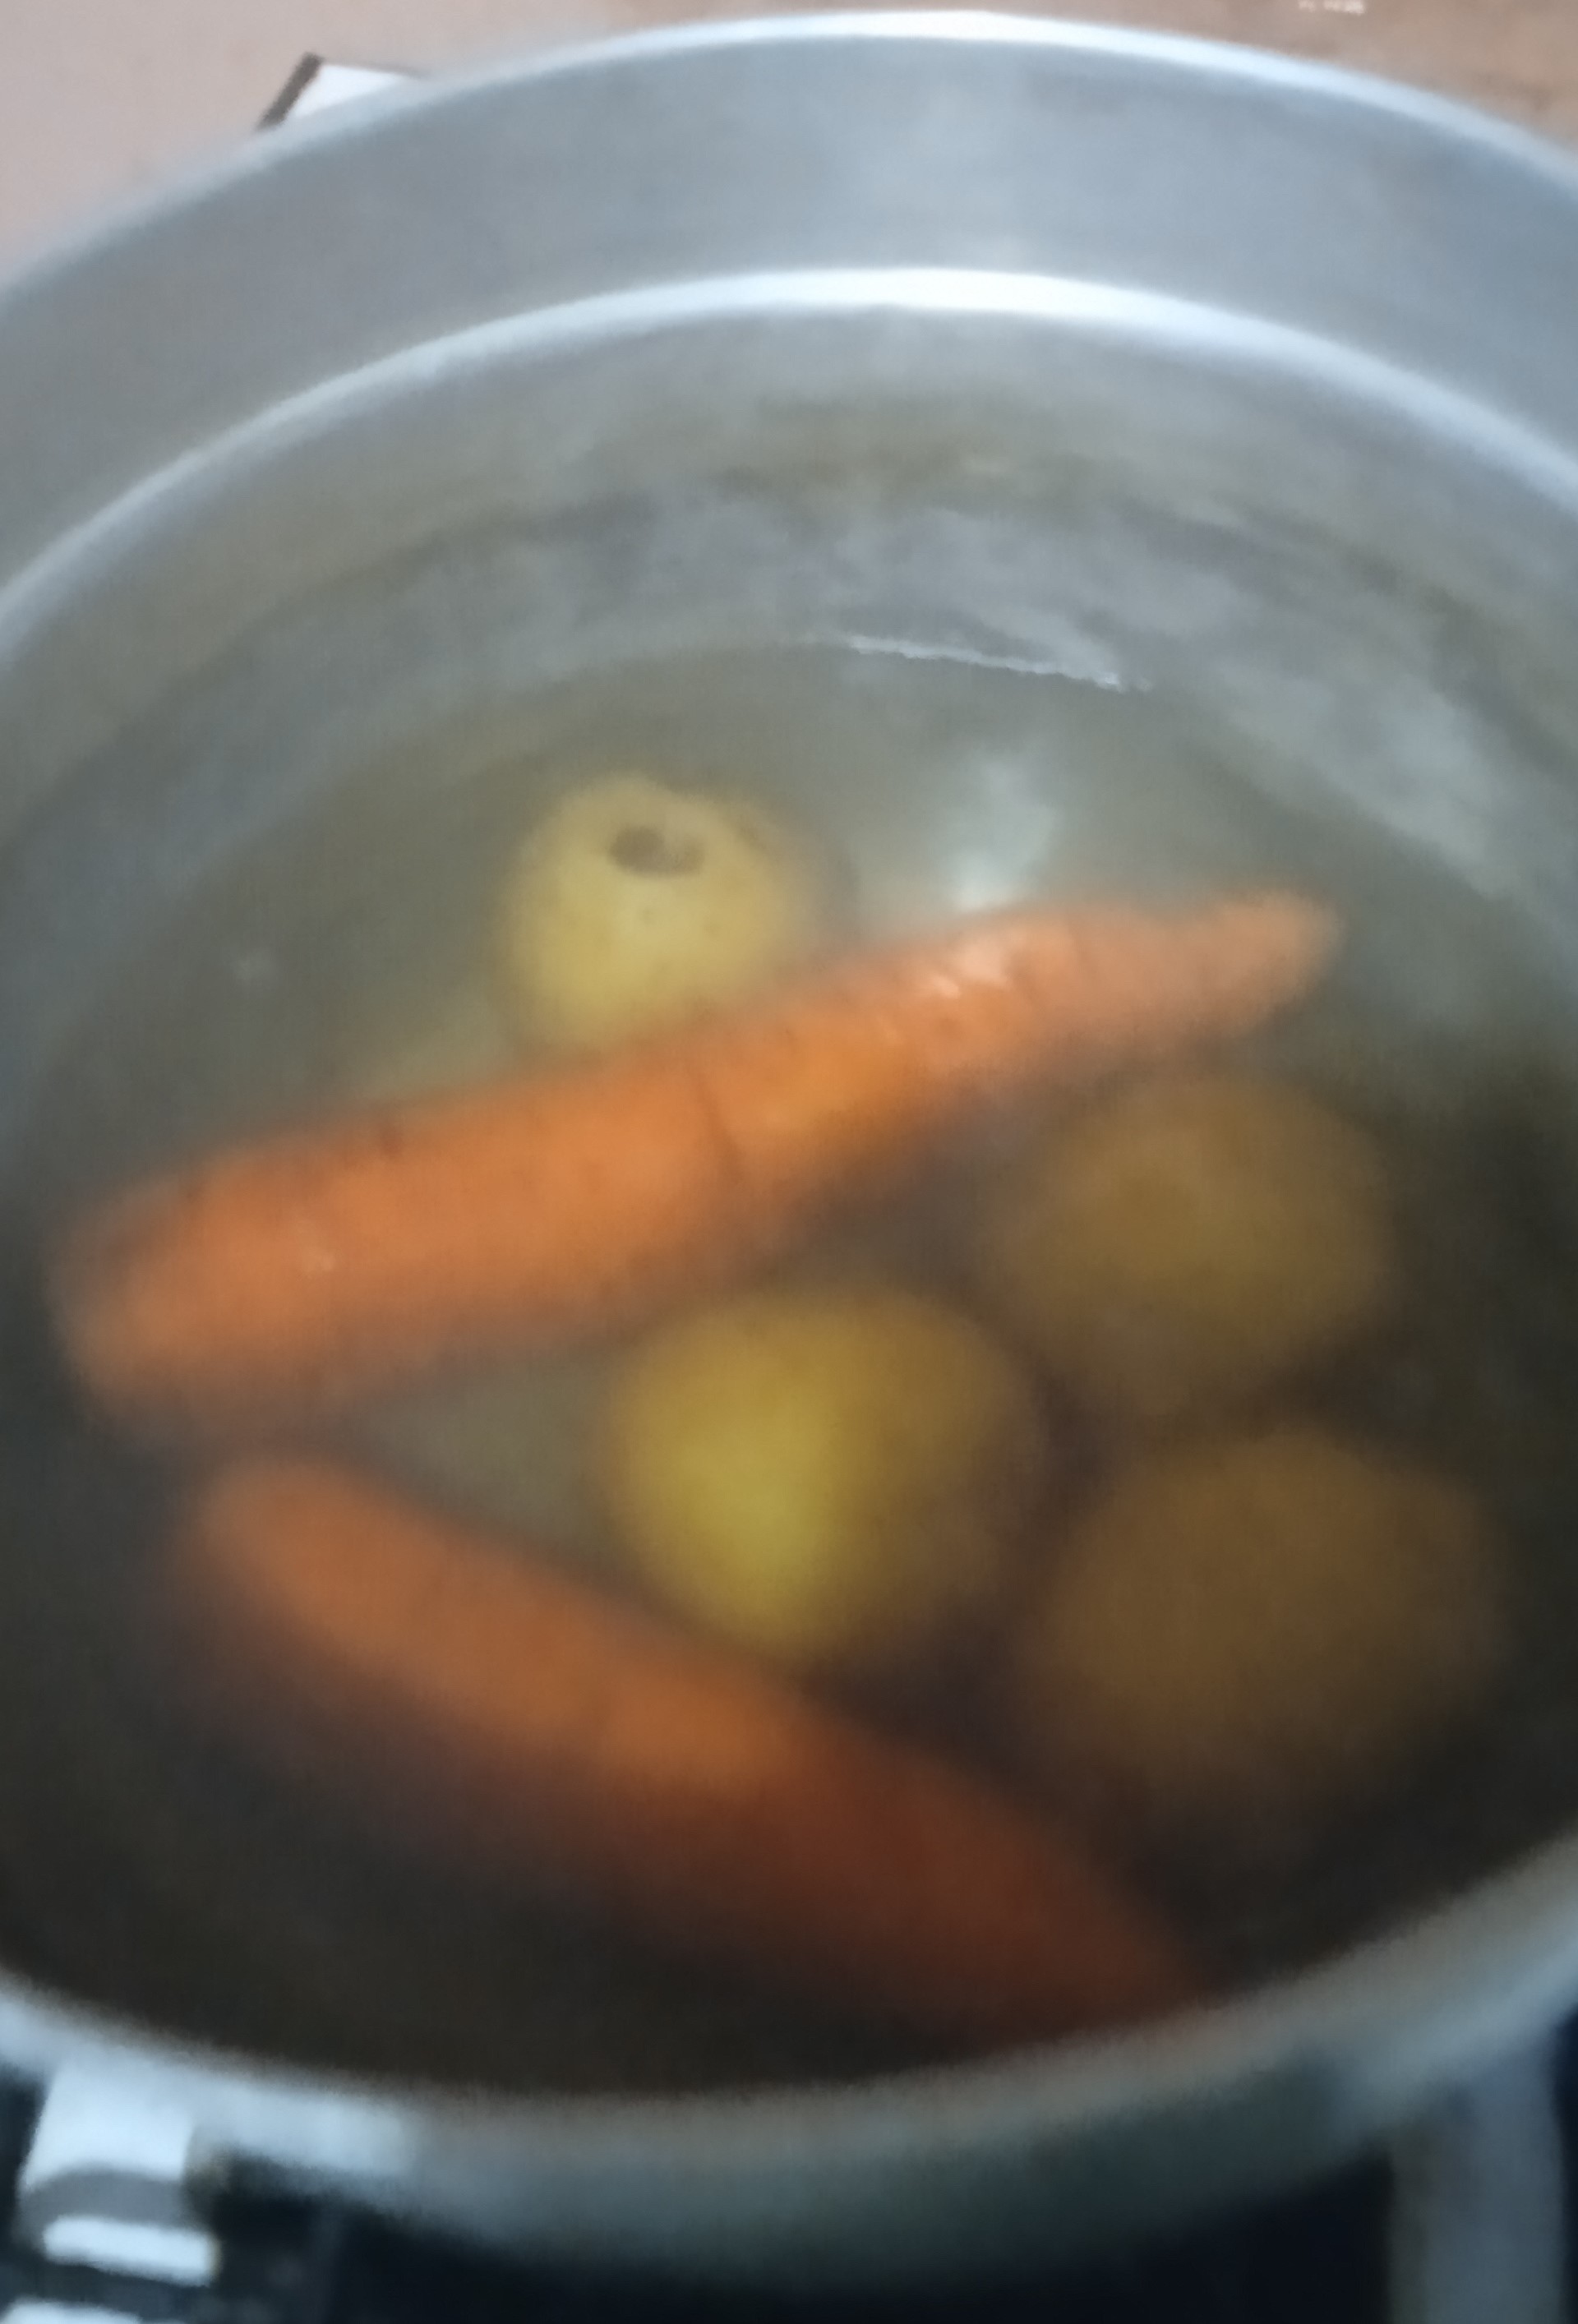
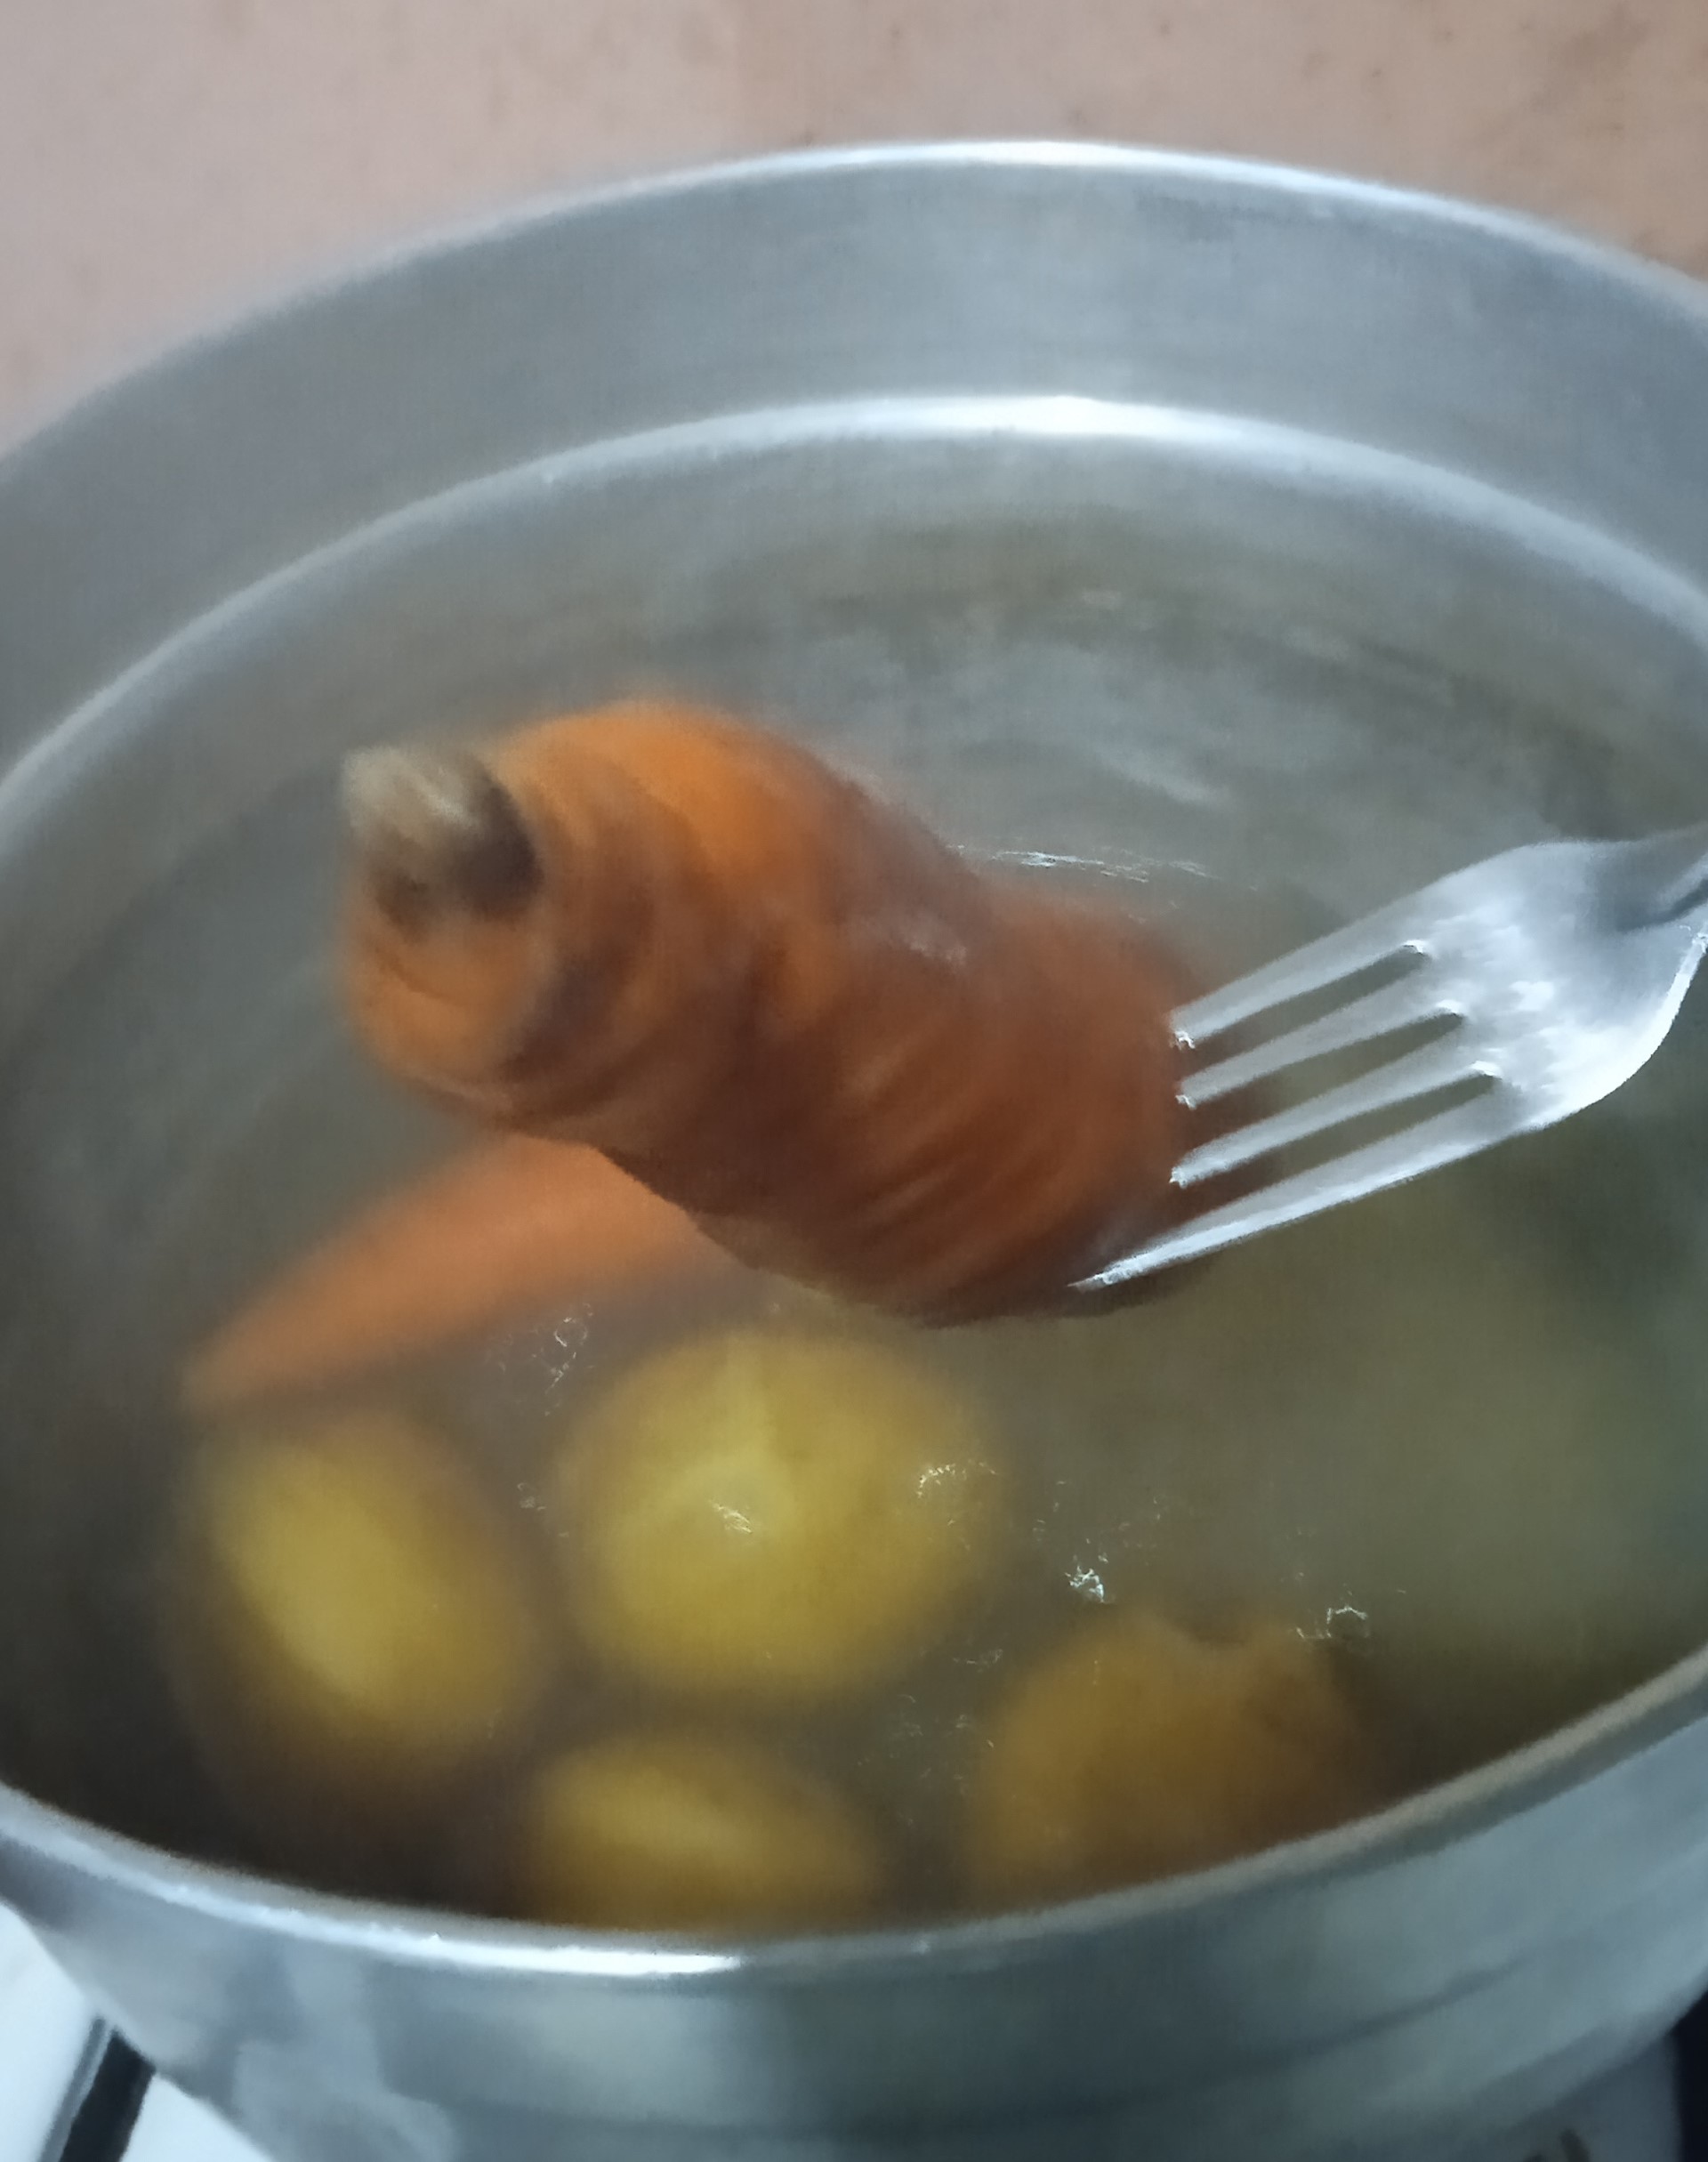
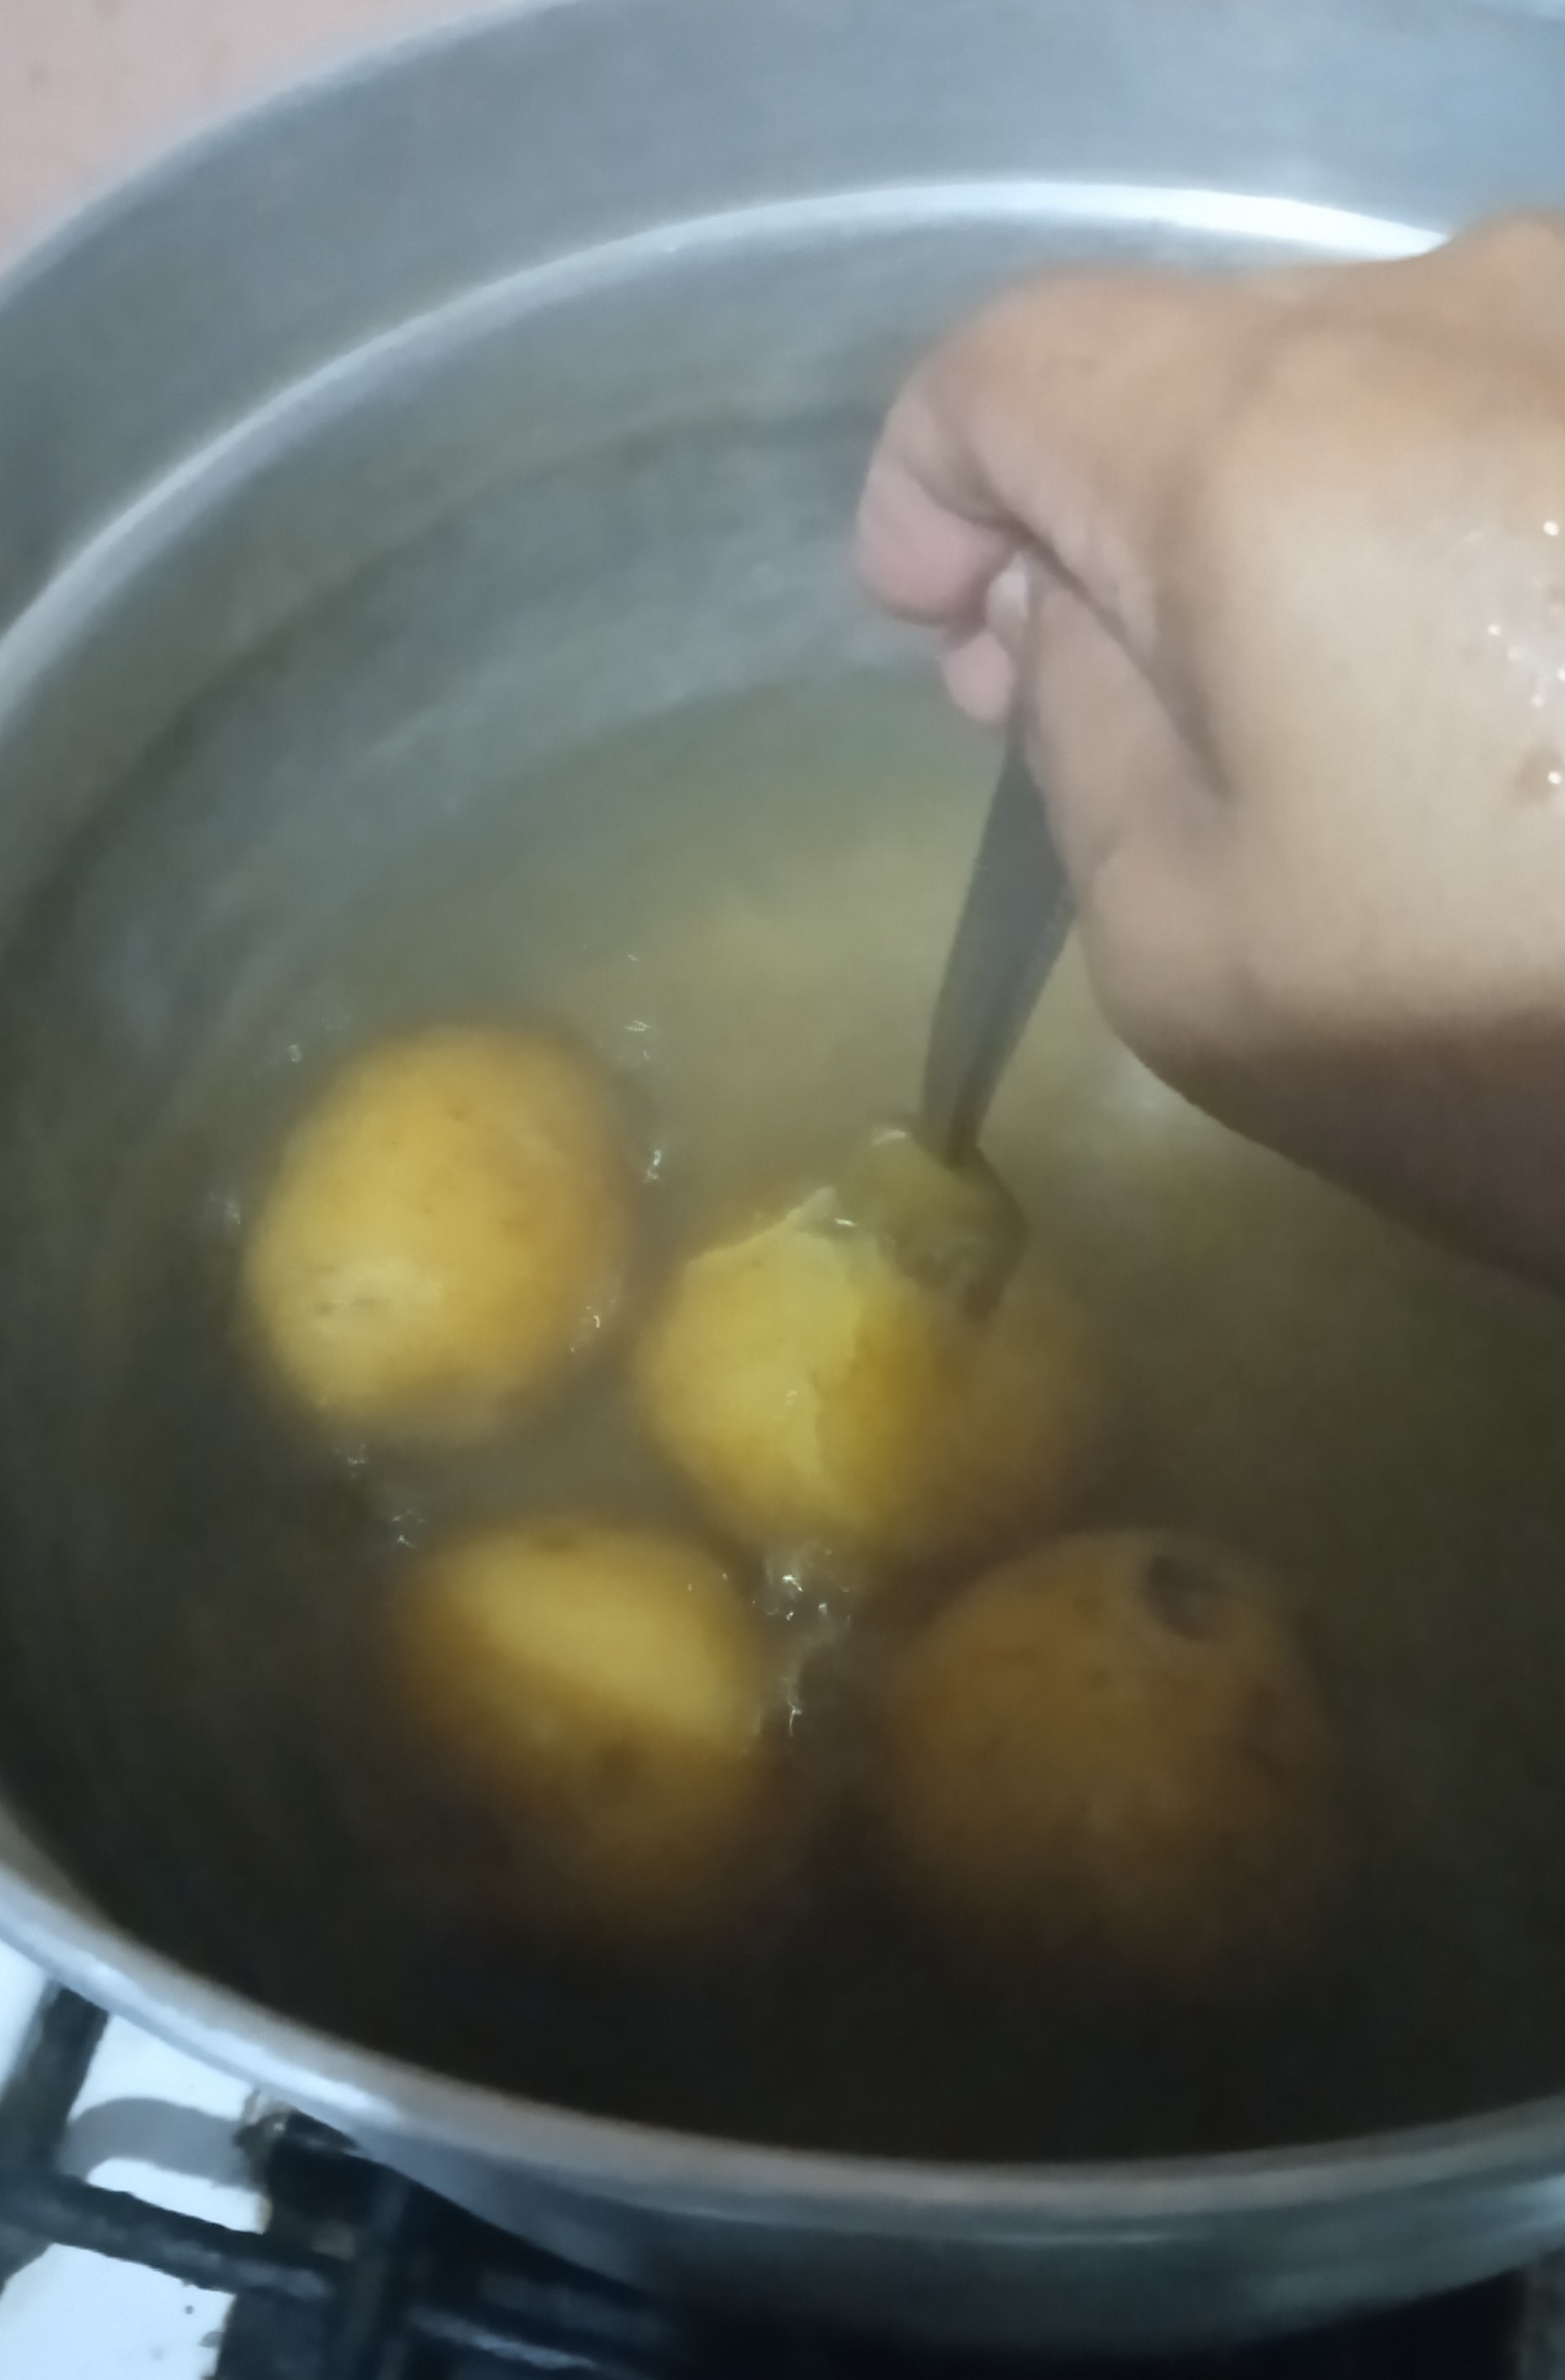
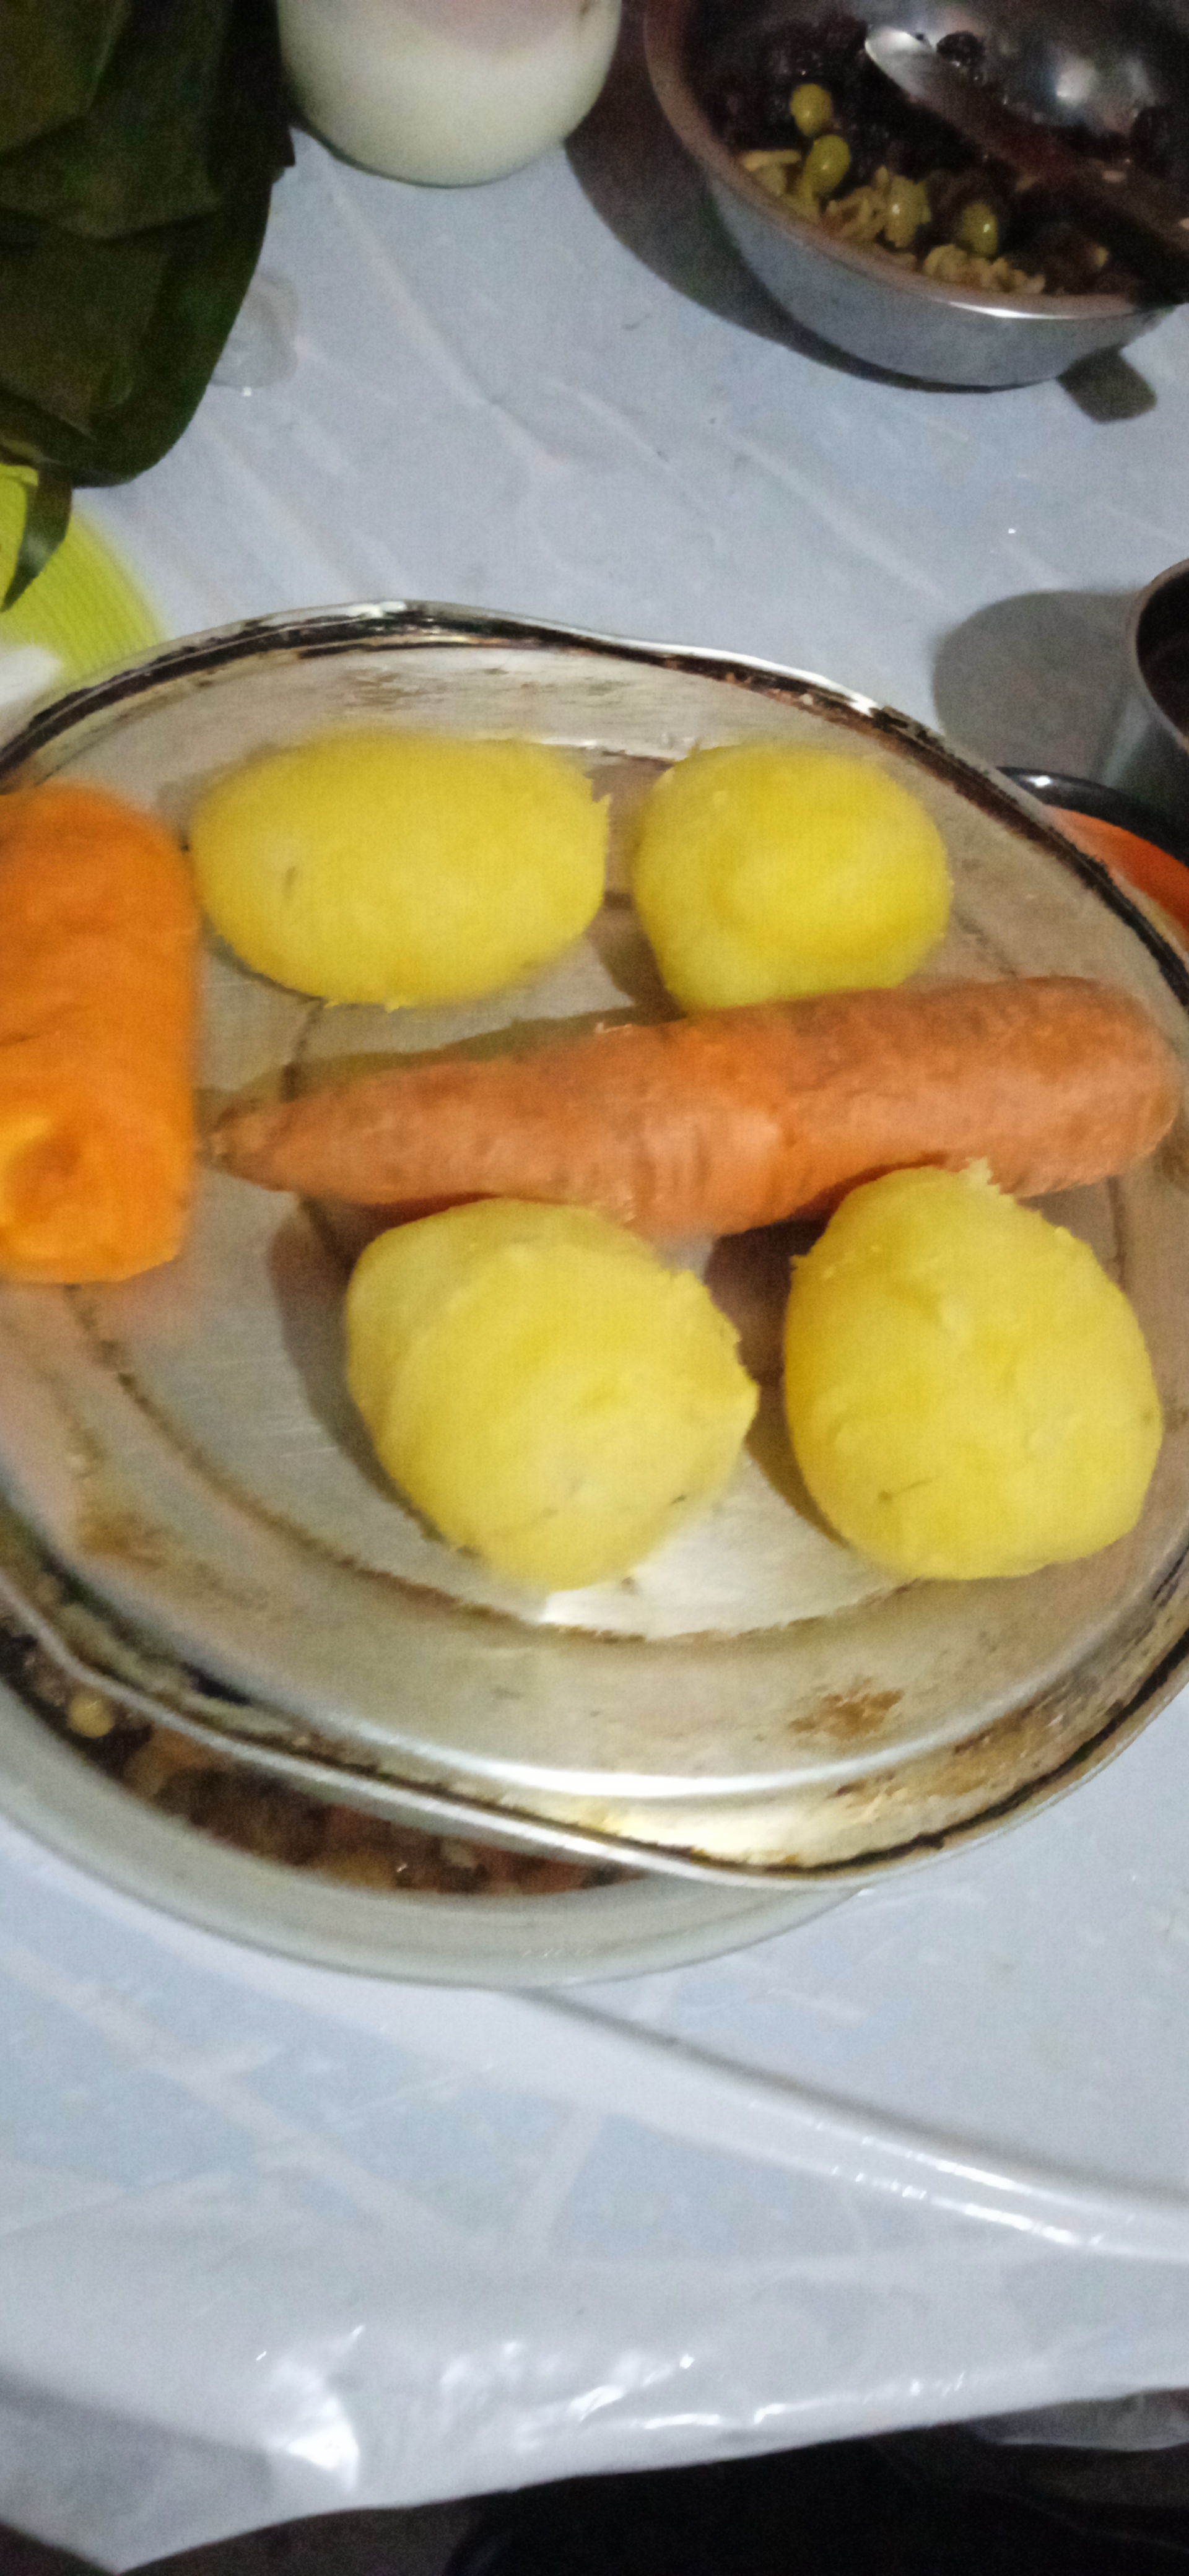
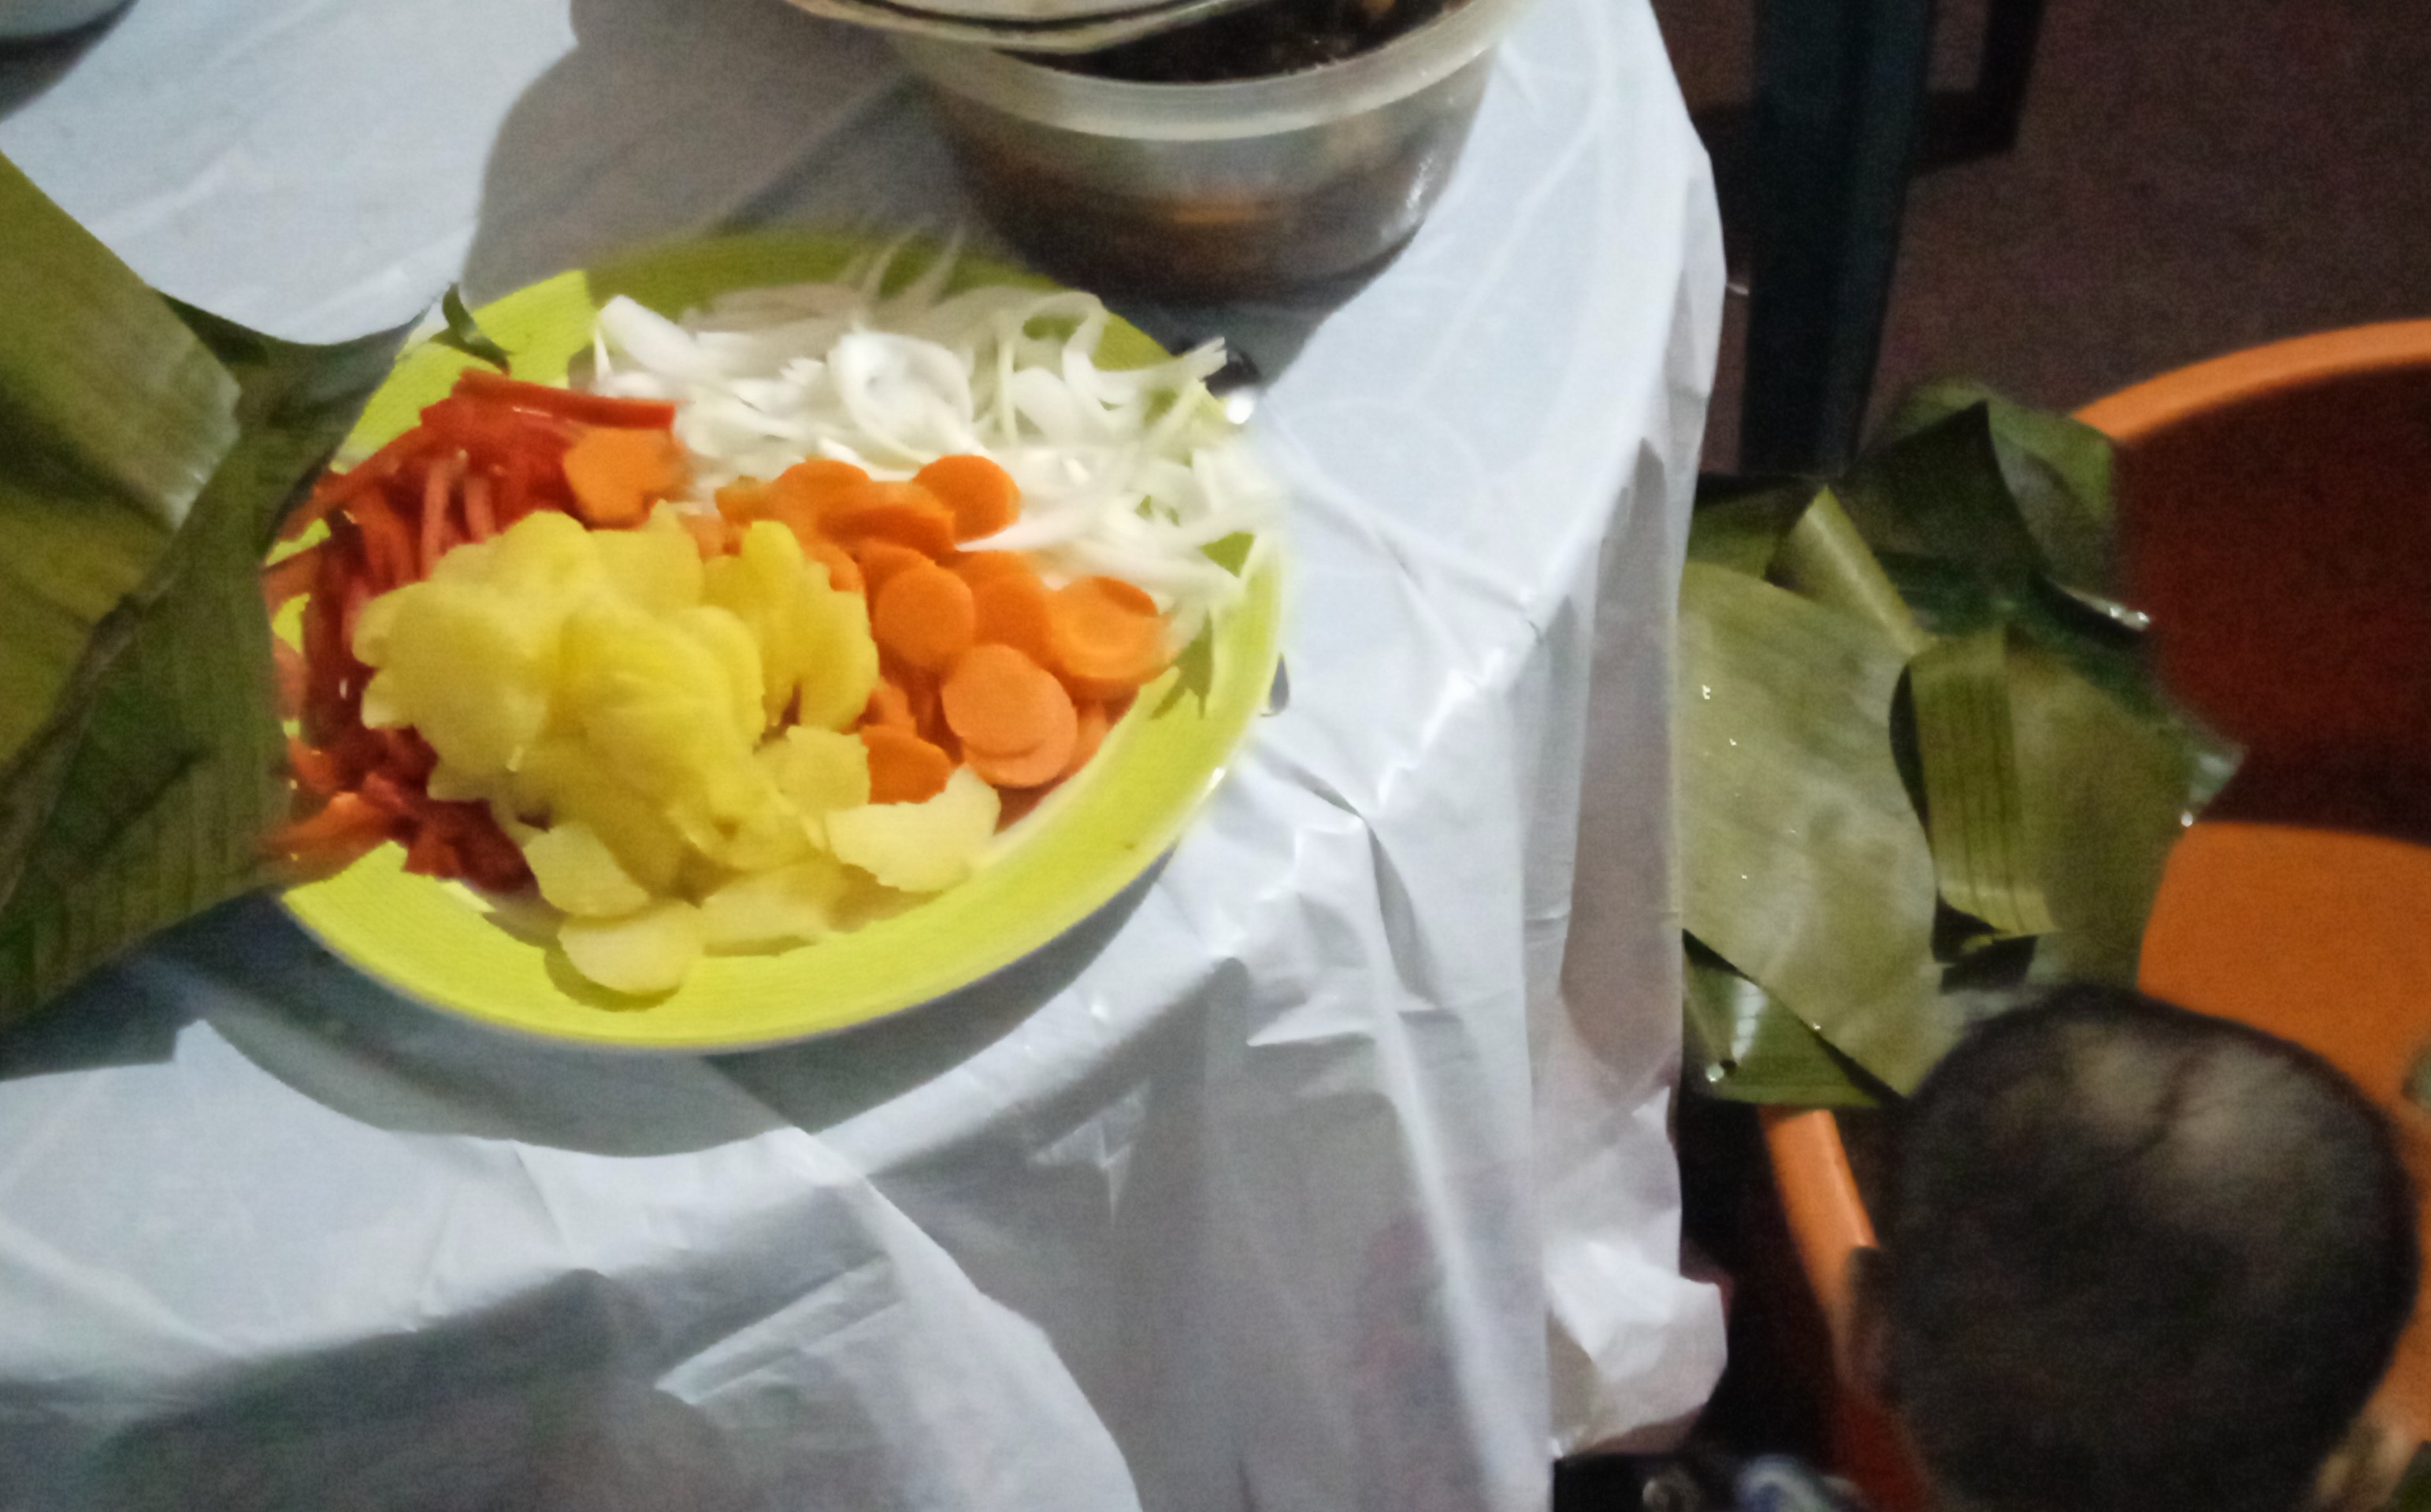
2. Luego se lavan en el grifo las zanahorias y las papas, muy bien para quitarle toda la tierra. Se busca una olla y se coloca en la cocina con abundante agua, y se introducen. Una vez estén flojas, están listas. Lo sabremos cuando con un tenedor y este se introduzca en el alimento sin problemas. Después, se va pelando y cortando en forma de círculos. Para este proceso me ayudó mi esposo, Carlos Peña. Mientras mi hija amada, Samantha veía todo.
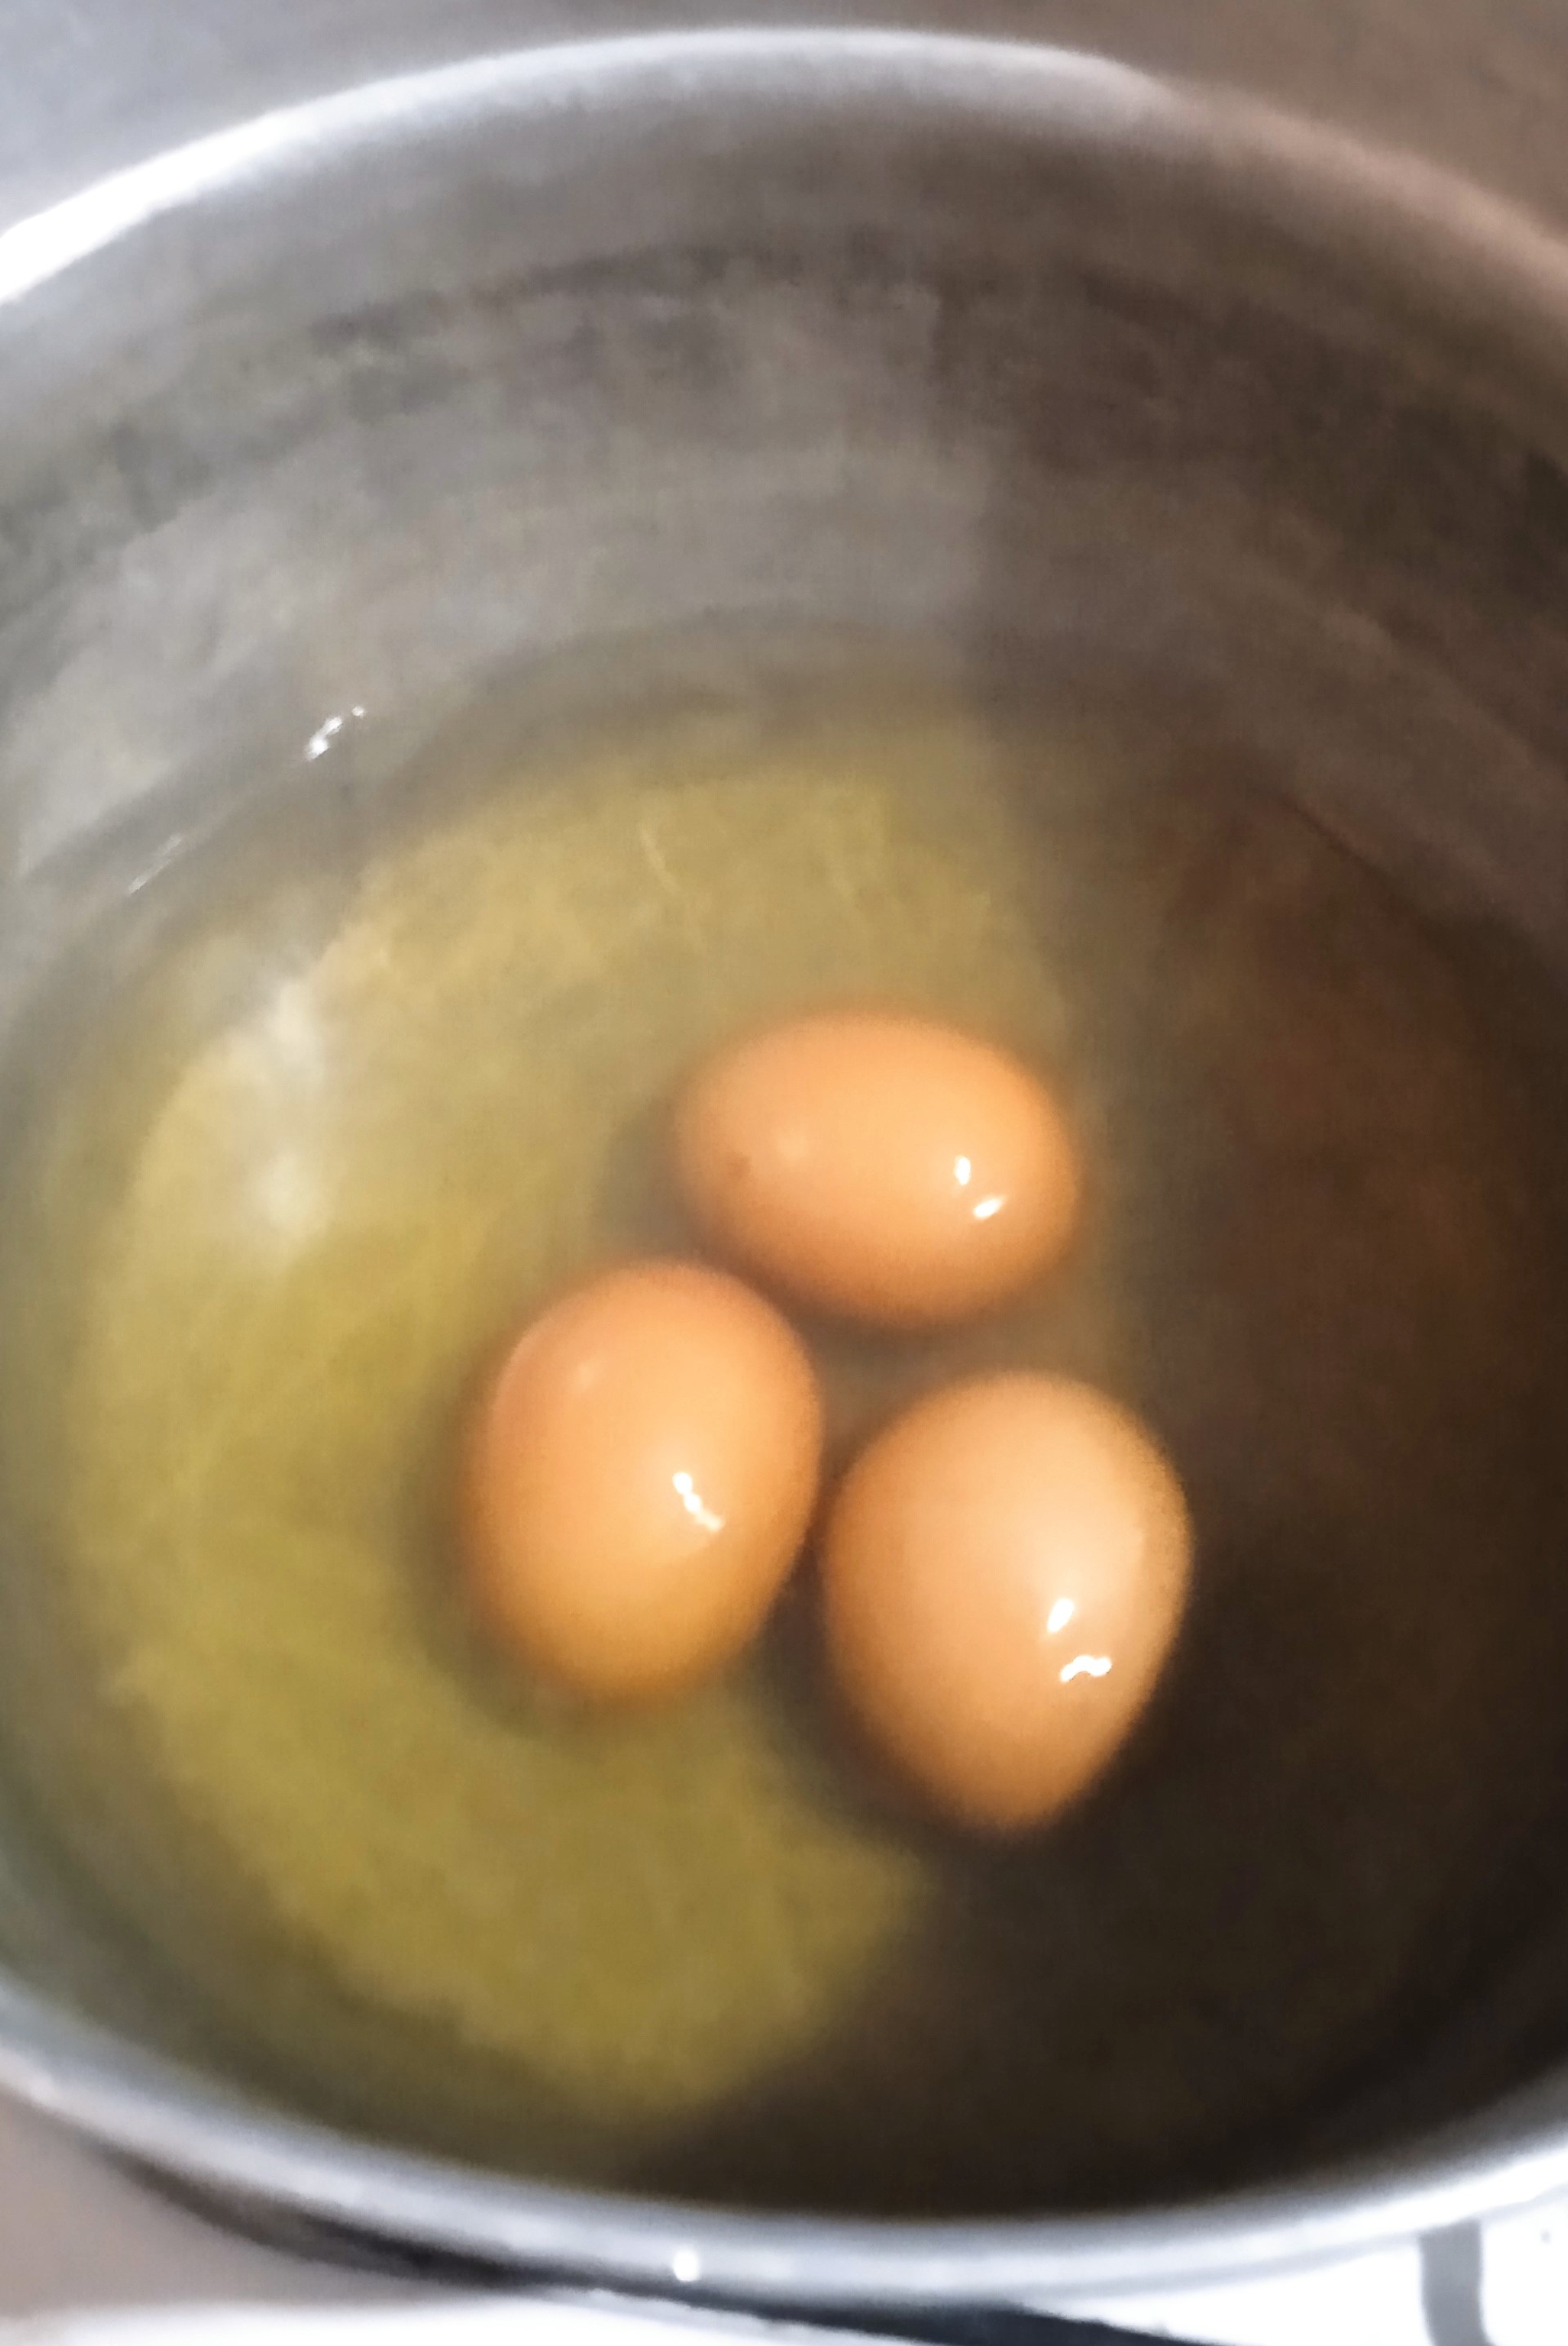
4. Seguidamente, en la misma agua donde estaban las papas y la zanahoria, se incorporan los huevos para sancocharlos. Por alrededor de veinte minutos (20 min). Ya cocinados, se le quita la cáscara y se cortan en forma de círculo.
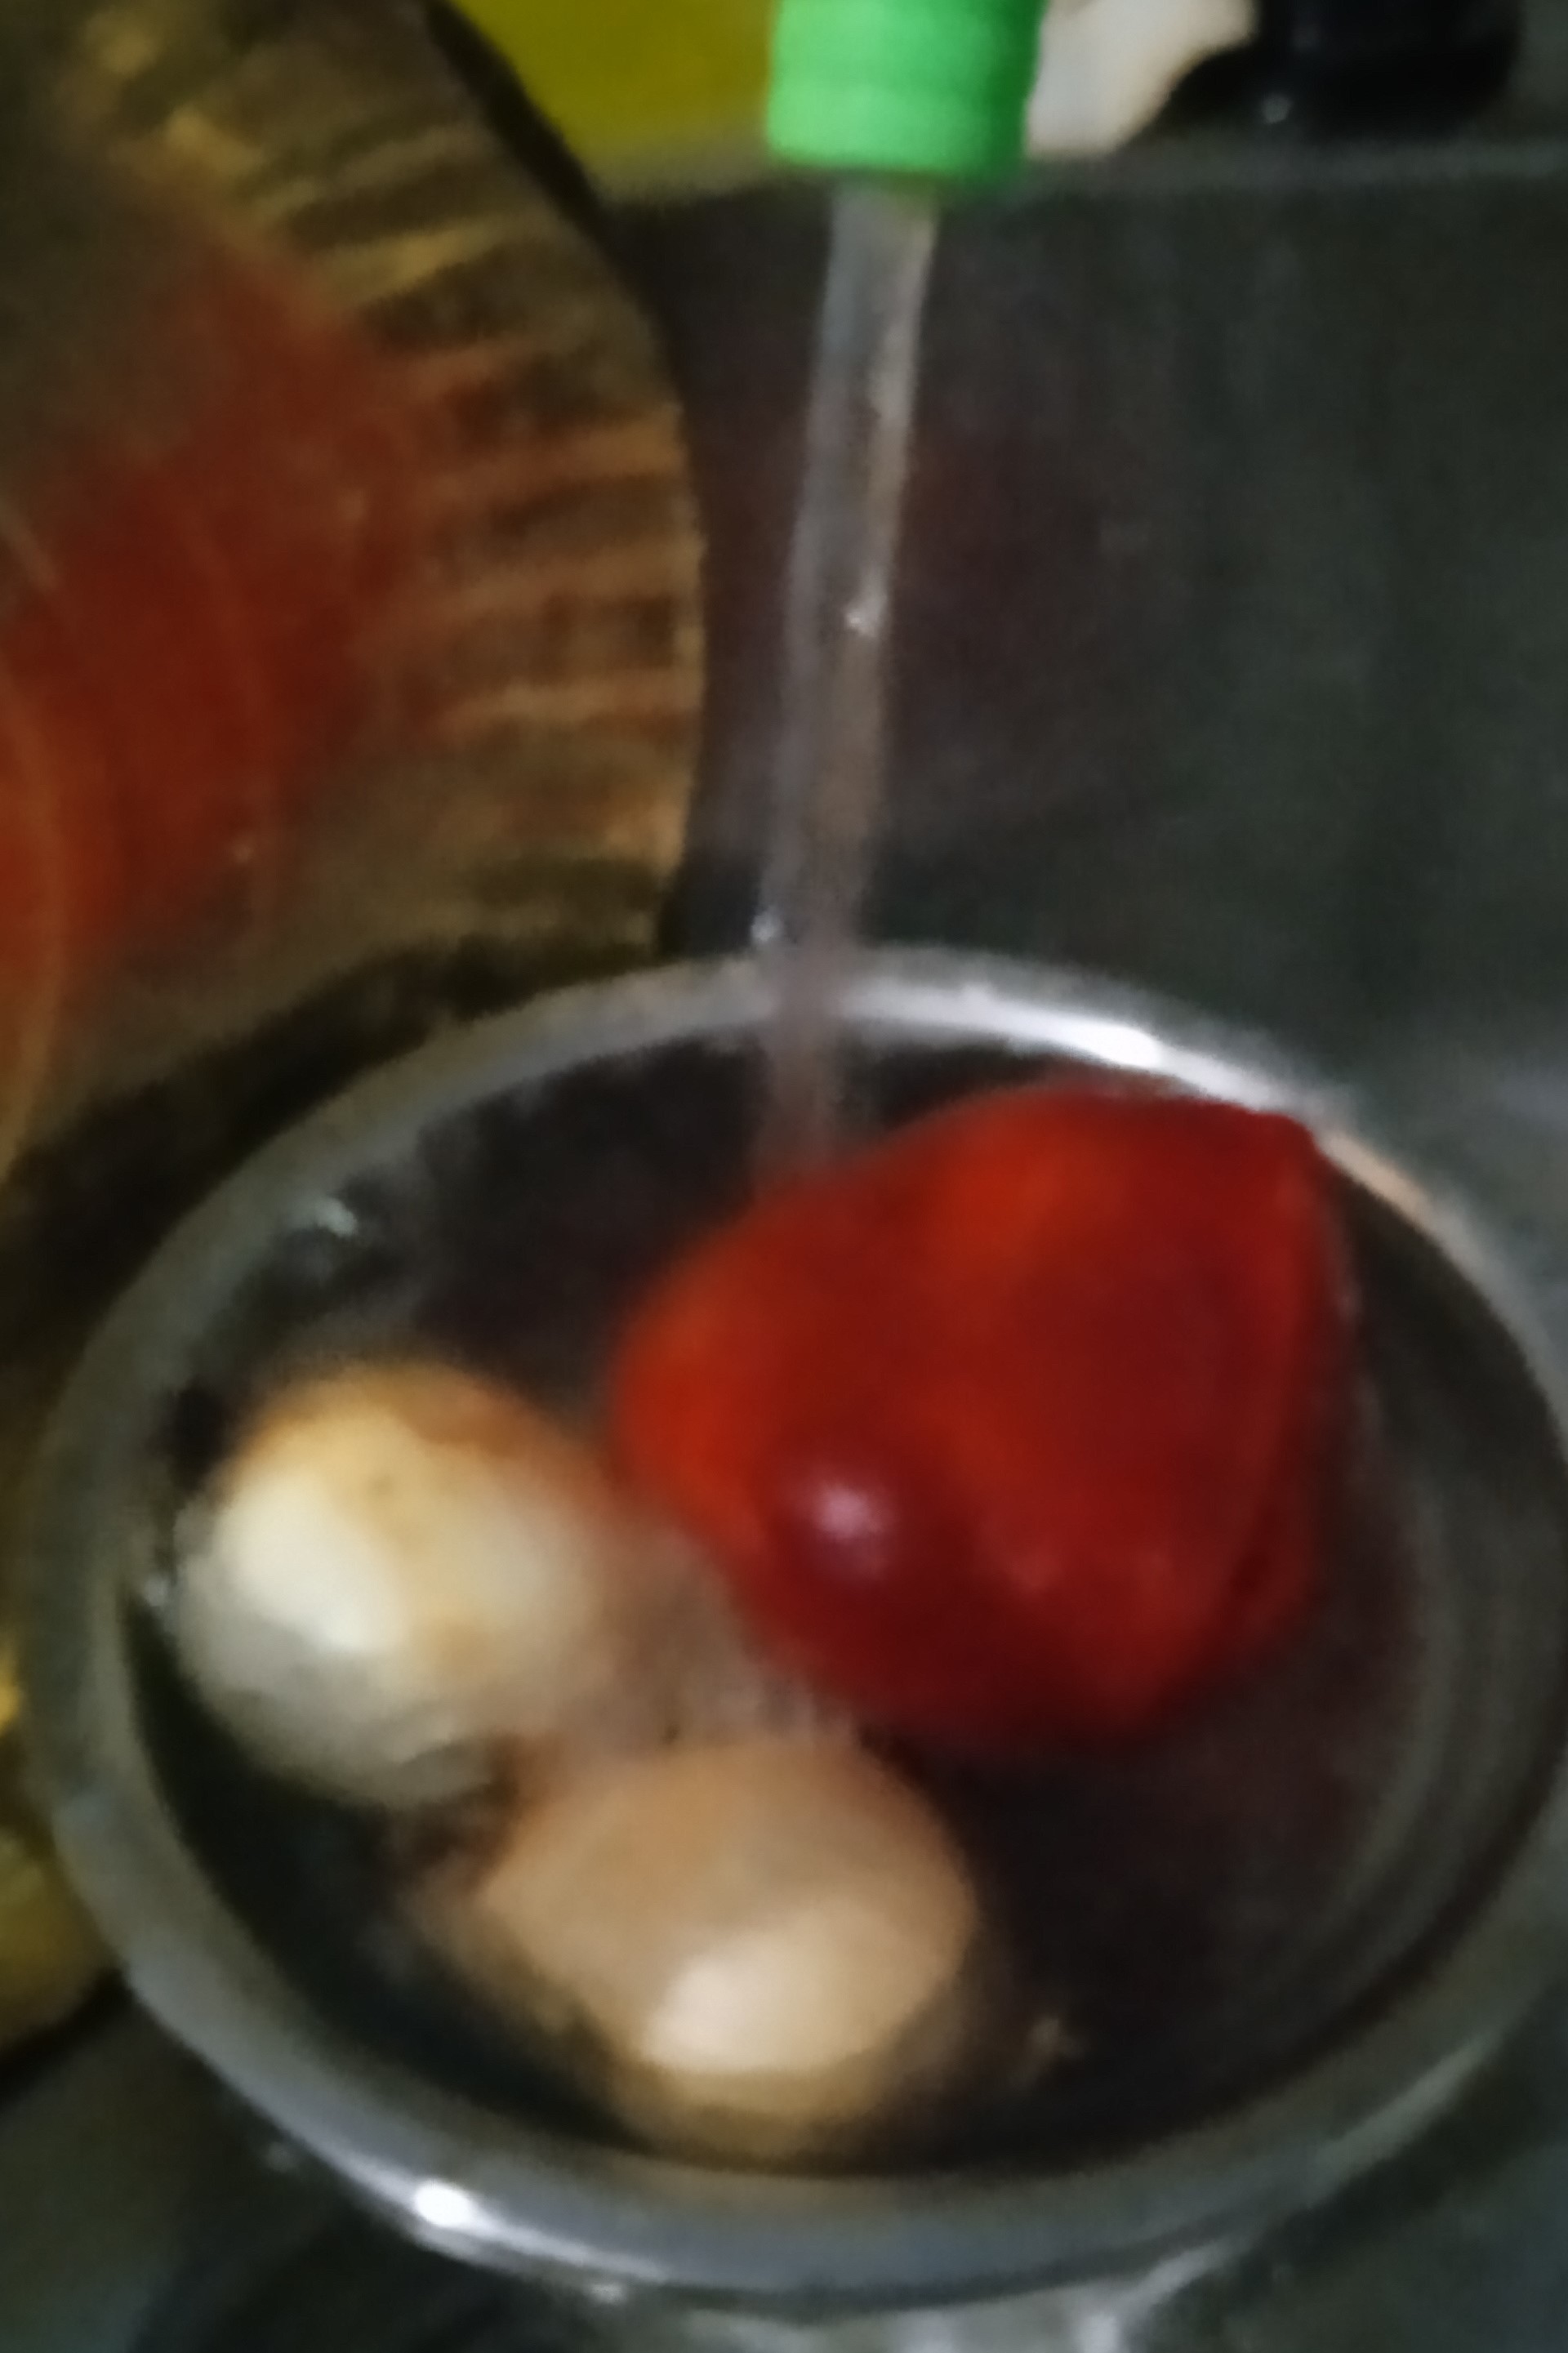
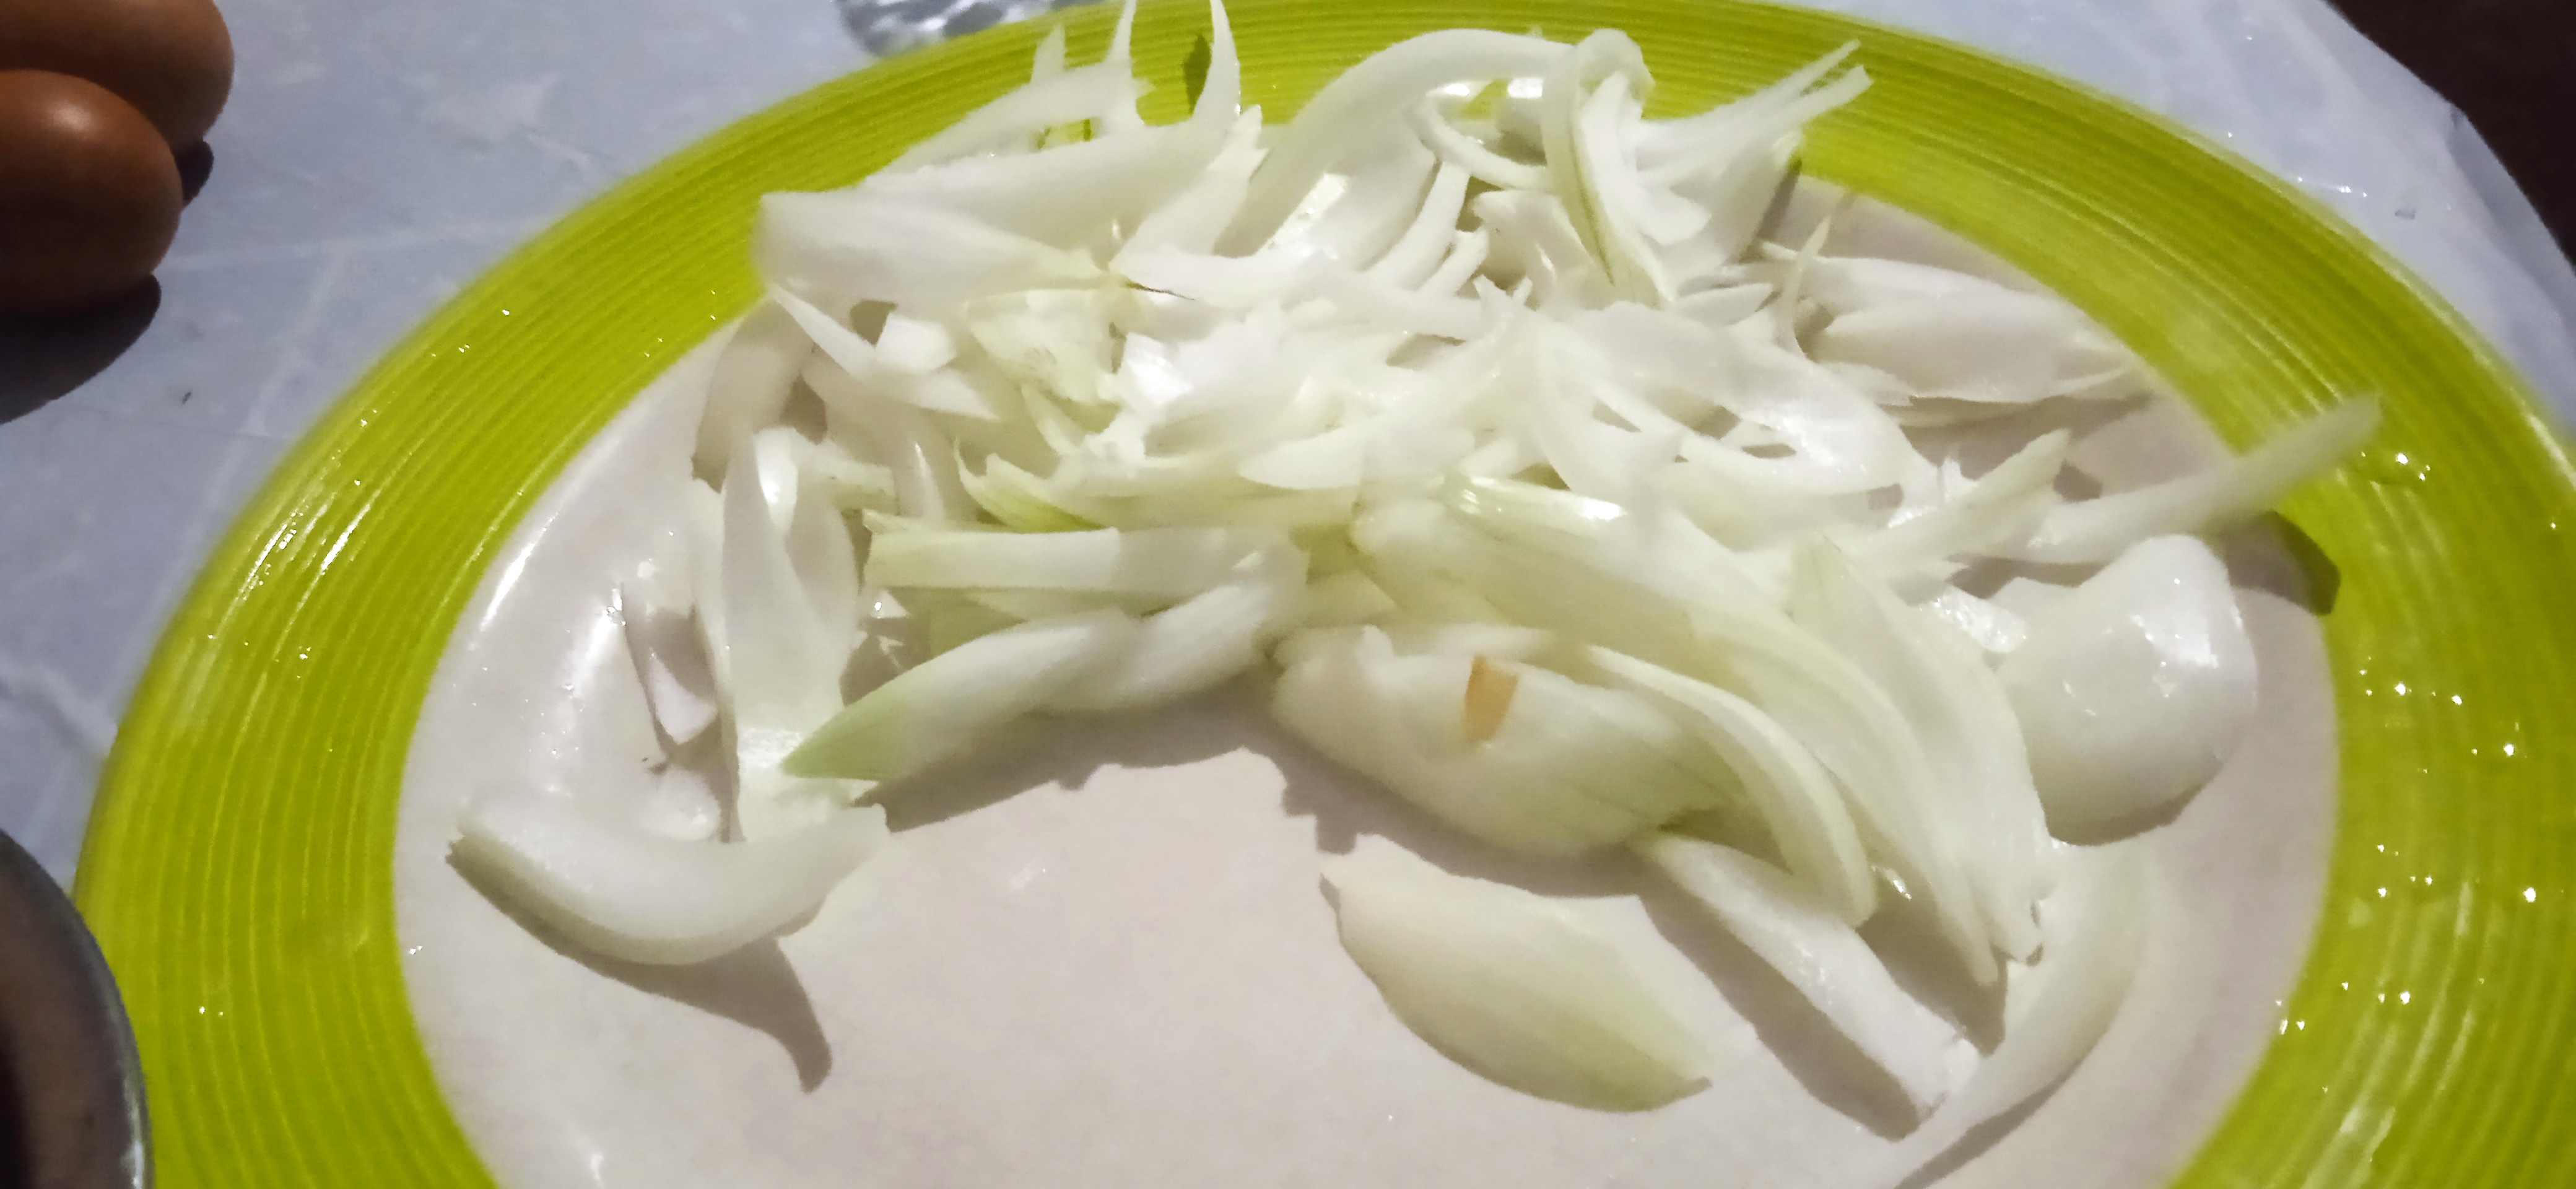
5. Posteriormente, se lavan en el grifo los vegetales frescos, las cebollas y el pimentón, para quitarle toda la suciedad. Una vez limpios, se cortan en tiras (forma juliana).
6. Mientras tanto, se lavan muy bien las pasas (para quitarle la suciedad) y las aceitunas (para eliminarle la sal).
7. Finalmente, una vez todo limpio, cortado y cocinado, se colocan en sus platos correspondientes para ir armando todo.


🙏😜🥰🥳🤤👍🤝🤞🤛💪👩🍳🤱👨👩👦🎄🍽


🙏😜🥰🥳🤤👍🤝🤞🤛💪👩🍳🤱👨👩👦🎄🍽
🙏😜🥰🥳🤤👍🤝🤞🤛💪👩🍳🤱👨👩👦🎄🍽
🙏😜🥰🥳🤤👍🤝🤞🤛💪👩🍳🤱👨👩👦🎄🍽
Decoration of the hallacas: 1. Take the kilo of banana leaves, and start washing them in the faucet with plenty of water, and then spread each leaf to dry. Once dry, remove the thick edge that has the leaf, and cut into pieces, one large and one smaller (that goes according to the size we want the hallaca). 2. Then the carrots and potatoes are washed in the faucet, very well to remove all the dirt. Find a pot and place it on the stove with plenty of water, and put them in it. Once they are loose, they are ready. We will know it when with a fork and this one is introduced in the food without problems. 3. Afterwards, they are peeled and cut into circles. My husband, Carlos Peña, helped me with this process. While my beloved daughter, Samantha, watched everything. 4. Next, in the same water where the potatoes and carrots were, add the eggs to boil them. For about twenty minutes (20 min). Once they are cooked, remove the shell and cut them in a circle. 5. Afterwards, the fresh vegetables, onions and paprika are washed in the faucet to remove all the dirt. Once clean, they are cut into strips (julienne shape). 6. Meanwhile, wash the raisins (to remove the dirt) and the olives (to remove the salt). 7. Finally, once everything is clean, cut and cooked, place them in their corresponding plates to assemble everything.
Armado de las hallacas:
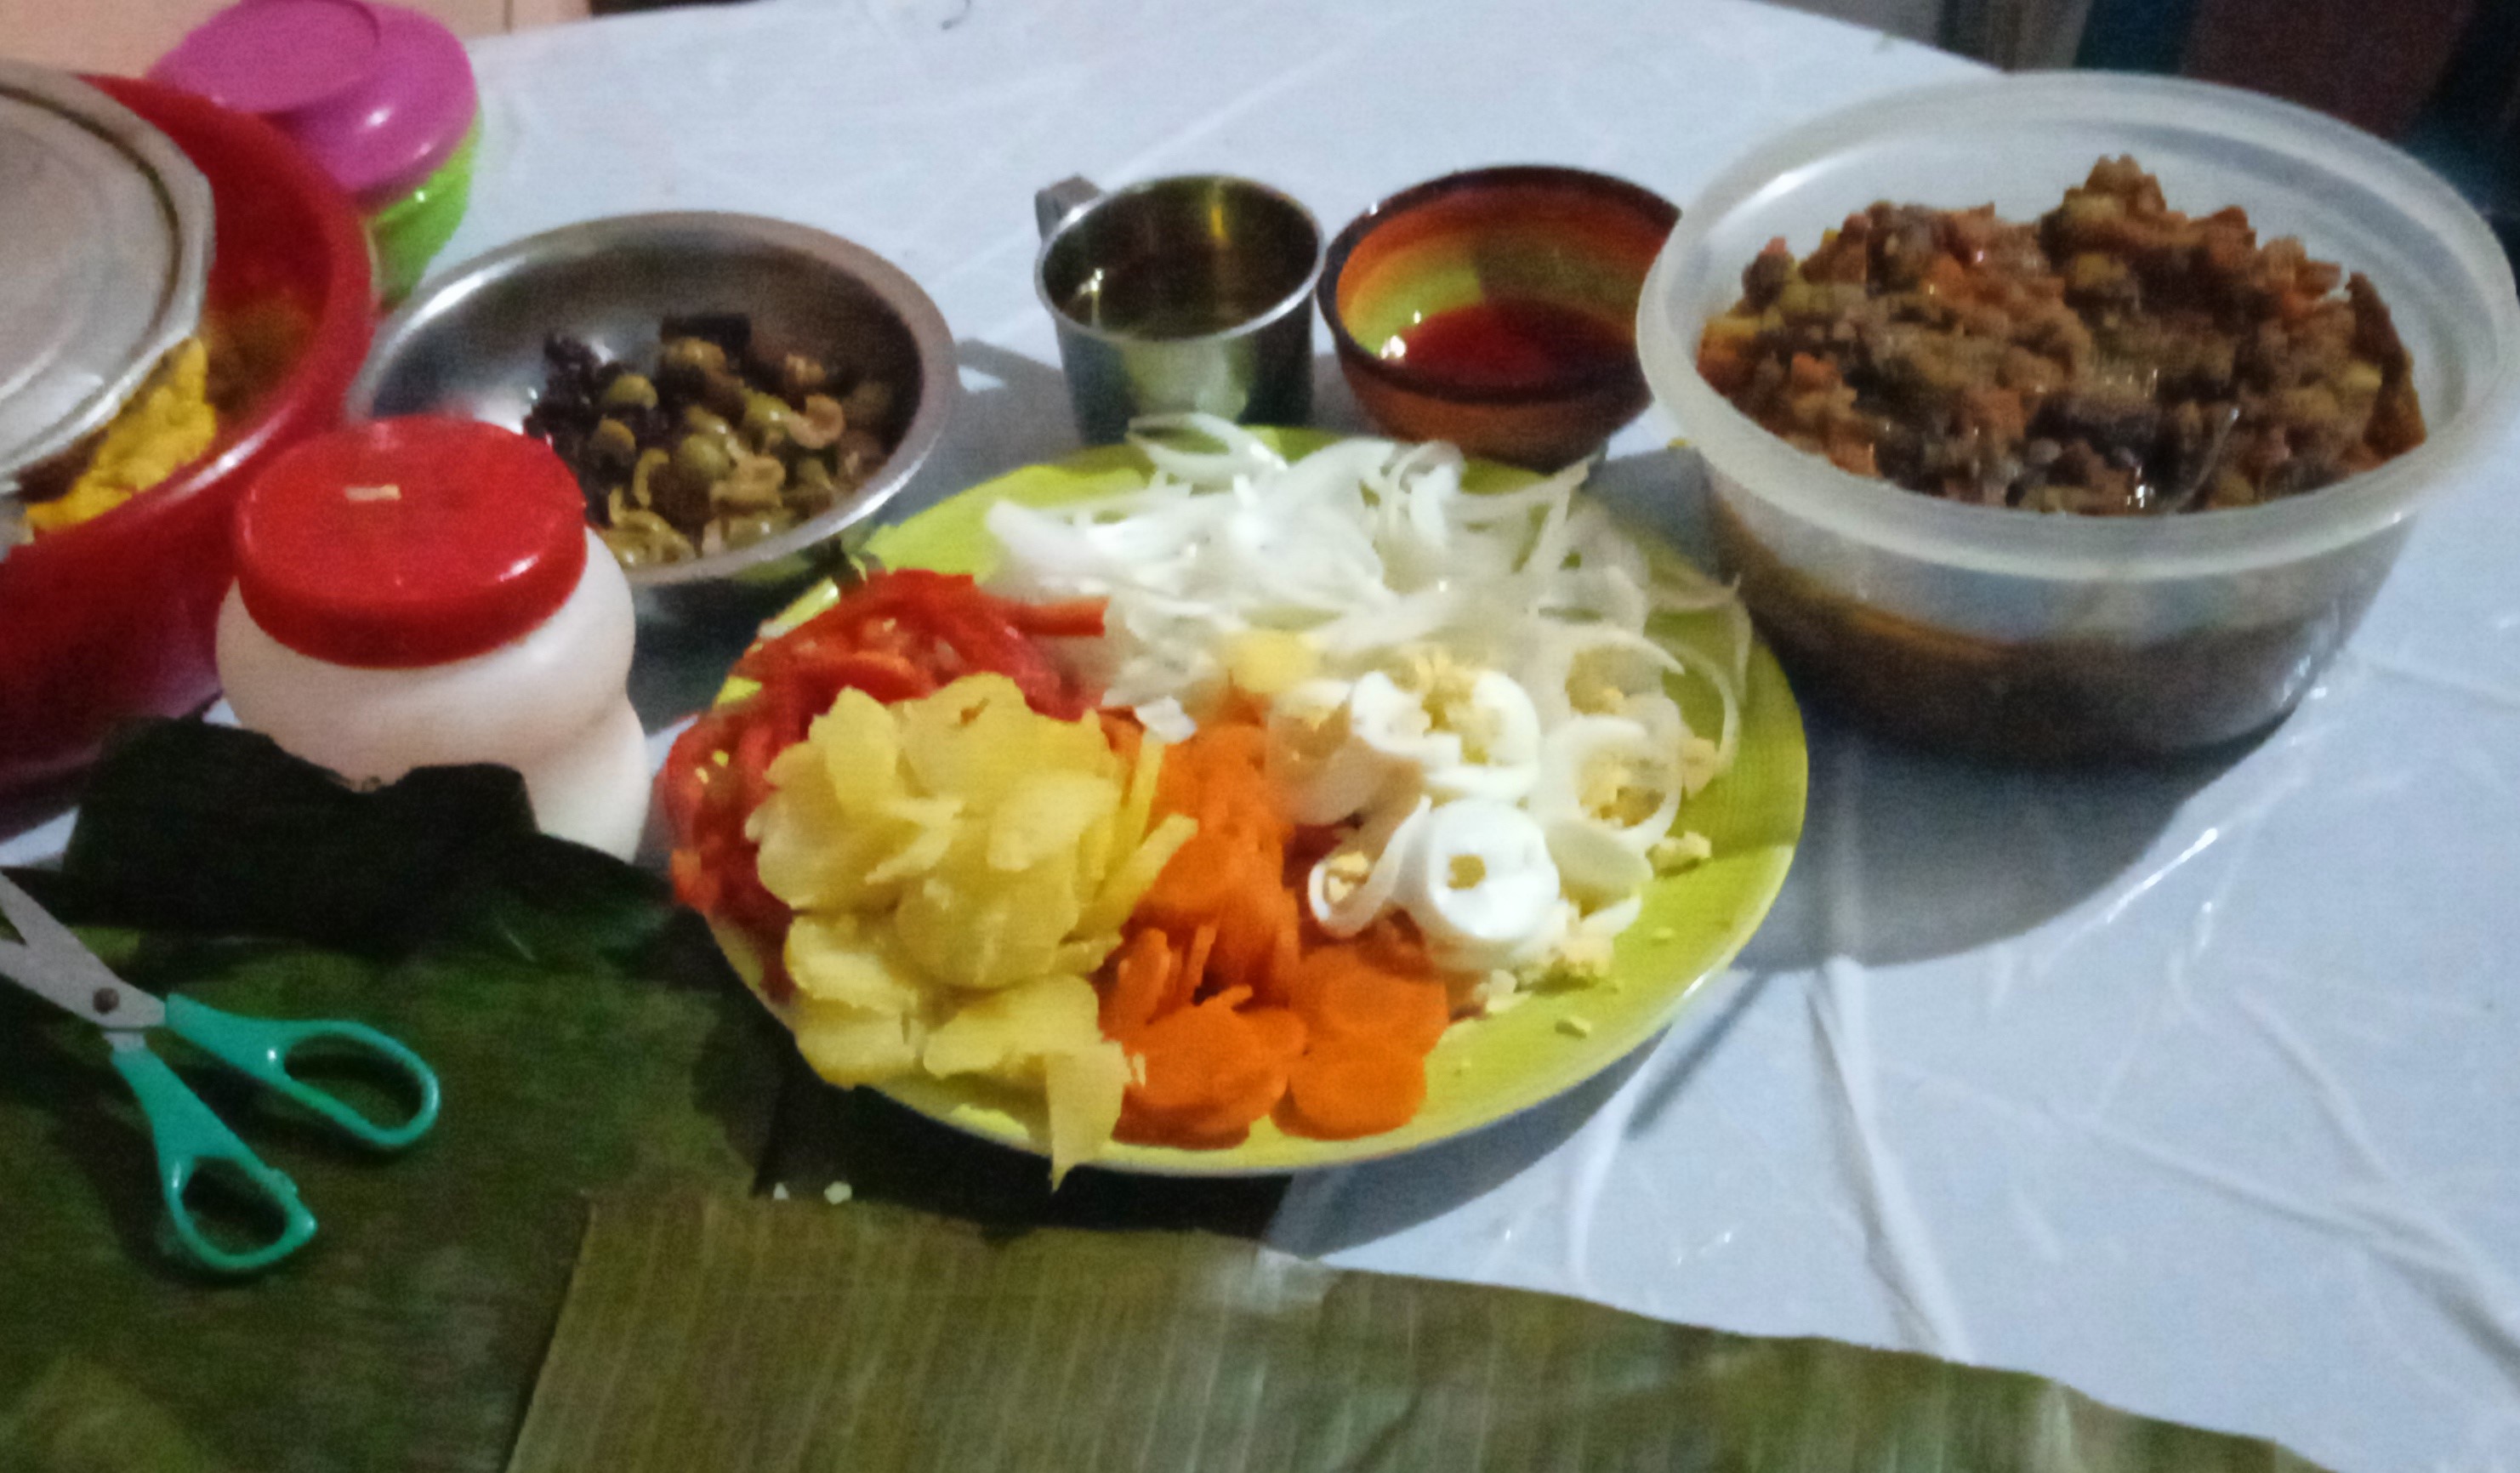
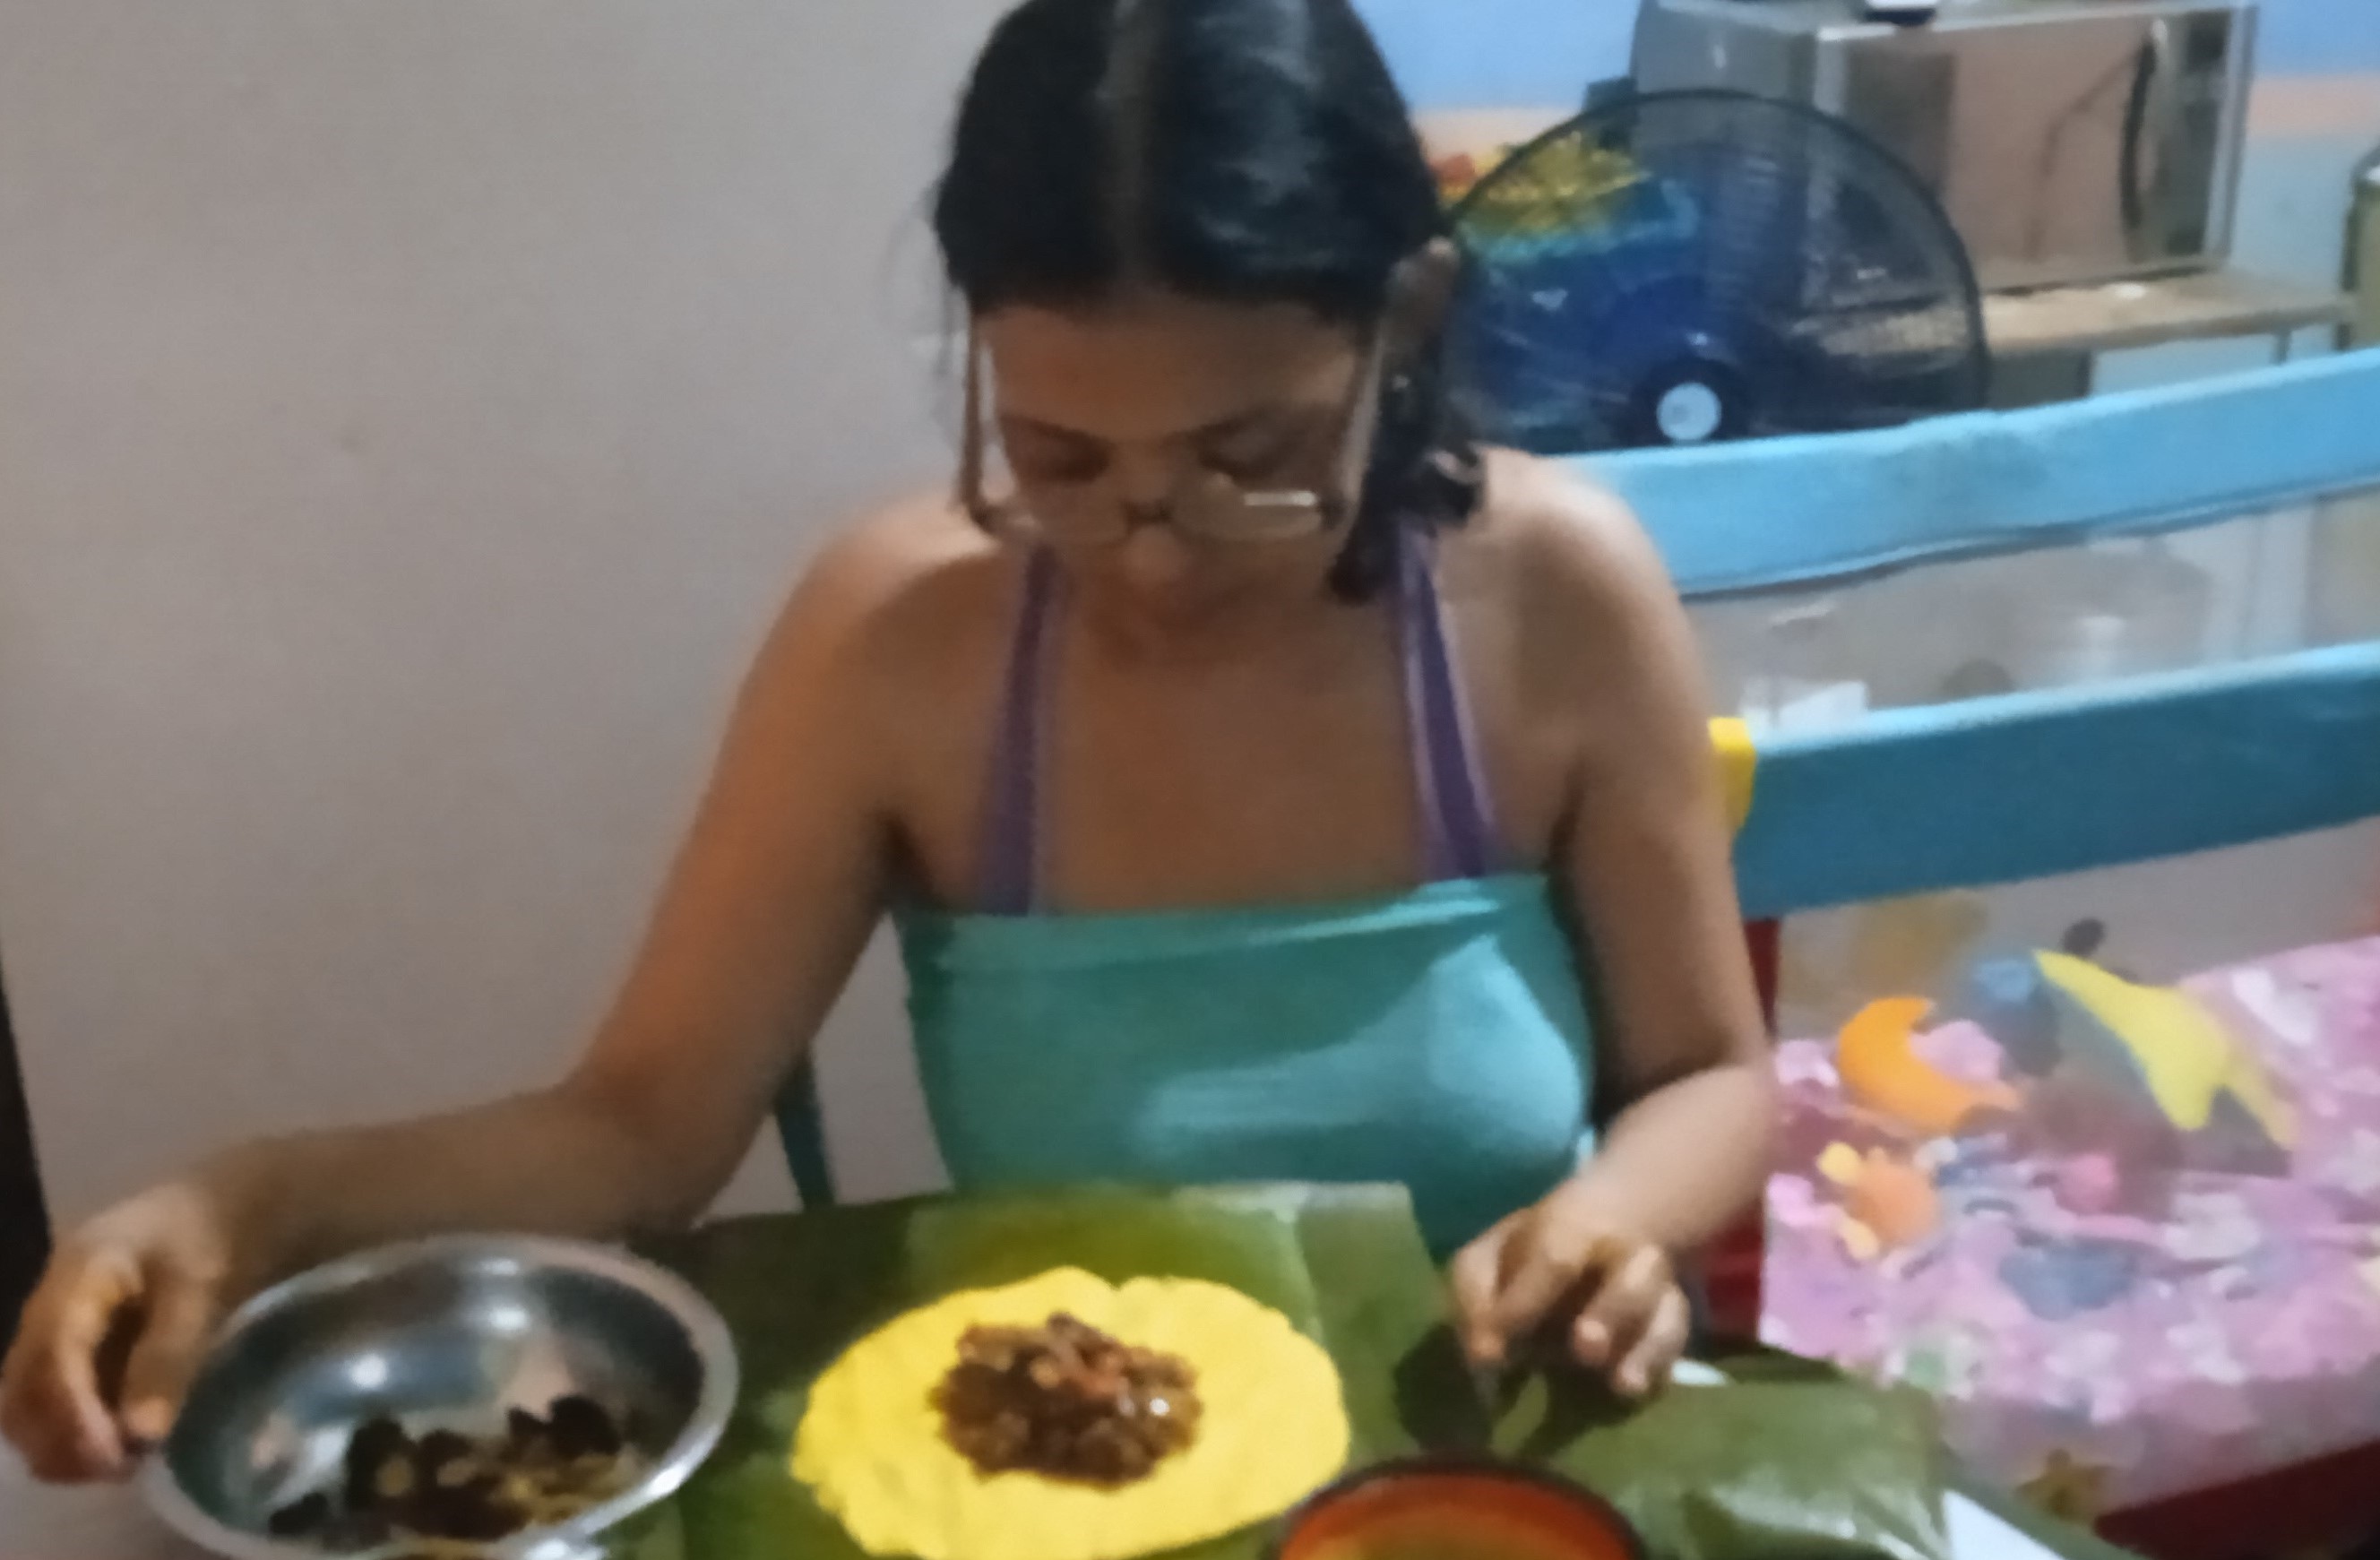
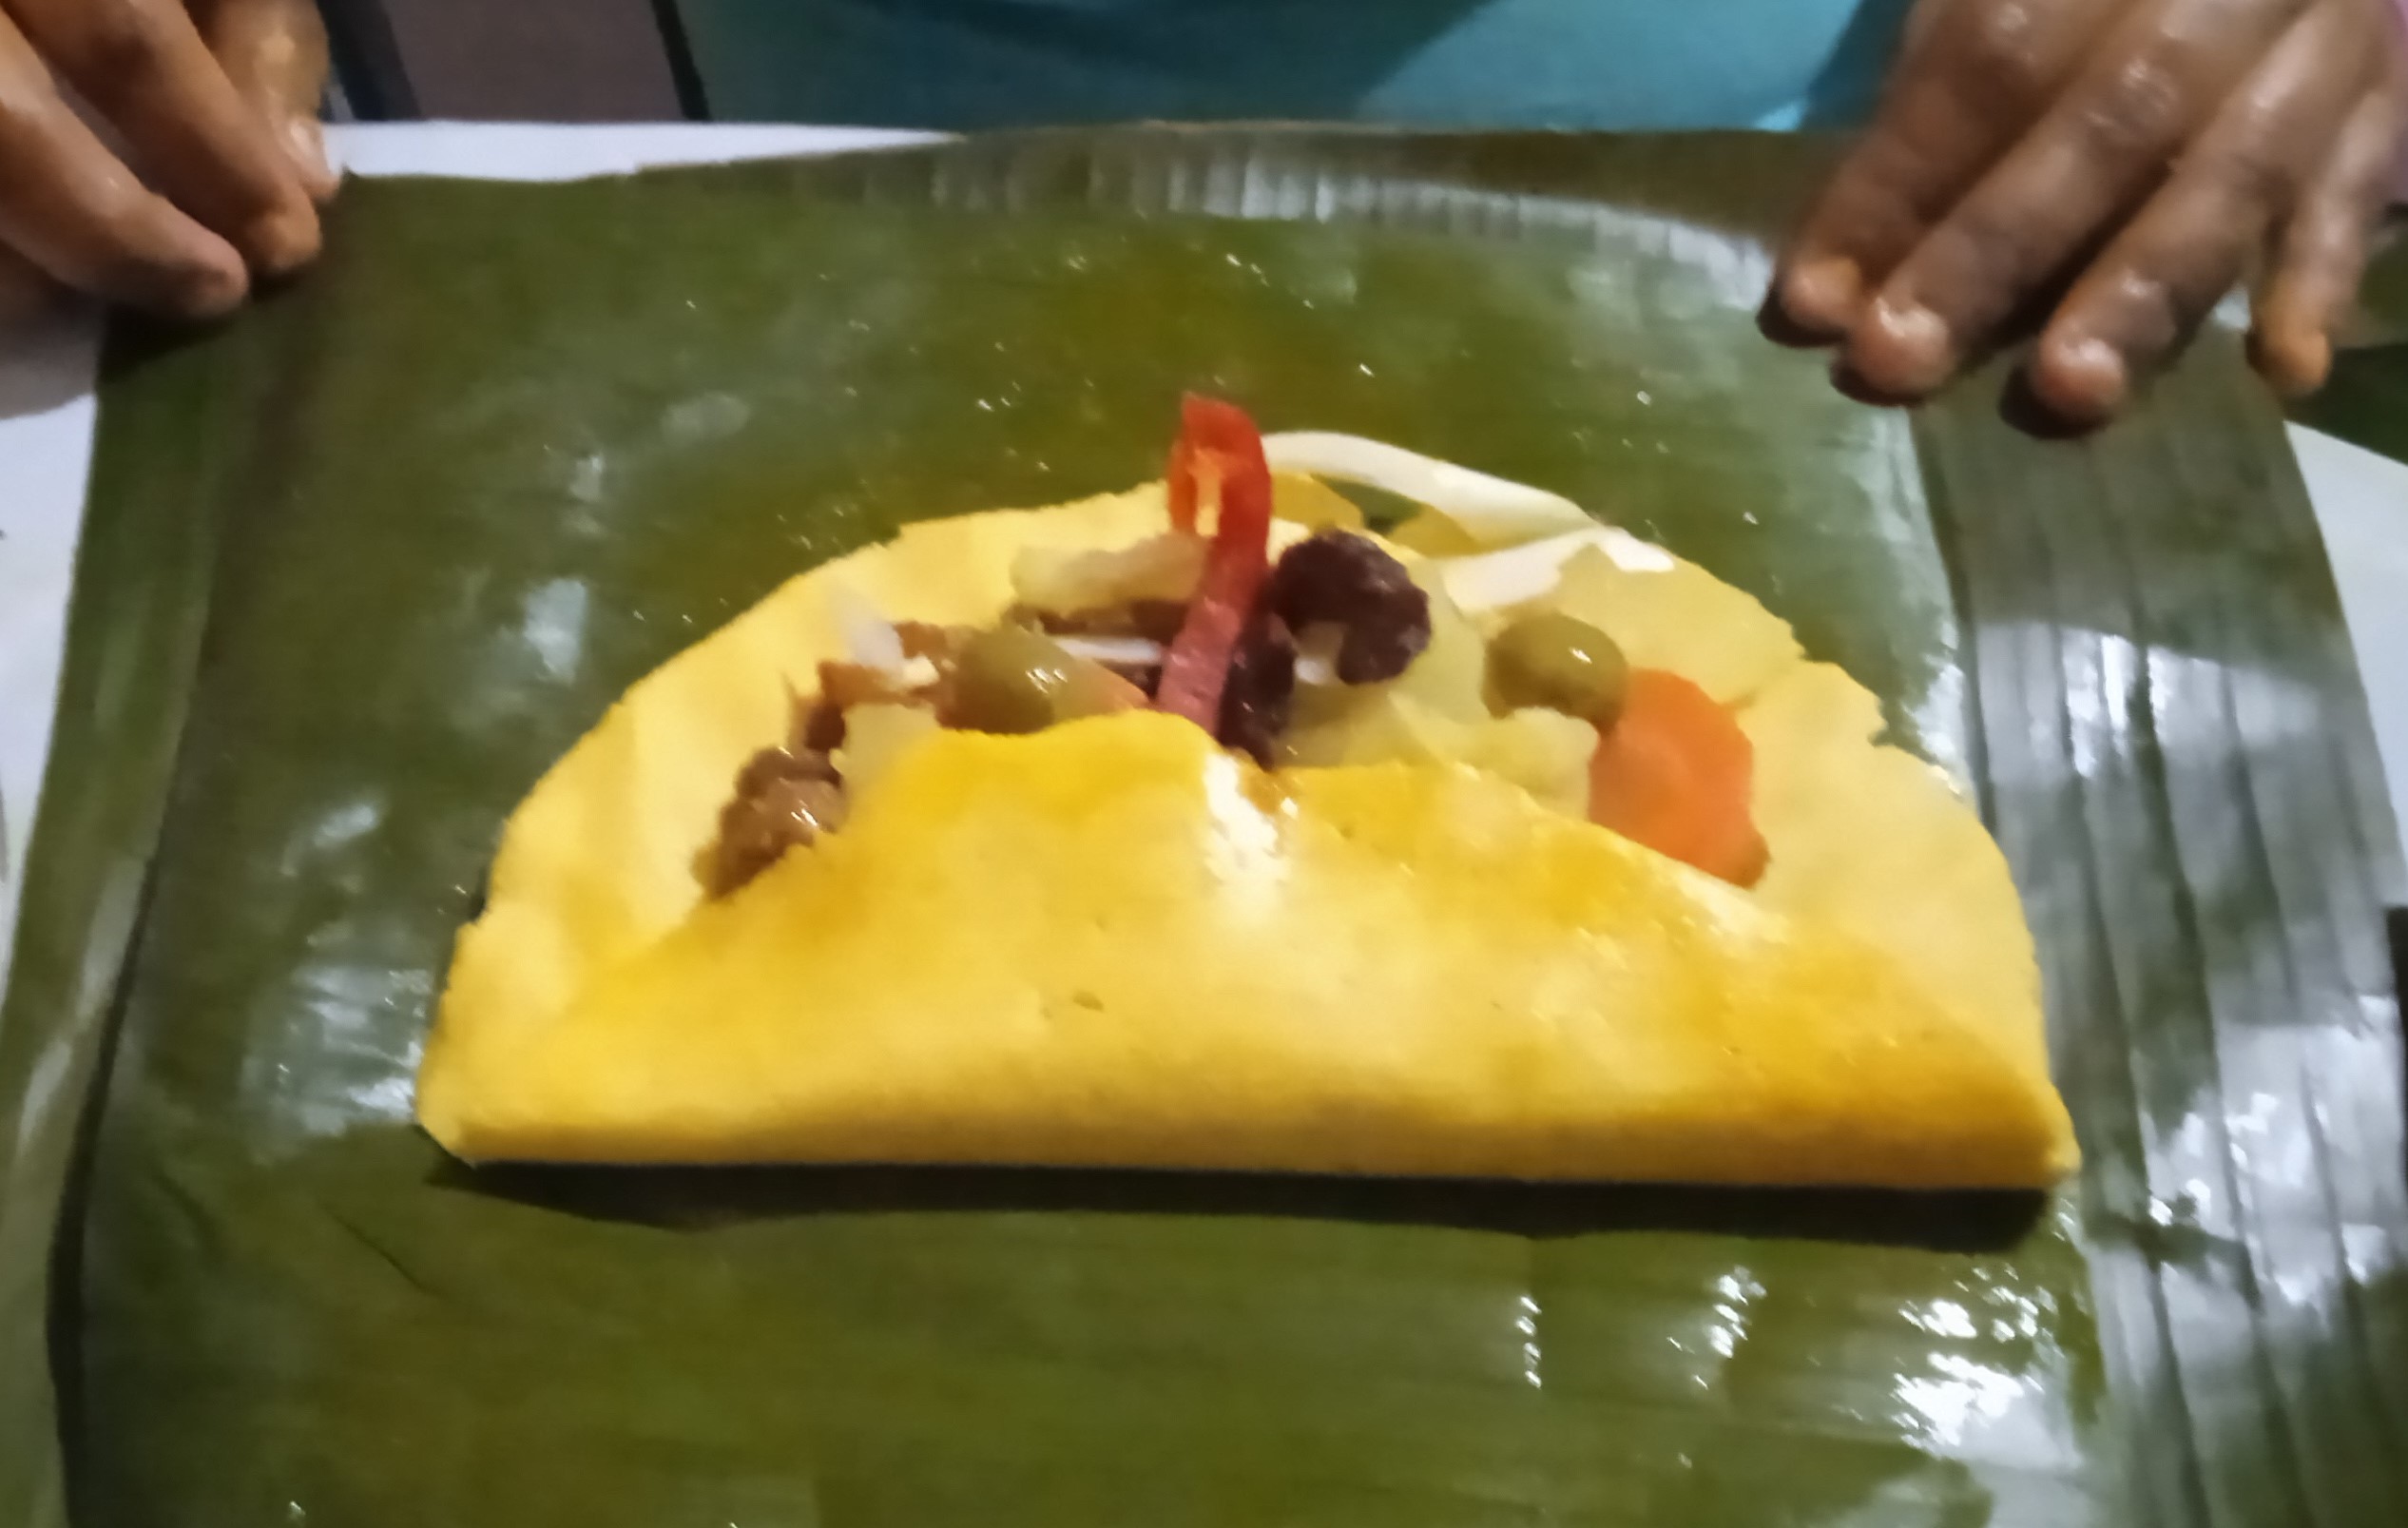
1. Se coloca todo lo requerido en la mesa, para ir añadiendo cada ingrediente.
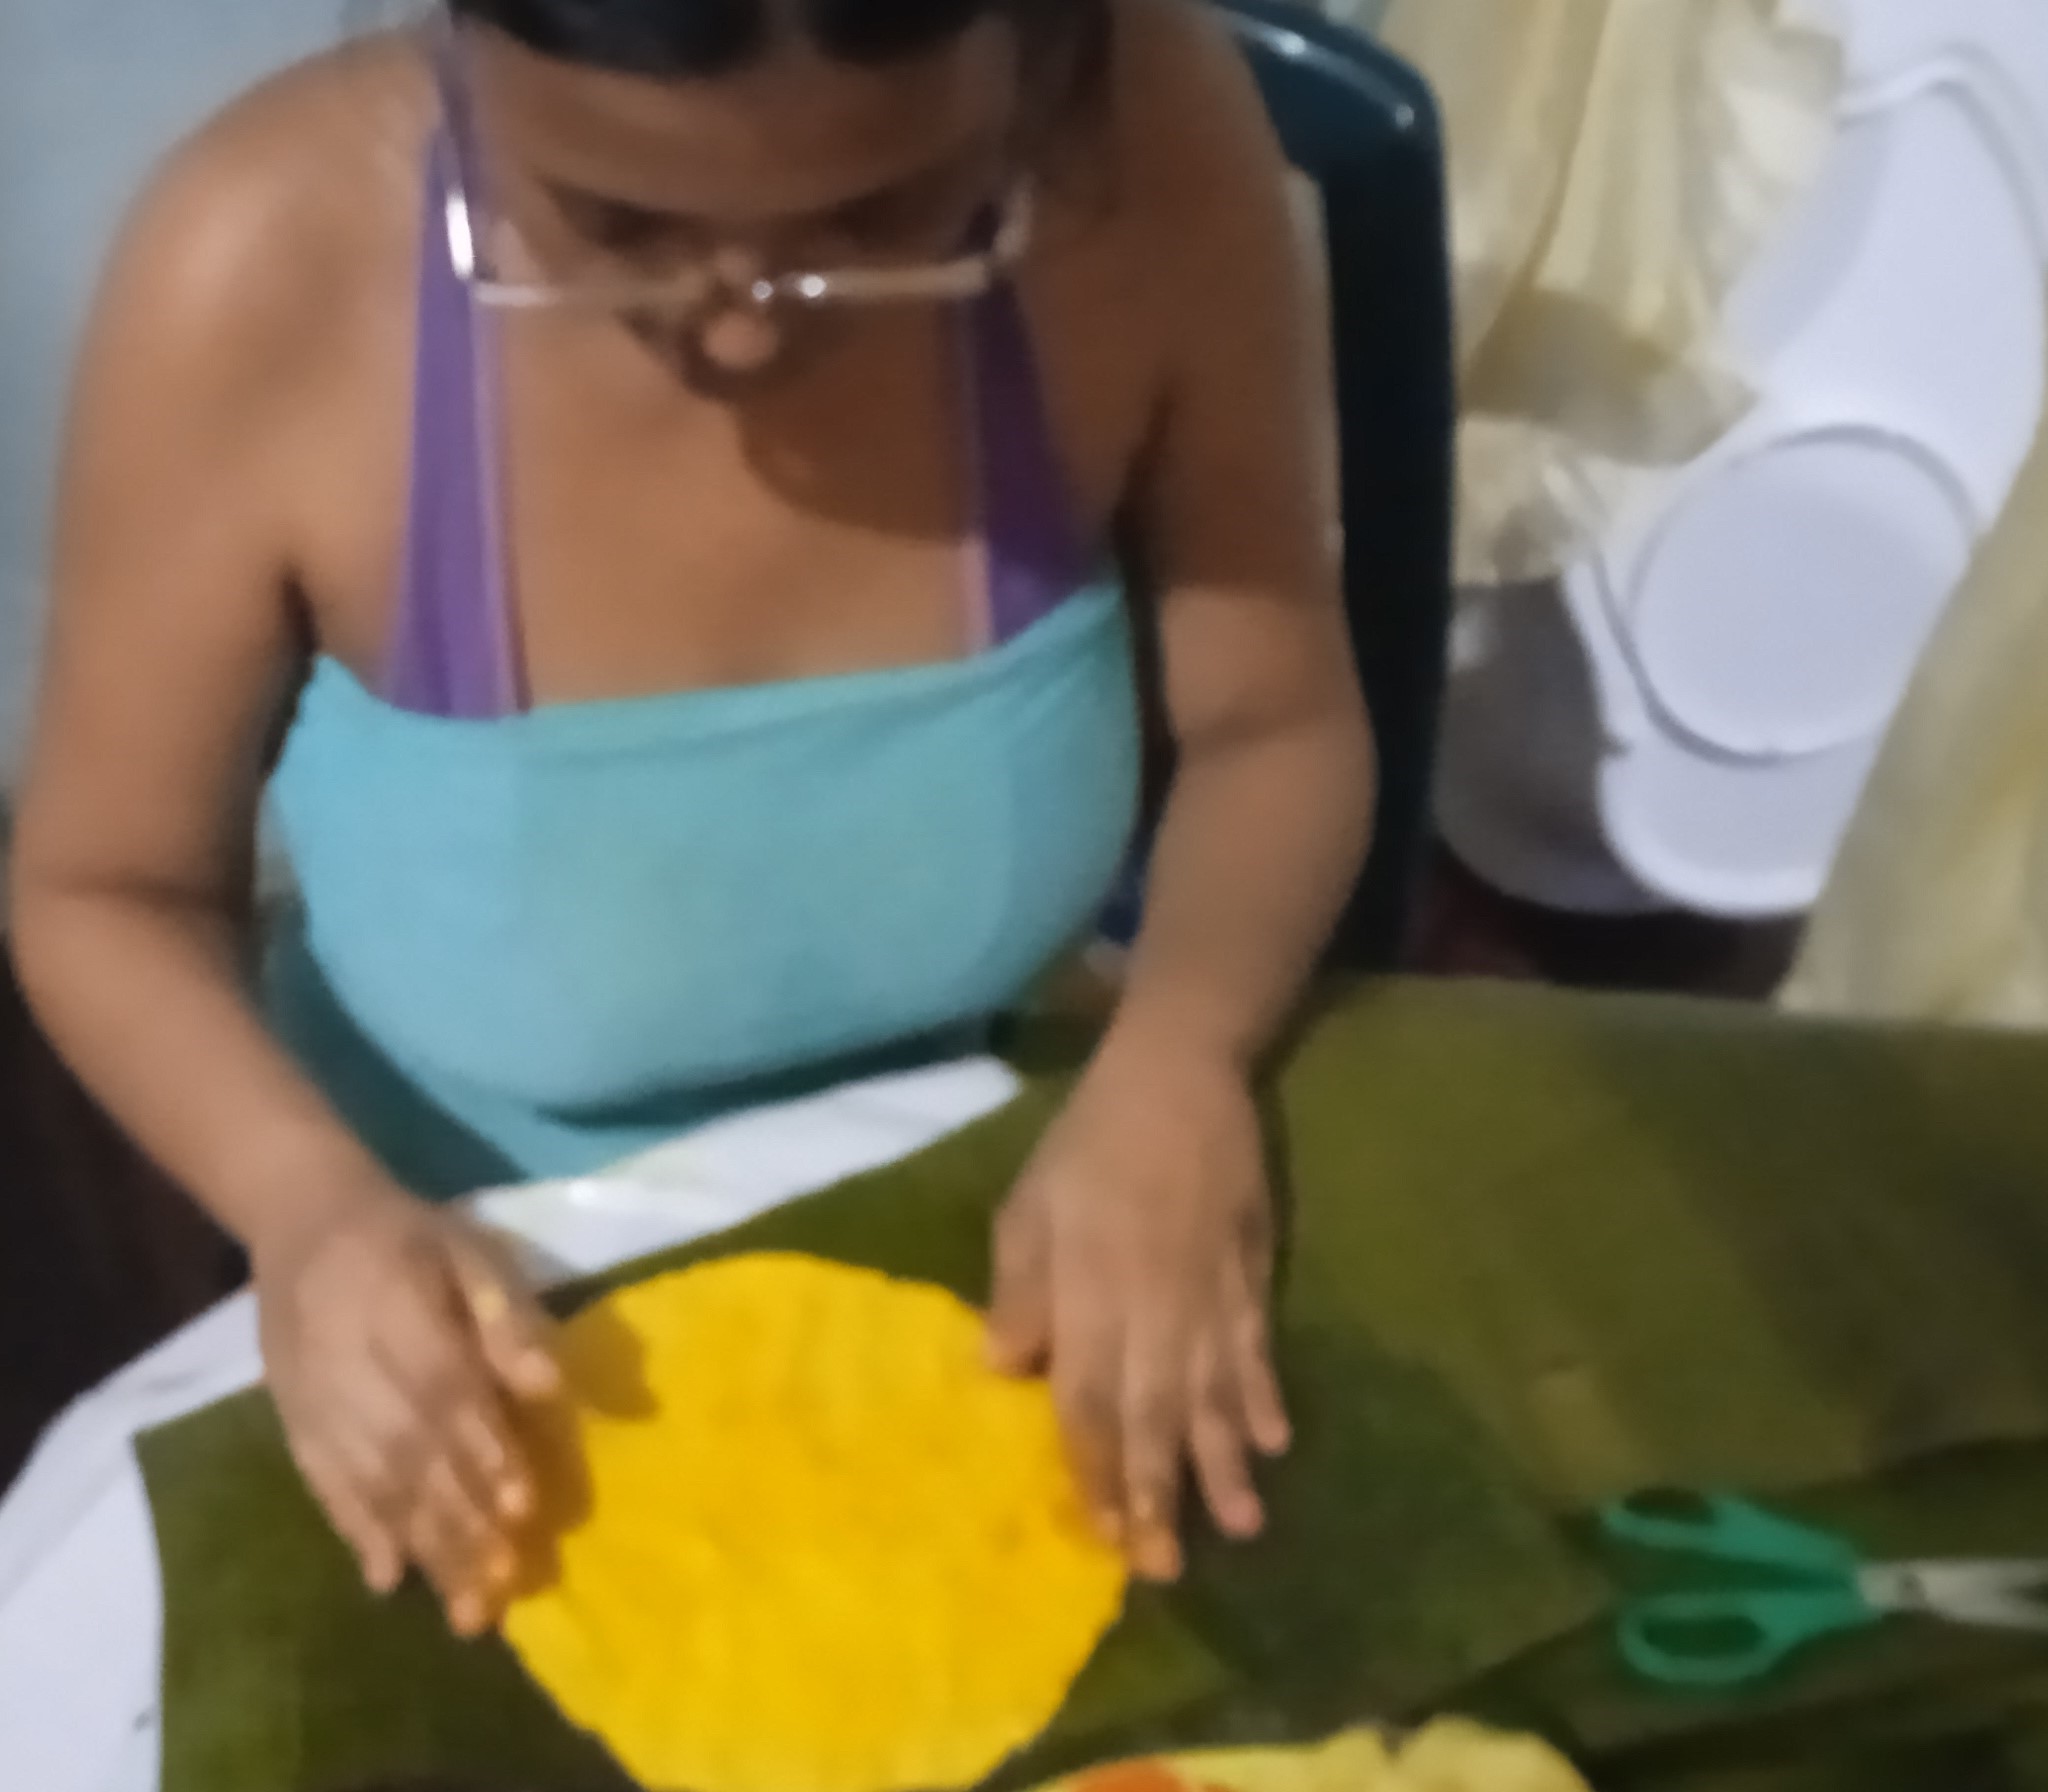
2. Se colocan dos trozos de hoja; la de abajo debe ser más grande que la de arriba.
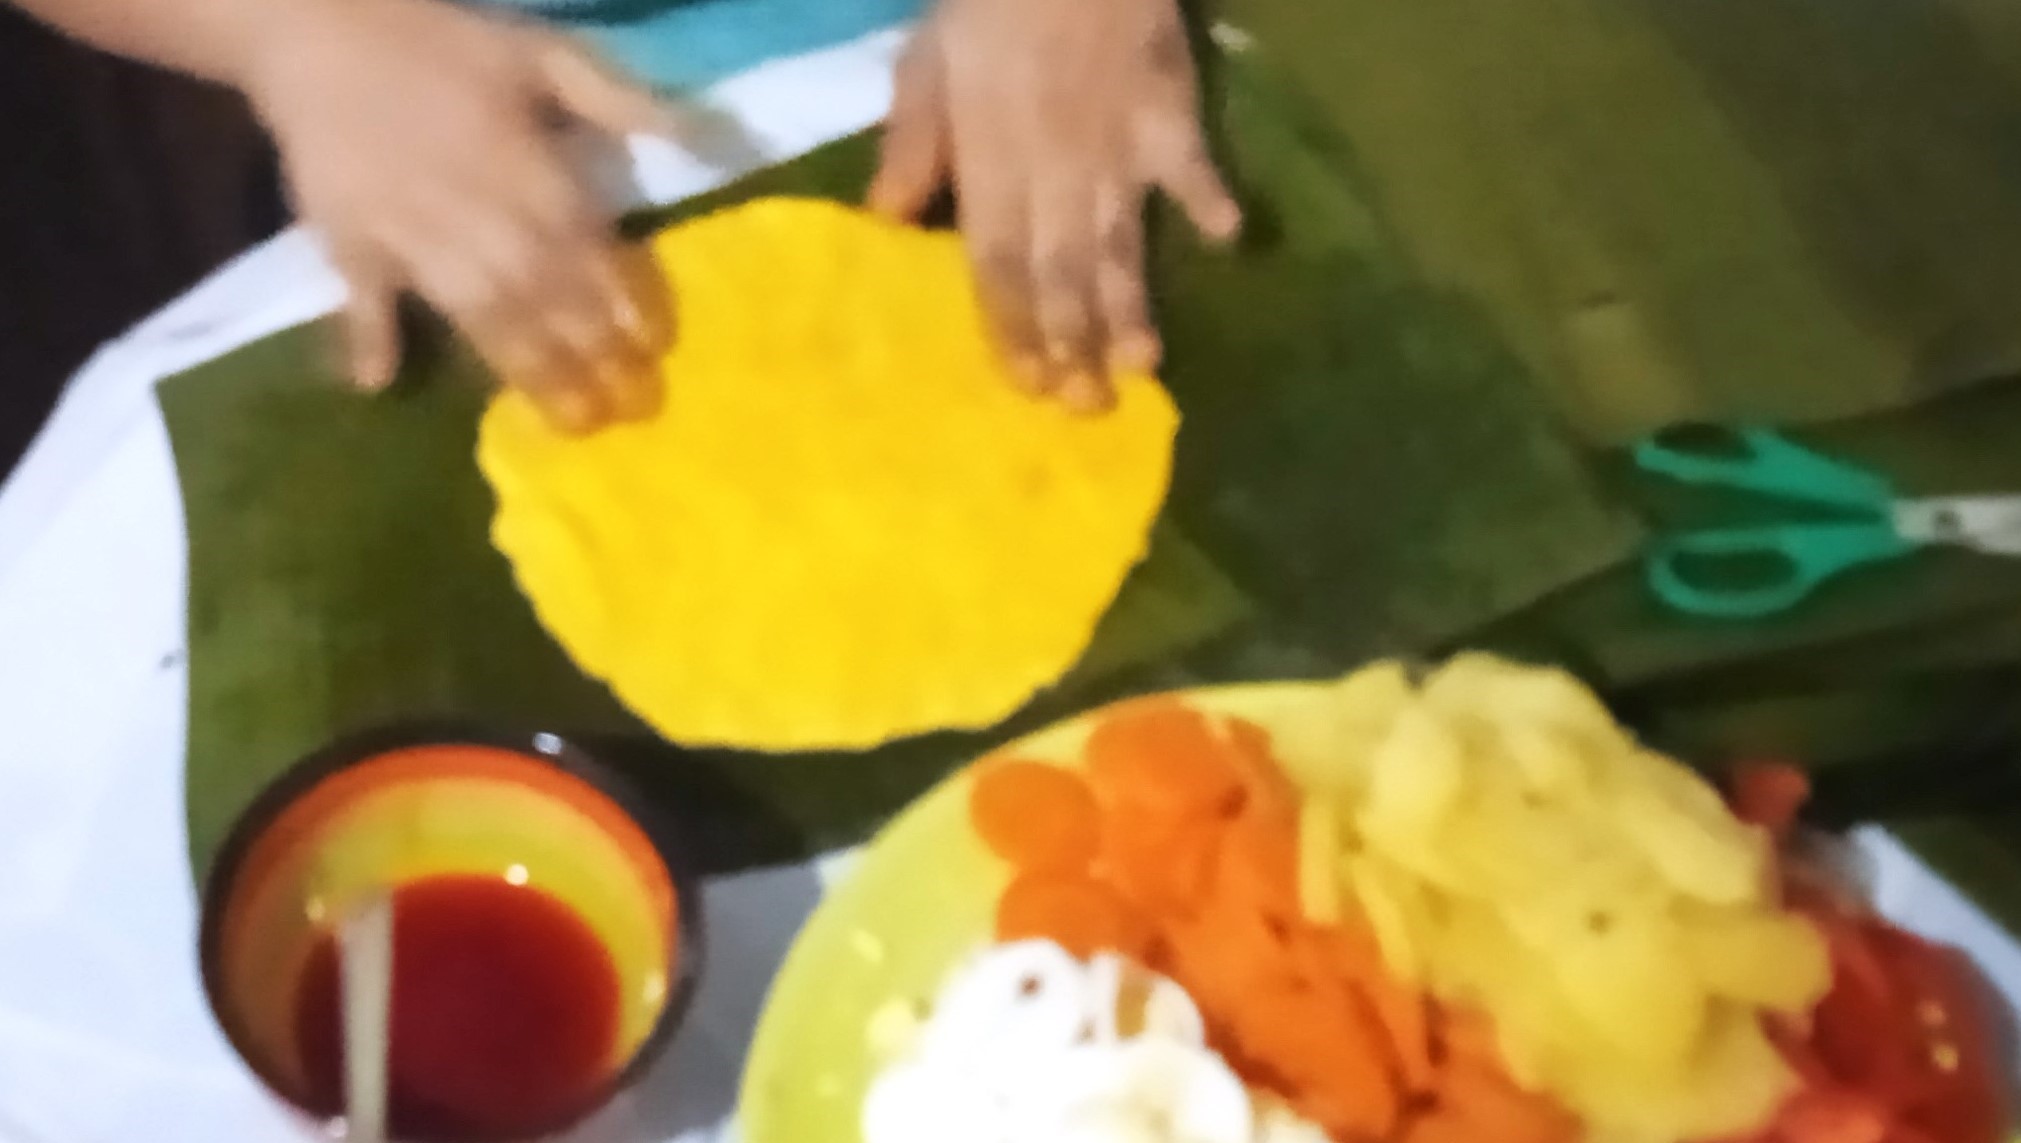
3. Se toma una bolita de masa, y con la ayuda de los dedos se va extendiendo para hacer forma de un círculo (en mi caso me gusta la hallaca delgada, por lo tanto, extendí muy bien la masa).
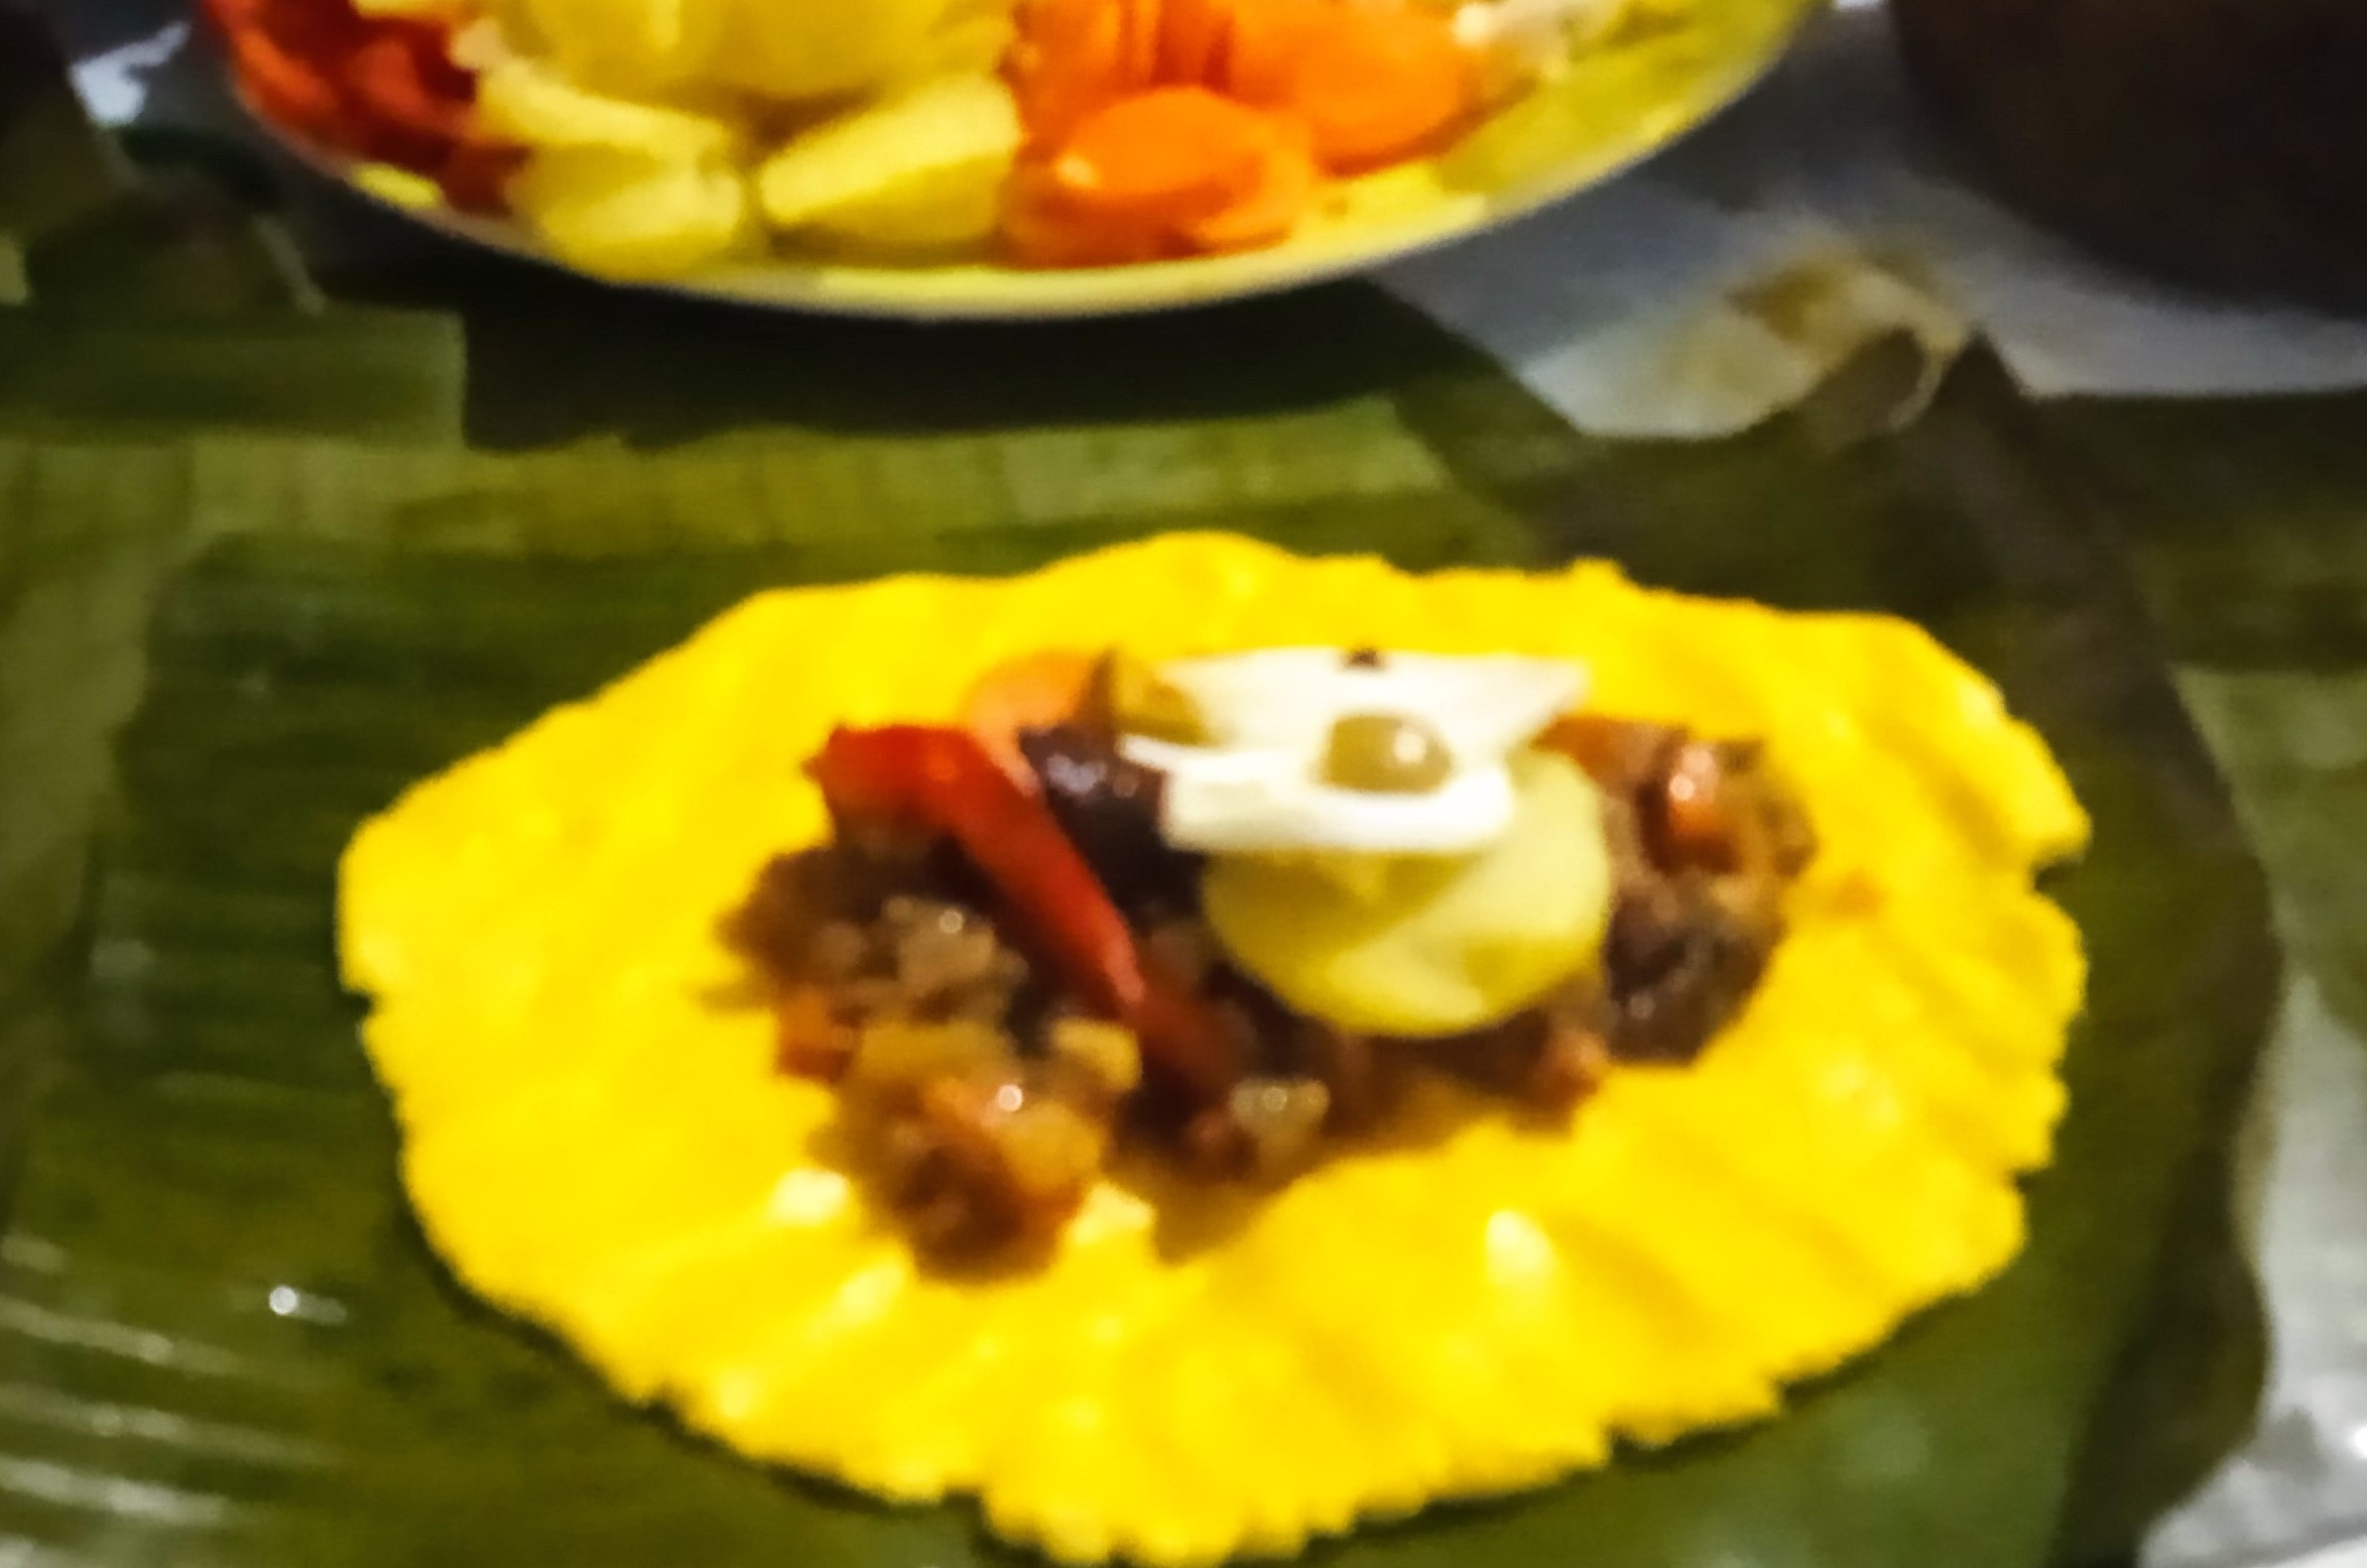
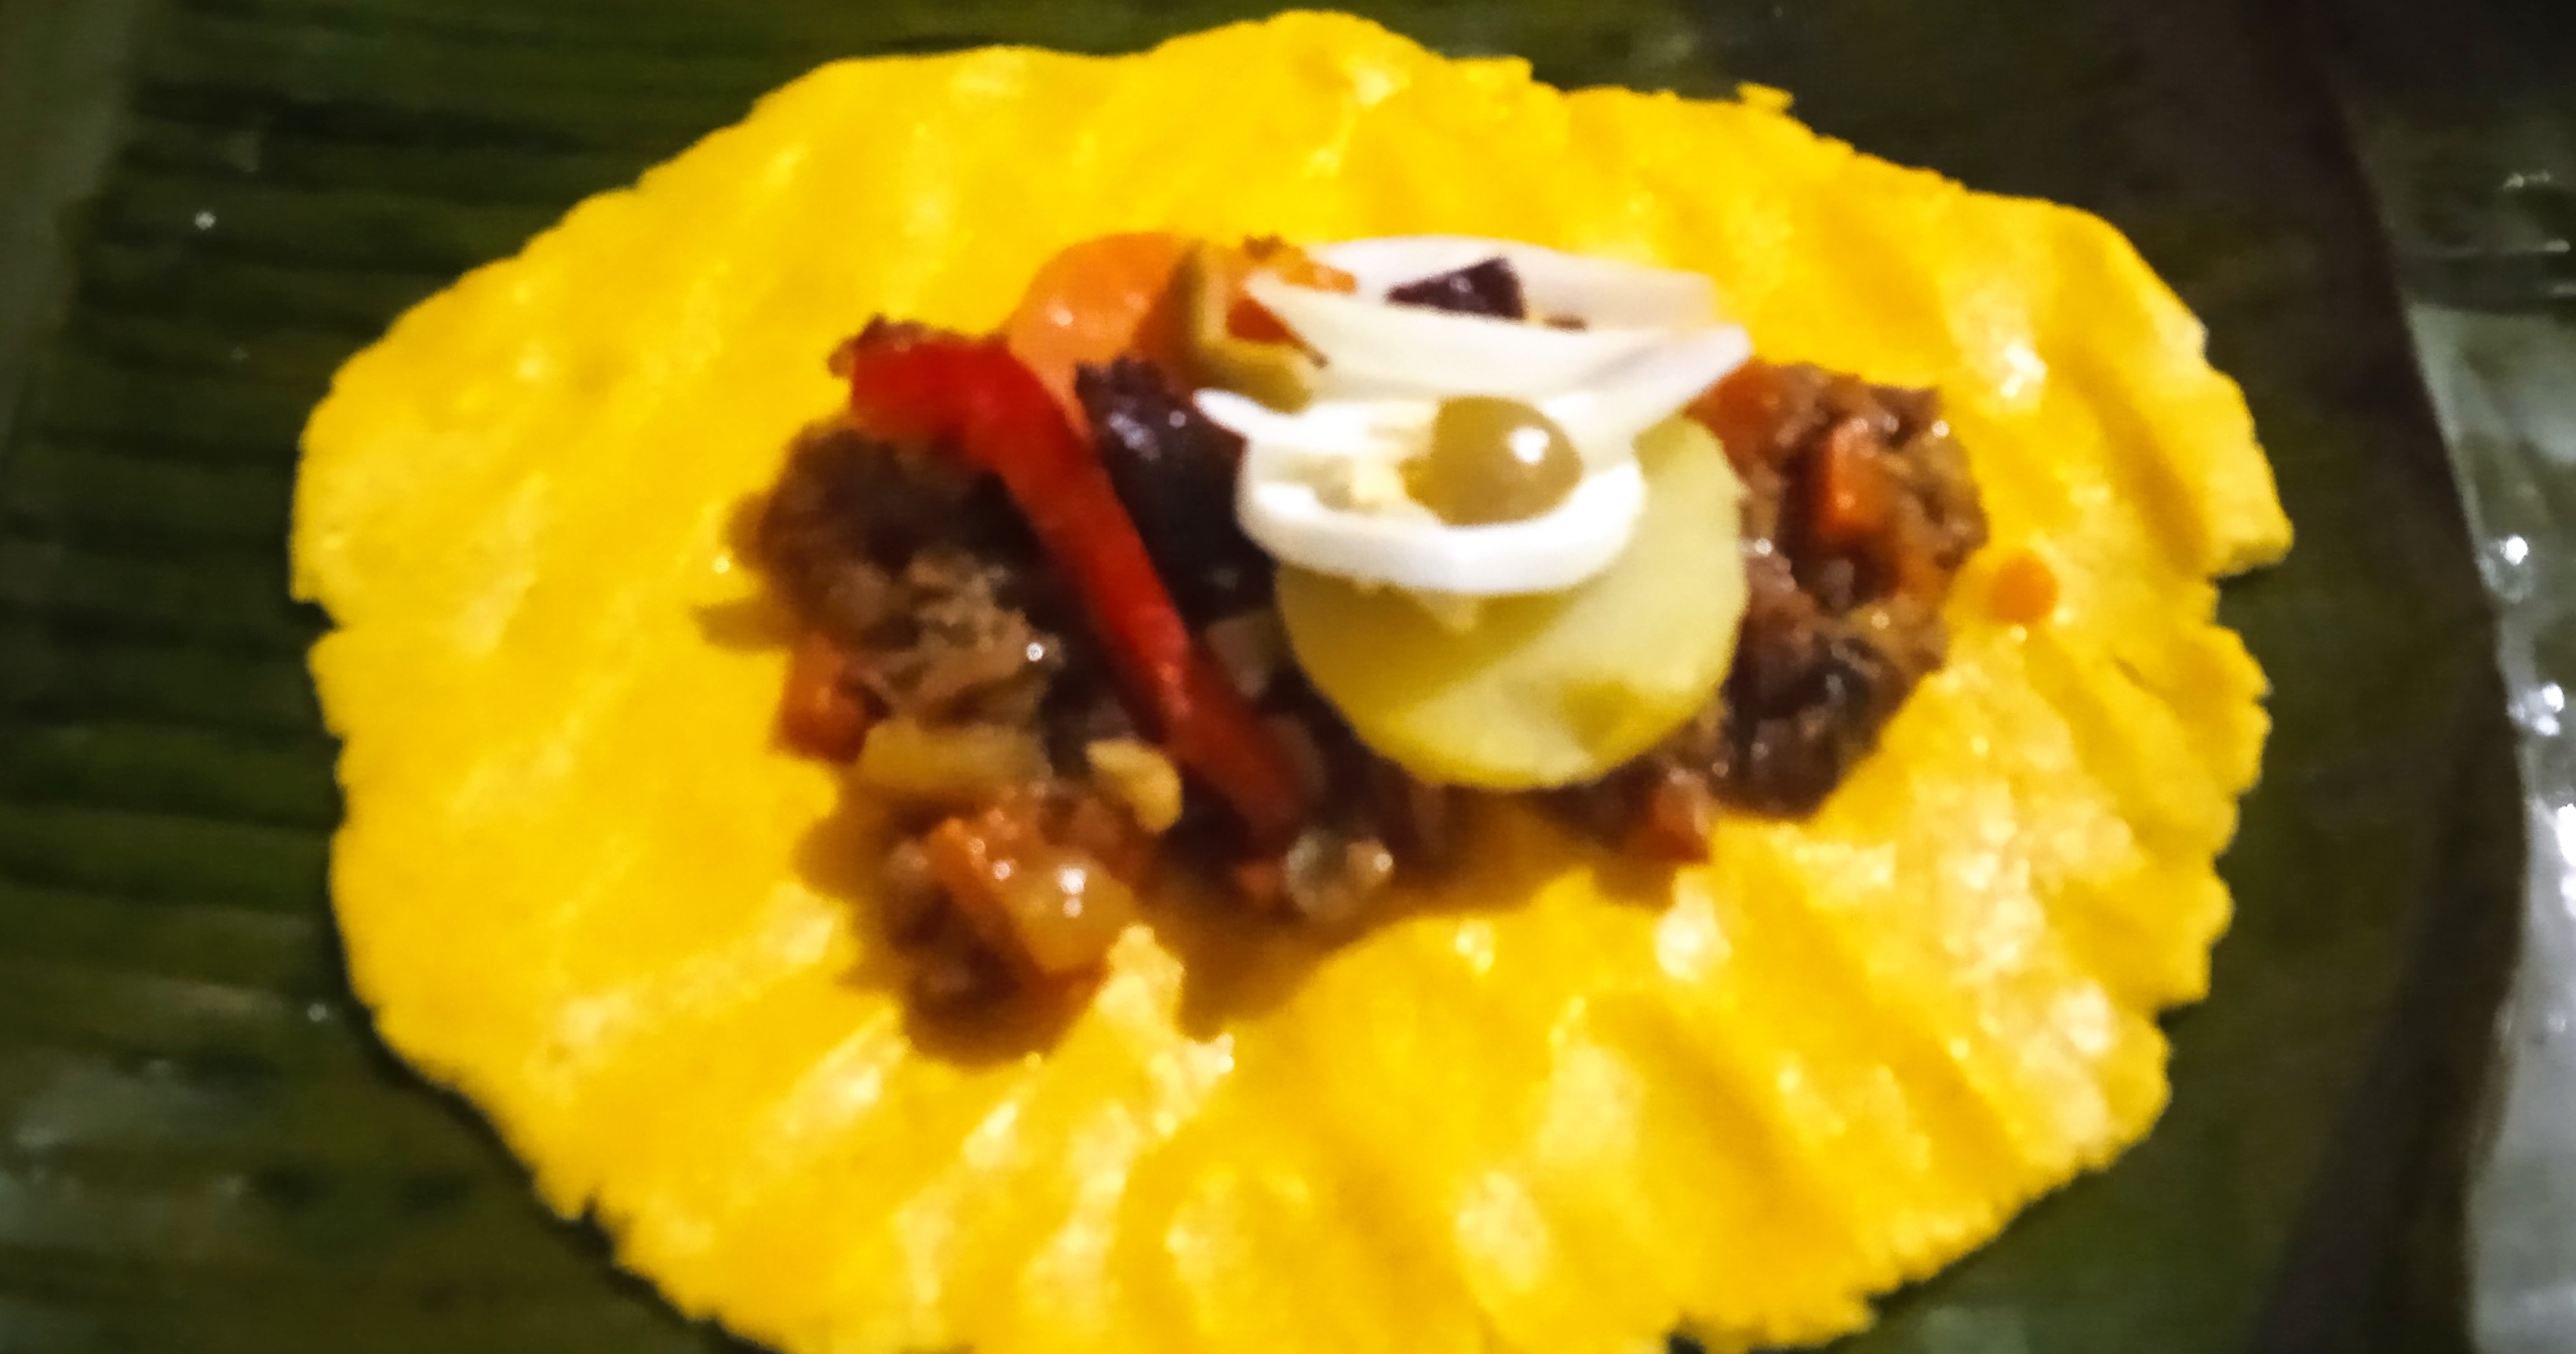
4. Después se toma un poquito de cada ingrediente de la mesa: del guiso son dos cucharadas colmadas, un trozo de pimentón, varios trozos de cebollas, un pedazo de huevo, un pedazo de papa y otra de zanahoria, y al final varias pasas más una aceituna.
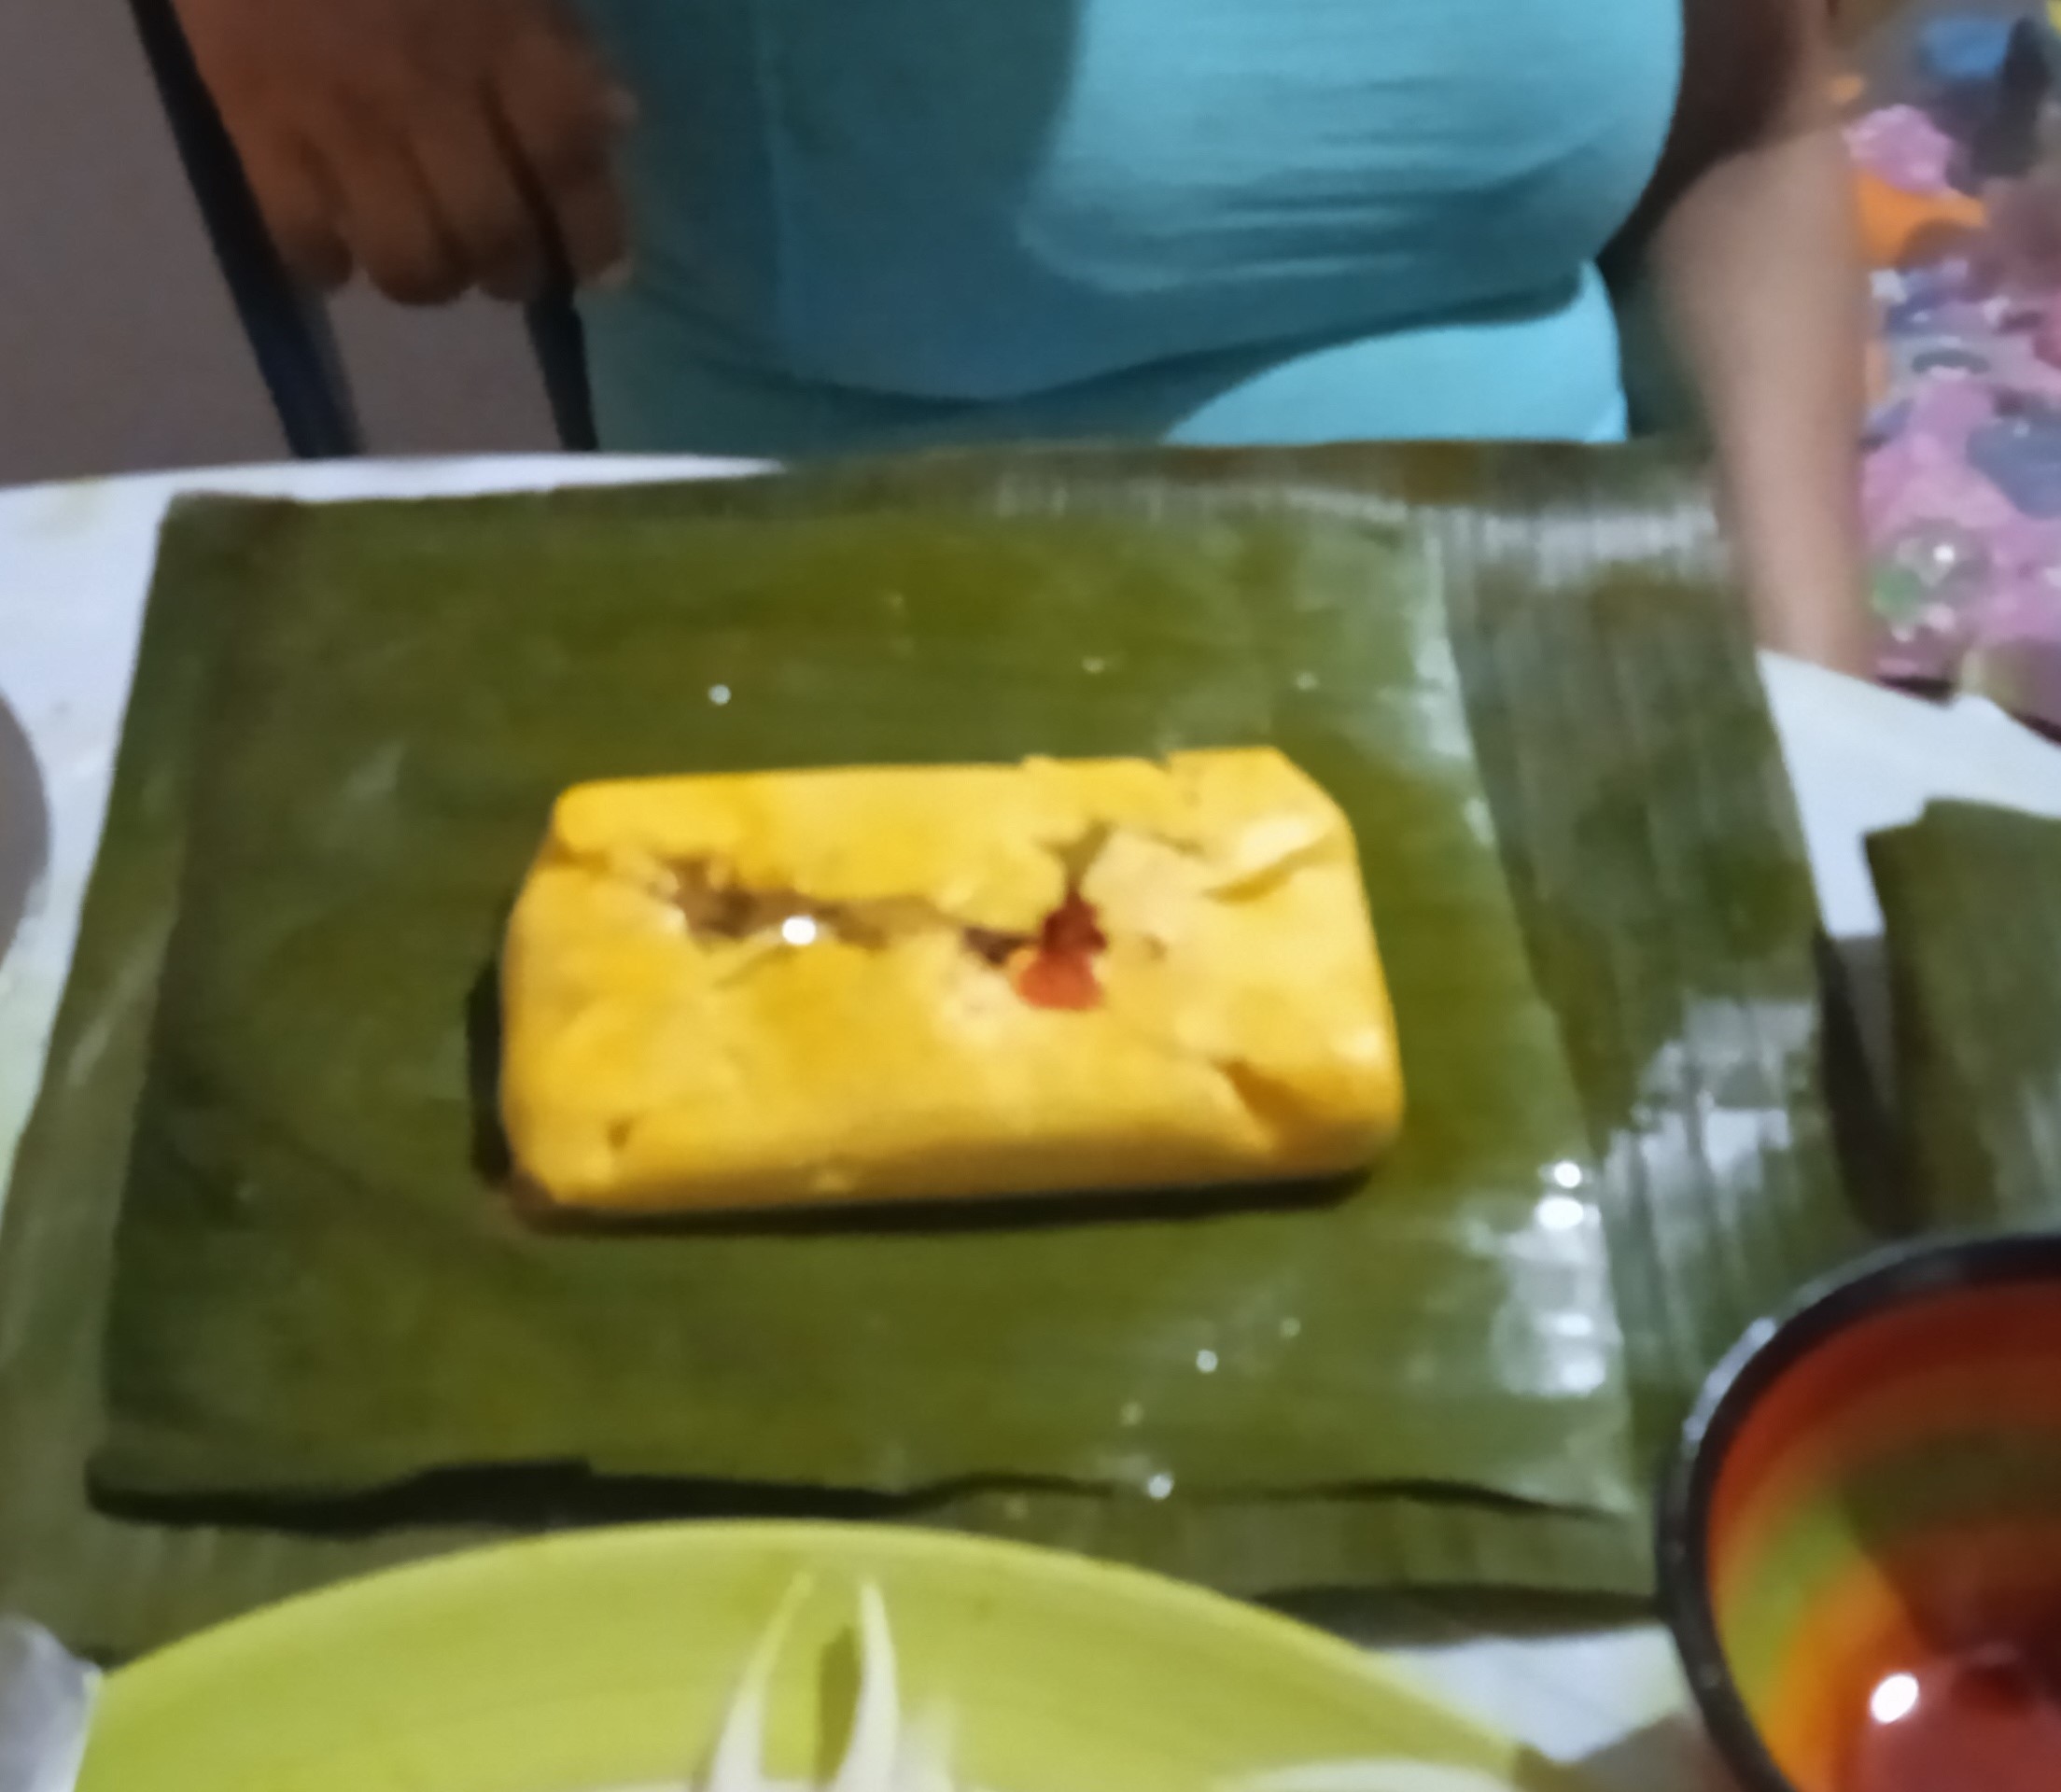
5. Luego cerrar, como si fuera un sobre.
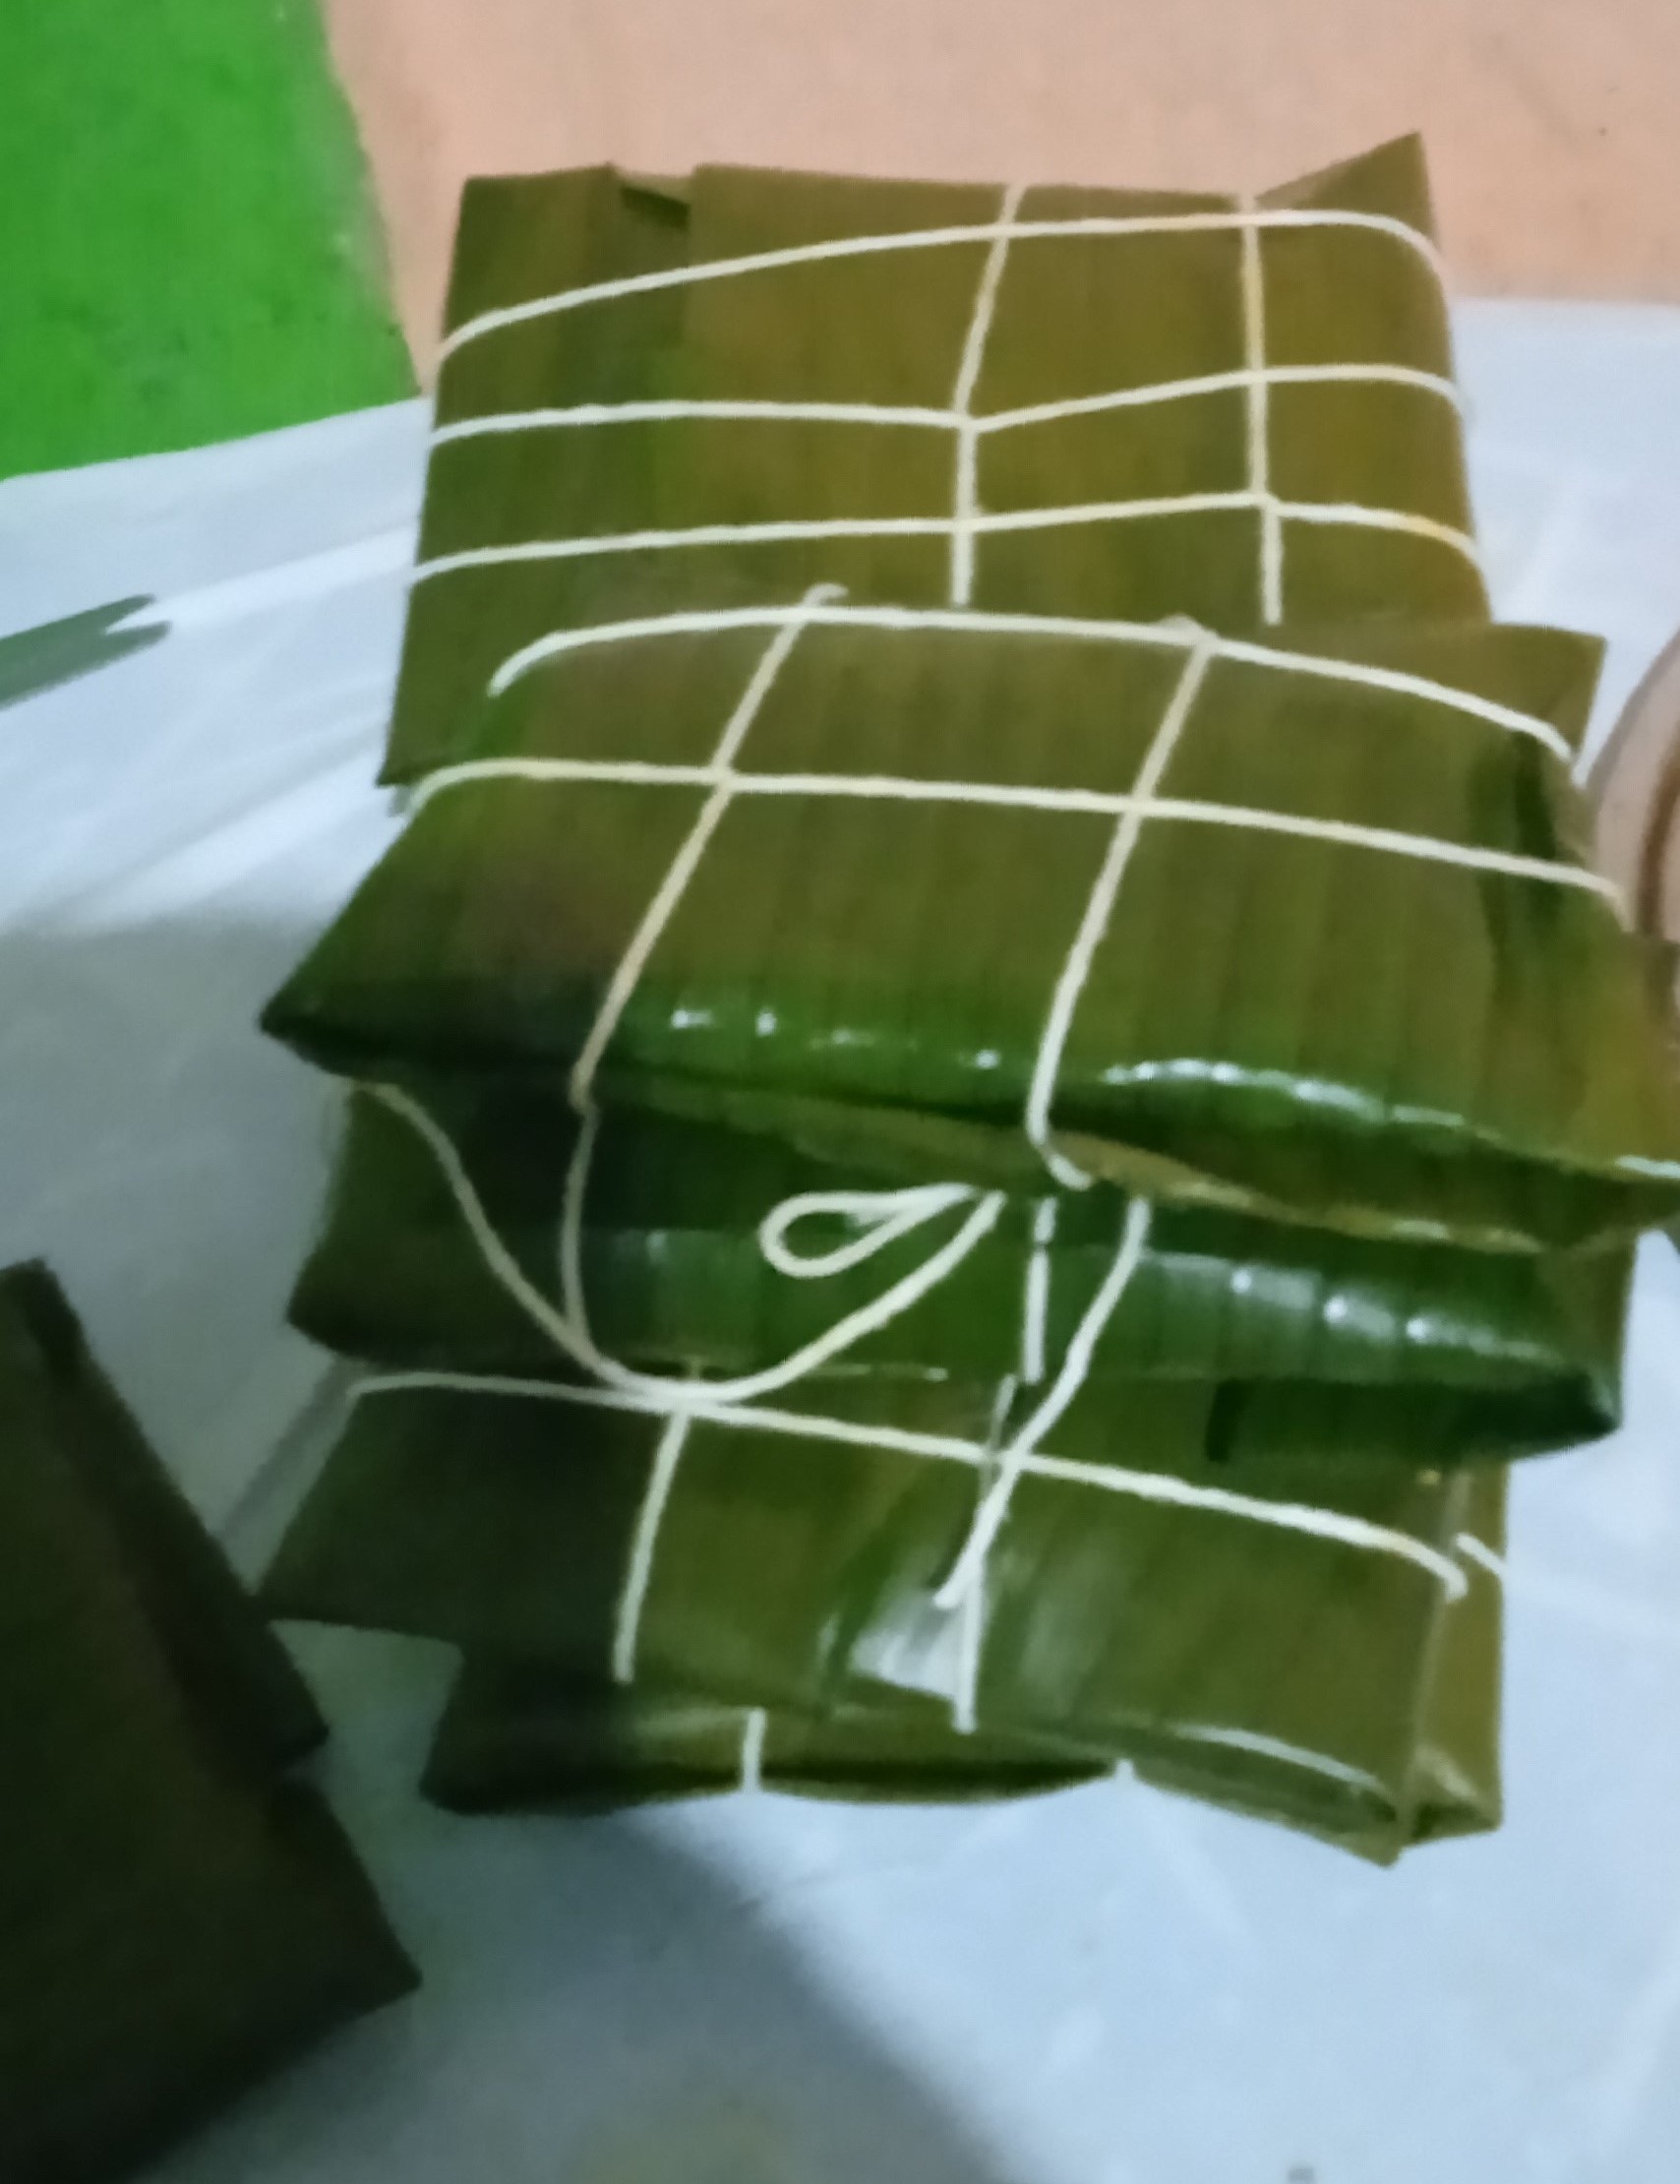
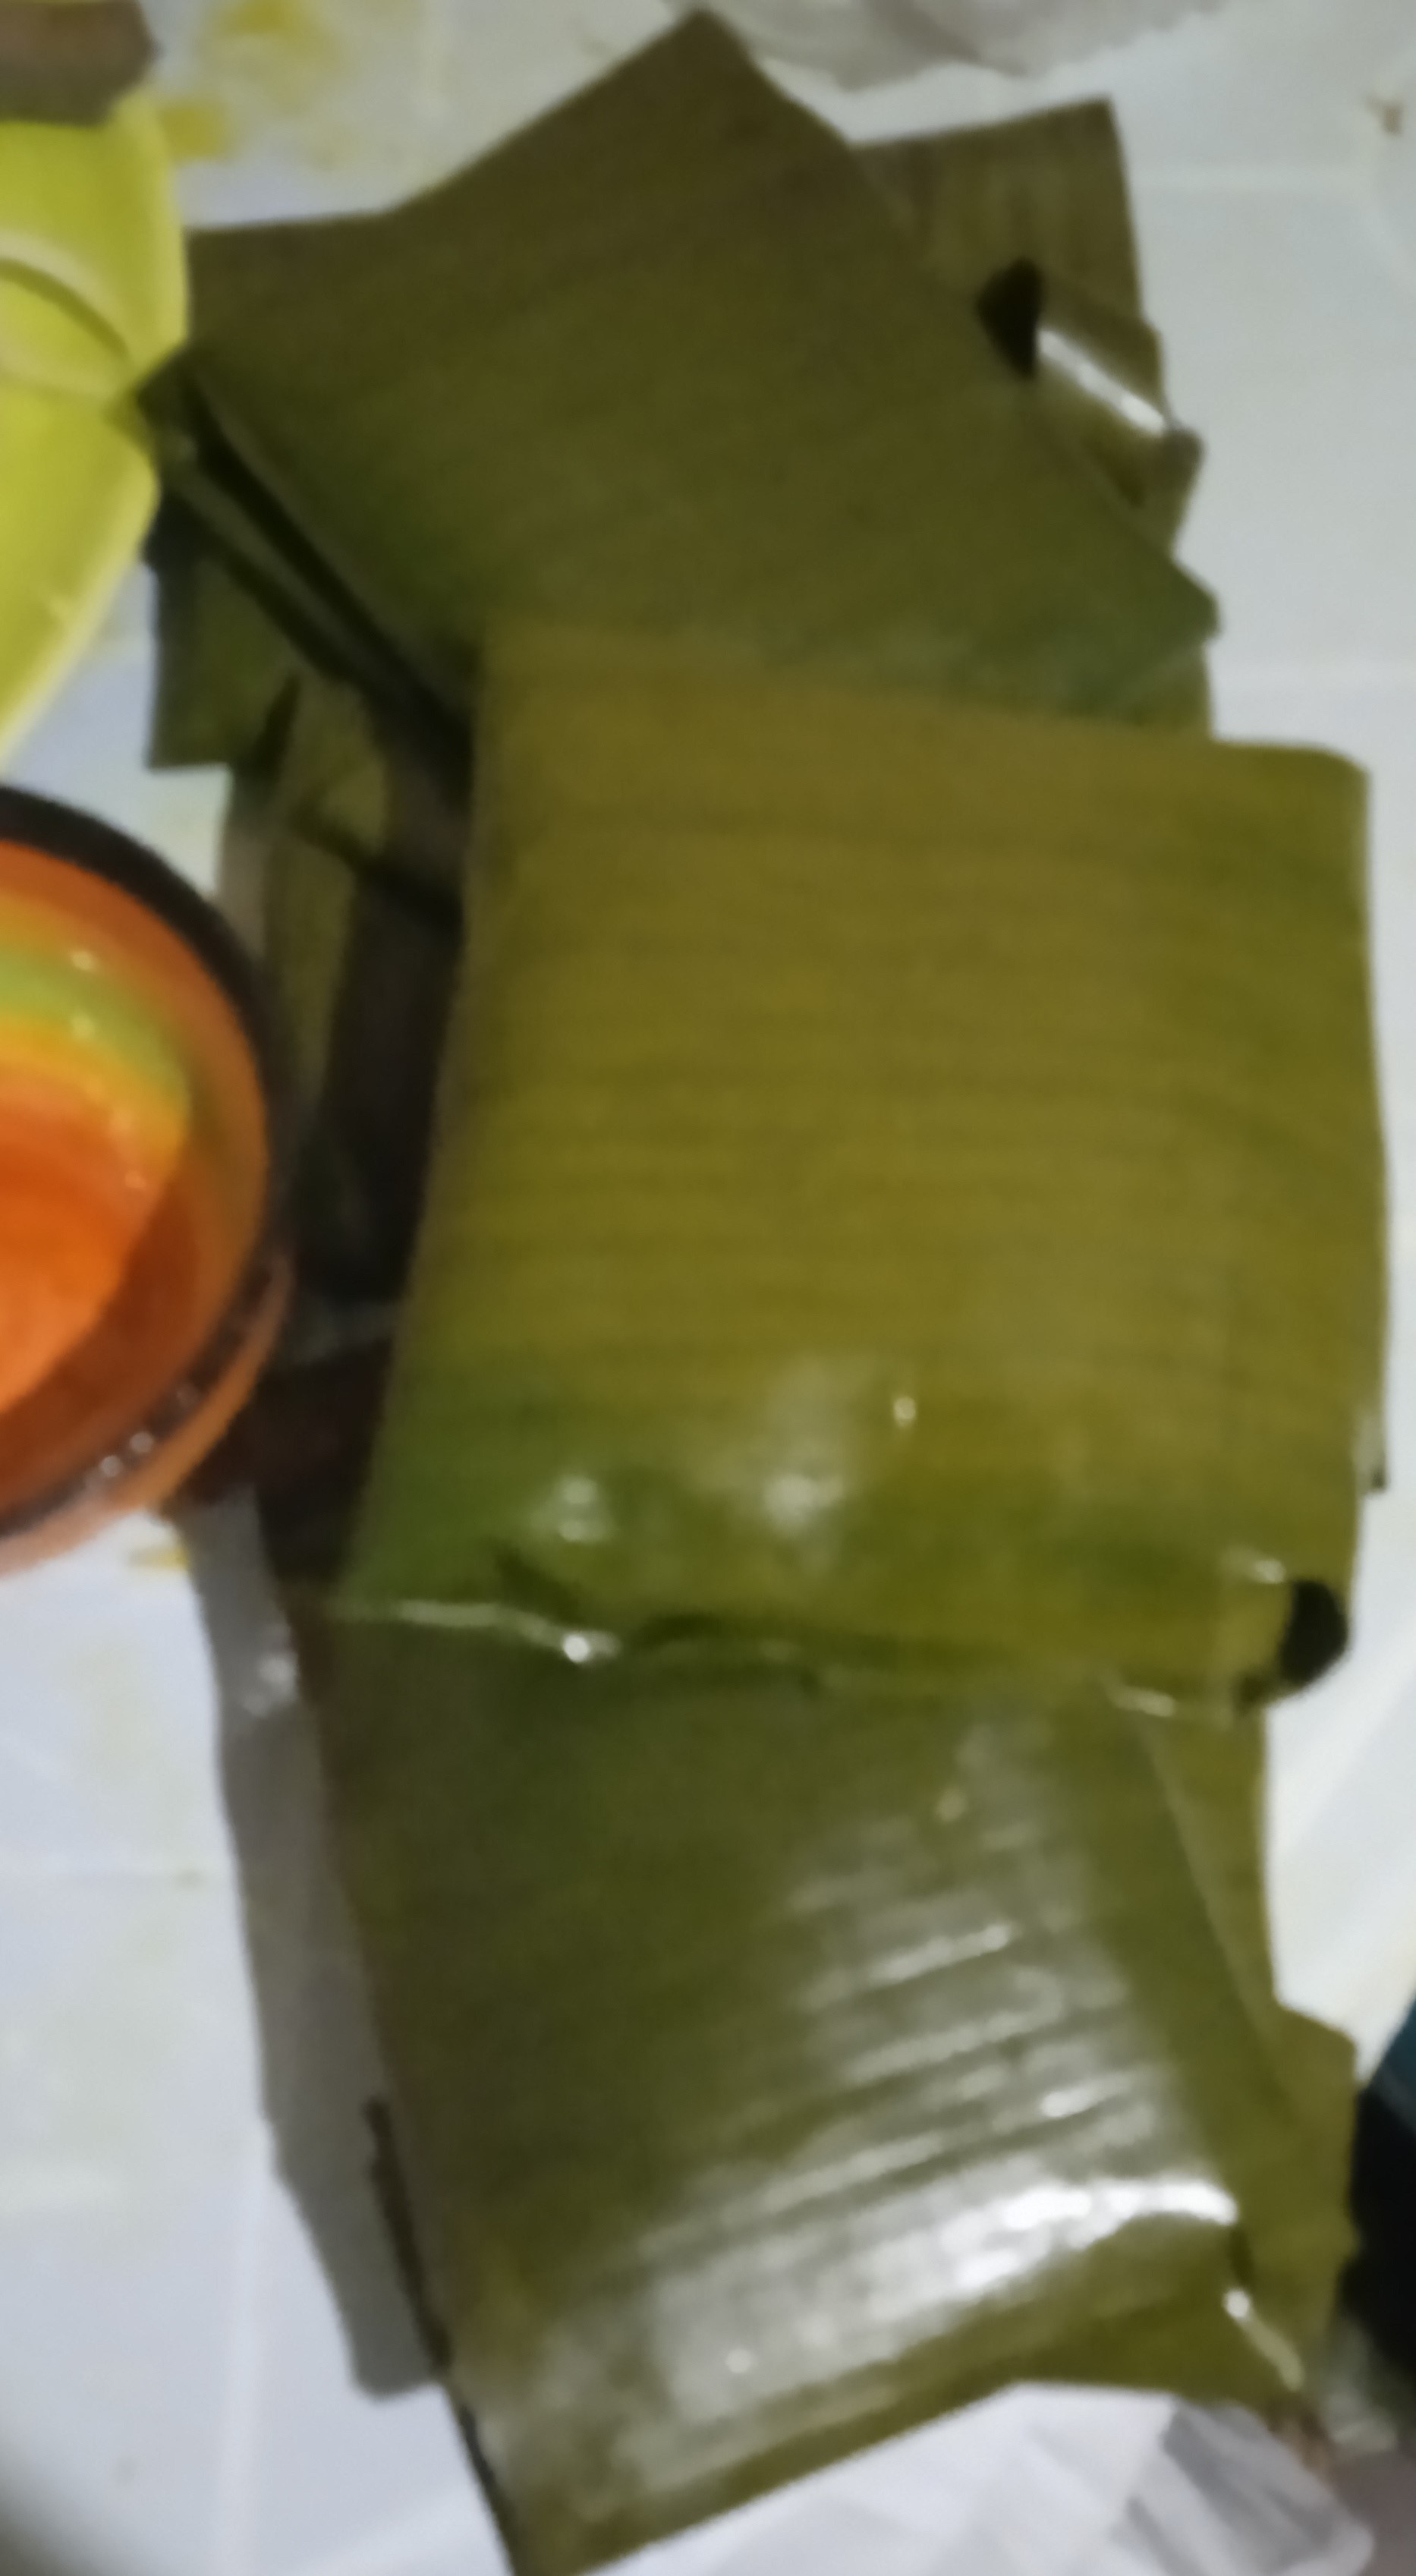
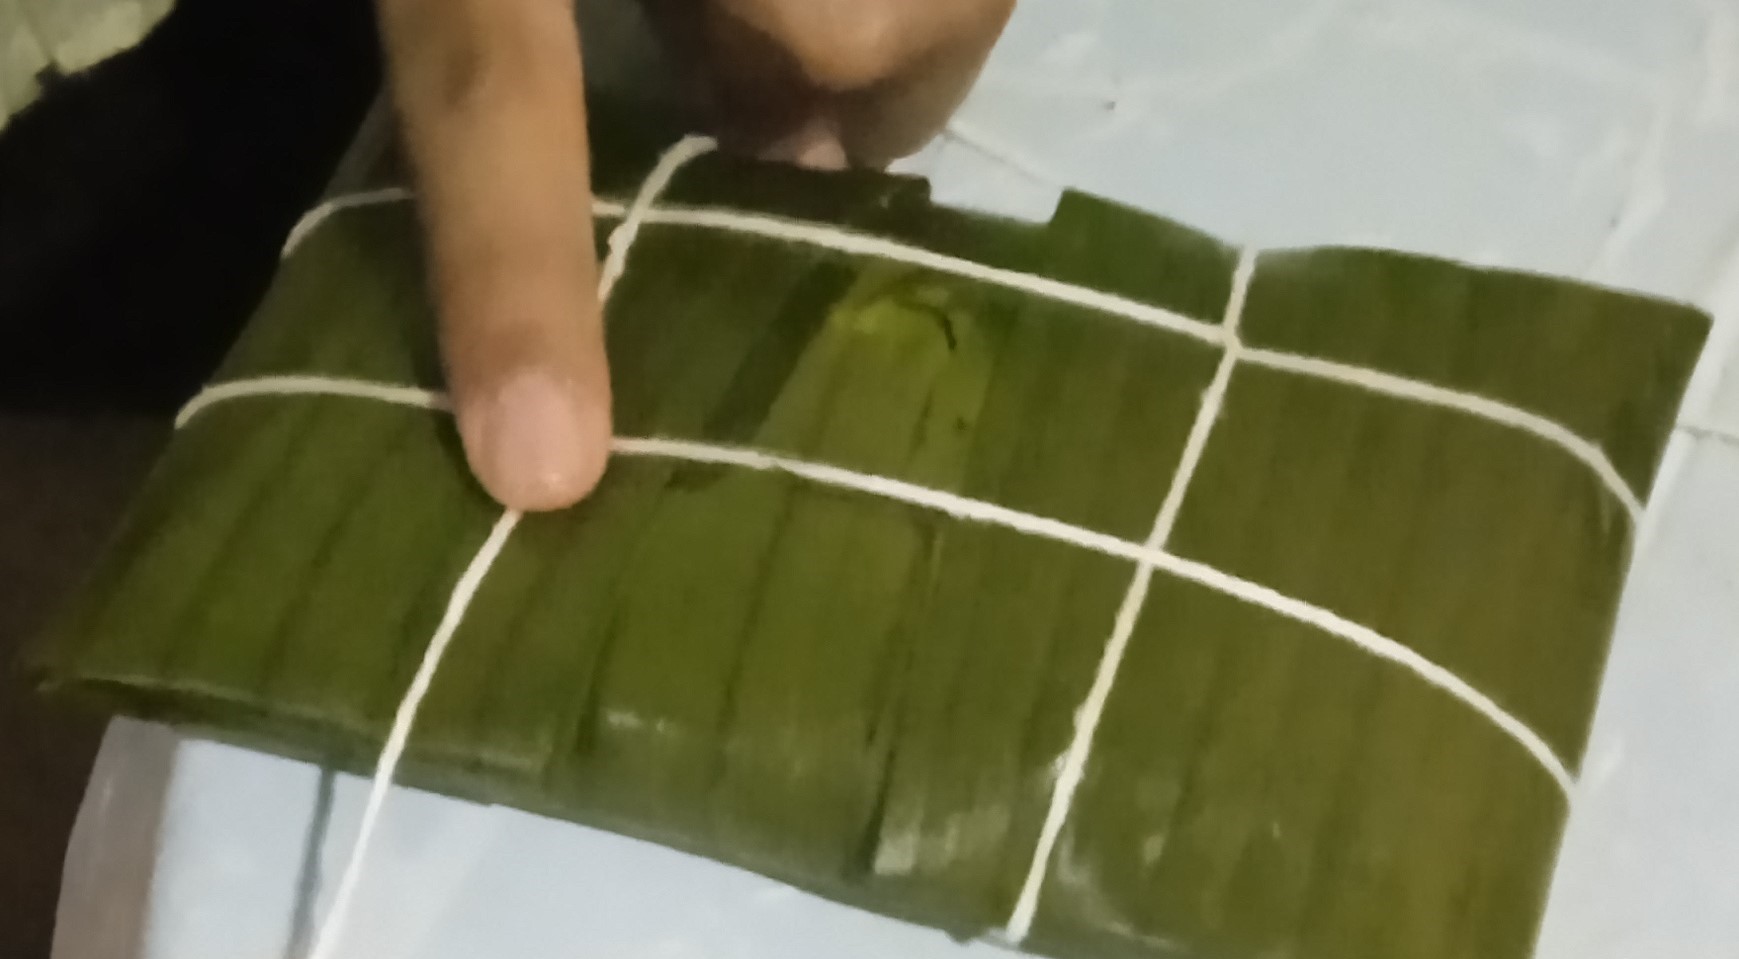
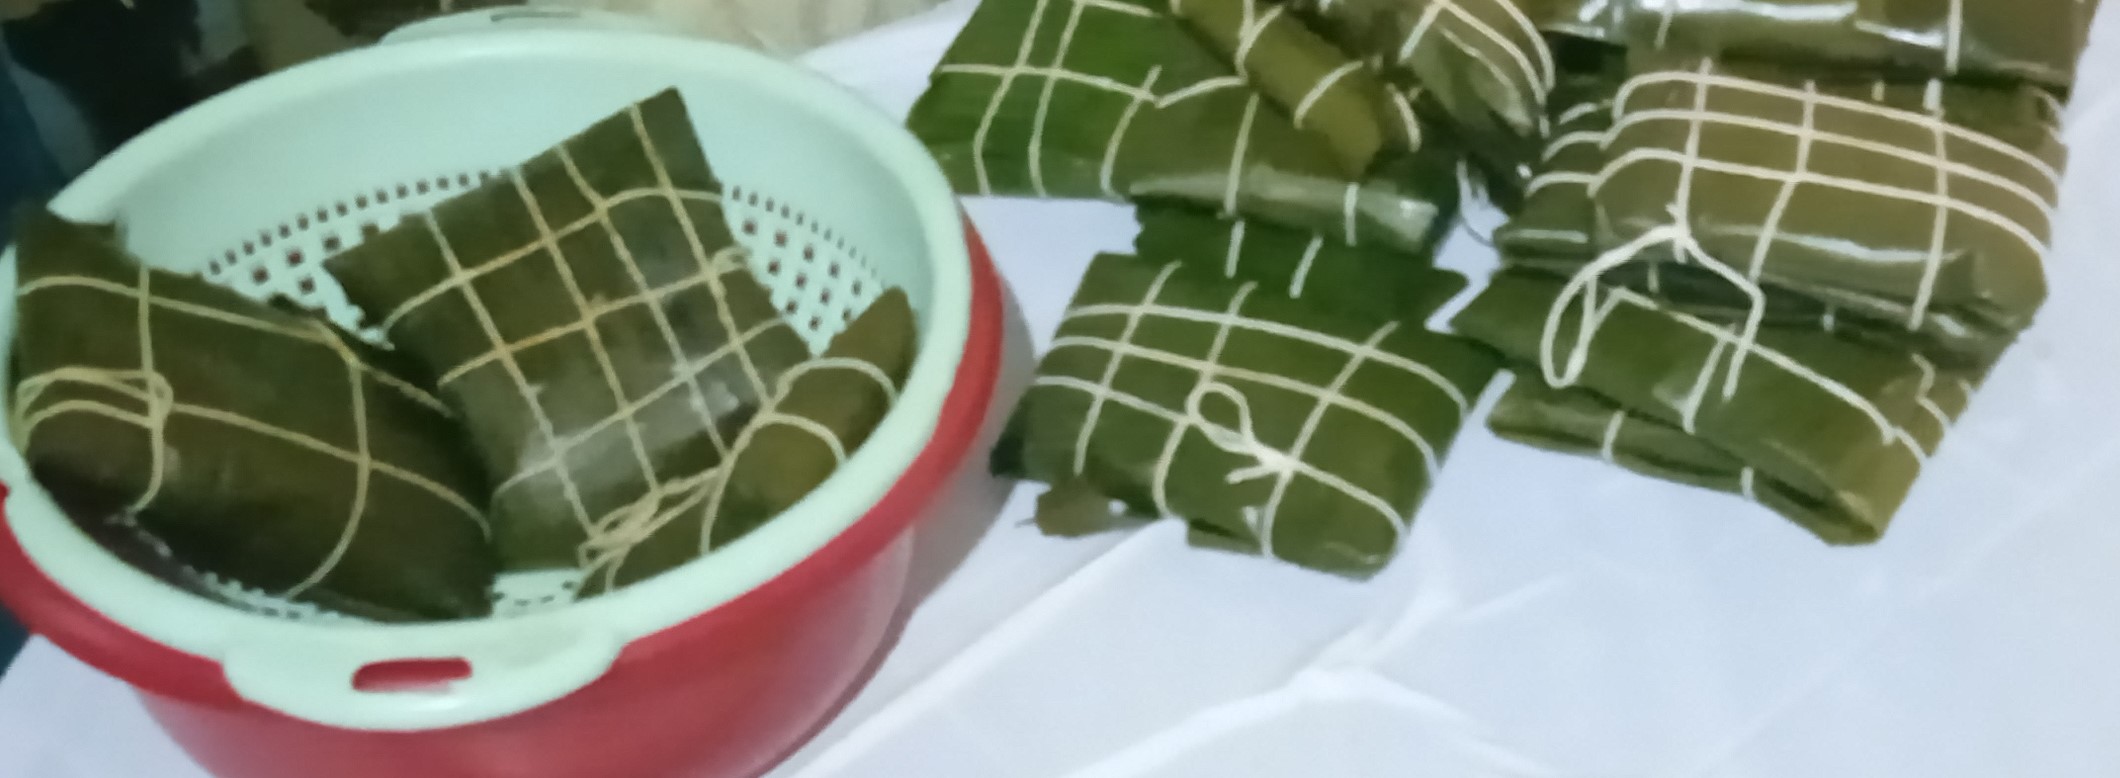
6. Seguidamente, se cierra así también la hoja de hallaca y se amarra.
7. Se repite el procedimiento, una y otra vez. Hasta que se acaben los ingredientes.
8. En mi caso salieron diecisiete (17) hallacas.
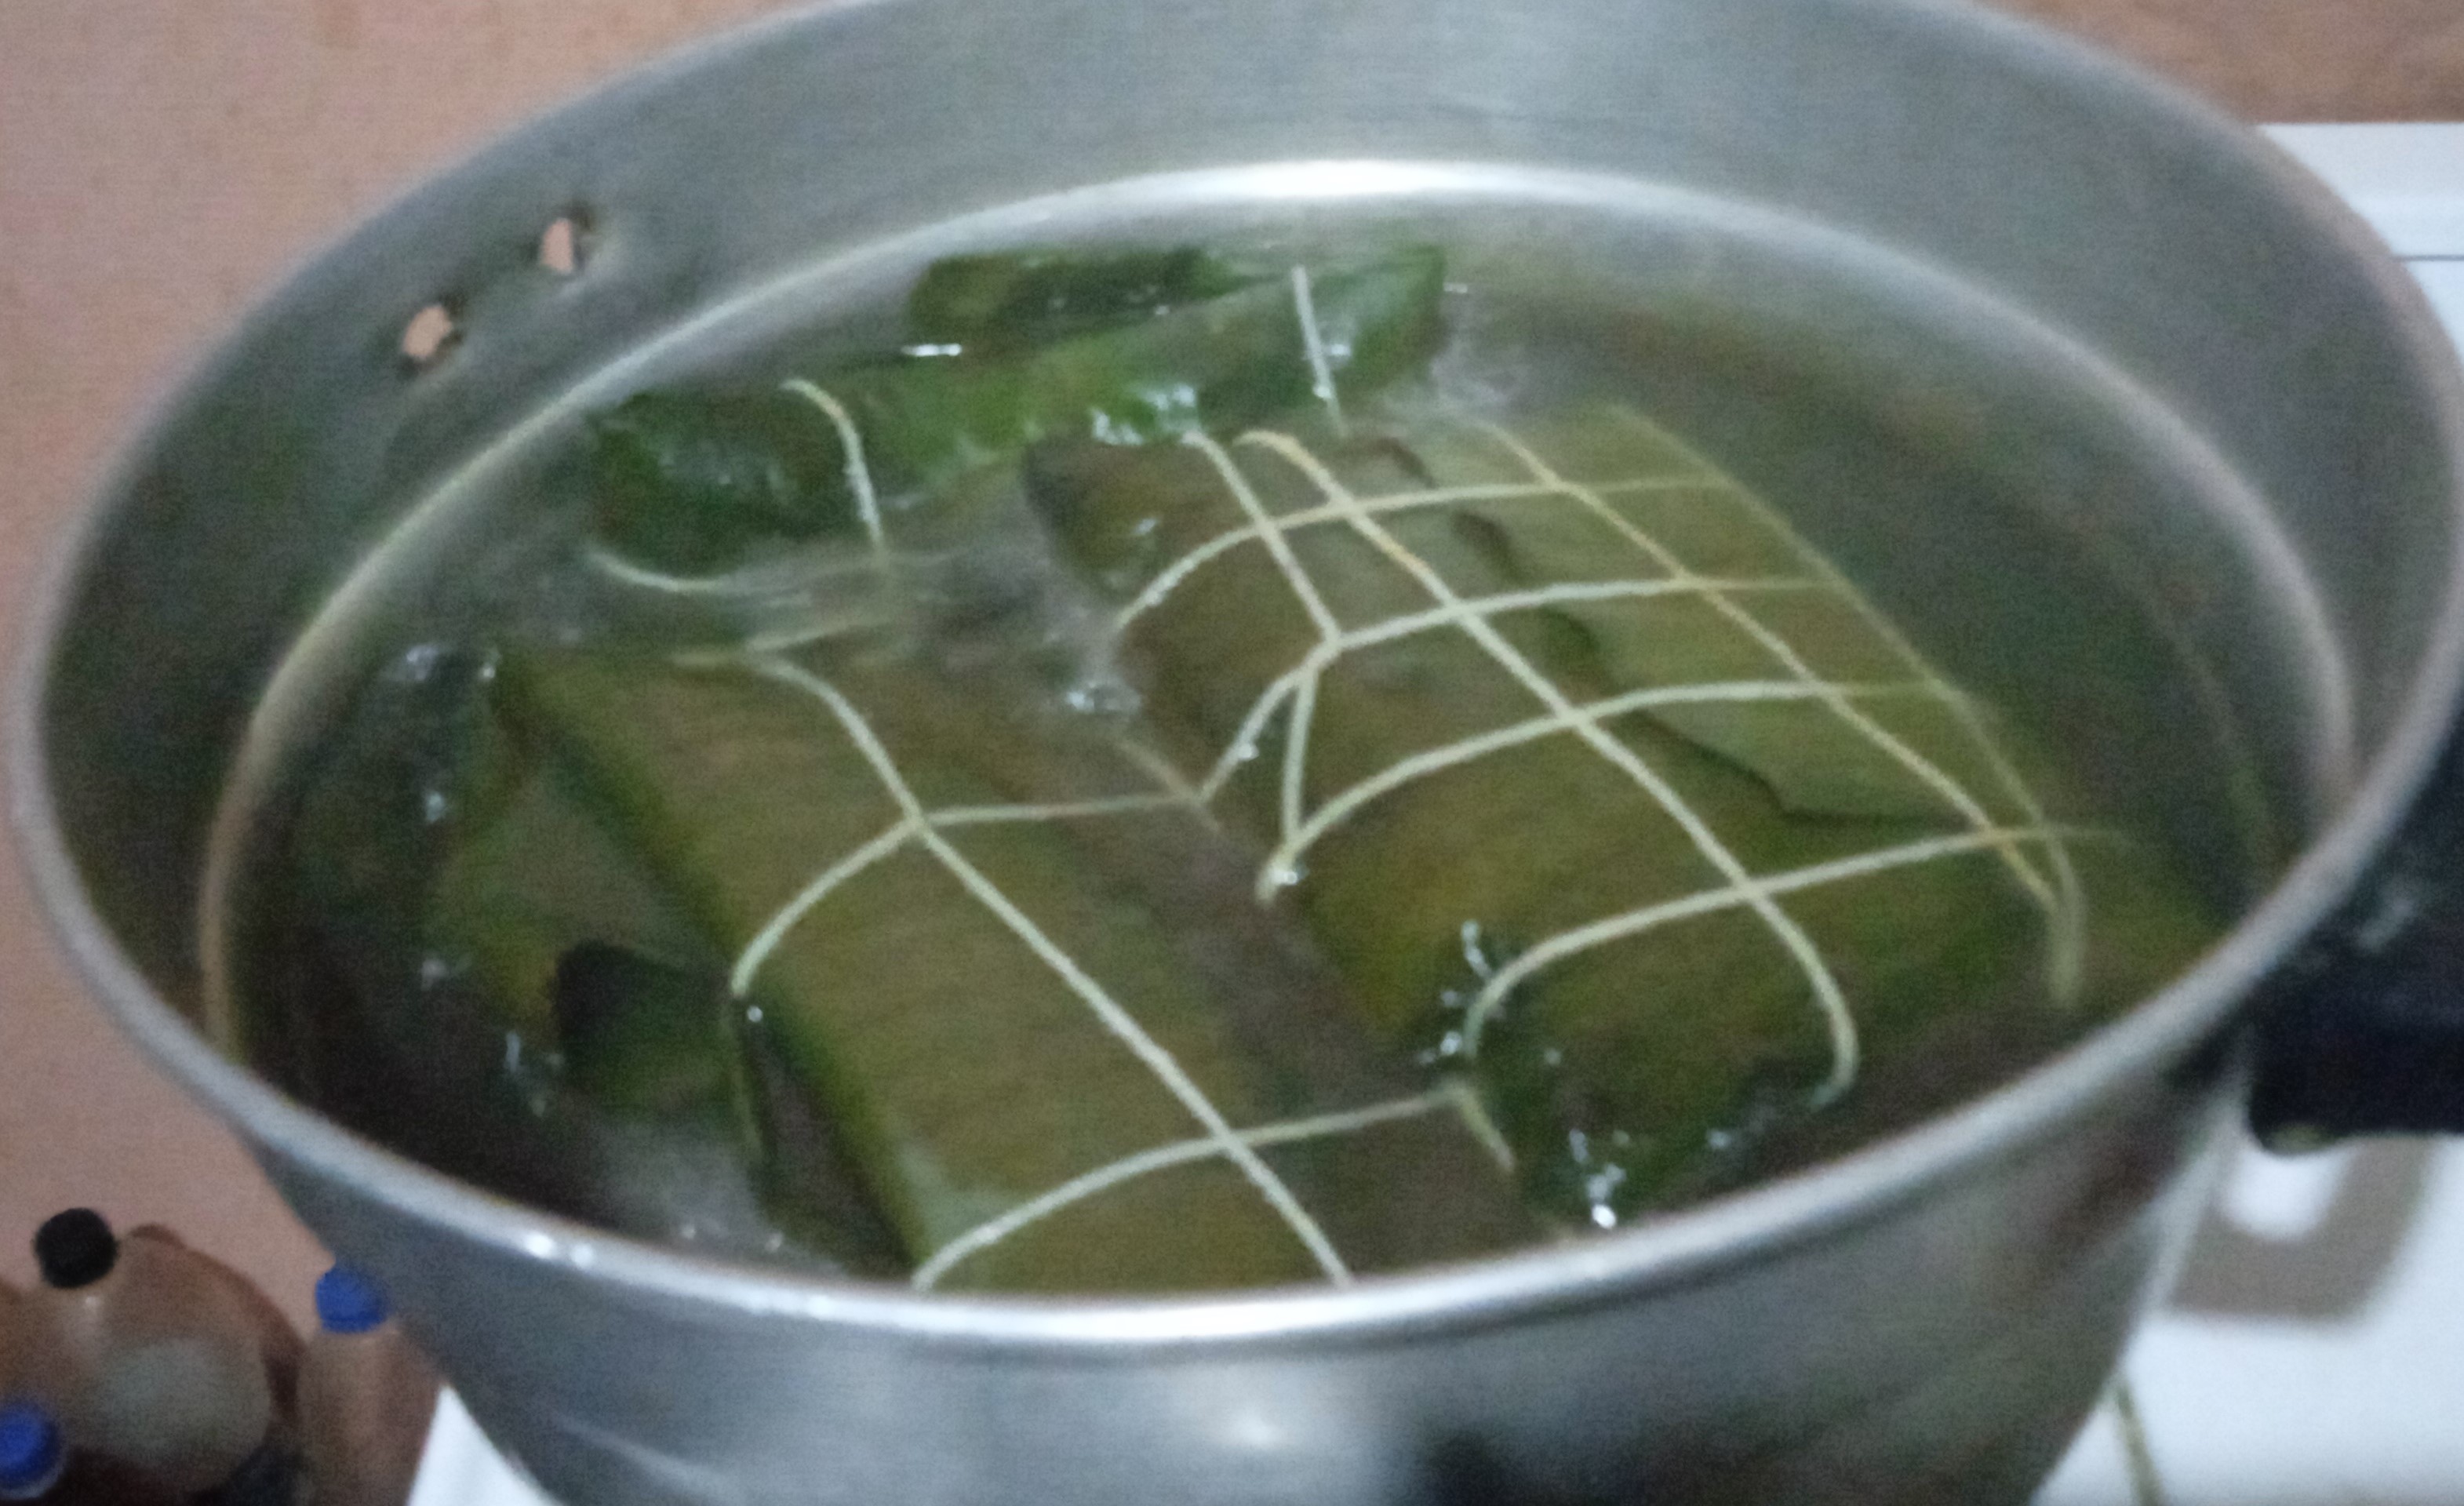
9. Finalmente, se monta una olla en la cocina a fuego alto con abundante agua, y una vez esté caliente, colocar las hallacas una por una, según la capacidad de la olla. Se sabrá que está lista cuando huela a hallacas. Más o menos 40 minutos.
Assembling the hallacas: 1. Everything required is placed on the table, to add each ingredient. 2. Place two pieces of leaf; the bottom one should be bigger than the top one. 3. Take a small ball of dough, and with the help of your fingers, spread it out to make a circle (in my case I like a thin hallaca, so I spread the dough very well). 4. Then take a little bit of each ingredient from the table: two heaping tablespoons of the stew, a piece of paprika, several pieces of onions, a piece of egg, a piece of potato and a piece of carrot, and finally several raisins plus an olive. 5. Then close, as if it were an envelope. 6. Next, the hallaca sheet is also closed like this and tied. 7. Repeat the procedure again and again. Until all the ingredients are used up. 8. In my case seventeen (17) hallacas came out. 9. Finally, set up a pot on the stove over high heat with plenty of water, and once it is hot, place the hallacas one by one, according to the capacity of the pot. You will know it is ready when it smells like hallacas. More or less 40 minutes.
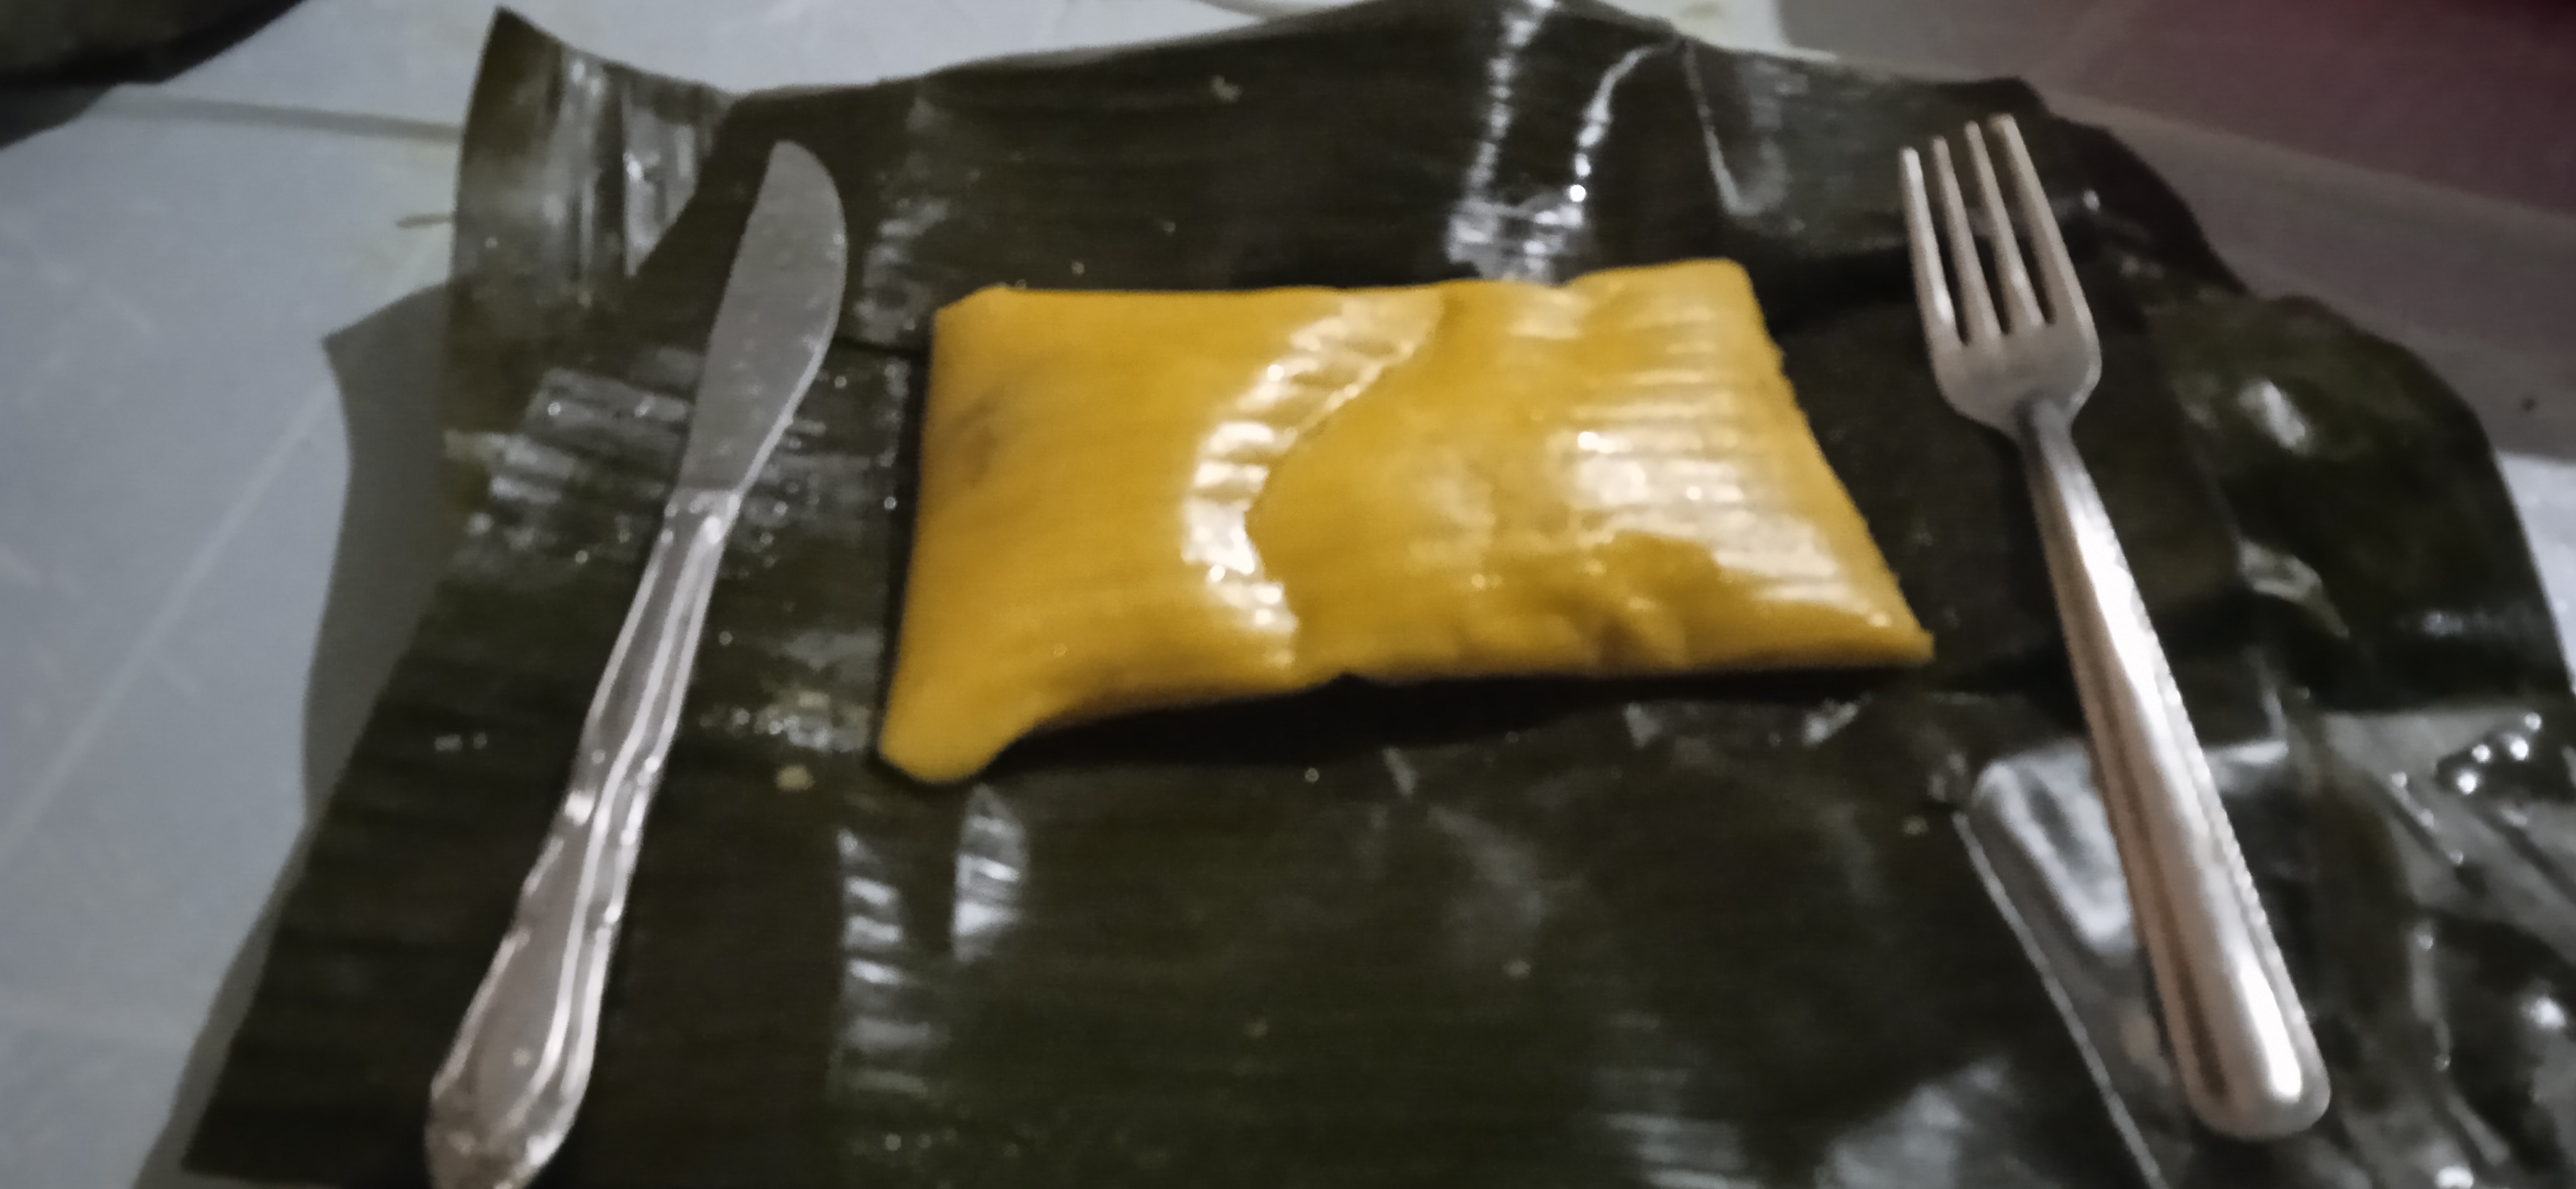
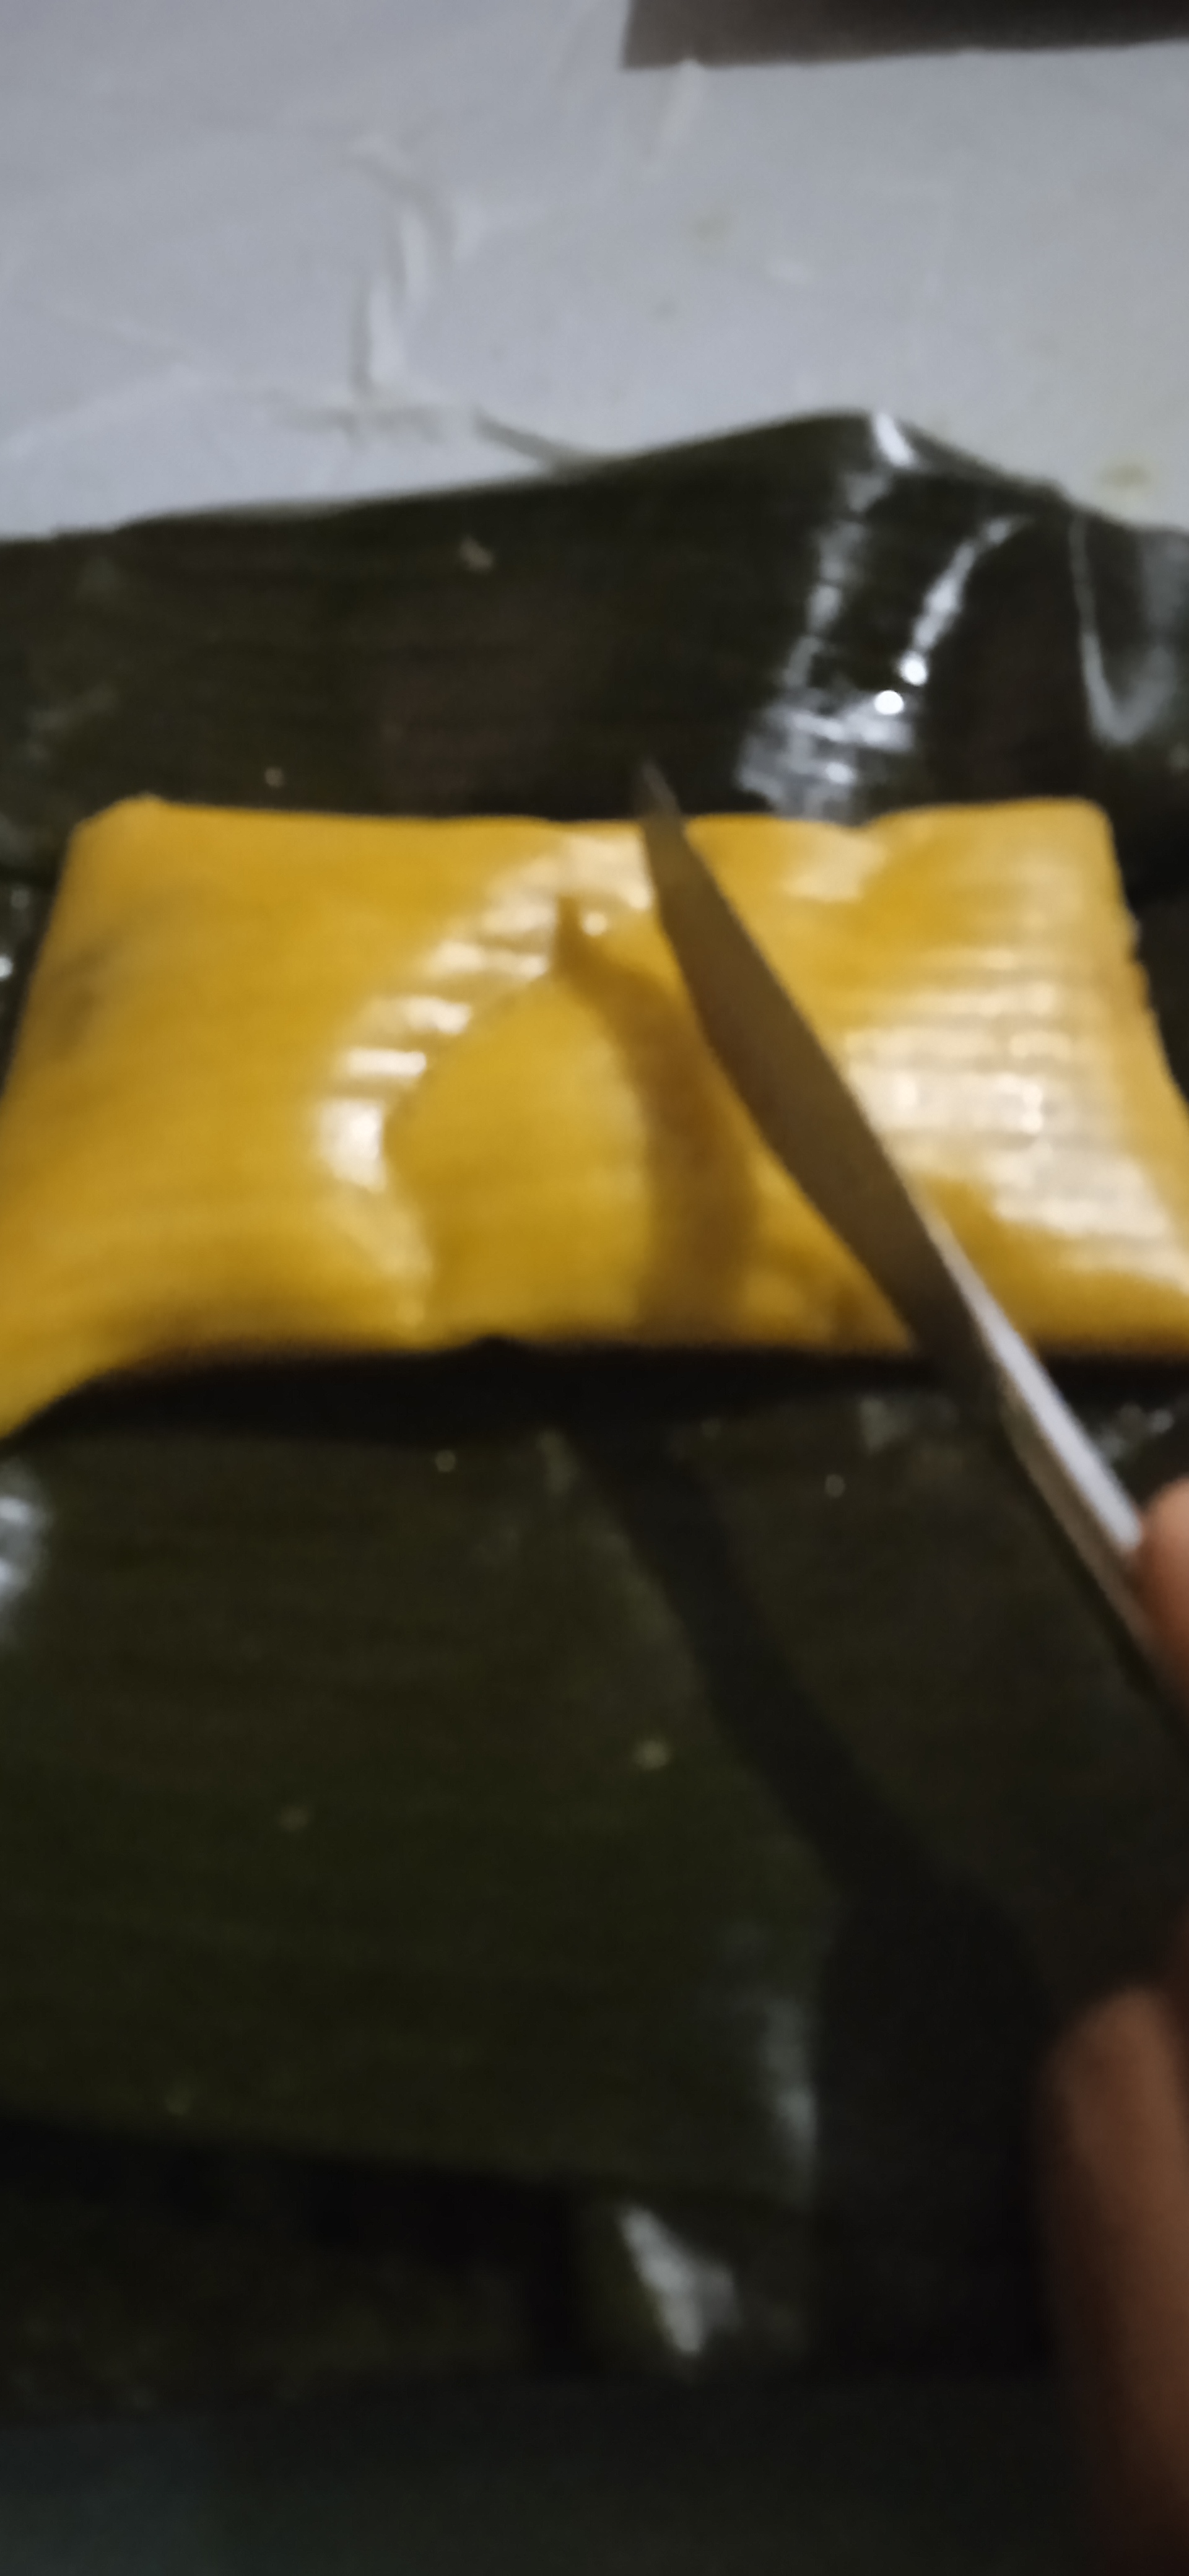
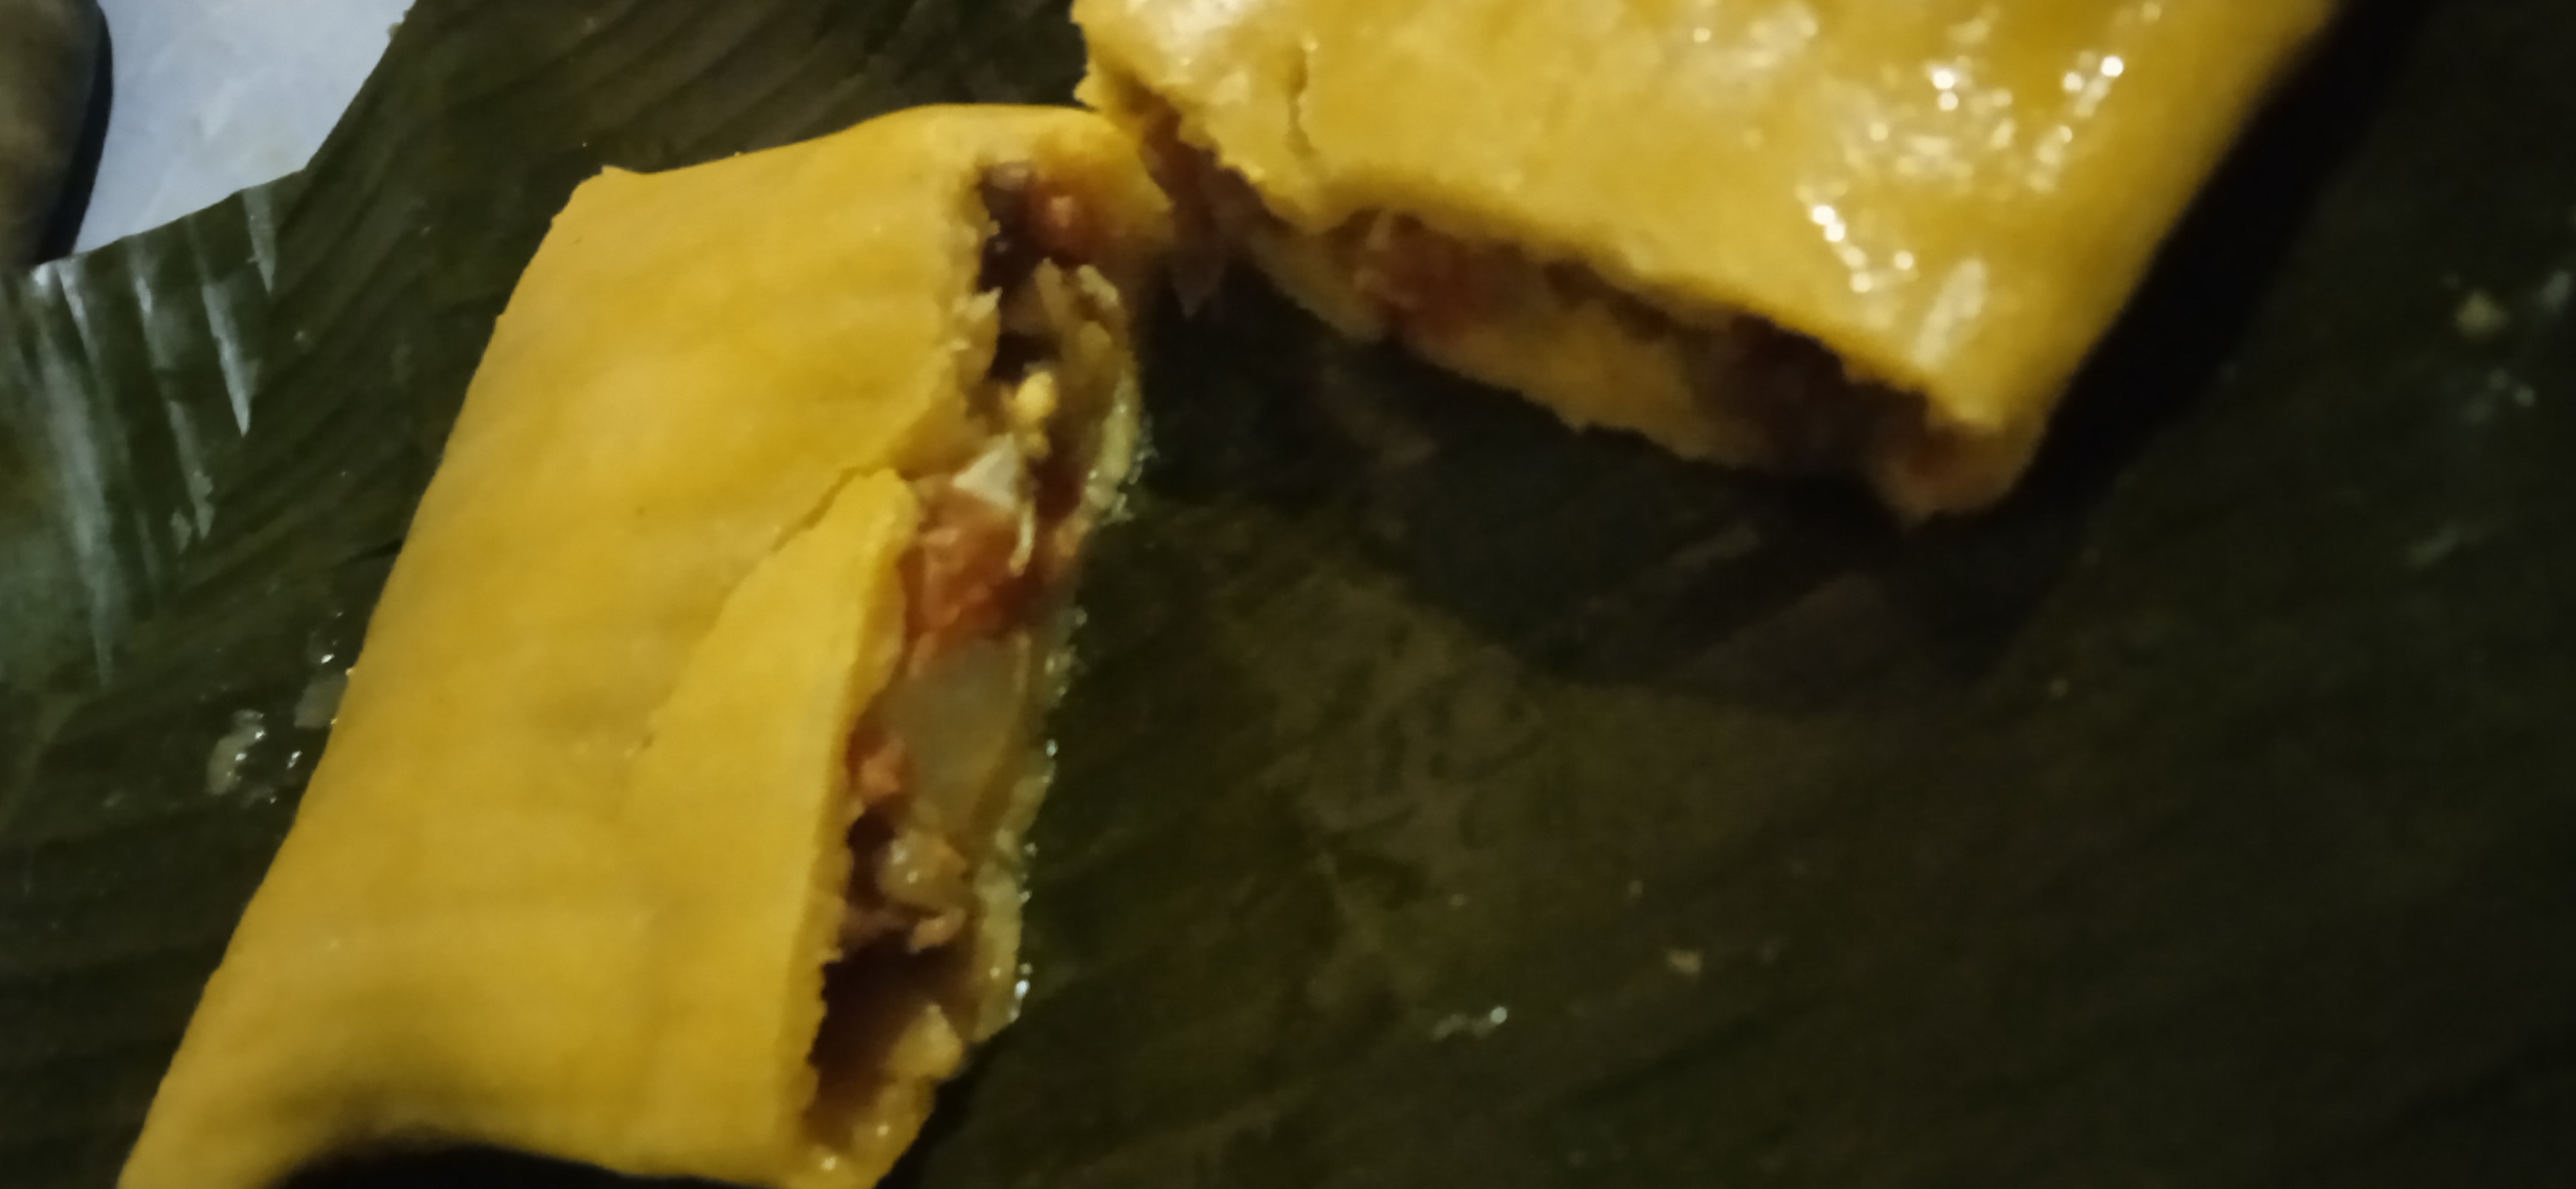
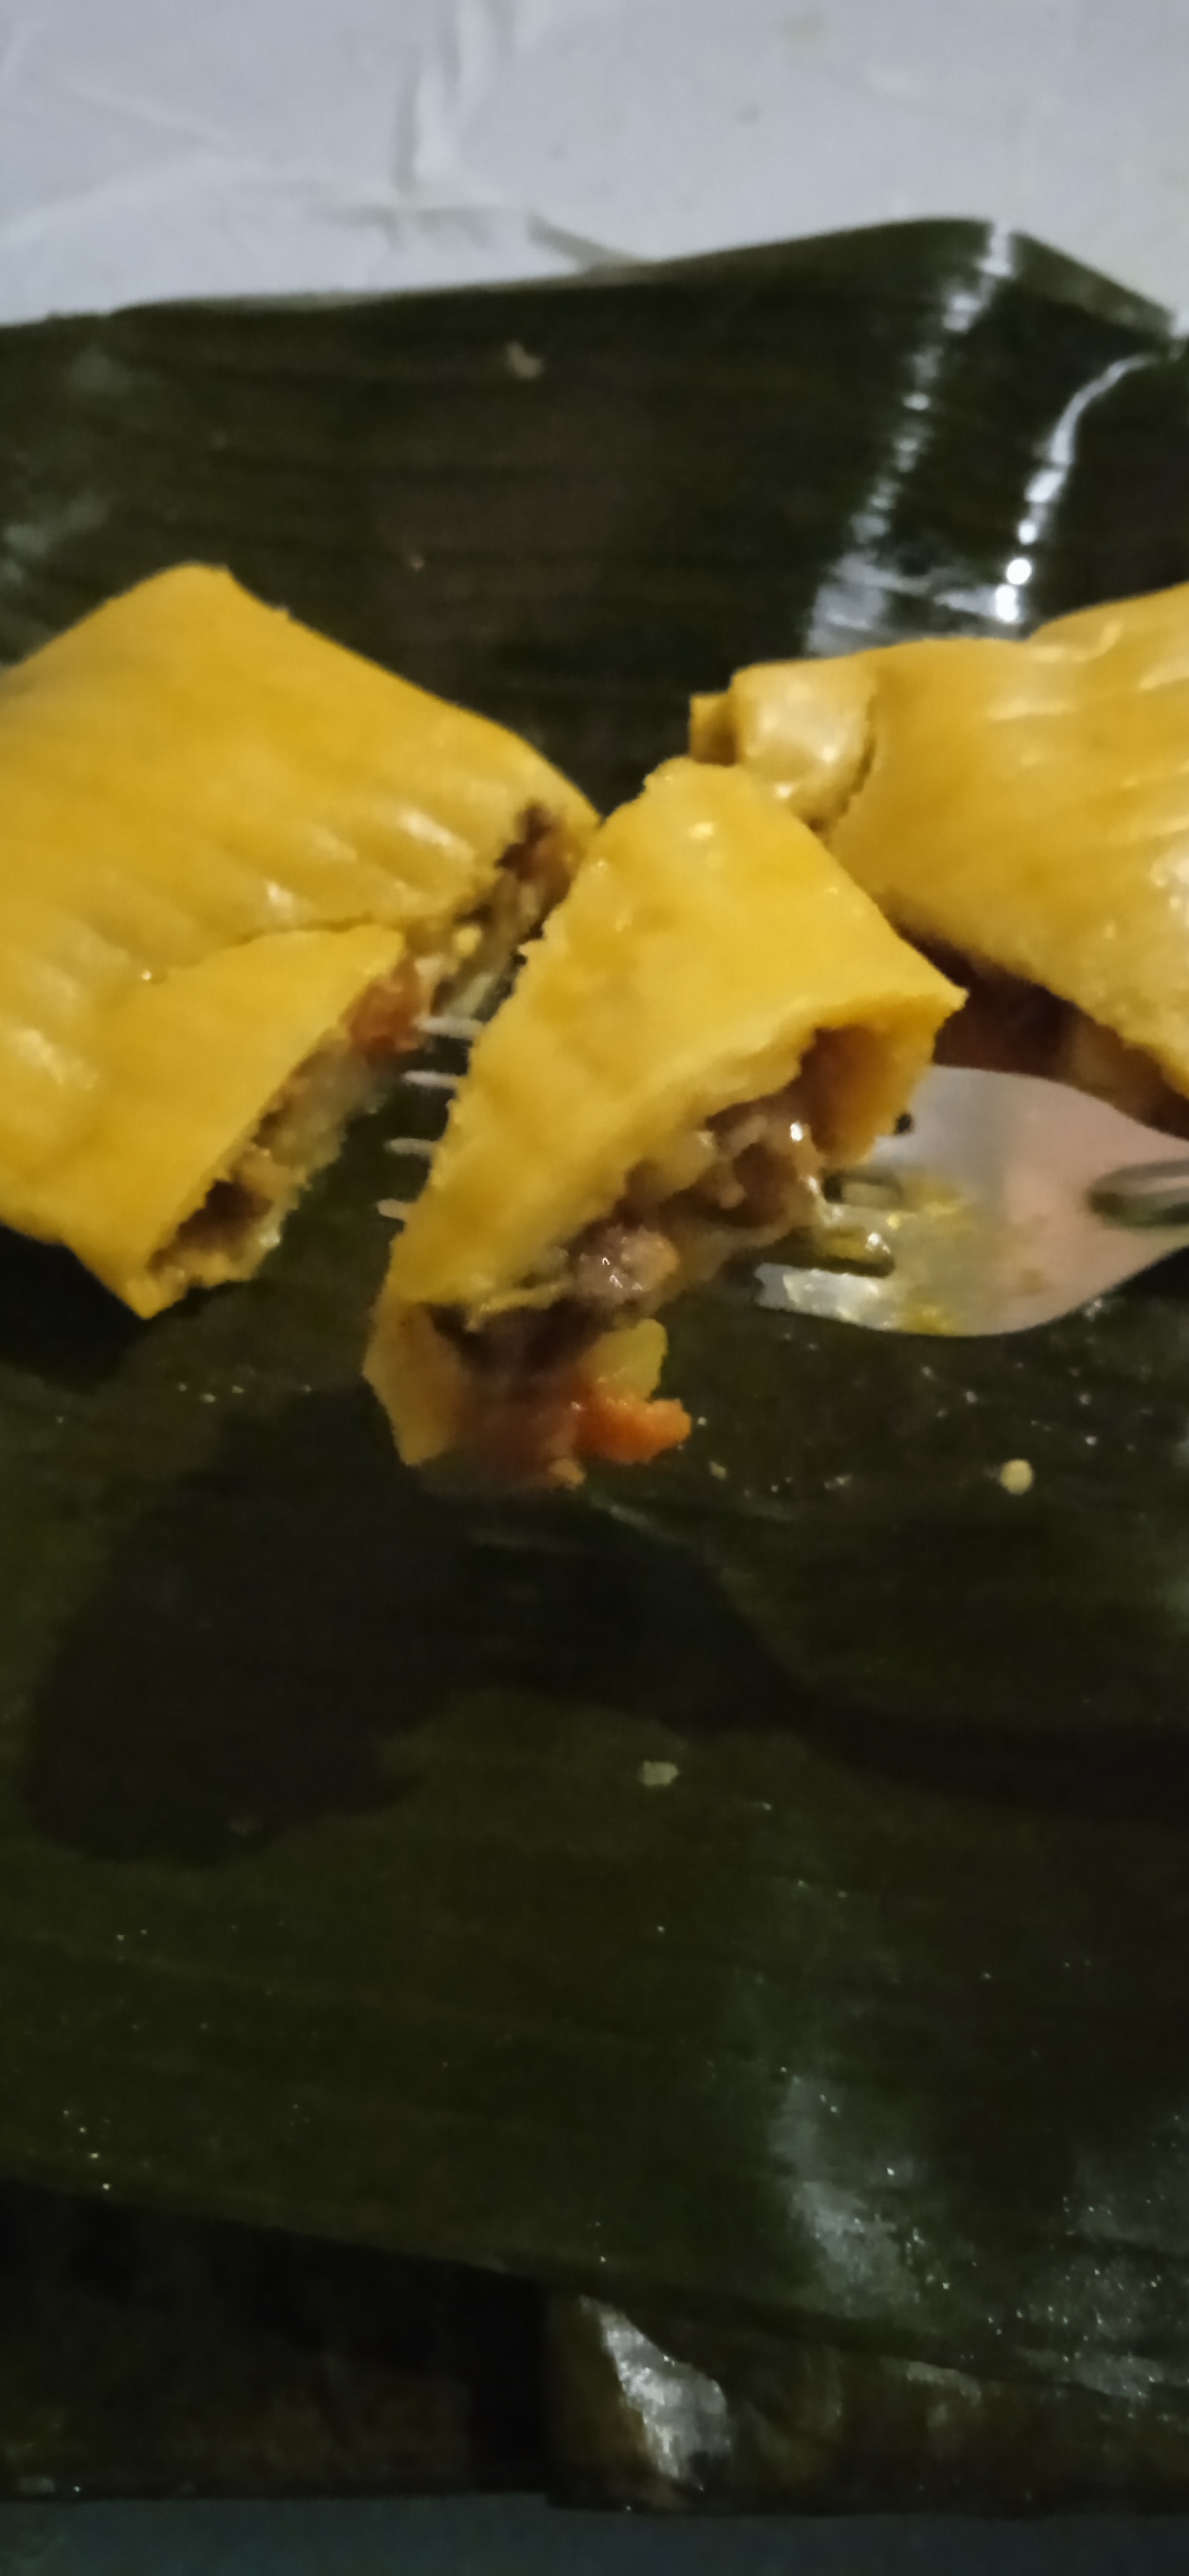
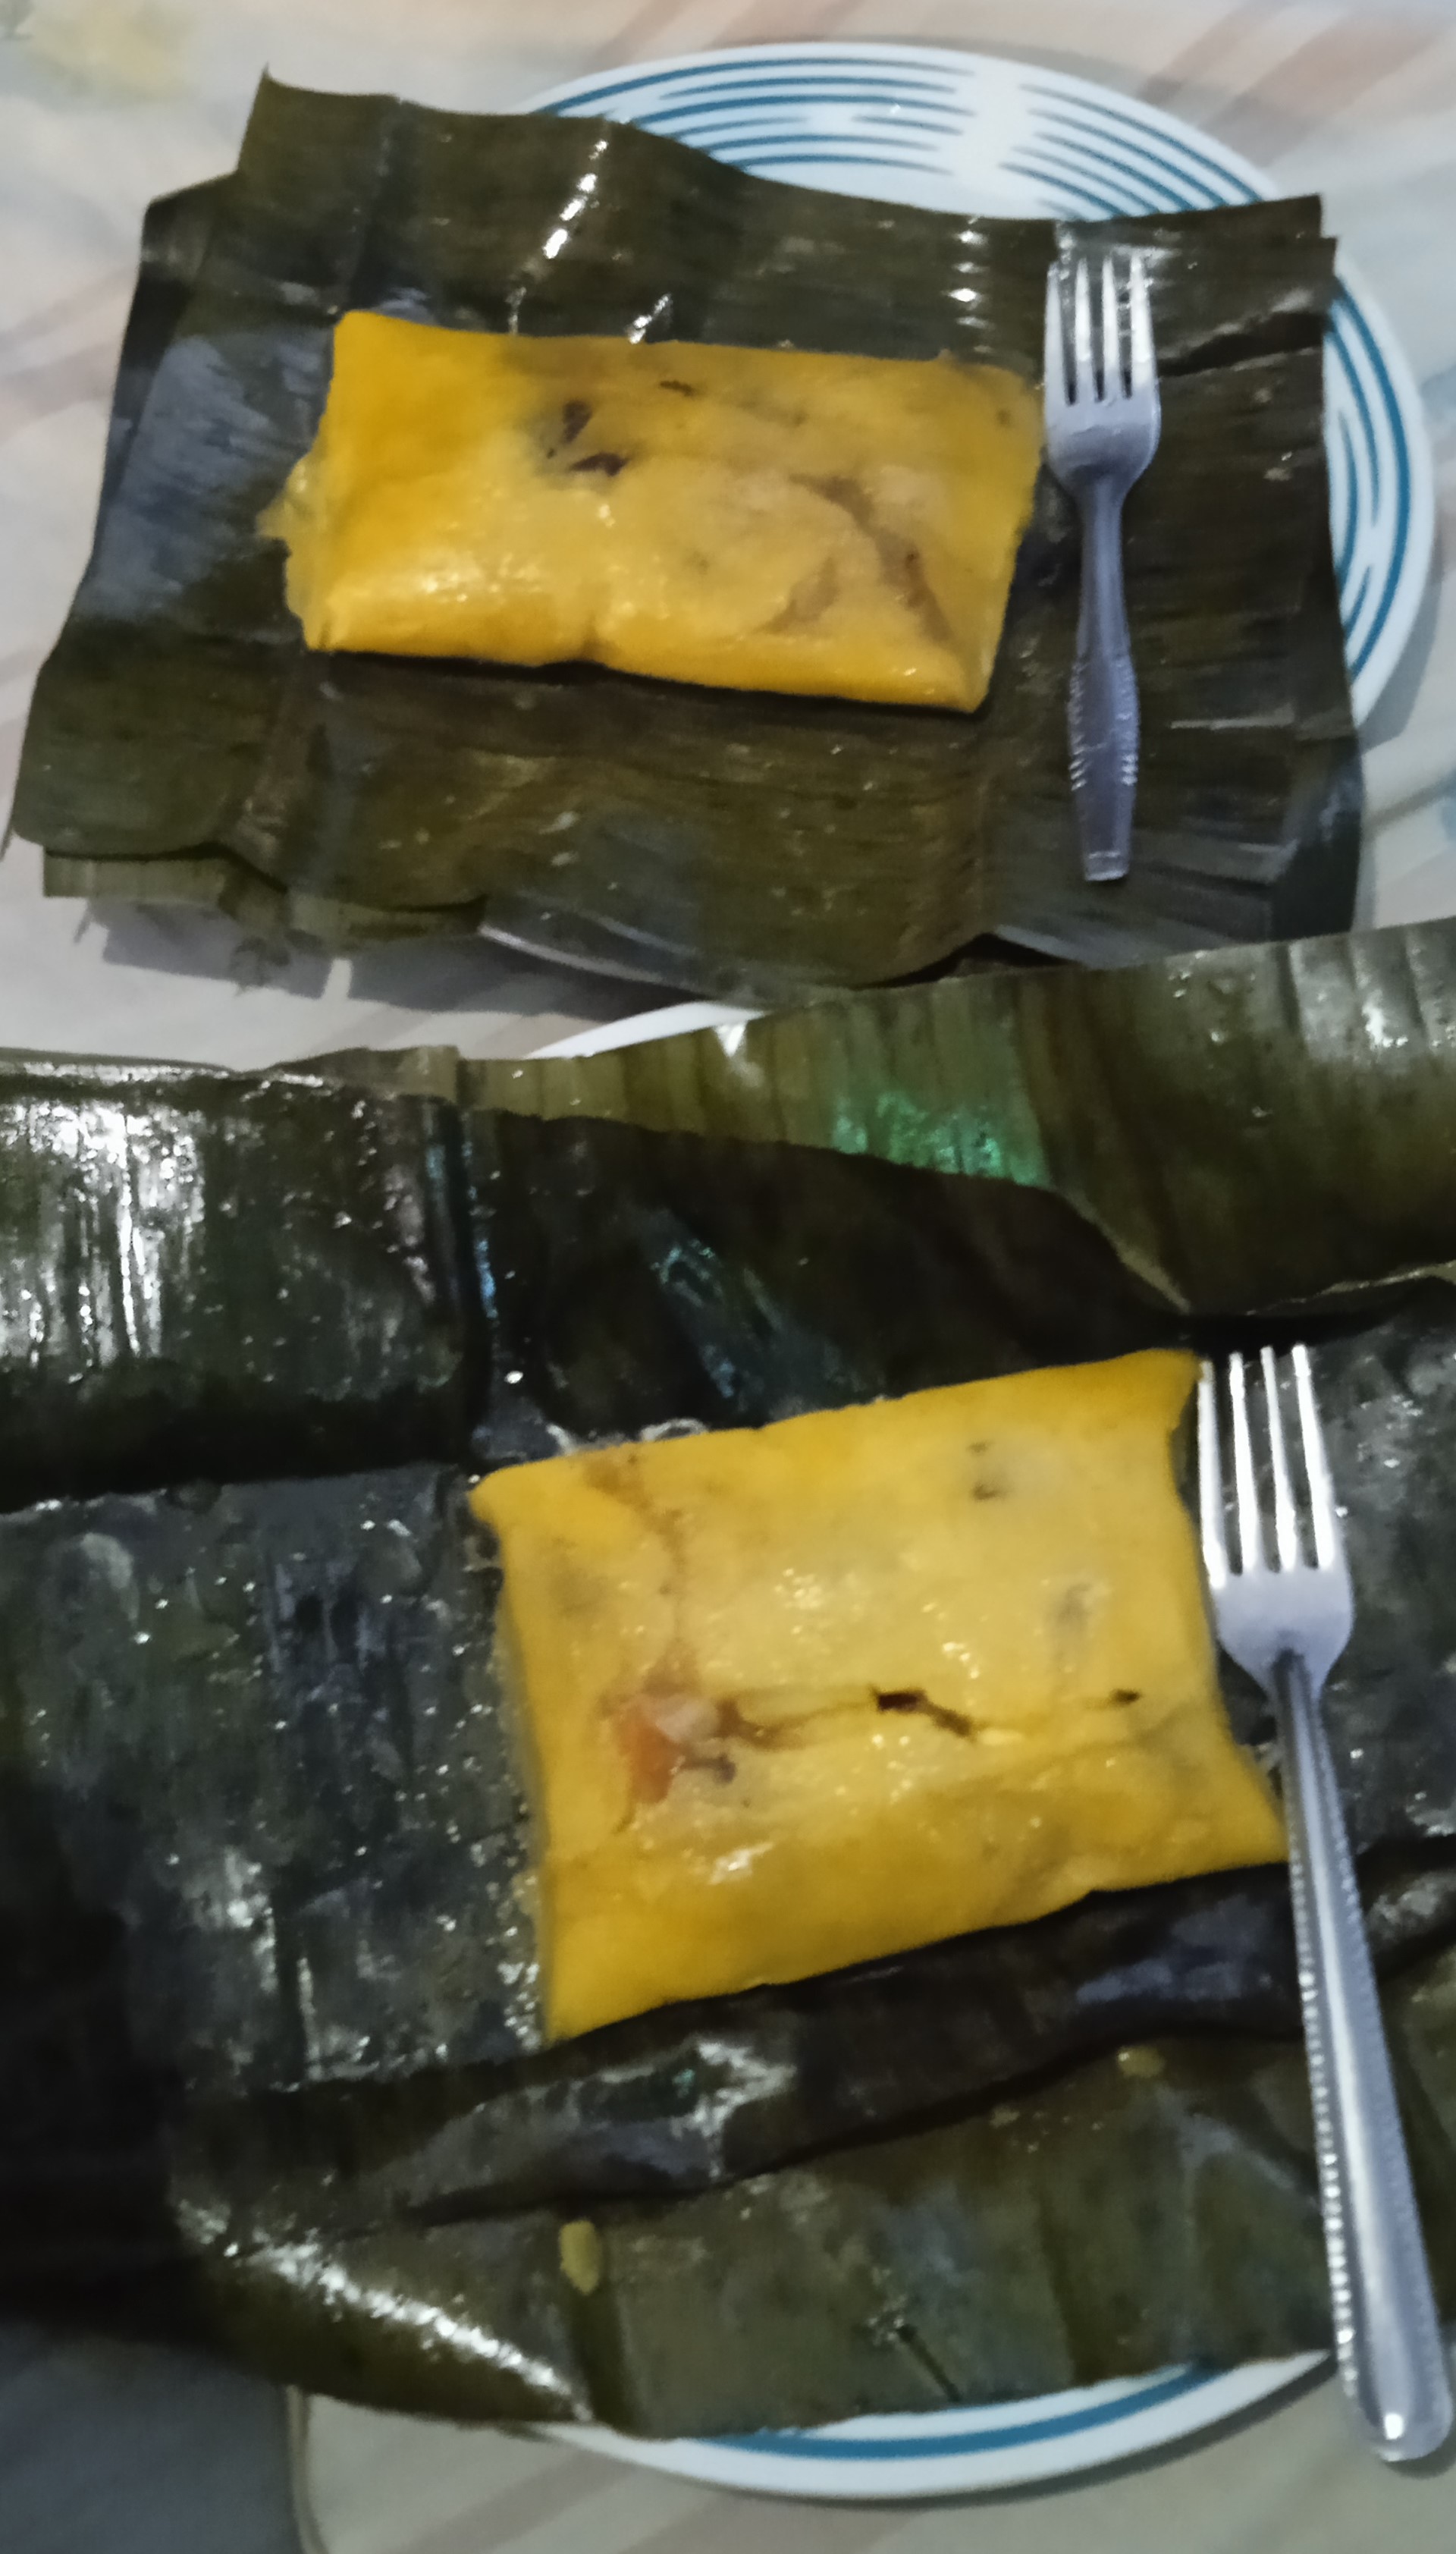
Presentación de la hallaca: Una vez ya cocidas las hallacas, con la ayuda de una tijera o de un cuchillo, cortamos los hilos de las hallacas que se van a consumir, y vamos abriéndolas. Buscamos un plato y la colocamos y se sirve en la misma hoja, con un cuchillo se corta y con un tenedor se toma y a comer se ha dicho.
Presentation of the hallaca: Once the hallacas are cooked, with the help of a scissors or a knife, we cut the threads of the hallacas that are going to be consumed, and we open them. We look for a plate and we place it and it is served in the same sheet, with a knife it is cut and with a fork it is taken and to eat it has been said.
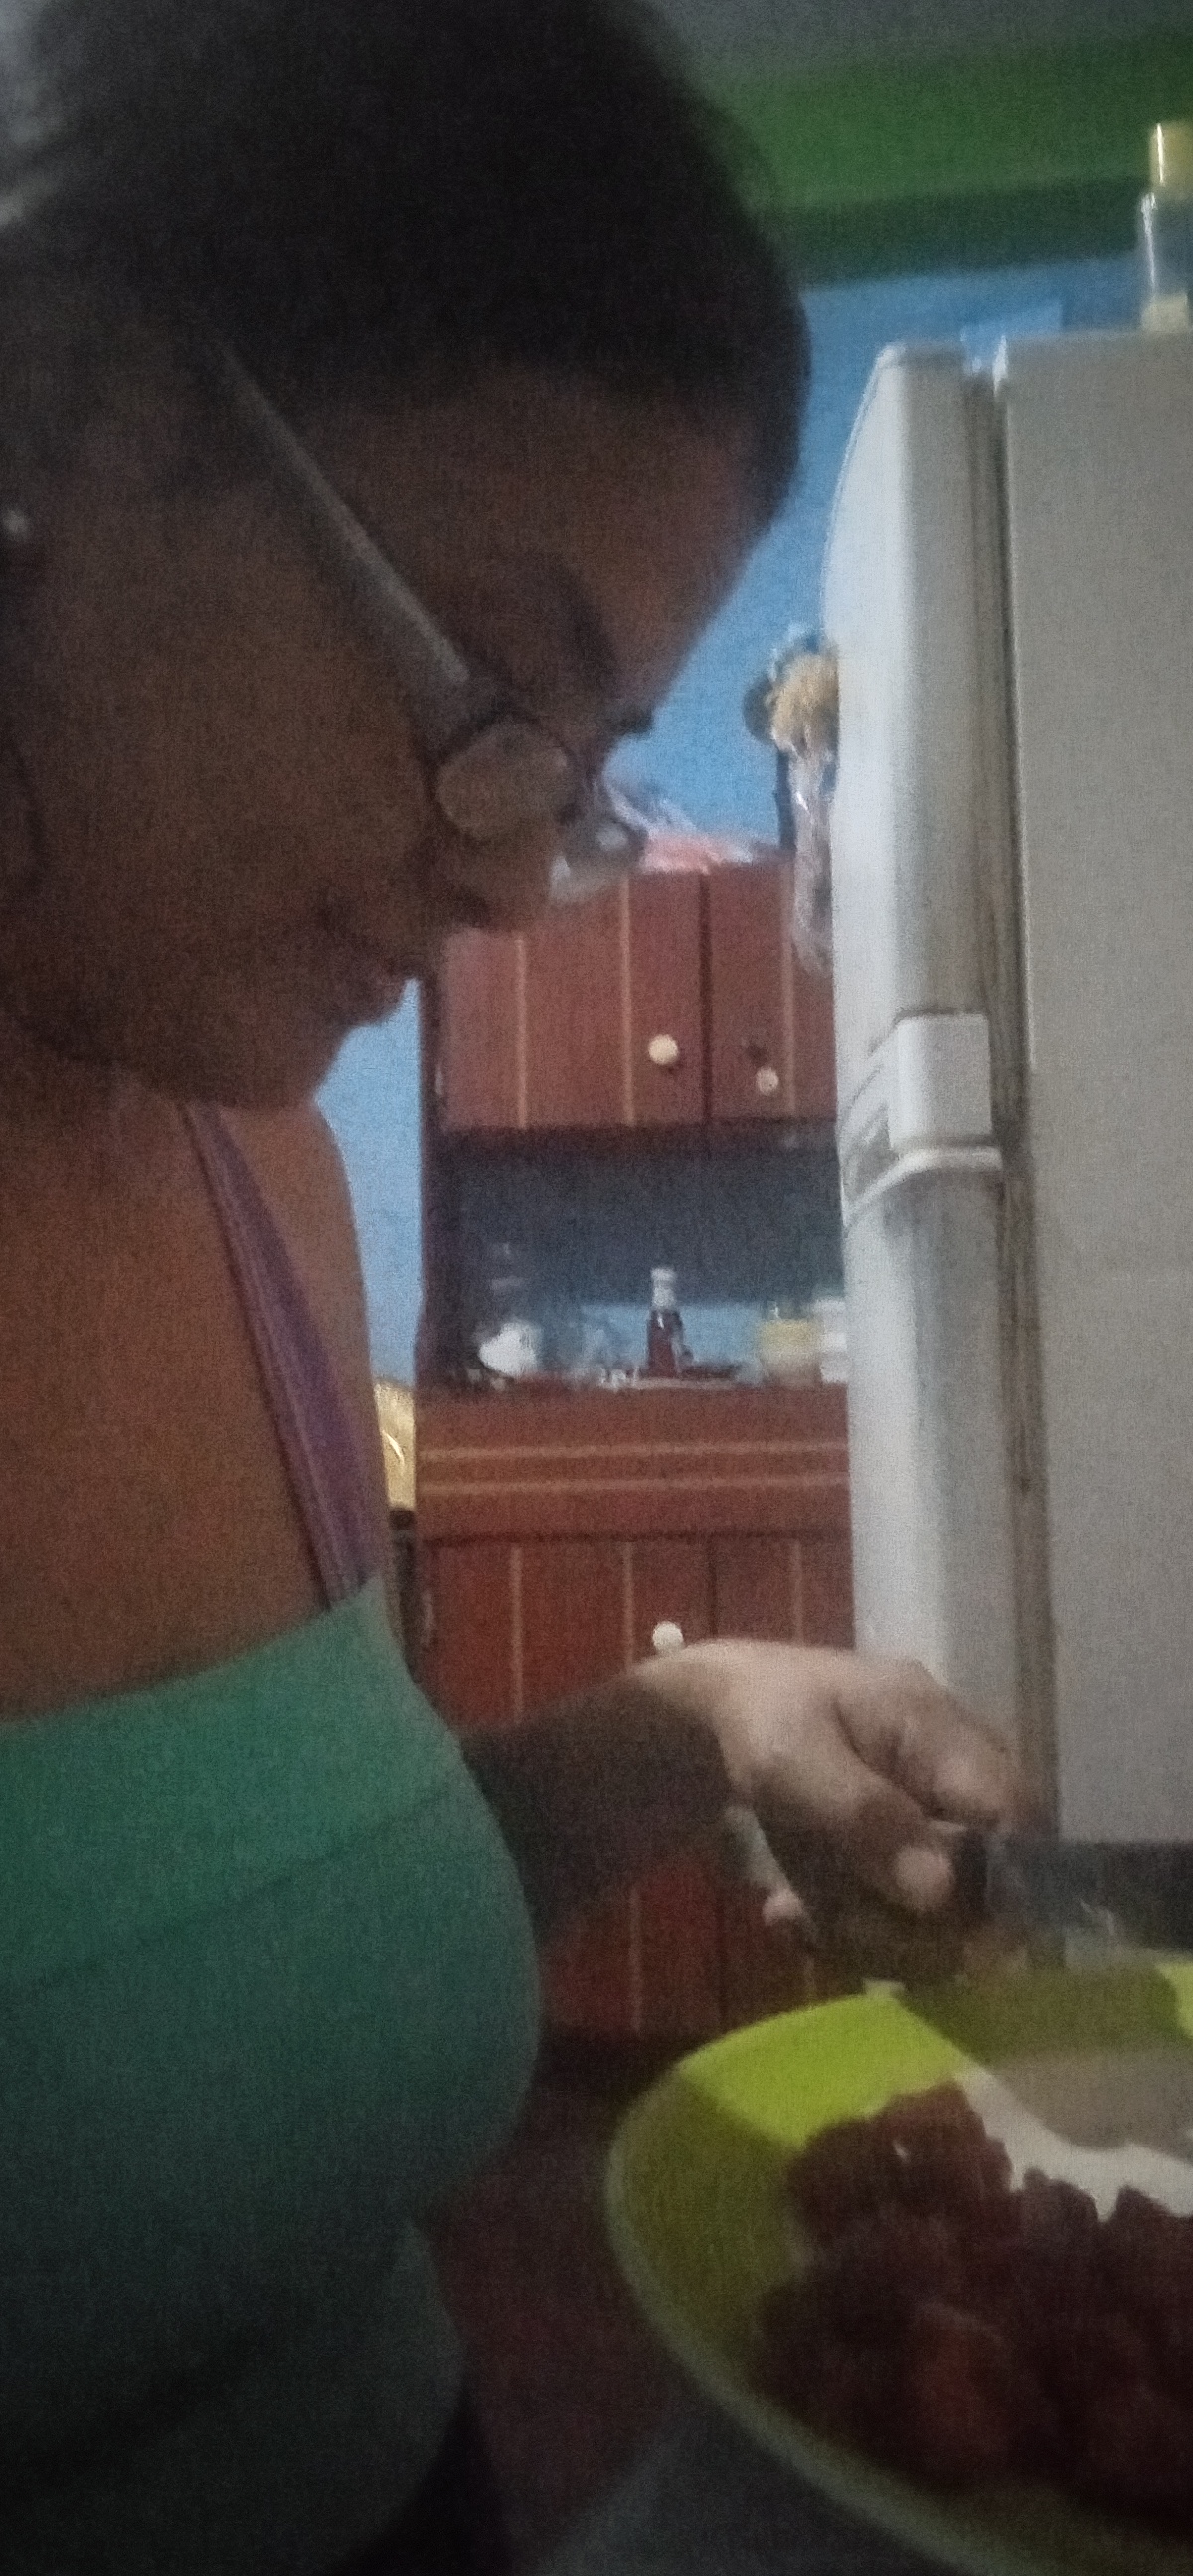
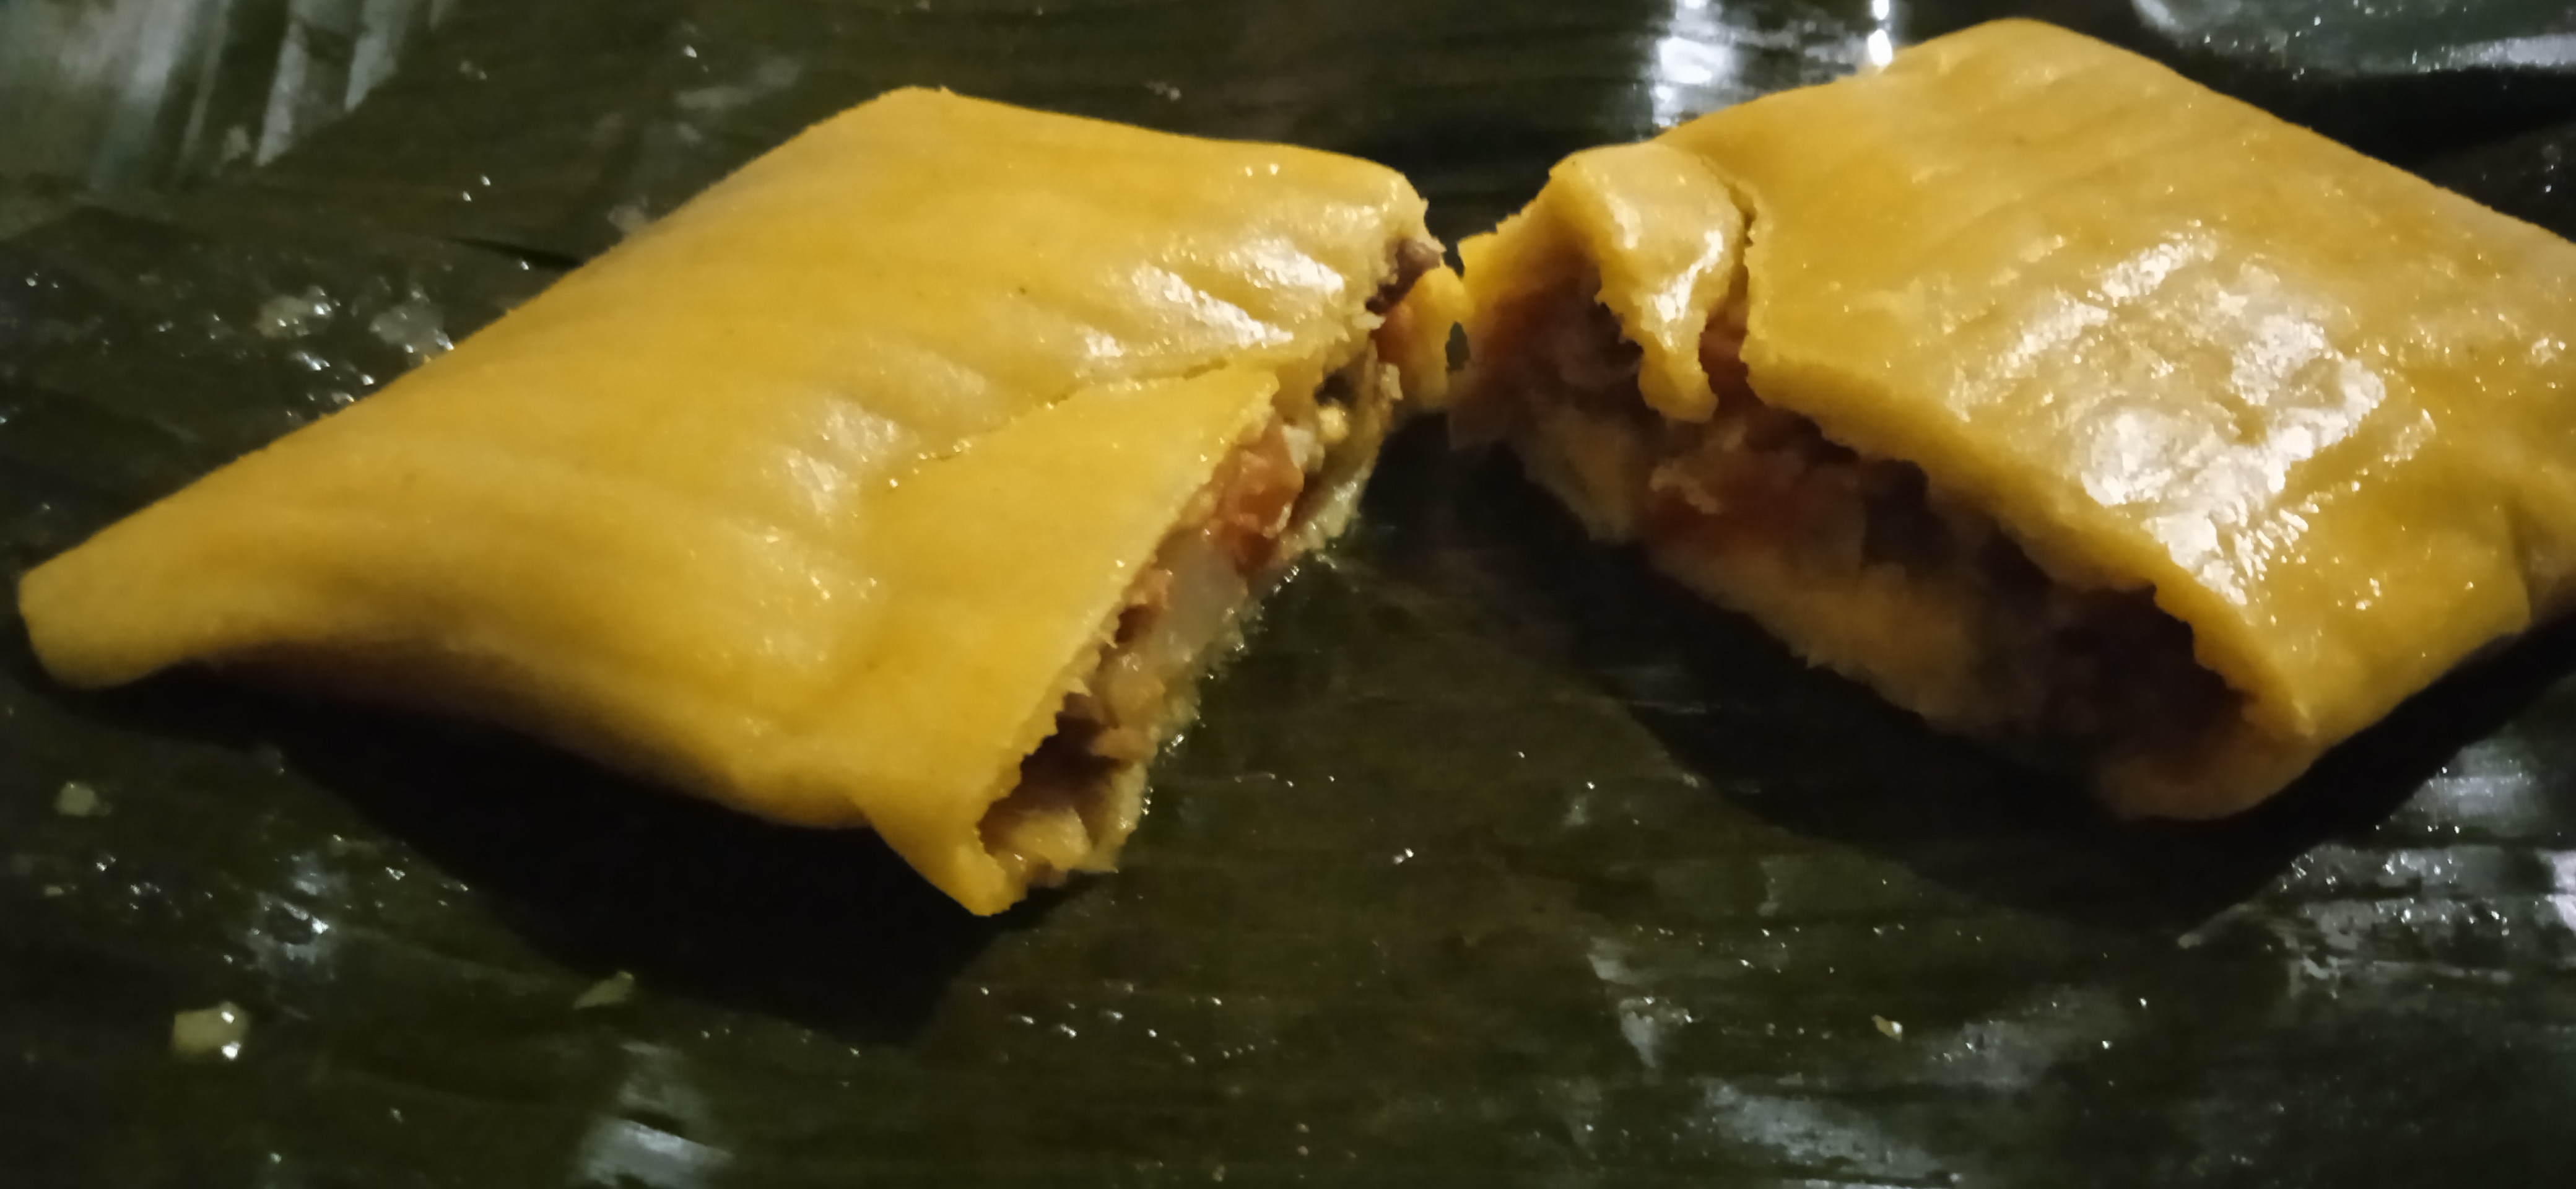
Gracias, Dios los bendiga, espero que le haya gustado tanto como a mí esta experiencia nueva. Las hallacas quedaron deliciosas, y comimos por varios días, ya que las restantes las introducimos en el congelador e íbamos sacando cuando nos provocaba. Saludos a todos y nos vemos pronto con más recetas para compartir.
Thank you, God bless you, I hope you liked this new experience as much as I did. The hallacas were delicious, and we ate them for several days, since we put the remaining ones in the freezer and took them out when we were provoked. Greetings to all and see you soon with more recipes to share.
📱😁 Fotografías de mi autoría y propiedad tomadas con el teléfono Redmi 9A, y que requirieron del traductor Deepl para traducir del español al inglés.
📱😁 Photographs of my authorship and ownership taken with the Redmi 9A phone, and which required the Deepl translator to translate from Spanish to English.
0
0
0.000
Congratulations @dorimarval! You have completed the following achievement on the Hive blockchain And have been rewarded with New badge(s)
Your next target is to reach 4500 upvotes.
You can view your badges on your board and compare yourself to others in the Ranking
If you no longer want to receive notifications, reply to this comment with the word
STOPWao!
Buena sistematización del arduo y largo proceso de elaboración de la hallaca.
Se me hace agua la boca jejeje.
El tema es maravilloso porque vemos la diferencia en el proceso, cada quien le imprime su sello particular y su sazón.
Yo aún digo: la mejor hallaca la hace mi mamá.
Felicidades!
Se ven ricas y bonitas!