[ESP-ENG] como hacer una bandana para bebes // how to make a baby bandana // by @dilianny20
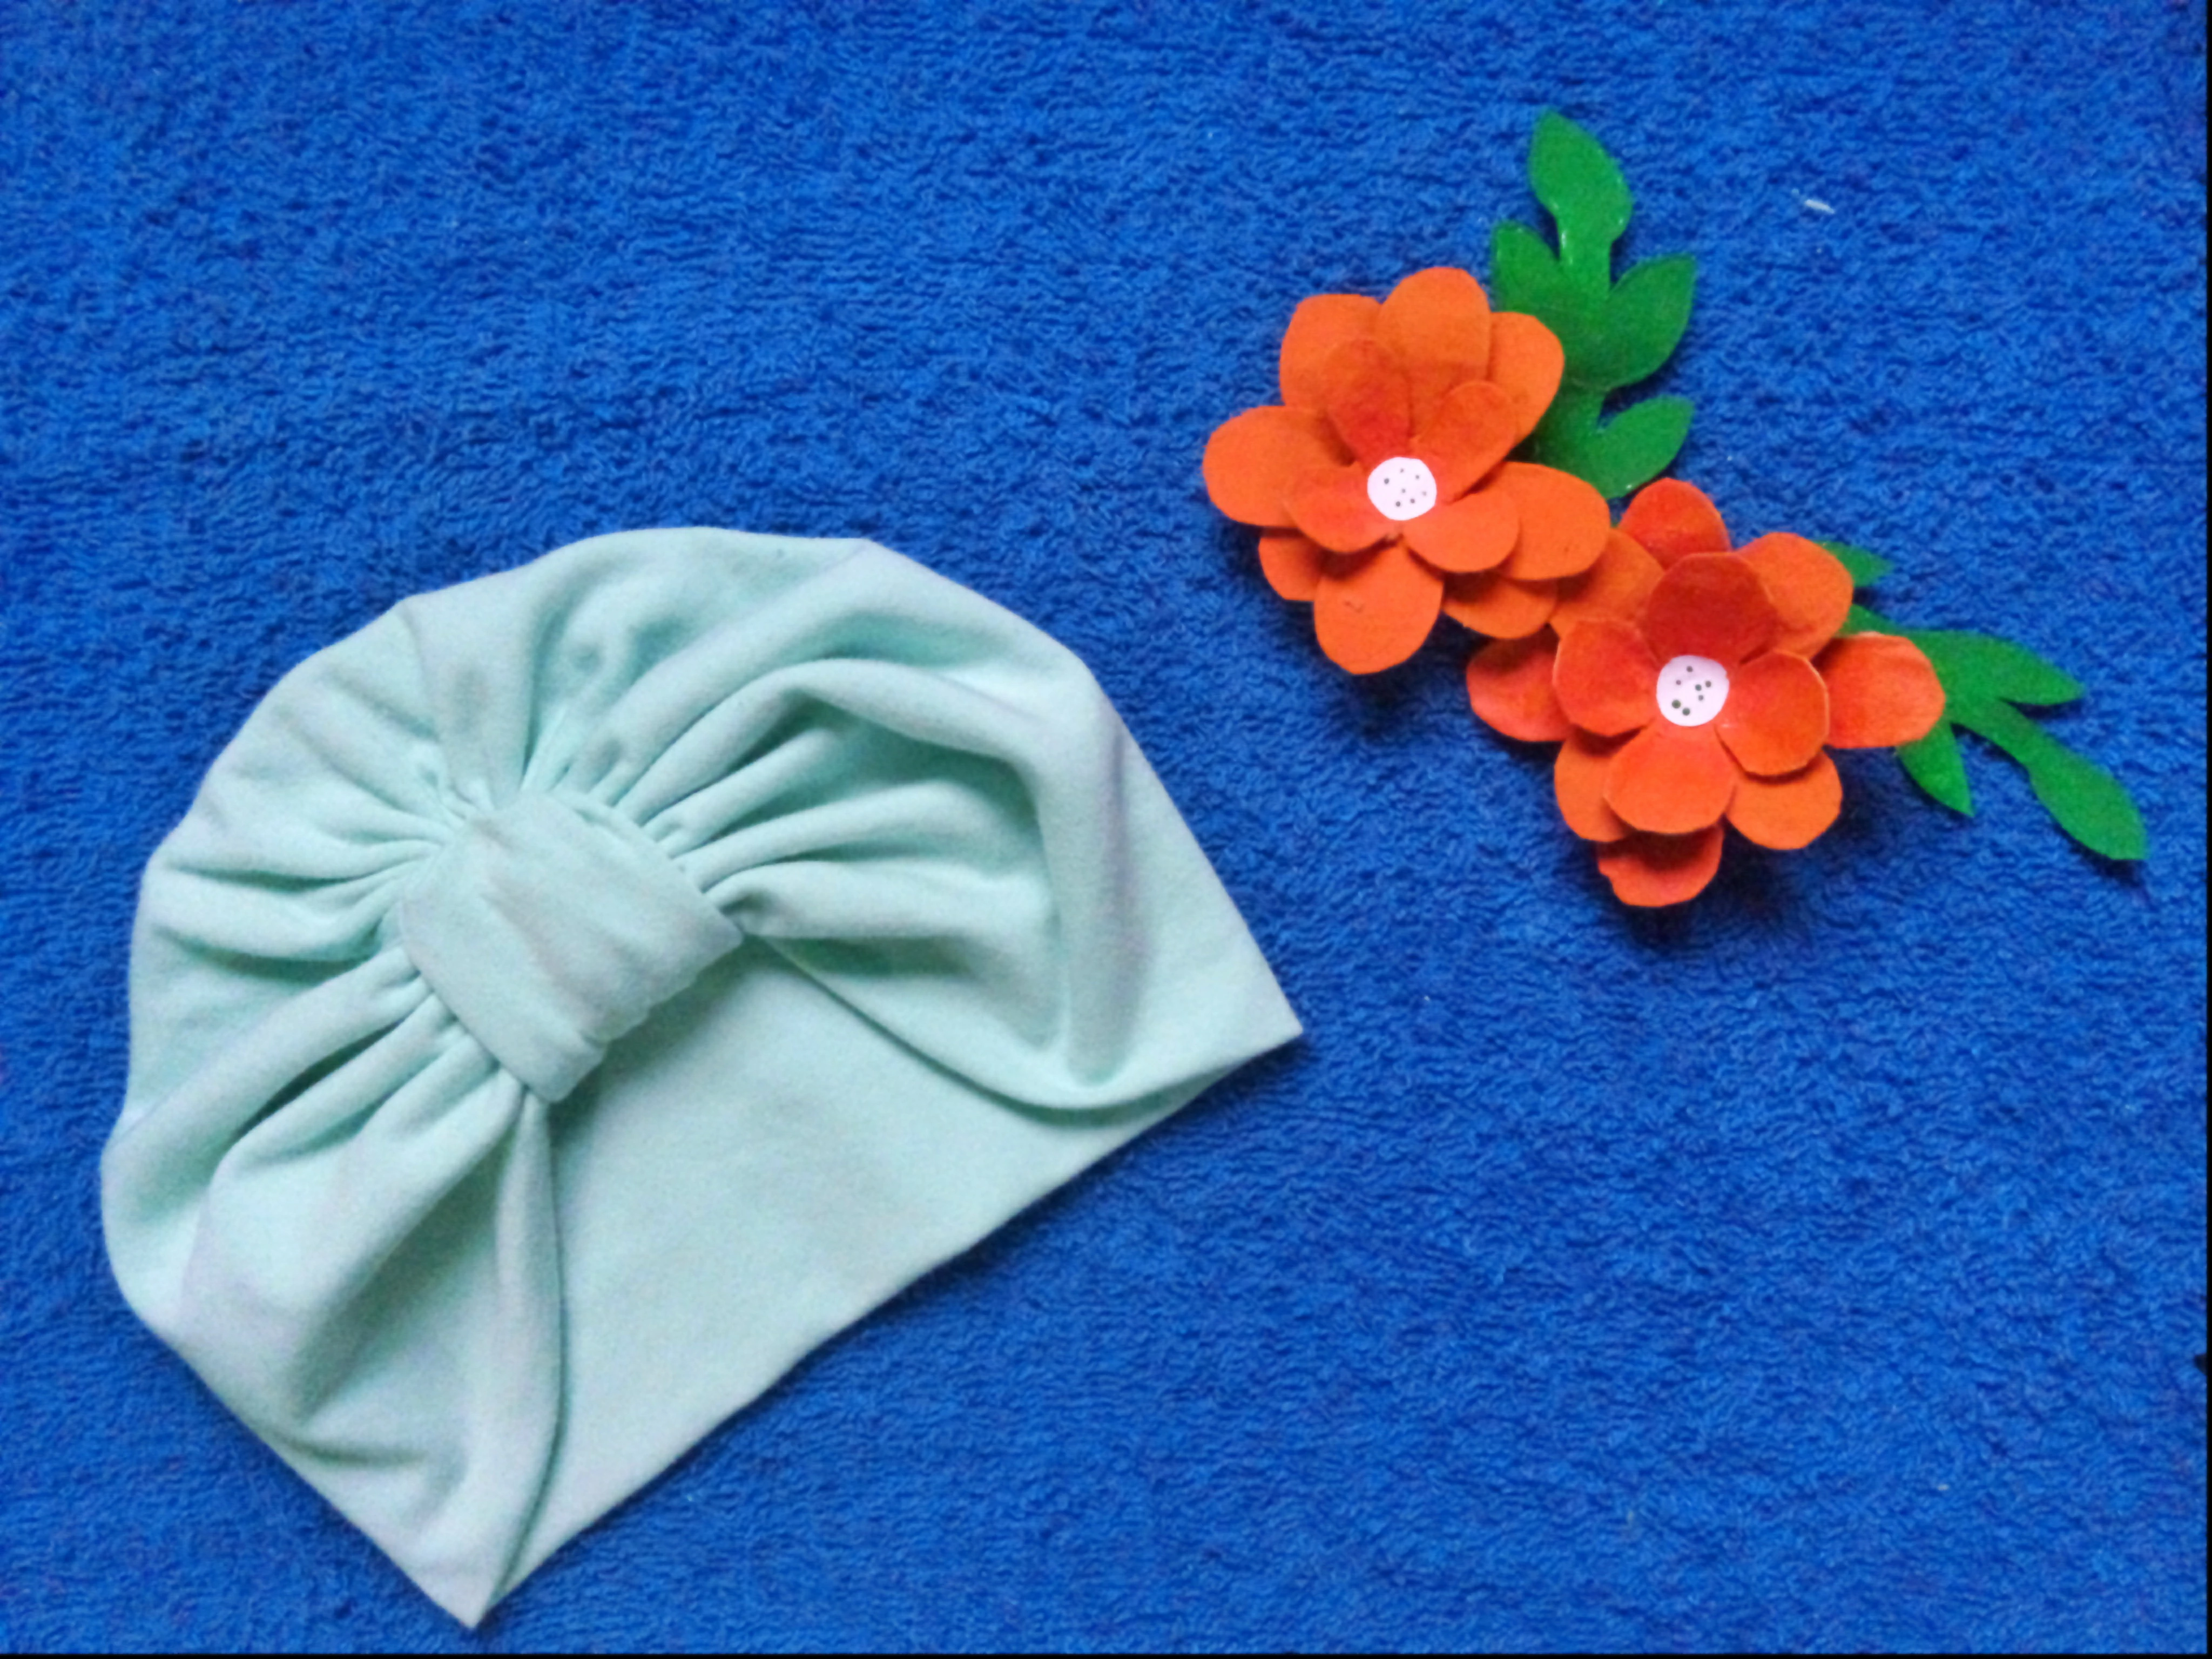
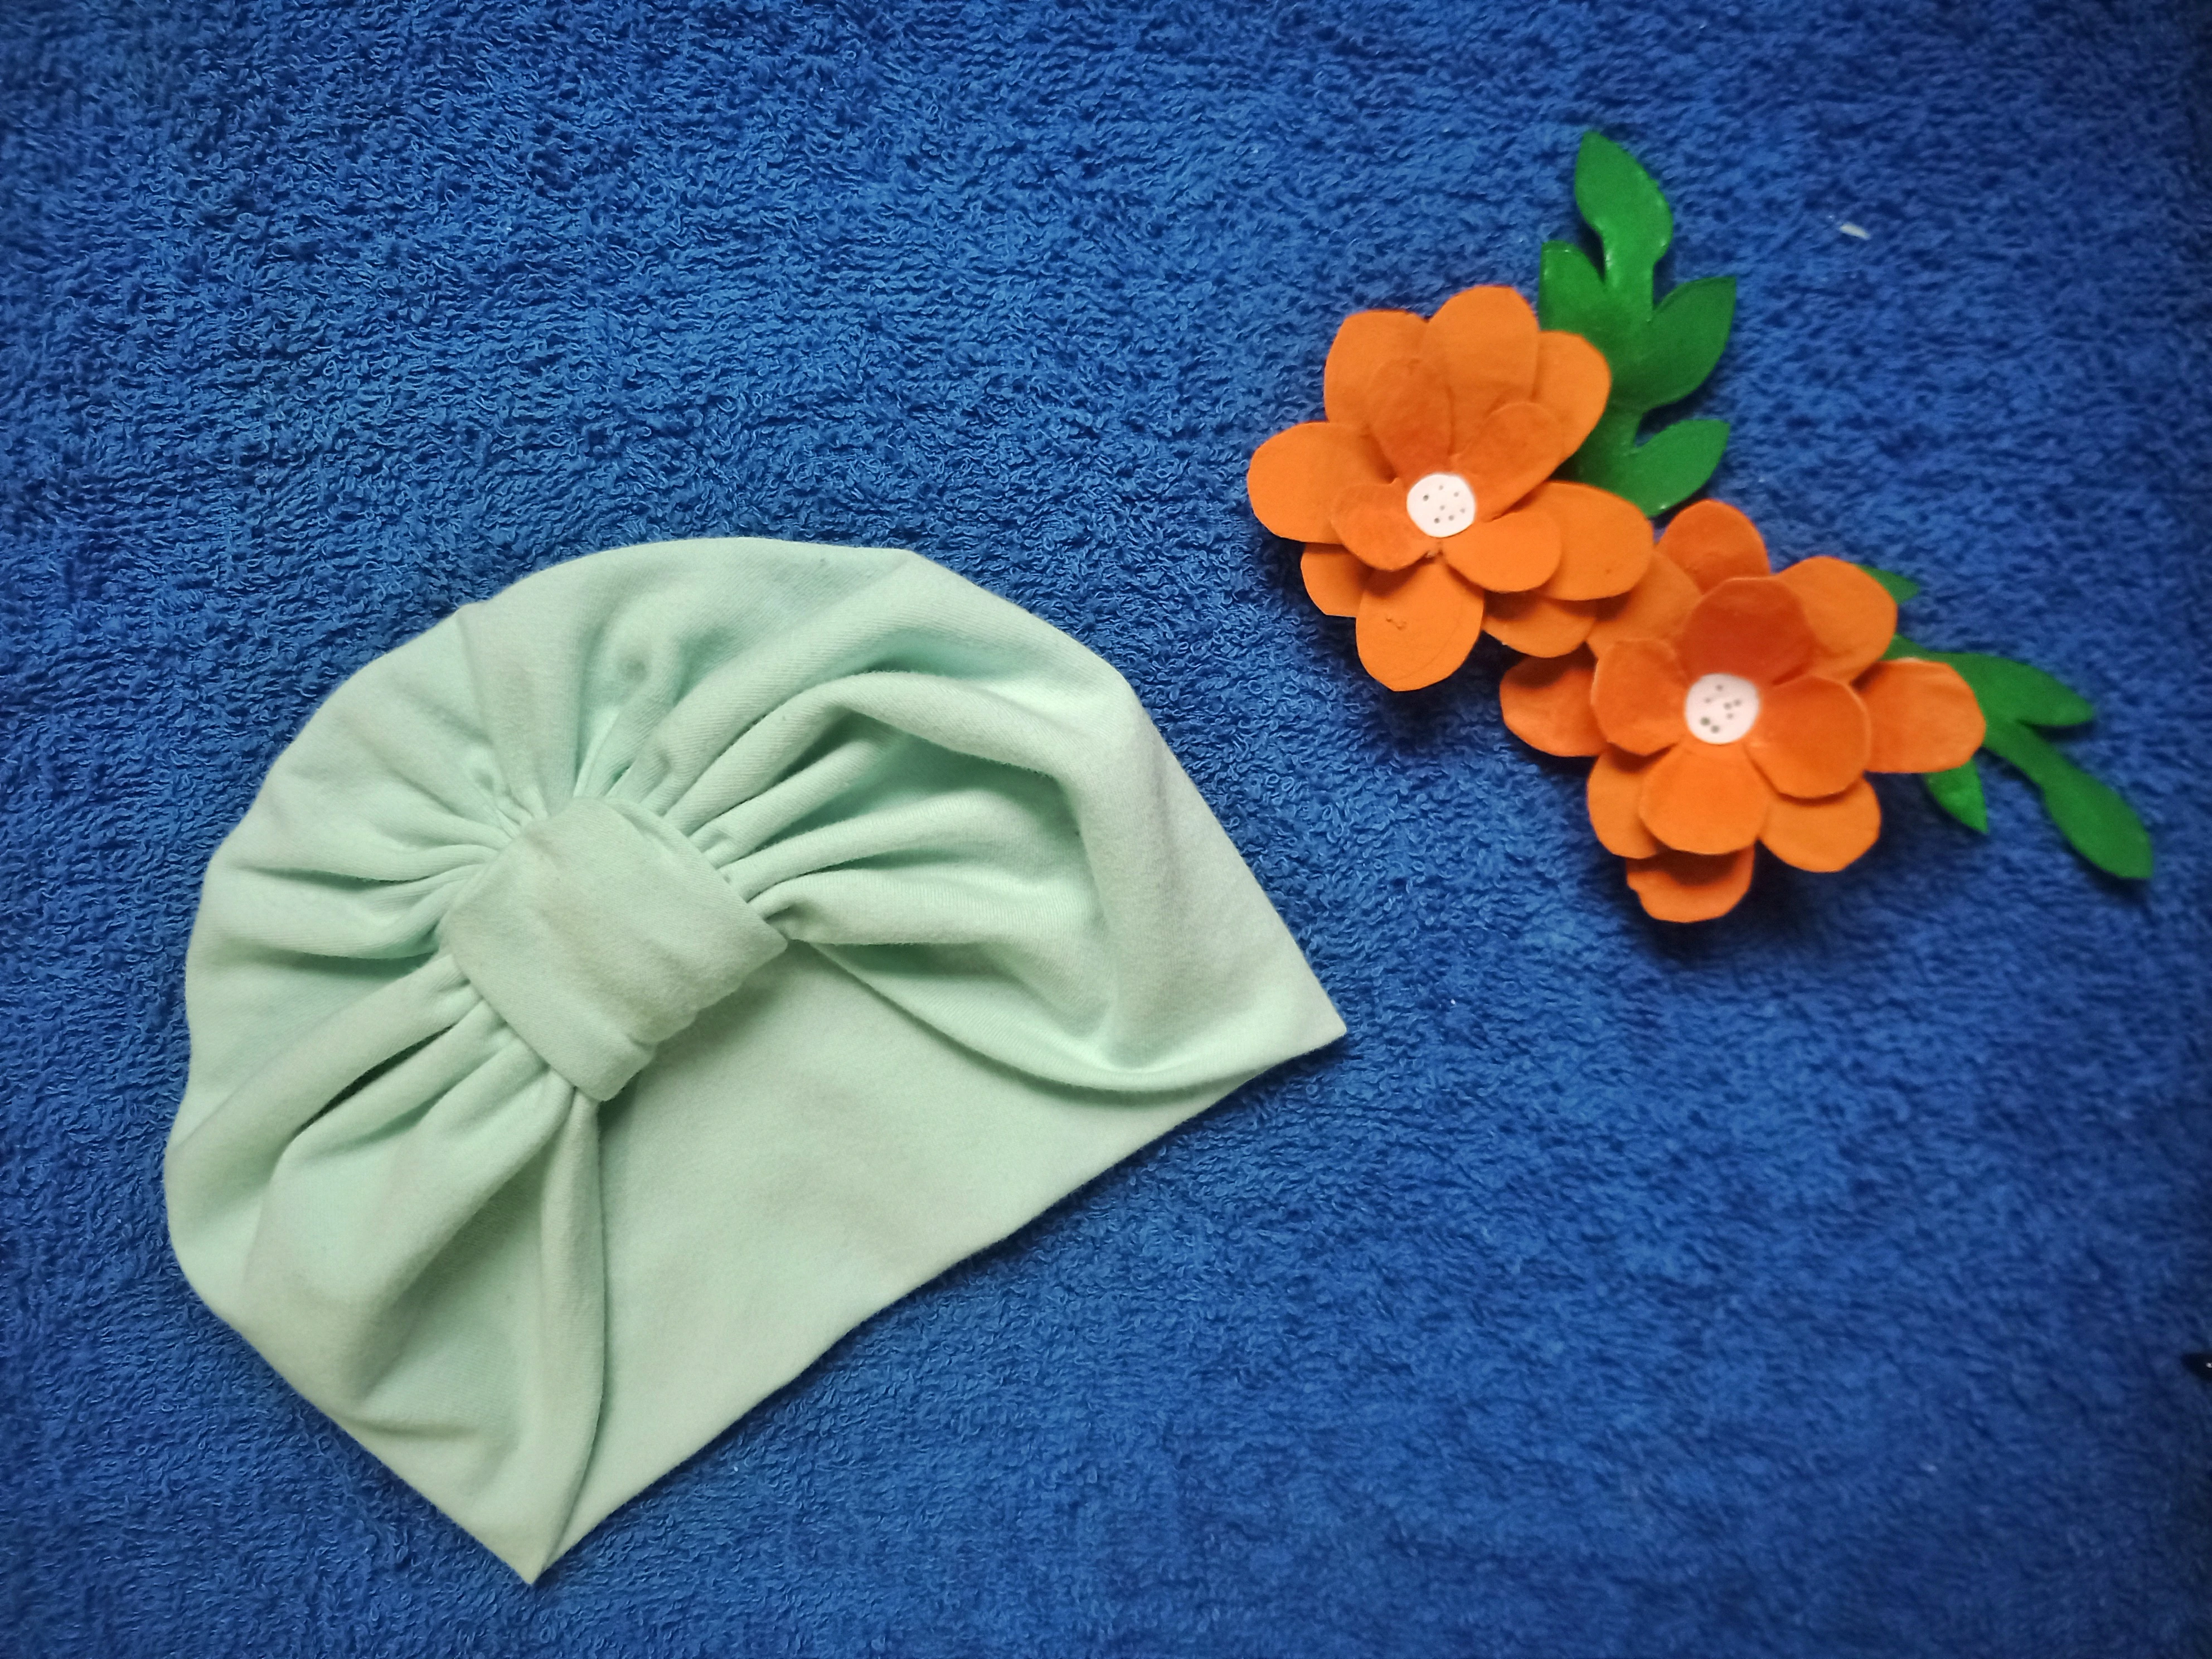
Fotografia de mi propiedad, bandana para bebés

Hola amigos de Hive Diy ❤️ por aquí vengo después de varios meses a compartir con ustedes un tutorial de cómo hacer un lindo turbante sencillo para bebés de 3 a 6 meses, estos se pueden realizan de diferentes colores y con telas que sean de elástica, para que así pueda ser más fácil a la hora de colocarlo, además que éste tipo de tela suelen ser livianas para su cabecita, así que sin más preambulos comencemos☺️🥰💚
Hello friends of Hive Diy ❤️ here I come after several months to share with you a tutorial on how to make a nice simple turban for babies from 3 to 6 months, these can be made in different colors and with fabrics that are elastic, so it can be easier when it comes to place it, plus this type of fabric is usually light for your little head, so without further ado let's start
Materiales//Materials
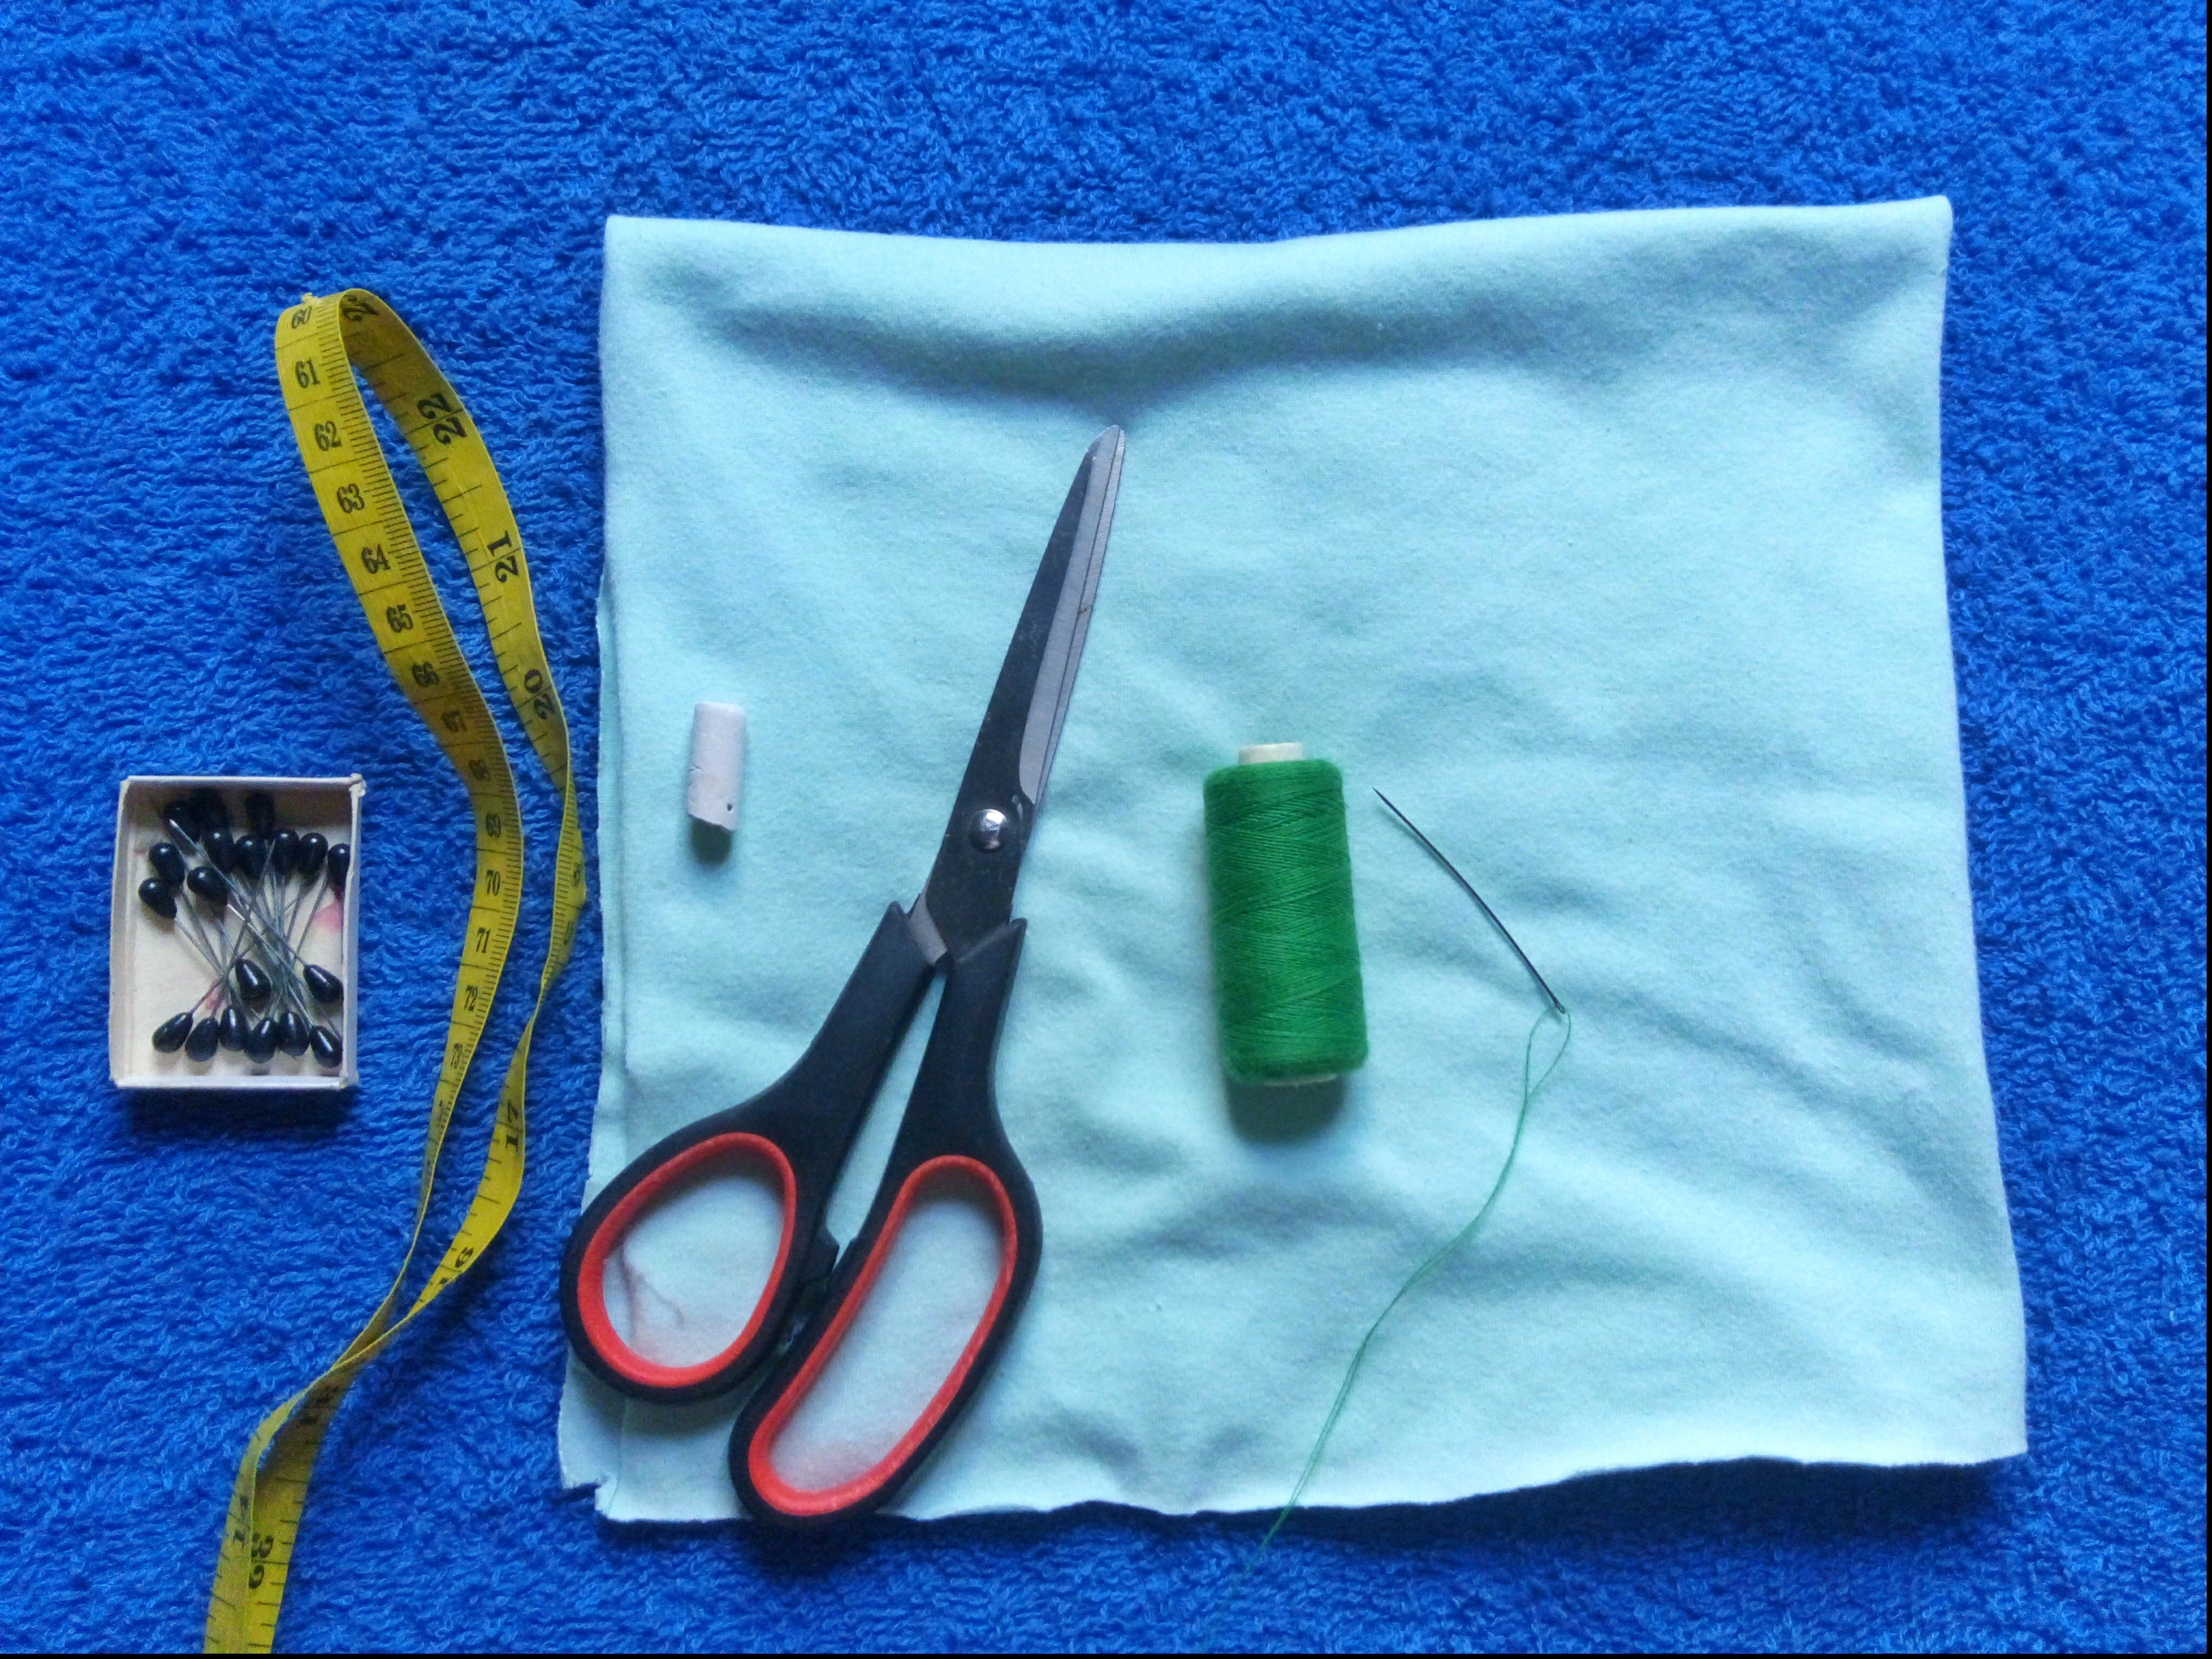
- 🌸 Tela verde claro
- 🌸 Ganchillos
- 🌸Tijera ✂
- 🌸Hilo y aguja
- 🌸 Cinta métrica
- 🌸 Tiza blanca
- 🌸 Light green fabric
- 🌸 Crochet hooks
- 🌸 Scissors ✂
- 🌸 Thread and needle
- 🌸 Tape measure
- 🌸 White chalk
procedimiento//Procedure
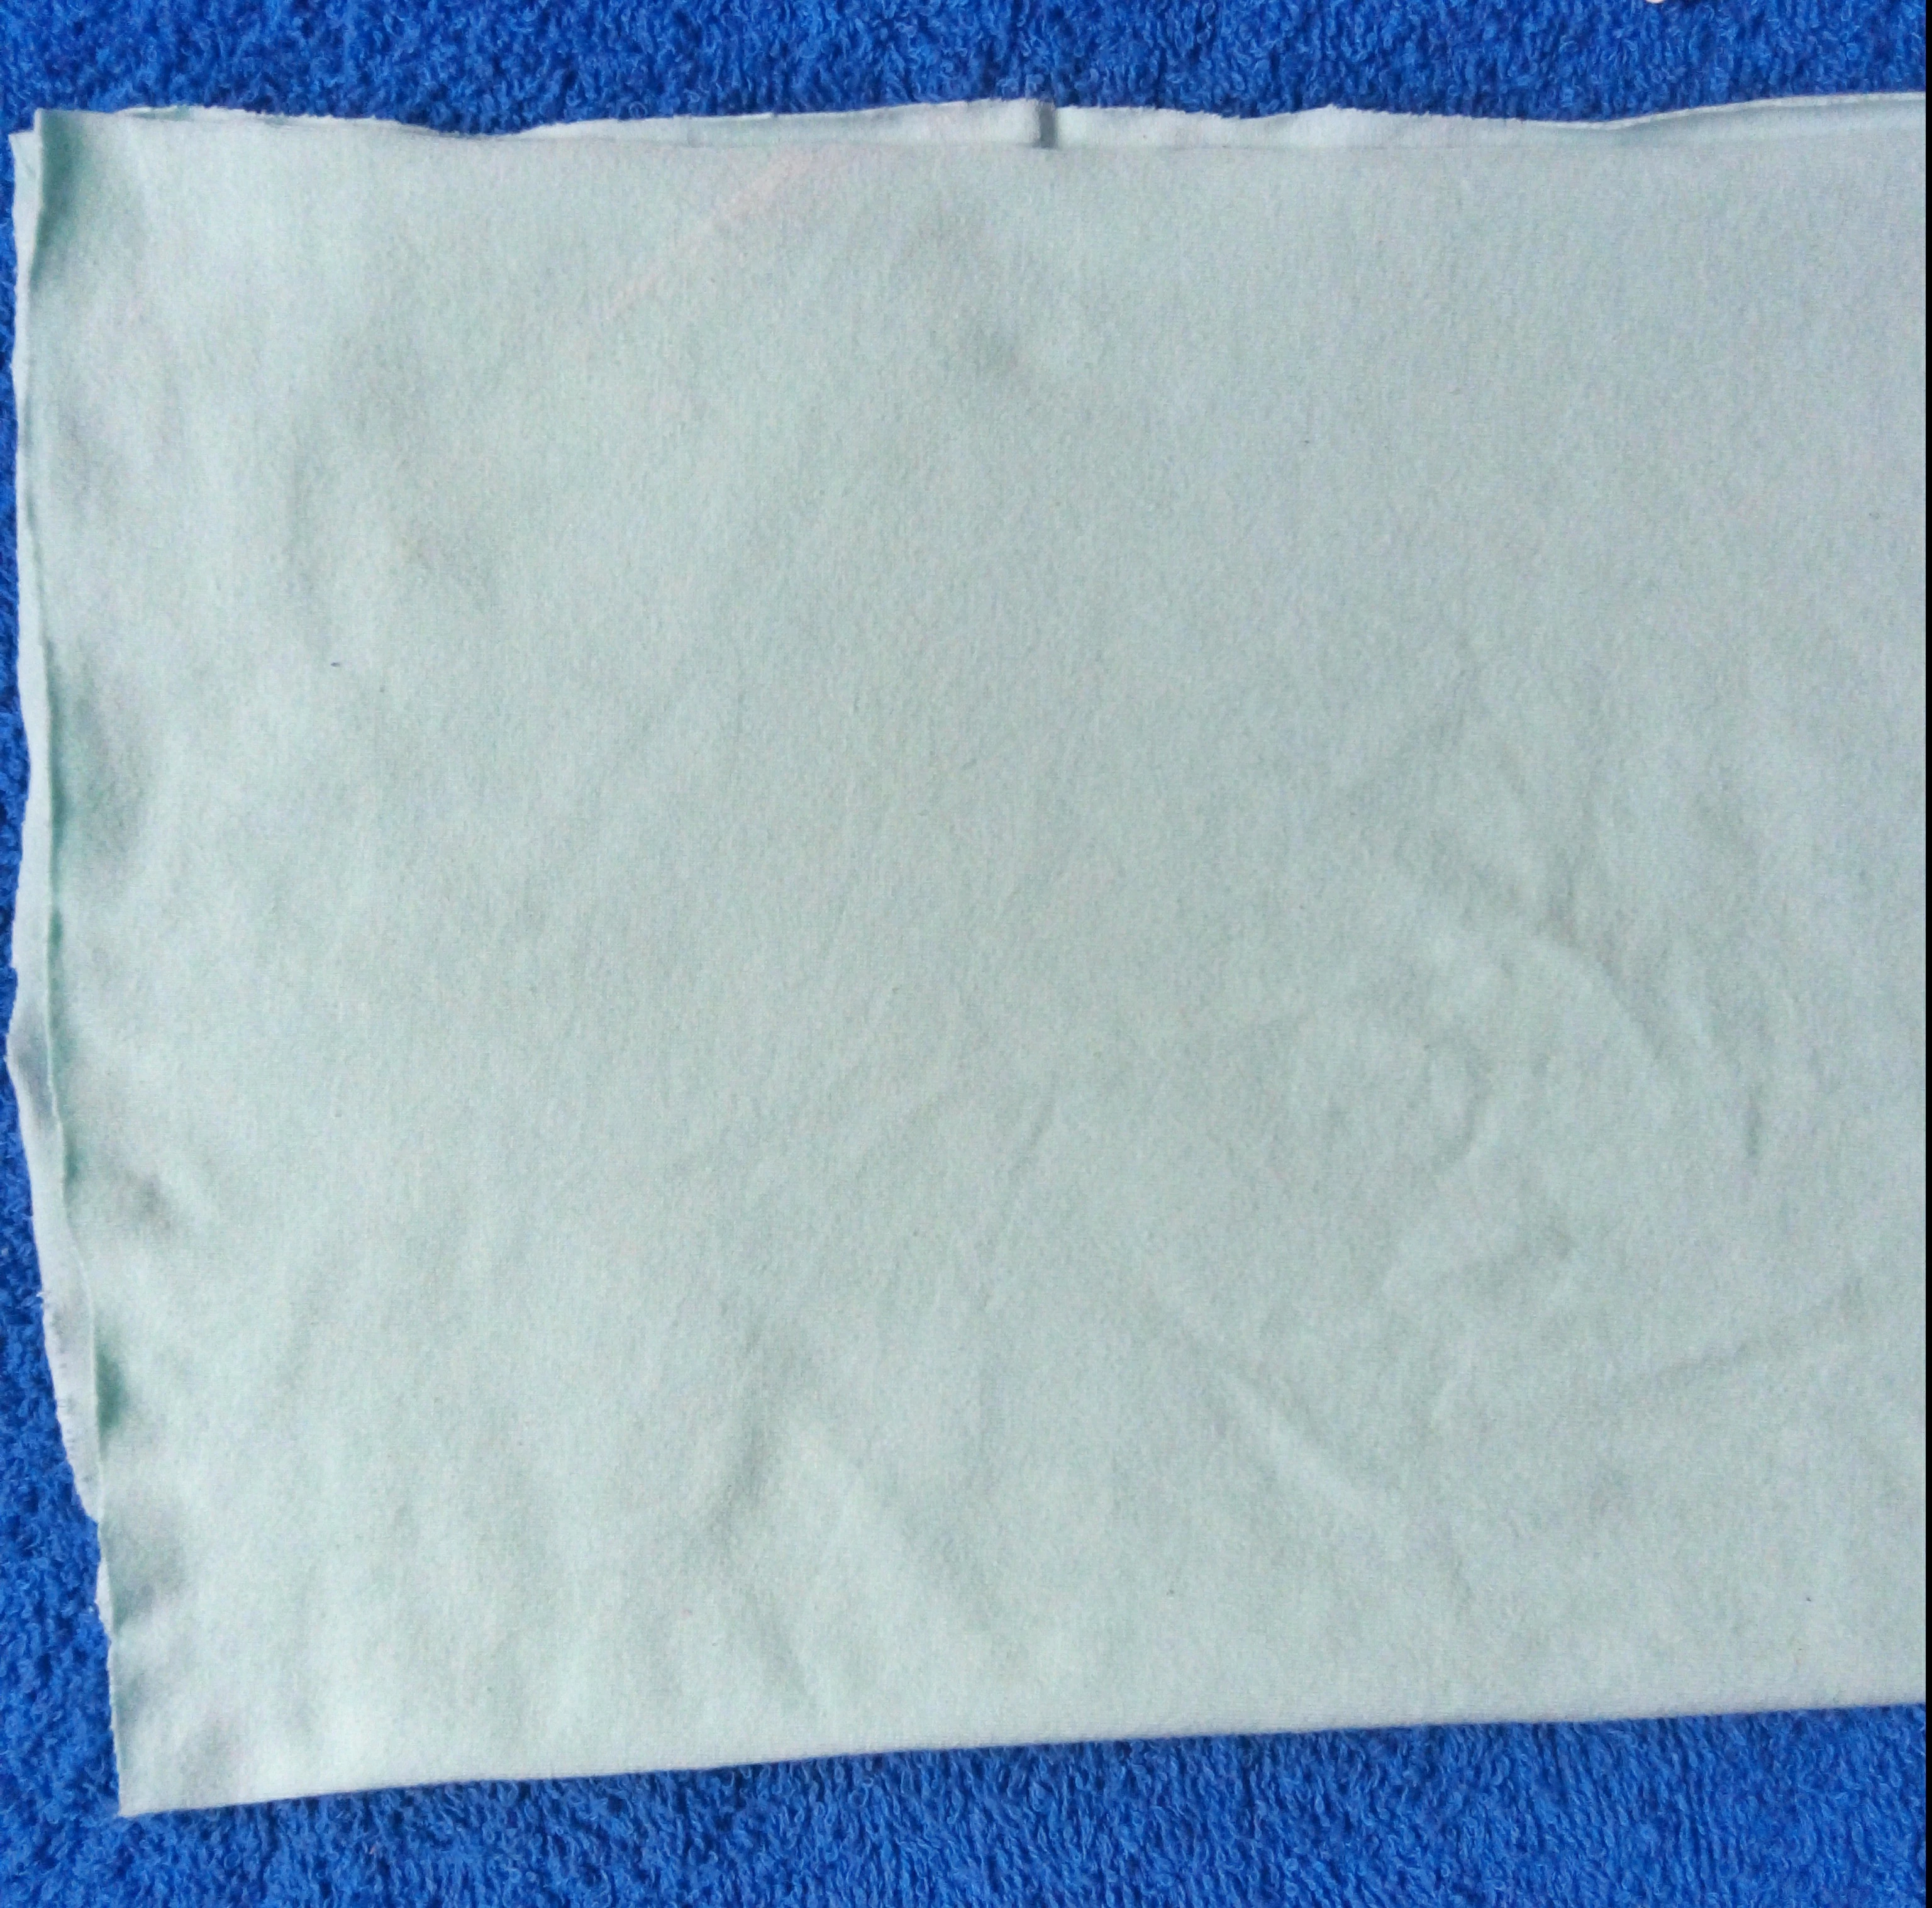
Paso 1:
Lo primero que debemos hacer es tomar la tela y medir 45 cm de largo y 40 cm de largo, luego vamos a cortar un cuadro con estás respectivas medidas.
Step 1:
The first thing we must do is to take the fabric and measure 45 cm long and 40 cm long, then we will cut a square with these respective measures.
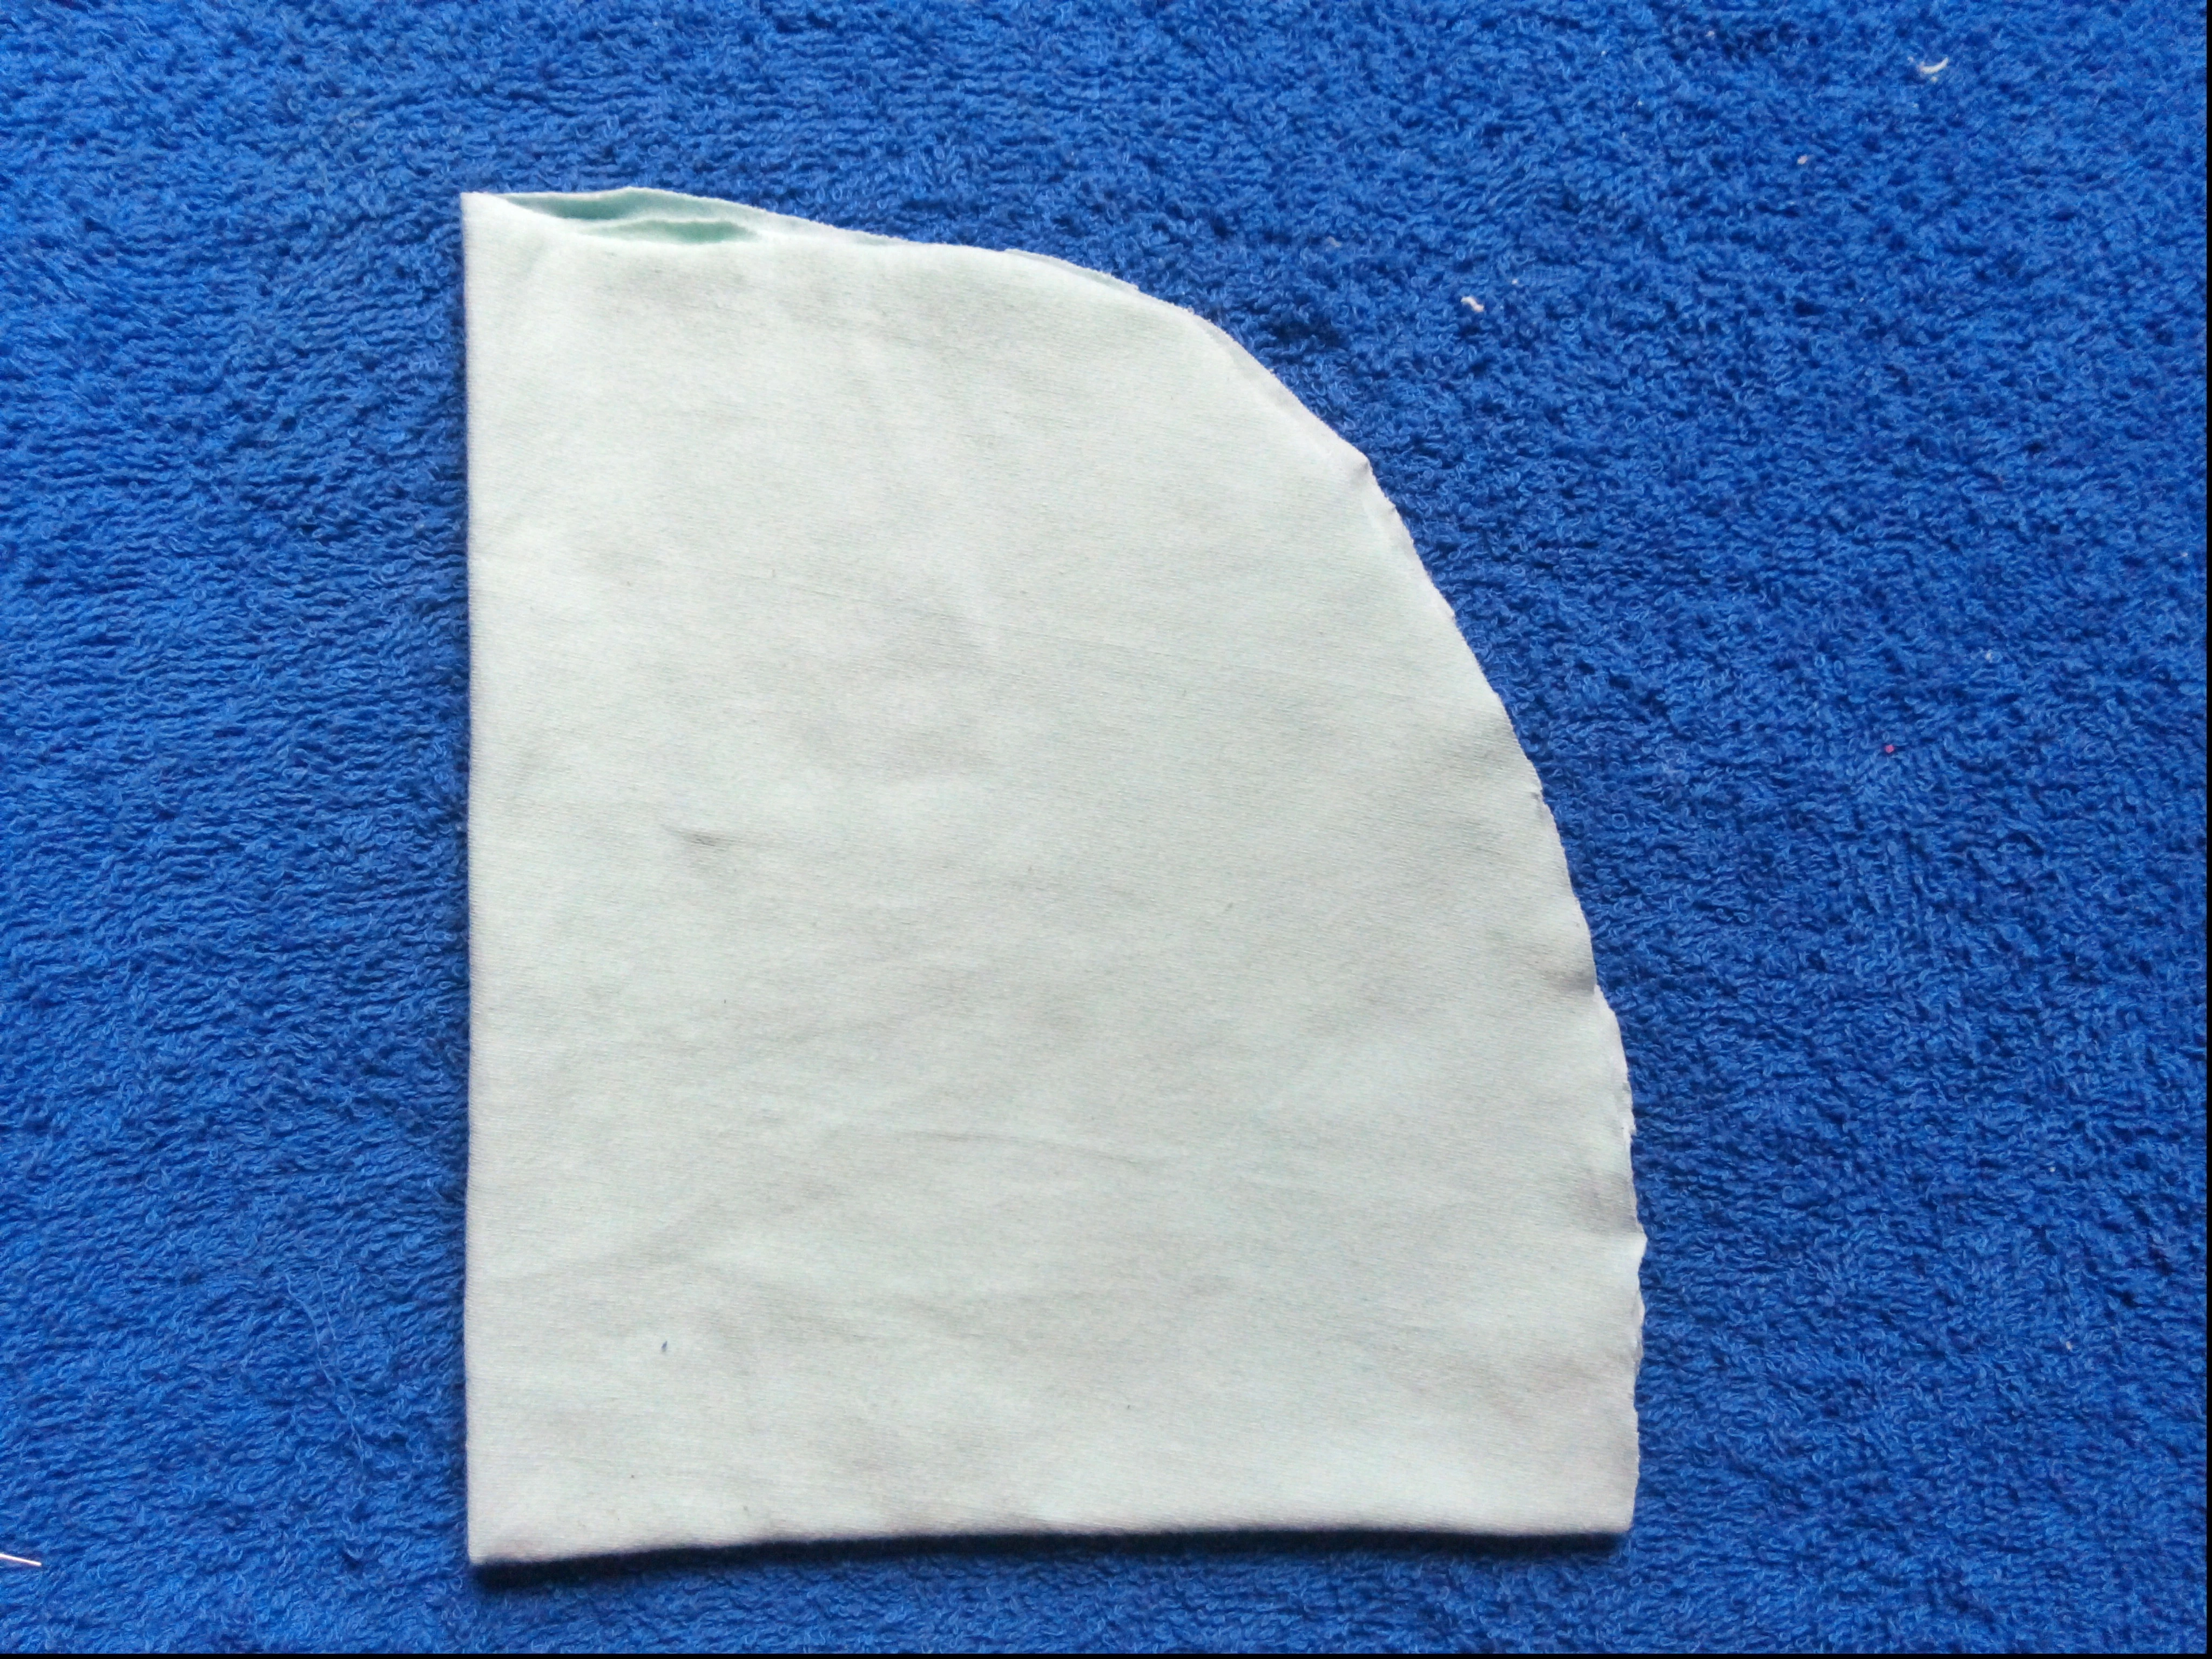
Paso 2: Ahora vamos a doblar la tela a la mitad de abajo hacia arriba, luego de un lado al otro, después vamos con la tiza a marcar por la esquina una forma de círculo y luego con la tijera cortamos.
Step 2: Now we are going to fold the fabric in half from bottom to top, then from one side to the other, then we are going to mark a circle shape in the corner with the chalk and then with the scissors we cut it..
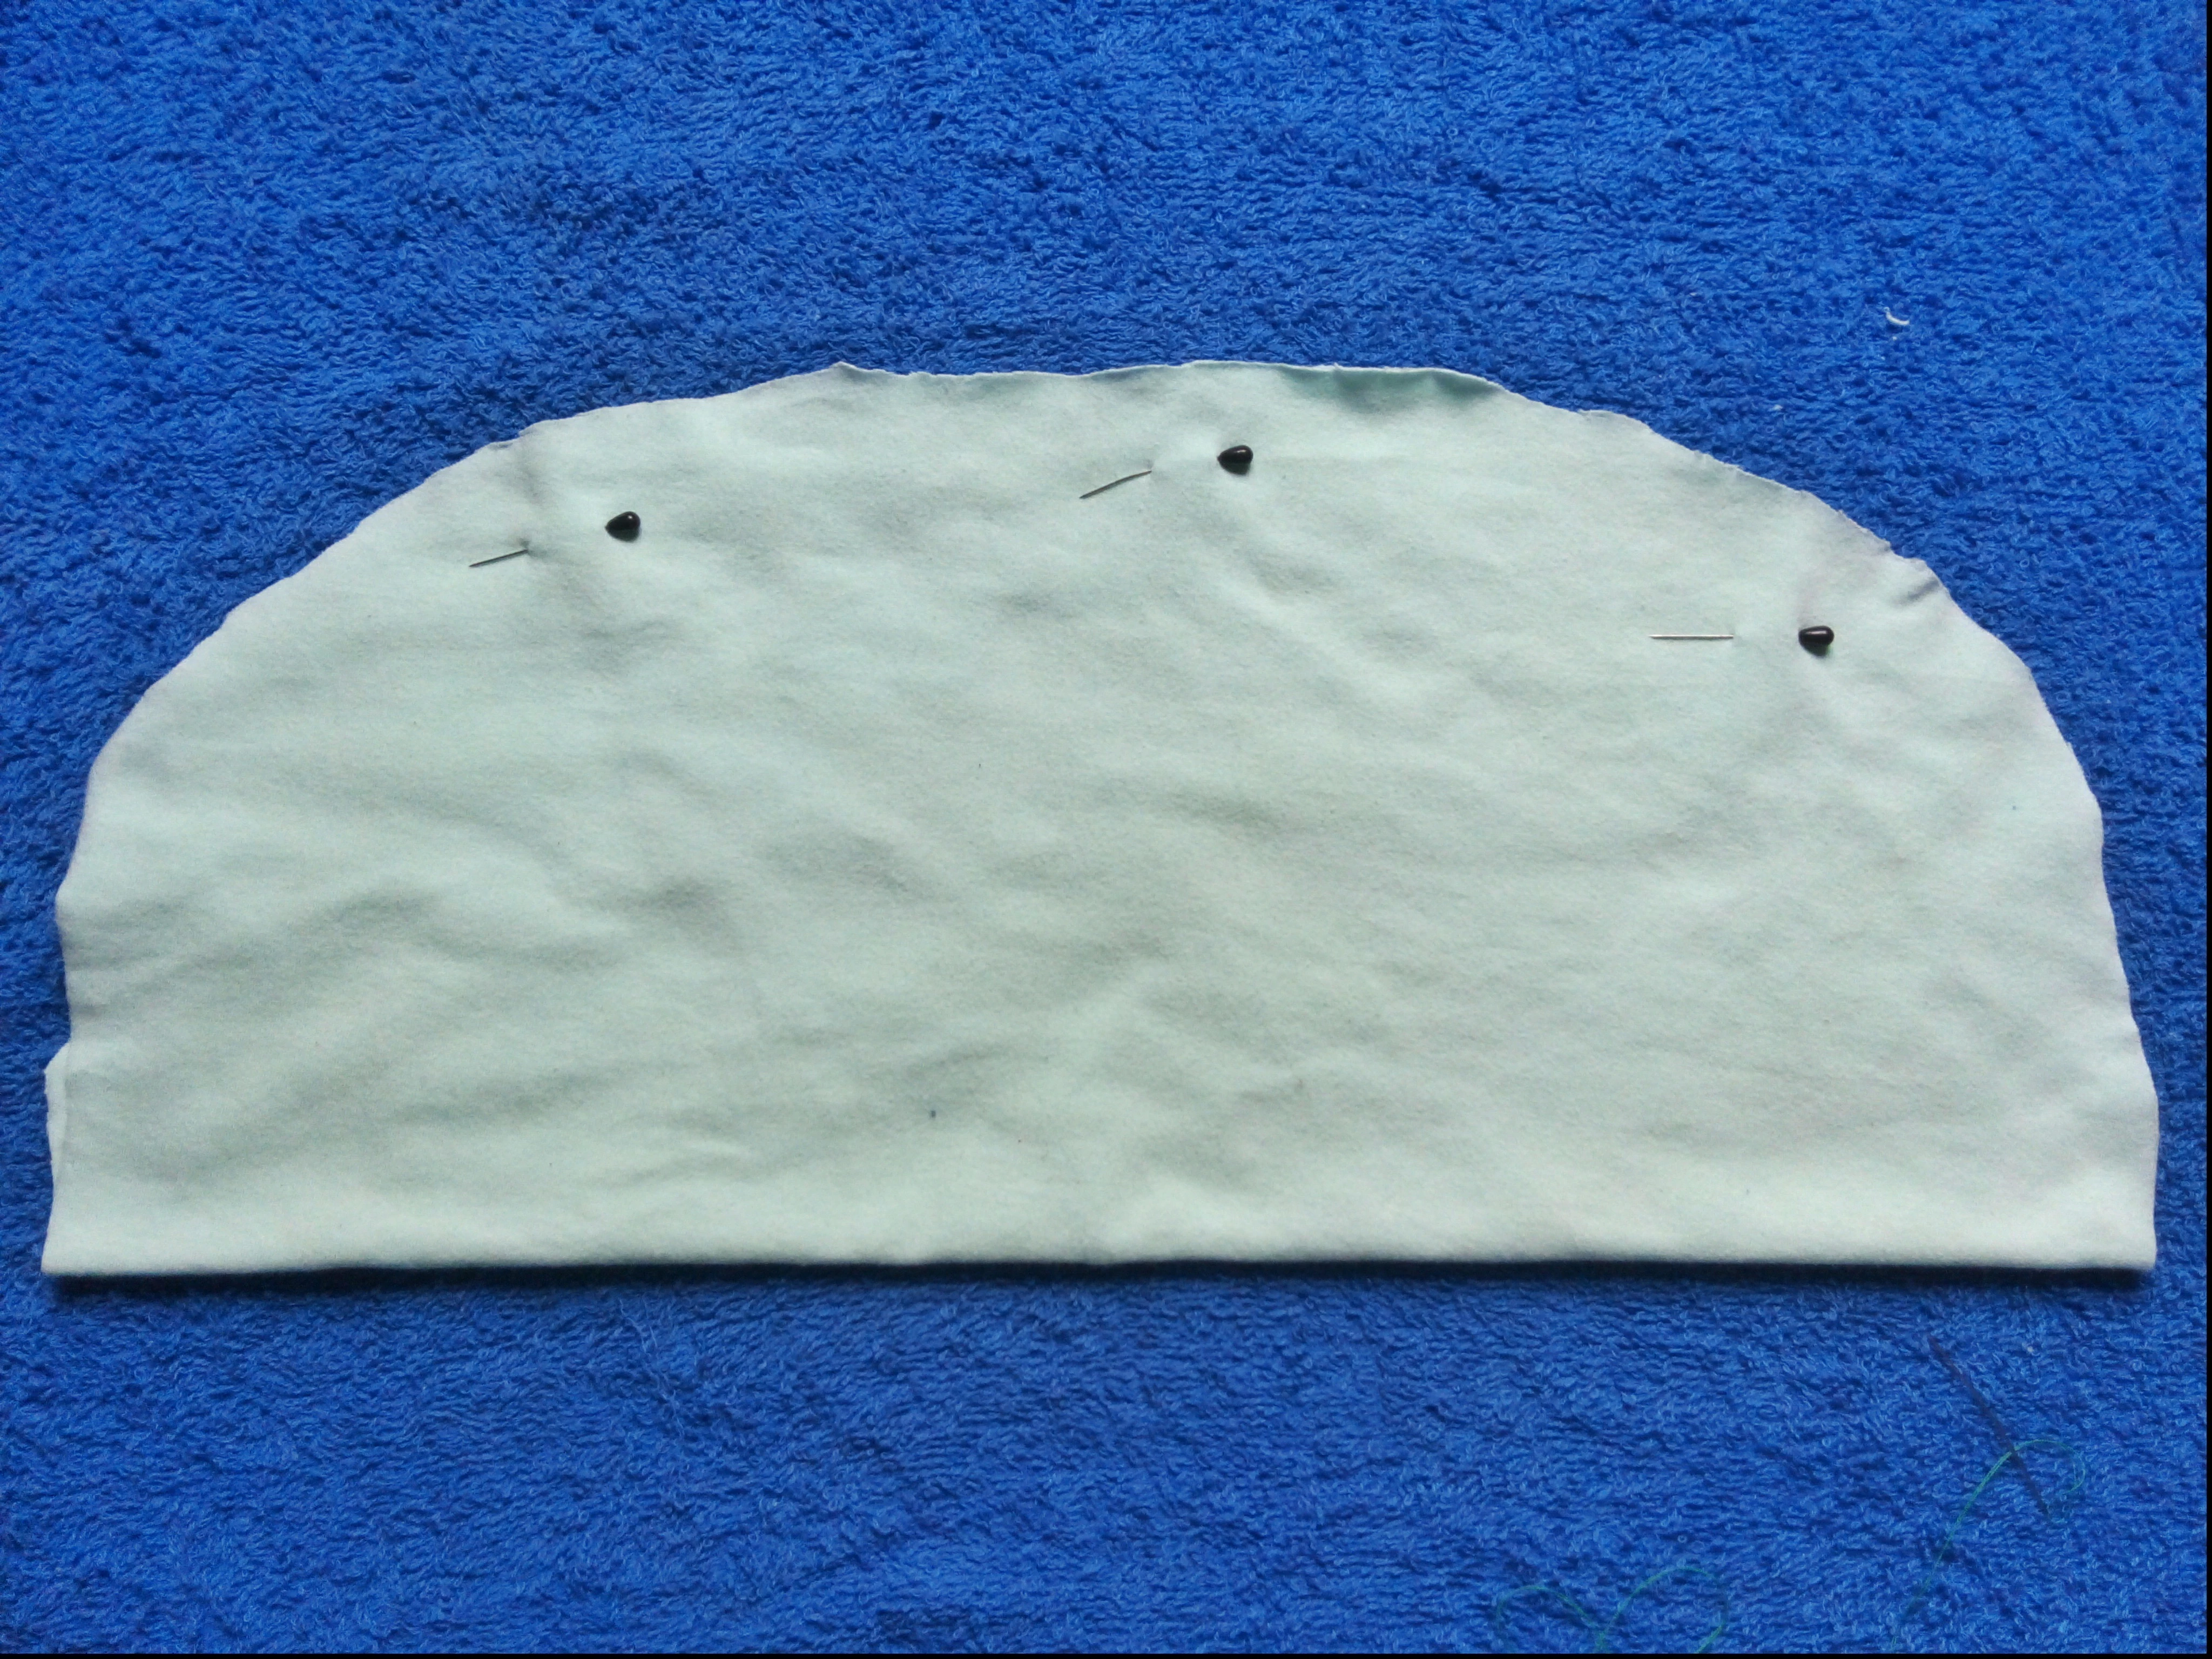
Paso 3: Ahora vamos a tomar la tela y la vamos a abrir, luego de hacer esto vamos a colocar ganchillos para sujetar y así evitar que se mueva nuestra tela.
Step 3: Now we are going to take the fabric and we are going to open it, after doing this we are going to place crochet hooks to hold it to avoid the fabric from moving.
Paso 4: Vamos a tomar la aguja con el hilo y vamos a ir consiento en forma recta por todo el borde de la tela que está en forma de círculo.
Step 4: We are going to take the needle with the thread and we are going to go straight along the entire edge of the fabric that is in the shape of a circle.
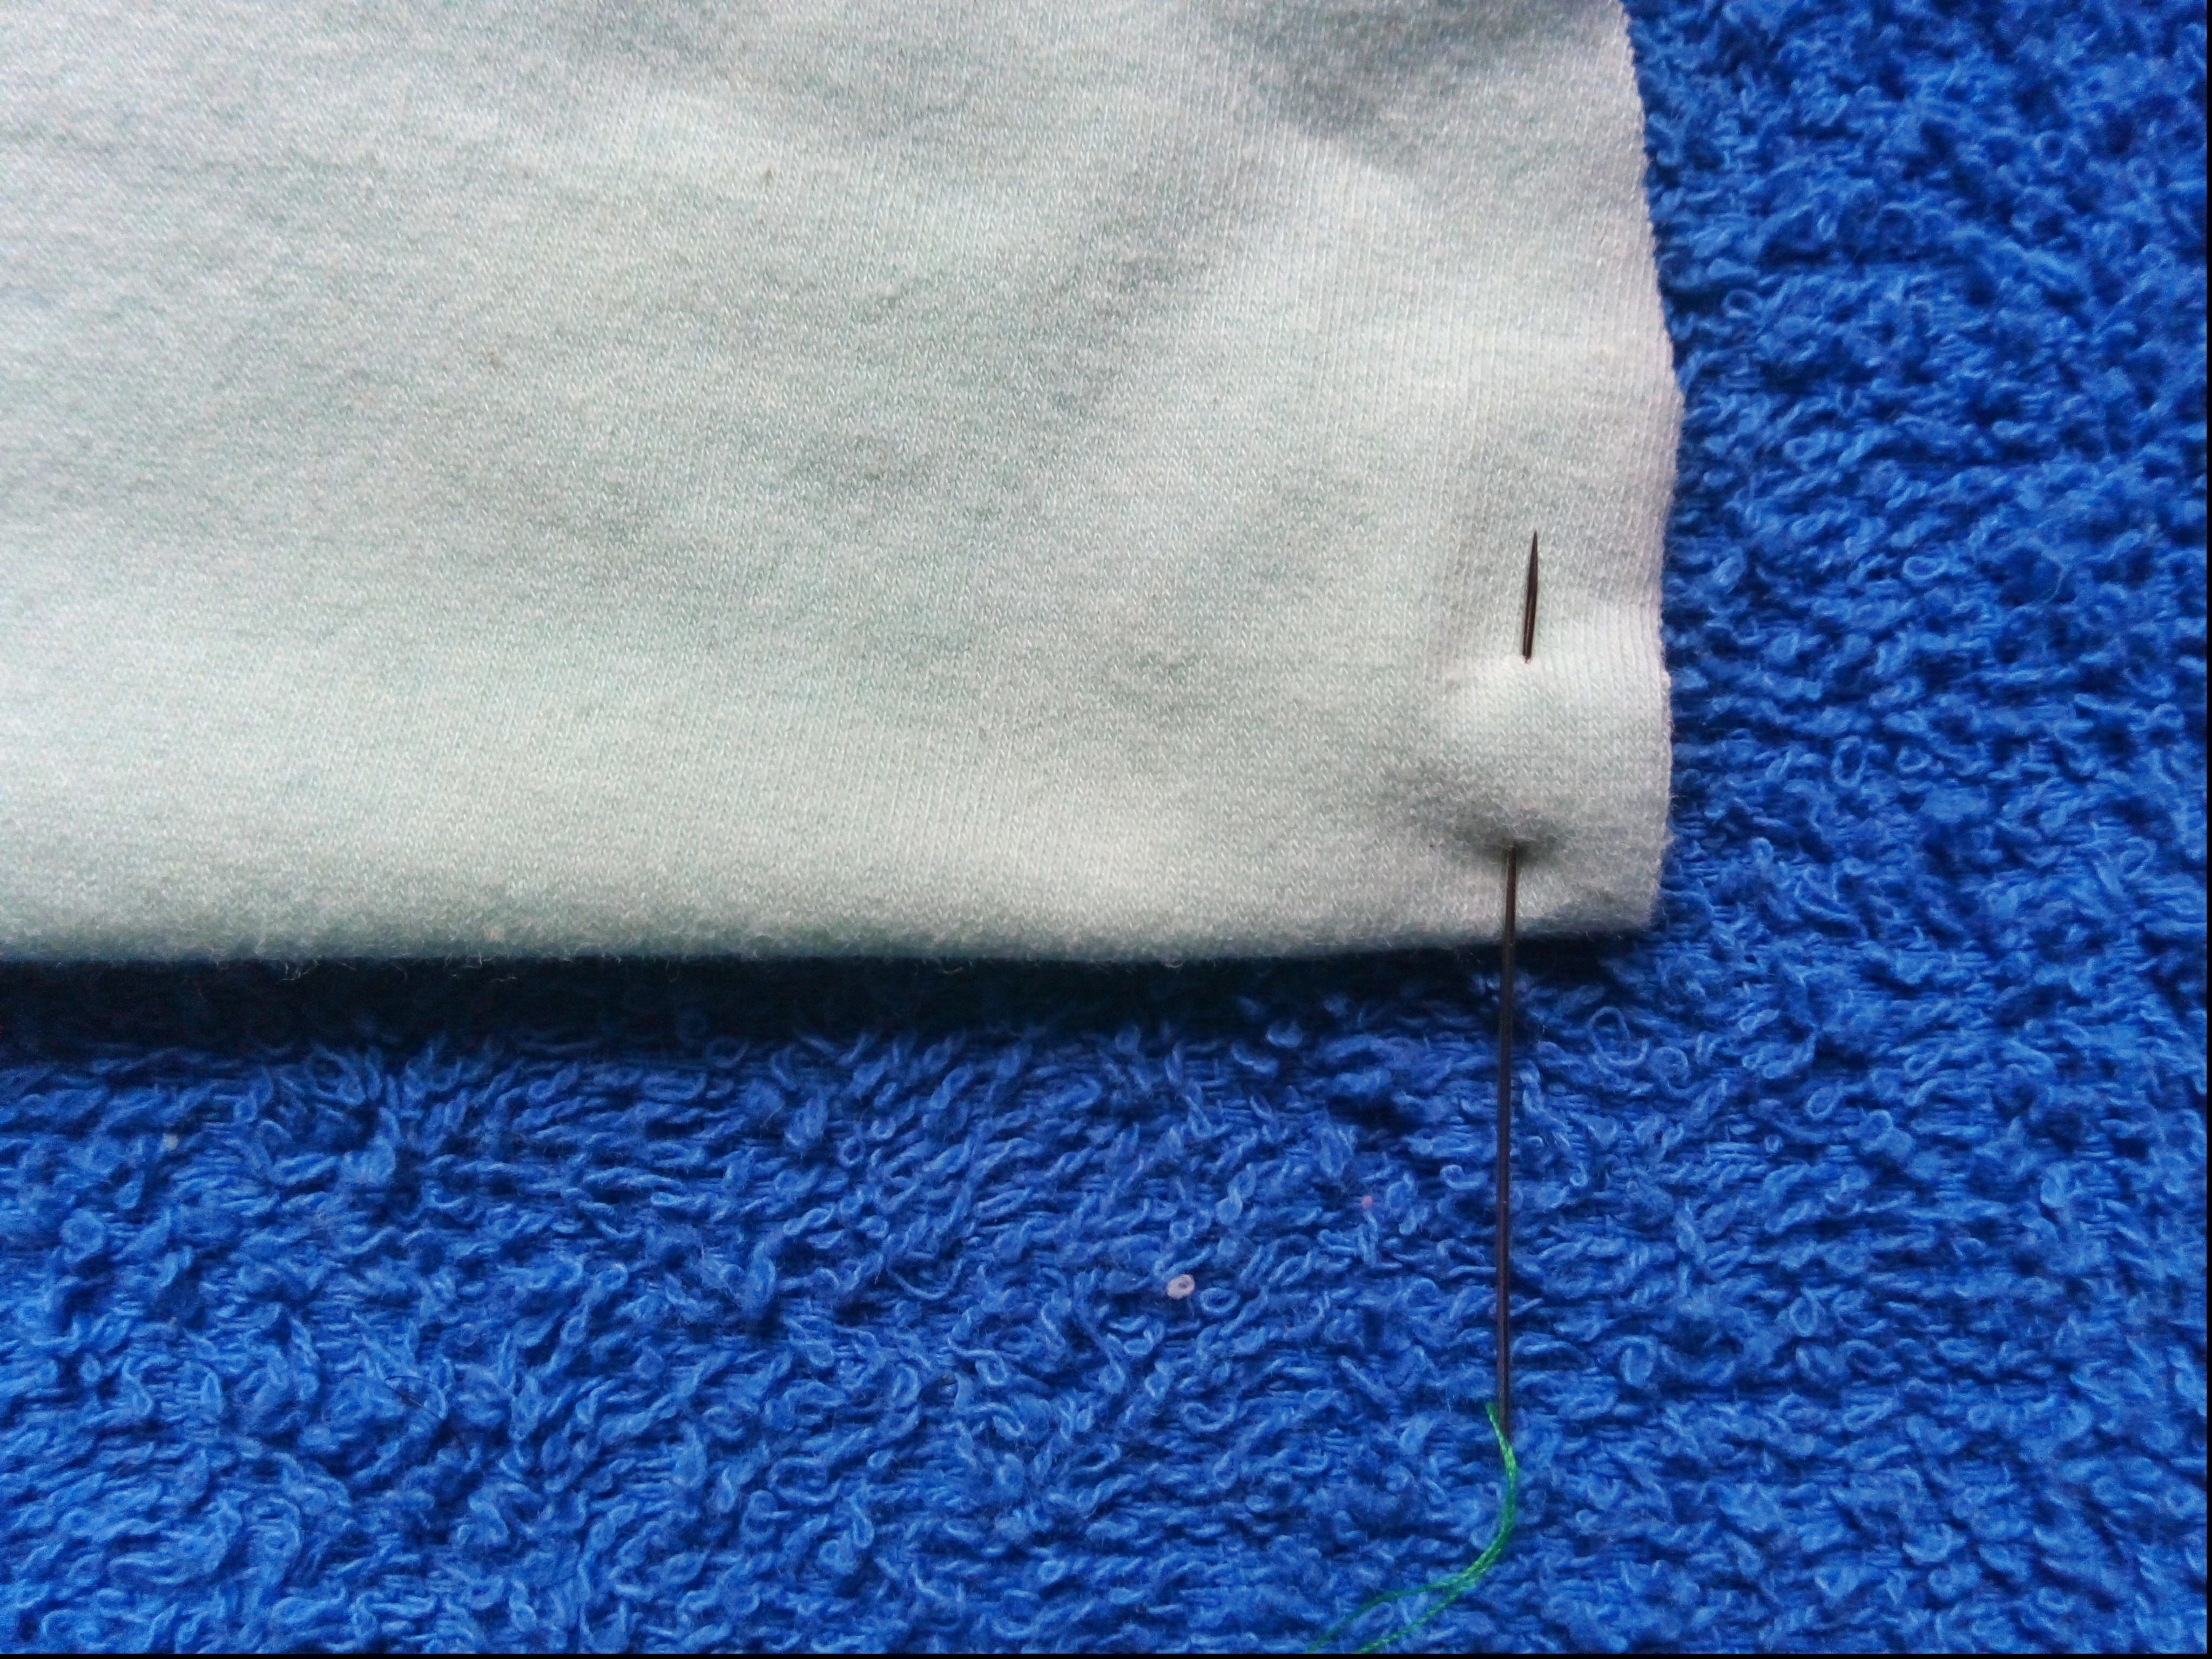
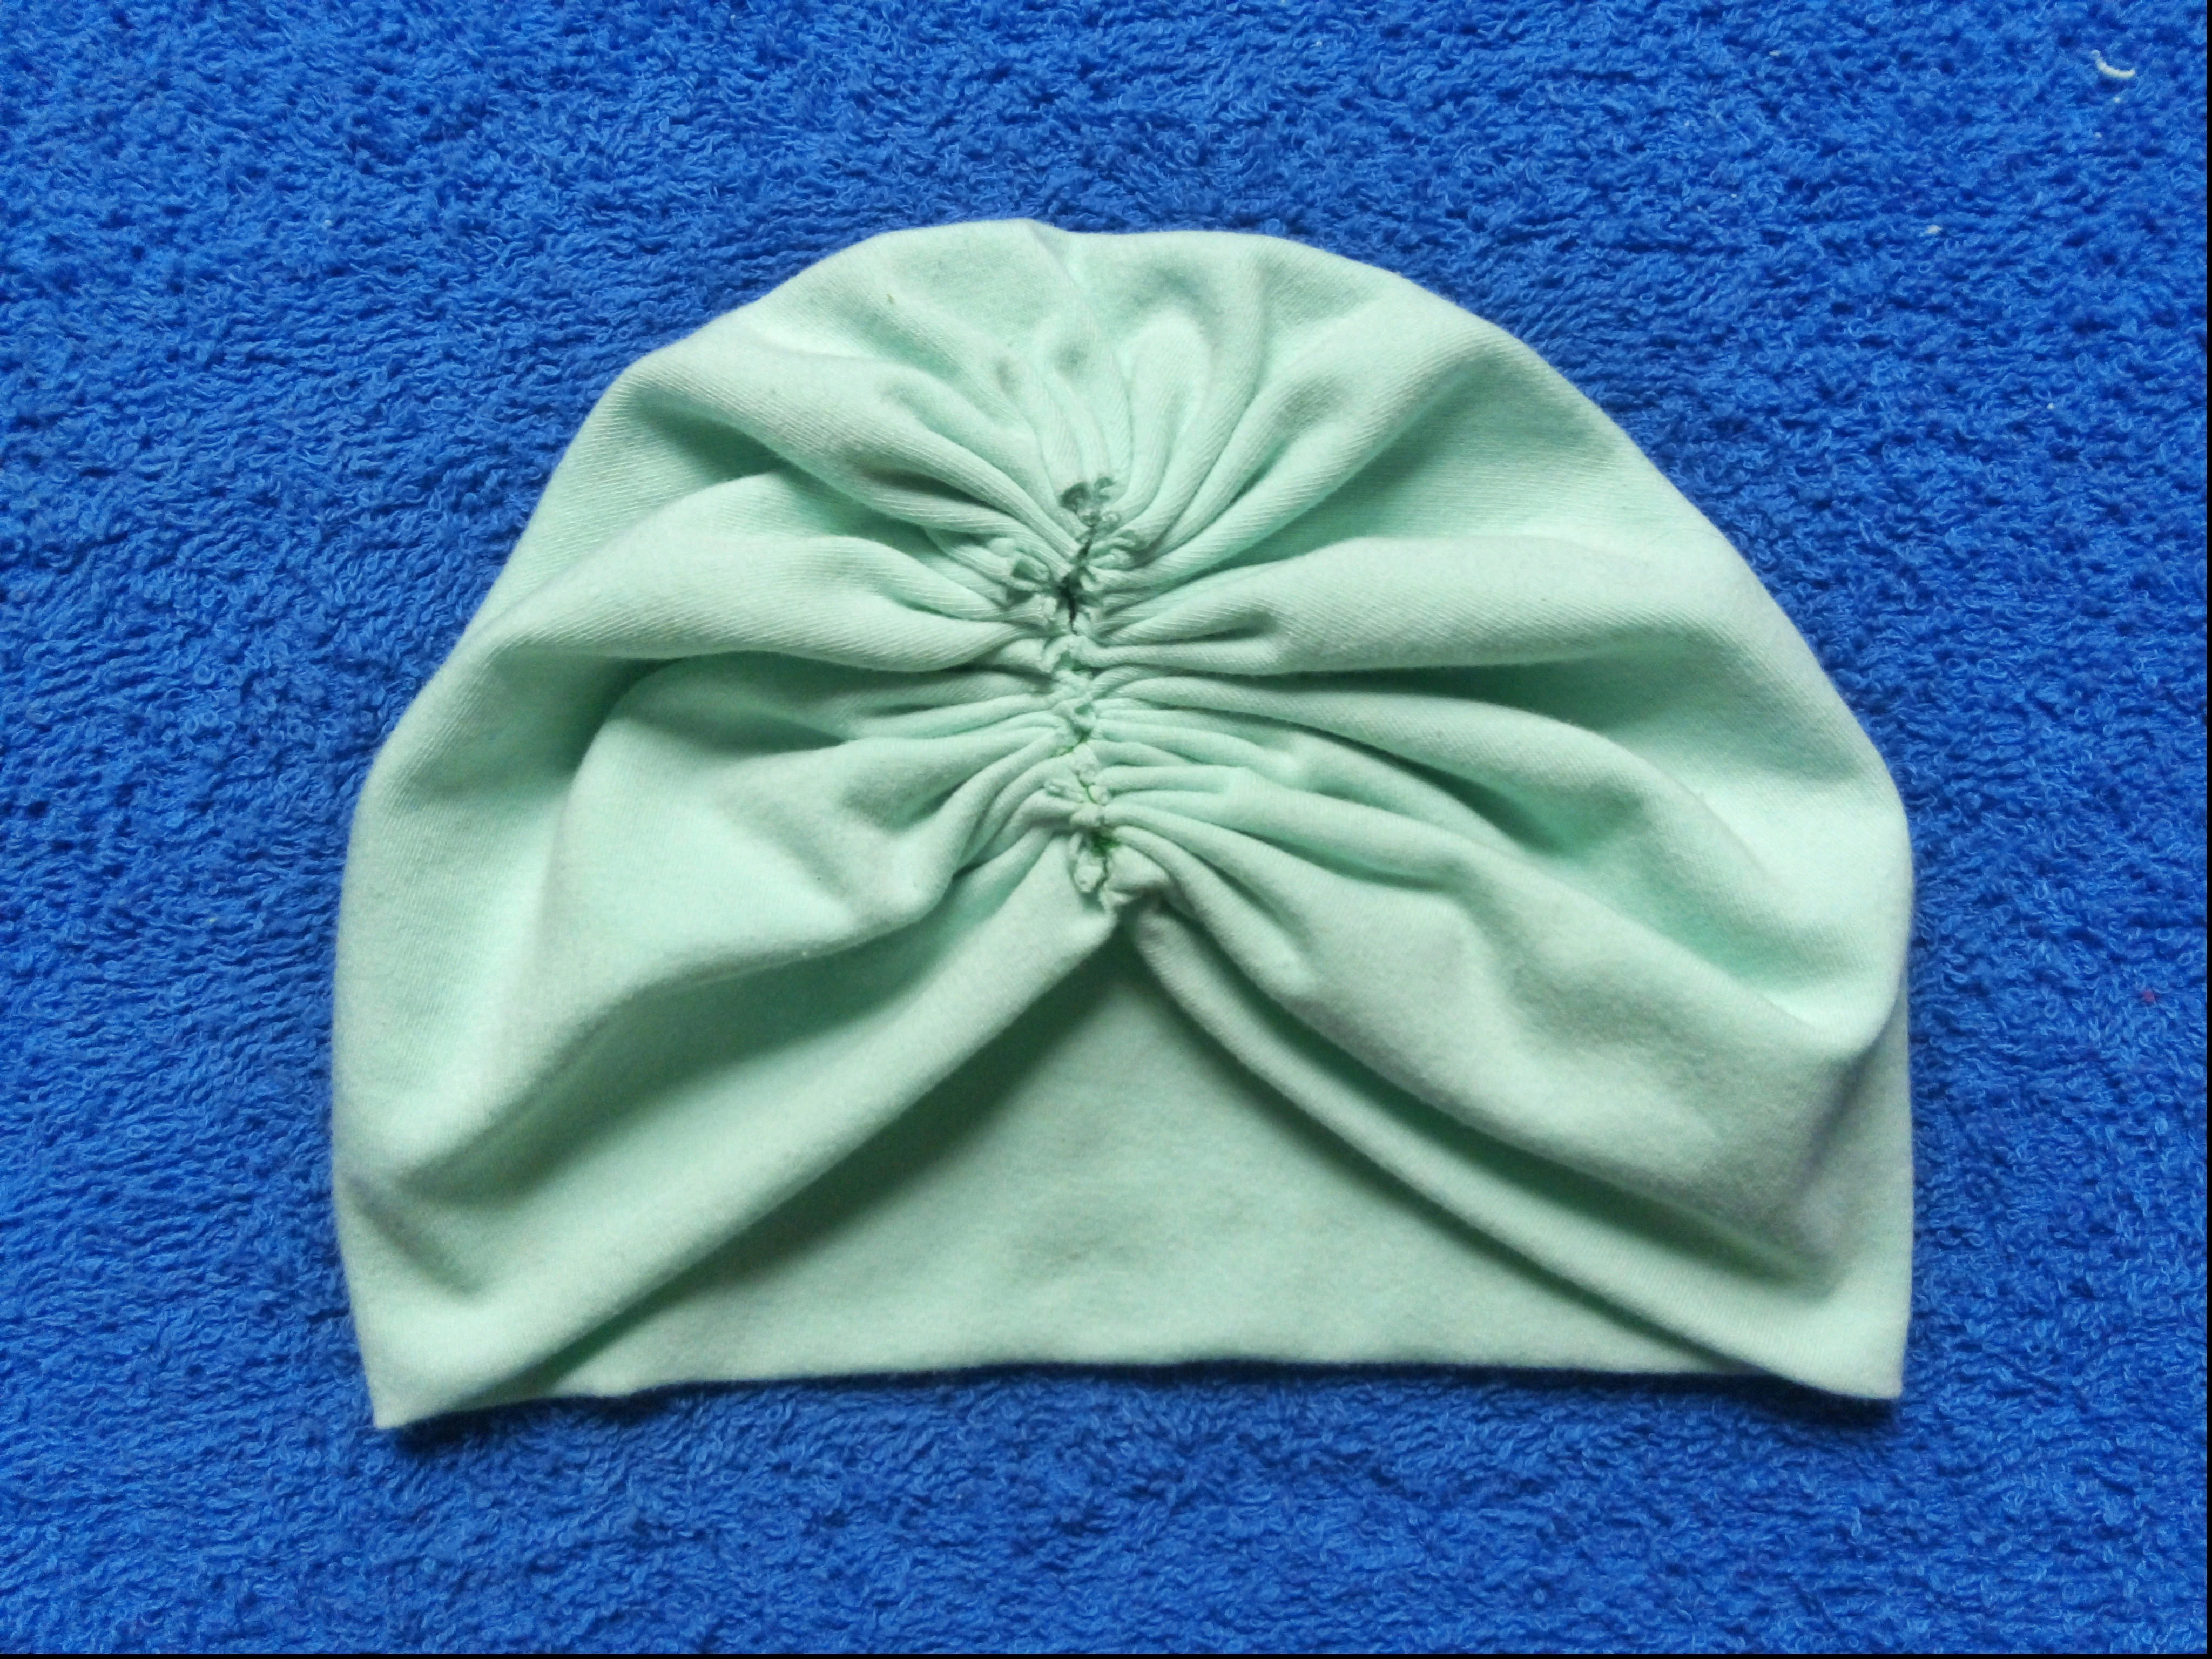
Paso 5: luego de coser vamos a ir halando con cuidado hasta unirlo con aguja e hilo, no cerraremos completo, debemos dejar un pequeño orificio.
Step 5 After sewing, we will pull carefully until we join it with needle and thread, we will not close it completely, we must leave a small hole.
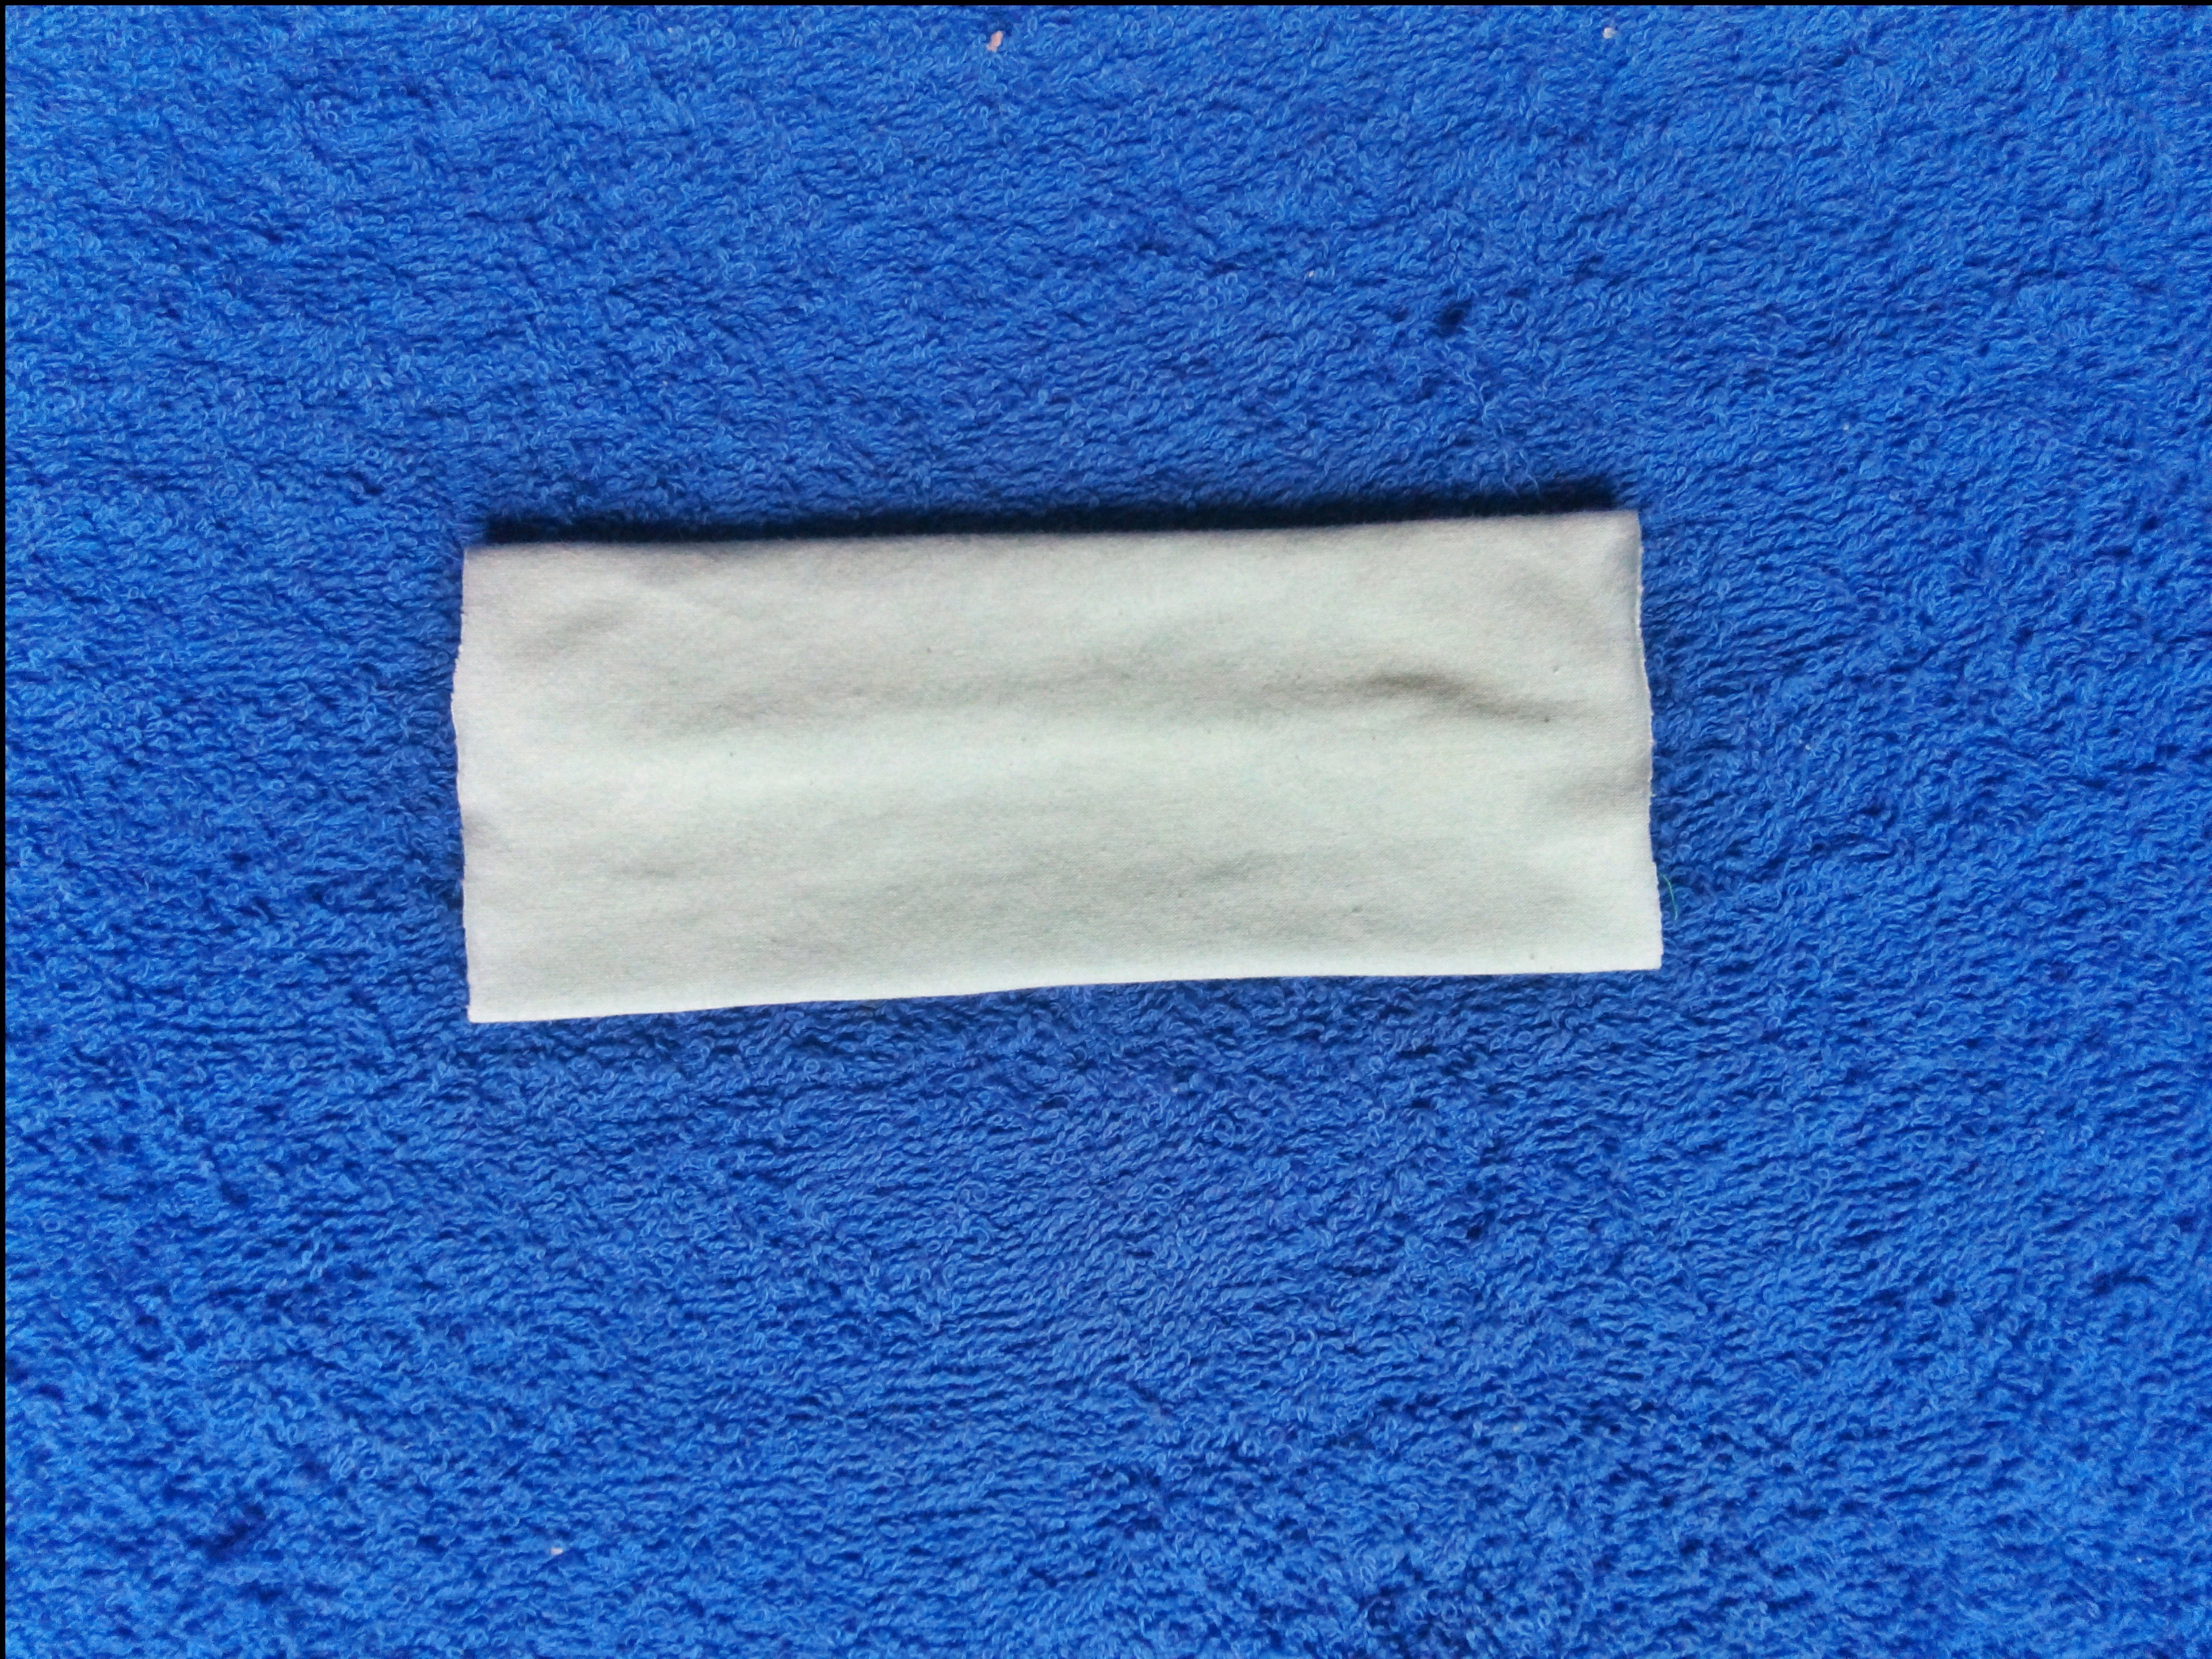
Paso 6: Ahora vamos a corter un rectangulo con las medidas de 4 cm de ancho y 10 de largo, luego lo cosemos de forma recta y lo volteamos al revez. una vez dado vuelta vamos a introducirlo con cuiado en el orifico del turbante, debemos cellar con la aguja he hilo.
Step 6: Now we are going to cut a rectangle with the measures of 4 cm wide and 10 cm long, then we sew it straight and turn it upside down, once turned over we are going to introduce it carefully in the hole of the turban, we must sew it with the needle and thread.
Resultado//Result
All pictures are my property, taken with my umidigi phone.

Saludos amiga, te quedó muy hermoso el color es espectacular 🤩.
Felicidades buen trabajo!!
Hola amiga muchas gracias, el color es clarito pero aún así es muy lindo!! Gracias por tu visita ☺️✨
Hola amiga me encantó este trabajo ya que veo que los pasos son súper fáciles, además me gustó el color que usaste. Saludos y bendiciones! 🥰
Hola amiga muchas gracias por la visita, trate de hacer los pasos muy sencillo pero bien entendibles! Saludos