Motorcycle nest || How to replace disc brake pads for rear tires of two-wheeled vehicles.

![]()
How are you friends #hive motors ,I'm @deltasteem from Indonesia and today I want to share with you how to replace two-wheeled motorbike disc brake pads and you need to know that I am just an amateur mechanic who is not well experienced in this field.
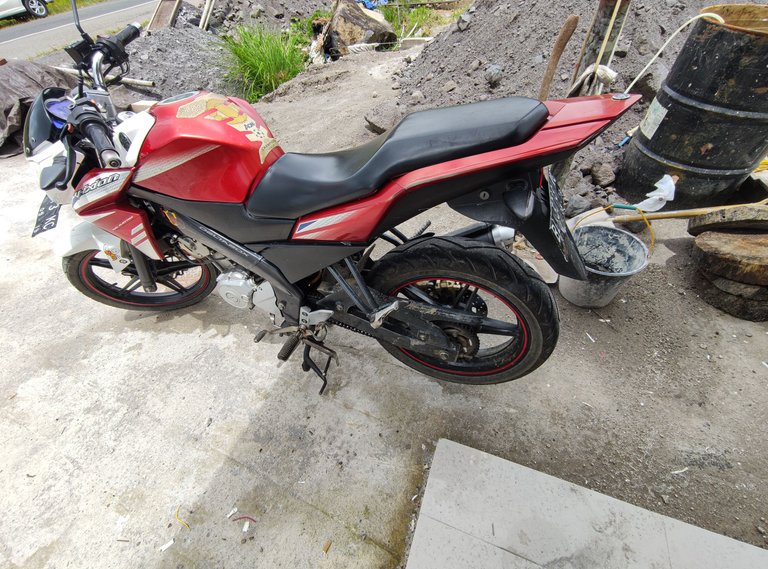
And you need to know that tasting the world of motorbike mechanics is part of my hobby which I always learn little by little and the last few days I have just repaired the disc brake pads for the rear tires of my personal two-wheeled motorcycleand maybe if i fix it at a local repair shop, it will only cost about $3,however since I had a few key kits I decided to fix it myself and I just had to buy the pads.
![]()
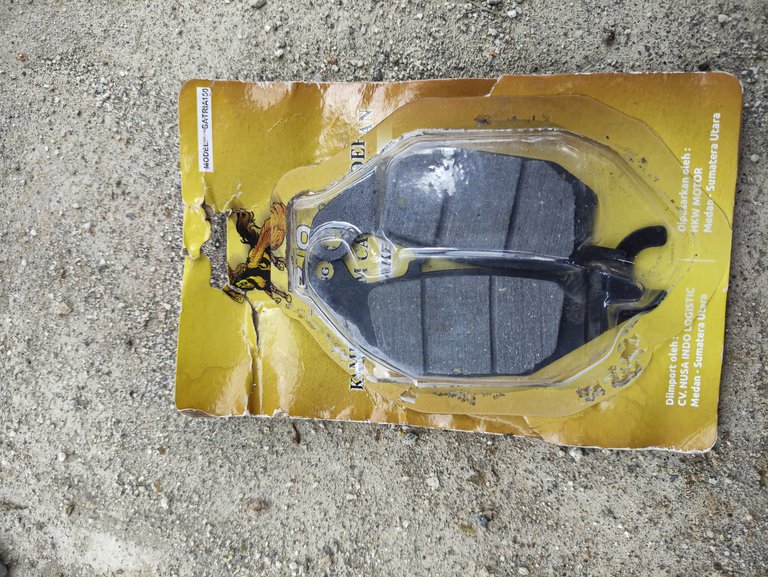
I bought the brake pads at a fairly cheap price and of course I saved a little on the installation costs because I did the installation myself on my vehicle.
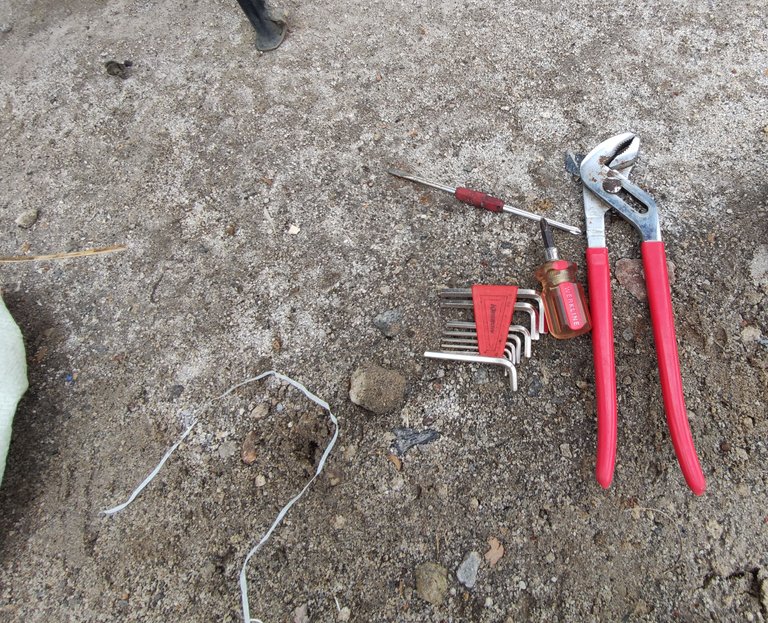
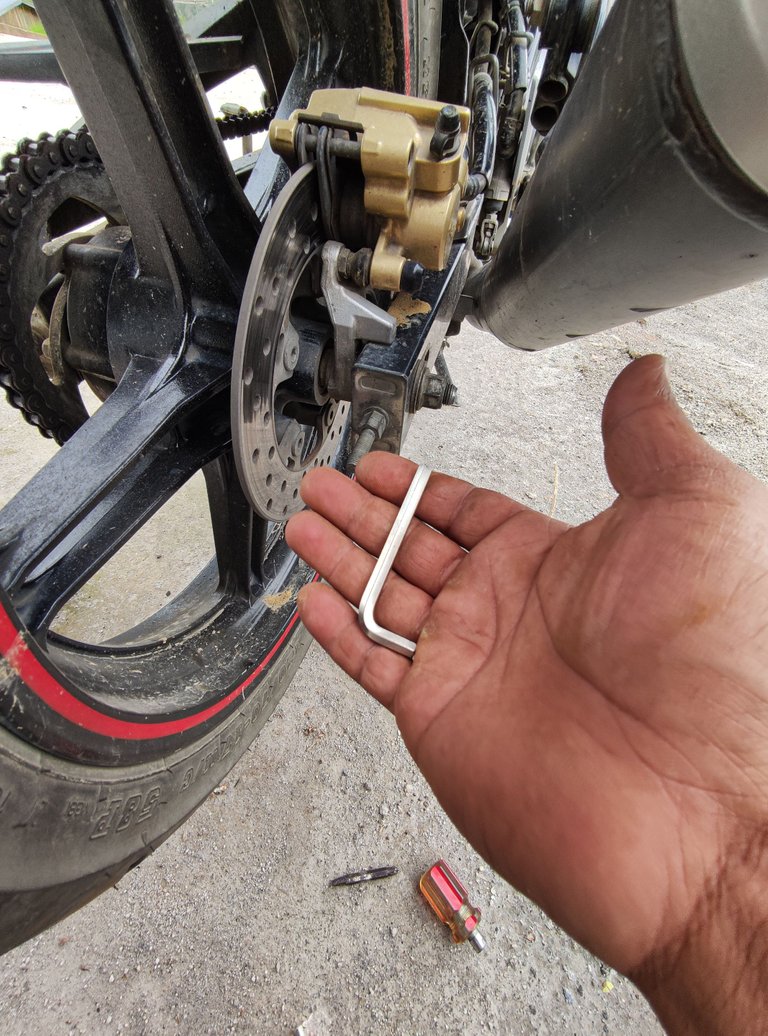
To install the brake pads on the disc brakes on the rear tires of a two-wheeled vehicle, of course, you must provide several keys, namely an L key, a screwdriver and a screw key 8 and because I don't have a 8 screw wrench, I have to use bolt clamp pliers.
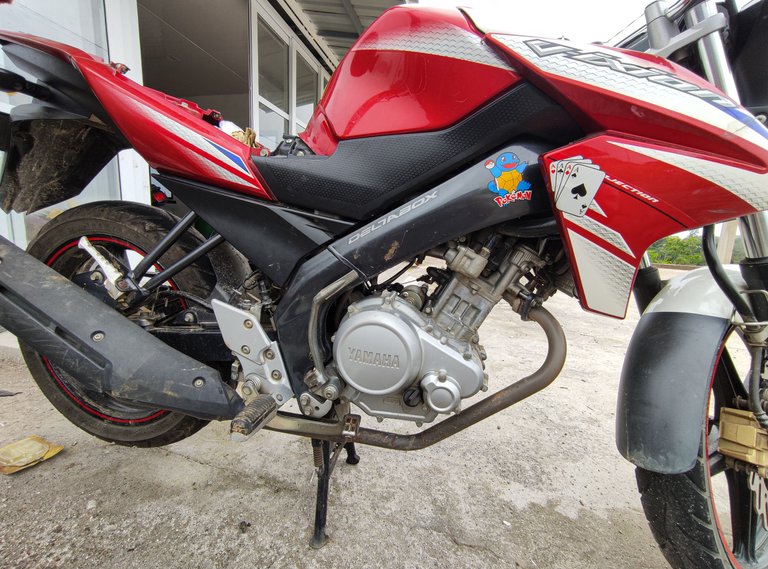
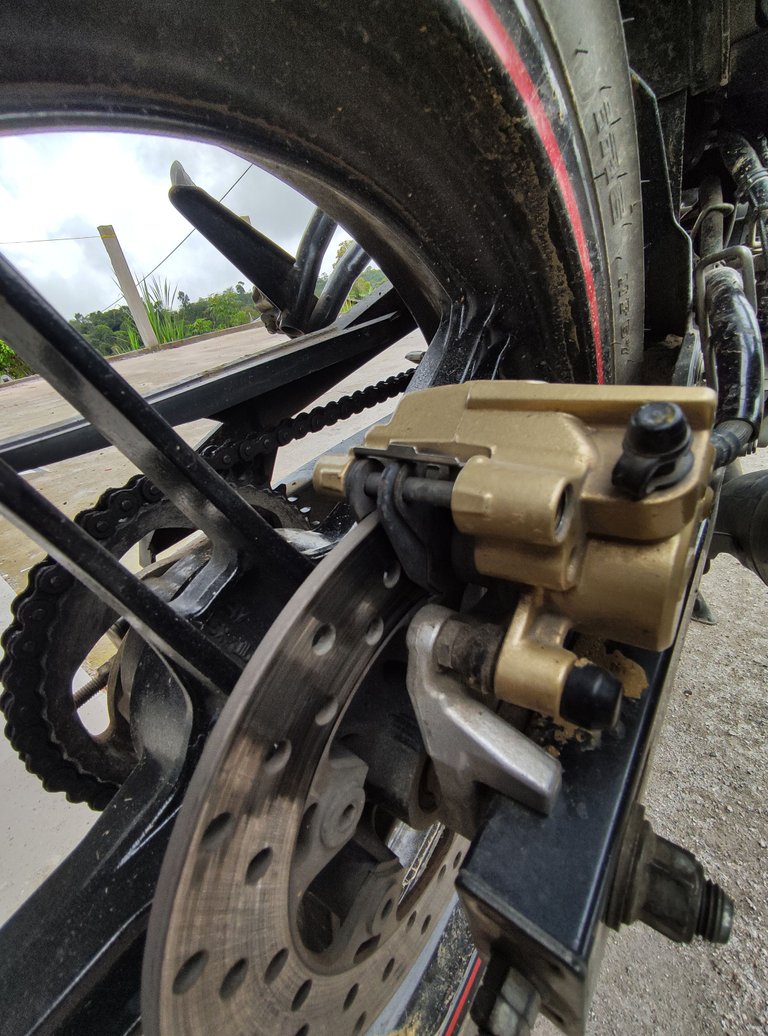
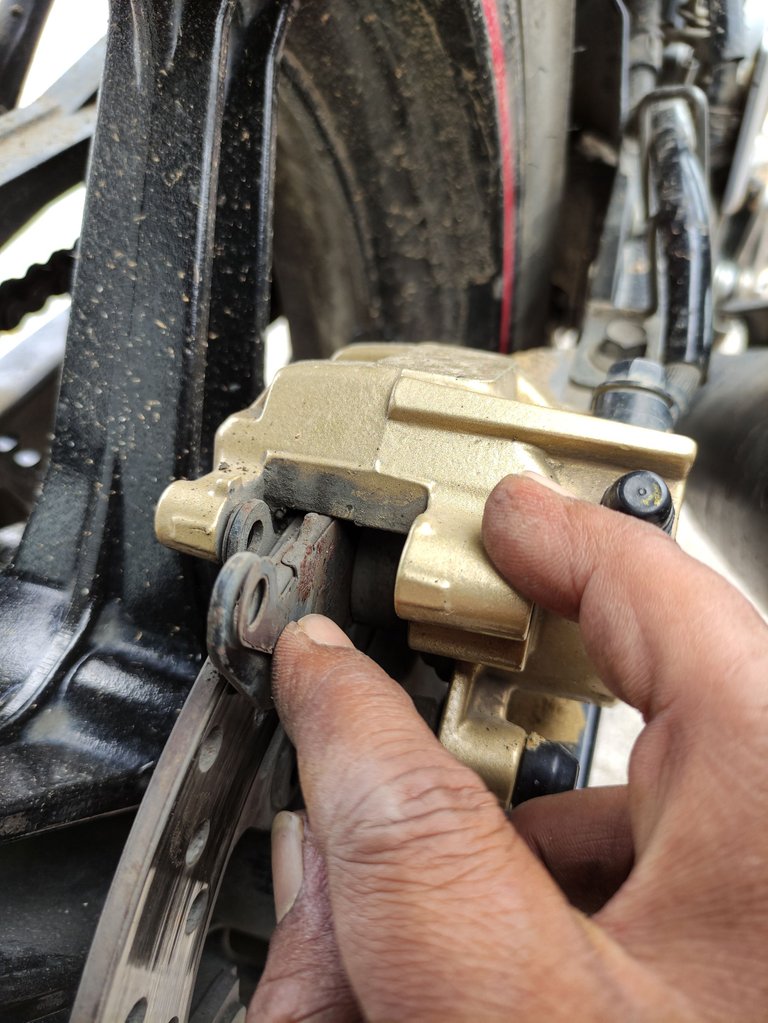
After all the materials were available, for the first stage I had to open the brake fluid pump savings so that the brake lining clamp openings on the circle of the disc circle could be loosened and the process of dismantling the brake tread mounts took place as shown in the pictures below and the disc brake lining that I worked on was the Viksion 2014 motorcycle hydraulic disc brake lining.
First I had to open the body on the right side of the tank to find the brake oil reservoir holder.
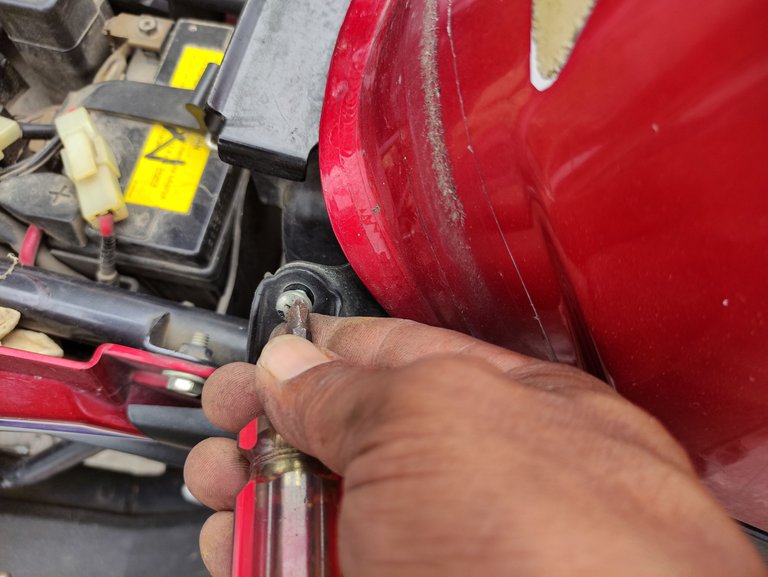
After I found the disc brake fluid reservoir, I proceeded to open the brake fluid reservoir cover.
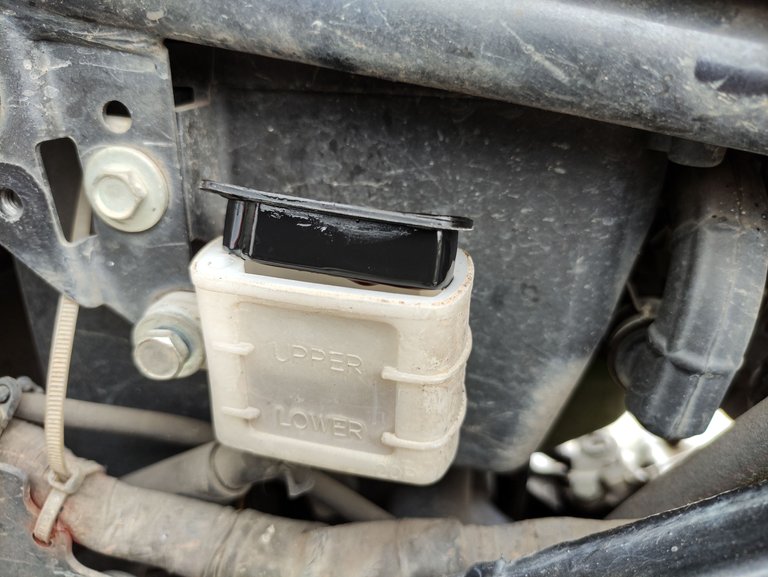
And after I opened / stretched the safety cover, then I continued to open the brake pads, which I had to replace with new ones.
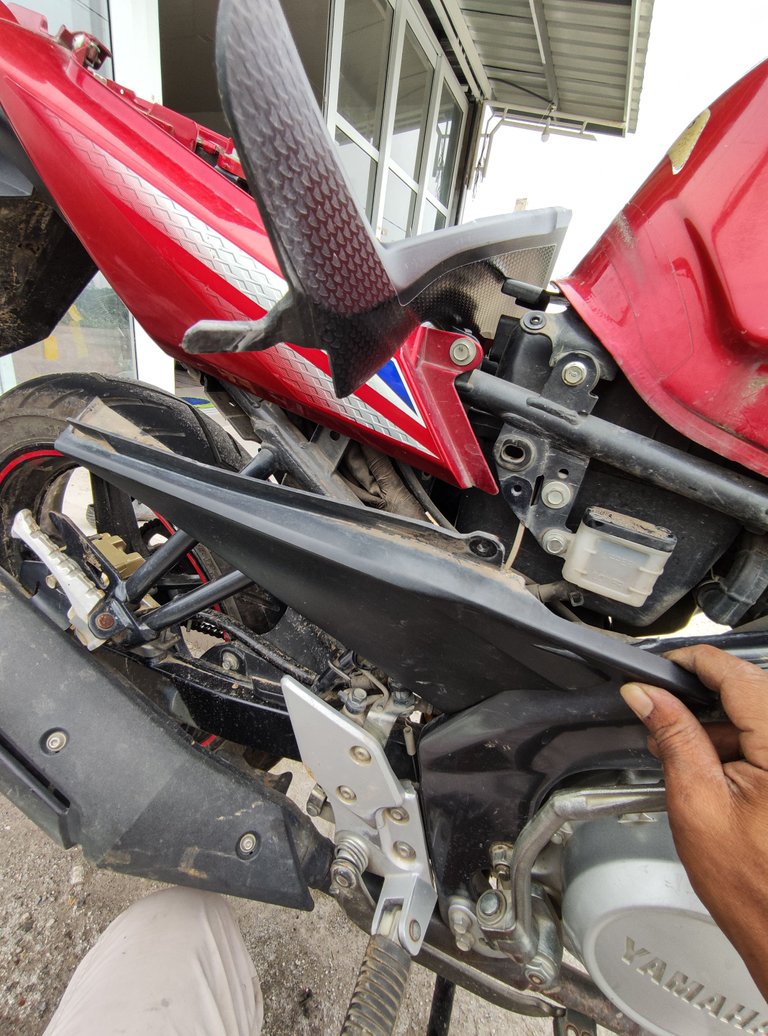
Actually, to open the disc brake treads, there are two different ways and I used the most practical method, which was to just unscrew the pads' fastening bolts, then I pushed the hydraulic lever clamping the pads to reveal the brakes, then took the damaged pads and replaced them with new ones, the process was also takes place as shown in the pictures below.
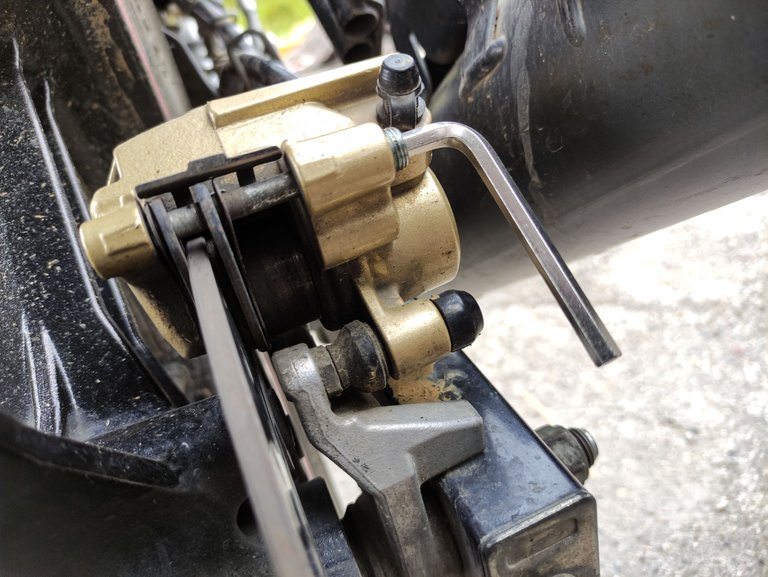
And when finished I unscrewed the disc bearing mounting bolts, then I proceeded to slightly push the hydraulic brush clamping the brake pads and after that I proceeded to slowly pull the disc bearing linings.
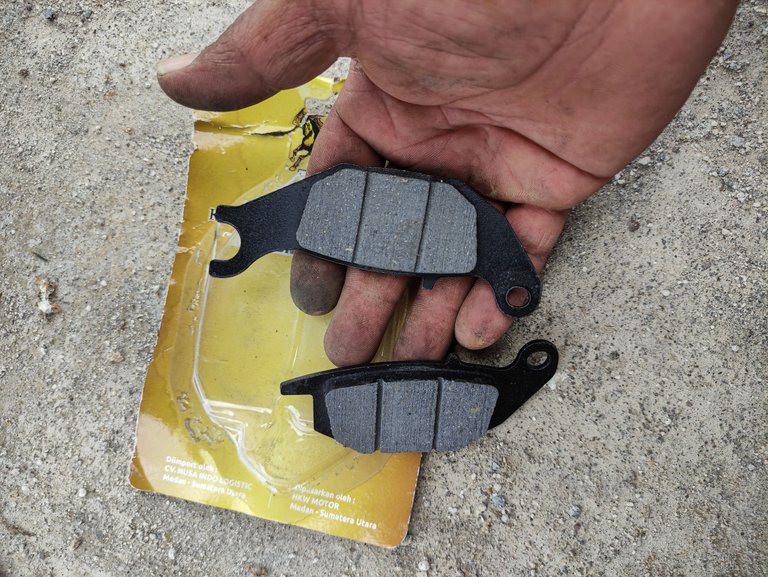
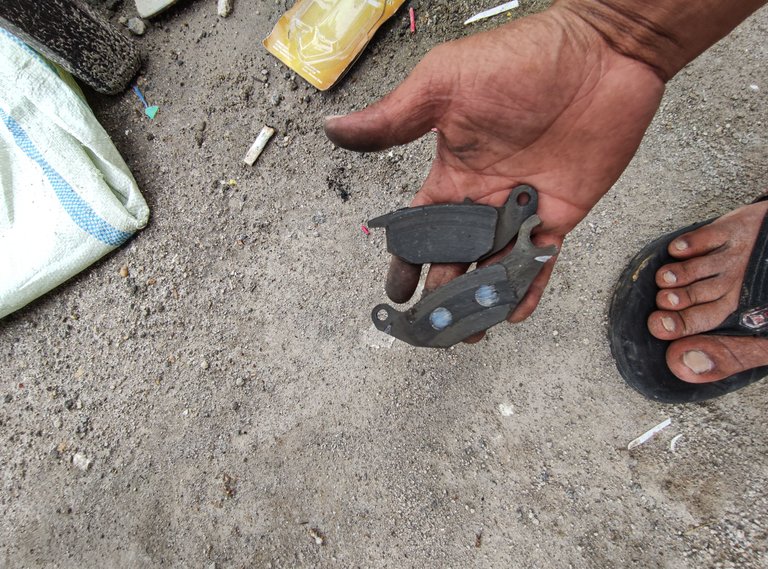
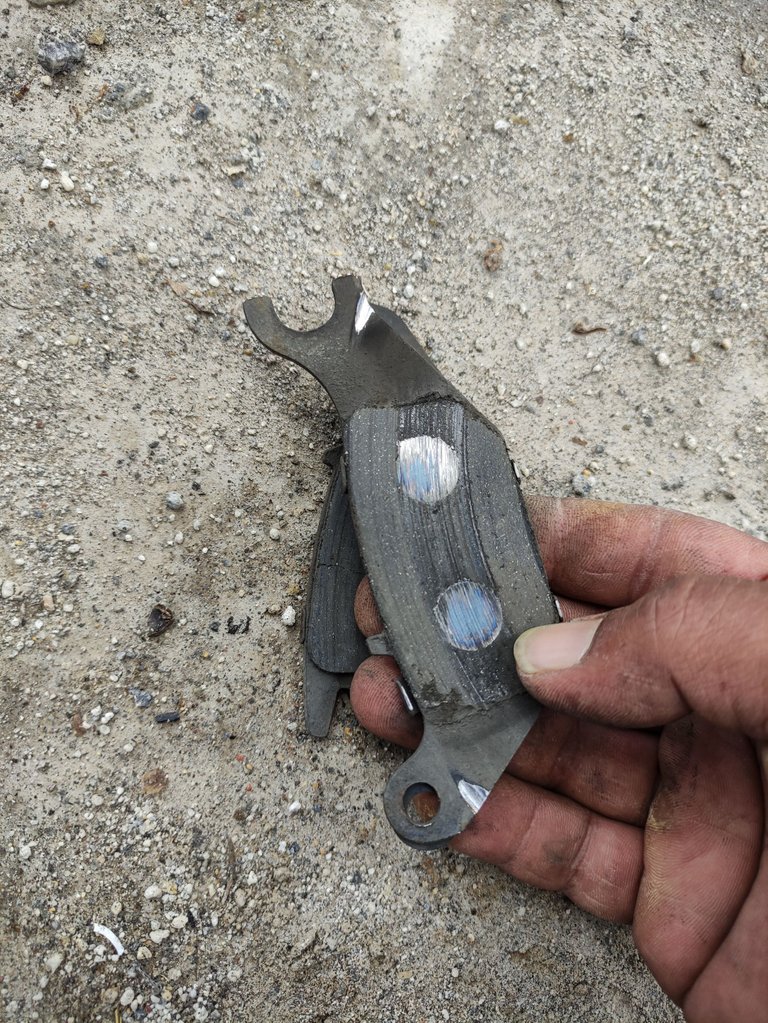
and this is what the brake pads look like that have run out and I have to replace them with new ones so that the rear tire disc brakes can work properly again.
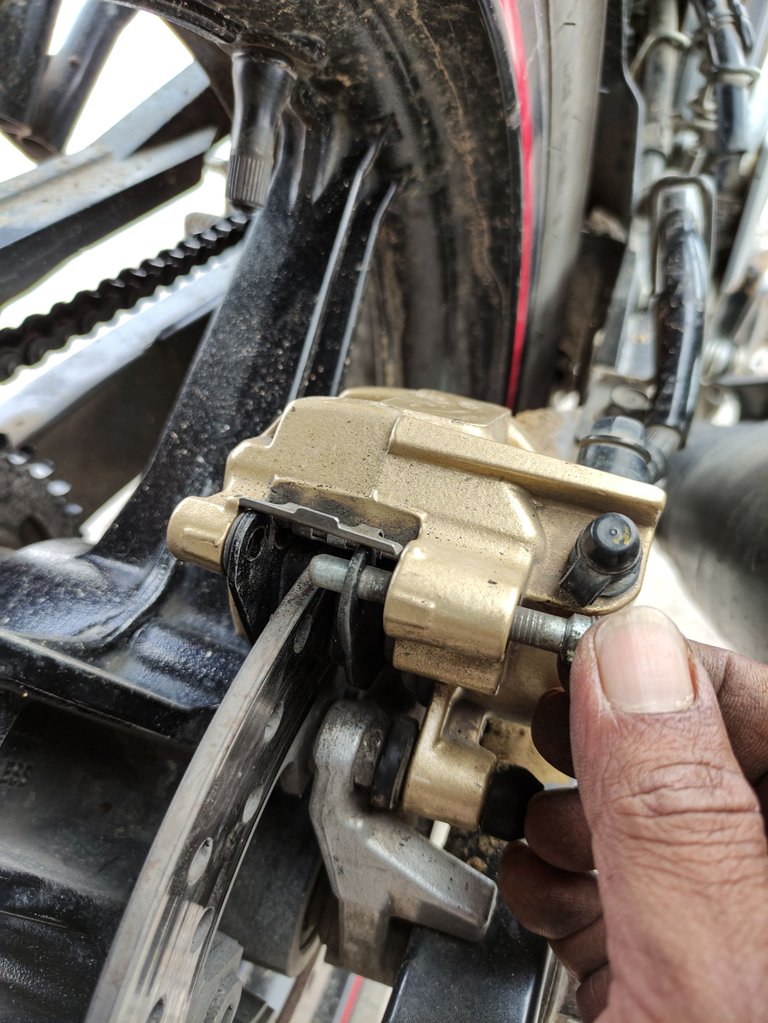
And after that I re-installed the new brake pads and the installation process took place as shown in the pictures below.

Then after the installation process was complete, then I continued to tie the brake tread bolts and after that I slowly re-tied all of my motorbike body.Greetings, I am an amateur motorbike mechanic.
![]()
![]()
Congratulations @deltasteem! You have completed the following achievement on the Hive blockchain And have been rewarded with New badge(s)
Your next target is to reach 1500 posts.
You can view your badges on your board and compare yourself to others in the Ranking
If you no longer want to receive notifications, reply to this comment with the word
STOPTo support your work, I also upvoted your post!
It's clear that a brake pad replacement was already necessary, the rivets were already starting to show. I don't know about motorcycle mechanics but I can see that it is basically the same as the system of a vehicle, only much easier to replace them.
Yes of course and I thought so too ☺ but in this case I'm quite an amateur and the vehicle I'm repairing is my own vehicle and greetings from Indonesia, I hope you are always healthy there.😊