Bonita y decorativa osita panda, hecha con material util. Manualidad paso a paso.//Nice and decorative panda bear, made with useful material. Step by step craft.
Buenos dias, a todos mis amigos que hacemos vida en esta plataforma Hive blog, espero este bien todos y Dios les bendiga. Hoy mi proyecto es como mostrarle hacer una bonita y decorativa osita panda en cartulina y foami, es muy facil y sencilla de hacer. Espero les guste. Acontinuacion empecemos con el paso a paso.
Good morning, to all my friends who make life on this Hive blogging platform, I hope you are all well and God bless you. Today my project is how to show you how to make a beautiful and decorative panda bear in cardboard and foami, it is very easy and simple to do. I hope you like it. Next we will start with the step by step.
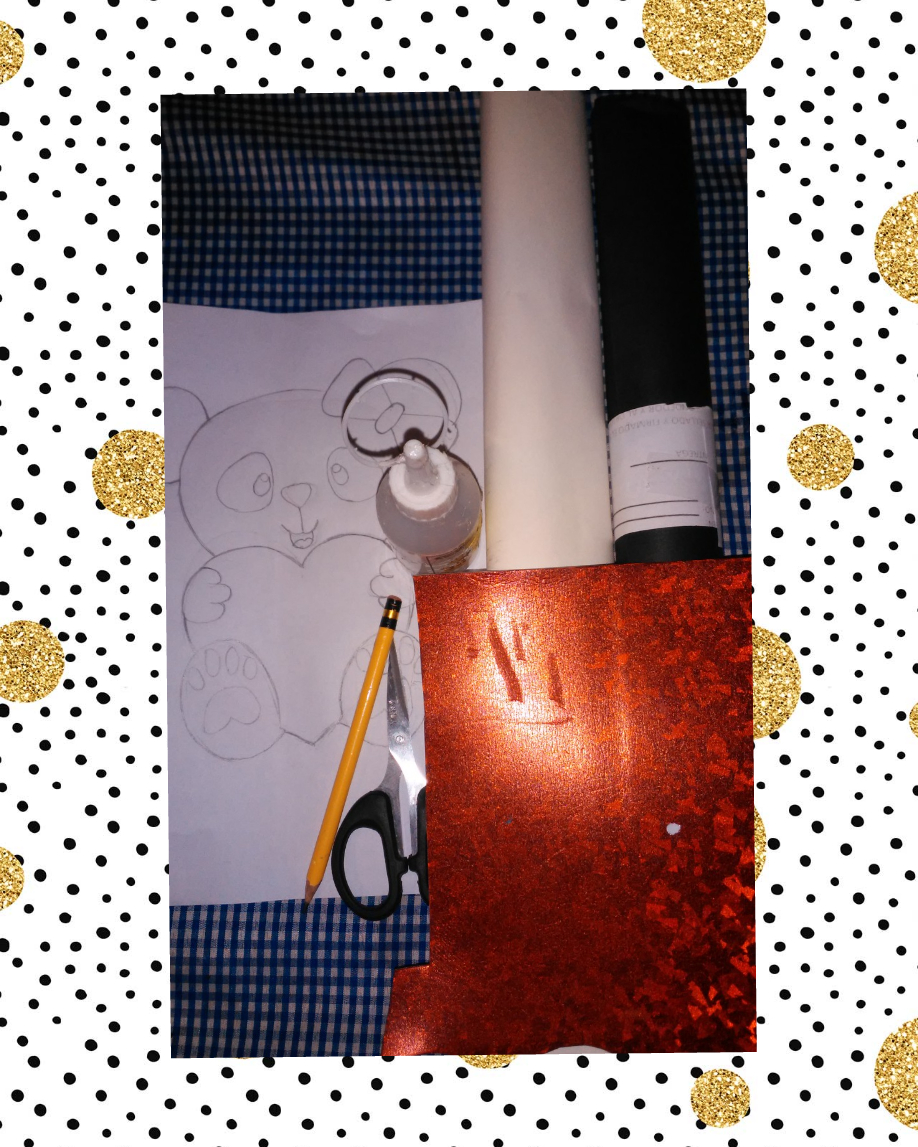
Vamos a utilizar los siguientes materiales:
*Patrones.
*Foami.
*Cartulina.
*Lapiz.
*Tijera.
*Silicon liquido.
*Cartulina holografica.
We will use the following materials:
*Patterns.
*Foam.
*Cardboard.
*Pencil.
*Scissors.
*Liquid silicone.
- Holographic cardboard.
Let's start with its elaboration.
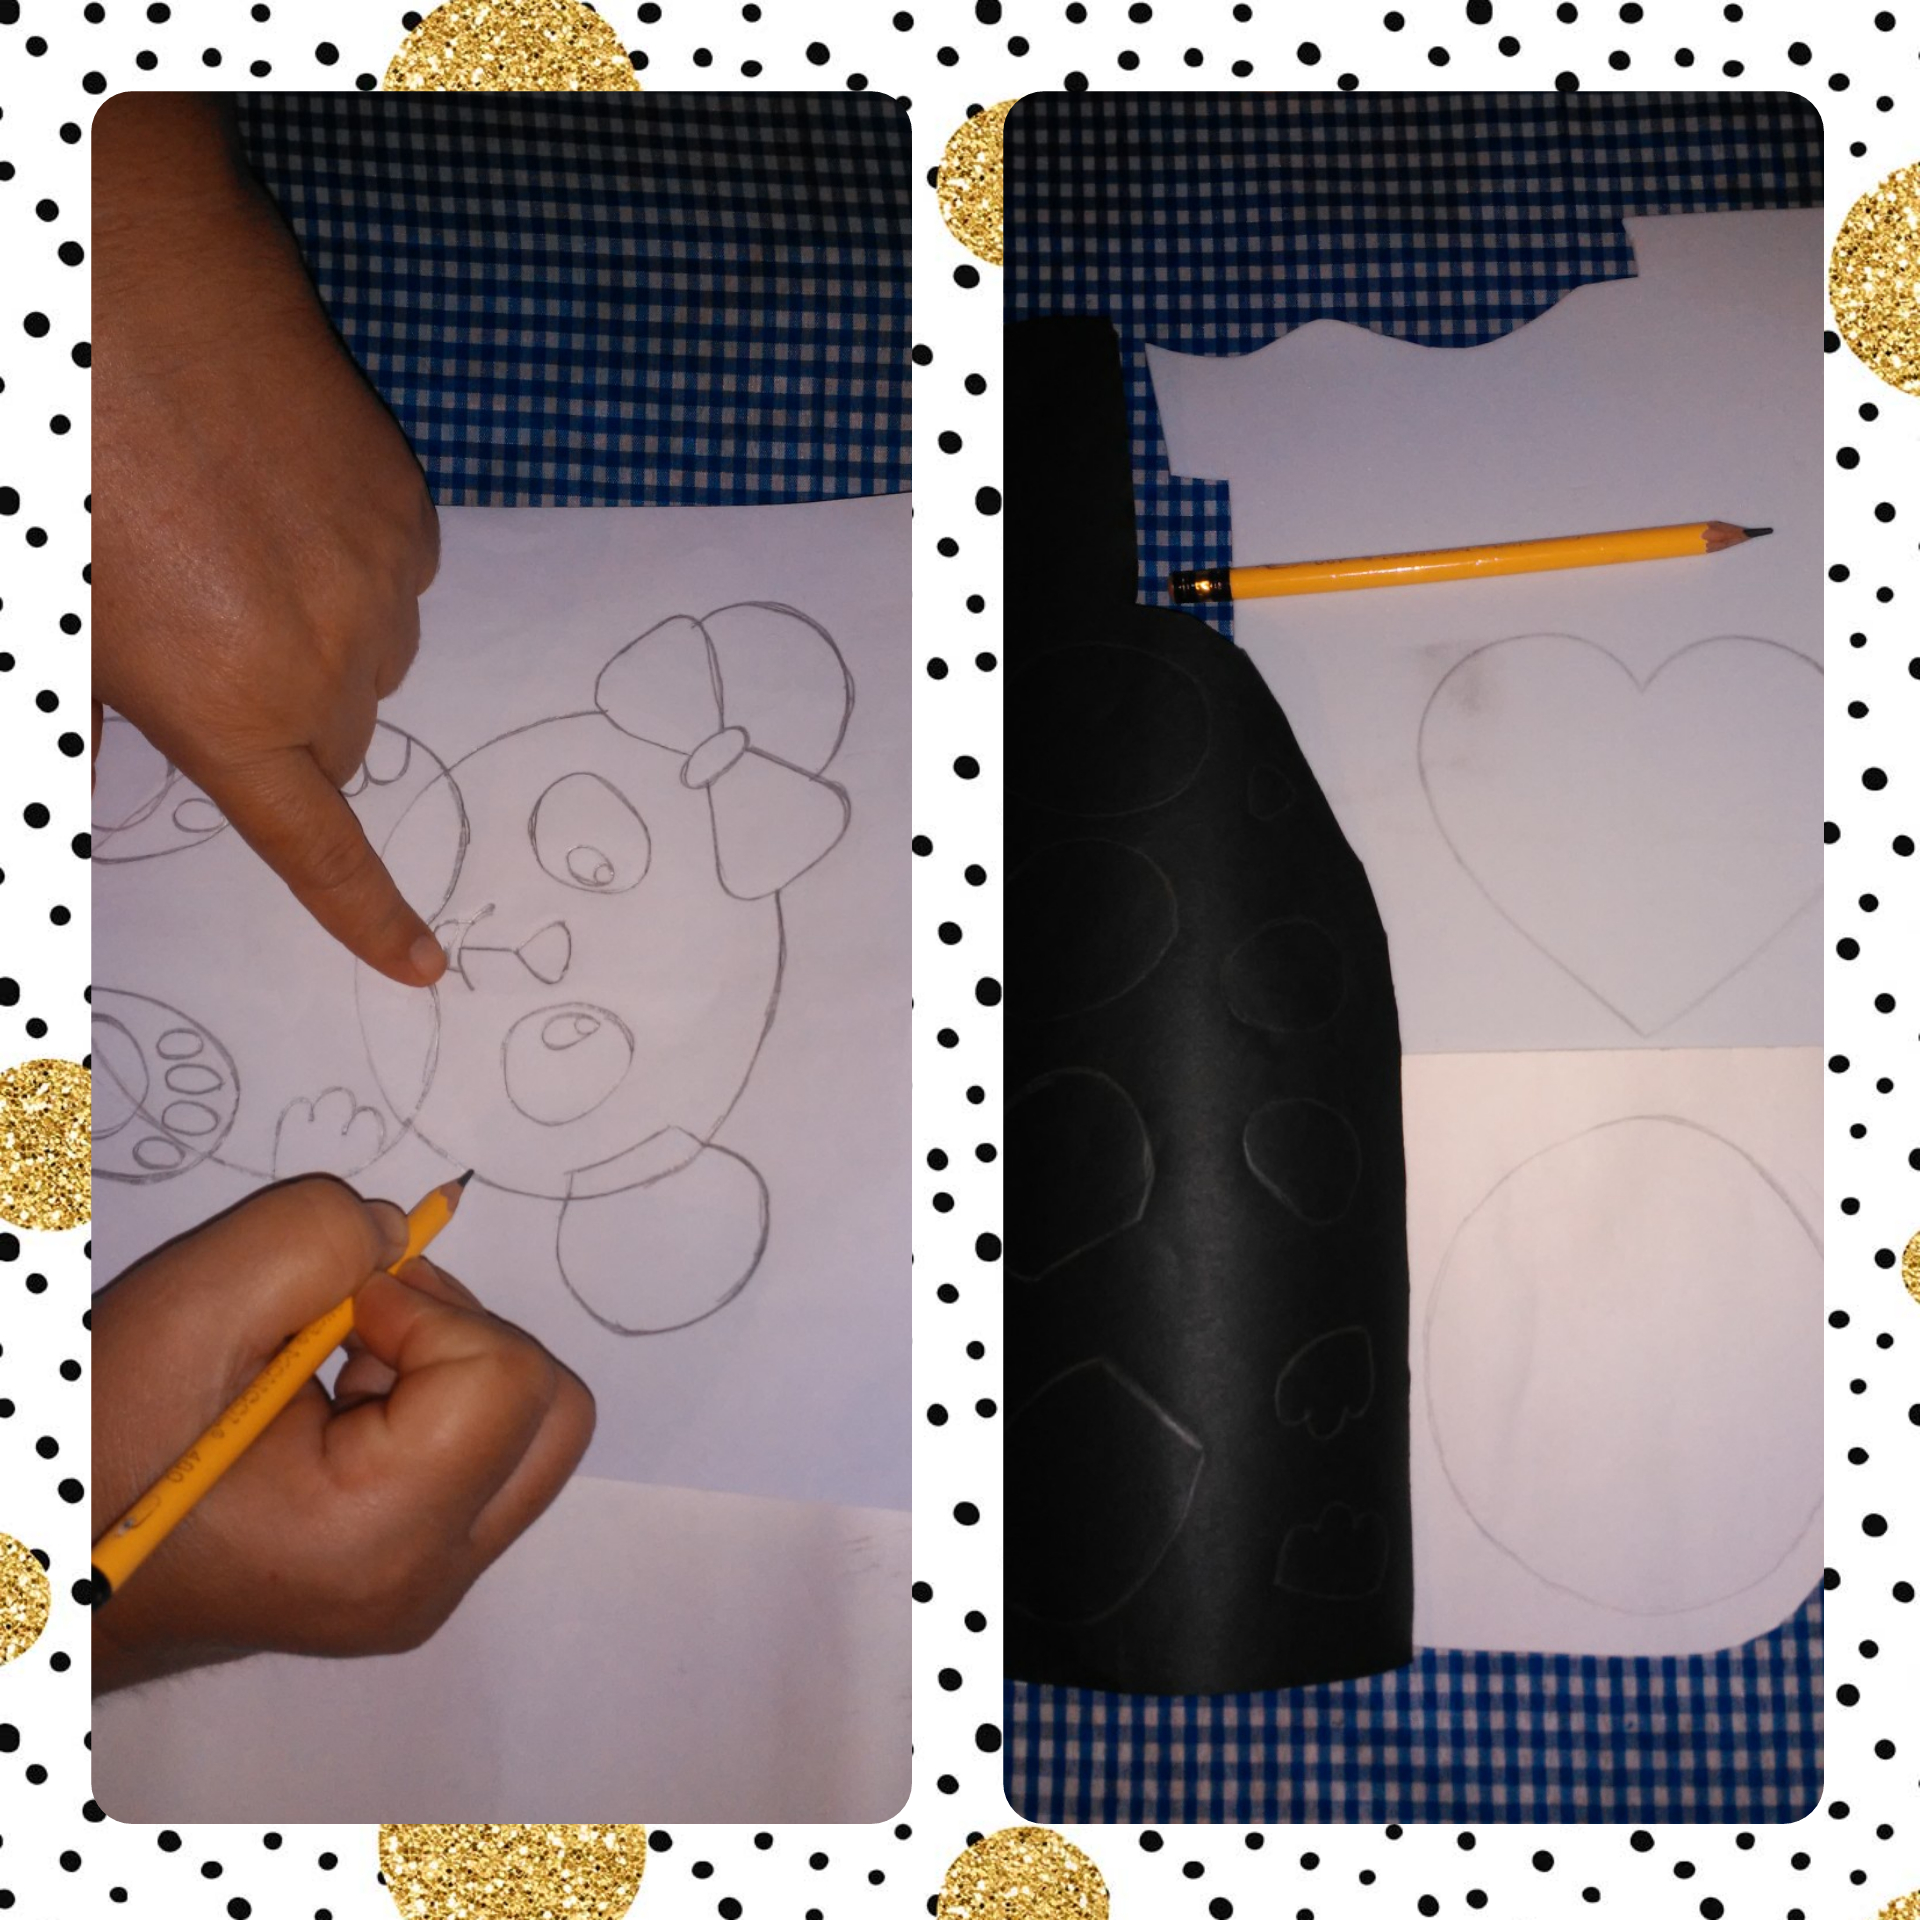
Step 1. Mark all the pieces on the cardboard and foam in their respective colors.
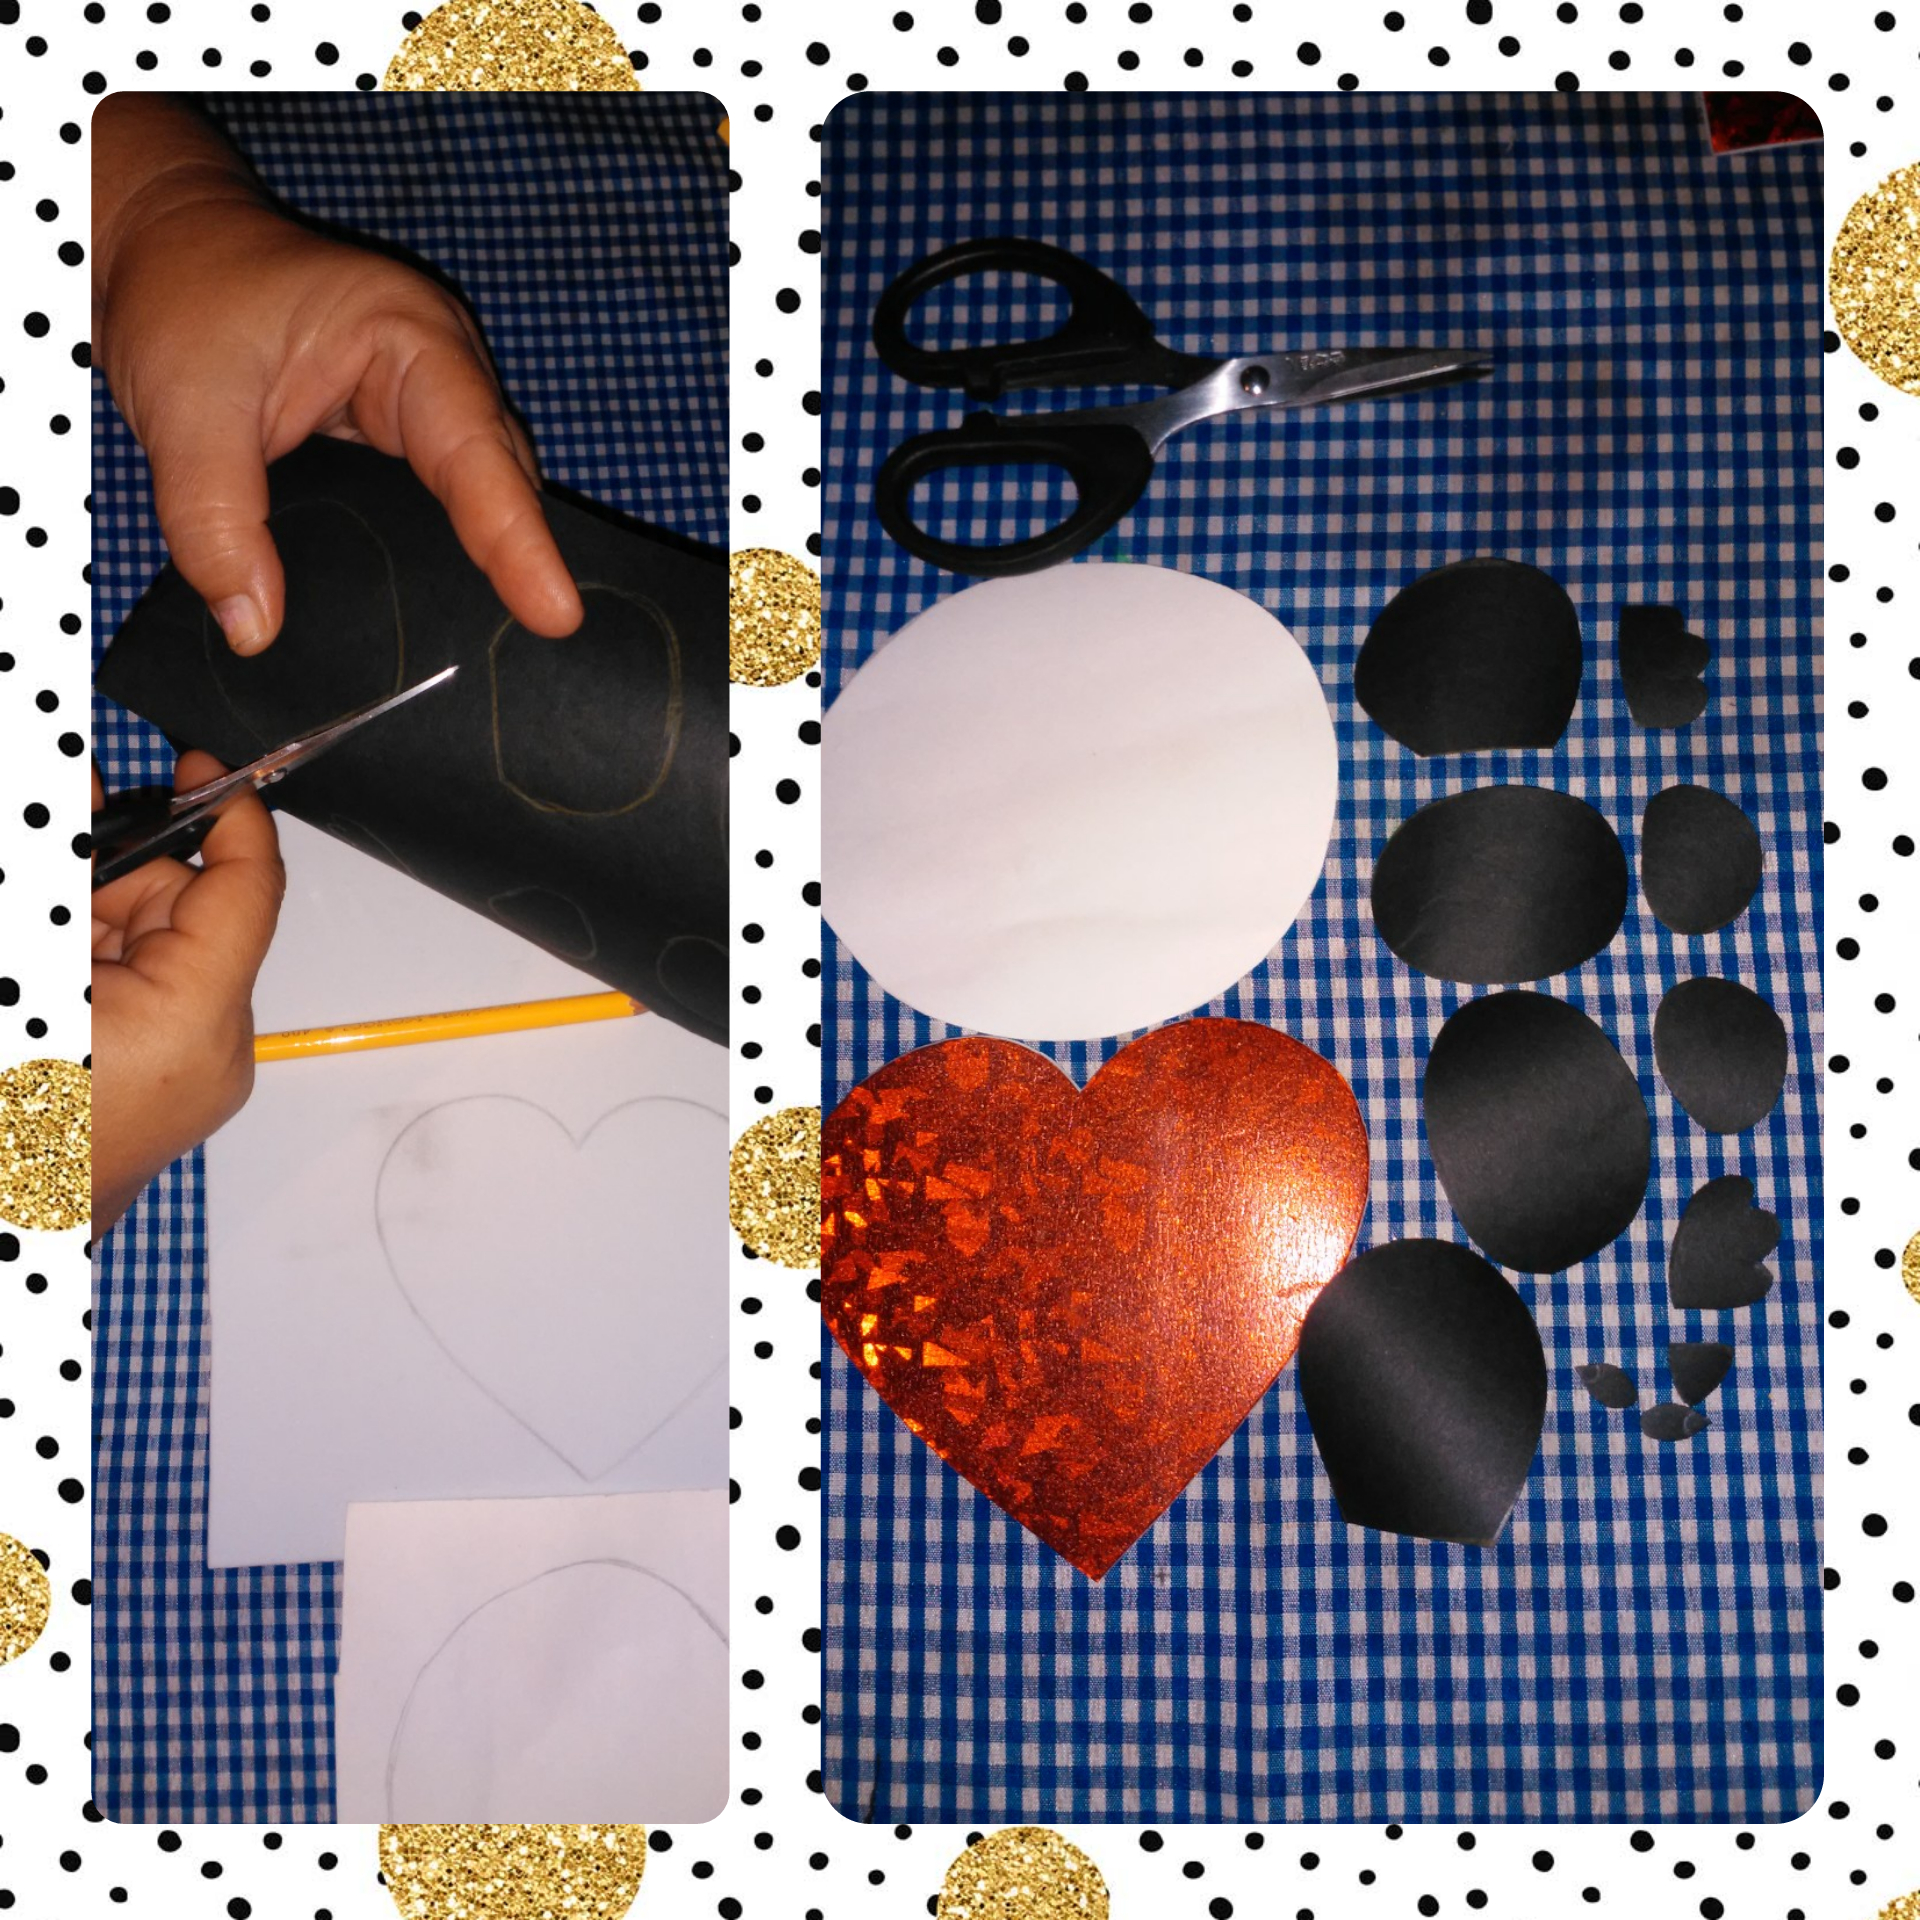
Step 2. Cut all the pieces to make the panda bear.
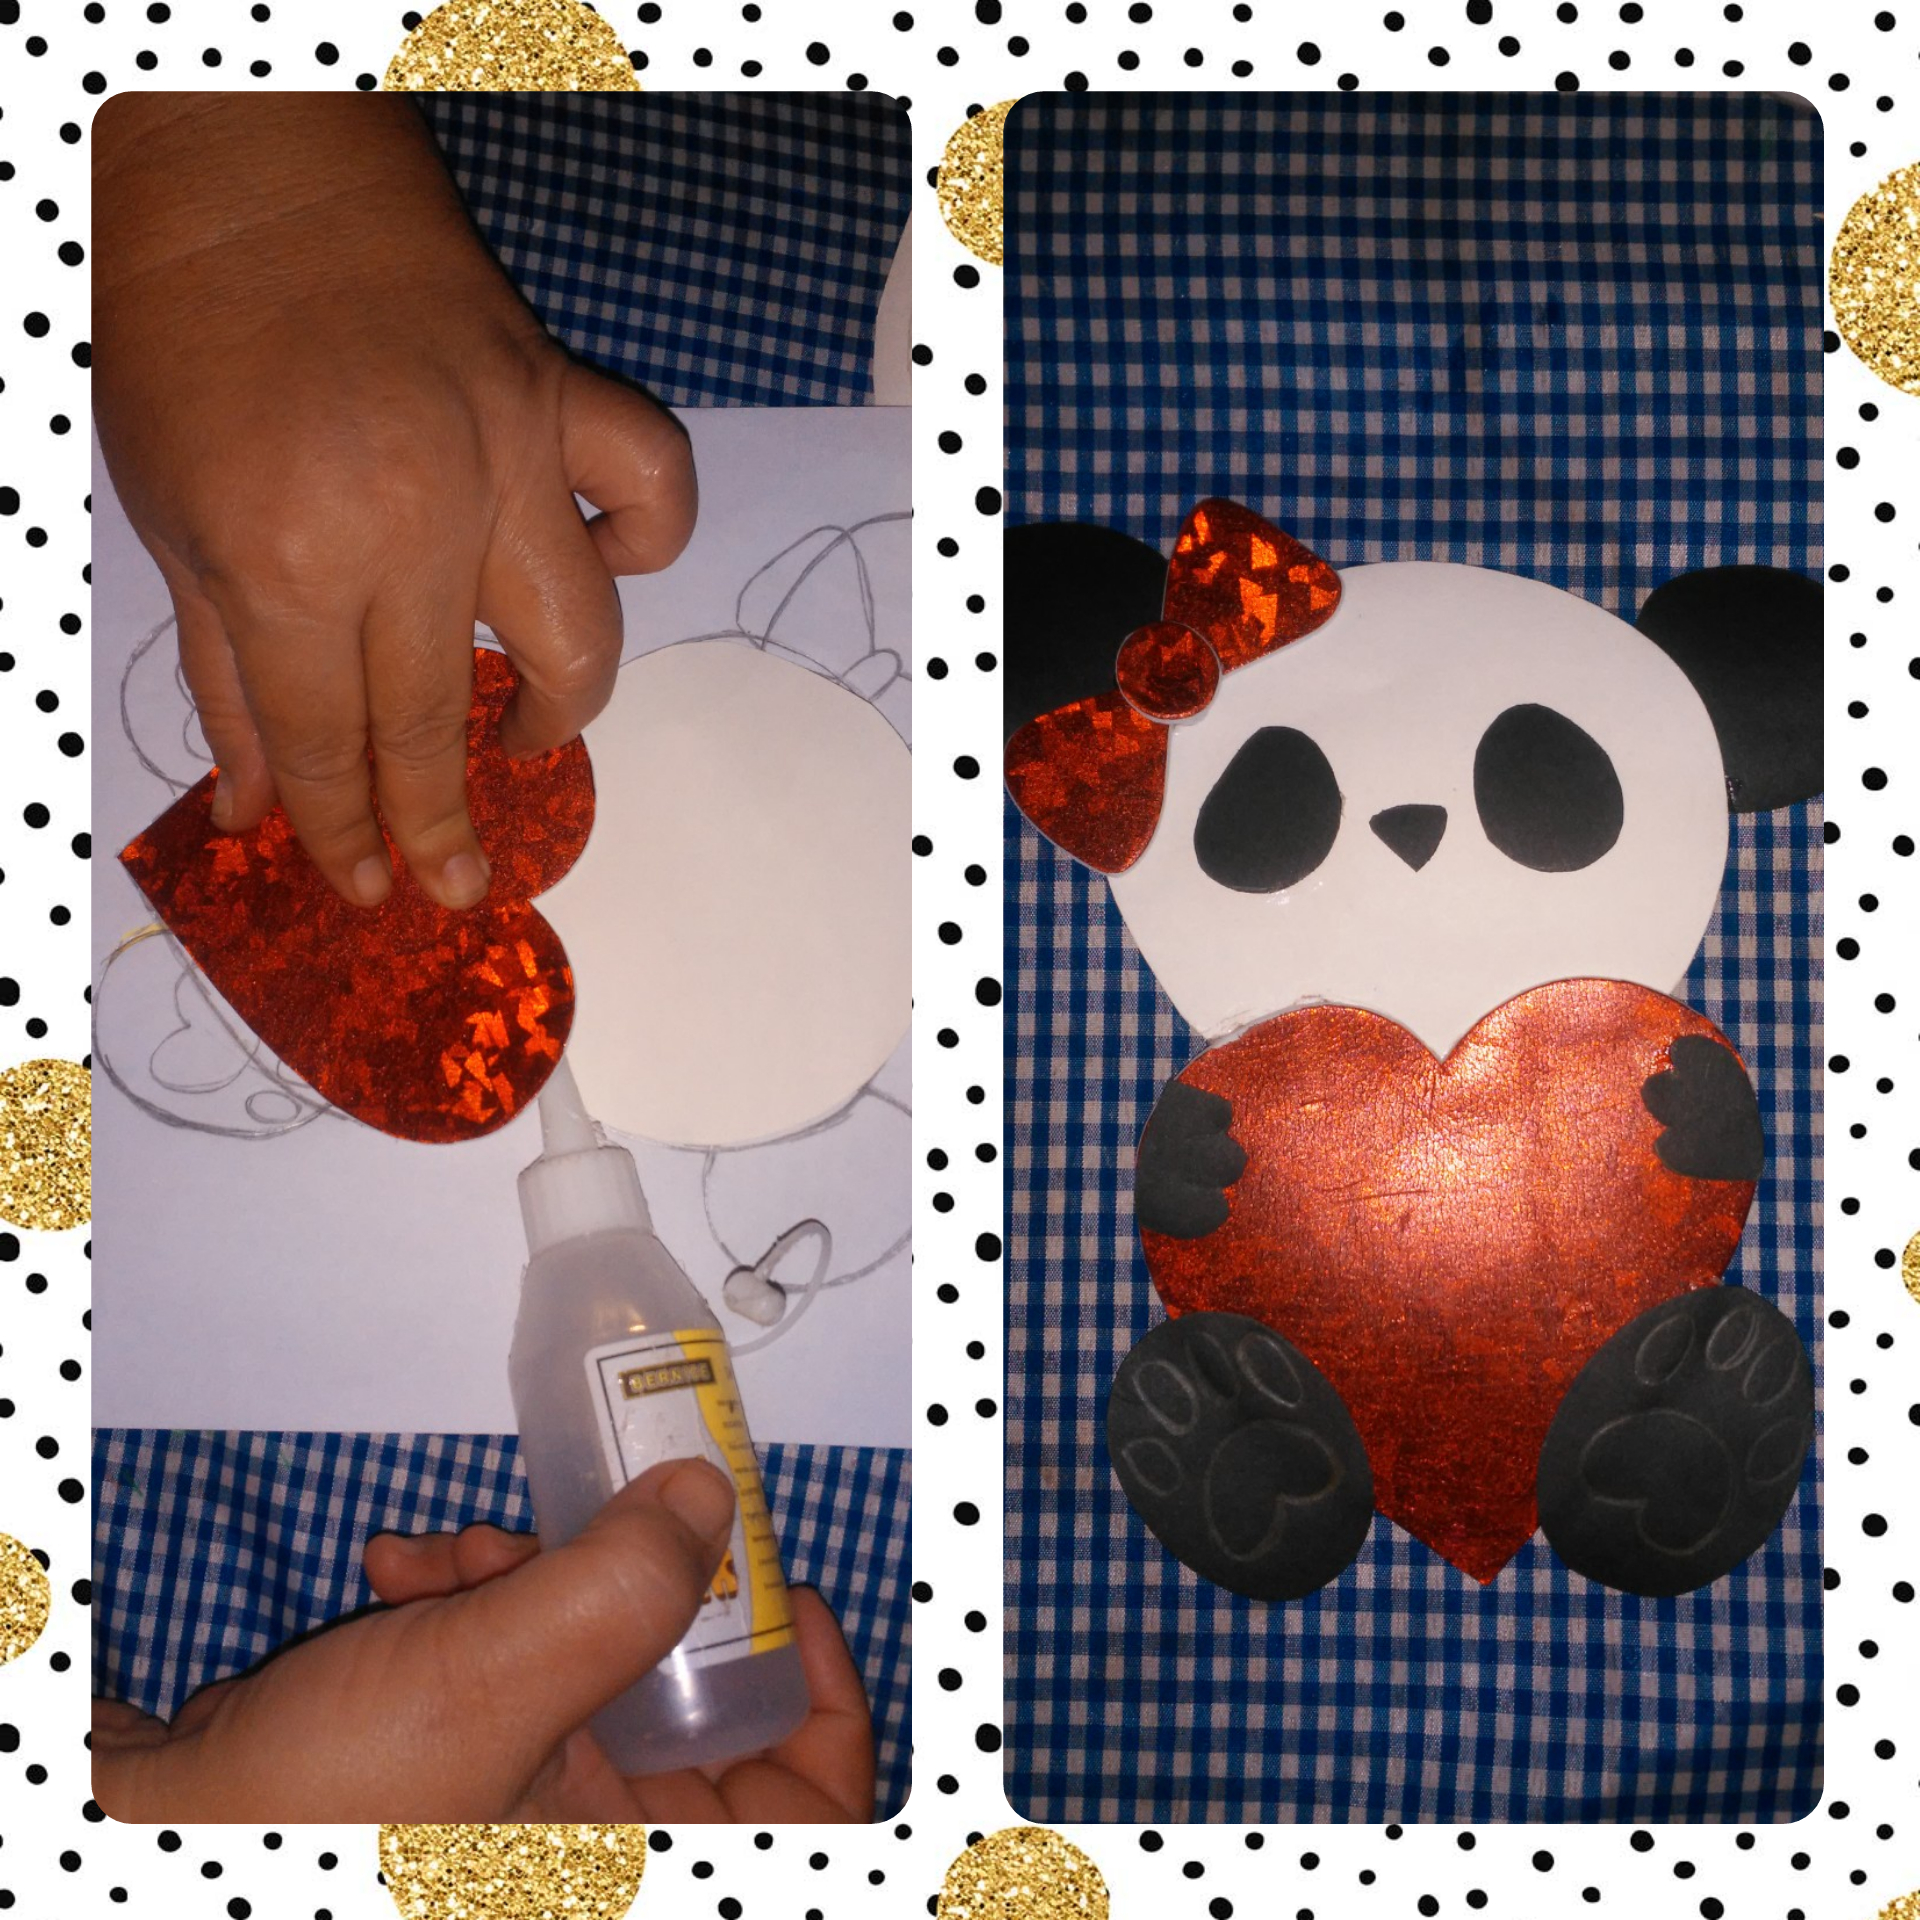
Step 3. Start gluing all the pieces with liquid silicone to form the panda bear.
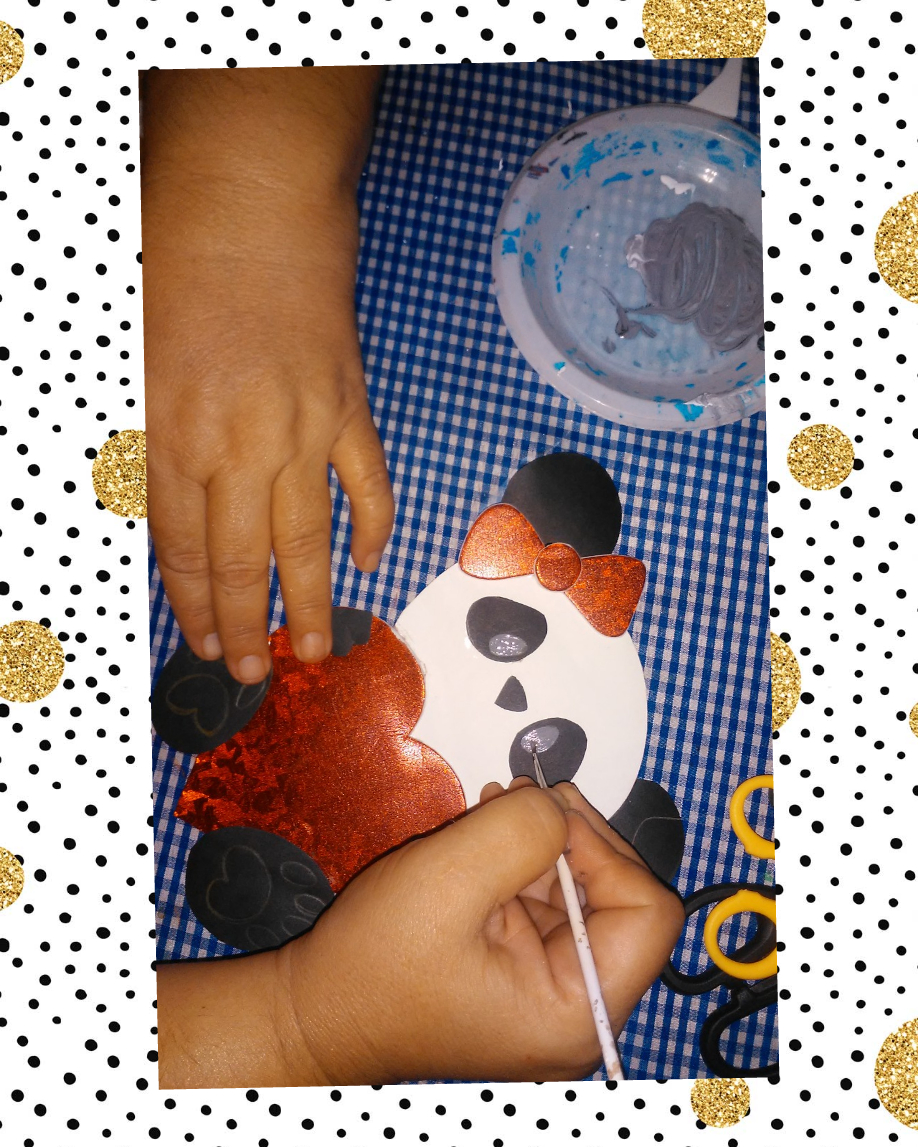
Step 4. Using cool gray paint, paint the eyes and paws of the panda bear.
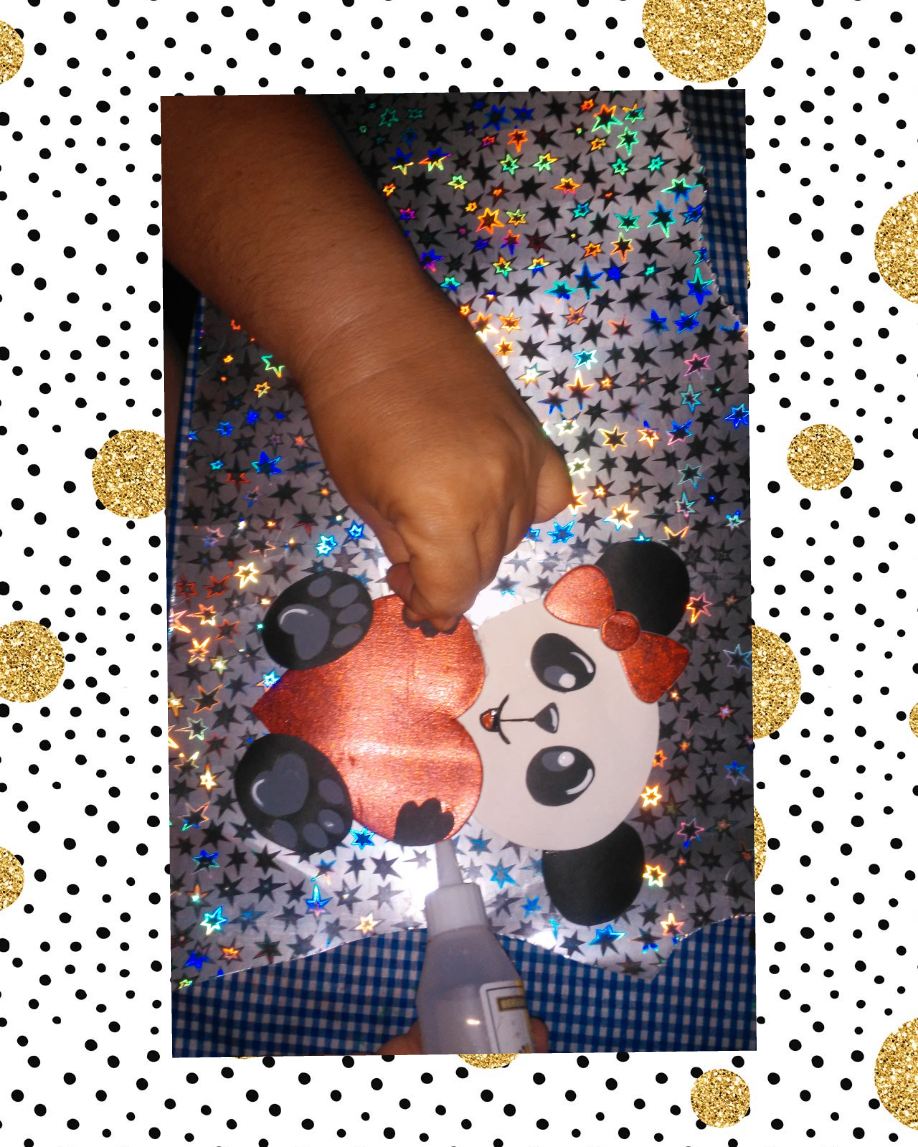
Step 5. Paste the panda bear on a holographic cardboard with liquid silicone.

Step 6. Cut the piece along the contour leaving half a centimeter of distance.
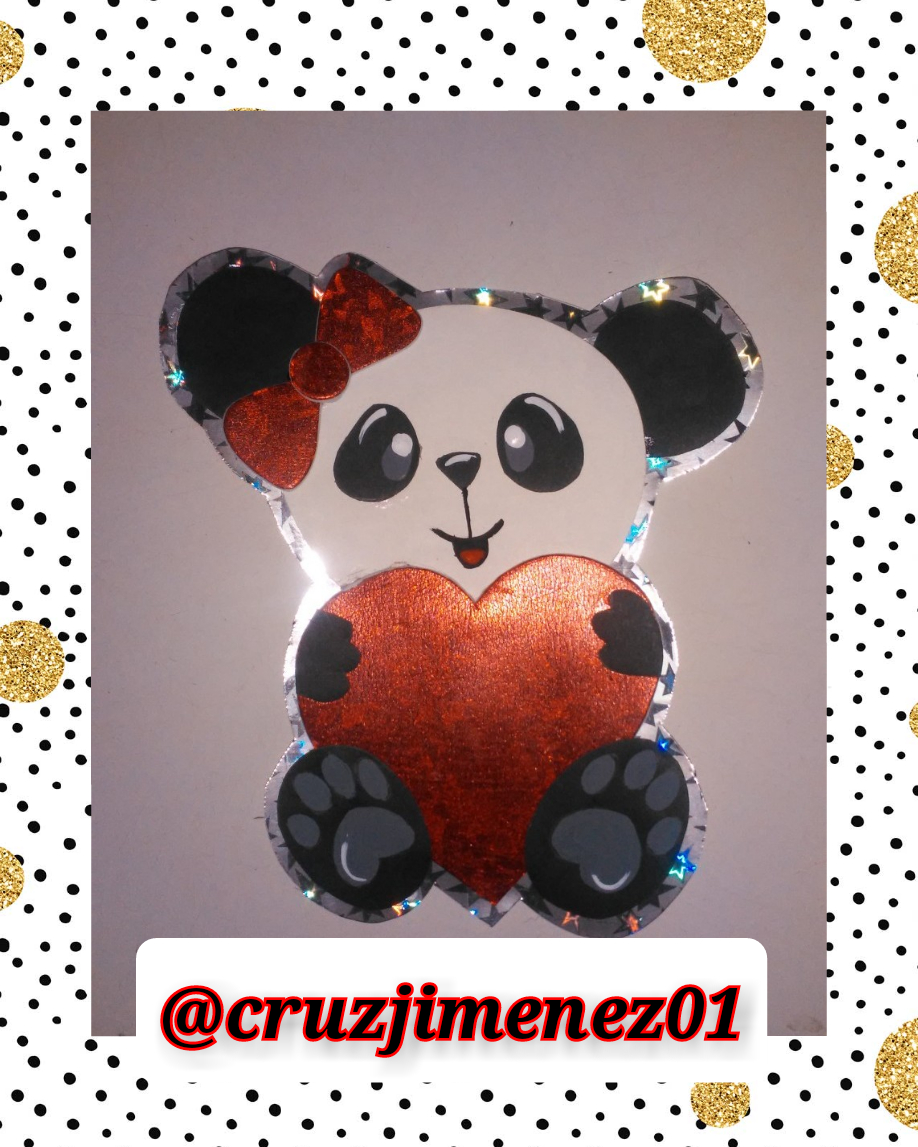
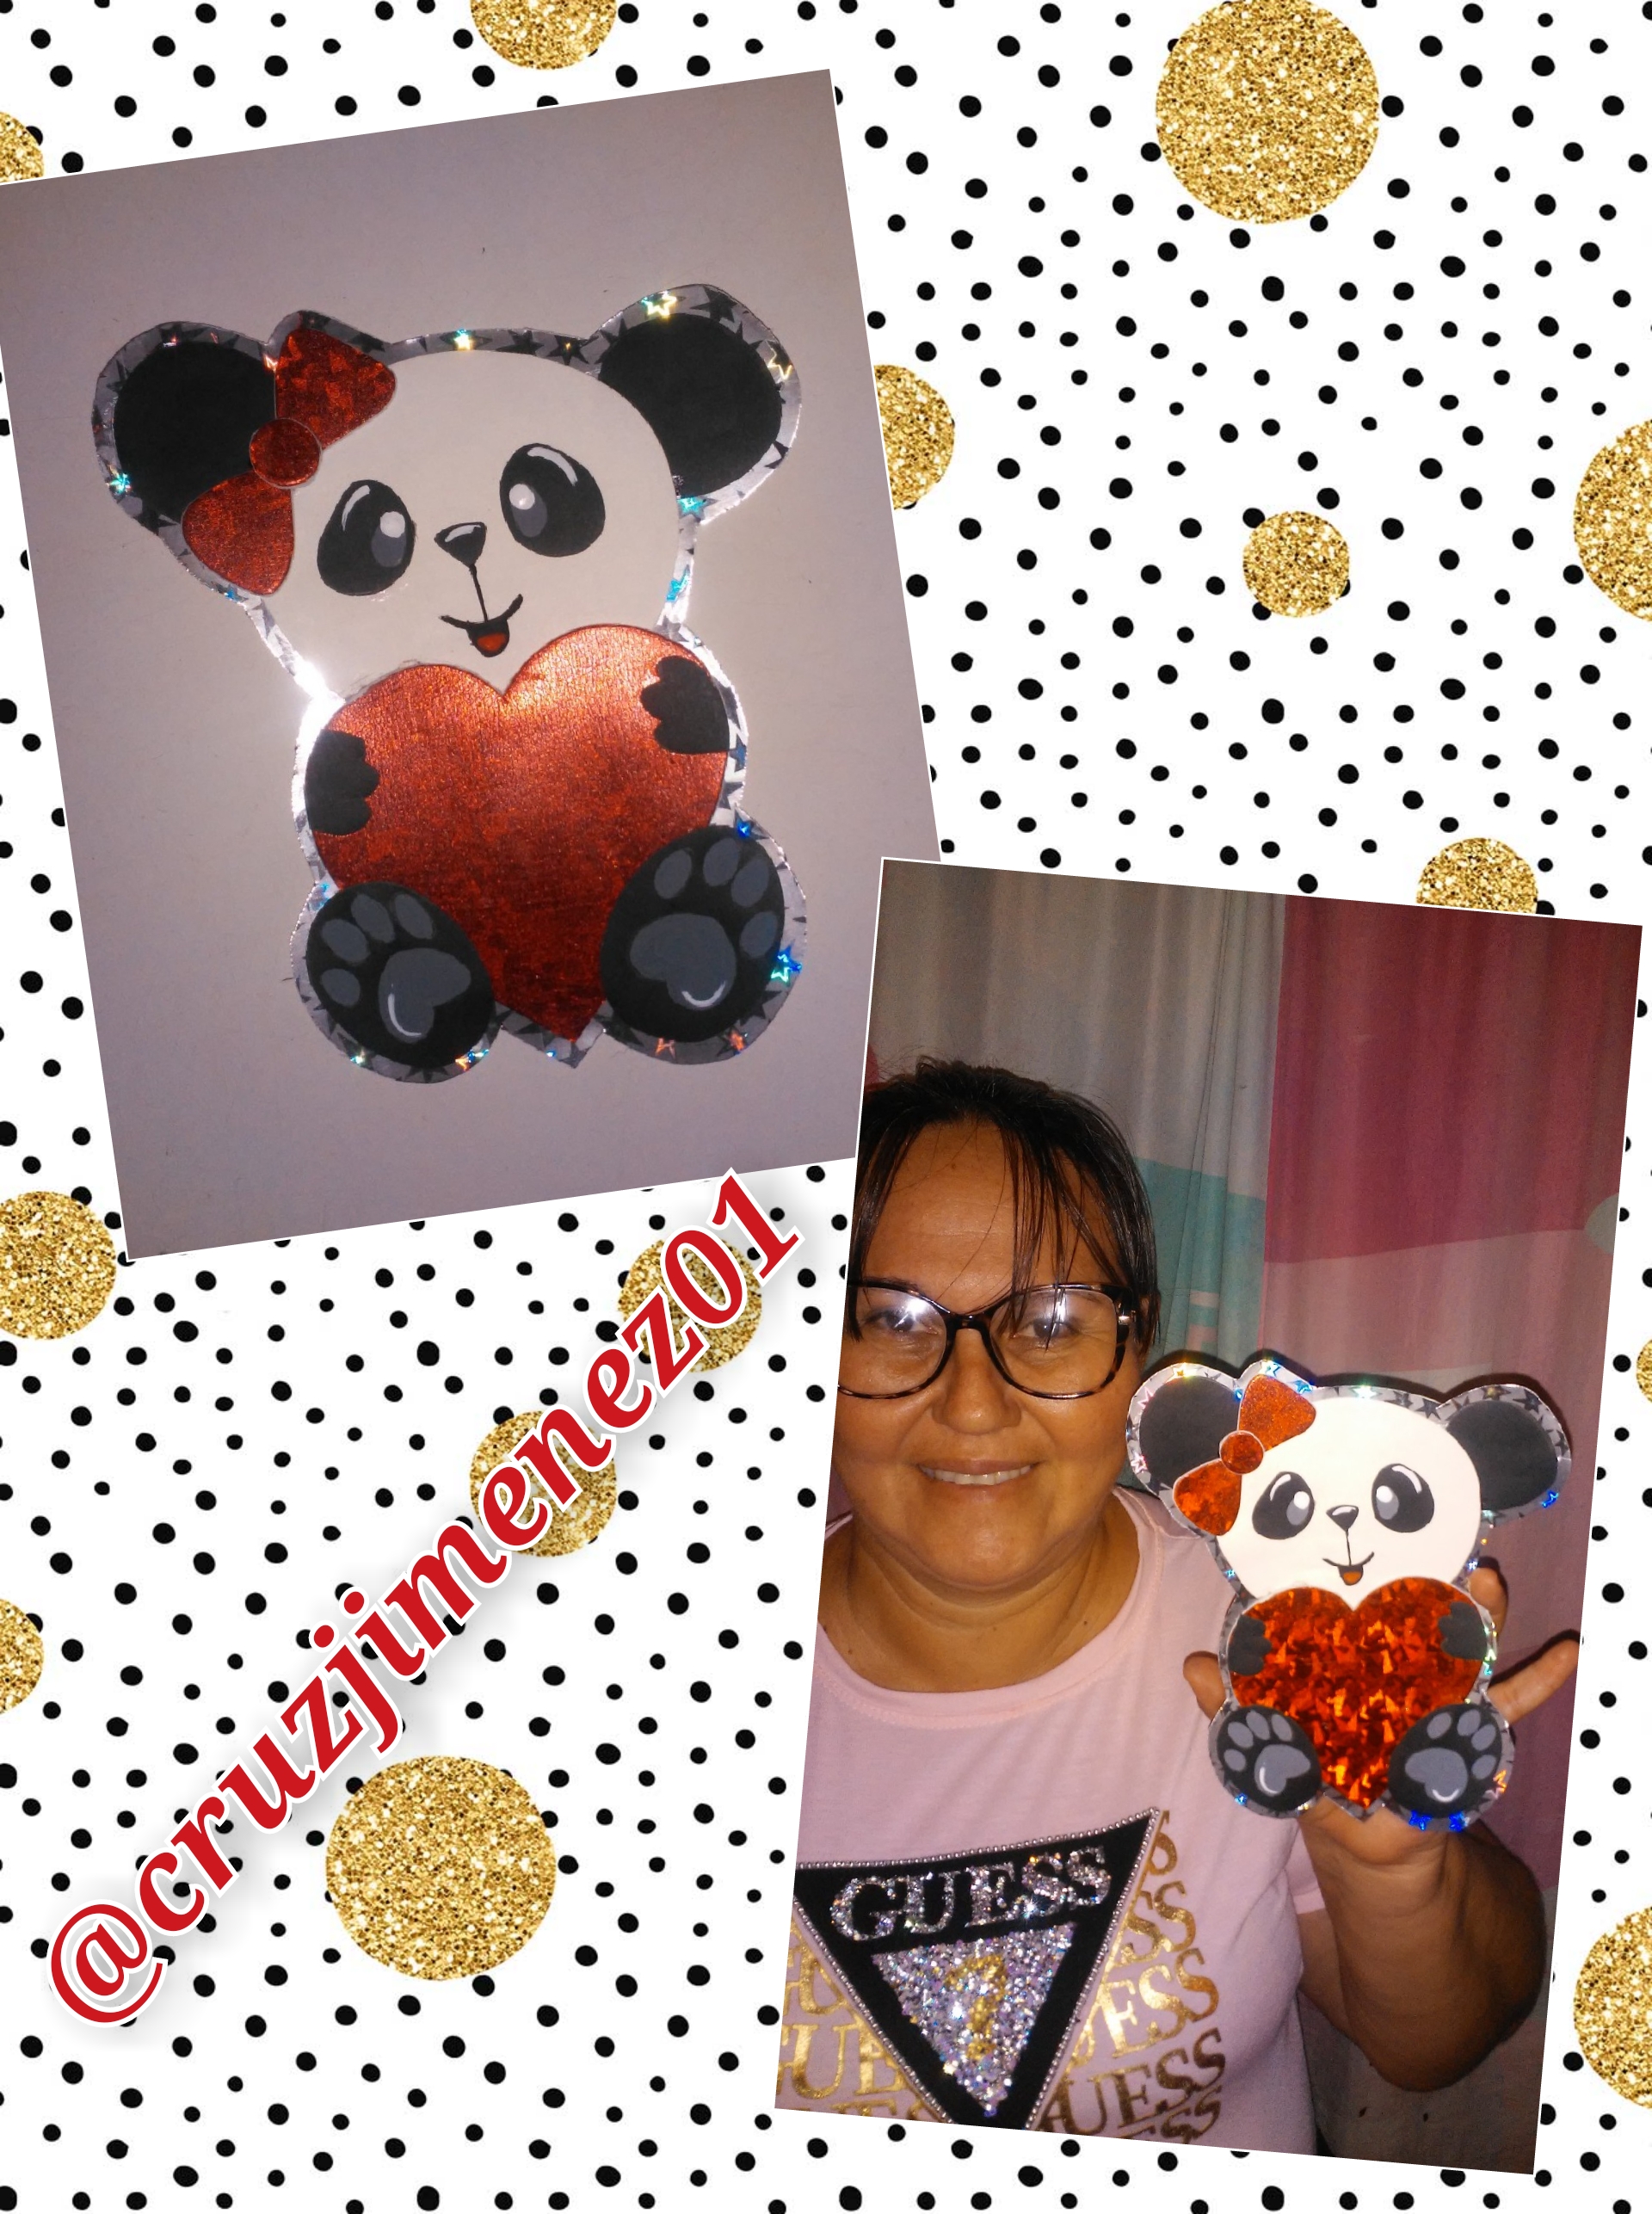
Step 7. This is the final result of all the steps, this beautiful and decorative panda bear, ideal to decorate all your details on this day that is very close to Valentine's Day, I hope you liked it, thanks for attending end. See you soon with another creative idea. Have a nice day and God bless you.
Las fotos fueron editadas con la aplicacion Collage Maker.
The photos were edited with the Collage Maker application.
Awww! pero qué lindo pandita! me encanto esa parte metálica del fondo lo realza bastante.