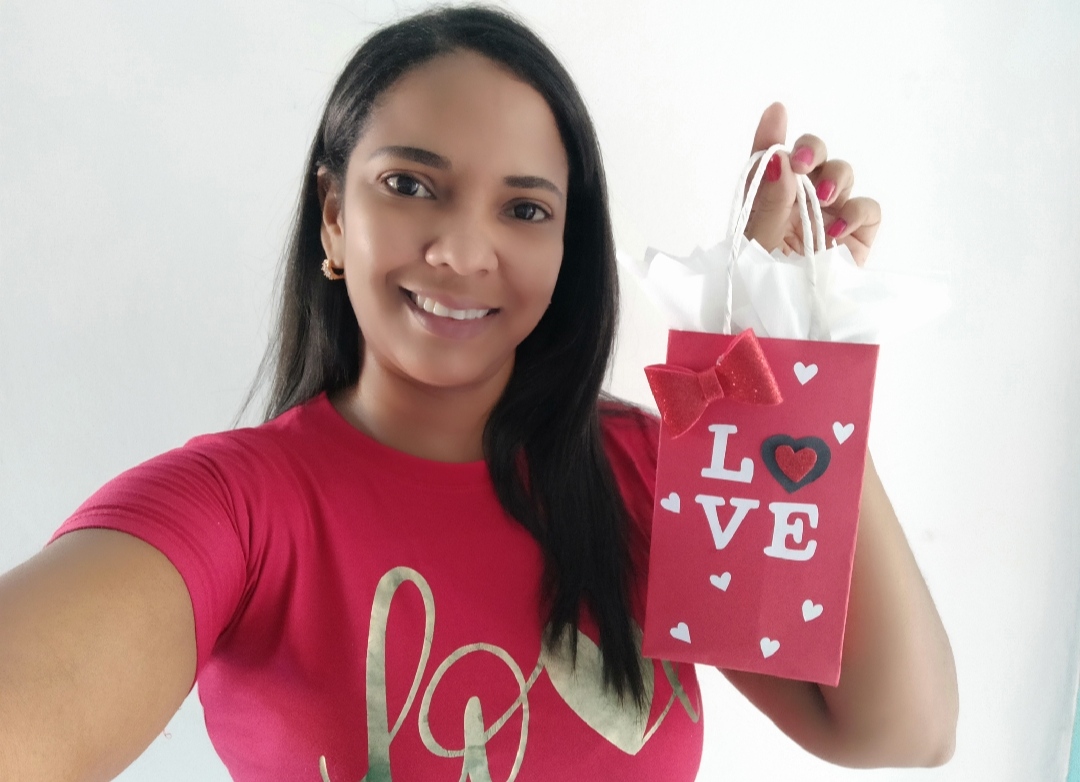
[ESP-ENG] Elaboración de bolsa de regalo, con motivo de corazon💝|Elaboration of gift bag, with heart motif💝|@crisvera
Saludos amigos de #hivediy es un gusto saludarlos ✨
Greetings #hivediy friends it’s a pleasure to greet you ✨.
Se acerca el 14 de febrero, día del amor y la amistad, por lo general, este día solemos expresar nuestro amor o cariño a esas personas especiales en nuestra vida.
Desde algún tiempo, esta fecha también se ha considerado comercial, ya que los vendedores hacen fluir su creatividad y venden de todo, algunas de estas cosas piden ser, dulces, arreglos, flores, perfumes y muchos más.
En otras ocasiones está la duda del comprador, quien no sabe que regalar; pero todo regalo necesita una envoltura y el día de hoy te traigo la elaboración de una hermosa bolsa de regalo, la cual es ideal para este día tan especial.
February 14th, the day of love and friendship, is approaching, usually this day we usually express our love or affection to those special people in our lives.
For some time, this date has also been considered commercial, as vendors make their creativity flow and sell everything, some of these things are asking to be, candies, arrangements, flowers, perfumes and many more.
At other times there is the doubt of the buyer, who does not know what to give; but every gift needs a wrapper and today I bring you the elaboration of a beautiful gift bag, which is ideal for this special day.

Para su elaboración utilice
Materiales
♥️ Cartulina tamaño carta (roja y negra)
♥️ Foami rojo
♥️ Hola blanca
♥️ Papel crepé
♥️ Pega
♥️ Tijera
♥️ Lápiz
For its elaboration use
Materials
♥️ Letter size cardboard (red and black).
♥️ Red Foami
♥️ Hello white
♥️ Crepe paper
♥️ Glue
♥️ Scissors
♥️ Pencil

Procedimiento | Procedure
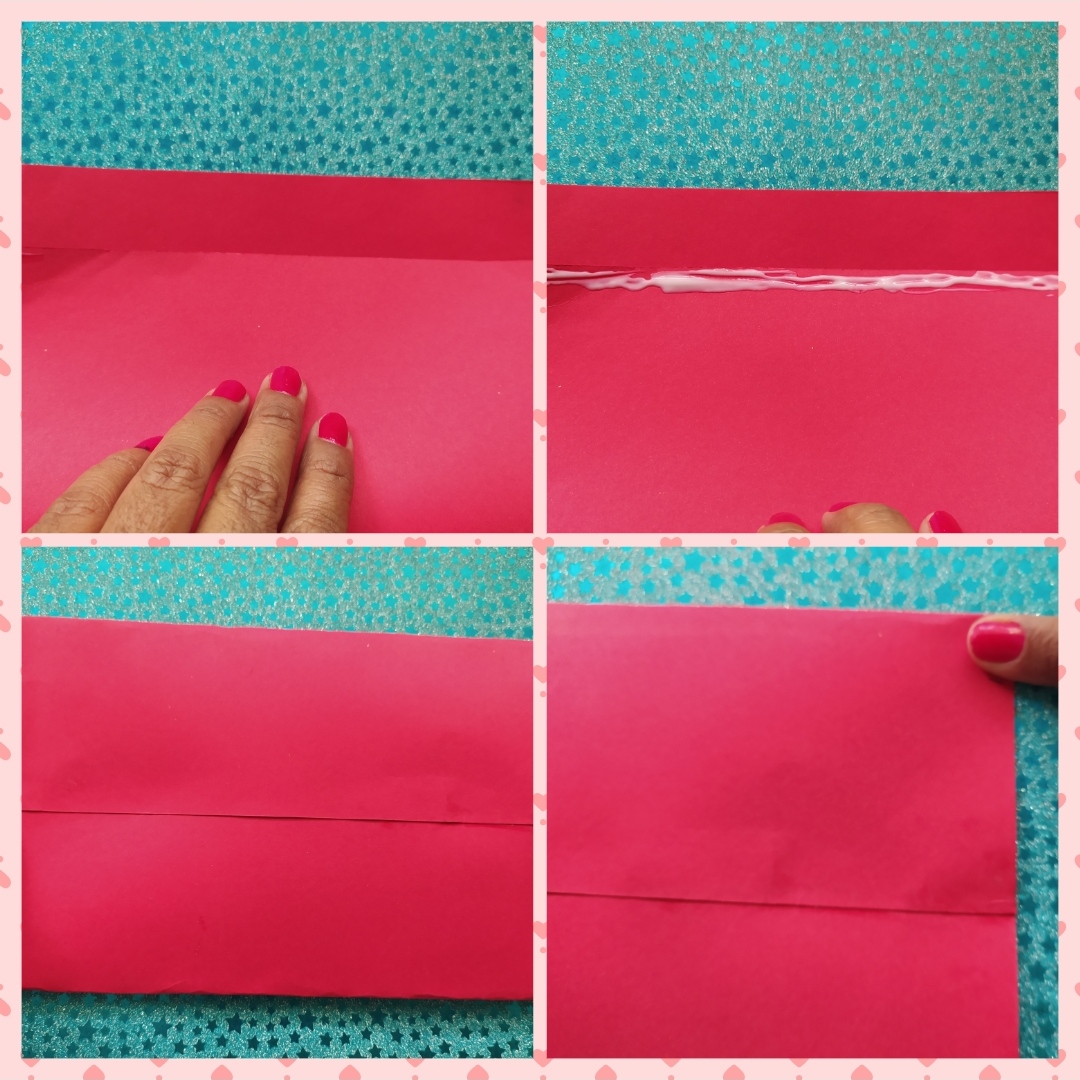
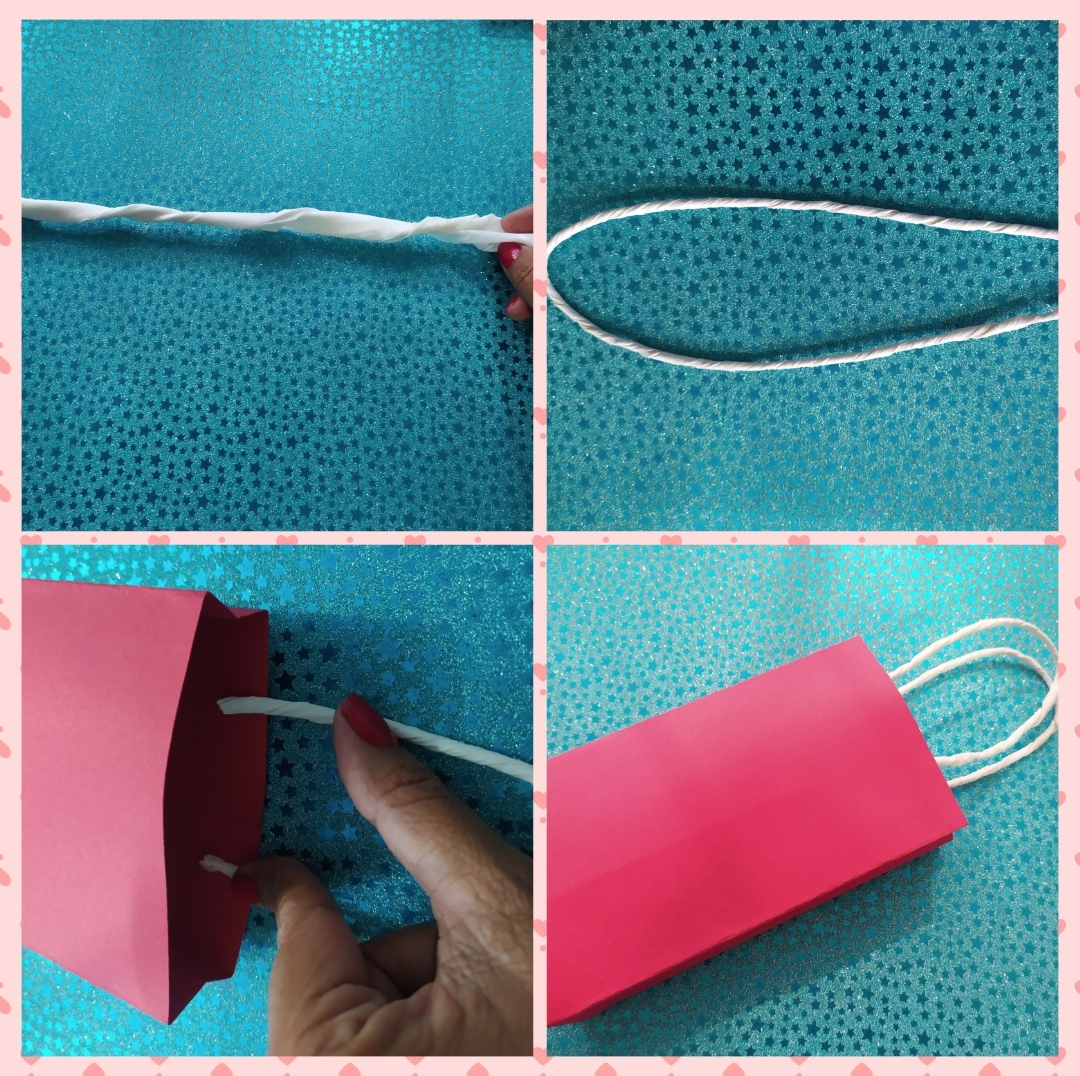
Para comenzar, tomamos la cartulina roja y pegamos los bordes, Seguidamente doblamos la cartulina, dejando la parte que acabamos de pegar en el centro.
To begin, we take the red cardboard and glue the edges. Then we fold the cardboard, leaving the part we just glued in the center.
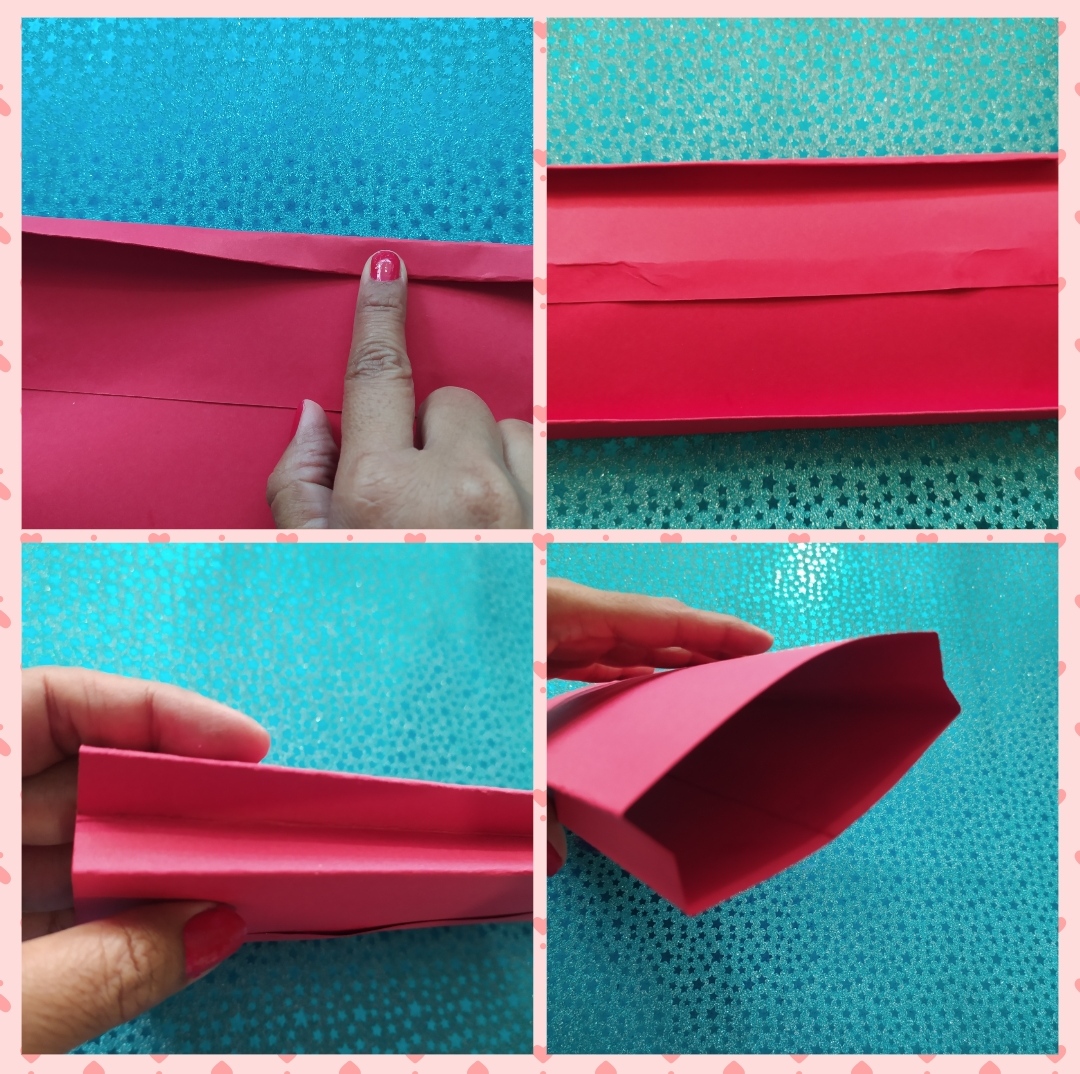
Para continuar, doblamos los extremos a un dedo de ancho, de esta forma nos quedarán tres dobles, el que quedó en centro lo hundiremos y los de las orillas quedarán hacia afueras, formando así los laterales de la bolsa.
To continue, we fold the ends to a finger width, in this way we will have three doubles, the one in the center we will sink it and the ones on the edges will be towards the outside, thus forming the sides of the bag.
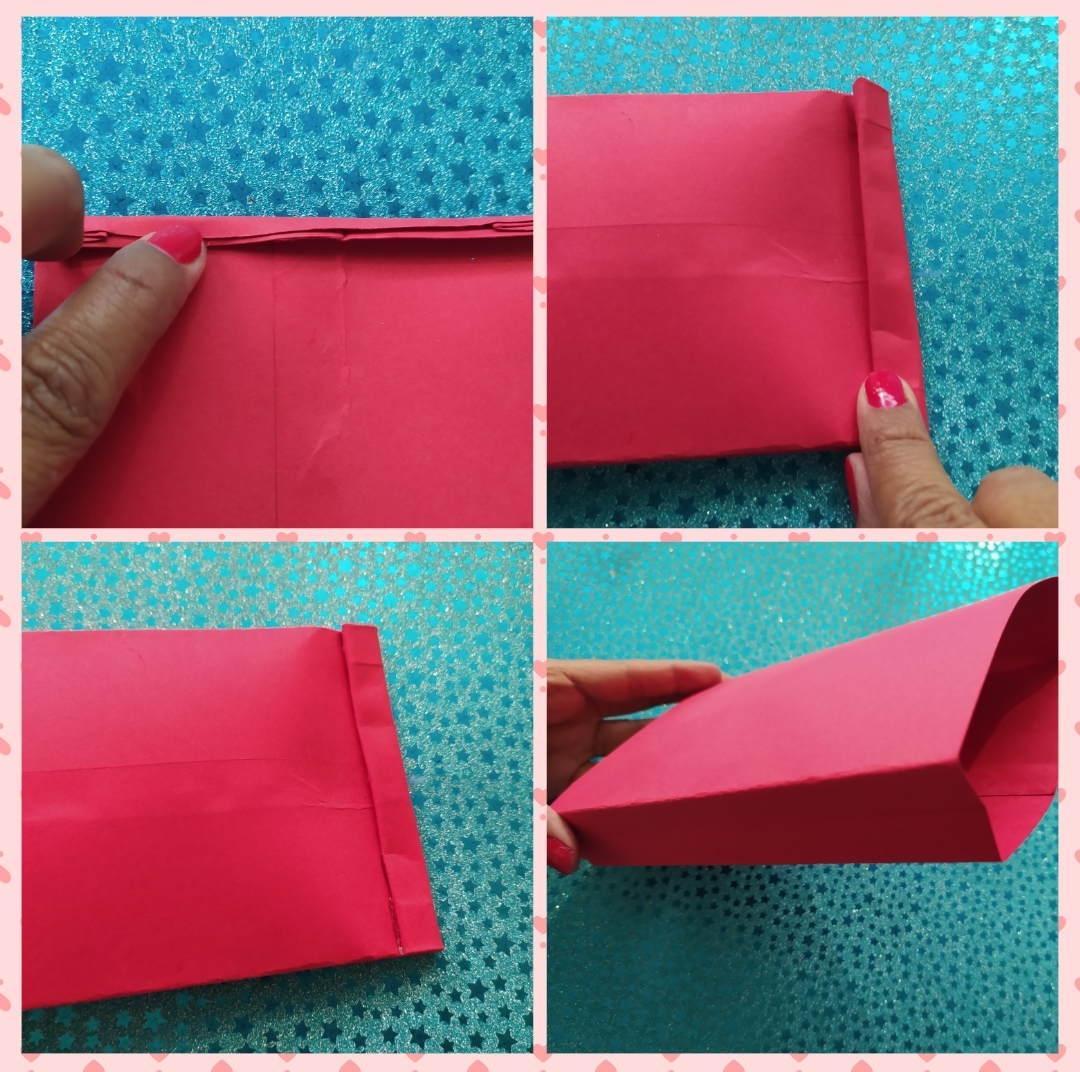
Seguidamente, haremos un pequeño dobles en uno de los extremos abiertos y pegamos, luego lo volvemos a doblar a una distancia de un dedo de ancho o 1.5 cm y volvemos a pegar. Introducimos la mano dentro de la bolsa, de esta forma le daremos forma a la parte inferior que acabamos de pegar.
Next, we make a small fold at one of the open ends and glue, then fold it back to a distance of one finger width or 1.5 cm and glue again. We introduce the hand inside the bag, in this way we will give shape to the lower part that we have just glued.
Ahora cortaremos un listón de papel crepé (2 metros), lo doblamos en cuatro partes y enrollamos; hasta formar una tira de 40 cm aproximadamente, la cual cortaremos a la mitad y se pega en la parte superior de la bolsa.
Now we will cut a crepe paper ribbon (2 meters), fold it in four parts and roll it up to form a strip of approximately 40 cm, which we will cut in half and glue to the top of the bag.
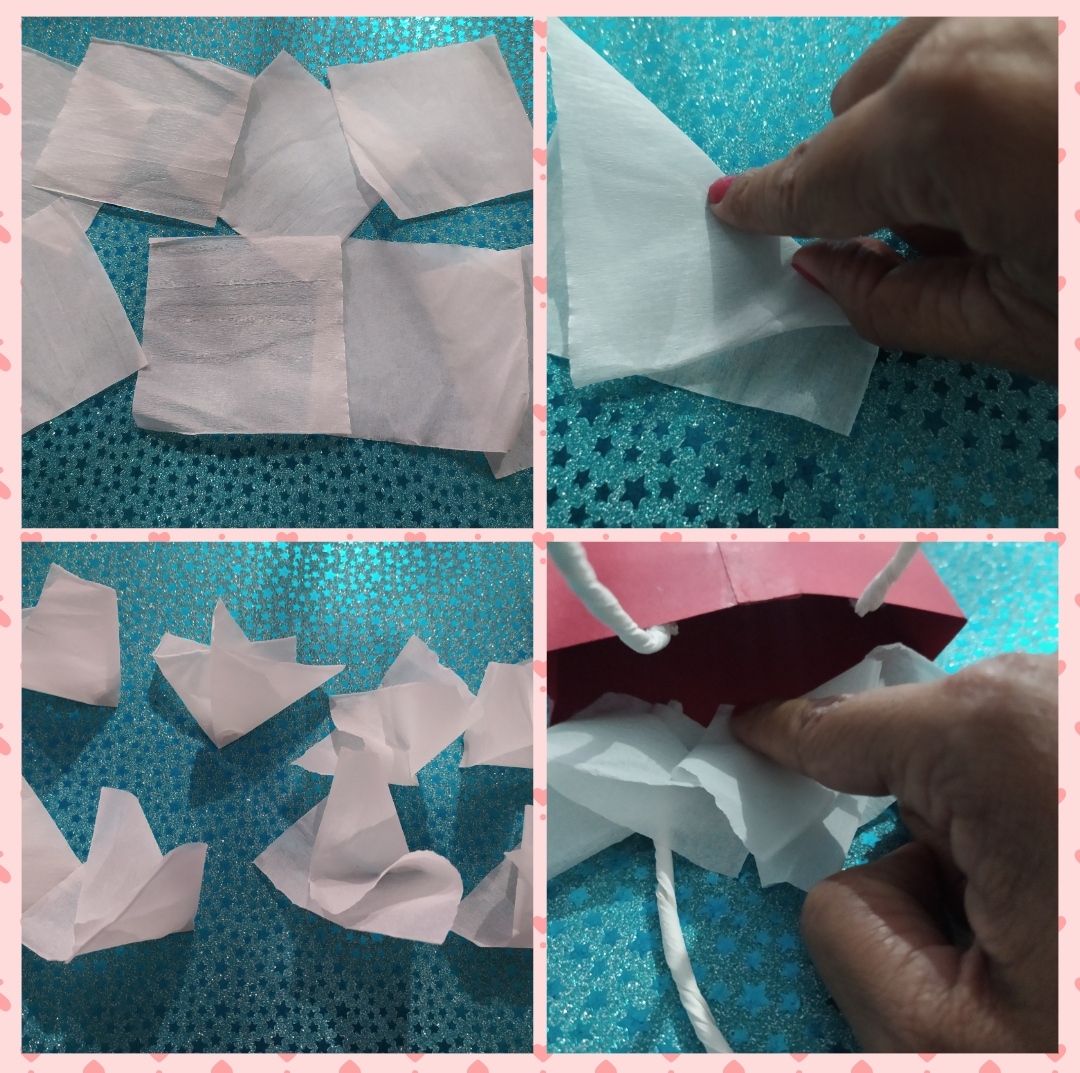
Seguidamente, cortamos unos cuadritos en papel crepé (10×10cm), lo doblamos y pegamos a la mitad y luego se pega en la parte superior de la bolsa.
Next, we cut some squares in crepe paper (10×10cm), fold it and glue it in half and then glue it on the top of the bag.
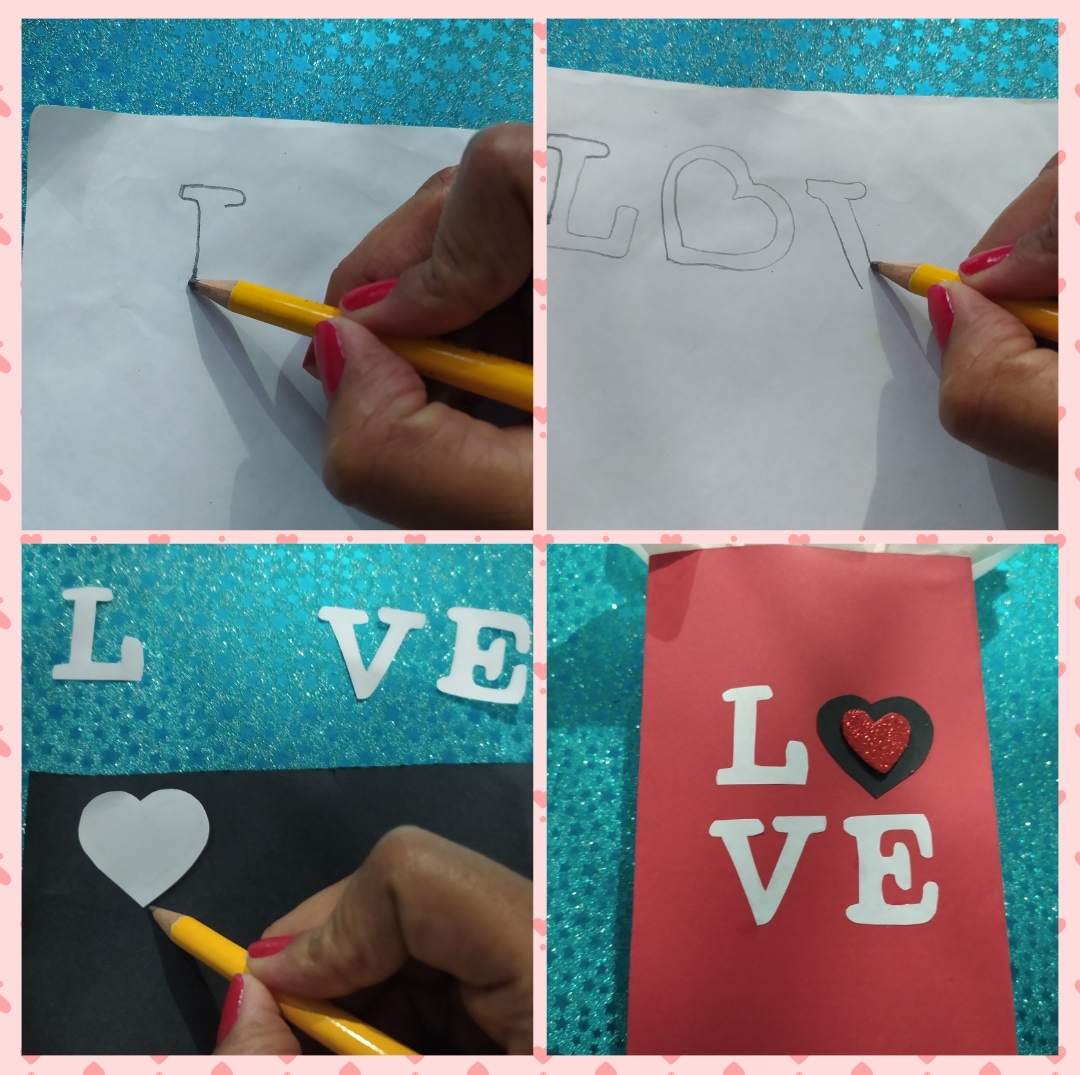
Luego, marcamos el texto “love” en la hoja en blanco y recortamos, además como la letra “o” está en forma de corazón, está la realizaré en cartulina negra y le colocaré un corazón de foami rojo. Esto lo pegaremos en la parte frontal de la bolsa.
Then, we mark the text “love” on the blank sheet and cut it out, and since the letter “o” is in the shape of a heart, I will make it on black cardboard and place a red foami heart on it. This will be glued on the front of the bag.
Finalmente hacemos un lazo en foami rojo el cual pegaremos en la parte superior de la bolsa además de unos corazones de papel que pegaremos en la parte frontal de la bolsa.
Finally we make a bow in red foami which we will glue on the top of the bag as well as some paper hearts that we will glue on the front of the bag.
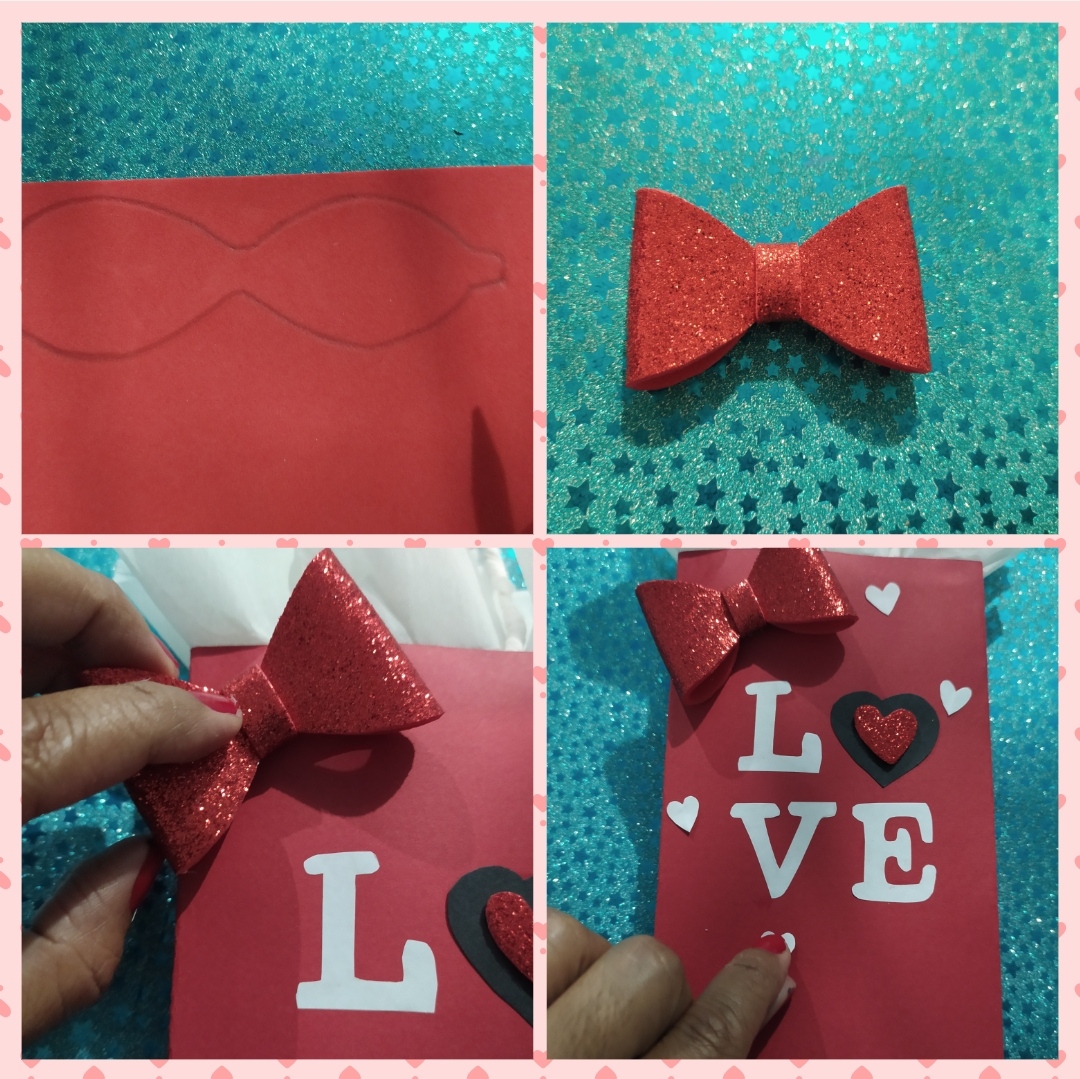
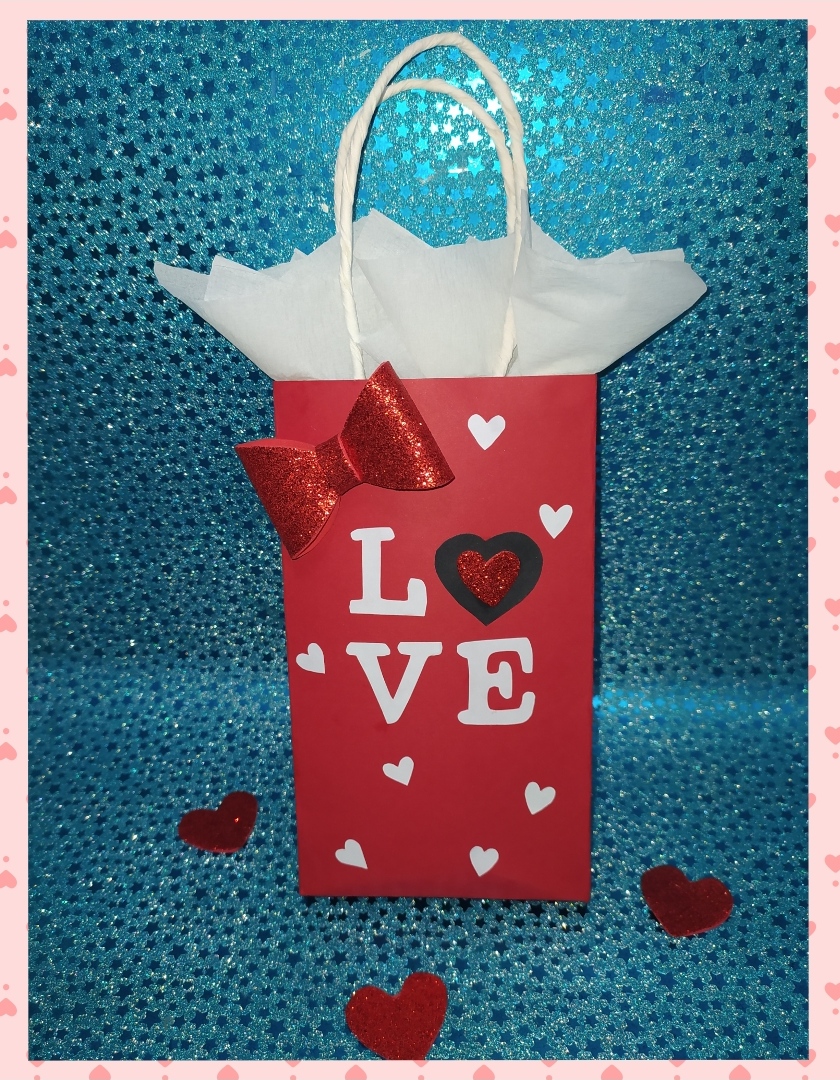
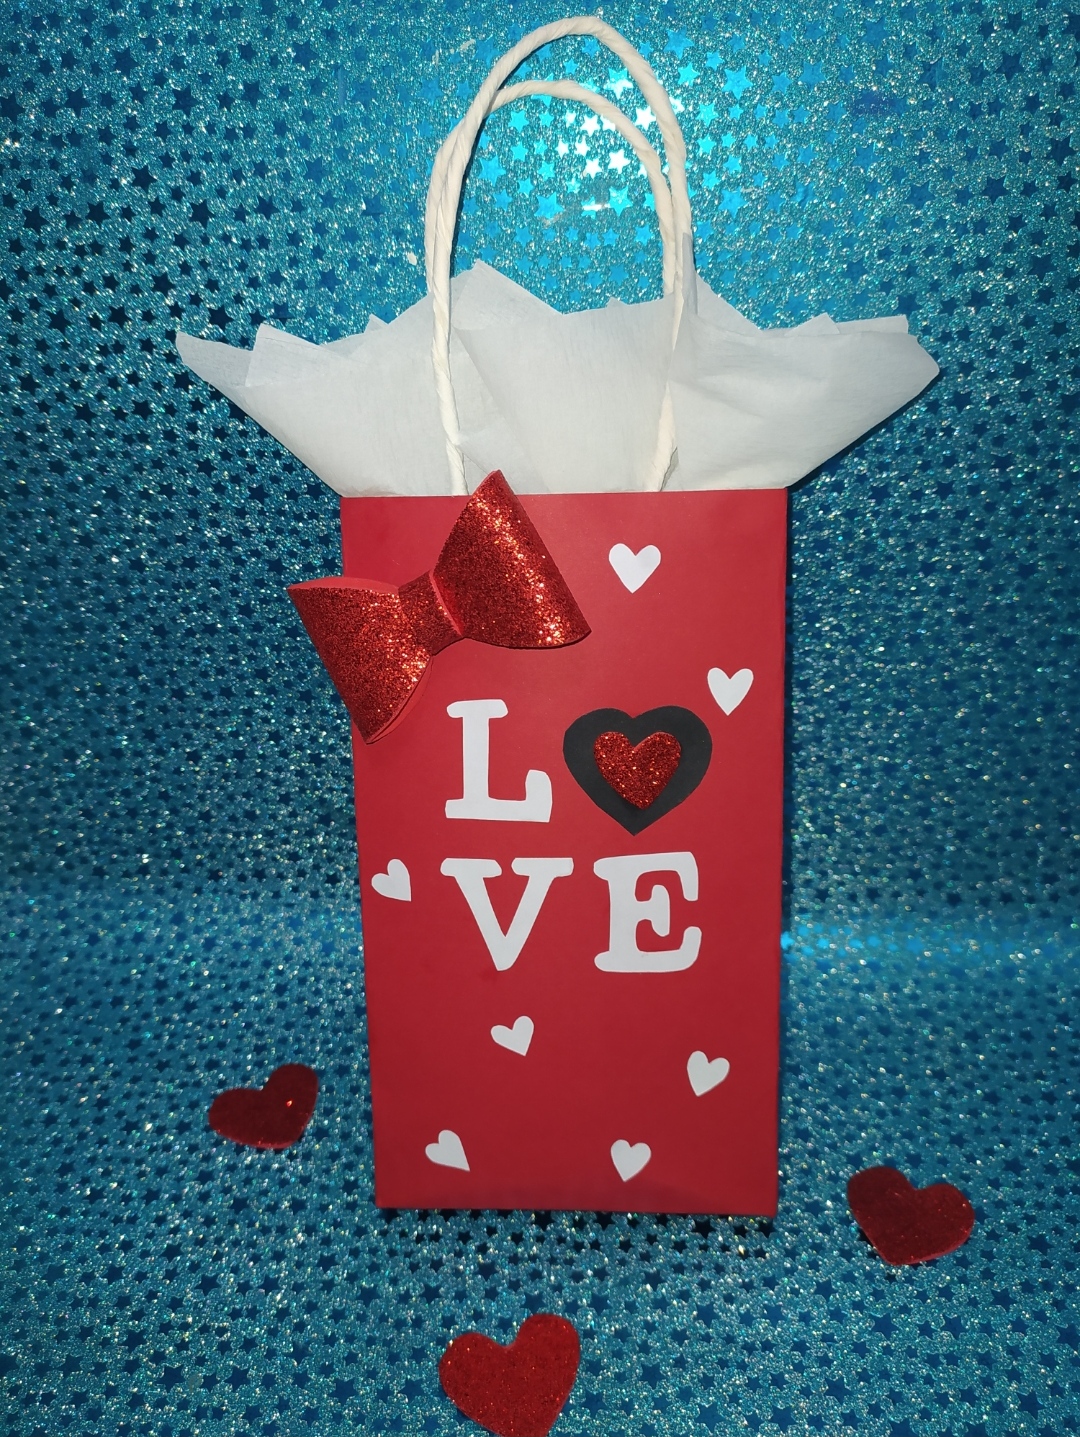
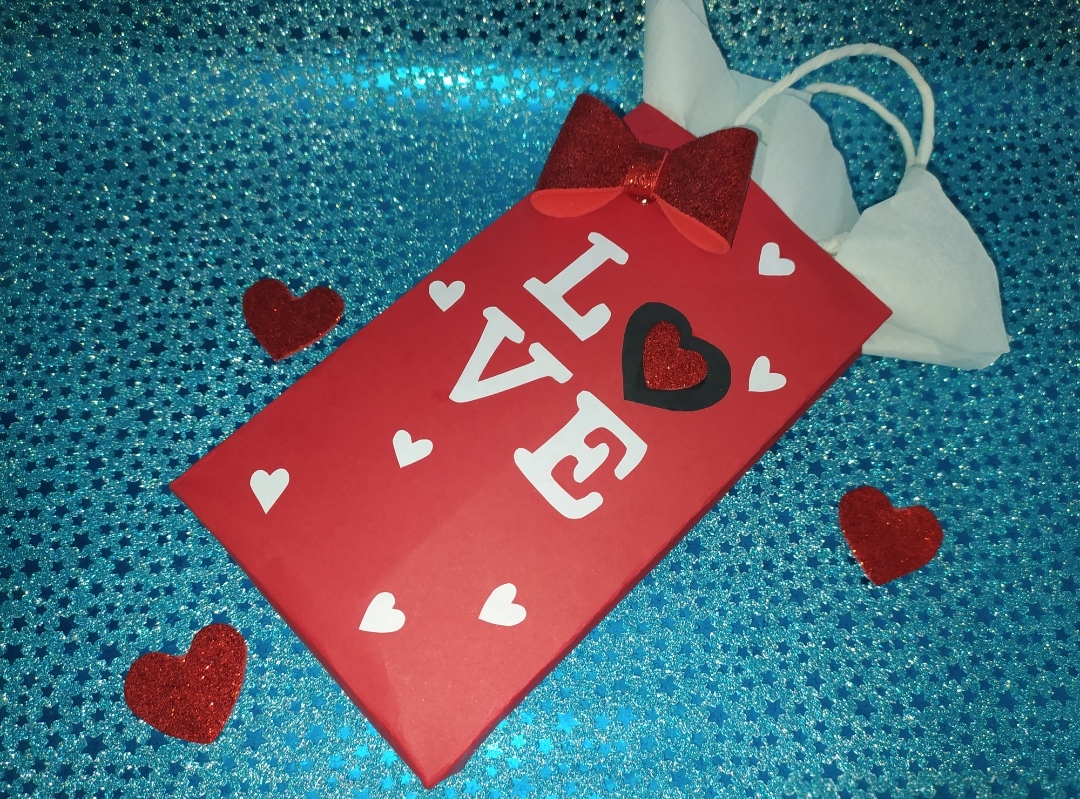
Así quedó| This is how it turned out
Amigos, estoy muy agradecida con todos los que toman un momento de su tiempo para apoyarme 💞, les deseo mucho éxito y bendiciones en su vida 🙏.
Friends, I am so grateful to all of you who take a moment of your time to support me 💞, I wish you much success and blessings in your life 🙏.
Las imágenes son de mi autoría, tomadas desde mi redmi note 8.
Edición de fotos: Collage Maker y picsart
All photos are authored, taken from my redmi note 8.
Photo editing: Collage Maker and picsart

Electronic-terrorism, voice to skull and neuro monitoring on Hive and Steem. You can ignore this, but your going to wish you didnt soon. This is happening whether you believe it or not. https://ecency.com/fyrstikken/@fairandbalanced/i-am-the-only-motherfucker-on-the-internet-pointing-to-a-direct-source-for-voice-to-skull-electronic-terrorism
https://twitter.com/crisver60656862/status/1490735769786404868
The rewards earned on this comment will go directly to the person sharing the post on Twitter as long as they are registered with @poshtoken. Sign up at https://hiveposh.com.