Te cuento como elaboré una silla de madera sin ser carpintero 🔨🪑 // I tell you how I made a wooden chair without being a carpenter 🔨🪑.
(Edited)
Hola amigos de la comunidad de
#Diy saludos cordiales; sean todos bienvenidos a mi blog.
Paso/Step 1:
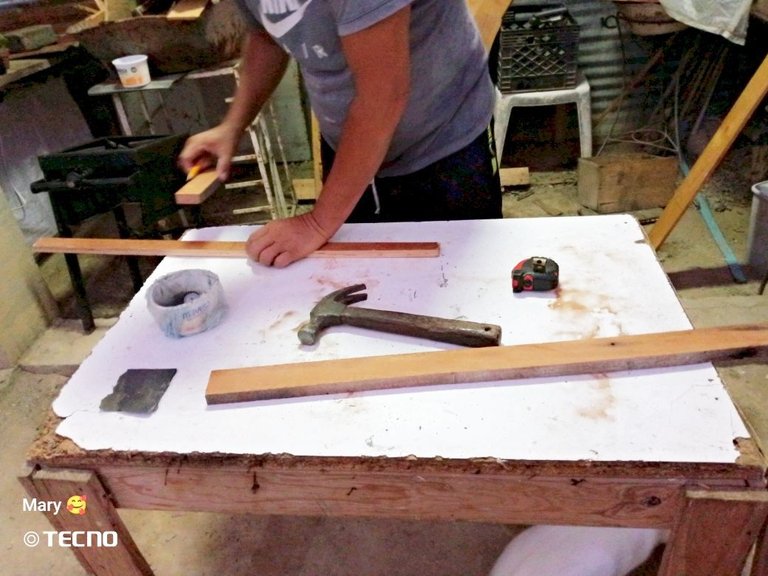
Lo primero que haremos será medir lo que formará parte del alto del espaldar de la silla, que son 2 listones de 70cm x 4cm x 1cm para el espaldar y 2 listones de 35cm x 4cm x 1cm hasta el nivel del asiento delantero; las cuales iremos lijando de una vez.
Paso/Step 2:
Ahora vamos con lo que será el ancho de nuestra silla, cuyas medidas son 2 listones de 40cm x 4cm x1cm que formarán las patas de la silla y que éstas no se abran.
Paso/Step 3:
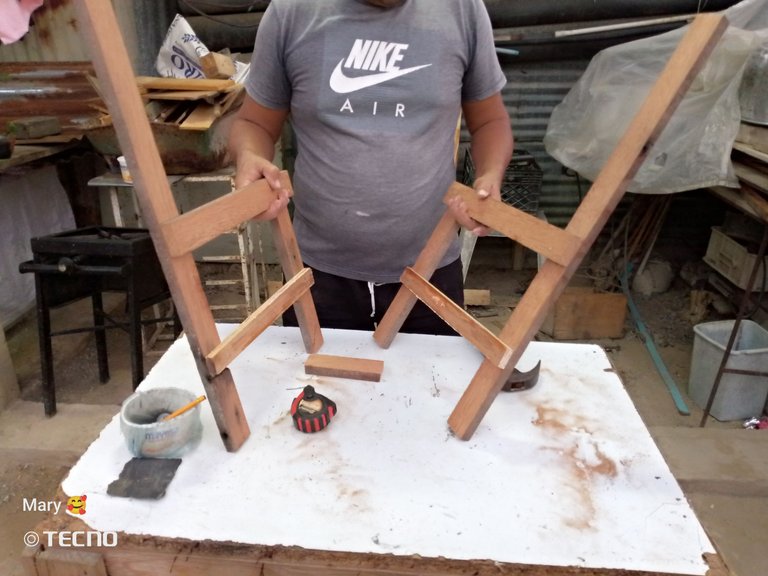
Hacemos el mismo procedimiento con el otro lateral de la Silla; una vez que tenemos ambos laterales listos los medimos para verificar que estén de la misma altura.
Paso/Step 4:
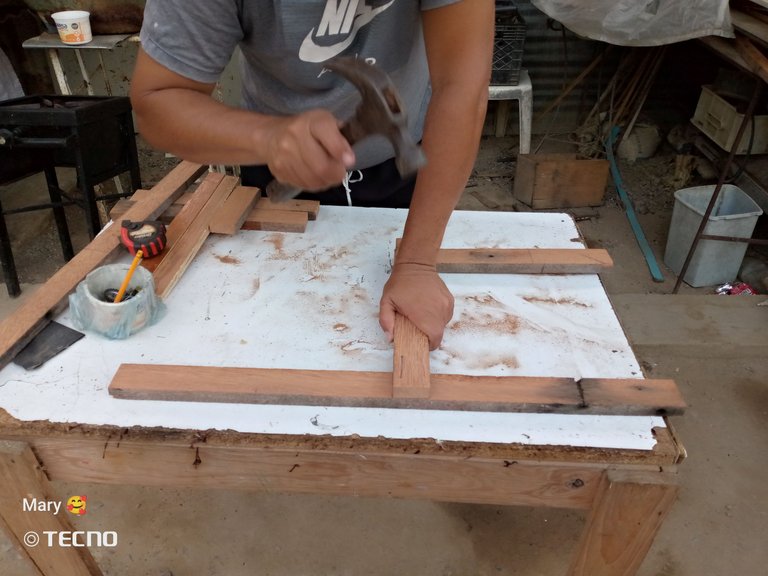
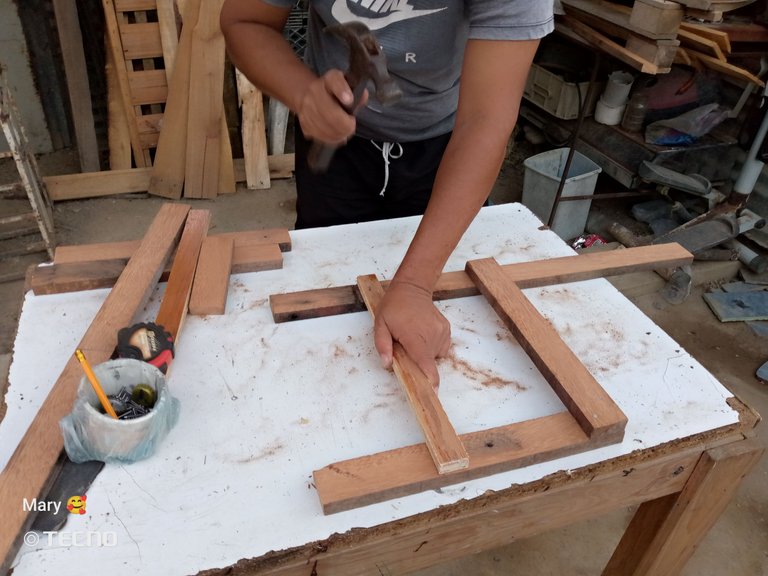
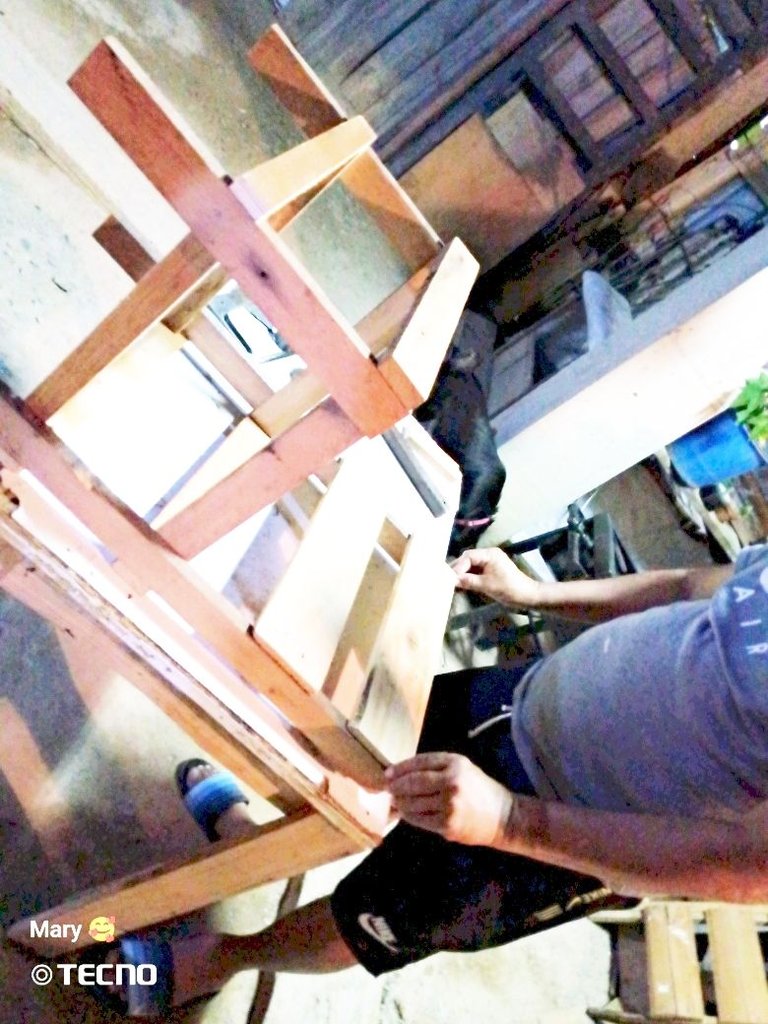
Procedemos a colocar los listones que darán el ancho de nuestra silla; que son 4 listones de 40cm x 4cm x 1cm, los cuales se ubicarán en la parta delantera de nuestra silla y 2 más para la parte trasera.
Paso/Step 5:
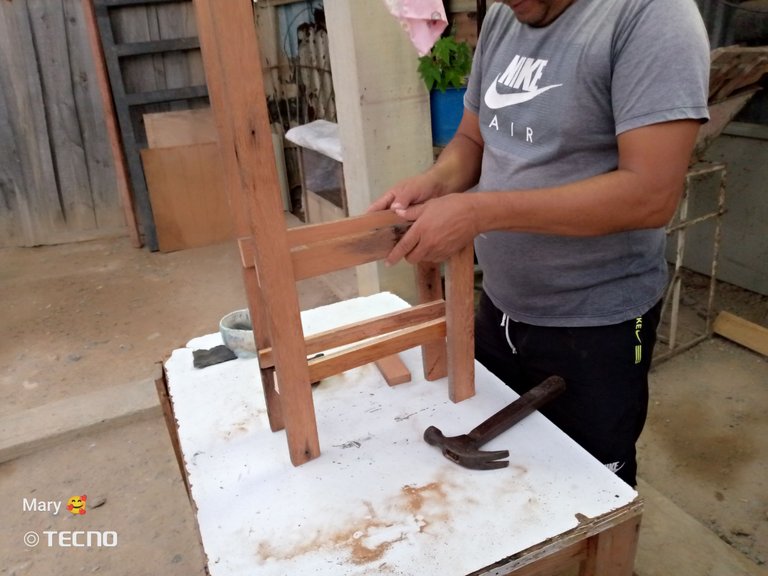
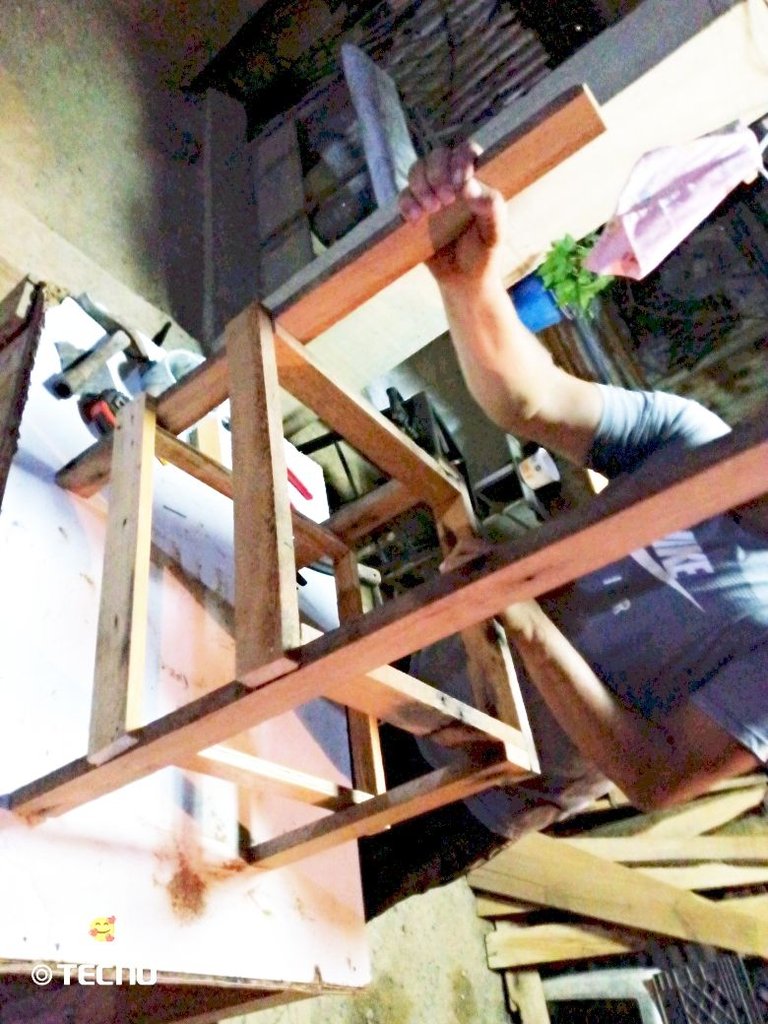
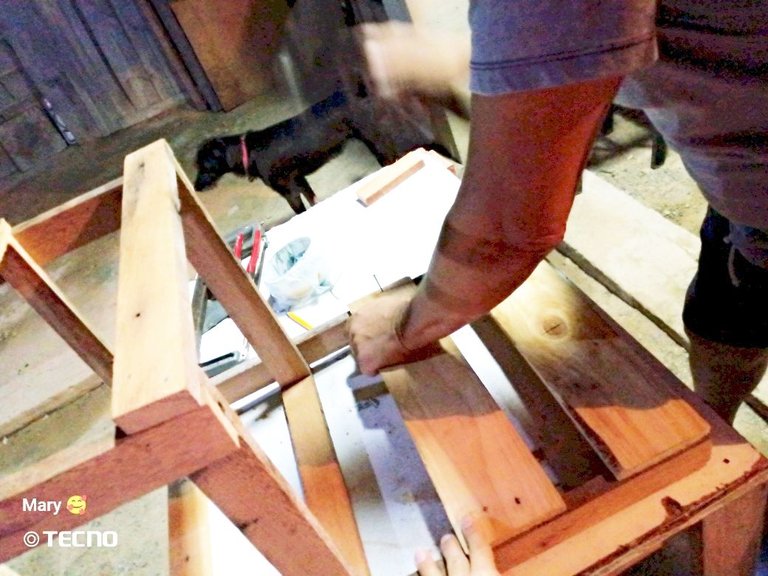
Cuando ya terminemos de colocar todos los clavos para ensamblar nuestras piezas; nos quedará este armazón.
Paso/Step 6:
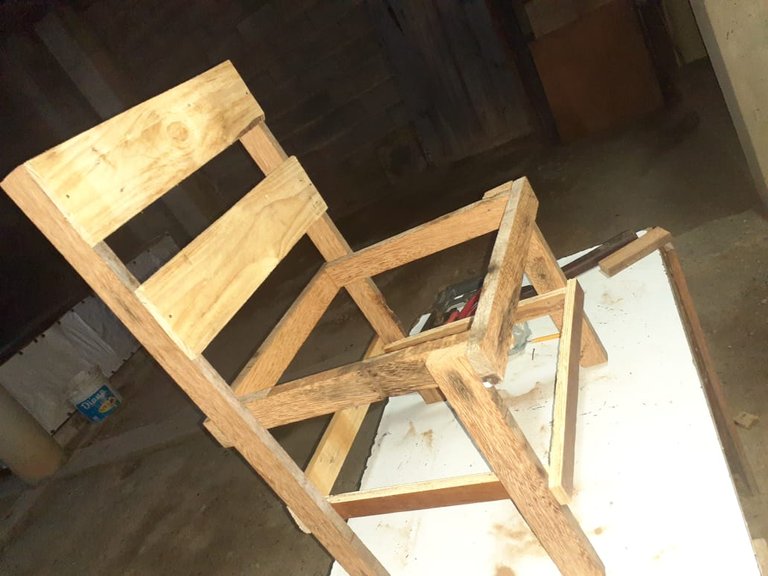
Luego pasaremos a medir y cortar lo que formará el espaldar de la silla; para esto utilizaremos 2 tablas de 40cm x 10cm x 1/2cm, las cuales le colocaremos con 5cm de separación.
Paso/Step 7:
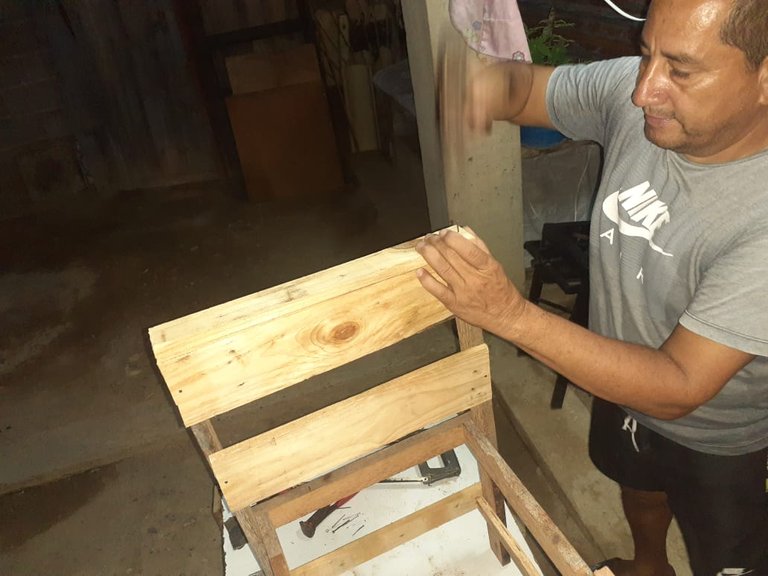
Por último procedemos a colocar 3 tablas de 40cm x 10cm x 1/2cm en la parte del asiento y 1 liston de 40cm x 4cm x 1cm que dará el último detalle a nuestro espaldar.
Hello friends of the
#Diy community, cordial greetings; you are all welcome to my blog.</div>
Hoy es primera vez que publico en esta grandiosa comunidad y les traigo un proyecto muy bonito; se trata de un pequeño tutorial de cómo puedes elaborar una silla con solo tener conocimientos de carpintería.
Today is the first time I post in this great community and I bring you a very nice project; it is a small tutorial on how you can make a chair with only carpentry skills.
Me considero un hombre versátil de conocimientos, me gusta aprender y crear; siempre y cuando tenga en ese momento los materiales que necesitaré para mi proyecto.
I consider myself a versatile man of knowledge, I like to learn and create; as long as I have at that moment the materials I will need for my project.
Trabajar con la madera realmente me llama la atención y lo que he logrado crear con la ayuda de unos cuantos trozos de madera y viendo algunos tutoriales de internet me da satisfacción de ver lo que soy capaz de crear con mis propias manos.
Working with wood really catches my attention and what I have managed to create with the help of a few pieces of wood and watching some internet tutorials gives me satisfaction to see what I am able to create with my own hands.
Sin más les mostraré los materiales que necesitaremos para crear esta linda silla.
Without further ado, I will show you the materials we will need to create this beautiful chair.
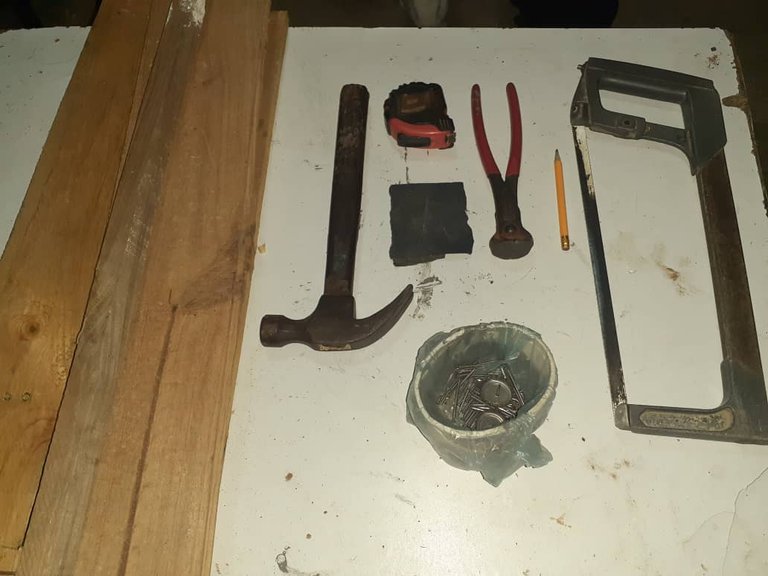
1 Segueta
1 Martillo
1 Tenaza o pinza
Clavos de 1" y 1/2
Lápiz para marcar
Metro o cinta métrica para medir
Lija
1 Saw
1 Hammer
1 Pincers or pliers
1" and 1/2" nails
Pencil for marking
Measuring tape or tape measure
Sandpaper
The first thing we will do is to measure what will be part of the height of the back of the chair, which are 2 strips of 70cm x 4cm x 1cm for the back and 2 strips of 35cm x 4cm x 1cm up to the level of the front seat; which we will sand at once.
Now we go with what will be the width of our chair, whose measures are 2 slats of 40cm x 4cm x 1cm that will form the legs of the chair and that these do not open.
We do the same procedure with the other side of the Chair; once we have both sides ready we measure them to verify that they are of the same height.
We proceed to place the slats that will give the width of our chair; which are 4 slats of 40cm x 4cm x 1cm, which will be located in the front of our chair and 2 more for the back.
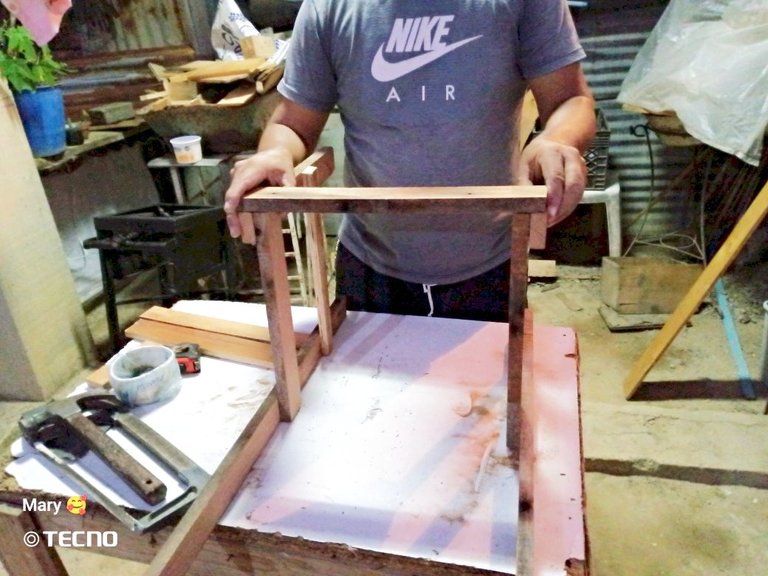
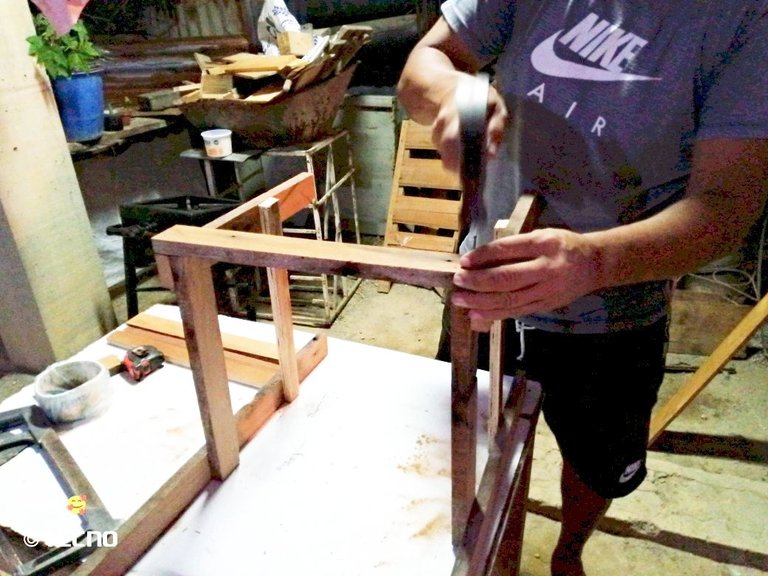
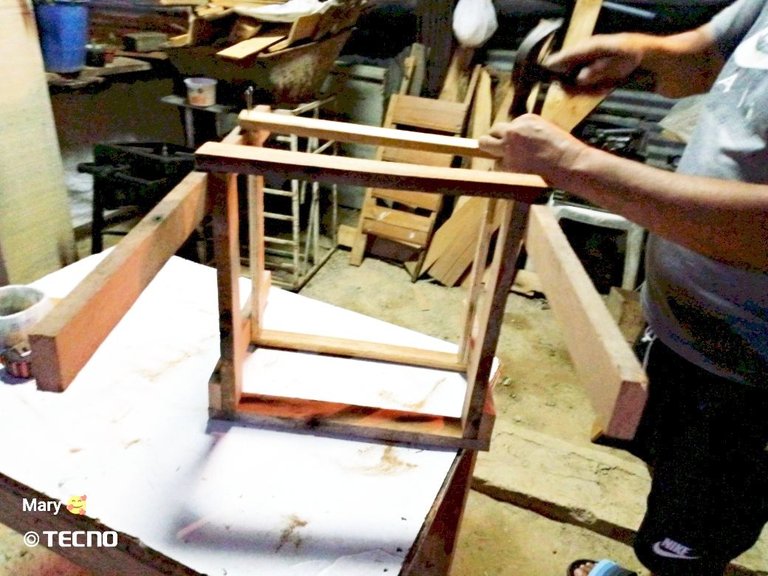
When we finish placing all the nails to assemble our pieces, we will have this frame.
Then we will measure and cut what will form the back of the chair; for this we will use 2 boards of 40cm x 10cm x 1/2cm, which we will place 5cm apart.
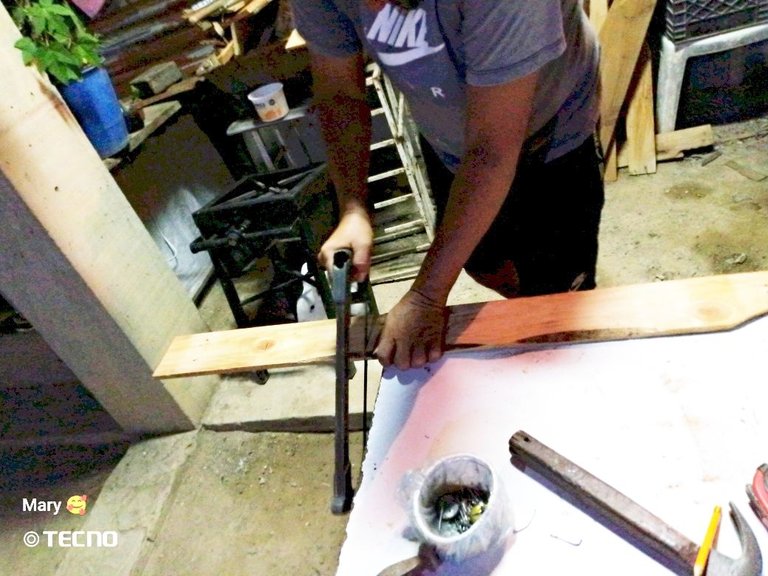
Finally we proceed to place 3 boards of 40cm x 10cm x 1/2cm in the part of the seat and 1 slat of 40cm x 4cm x 1cm that will give the last detail to our backrest.
Y así ha quedado mi proyecto ya terminado, una linda silla que puede ser utilizado tanto grandes como pequeños; ya que la construí con resistencia para el peso.
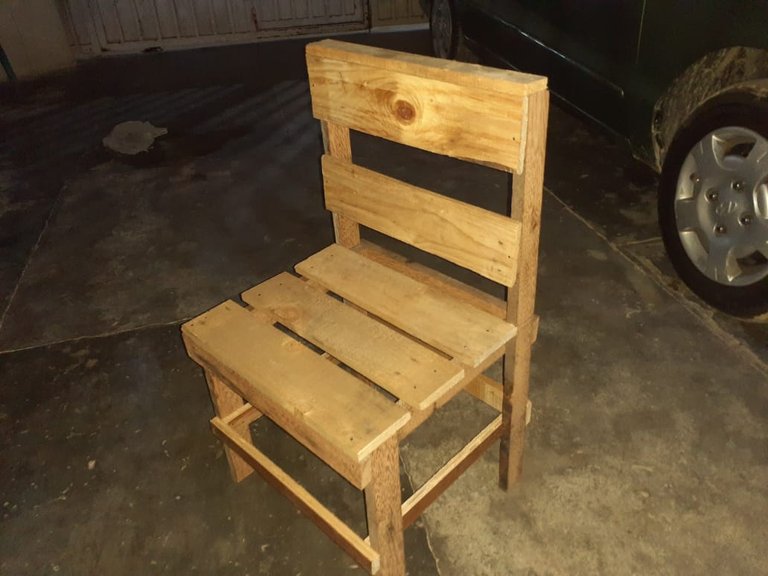
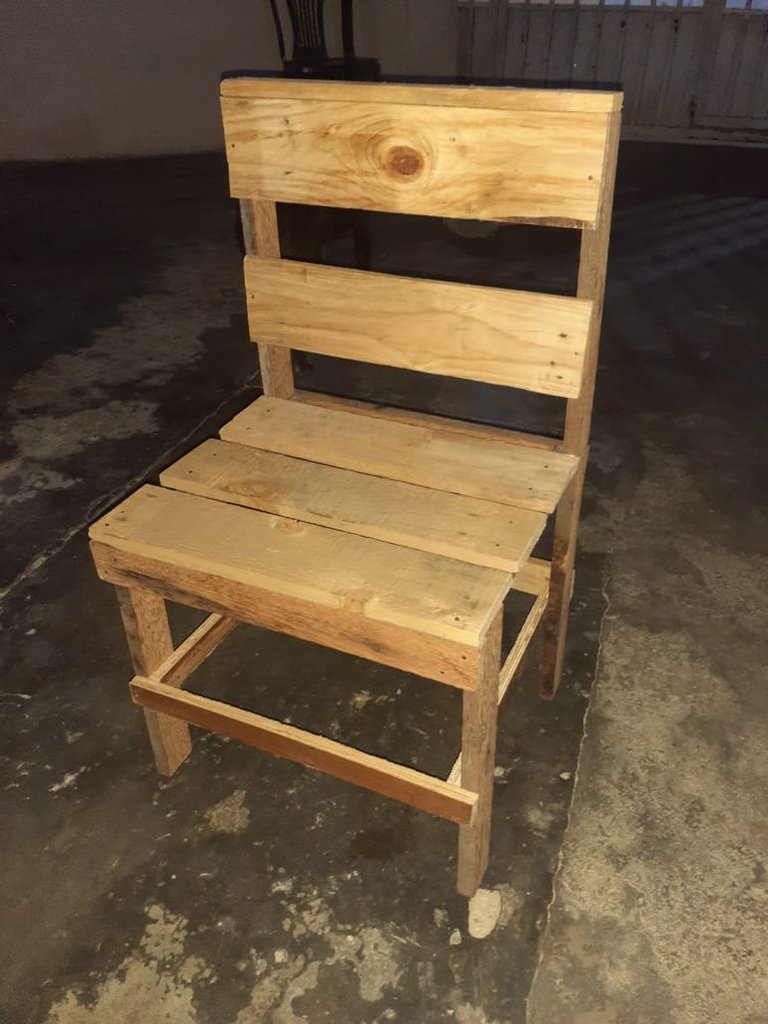
Cabe resaltar que la podemos dejar así, en madera natural ya que está completamente lijada o también podemos agregarle barniz para un mejor acabado; eso es a gusto de la persona.
It should be noted that we can leave it like this, in natural wood since it is completely sanded or we can also add varnish for a better finish; that is to the taste of the person.
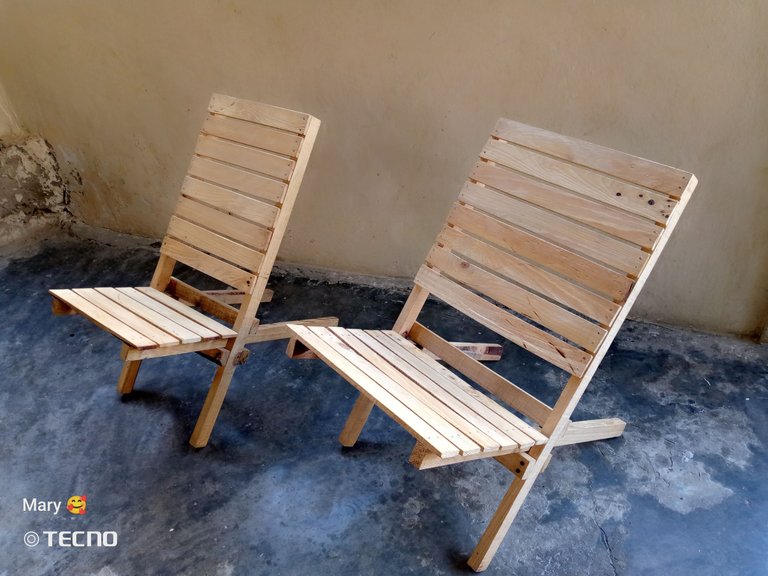
Les mostraré unas fotos de unas piezas que ya había elaborado antes de entrar a la plataforma; solo con la ayuda de tutoriales por internet.
I will show you some pictures of some pieces that I had already made before entering the platform; only with the help of online tutorials.

El tutorial es de mi autoría
Las fotos fueron tomadas con mi teléfono Samsung A20 y con el Tecno GO 2023
Traductor utilizado DeepL
The tutorial is authored by me
The photos were taken with my Samsung A20 phone and the Tecno GO 2023.
Translator used DeepL
0
0
0.000
Definitivamente me consta que le apasiona xq con solo una segueta crea lo que quiere!!
Te felicito hijito, todo está en proponérselo, saludos
Gracias @laabuelita
You have made a chair through a wonderful technique by arranging each step smoothly and joining one piece of wood together, you have shown your creative skills. The woodwork is amazing here people can sit and relax. May God always bless you with all abilities
Amen, may your good wishes come true!!!
you are most welcome
Todo muy bien elaborado, practicas y muy bonitas sillas, excelente trabajo amigo...👍
Gracias amiga!! Son verdaderamente prácticas
Son muy lindas las cosas en madera, tiene mucha creatividad y paciencia. En internet hay muchas cosas grandiosas para aprender, felicidades por su iniciativa. Bendiciones y que continue la creatividad.
Si, este trabajo me relaja mucho
Waoo que excelente 👌 es un talento sin duda, las sillas quedaron increíbles 👏
Bueno talento por explotar jejeje
¡Felicidades! Esta publicación obtuvo upvote y fue compartido por @la-colmena, un proyecto de Curación Manual para la comunidad hispana de Hive que cuenta con el respaldo de @curie.
Si te gusta el trabajo que hacemos, te invitamos a darle tu voto a este comentario y a votar como testigo por La Colmena.
Si quieres saber más sobre nuestro proyecto, te invitamos a acompañarnos en nuestro servidor de Discord.
https://twitter.com/hivediy47901/status/1752768563381690637
Congratulations @coco2024! You have completed the following achievement on the Hive blockchain And have been rewarded with New badge(s)
Your next target is to reach 1000 upvotes.
You can view your badges on your board and compare yourself to others in the Ranking
If you no longer want to receive notifications, reply to this comment with the word
STOPCheck out our last posts:
Tremendo trabajo 💪
Gracias amigo!!
Well done, you really did an awesome job. Even though you say you are not a carpenter, it looks great!
Wao thank you for what you touch me!
Your carpentry knowledge is truly impressive. Bravo
Saludos amigo, tremendo ese trabajo qué hiciste y es increíble la manera como vas armando y cortando cada pieza de madera y de esa manera poder lograr un gran resultado y en esta vida se tiene que aprender de todo y es fascinante ese gran conocimiento y poder armar muchas cosas con madera. Éxitos .
Si amigo, gracias por comentar a este le llamo perseverancia!!
¡¡¡Buen trabajo!!! Gracias por publicar tu excelente contenido en Hive Diy.
Buen trabajo. Continué así. Saludos
Gracias!!!