“Sobre para organizar trabajos escolares” - Tutorial (ESP-ENG)
Hola, atractiva comunidad de Hive, en este post quiero enseñarles todo lo que una mama puede crear para complacer a sus hijos, resulta que con el inicio de clases mi primogénito ha querido sus cuadernos y todo lo que concierne a las escuela sea de Mario Bross, y donde vivo no se consigue variedad y menos de este personaje, entonces me idee realizar un cómodo y práctico sobre personalizado. Donde llevar los trabajos elaborados en casa y que sea fácil de transportar para mi hijo. Ven te invito a ver mi paso a paso.
Hello, attractive community of Hive, in this post I want to show you everything that a mom can create to please their children, it turns out that with the start of school my firstborn has wanted his notebooks and everything that concerns the school is of Mario Bross, and where I live you do not get variety and less of this character, then I came up with a comfortable and practical custom envelope. Where to carry the work done at home and that is easy to transport for my son. Come I invite you to see my step by step.
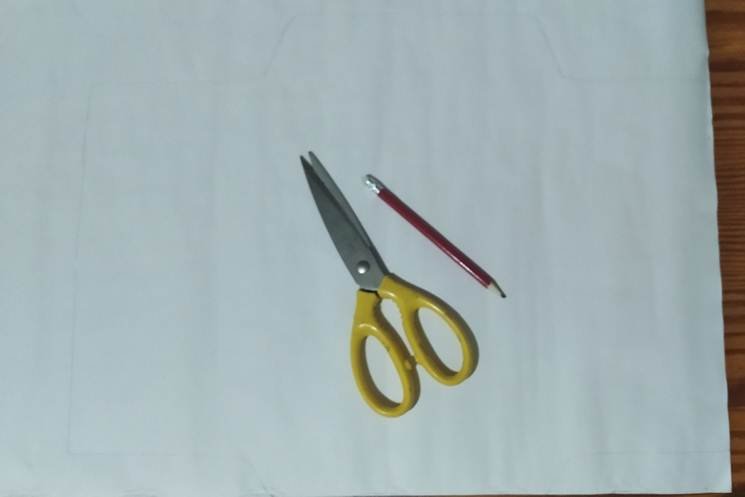
Materiales
1 Papel bond
Lápiz
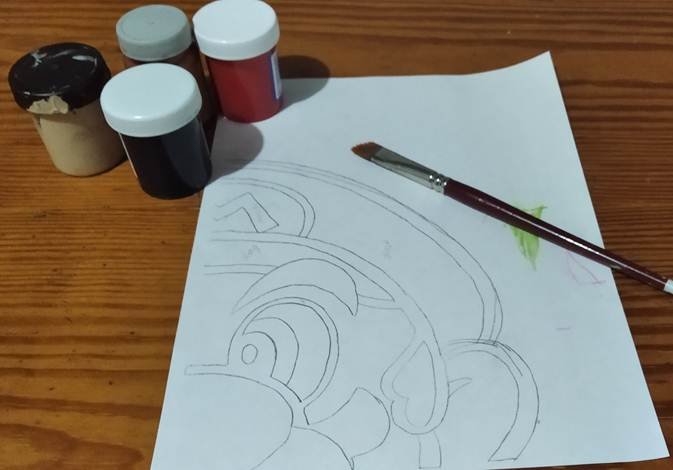
Pintura al frio (rojo, negro, azul, carne)
Tijera
Pega
Impresión de cara de Mario Bross
Materials:
1 Bond paper
Pencil
Cold paint (red, black, blue, blue, flesh)
Scissors
Glue
Mario Bross face print
Paso a paso / Step by Step:
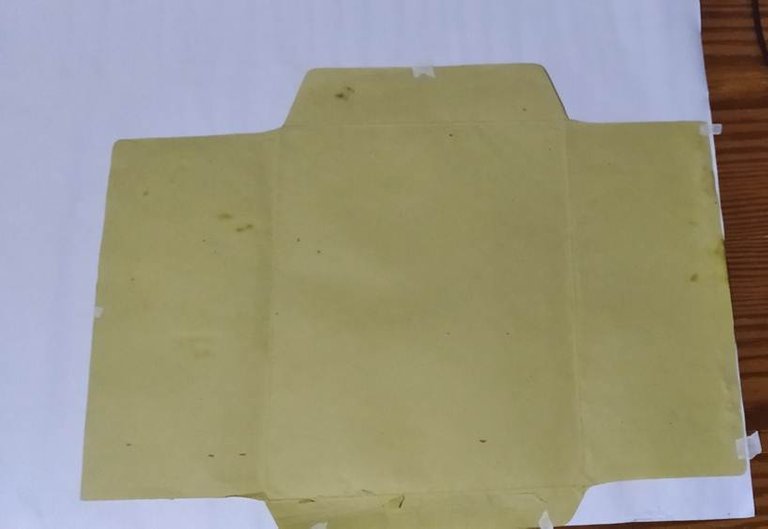
Paso 1: Iniciamos usando un sobre de manila como guía, lo calcamos en el papel bond, y recortamos.
Step 1: We start by using a maline envelope as a guide, trace it on the bond paper, and cut it out.
Paso 2: En este paso vamos a pintar todo el sobre de rojo solo por una cara y yo particularmente le doy dos capaz para que tenga una mejor apreciación del color.
Step 2: In this step we are going to paint the whole envelope red on one side only and I particularly give it two sides so that it has a better appreciation of the color.

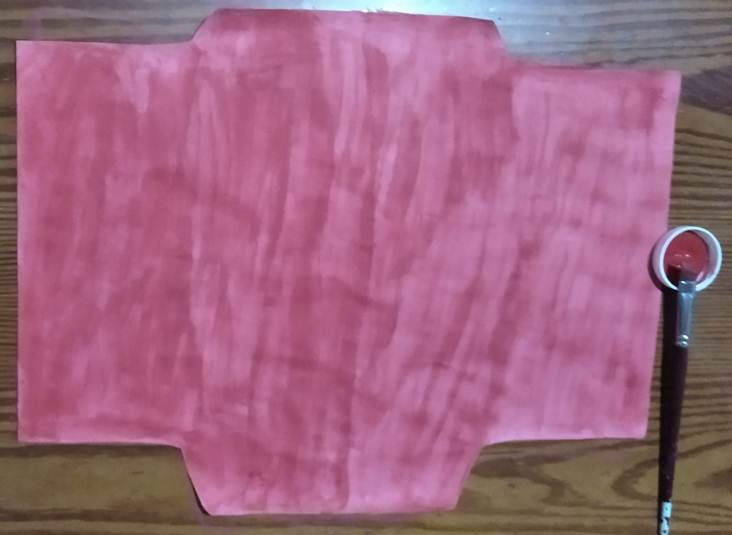
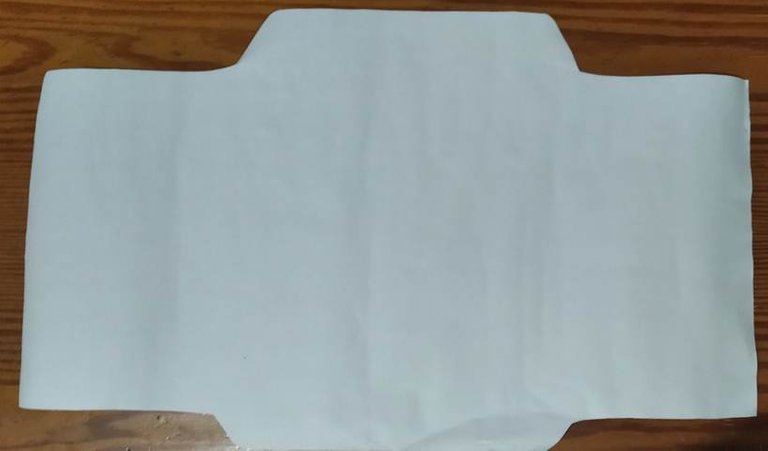
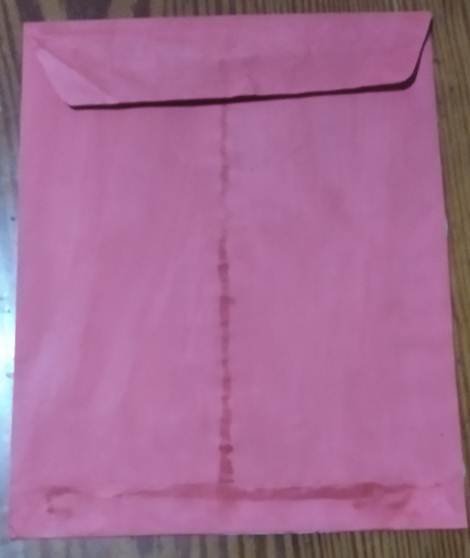
Paso 3: Luego vamos a pegar para armar el sobre, colocamos la pega y luego con ayuda del dedo untamos la pega de manera que se mas fácil y tenga un mejor acabado cuando pegue. De esta forma ya tenemos listo el sobre dejamos secar la pega.
Step 3: Then we are going to glue to assemble the envelope, we place the glue and then with the help of the finger we spread the glue so that it is easier and has a better finish when glued. This way we have the envelope ready and let the glue dry.

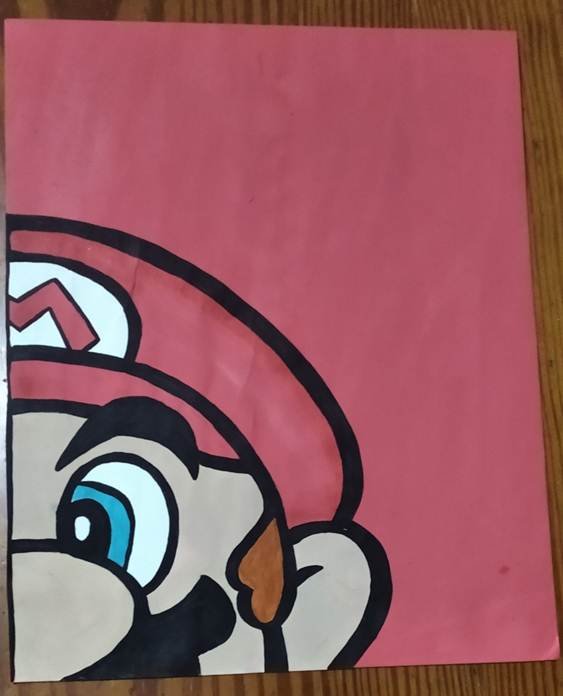
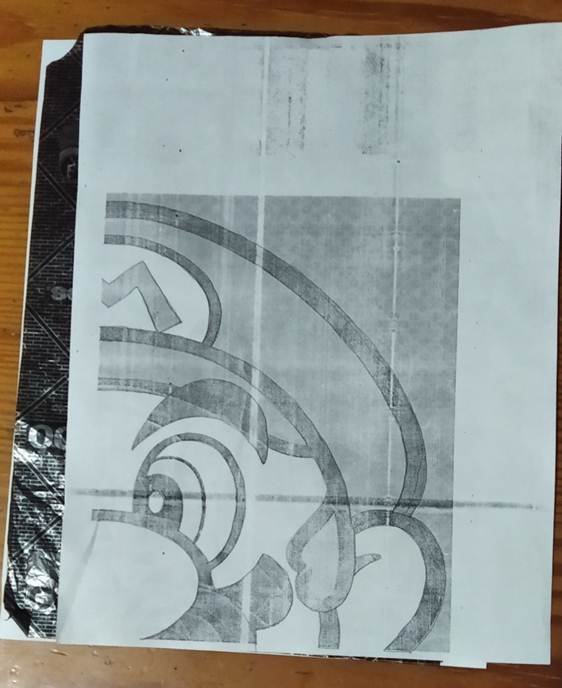
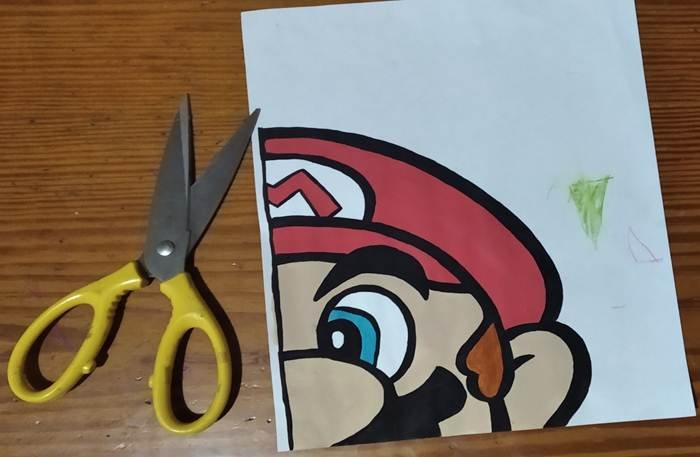
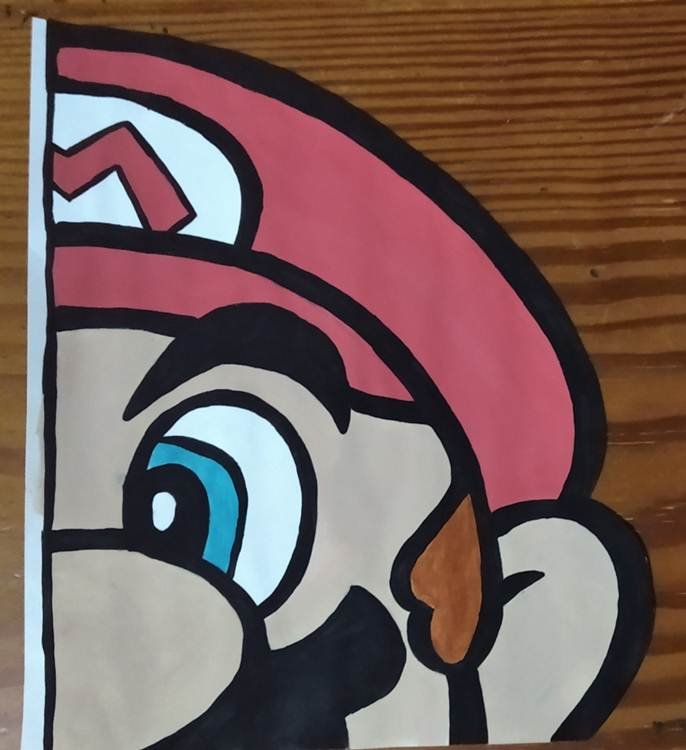
Paso 4: En este paso trabajaremos el rostro de Mario Bross, que es el detalle más relevante para cambiar la vista del sobre, entonces como no soy buena dibujante utilice una impresión con la cara de este personaje, la calqué en una hoja blanca e inicie a pintar te muestro como lo hice en las siguientes fotos:
Step 4: In this step we will work the face of Mario Bross, which is the most relevant detail to change the view of the envelope, so as I am not a good drawer I used a print with the face of this character, I traced it on a white sheet and started to paint, I show you how I did it in the following photos:
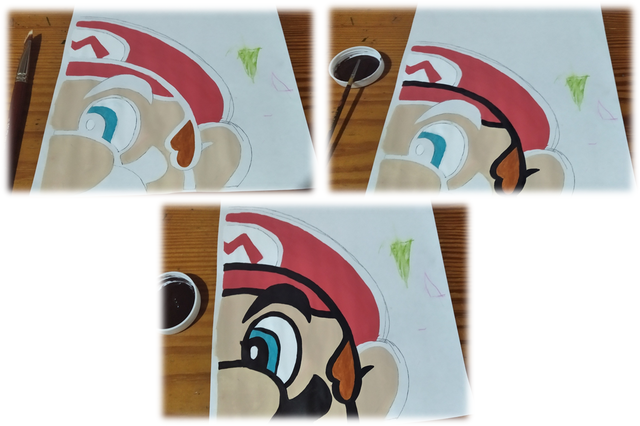
Paso 5: Aquí simplemente vamos a recortar la cara de Mario Bross y la pegamos en el sobre, teniendo en cuenta la recomendación del paso 3. Y así obtenemos un sobre diferente y que seguro gustara a tus hijos.
Step 5: Here we simply cut out the Mario Bross face and glue it on the envelope, taking into account the recommendation of step 3.

Ver una sonrisa en mi pequeño es mi mayor satisfacción de cada cosa que invento para ellos, si te ha gustado aquí tienes el paso a paso para que lo pruebes…
Seeing a smile on my little one's face is my greatest satisfaction of each thing I invent for them, if you liked it here you have the step by step to try it....
Traducido por Deep
Mis redes sociales:
Twitter: @tmariangel11
Facebook: Maria Toro
Instagram: @tmariangel
☆…☆…☆…☆…☆…☆…☆…☆
☆…☆…☆…☆…☆…☆…☆…☆…☆…☆
☆…☆…☆…☆…☆…☆…☆…☆…☆…☆…☆…☆…☆
☆…☆…☆…☆…☆…☆…☆…☆…☆…☆…☆…☆…☆…☆…☆…☆…☆
Congratulations @bizcotela! You have completed the following achievement on the Hive blockchain and have been rewarded with new badge(s):
Your next target is to reach 50 comments.
You can view your badges on your board and compare yourself to others in the Ranking
If you no longer want to receive notifications, reply to this comment with the word
STOPTo support your work, I also upvoted your post!
Check out the last post from @hivebuzz:
Support the HiveBuzz project. Vote for our proposal!
Gracias por su apoyo @don.quijote