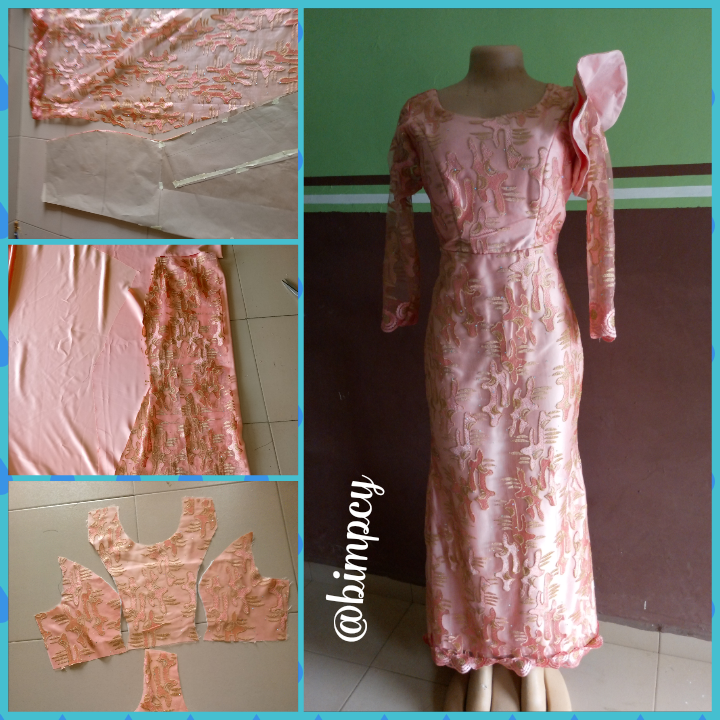
Just concluded Aso ebi wedding outfit for a friend using slash and spread method for fullness
Hello beautiful people
It's the end of the year and many people has decided to tie the knot this season, there are a lot of wedding to plan and wedding to attend, to some people, they are occupied with wedding invitations every Saturday of the month until the end of the year, my friend Goodness is not an exception as she has a lot of wedding to attend, well I'm also not left out either but, I only decided to attend just few that are very close to me, for this reason, there are a lot of Aso ebi wedding outfit to make, you might not understand what aso ebi means, this is a fabric of same color and design chosen by the bride for her family of friends to wear on her wedding day in form of a uniform just to grace the occasion and to make it colorful.
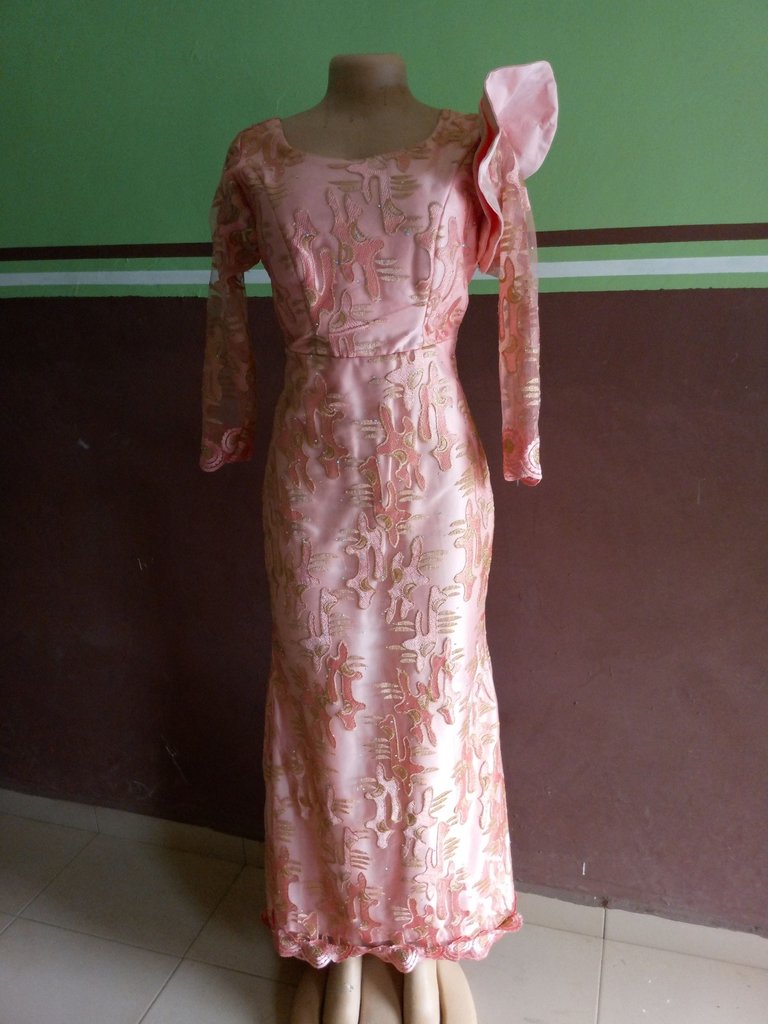
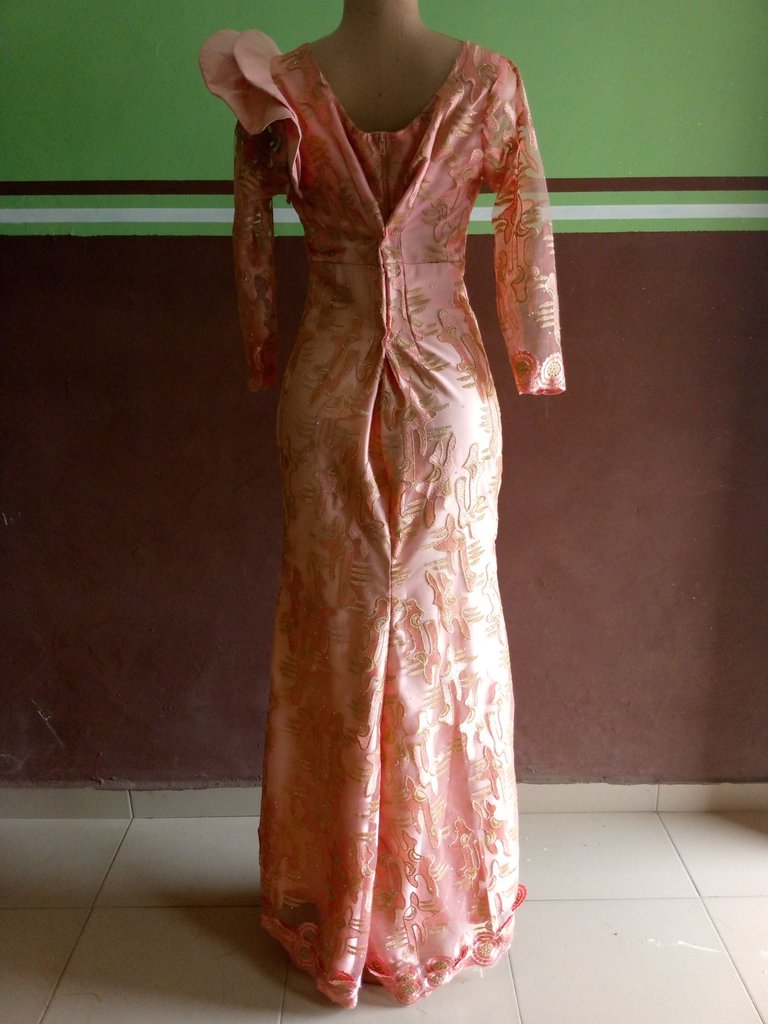
My friend Goodness has been chosen as one of the Aso ebi ladies, which she gladly accepted, the Aso ebi thing depends on ones choice, either to buy the fabric or not, this totally depends on individual perspective, because, you have to pay for the fabric, and the cost of sewing is also on you, so it's a thing of choice, well my friend Goodness accepted that of her friend's wedding and brought her fabric to me for sewing, we decided to make this simple gown with tail at the back using slash and spread method for the fullness at the back.
This was not too difficult for me to make as I have made a similar outfit for a friend using Ankara fabric to achieve this style, the same method was adopted to create this style and it was so beautiful as well.
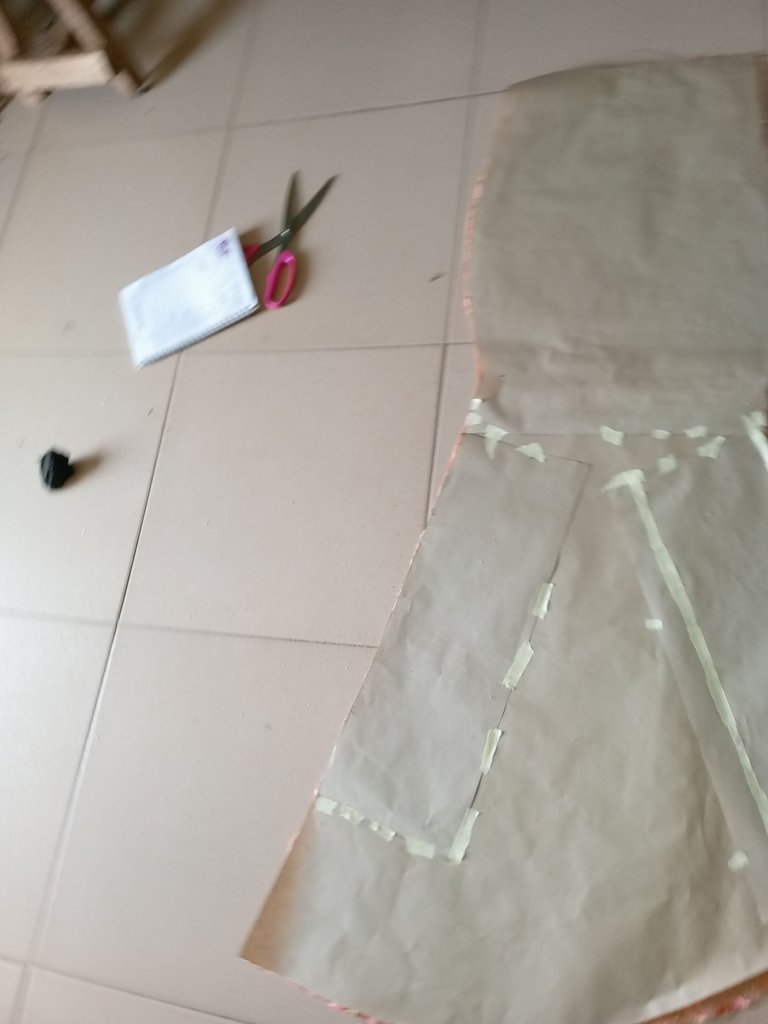
Since I'm using slash and spread method, all my drafting will be done on a brown paper before being duplicated on the main fabric. Let's get started.
Cutting and sewing process
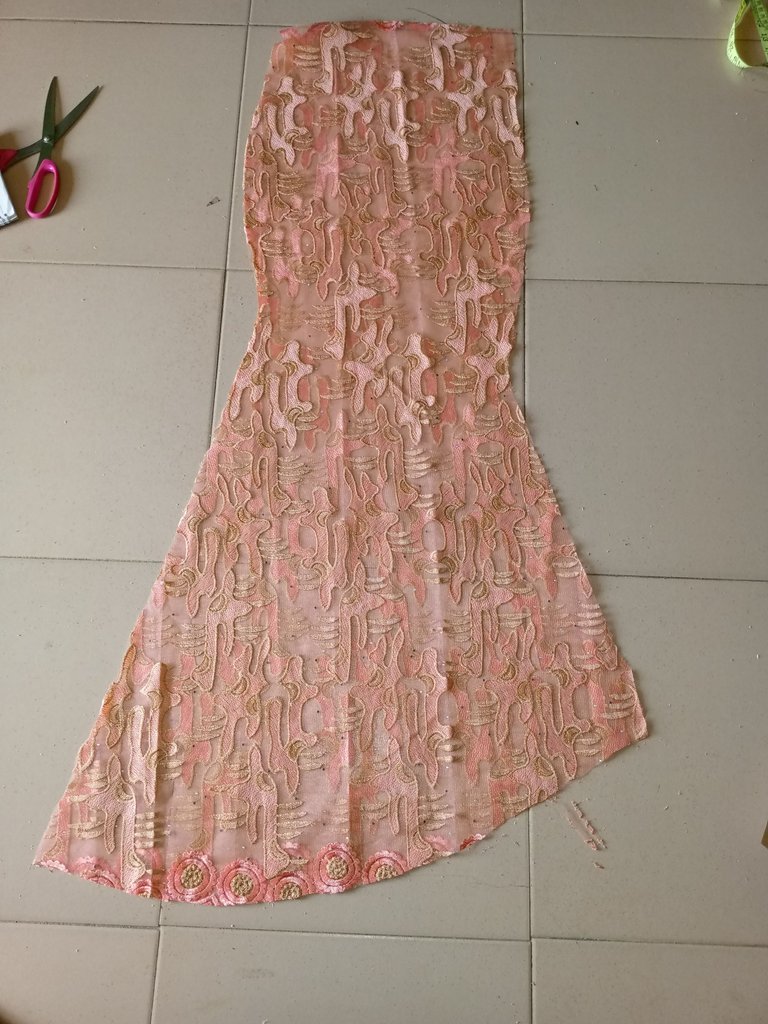
First, I drafted out a basic skirt pattern on a brown paper using my friend's bodice measurement after drafting it out to the full length, I slash through from the center of the half bodice measurement to the knee line and slash to the right and spread it to my desired fullness.
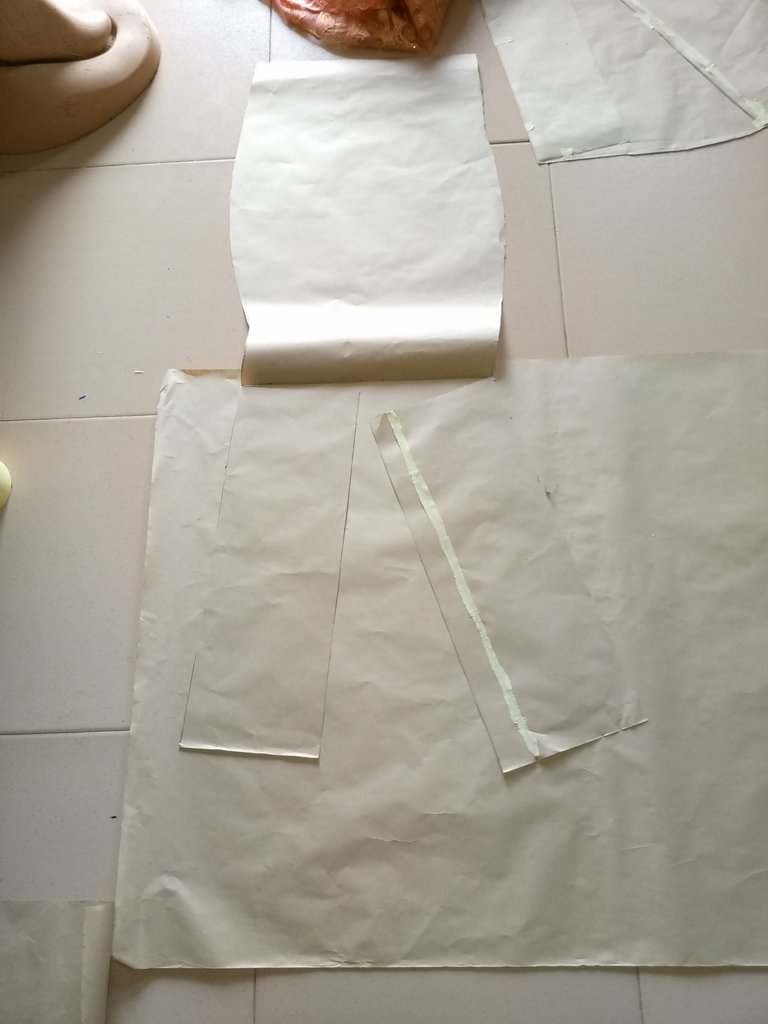
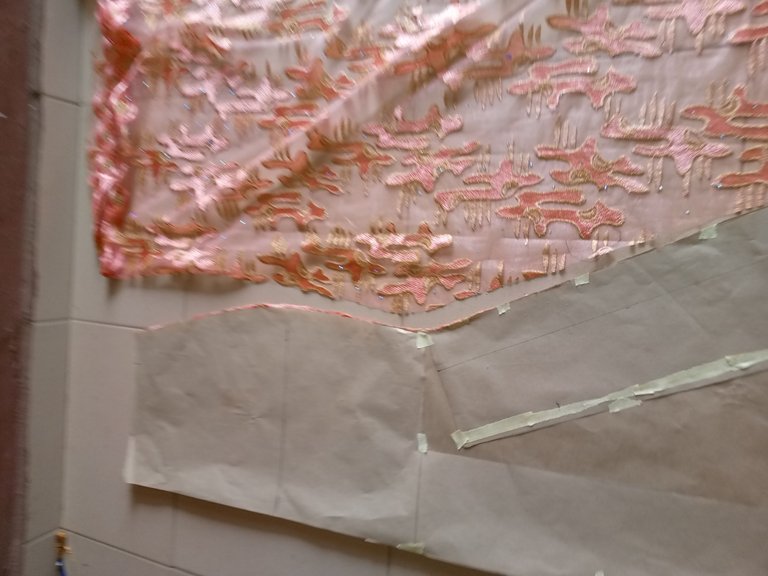
The same was done to the back pattern with additional 5" to the full length measurement
The cut out patterns were placed on the main fabric to cut out same shape with the satin material that will serve the lining.
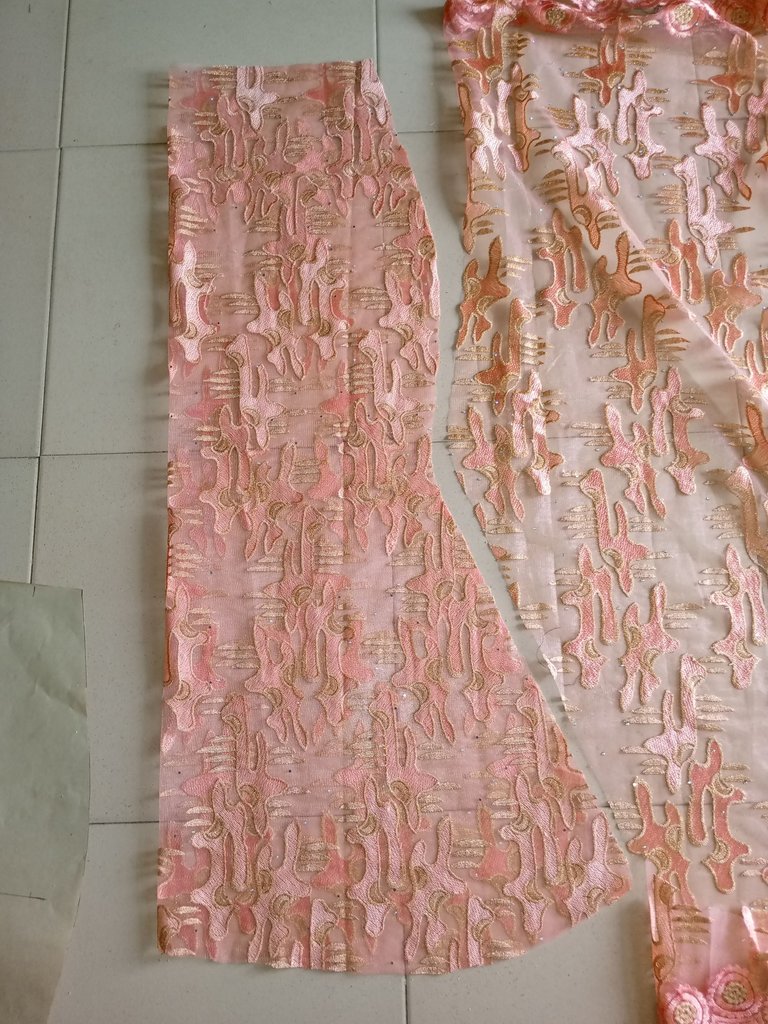
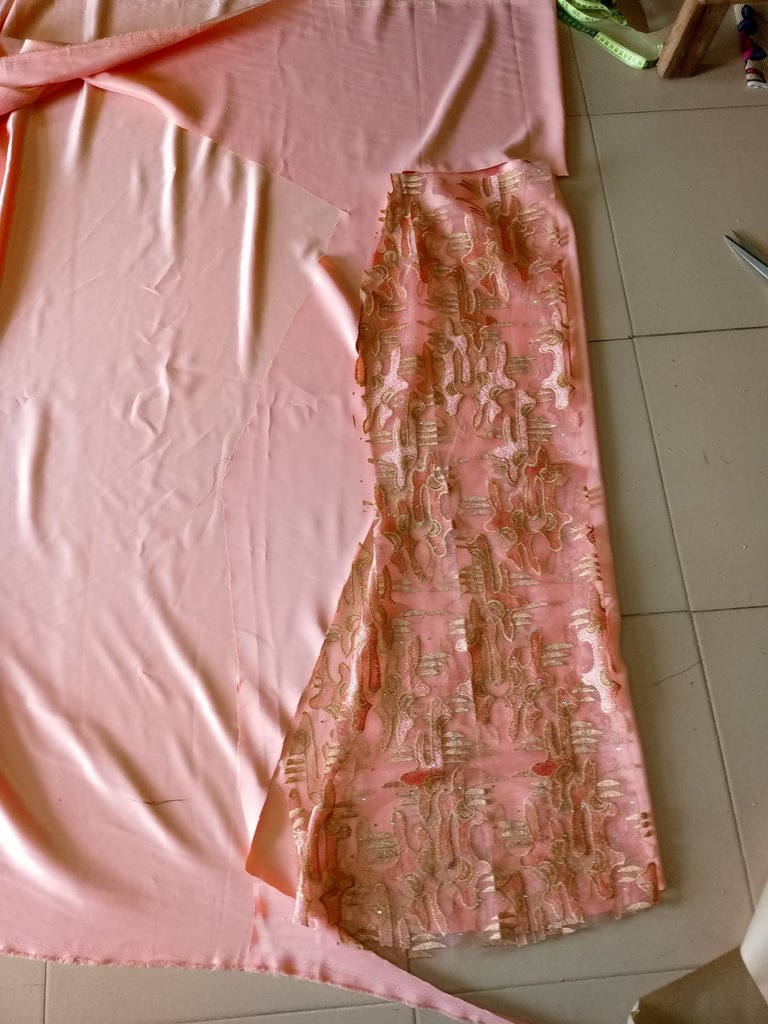
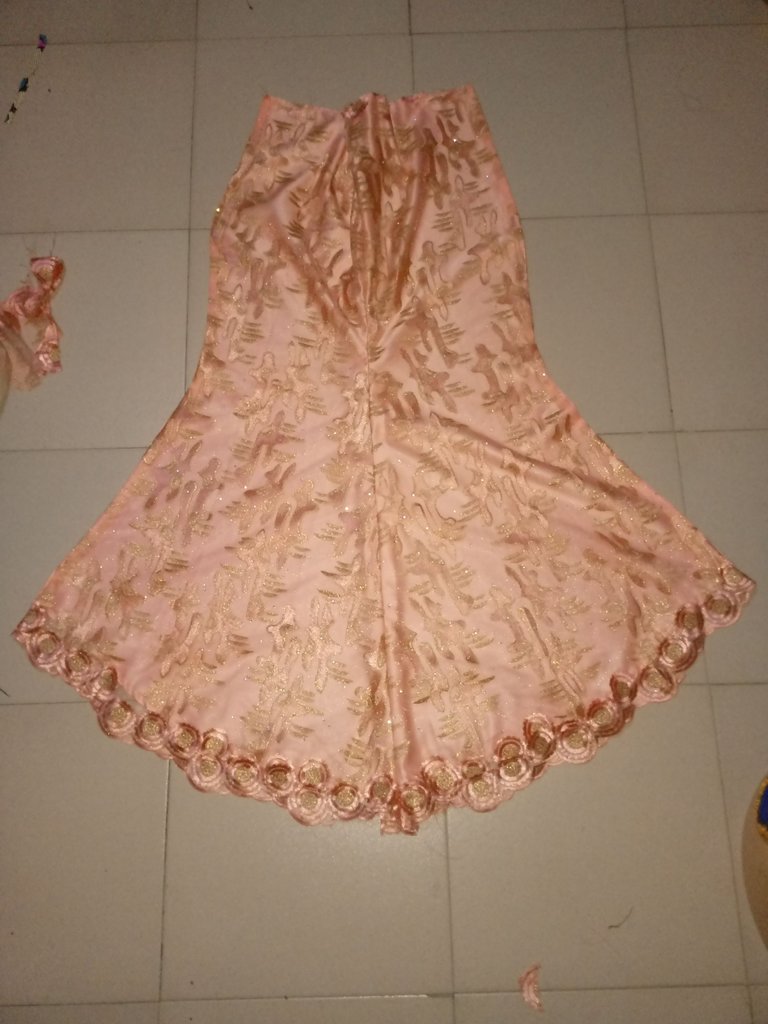
The satin material was used to turn the main fabric inside to have a neat edges and finishing.

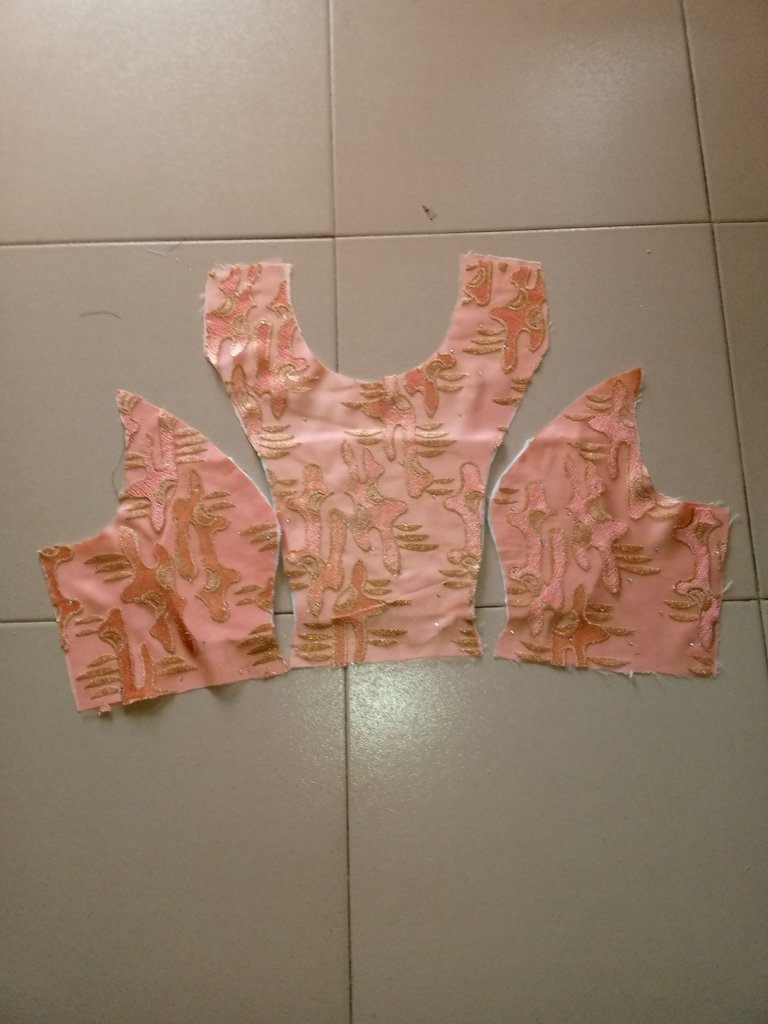
The lower part were sewn together and set aside while I proceeded to the cutting of the upper bodice. To cut the upper bodice, I also drafted out a princess dart bustier for the upper bodice using my friend's measurement.
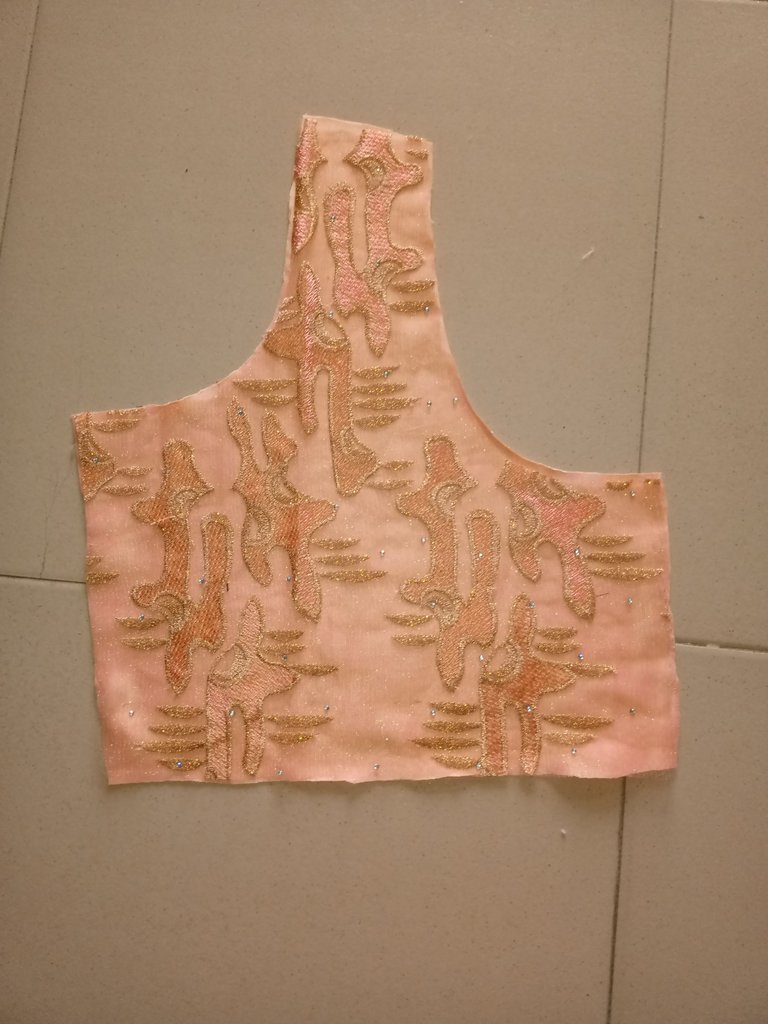
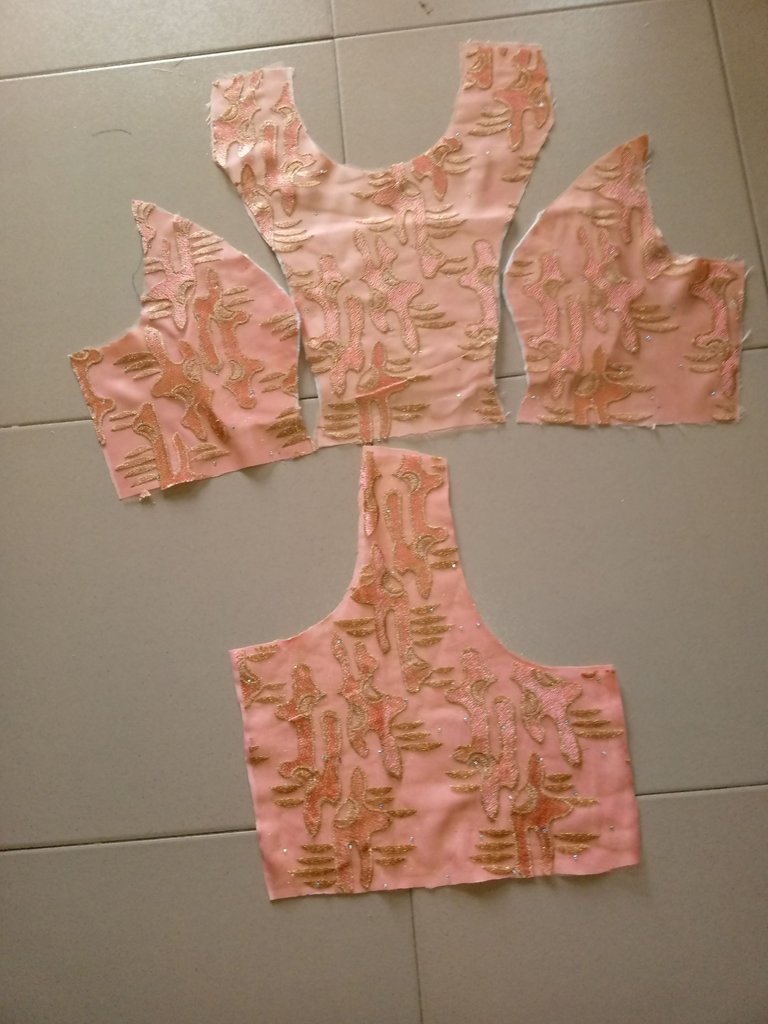
The upper bodice were sewn together to the lower part of the dress and I cut a basic long sleeve to the armhole circumference to complete the gown.
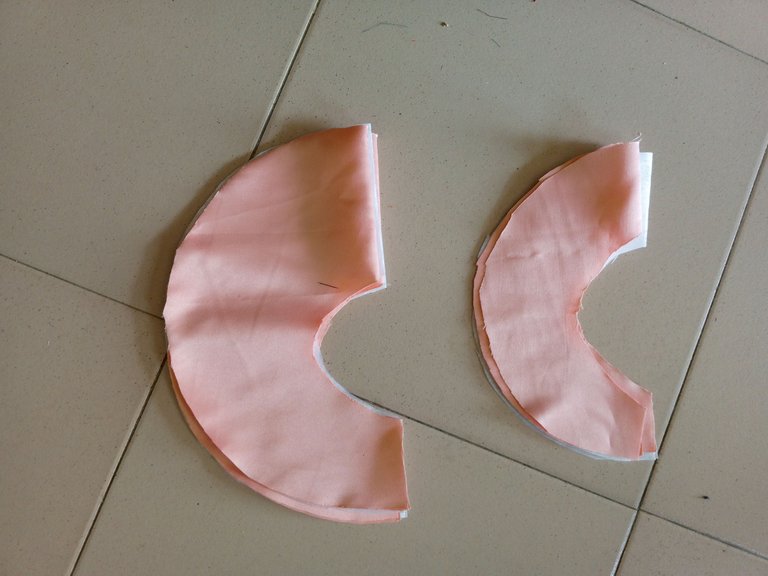
Before the sewing of the sleeves to the armhole circumference, I made a 360° flare in form of flounce and added it to the sleeves after which it was sewn to the armhole circumference.

The dress was completed with zipper at the back and the desired fullness was achieved.

I hope you like the beautiful outcome of the dress.
Beautiful dress, I'm sure I would also wear it to celebrate my wedding anniversary! Thanks for sharing!
The dress is amazing keep it up