[ESP-ENG] Making a Beautiful Arrangement for my Daughter's Birthday - Tutorial | Realizando un Hermoso Arreglo a mi hija que está de Cumpleaños - Tutorial

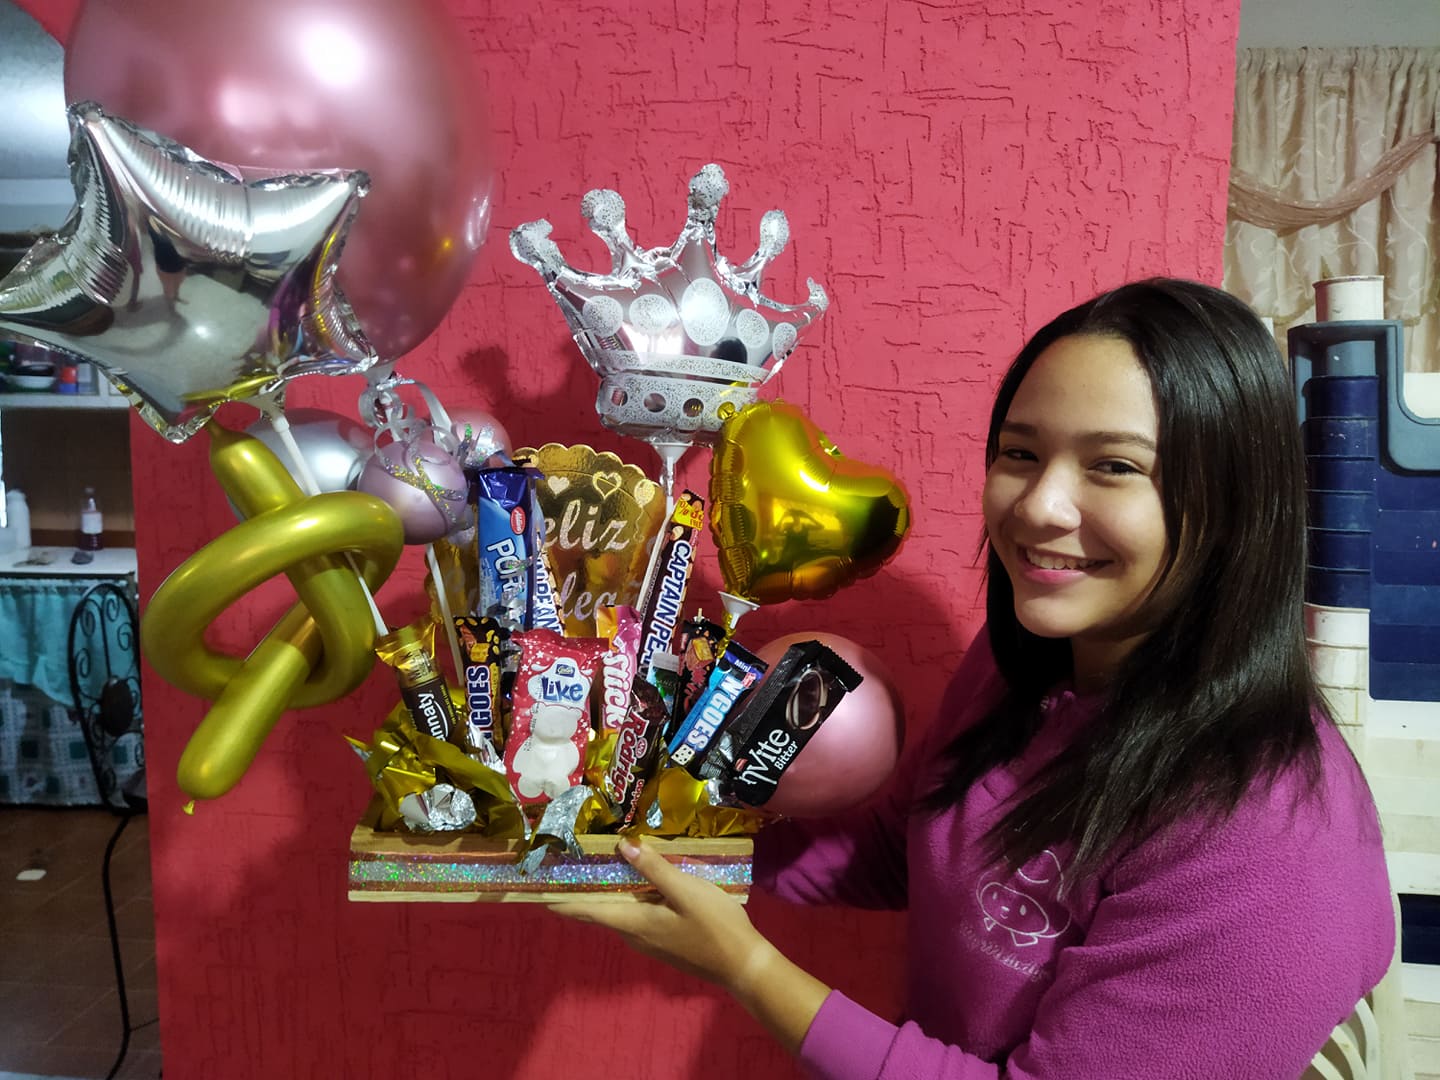
Hi friends of Hive, I hope you are very well, yesterday was my eldest daughter's birthday, and I made her this gift, I want to share with all of you this great happiness and show you how I did it, super simple and easy, with little money.

.png)
-Materiales:
-Una caja para la base del arreglo.
-Globos para decorar.
-Palitos de altura.
-Silicón.
-Chuchería variada.
-Papel hojilla.
-Cinta.
-Yesquero.
-Paso 1: Primero que todo debemos de tener todos los materiales que vamos a usar para hacer nuestro arreglo, sea sencillo o cargado.
-Materials:
-A box for the base of the arrangement.
-Balloons to decorate.
-Sticks of height.
-Silicone.
Assorted knick-knacks.
-Sheet paper.
-Ribbon.
-Yesquero.
-Step 1: First of all we must have all the materials that we are going to use to make our arrangement, either simple or loaded.
.png)
-Paso 2: Procedemos a cortar el papel hojilla en cuadrados medianos, ya que estos van a ser para decorar la base de nuestro arreglo, esto da mucha vida a la decoración, y lo colocamos en la base del arreglo, en los bordes de la caja de madera, de manera ordenada.
-Step 2: We proceed to cut the leaf paper into medium squares, as these will be used to decorate the base of our arrangement, this gives a lot of life to the decoration, and we place it at the base of the arrangement, on the edges of the wooden box, in an orderly manner.
.png)
-Paso 3: Procedemos luego a inflar los globos que tenemos, luego la cinta la pegamos alrededor de nuestra cajita de madera para dar mas vista y que se vea mucho más hermosa. Decoramos los globos a nuestra manera y a nuestro gusto los colocamos en nuestro arreglo. Los palitos de altura los procedemos a pegar detrás de cada chuchería para así clavar el palito en el anime de la base del arreglo y ellos se puedan sostener, de esta manera culminamos.
-Step 3: We then proceed to inflate the balloons we have, then we glue the ribbon around our wooden box to give more view and make it look much more beautiful. We decorate the balloons as we like and place them in our arrangement. We proceed to glue the sticks behind each candy so we can stick the stick in the anime of the base of the arrangement and they can be held, this way we finish.
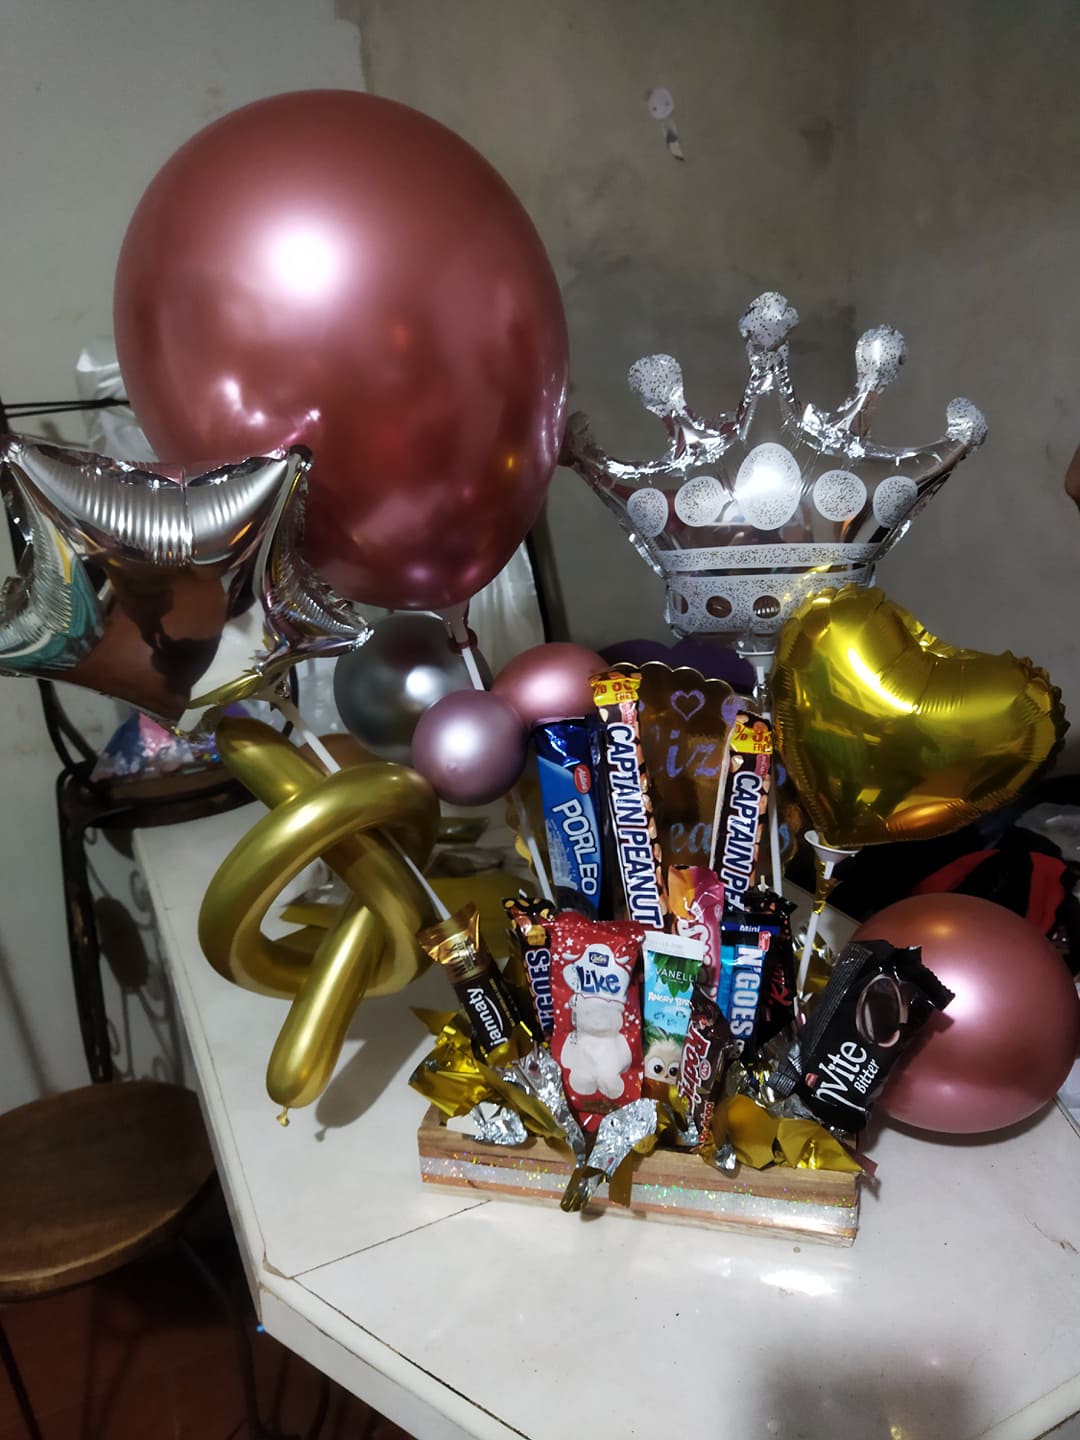
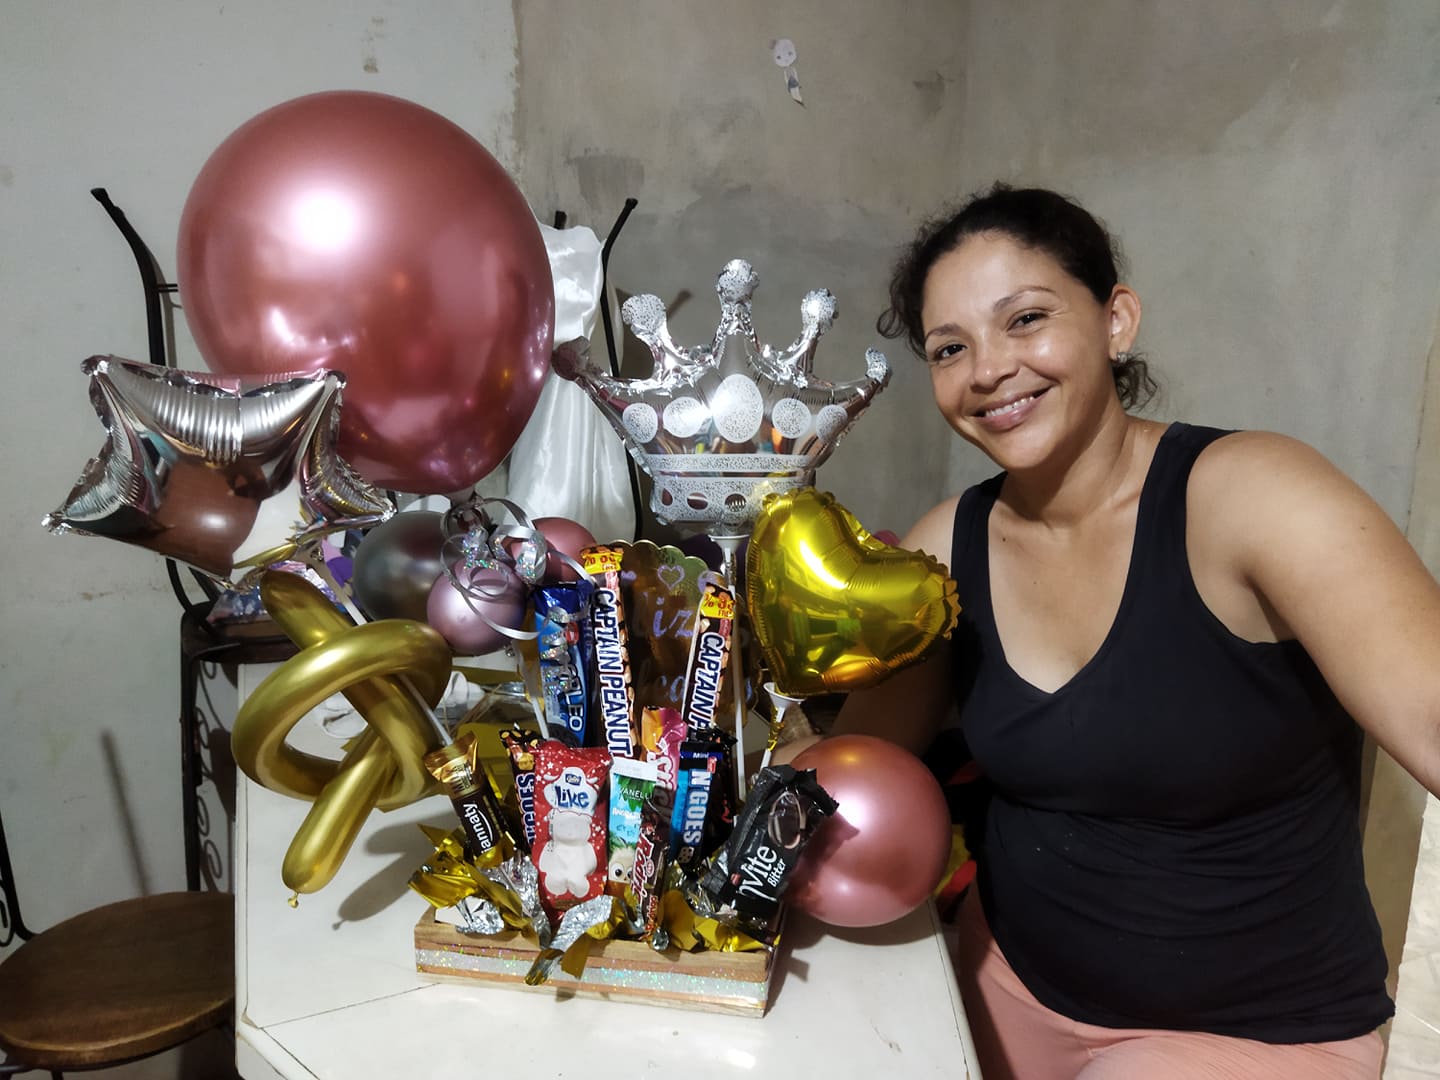
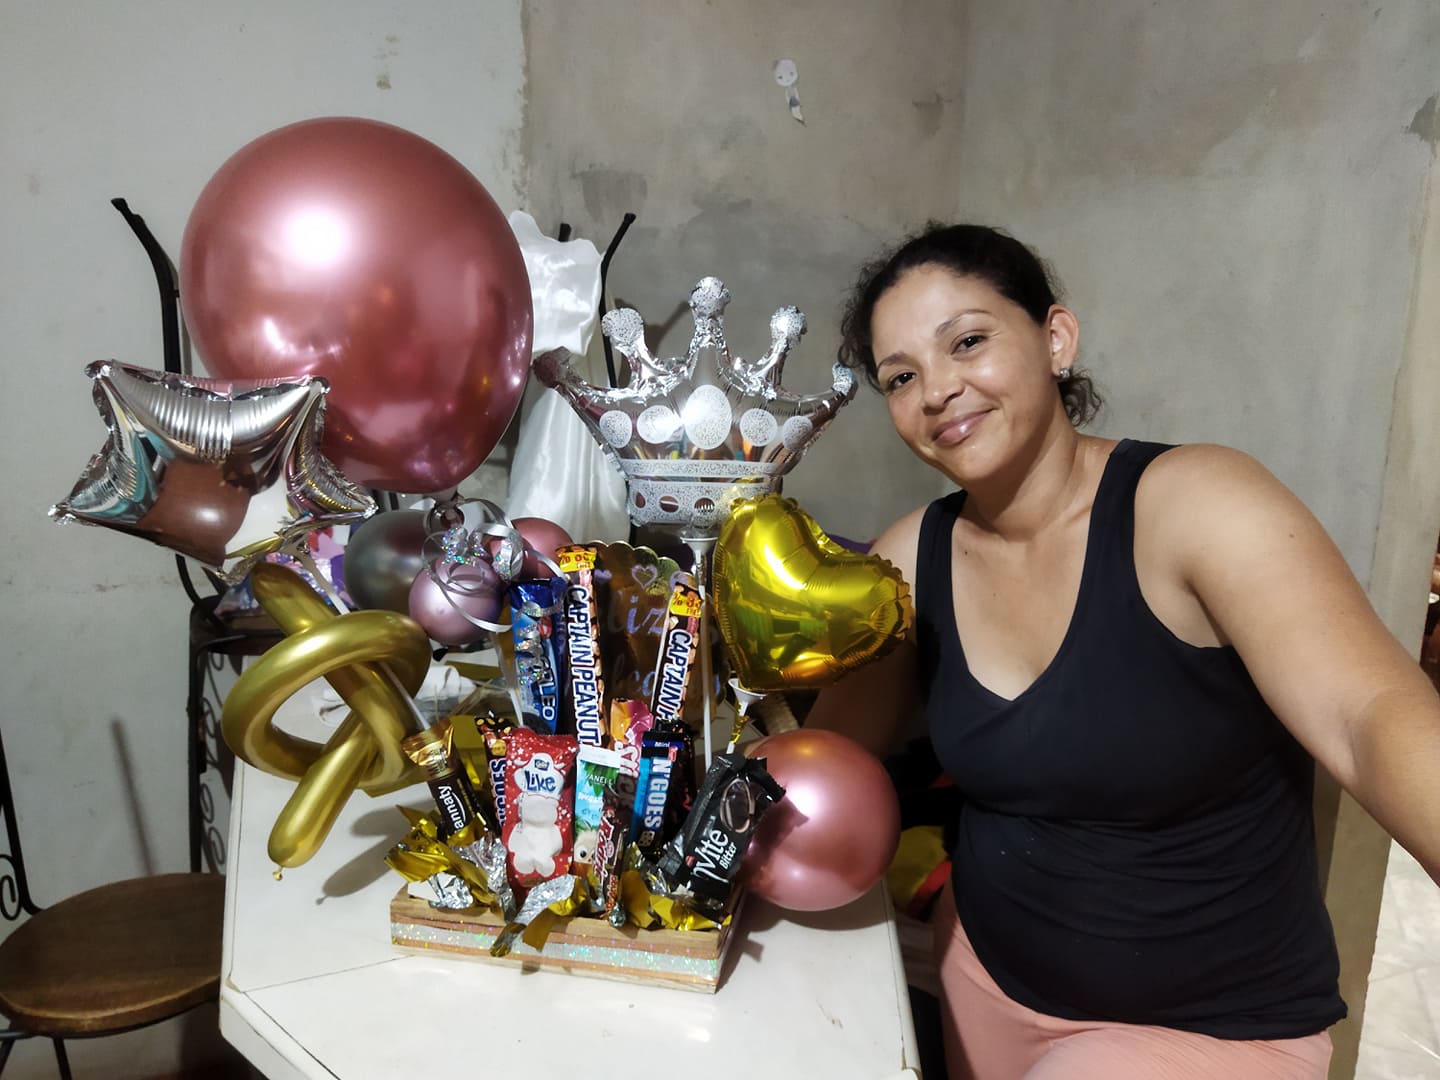
Final Result.
All photos are edited with canva.

Electronic-terrorism, voice to skull and neuro monitoring on Hive and Steem. You can ignore this, but your going to wish you didnt soon. This is happening whether you believe it or not. https://ecency.com/fyrstikken/@fairandbalanced/i-am-the-only-motherfucker-on-the-internet-pointing-to-a-direct-source-for-voice-to-skull-electronic-terrorism
Congratulations @betzy25! You have completed the following achievement on the Hive blockchain and have been rewarded with new badge(s) :
Your next target is to reach 70 posts.
You can view your badges on your board and compare yourself to others in the Ranking
If you no longer want to receive notifications, reply to this comment with the word
STOPTo support your work, I also upvoted your post!
Check out the last post from @hivebuzz: