[ESP-ENG] Creating a wallet from an old jean | Creando una cartera con un jean viejo
.jpg)
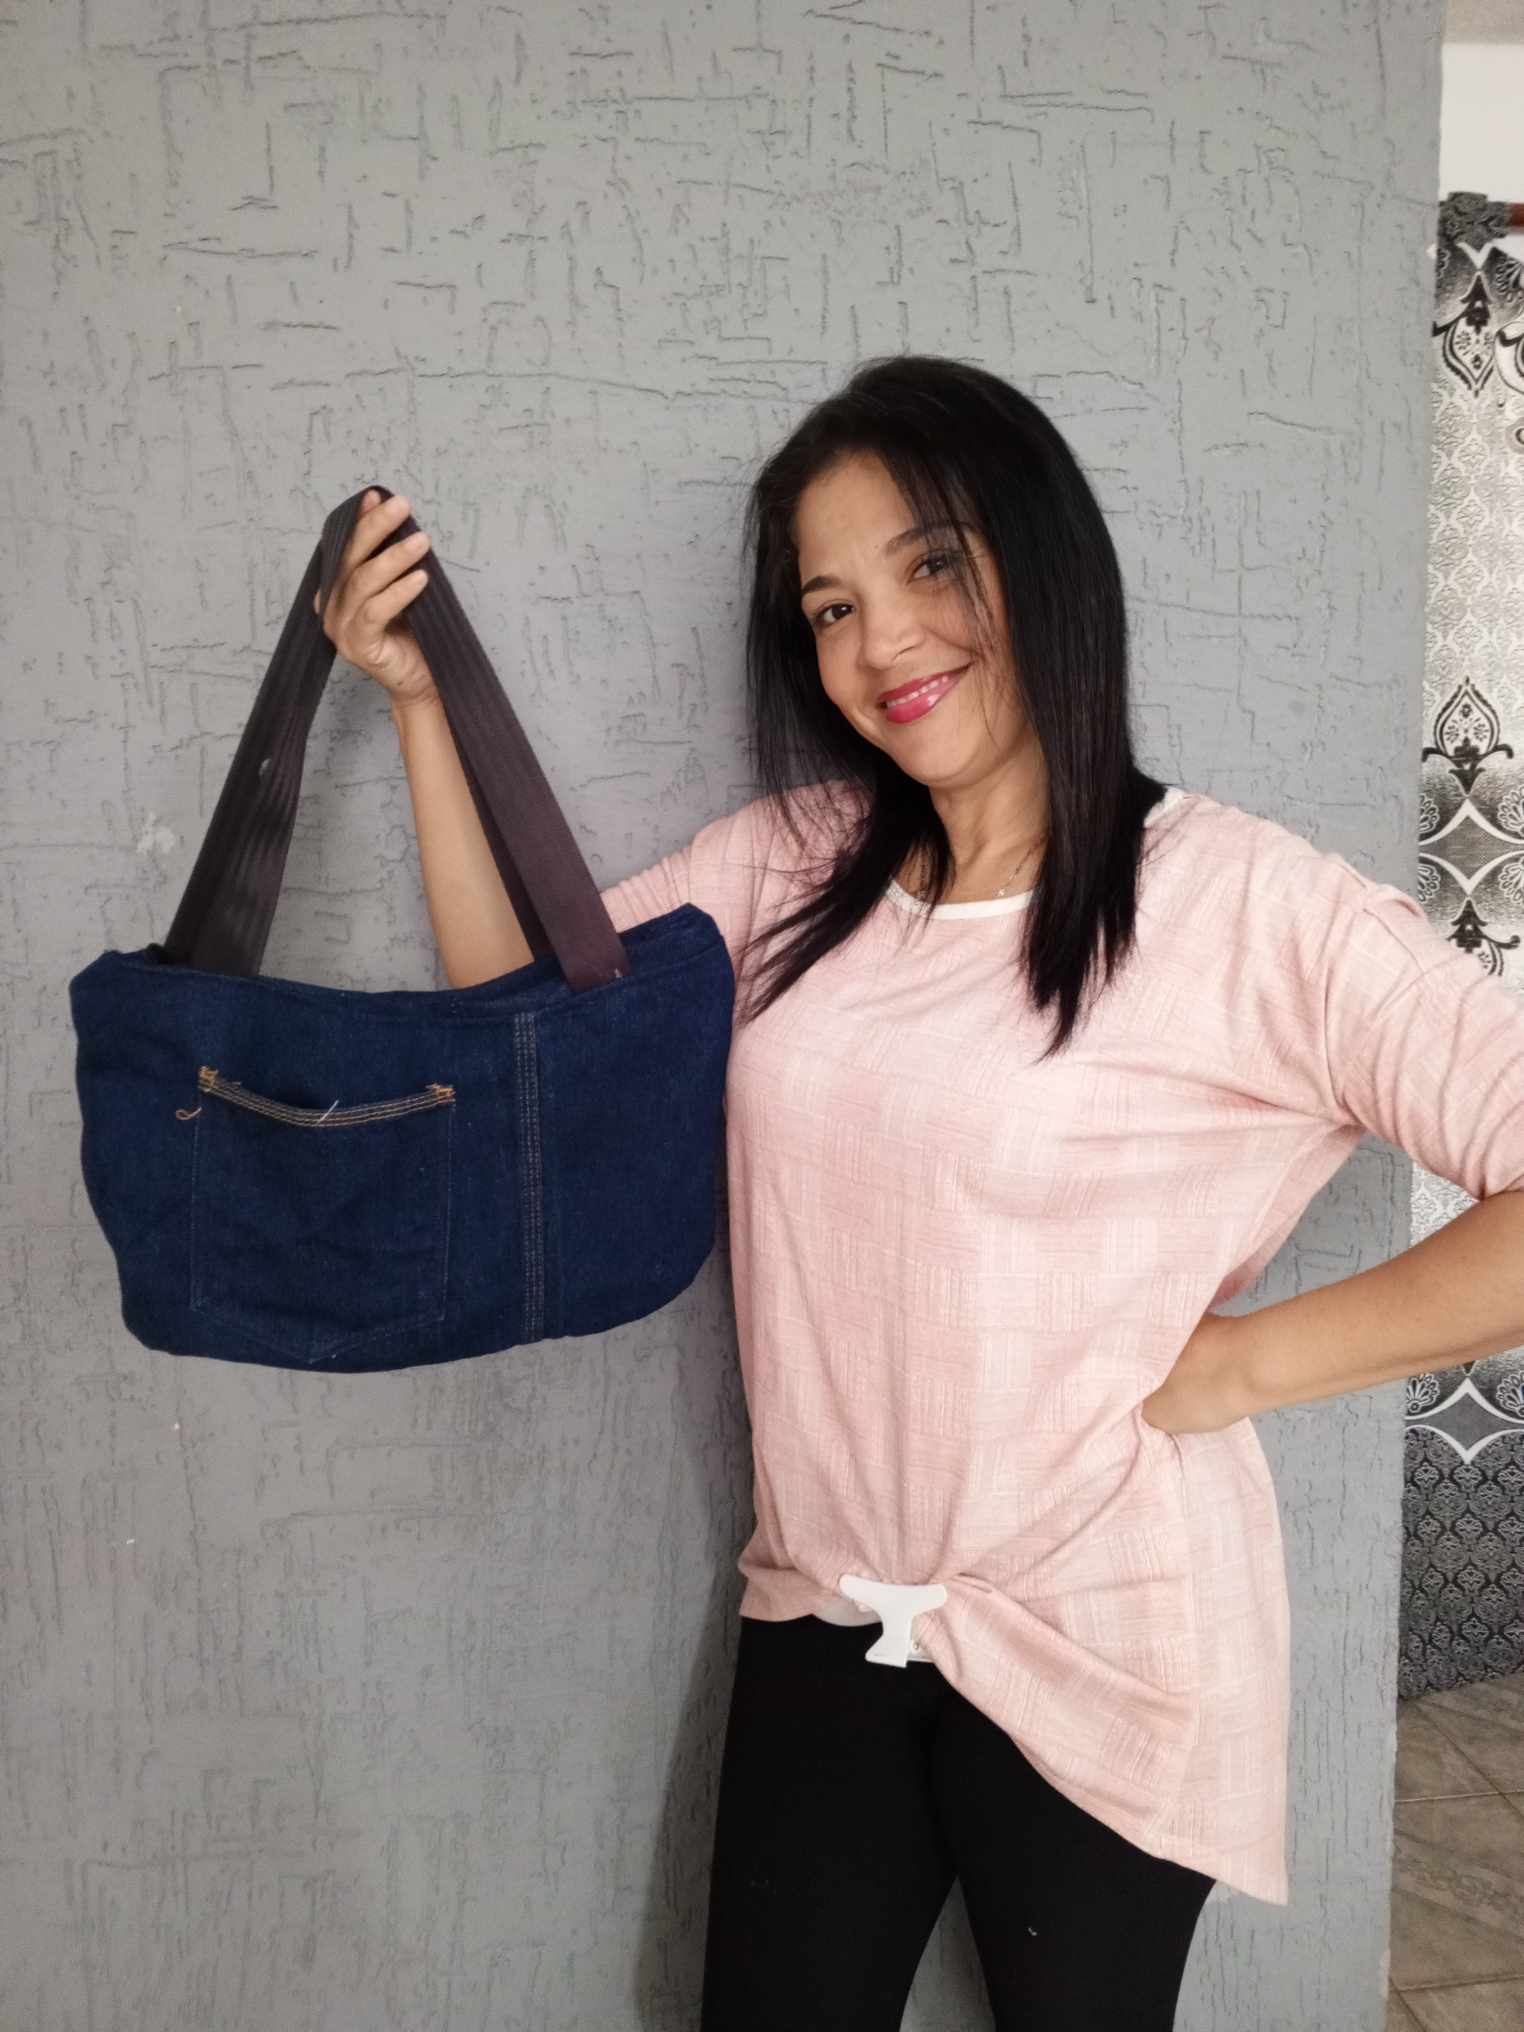
Friends of hive, I'm happy to be here again with all of you sharing as a family our stories and creation tutorials, today I'm anxious to show you a beautiful bag I made with an old jean, I really needed a purse to go out and to put my little things, so I managed to make this a reality. It was super fun to make this purse, I hope you like it as much as I did, let's see the step by step.
.jpg)
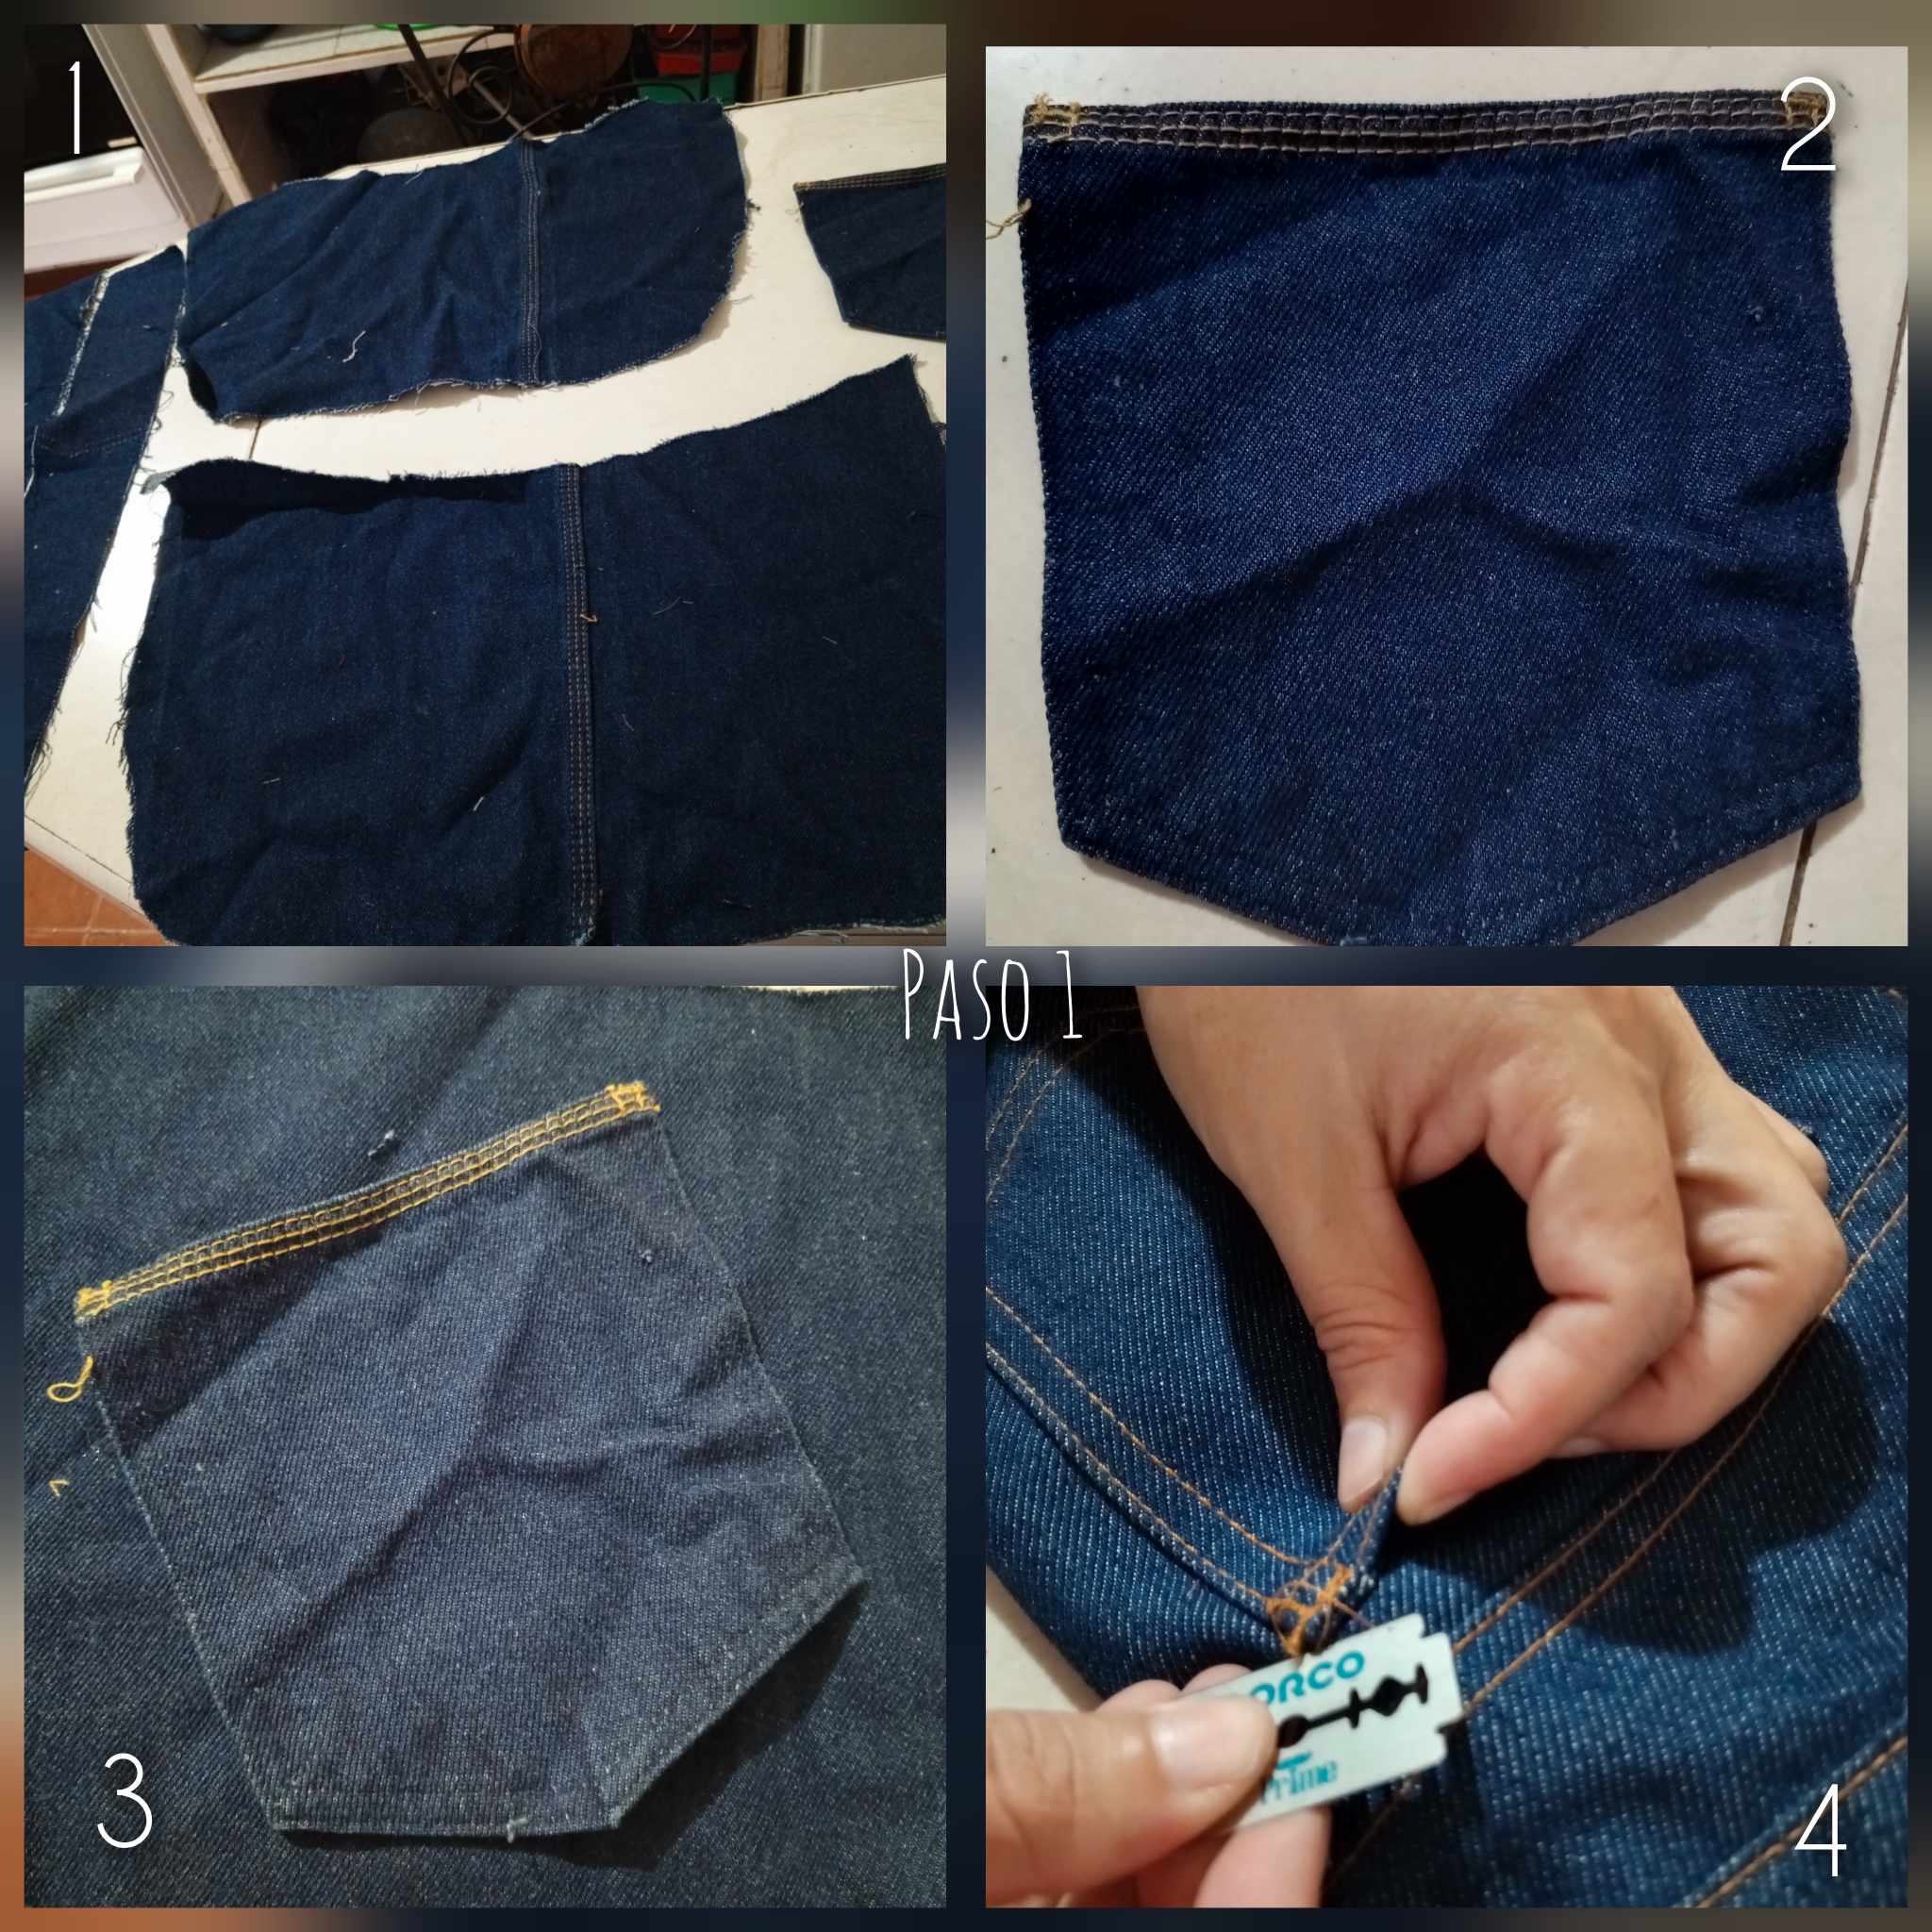
Paso 1: Vamos a necesitar la parte de atrás del jean viejo, eso será lo que usaremos, le quitaremos los bolsillos al pantalón ya que estos serán de adorno a la cartera, pueden observar el bolsillo despegado, lo quitaremos con la hojilla.
Step 1: We are going to need the back of the old jean, that will be what we will use, we will remove the pockets from the pants as these will be used to decorate the wallet, you can see the pocket detached, we will remove it with the blade.
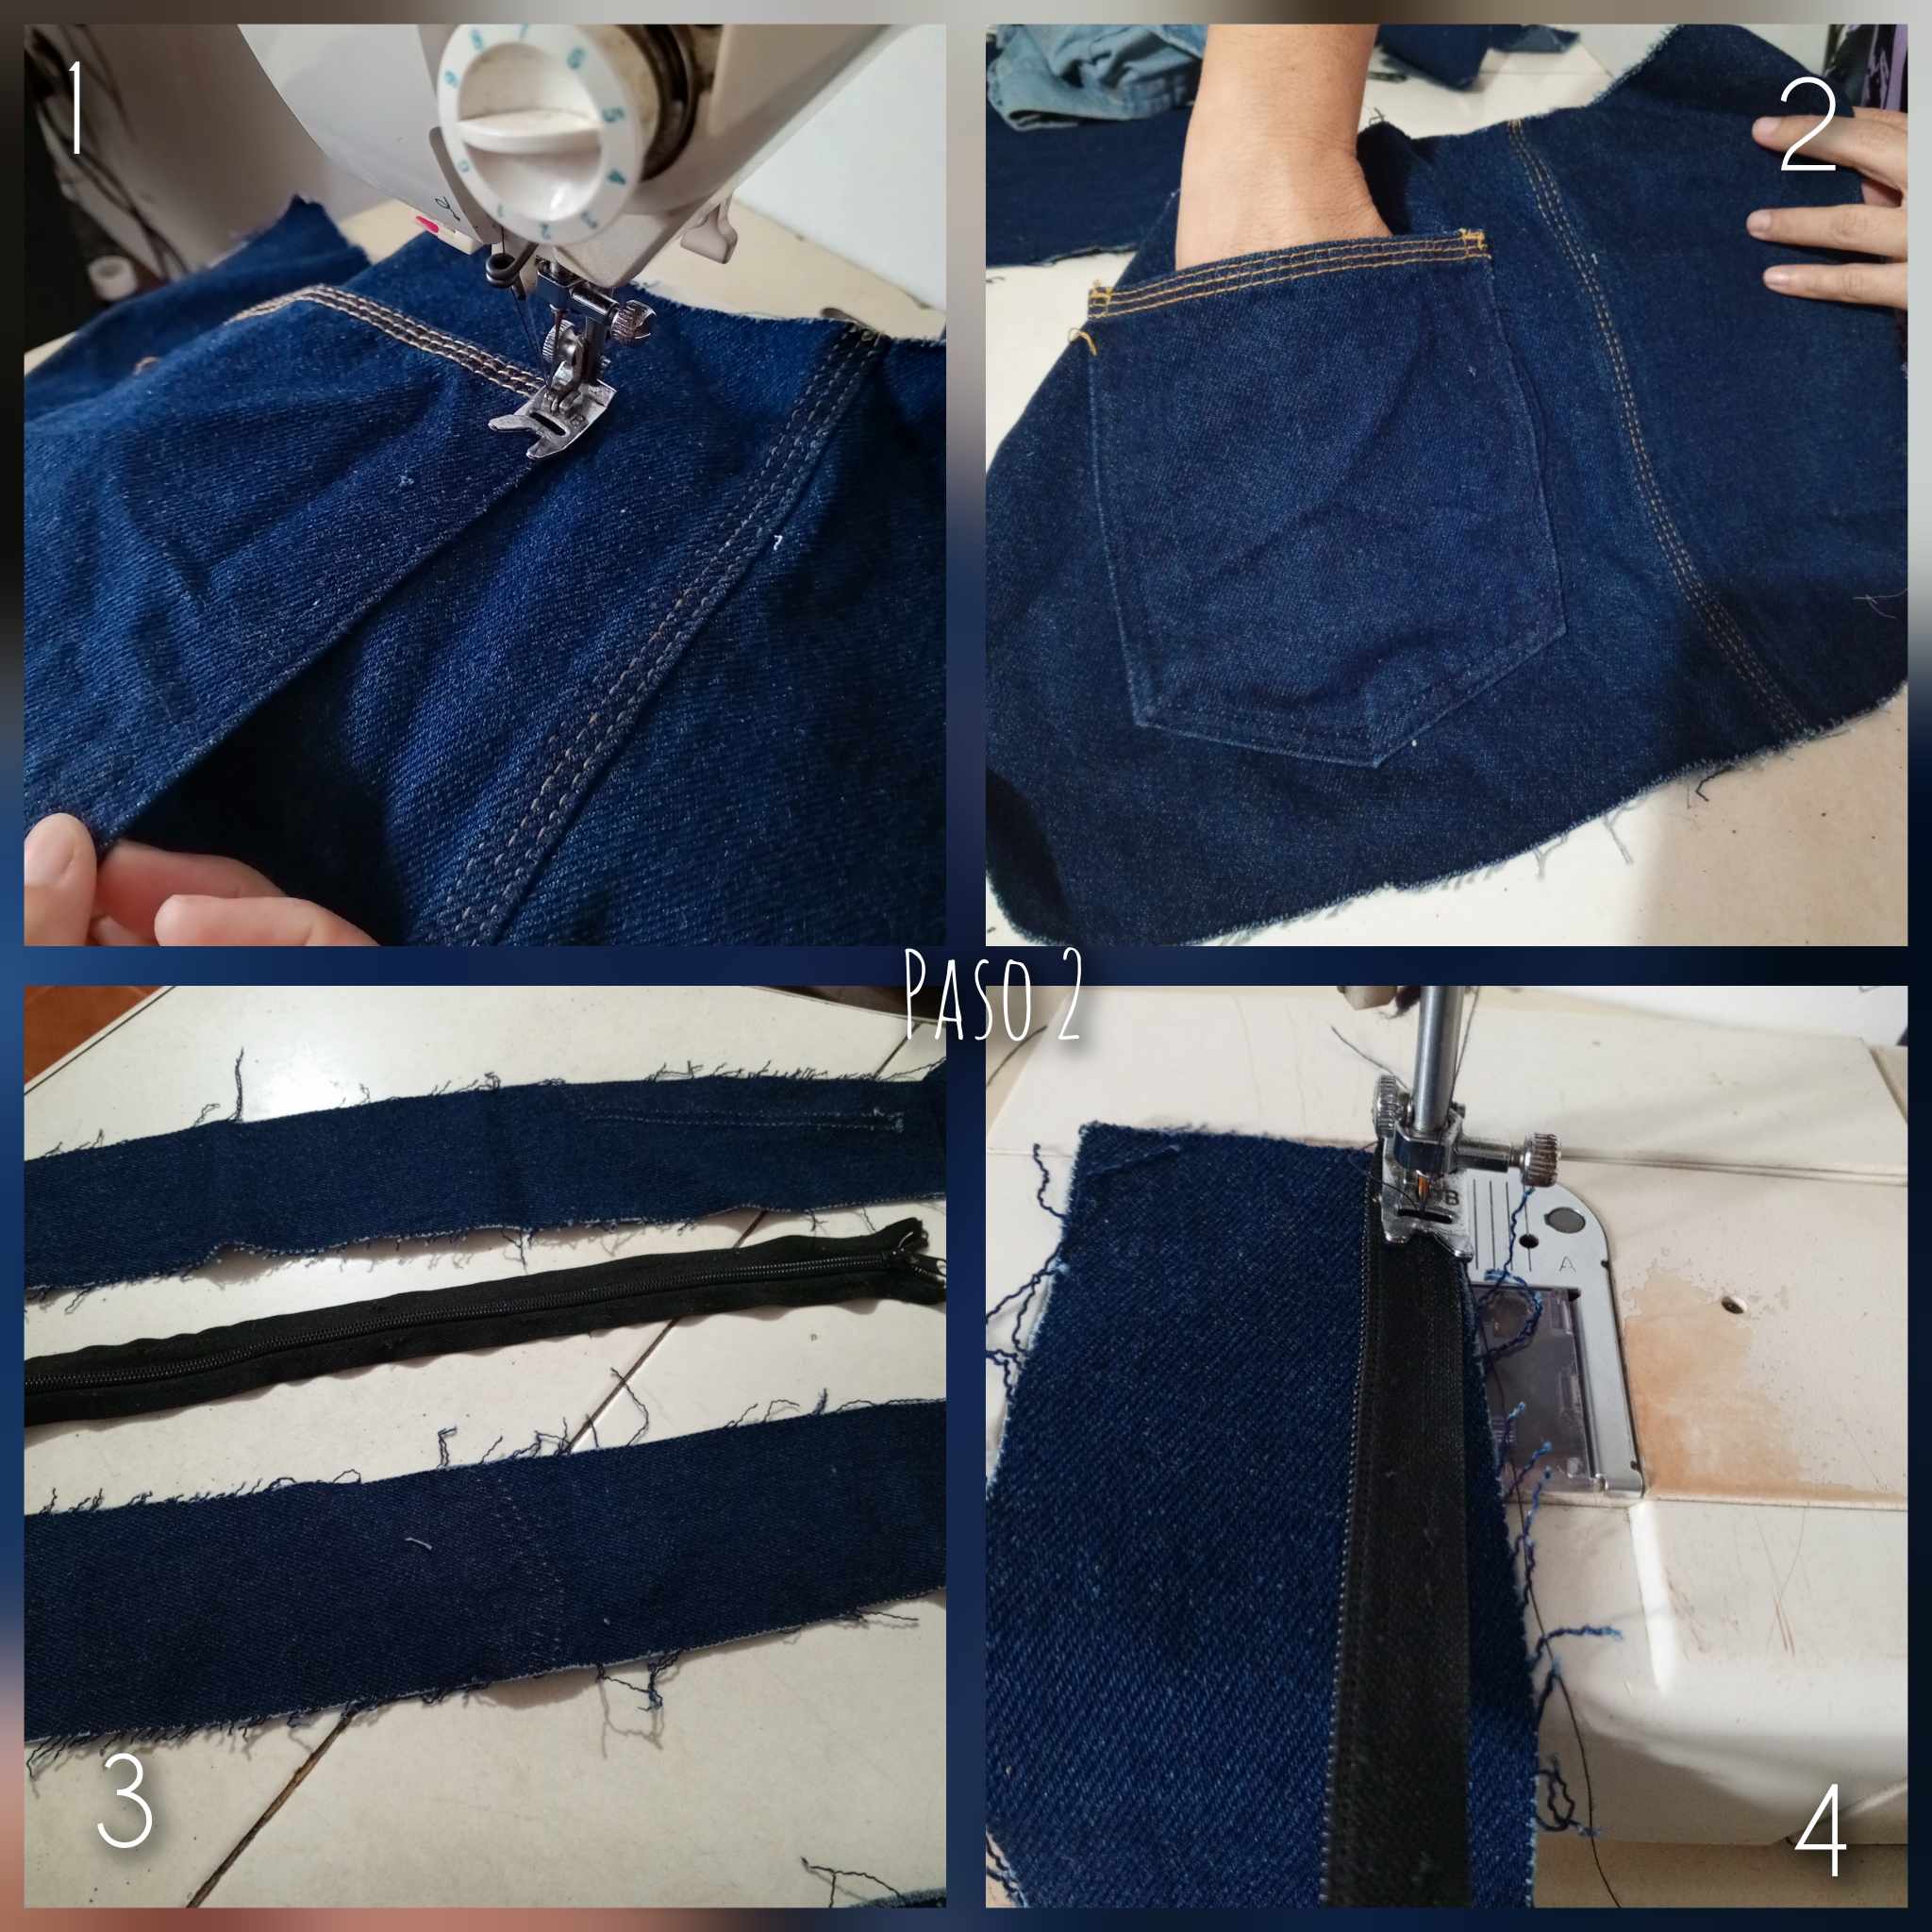
Paso 2: lo que haremos ahora será comenzar a coser cuidadosamente el bolsillo al lugar específico donde queremos que esté. Lo coseremos ya si quedará, estás tiras que ven acá, son para colocarlas en el cierre y que puedan tener un gran acabado. Lo que haremos será comenzar a coserlas en la parte donde estará el cierre.
Step 2: what we will do now is to start carefully sewing the pocket to the specific place where we want it to be. We will sew it if it will be left, these strips that you see here, are to place them on the zipper so that they can have a great finish. What we're going to do is start sewing them on the part where the zipper will be.
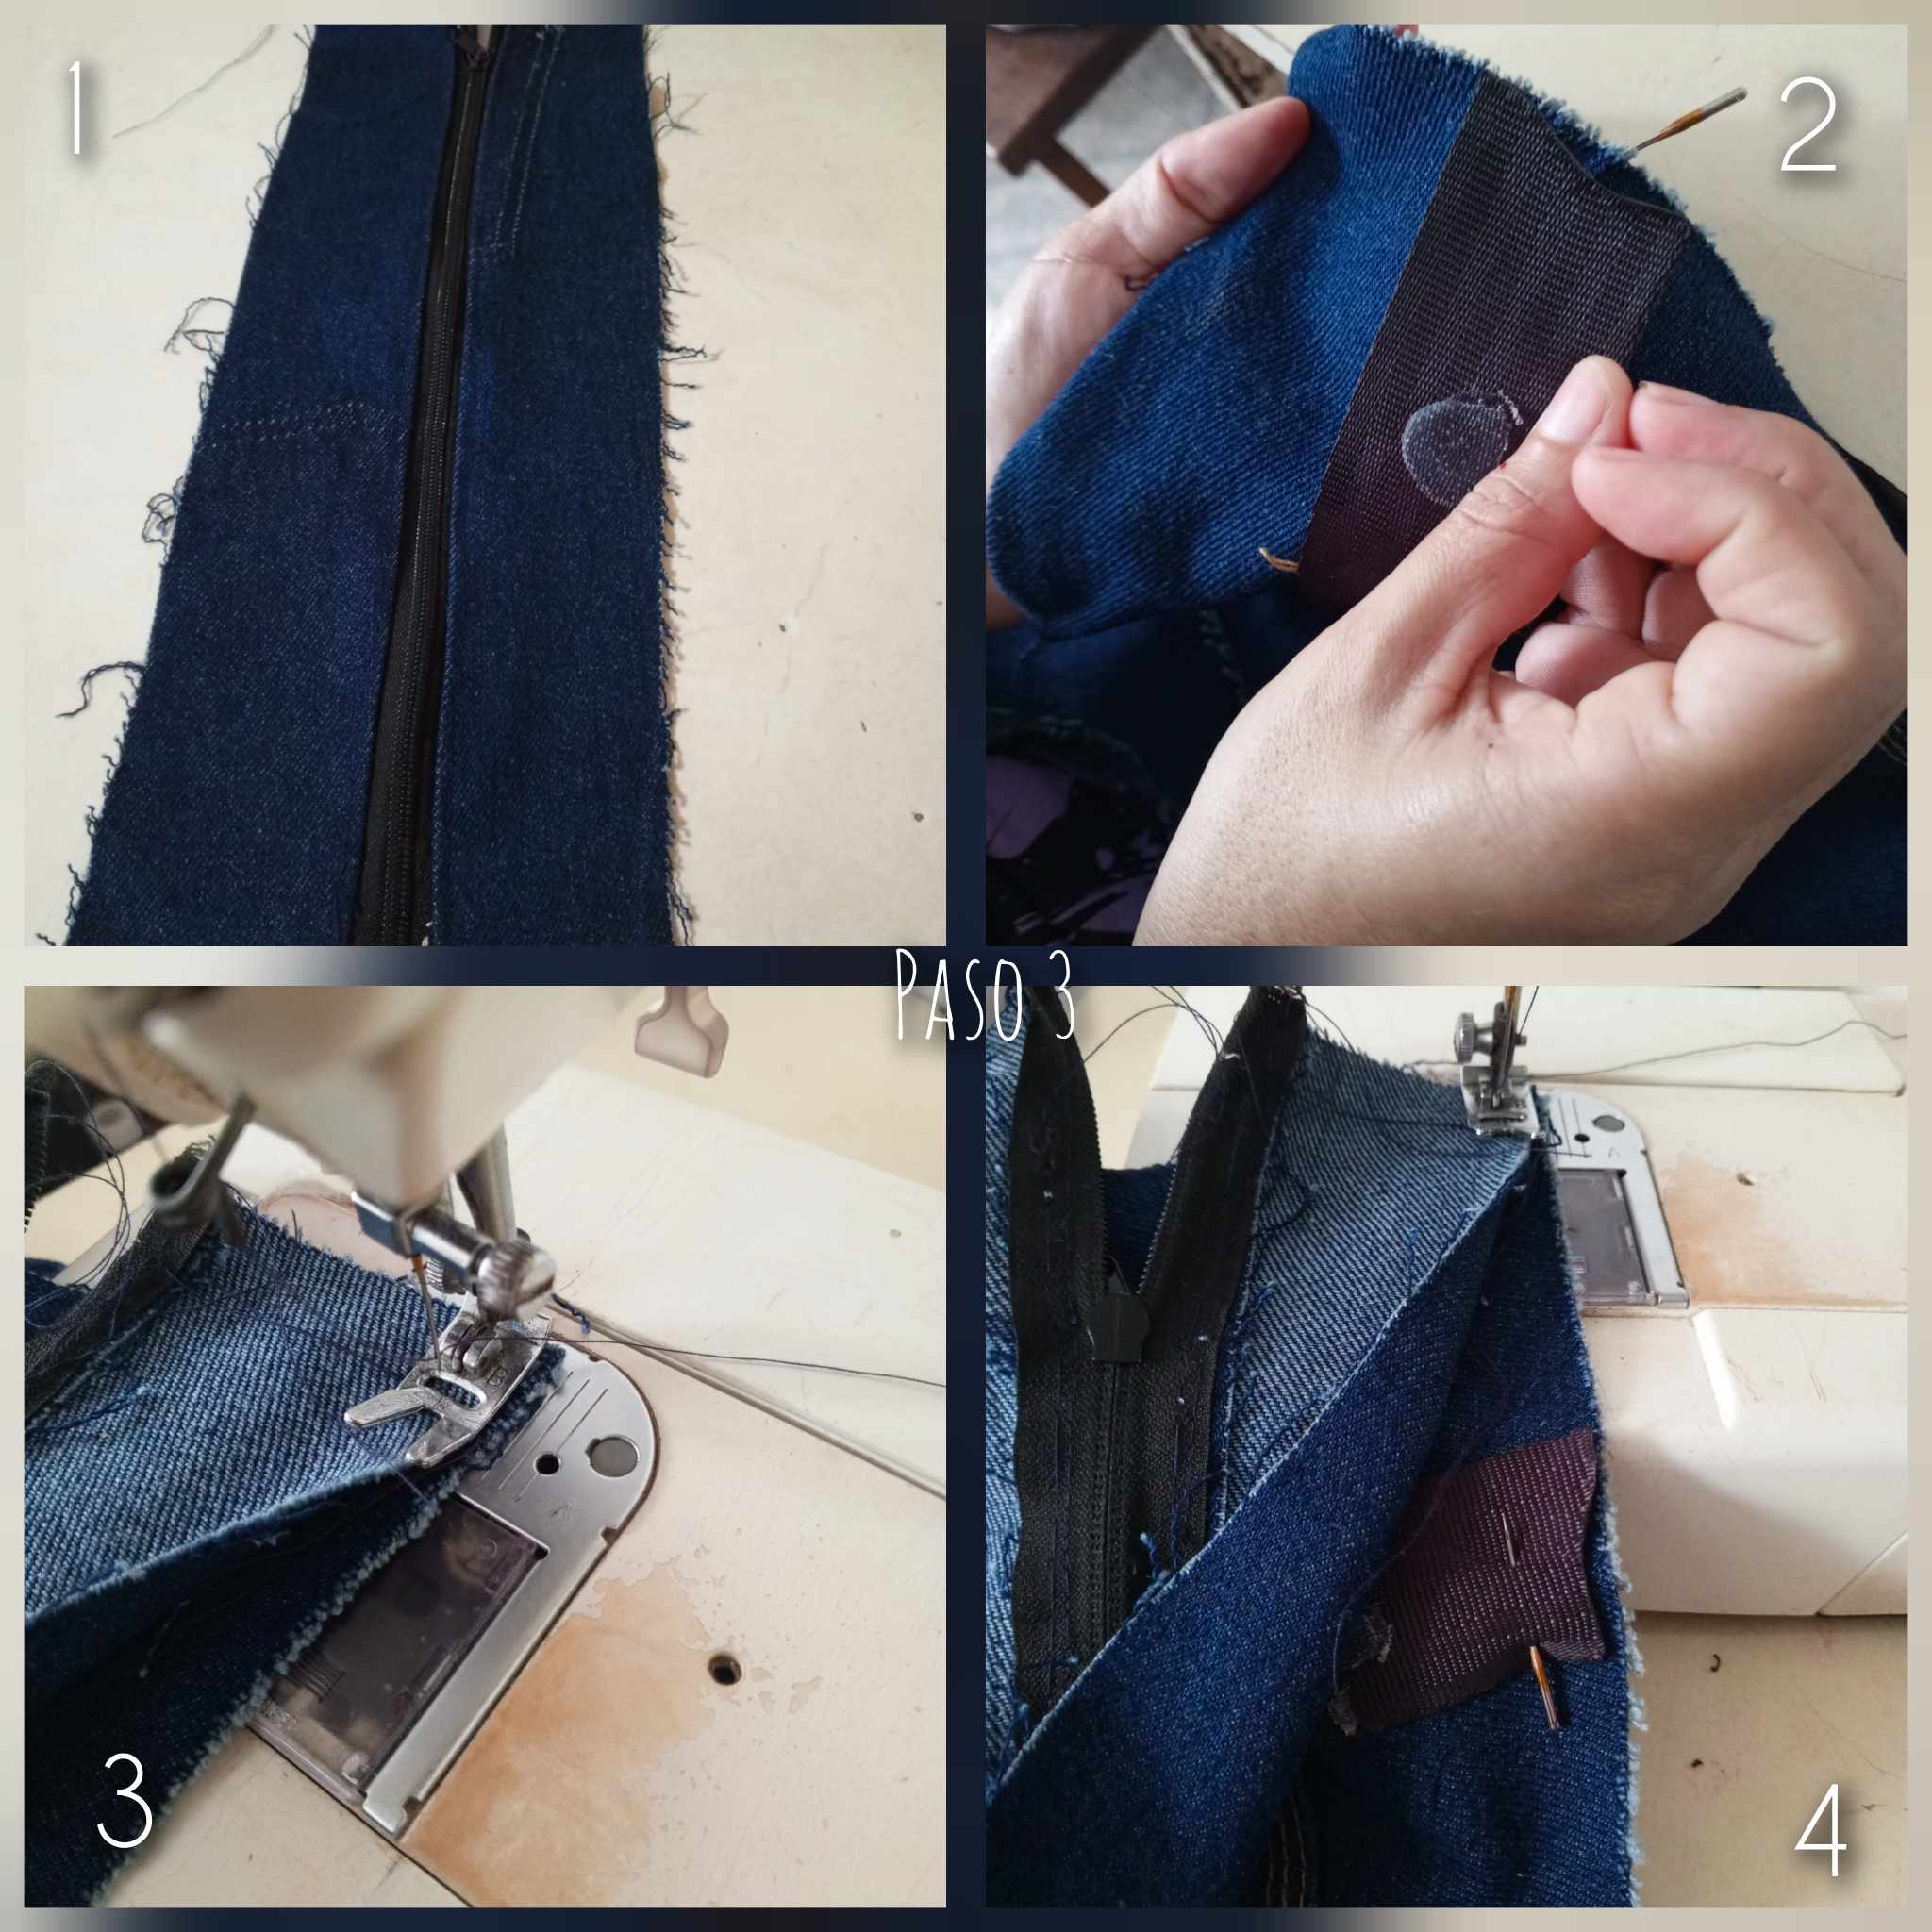
Paso 3: Aquí pueden observar ya listas las tiras con el cierre en la pieza que coseremos a la cartera, luego coseremos las tiras que serán el soporte para sostener nuestra carrera de brazos. Coseremos cuidadosamente, orgullosos del resultado que estamos obteniendo, la verdad es encantador cuando logramos cosas como éstas.
Step 3: Here you can see already ready the strips with the zipper on the piece that we will sew to the wallet, then we will sew the strips that will be the support to hold our arm race. We will sew carefully, proud of the result we are getting, the truth is lovely when we achieve things like this.
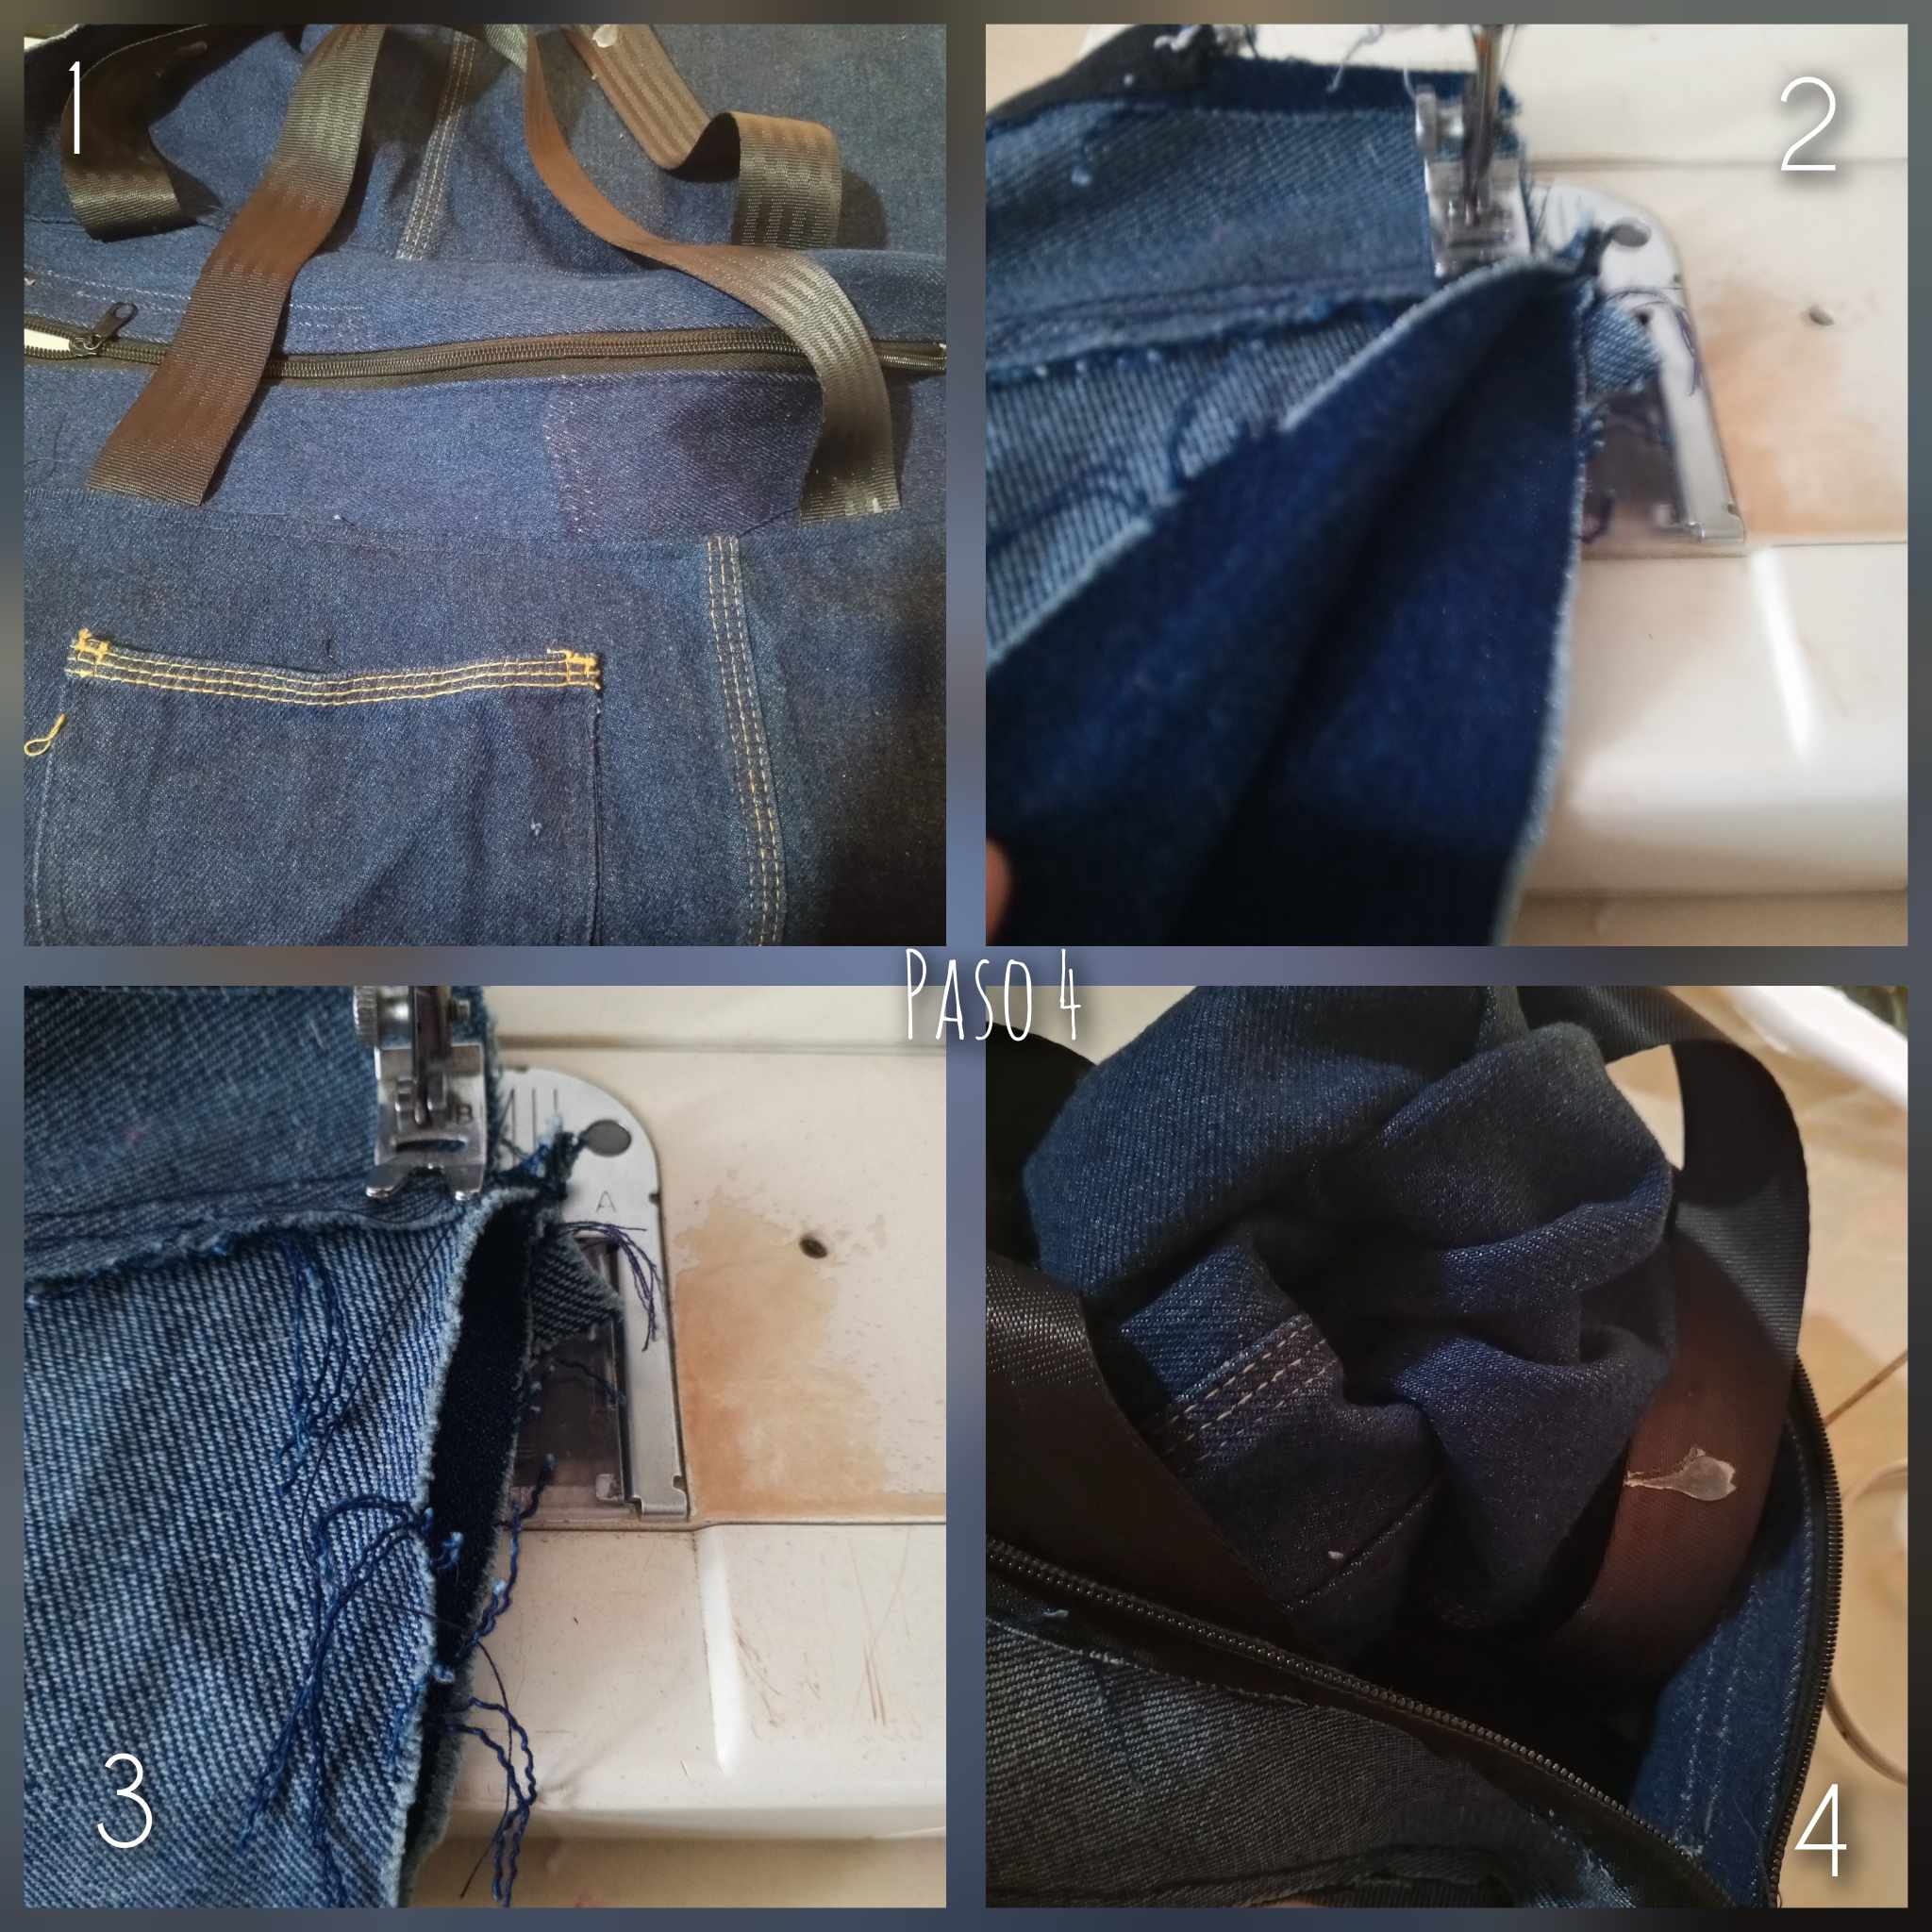
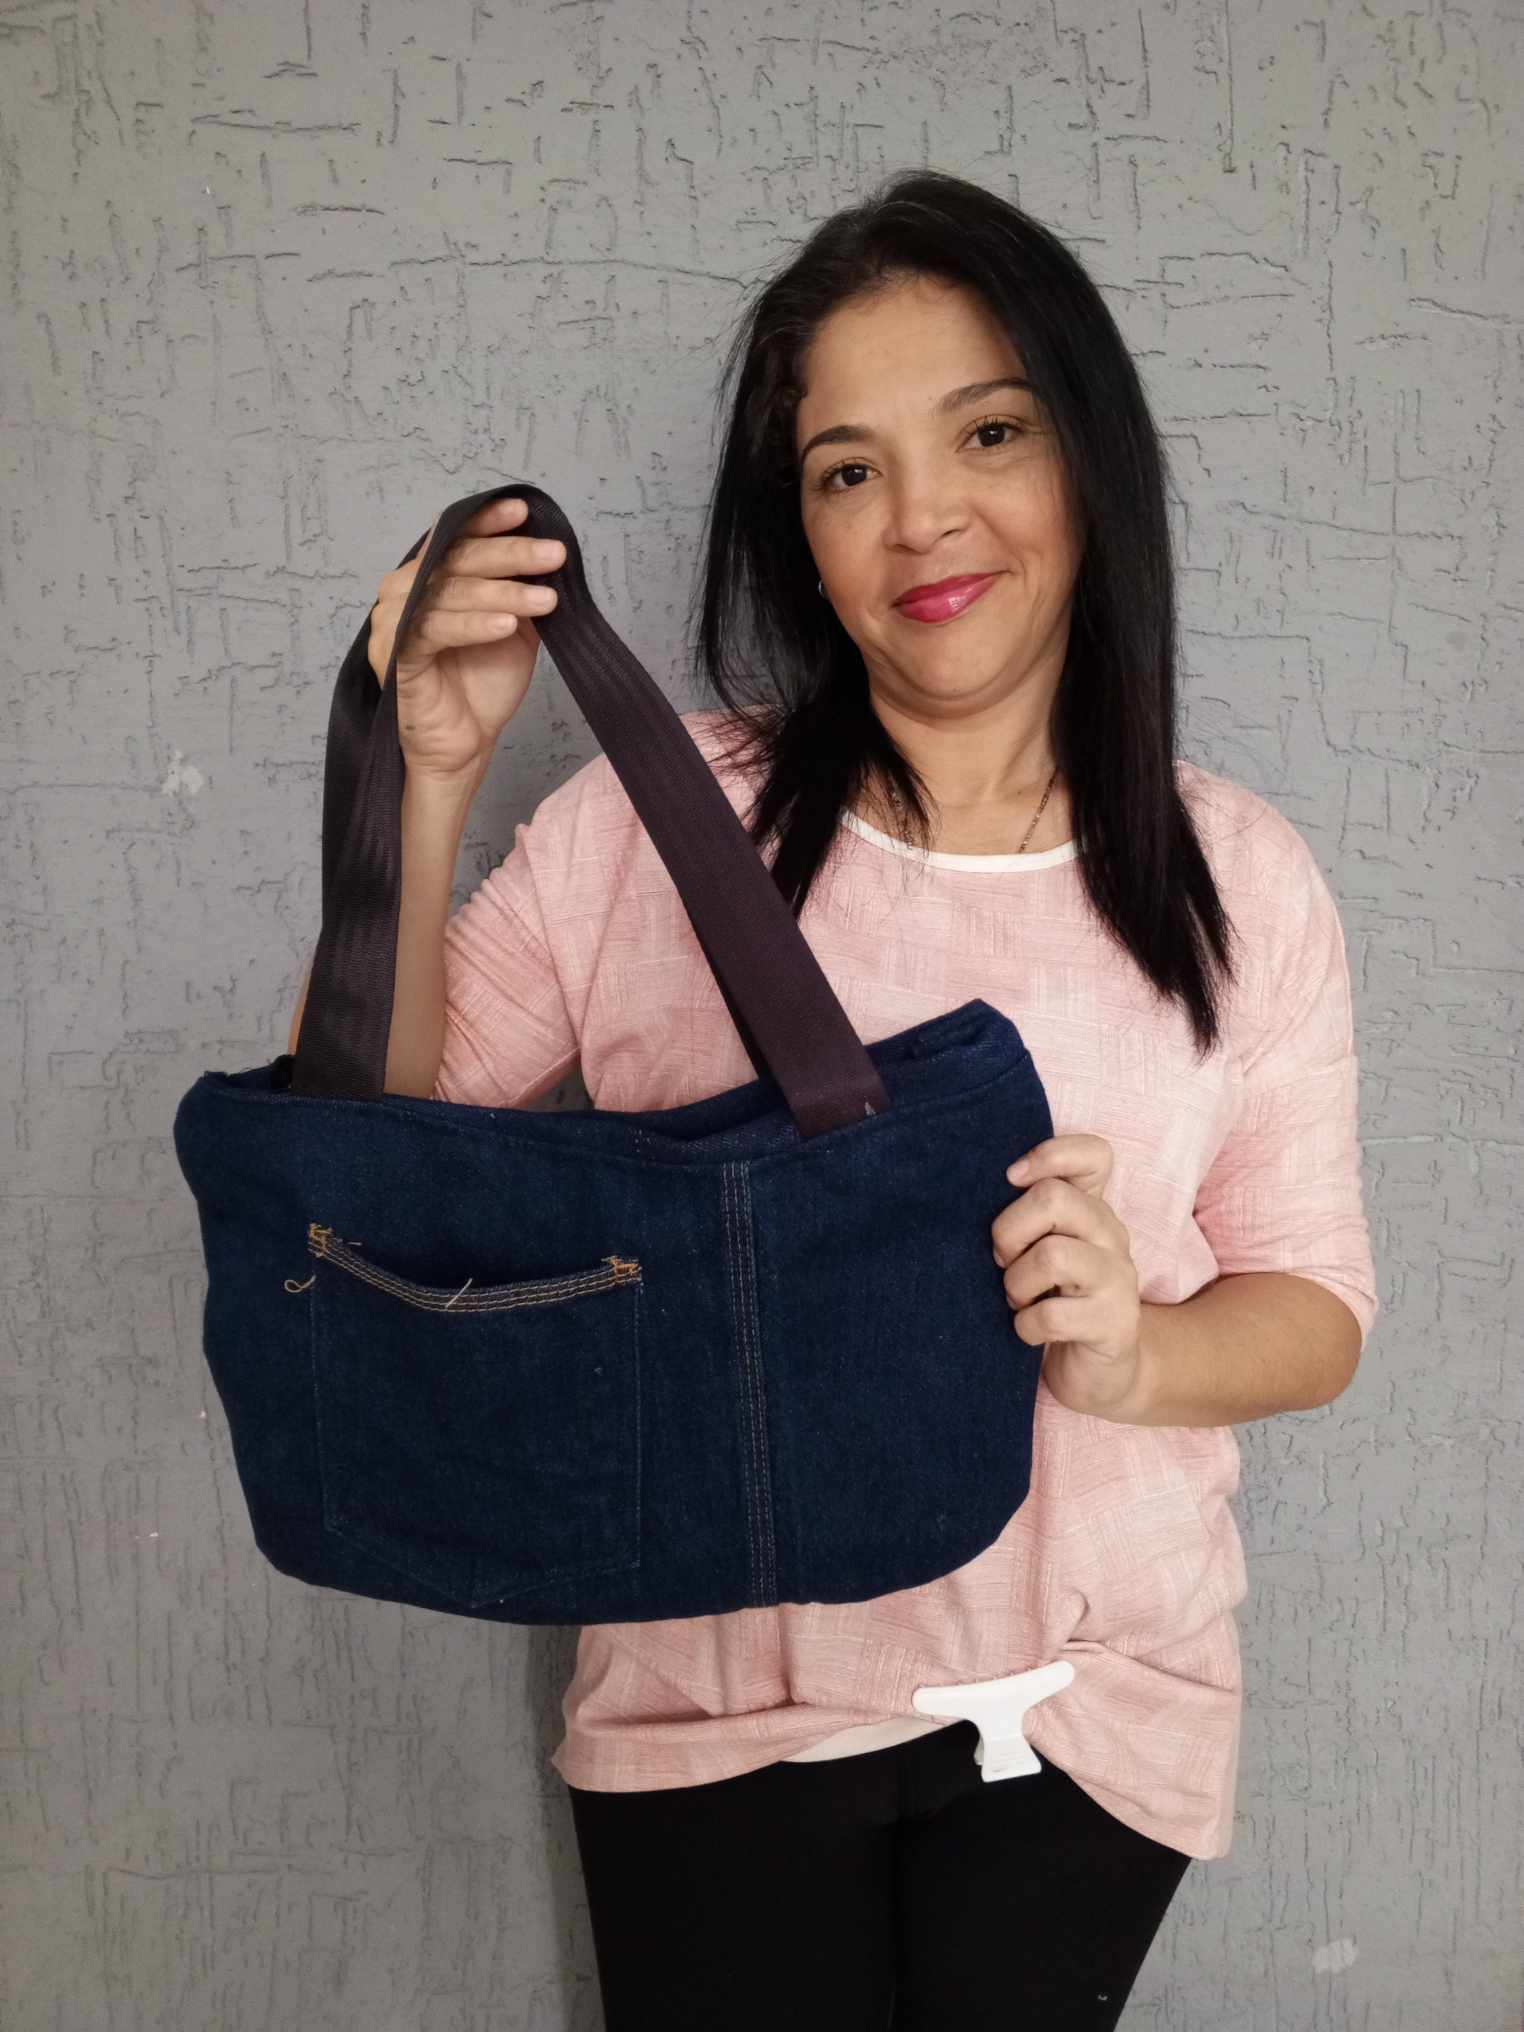
Paso 4: Ahora cómo pueden observar, ya está cosido por dónde tomaremos nuestra carrera. Lo reforzaremos, coseremos los laterales de nuestra carrera y ésto quedará súper hermoso para salir a lucirlo a la calle, espero que les haya gustado a todos, que puedan también hacerlo en casa y disfrutar del resultado tan maravilloso.
Step 4: Now as you can see, it is already sewn where we will take our race. We will reinforce it, we will sew the sides of our race and this will be super beautiful to go out to show it off to the street, I hope you all liked it, that you can also do it at home and enjoy the wonderful result.

Casualmente estaba buscando un tutorial para realizar un bolso resistente y, ¿Qué mejor tela, que un jean?, ¡Muchas gracias por compartir el paso a paso!
It was very nice, I liked the explanation of the step by step, plus the model and how wide it is to carry several little things. Thanks for sharing.🤗
I like this design, it looks more official compared to one I have recently sewn.. Maybe I can recreate this too.
Thanka for sharing dear.