Fun with DIY: Some stuff I've built
After my PCs configuration for "disabled people" software configuration, I need to adapt my setup and tools to my disease. Many things are really expensive. But I have a brain, two hands, and I love build things. So, it's the time for my lastest DIY builds!
My monitor mount lamp adapter
I've found a two monitors stand for $15 on FB marketplace and it was a real good deal. I've more space on my desk to make something beautiful (I love the Workspaces subreddit).
But after that, I need more light. (I need to read some Dutch courses on paper.) And the foot of the monitor stand is very large. So, I search for a smart solution to add light above my screens, and I found it!
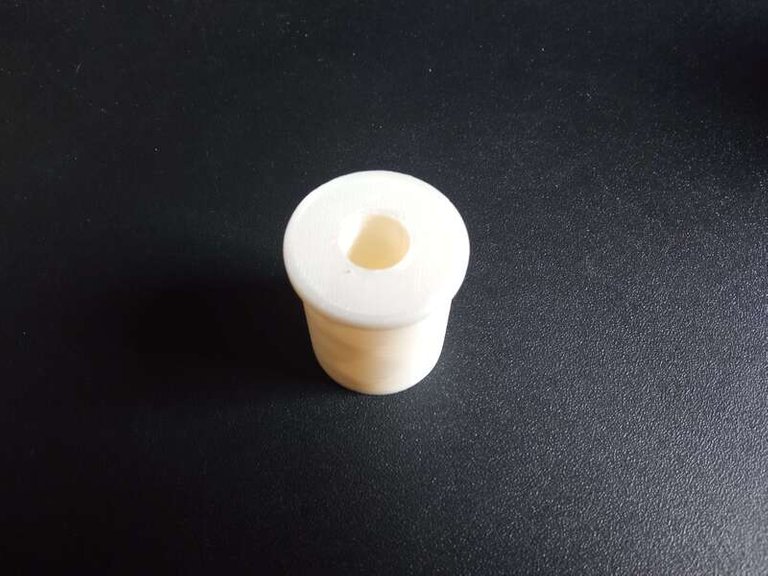
If you don't know: Printables is the best place to find a lot of 3D models ready to print. And I find the Monitor mount lamp adapter. After printing, I've just removed the small plastic piece on my monitor stand pipe and replace it with the Lamp adapter.
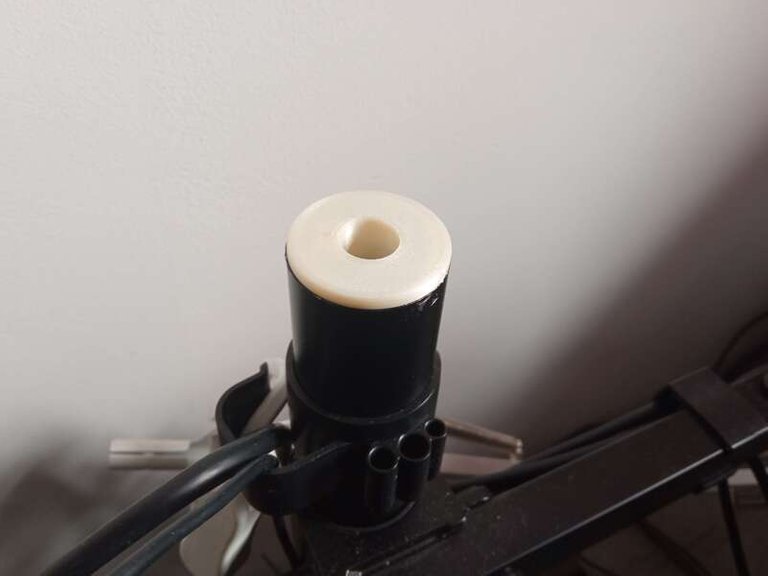
It perfectly fit in the pipe. The adapter is really strong, and I've just to take my IKEA Tertial arm and slide it into the adapter and VOILA! The result is really beautiful, modular and clean!

LED monitor bar
When I don't sleep, I love to listen some Post-rock music and do some code all the night. That's why I use a dark theme on my PC. But I need a little light, mainly to see the hot chocolate drink near my keyboard.
The main lamp is too powerful. I decided to see how much cost a LED screen bar. This is a small bar that you hang on the top of your screen. What a surprise to see it's very (VERY) expensive, between $40 and $200!
I don't need many colors or mobile apps, just a small light for my nightly coding session. And there is another thing: I need to learn 3D conception. So, I build my LED bar! After long search into my electronic stuff, I found an old small 5V white LED strip. I can directly put it on USB. (The USB tension is 5V.)
There is a lot of DIY monitor led models on Printables. But many of them are not compatible with my BenQ BL screen. But It's not difficult to create a model with FreeCAD. The BL series screens have "rectangular" style. So just need to create a model with one slot for screen and one for LED strip.
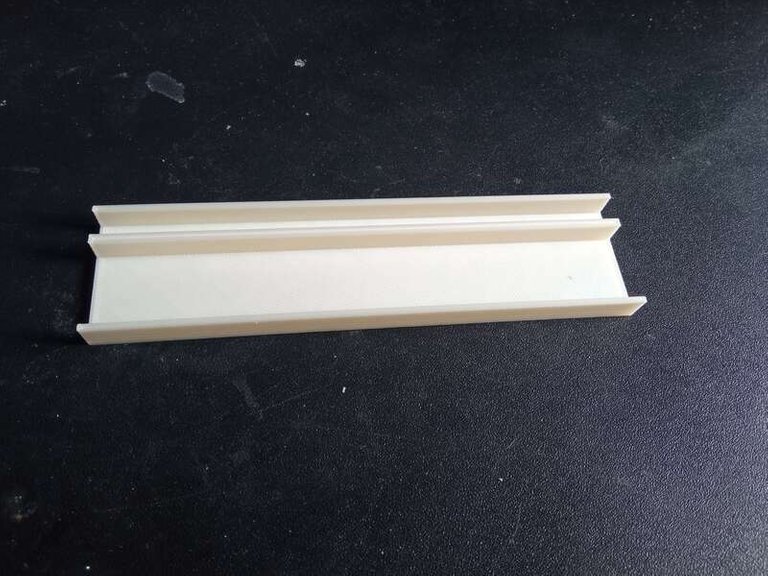
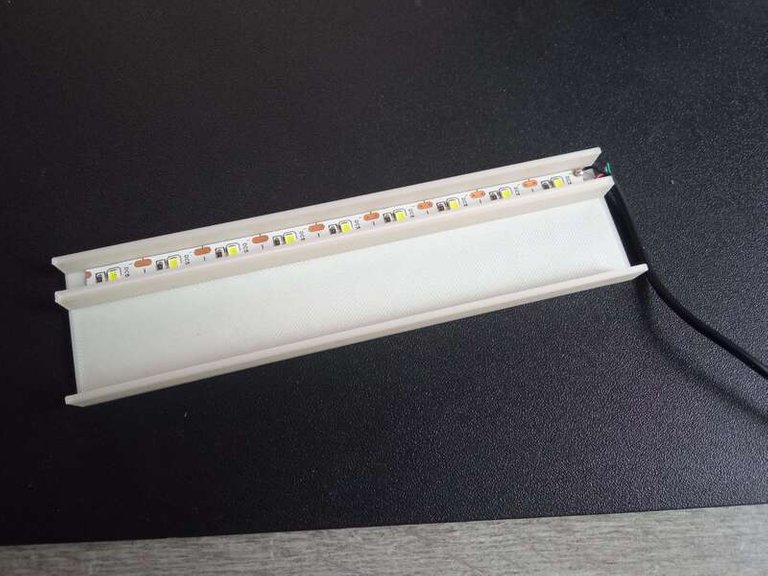
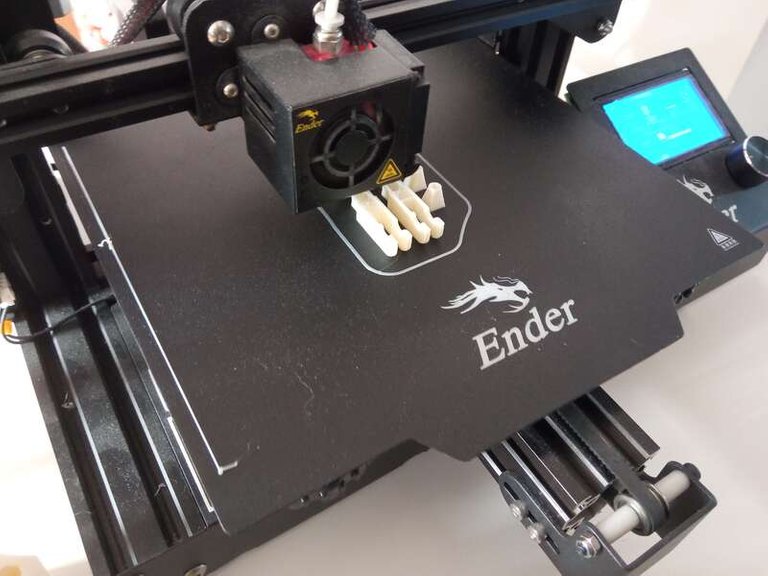
After that, I've printed it with my Creality Ender 3 Pro (a really cheap but good 3D printer). At the same time I prepare my small LED strip and solder it with a old USB cable. For those who want to know:
- Cut the White and green cable. They are the USB data cable.
- The red cable is +5V, the black cable is GND.
- Just solder the red cable on the + terminal and the black one on the GND.
I glued the strip into the small slot of my 3D model, put this on the screen and plug the USB... VOILA! It works very well and now, I have a small light directly on my screen which not burns my eyes in the middle of the night. It cost... maybe $5 or $10, really cheaper.
If you want to update, you can buy a USB on/off switch. But in the future, I'll try to do something with RGB LEDs and ESP32 to create a WiFi monitor LED bar with web interface... Stay tuned!
Laser engraver Grid
I have an old Ortur Master 1 laser engraver and I don't often use it for one reason: I don't have a grid to place my piece to engrave...
some days ago I found someone who has done a real grid for Ortur Master 2. He made it on a piece of wood directly fixed on the engraver. I think about it and I search on the werb if anyone have made the same for Ortur Master 1...
I'm starting to think that everything has already been done in 3D printing before I think about it...
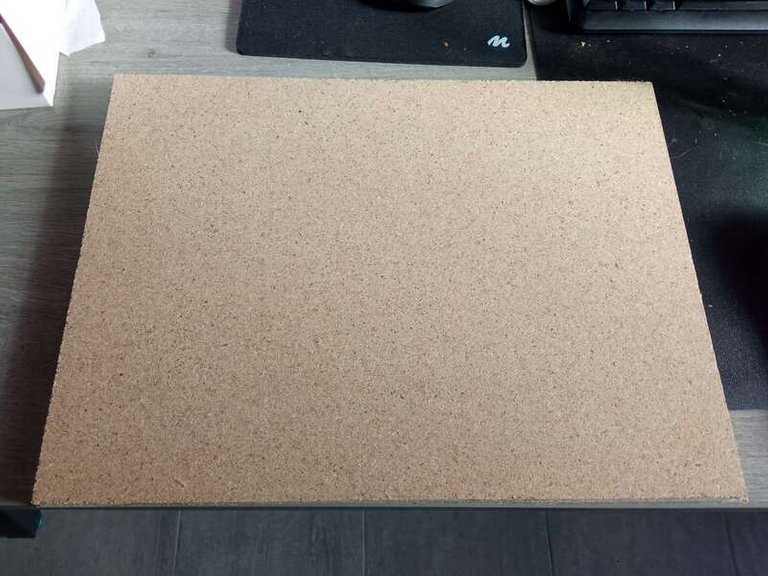
Many thanks to Wenjuk from Printables for creating the Ortur Master 1 feet ! First, you need a piece of wood. I took a 40 x 30cm MDF sheet.
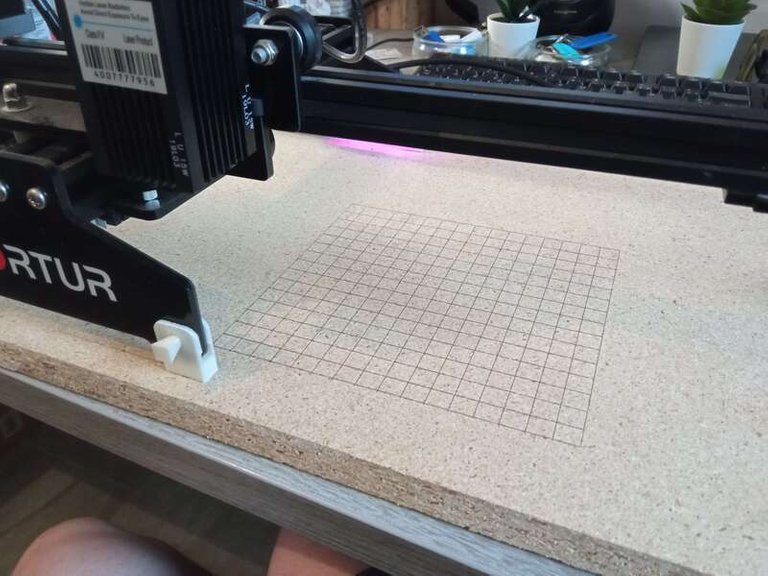
Just drill four 8mm holes to put the feet in them. Put the Laser engraver into feet and plug the sticks into them. That's all ! Really easy and really powerful!
Now, I've just engraved a grid on the wood piece (with LightBurn). I have the most important thing I need to start to learn many things about Laser engraving. I've also found another thing I need to have the best experience: I need an air assist but I seen some 3D printed model for that. It's for the next batch of DIY stuff I've build.
Conclusion
These things I've built are life changer. Second hand, recycling and DIY are really awesome and don't need much effort or time to do. And don't forget: a good 3D printer cost $200 and can print many models for almost nothing.
In the next batch, I need to build a wrist rest for my new (awesome) keyboard, the air assist for laser engraver and other stuff for my house.If you want me to create something, tell me in the comments. As usual, if you like my work, don't forget to upvote and reblog this post and if you have any feedbacks or questions, the comments section is open!
Have a nice day
I never could find anything Good in FB marketplace. That's a Good deal you Got from there and yea in this modern era it's really Good that we can learn any course from internet.
DIY is indeed Awesome. No doubt here! Glad to learn something new today. Looking forward to see the next batch of yours!
Have a Great weekend ahead.
Very cool! I especially like the laser engraving grid. I can't imagine how frustrating it must have been to have such an expensive and useful tool, and be unable to use it effectively. Using the engraver itself to solve the problem is genius!
This is super great, having built this, I know you feel so much joy? 👍 good. Job to you
How I wish I have my own 3D printer so I can print my custom tablet stand.
Congratulations @bambukah! You have completed the following achievement on the Hive blockchain and have been rewarded with new badge(s):
Your next target is to reach 90 posts.
You can view your badges on your board and compare yourself to others in the Ranking
If you no longer want to receive notifications, reply to this comment with the word
STOPTo support your work, I also upvoted your post!
Check out the last post from @hivebuzz:
Thank you for sharing this post in the DIYHUB Community!
Your content got selected by our fellow curator tibfox & you just received a little thank you upvote from us for your great work! Your post will be featured in one of our recurring compilations which are aiming to offer you a stage to widen your audience within the DIY scene of Hive. Stay creative & HIVE ON!
This is very cool, because activities like this are very difficult for us to get.
You are a professional about electronics.
Nicely done champ! Keep up the #diy spirit
https://twitter.com/1314427860304769026/status/1589199081095979008
The rewards earned on this comment will go directly to the people( @bambukah ) sharing the post on Twitter as long as they are registered with @poshtoken. Sign up at https://hiveposh.com.
i always find 3d printing interesting , but never have found any use for it to validate a purchase maybe i will get one in the future.
Ack you have a really good 3d printer model there ;;w;; and it looks like a good buy too. Dang, if I had a 3d printer... I think I'd just print and stuff and cats 😅
There plenty of stuff to print. If you can print only one object, what is it ?
Cat earphone holders because how can you resist theesseee

They could build up an army ;;w;;
What about your choice?
I'm a big fan of making my own solutions too. You have been very resourceful in solving the problems that have come your way.