MAKE STRAWBERRY FRUIT FROM ORIGAMI PAPER

Hello friends, we meet again with me on this occasion. I want to share a new work and I will participate again in interesting contests in this community. This will make me enthusiastic to continue working, hopefully the community will develop rapidly.
My new work is a strawberry, where I remember this fruit when I visited the city of Palembang Sigamit directly, which requires a 14 day trip from where I live.
Strawberries are a little more sour than other fruits, but despite this the sweet taste does not fade so I always enjoy eating this fruit with pleasure
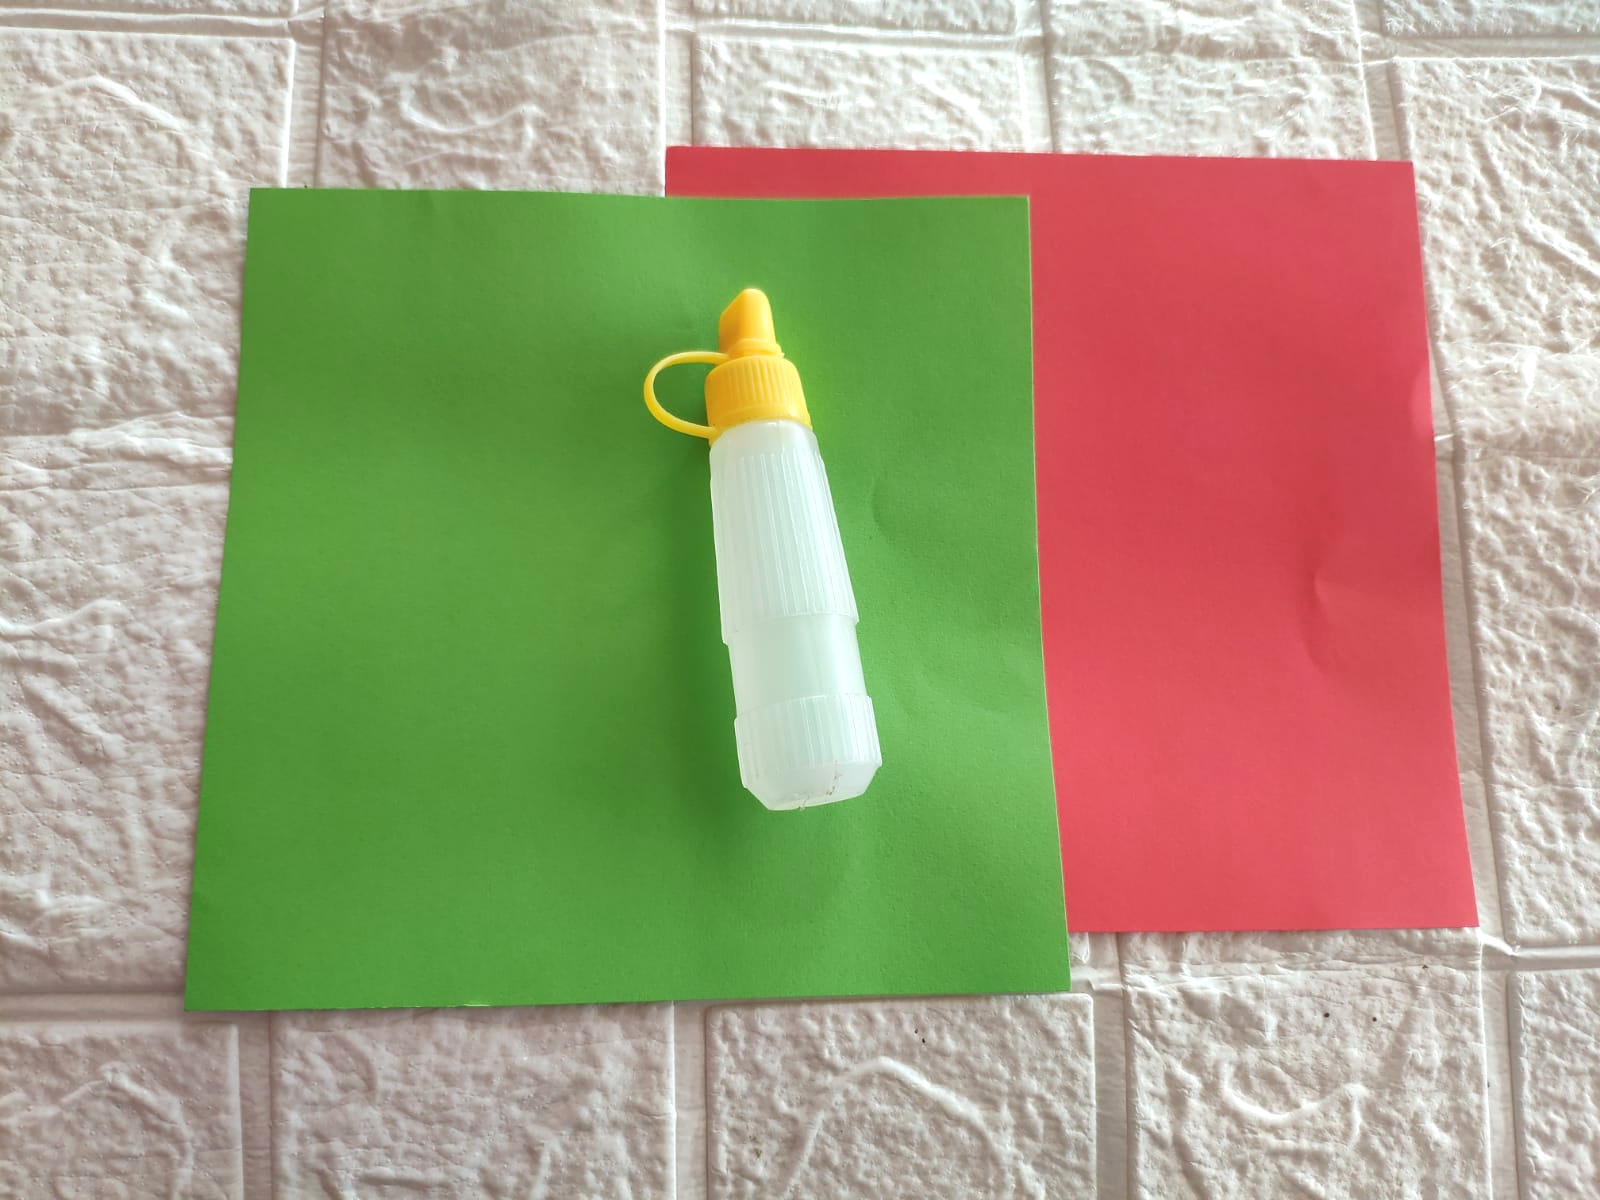
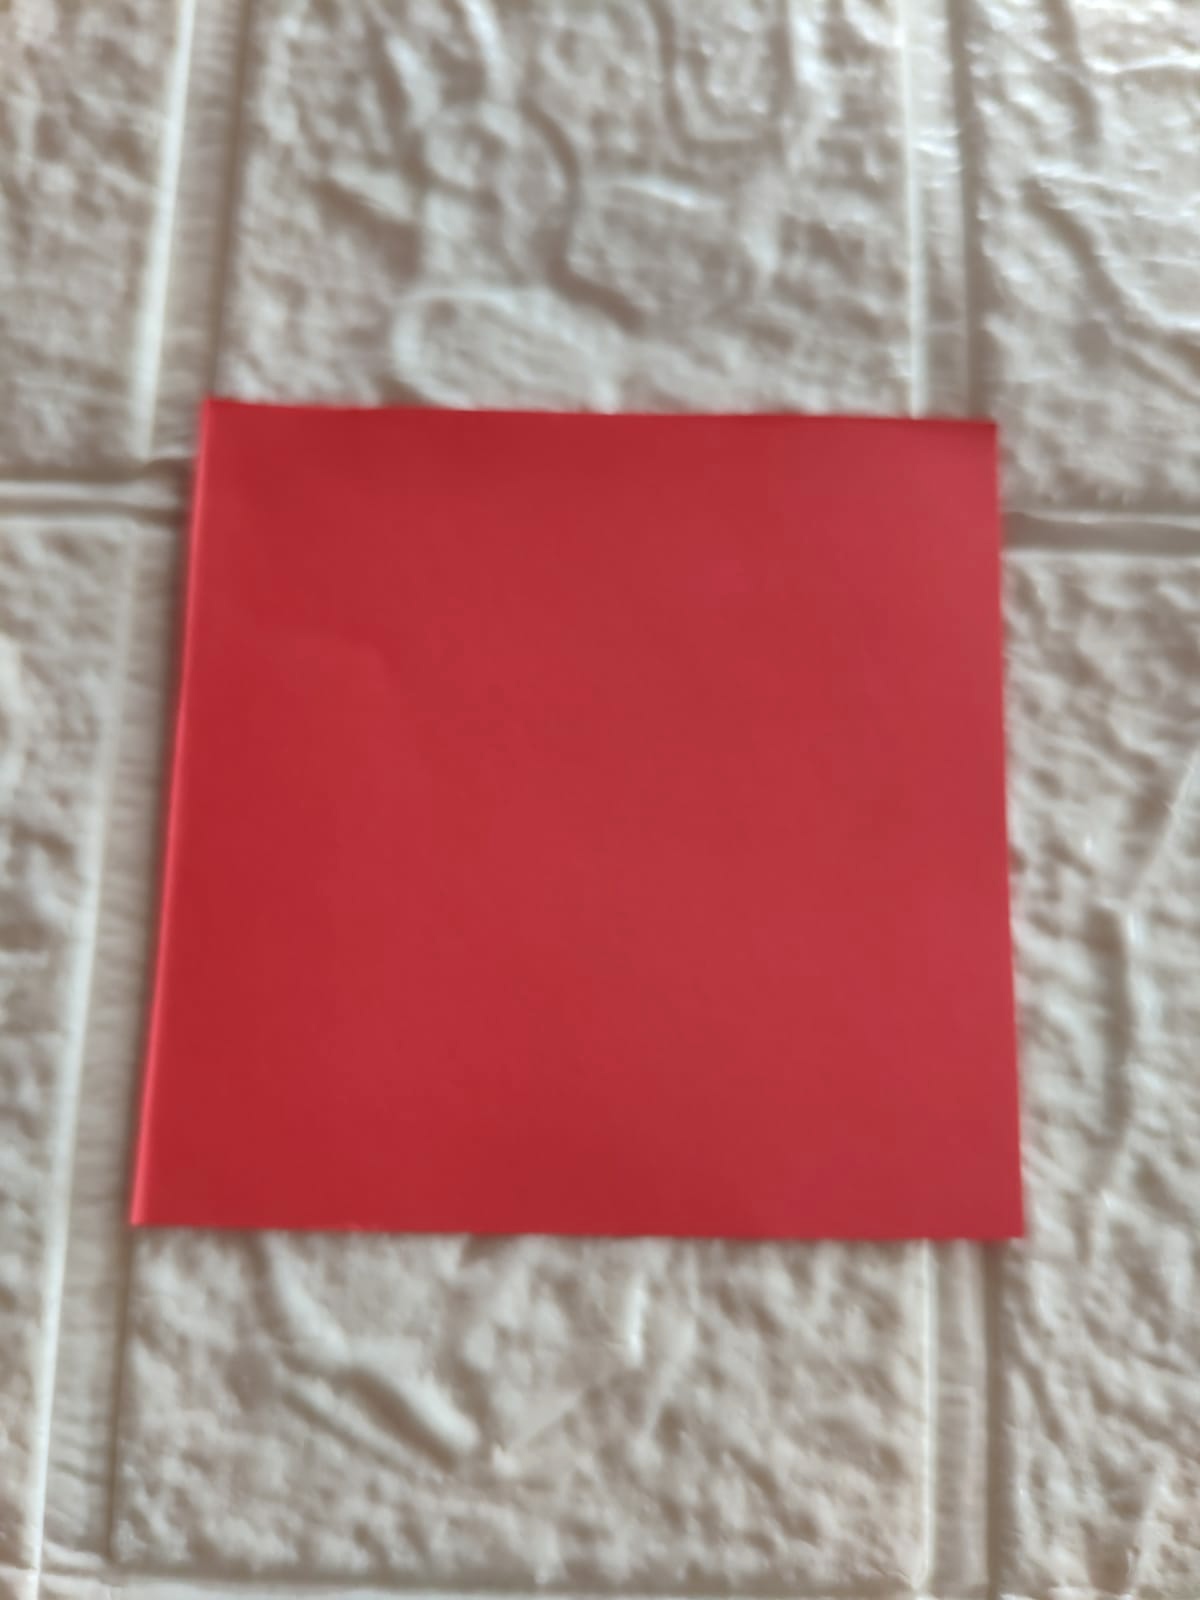
Here are the ingredients for making strawberries
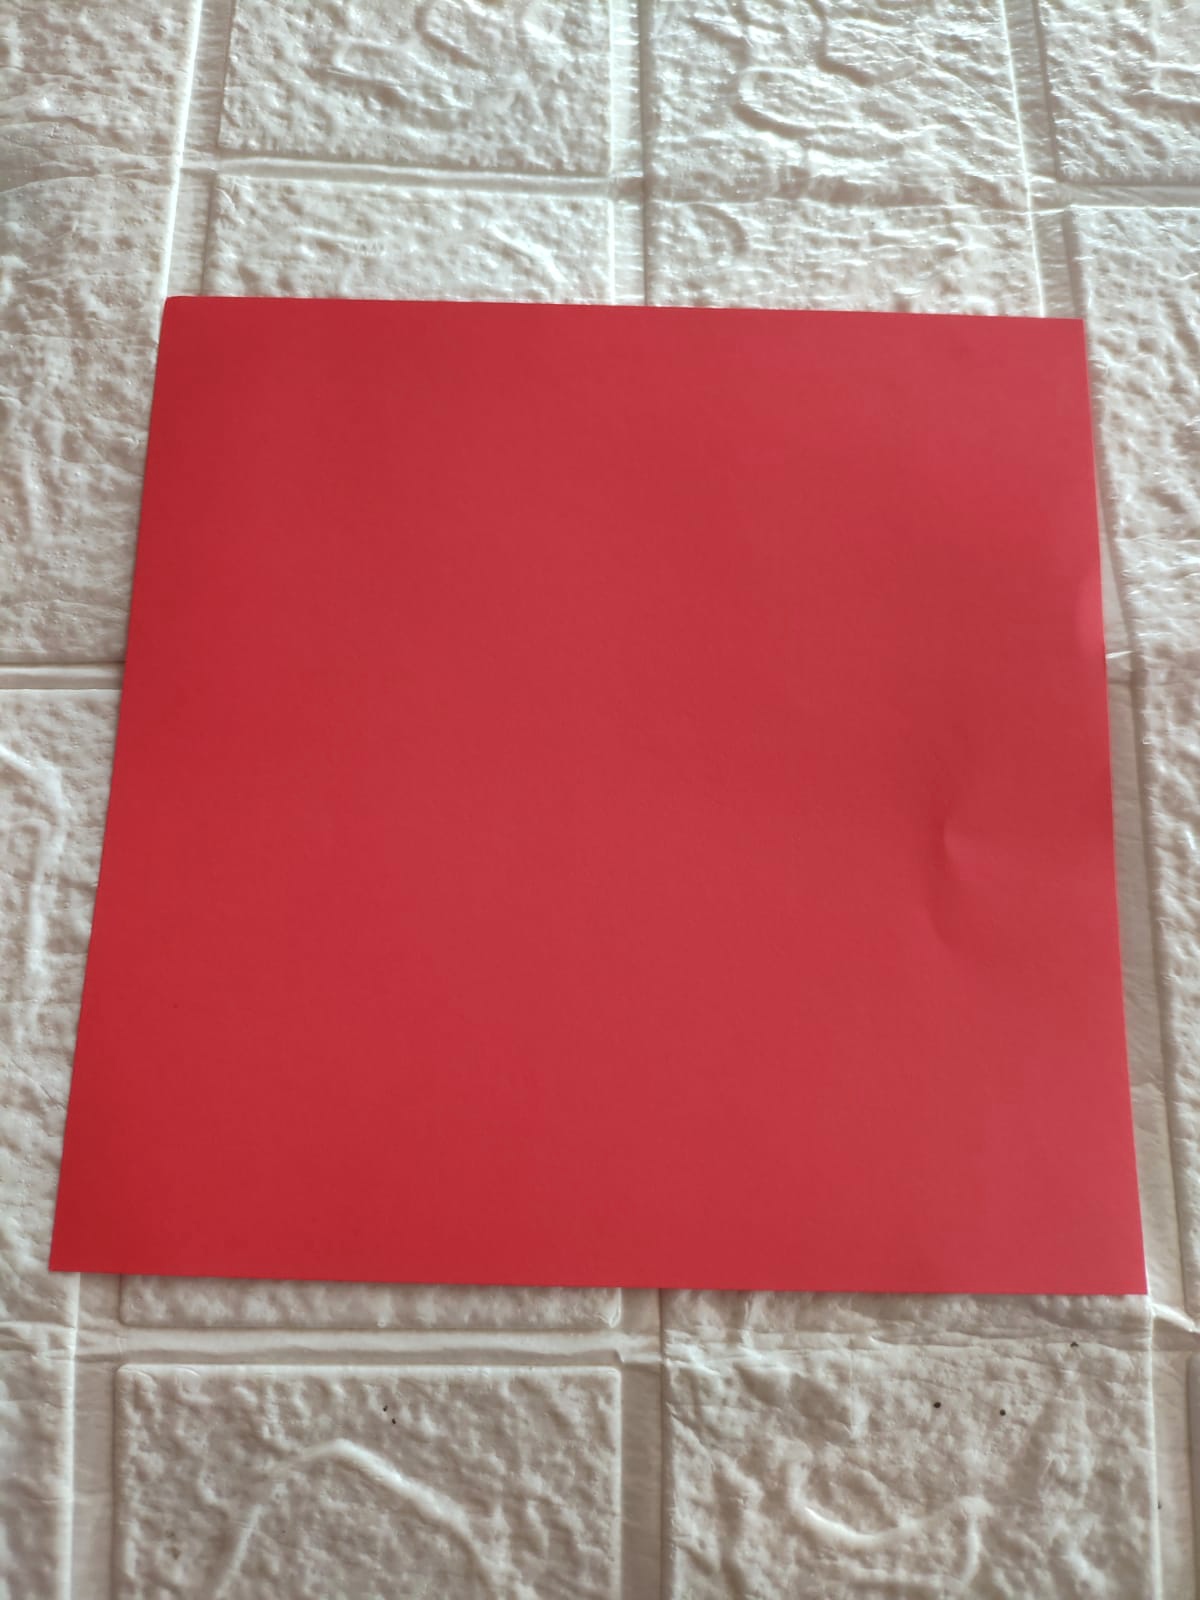
- Red Origami Paper
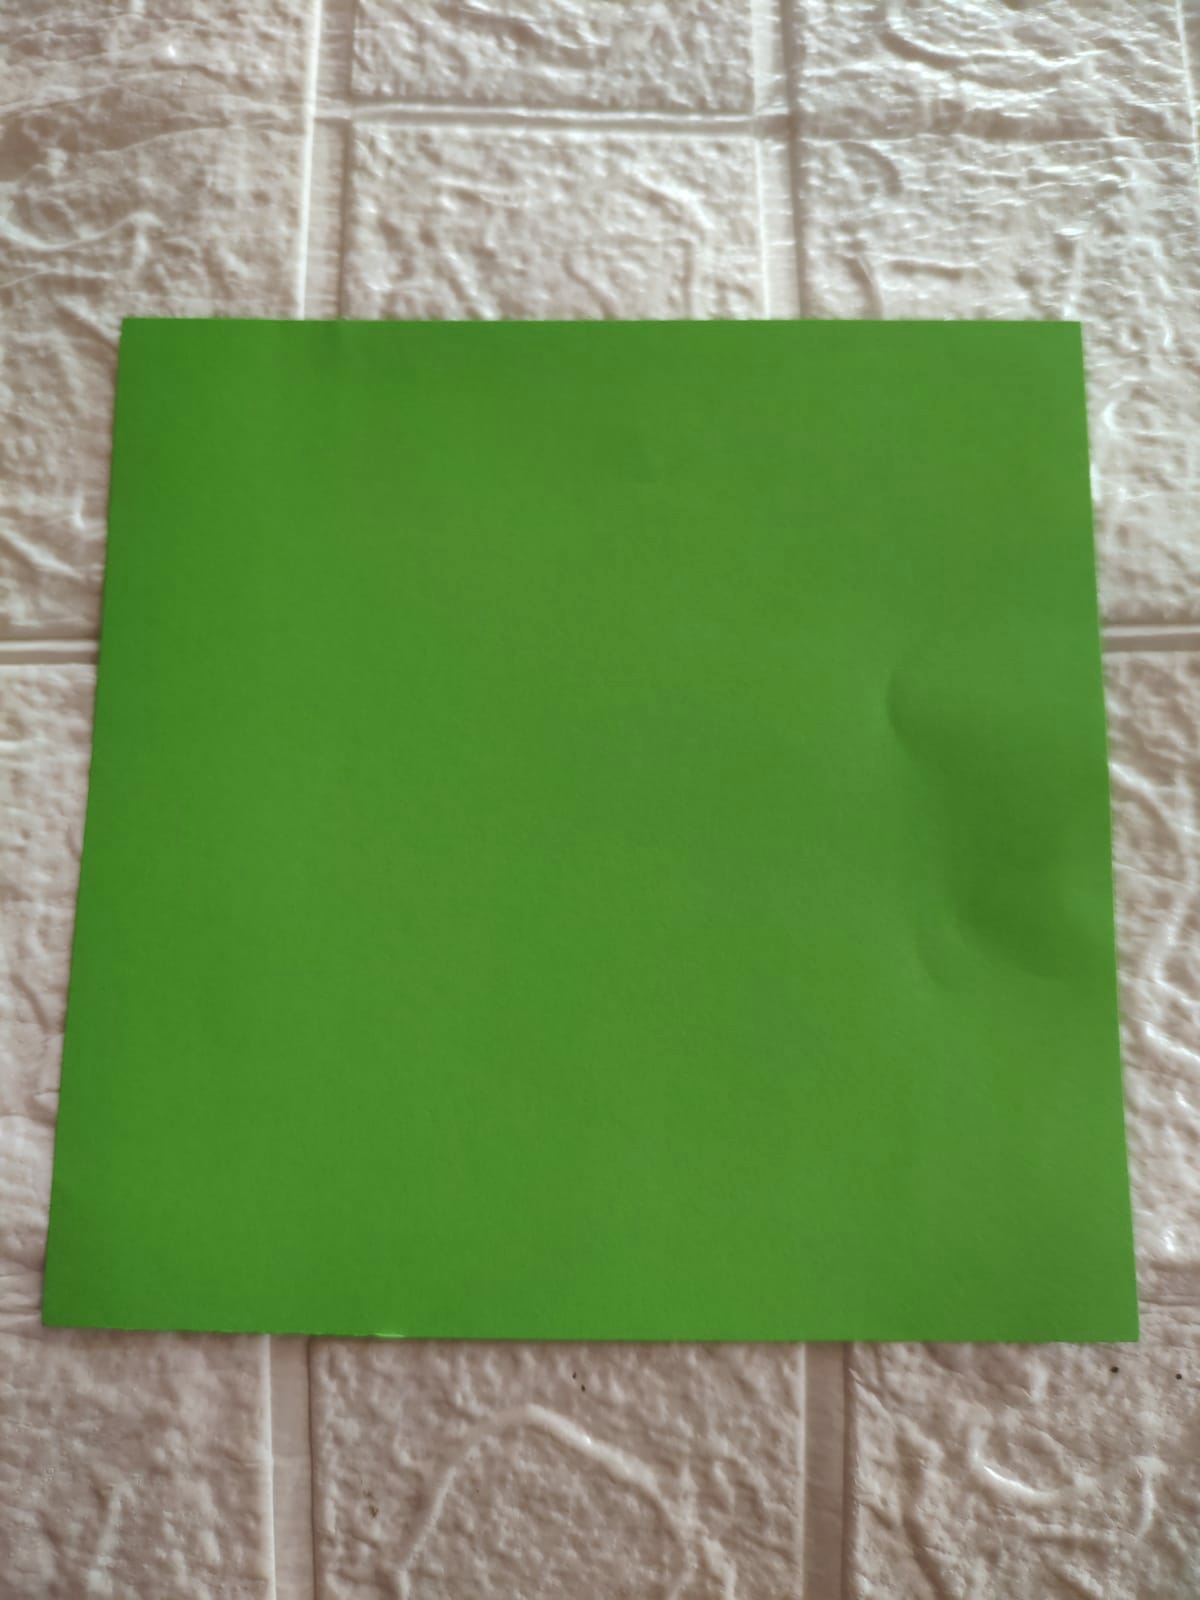
- Green Origami Paper
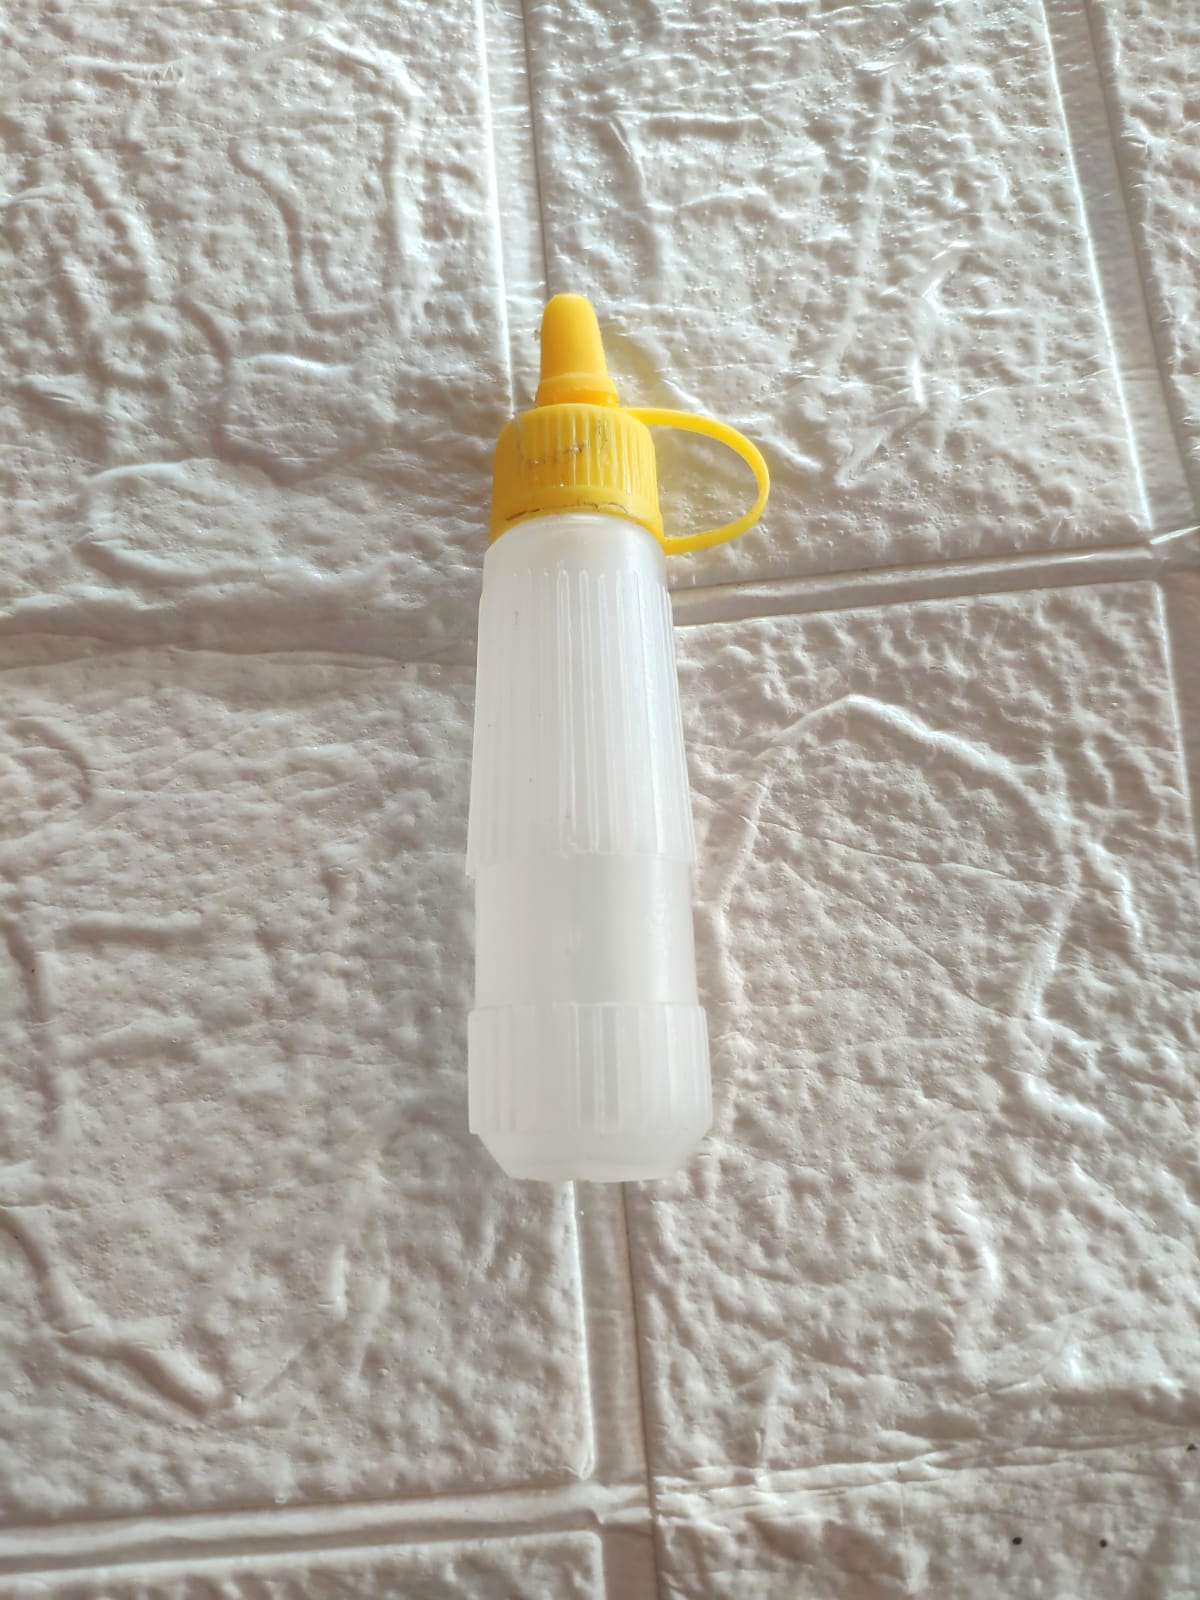
- Glue
 |  |
|---|
Here's how to make strawberries
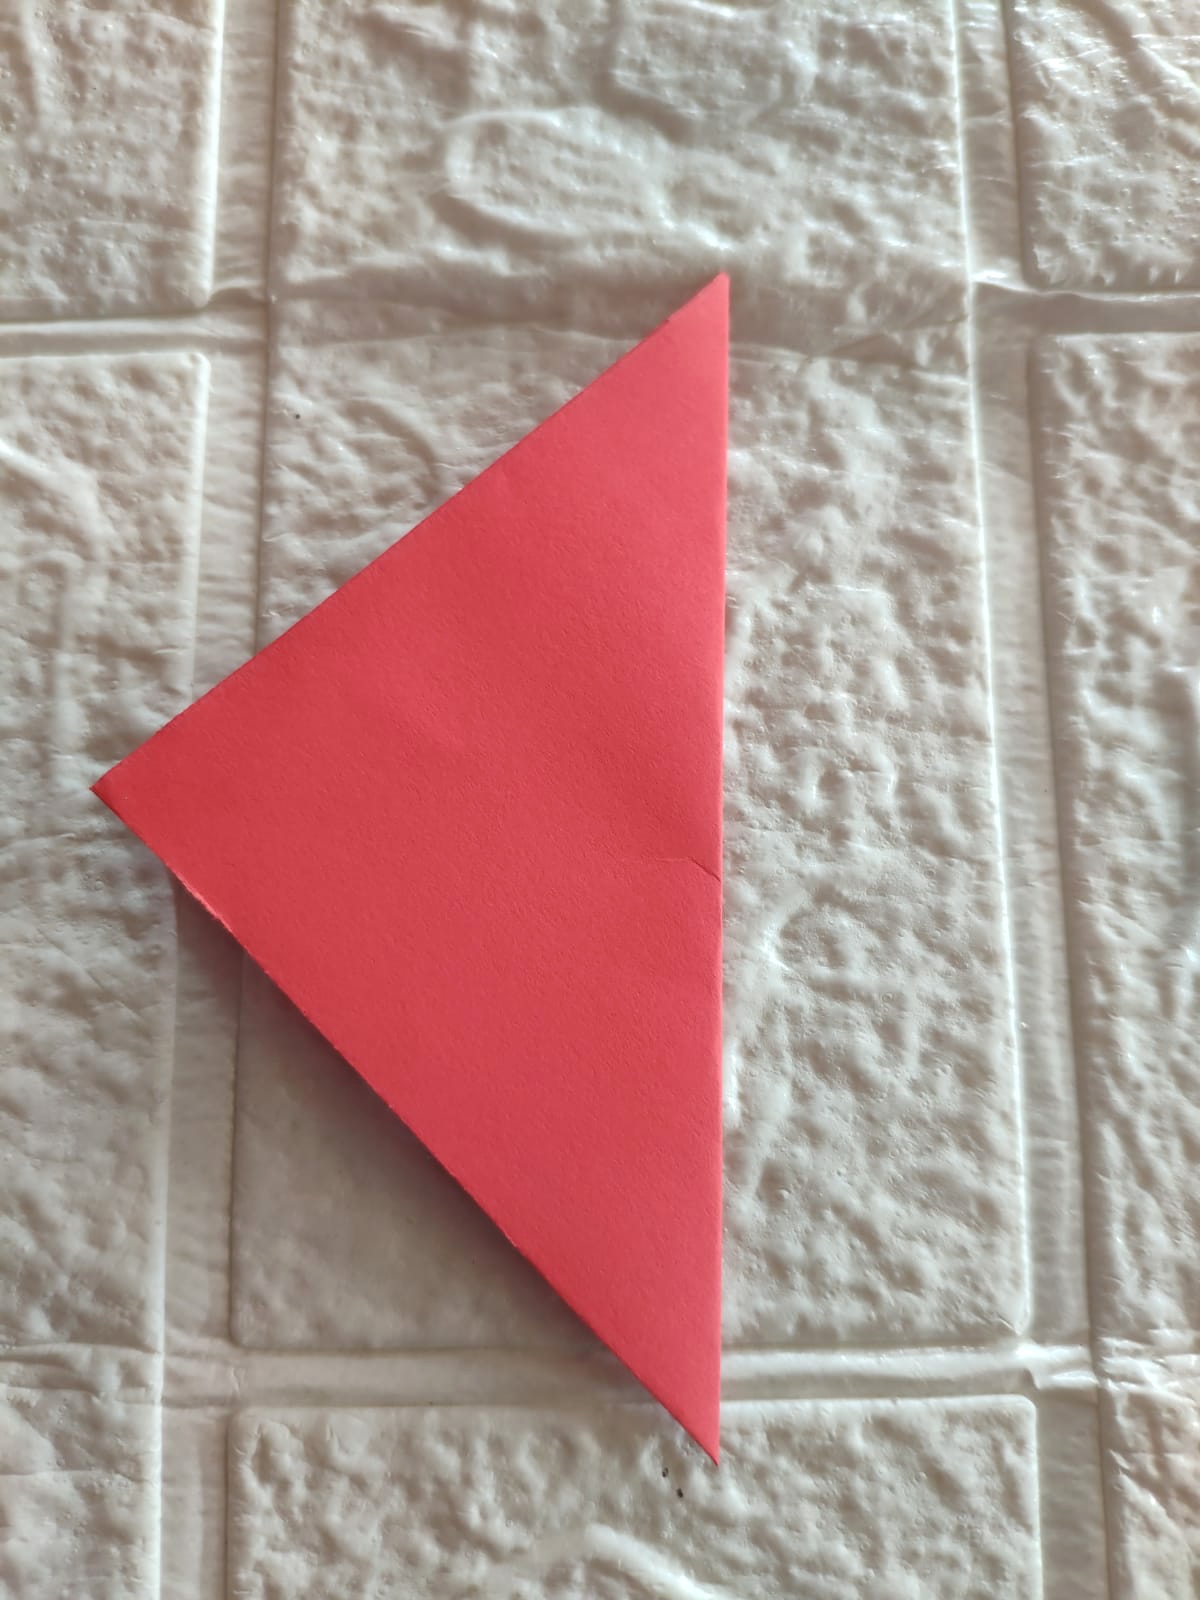
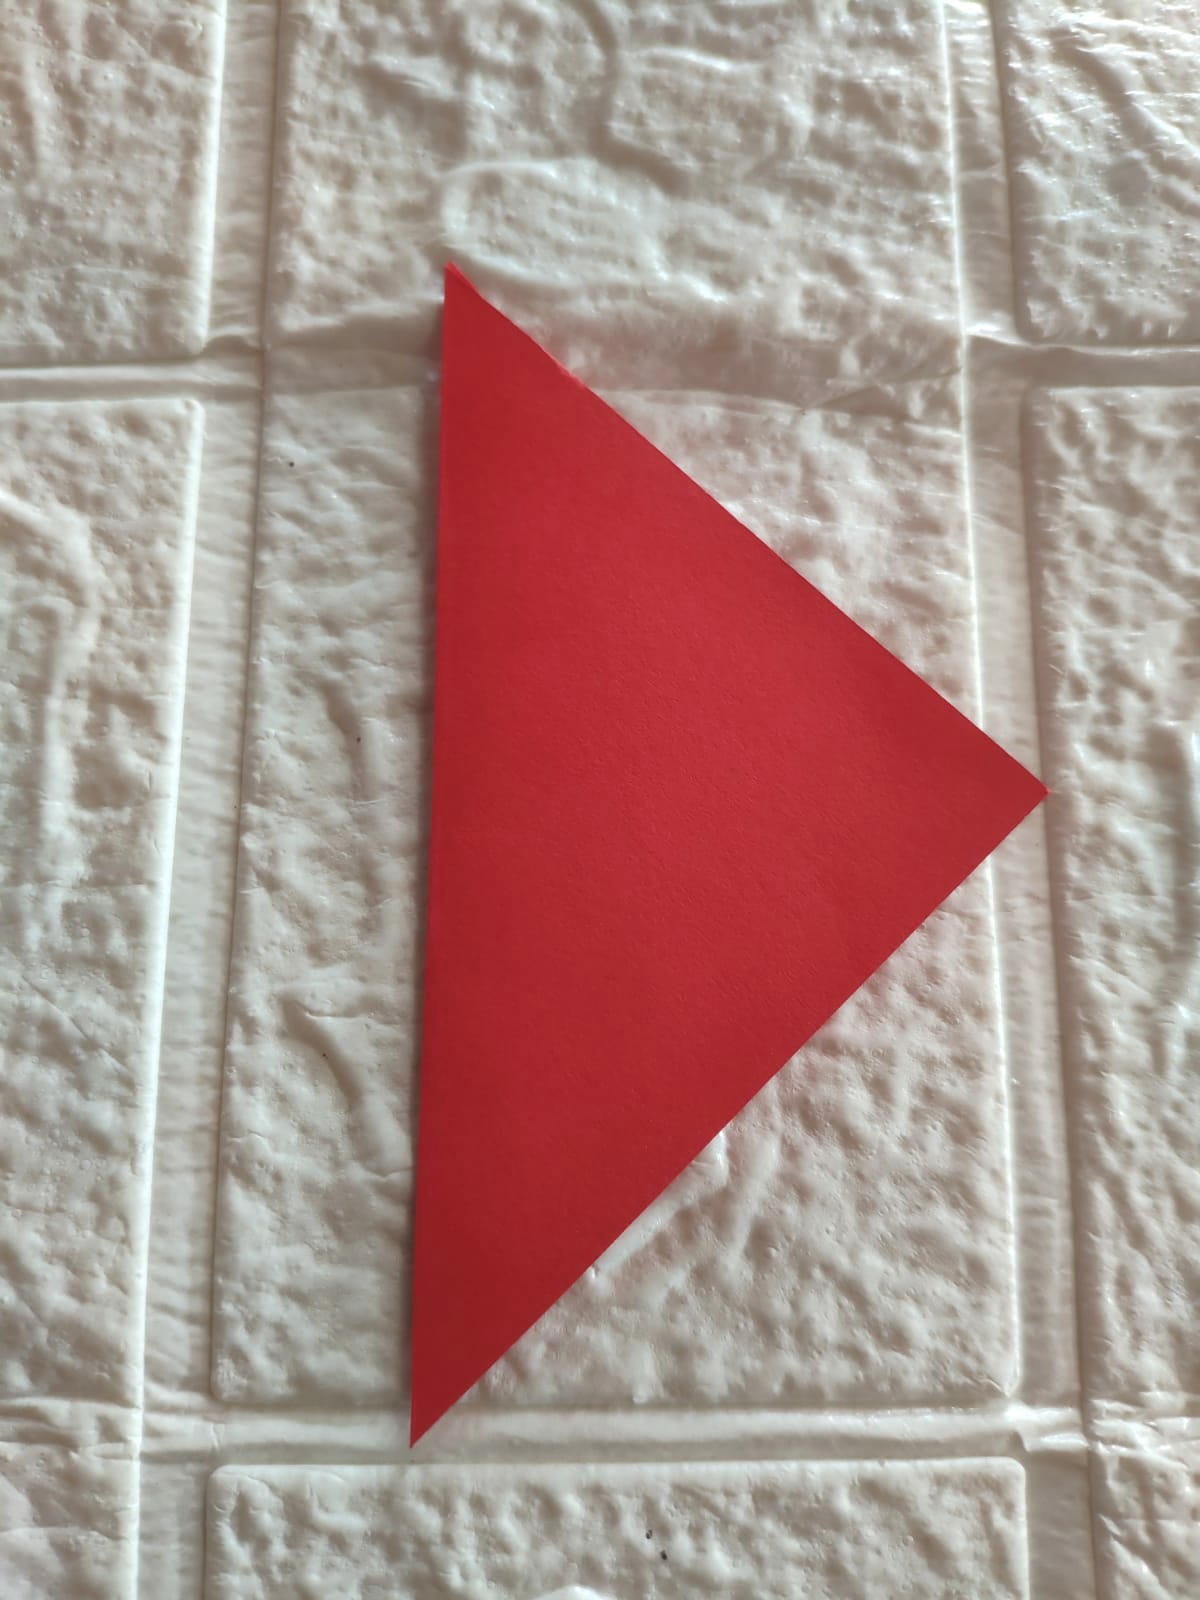
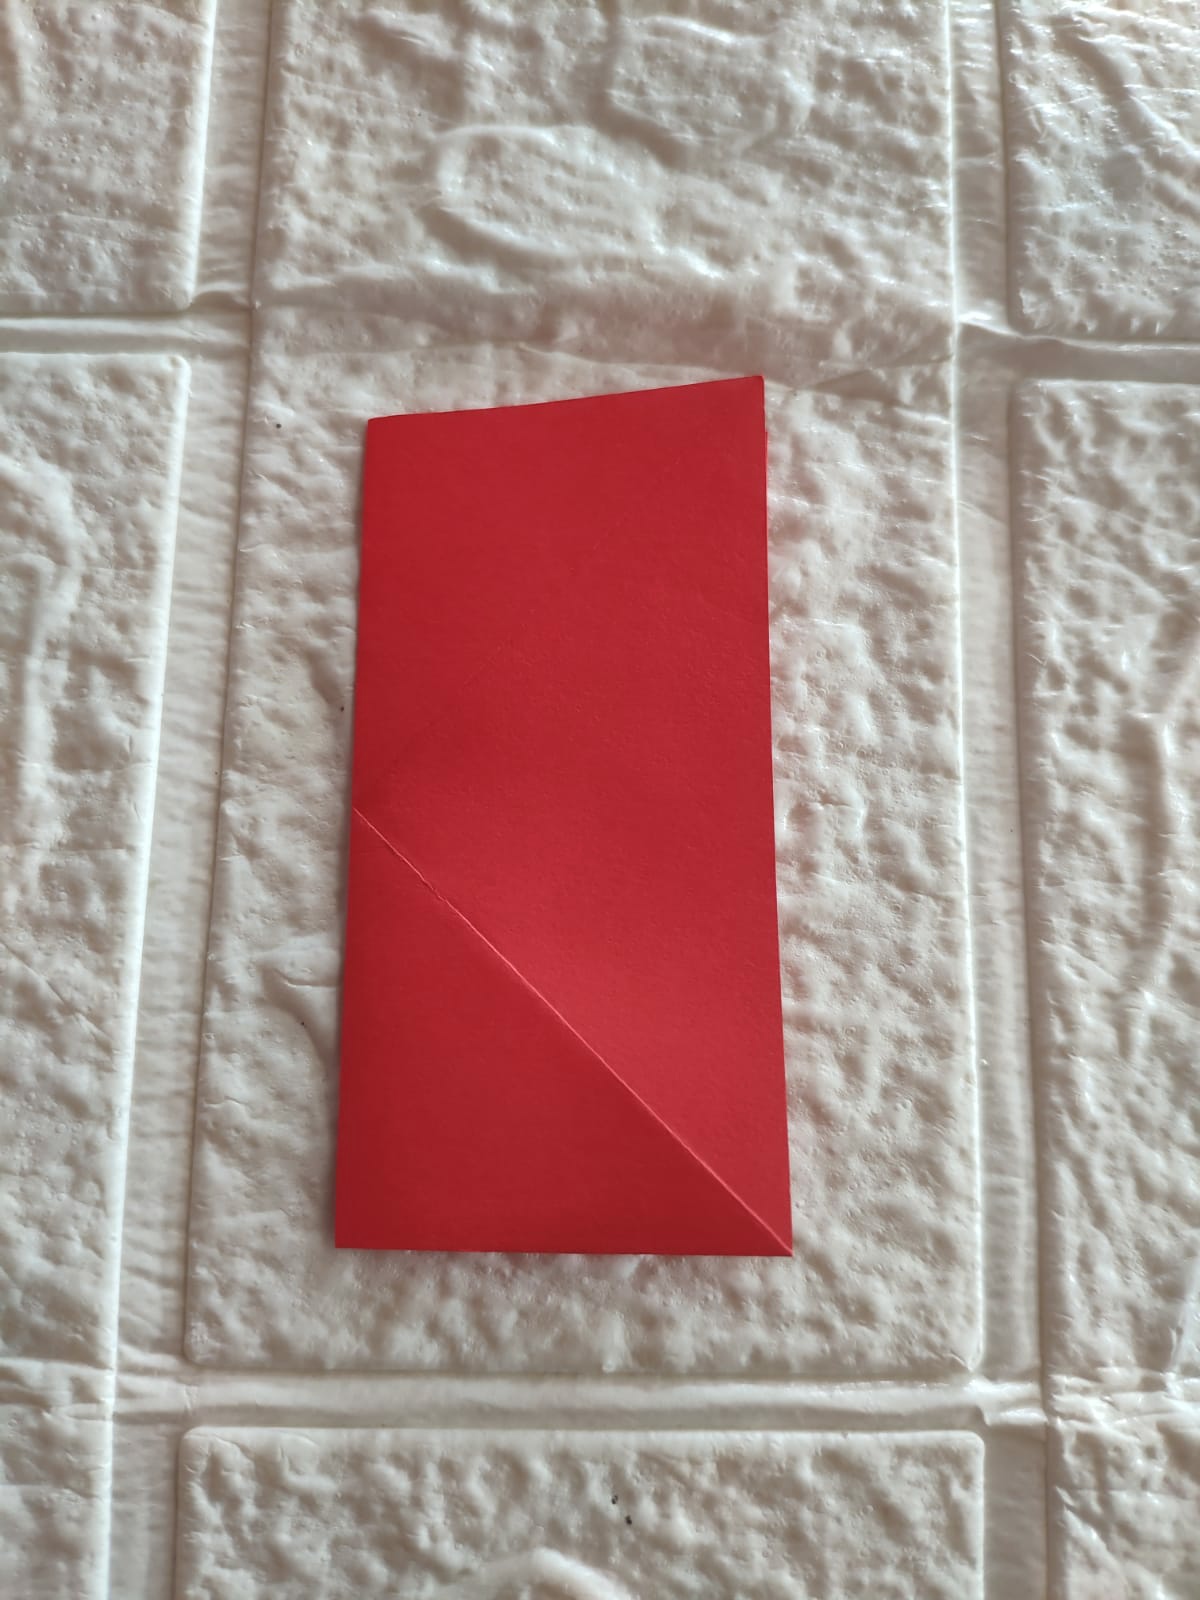
Take the paper first, choose the red one, then fold it into a cone shape, left and right, then open it and fold it again in a long shape, left and right too.
 |  |  |
|---|
 |  |  |
|---|
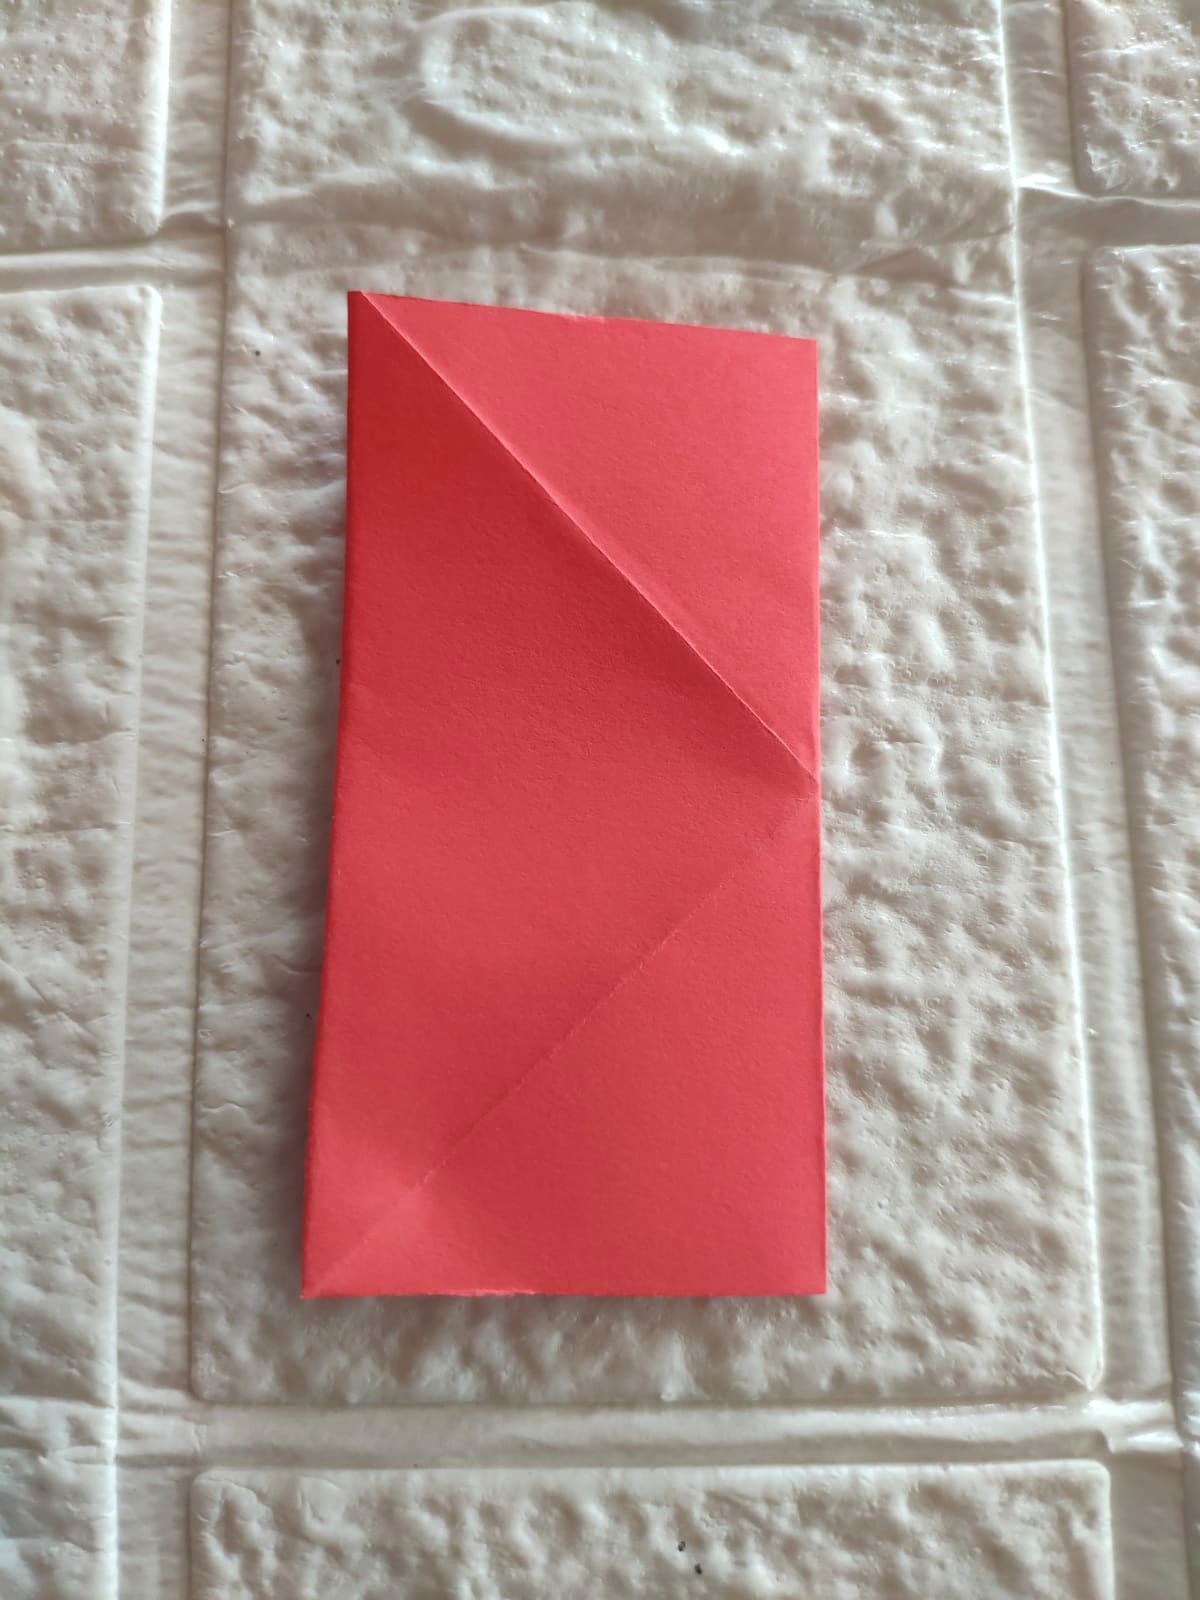
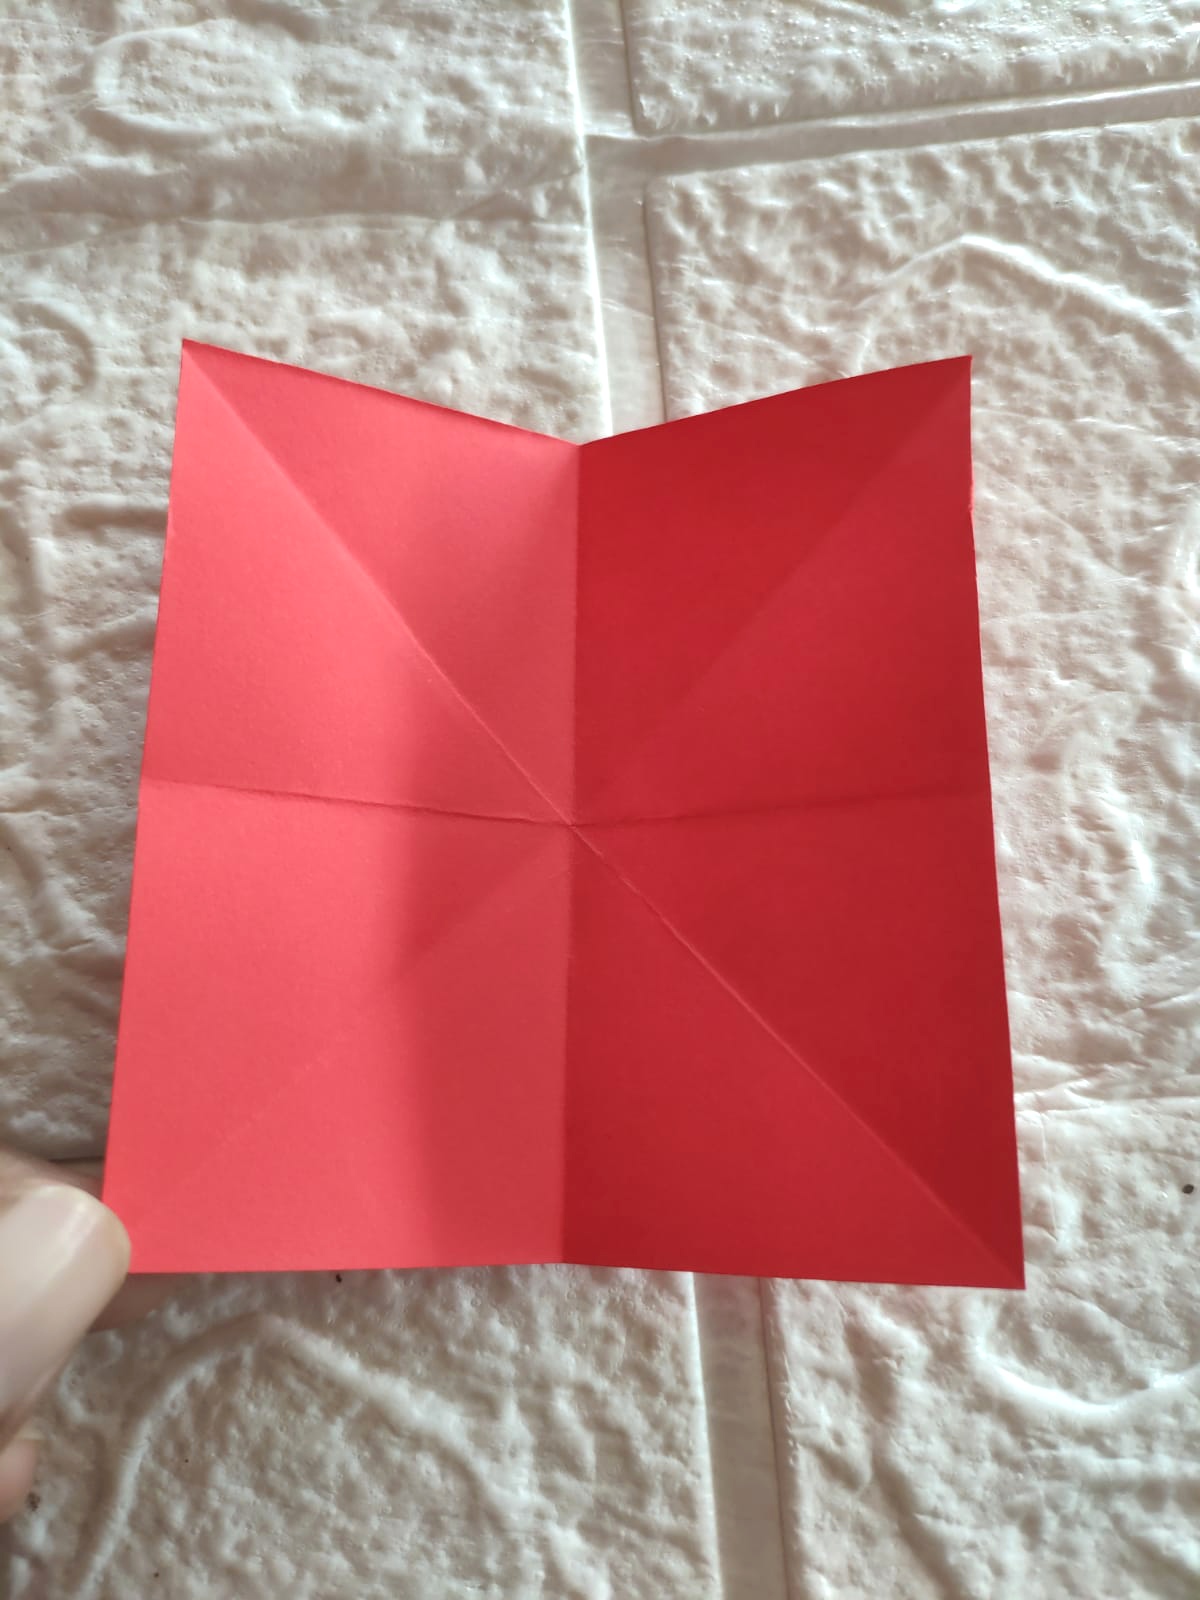
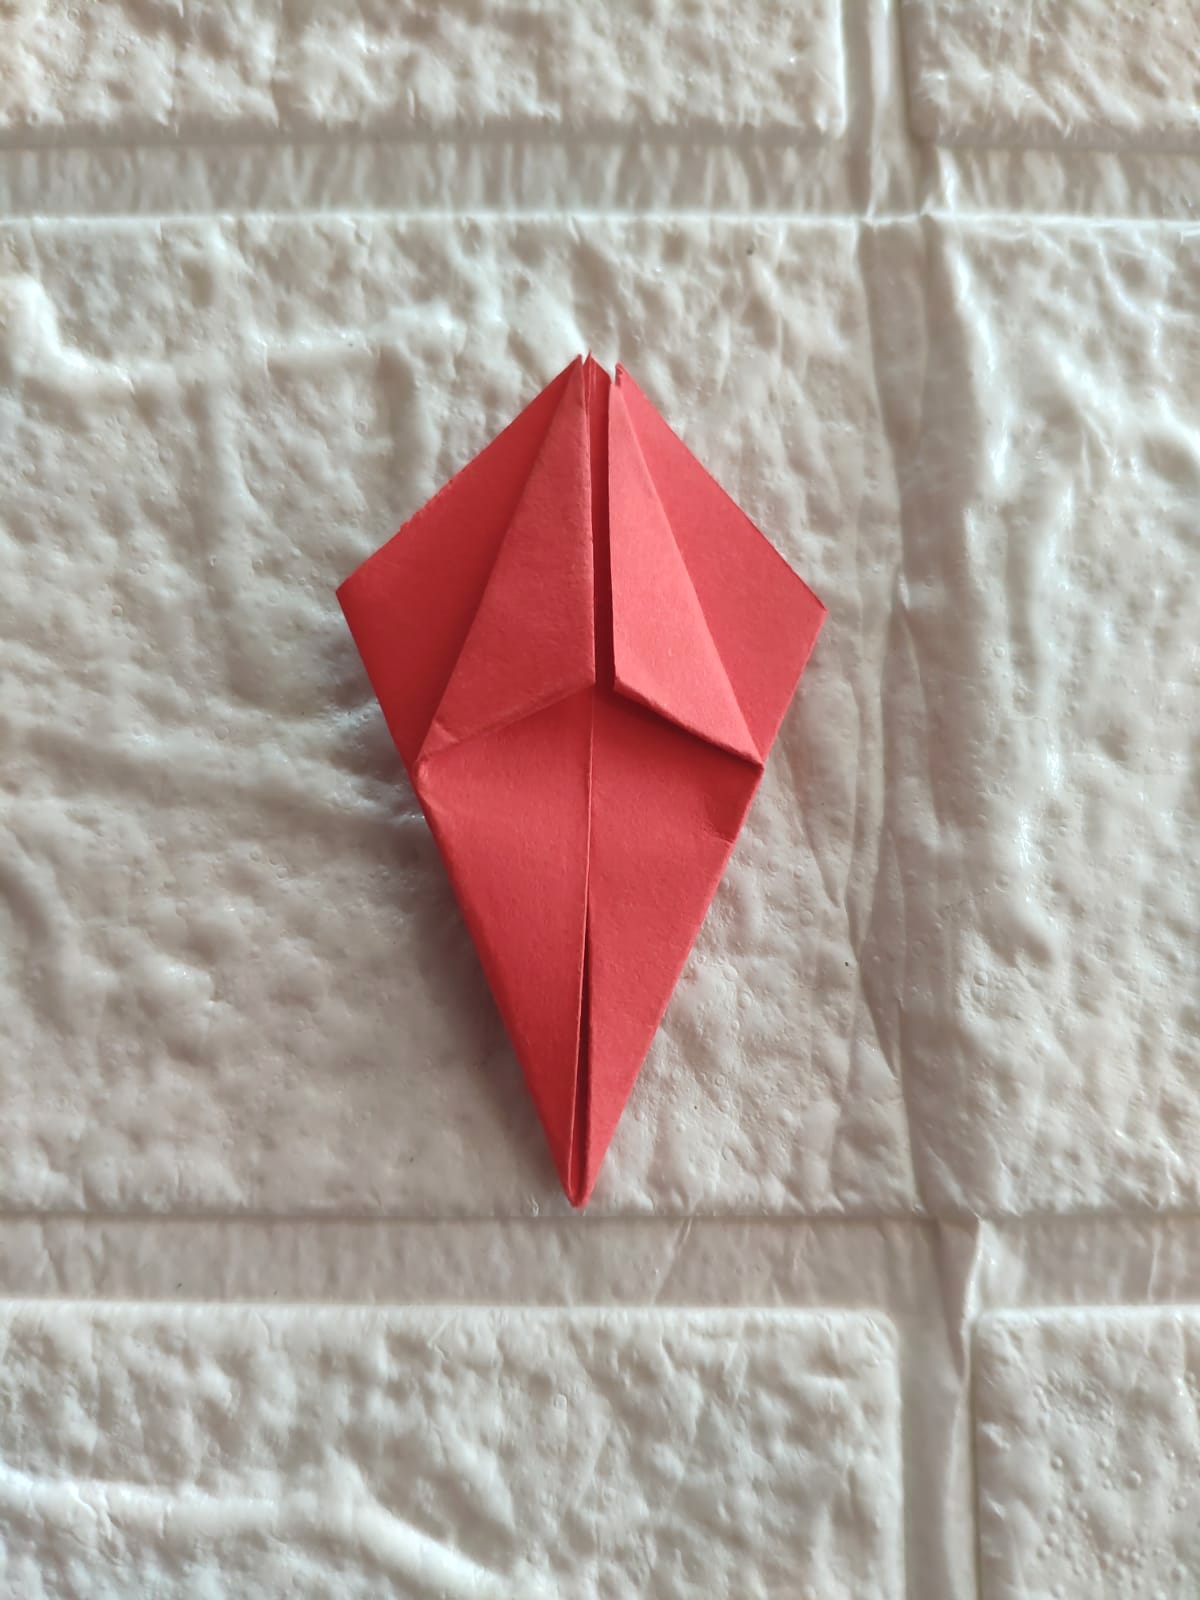
After opening the paper, fold it like a kite, then fold it in a tapered shape down the left and right front and back of the paper
 |  |
|---|
 |  |
|---|
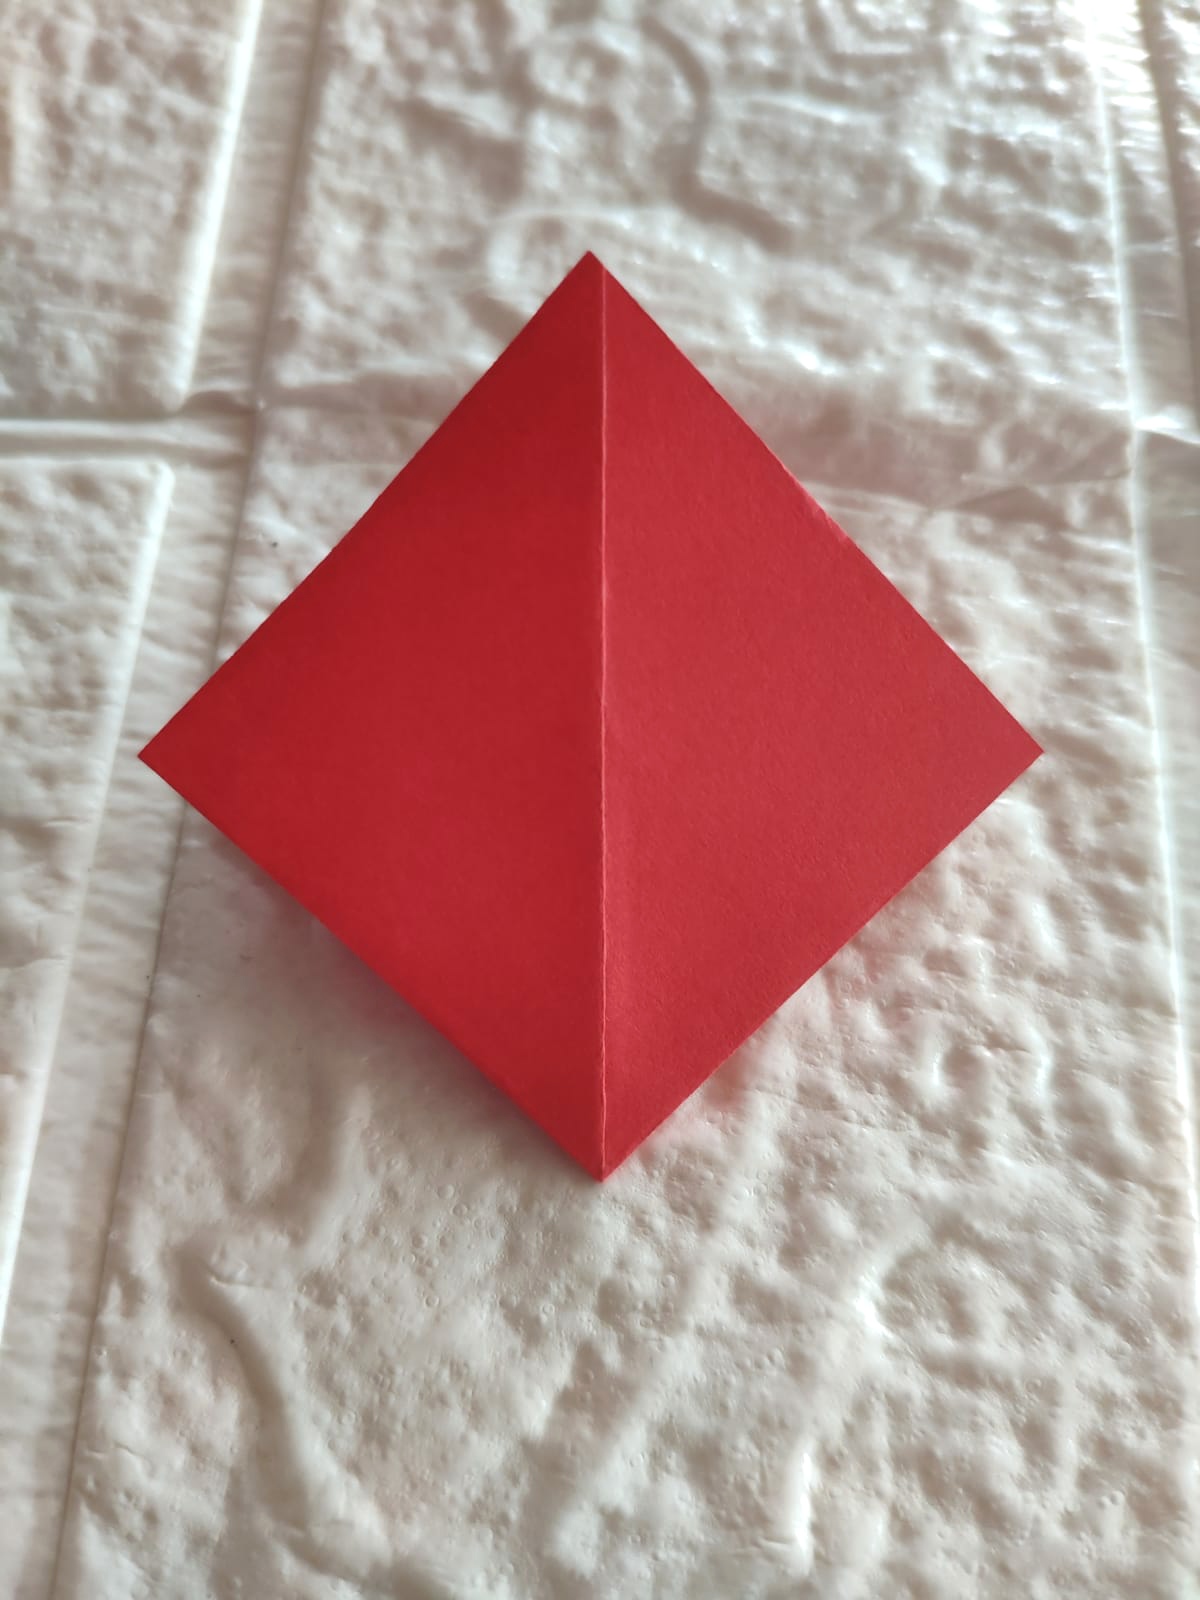
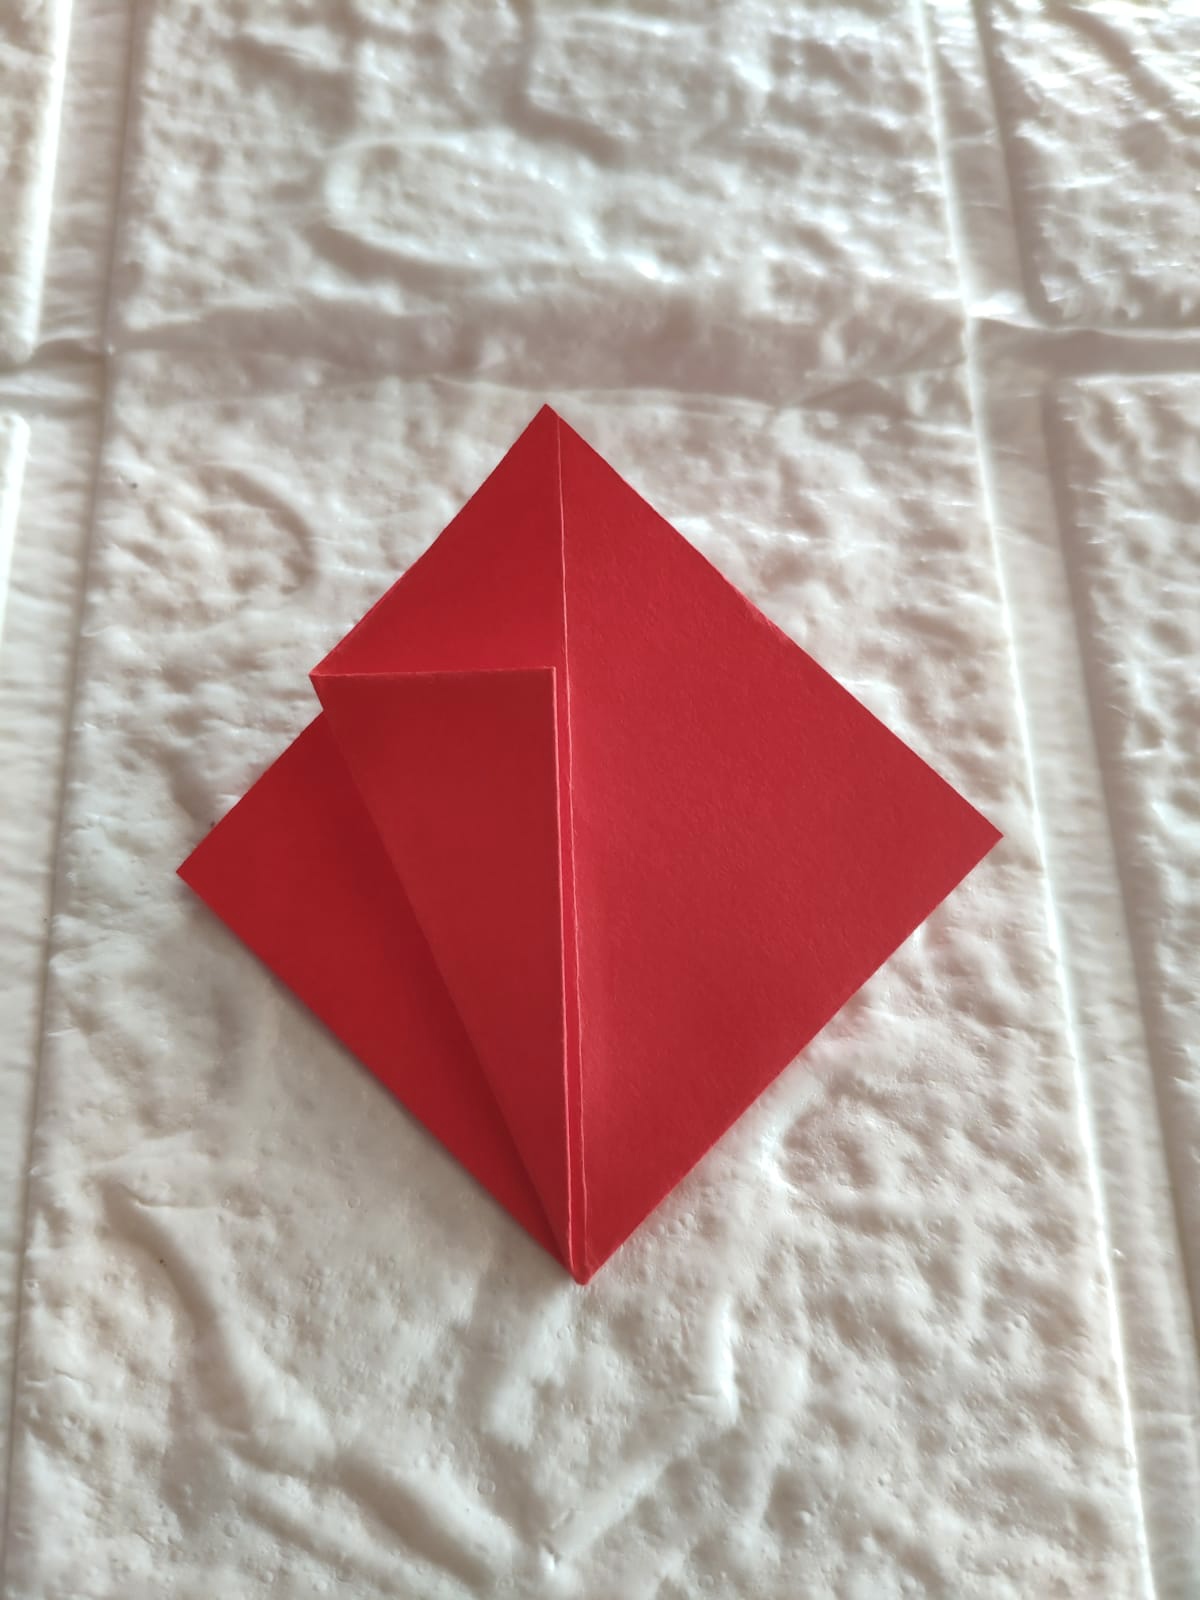
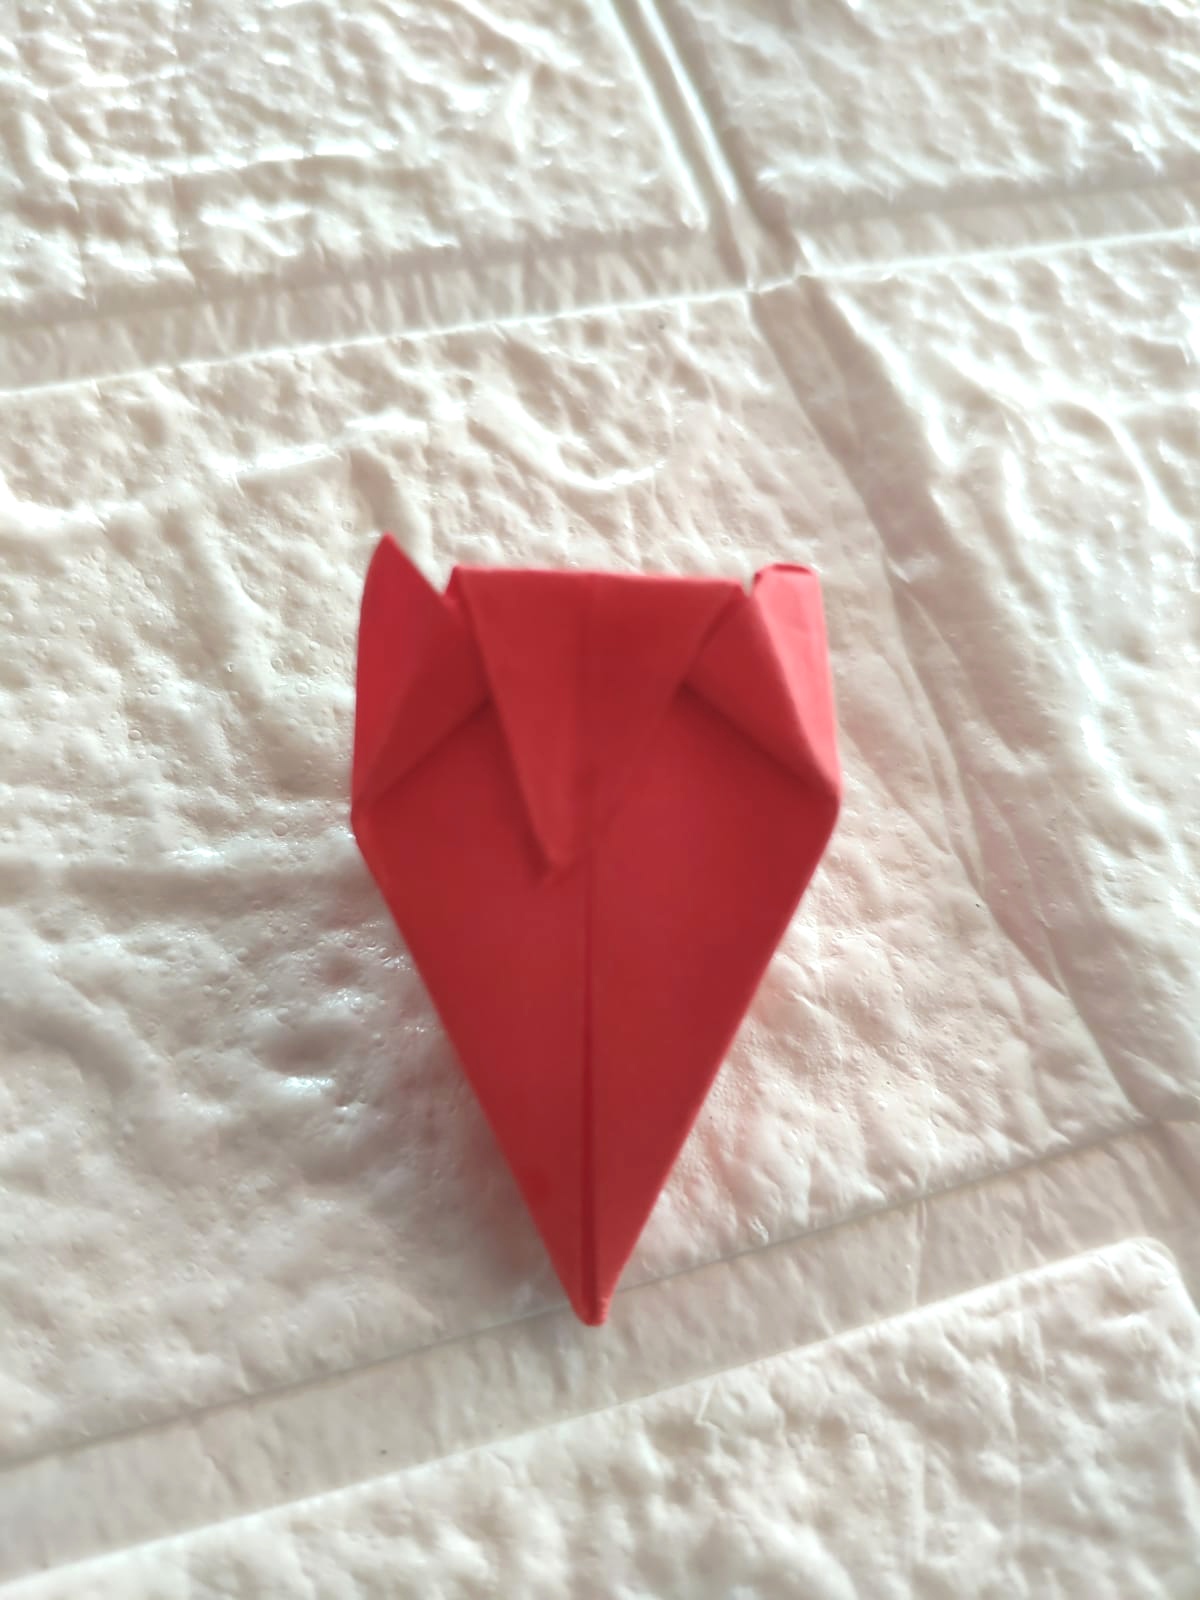
Then fold the top part again in a left and right conical shape, also front and back, but shorter than the bottom
 | 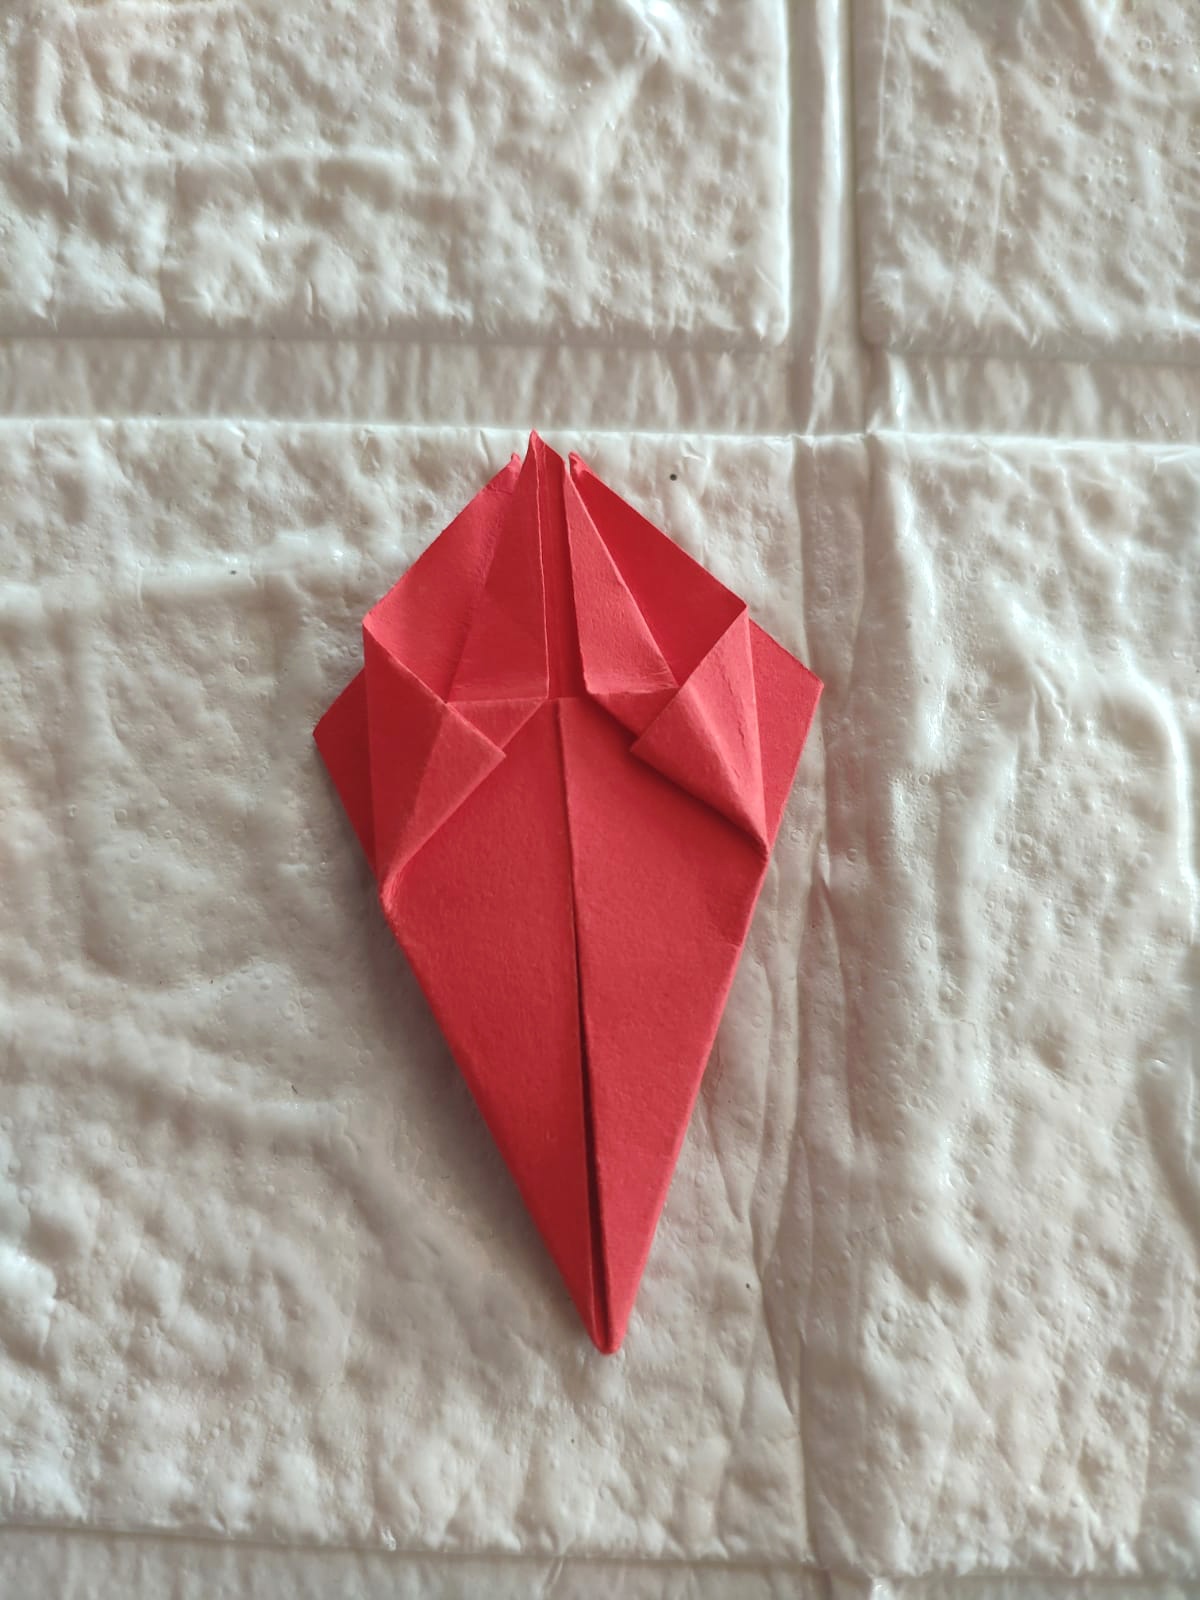 |
|---|
 |  |
|---|
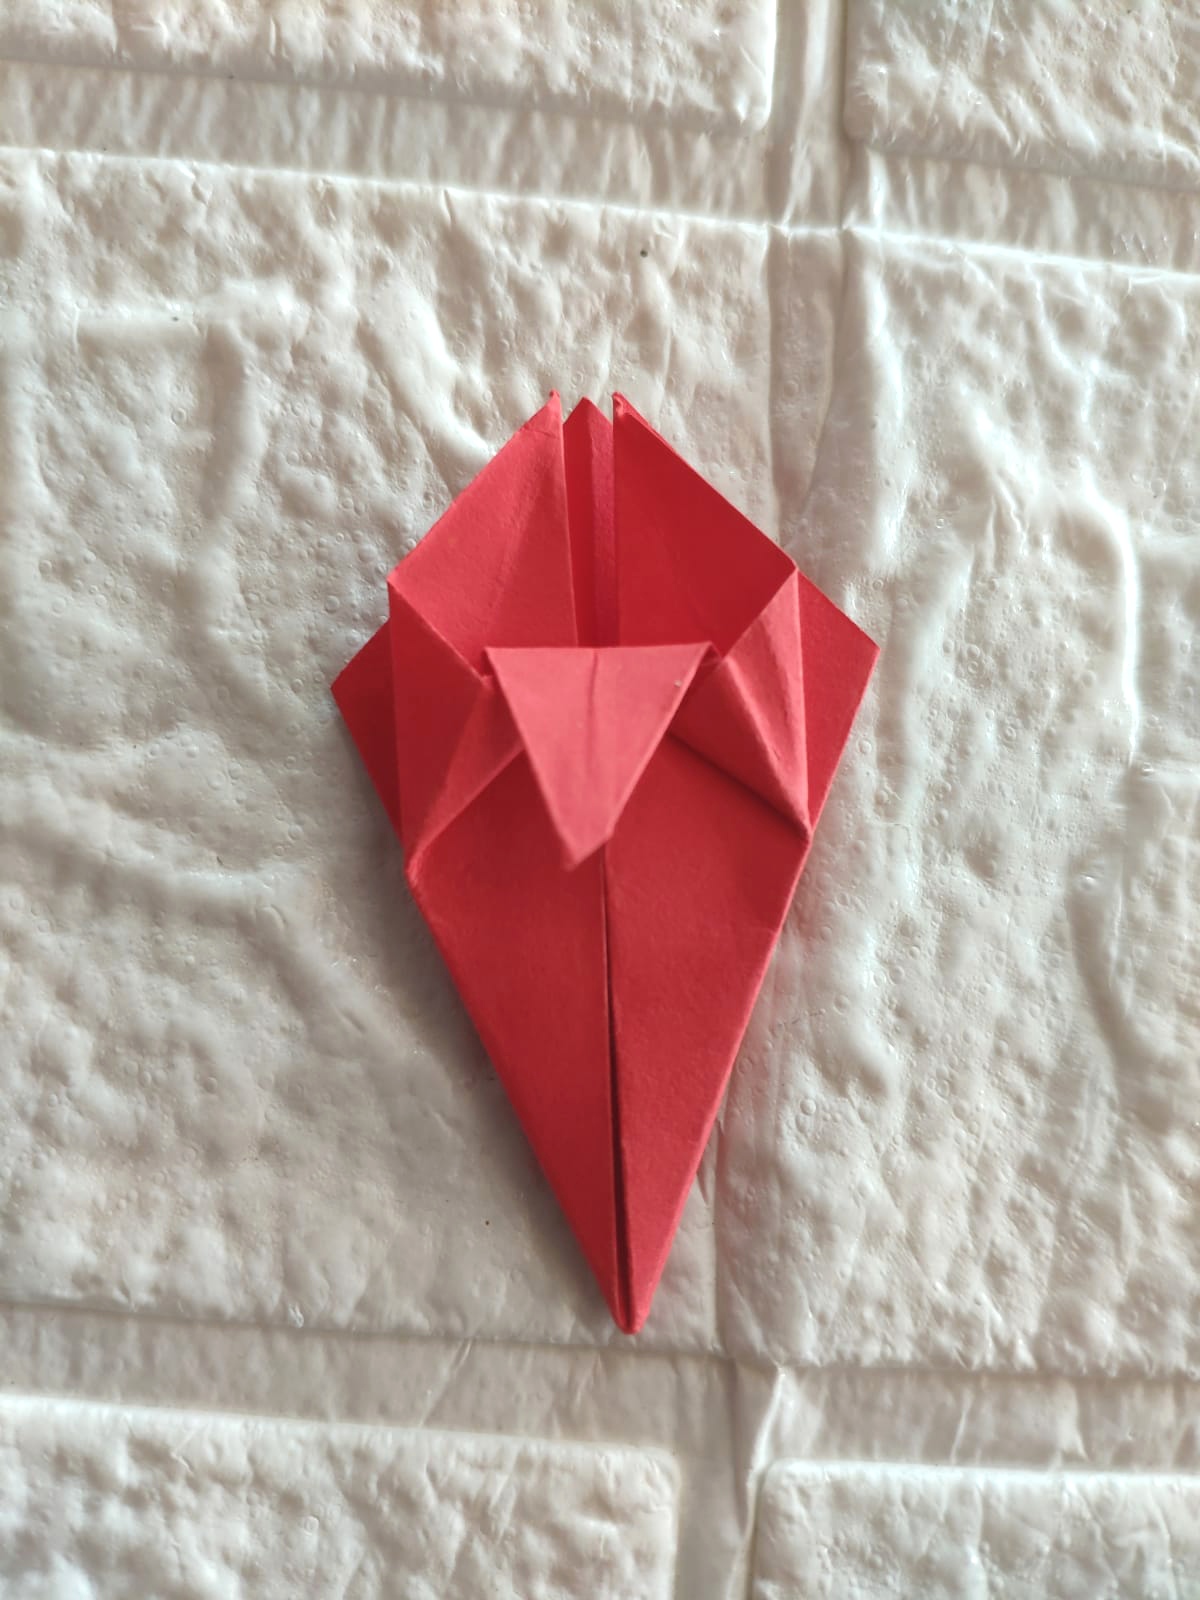
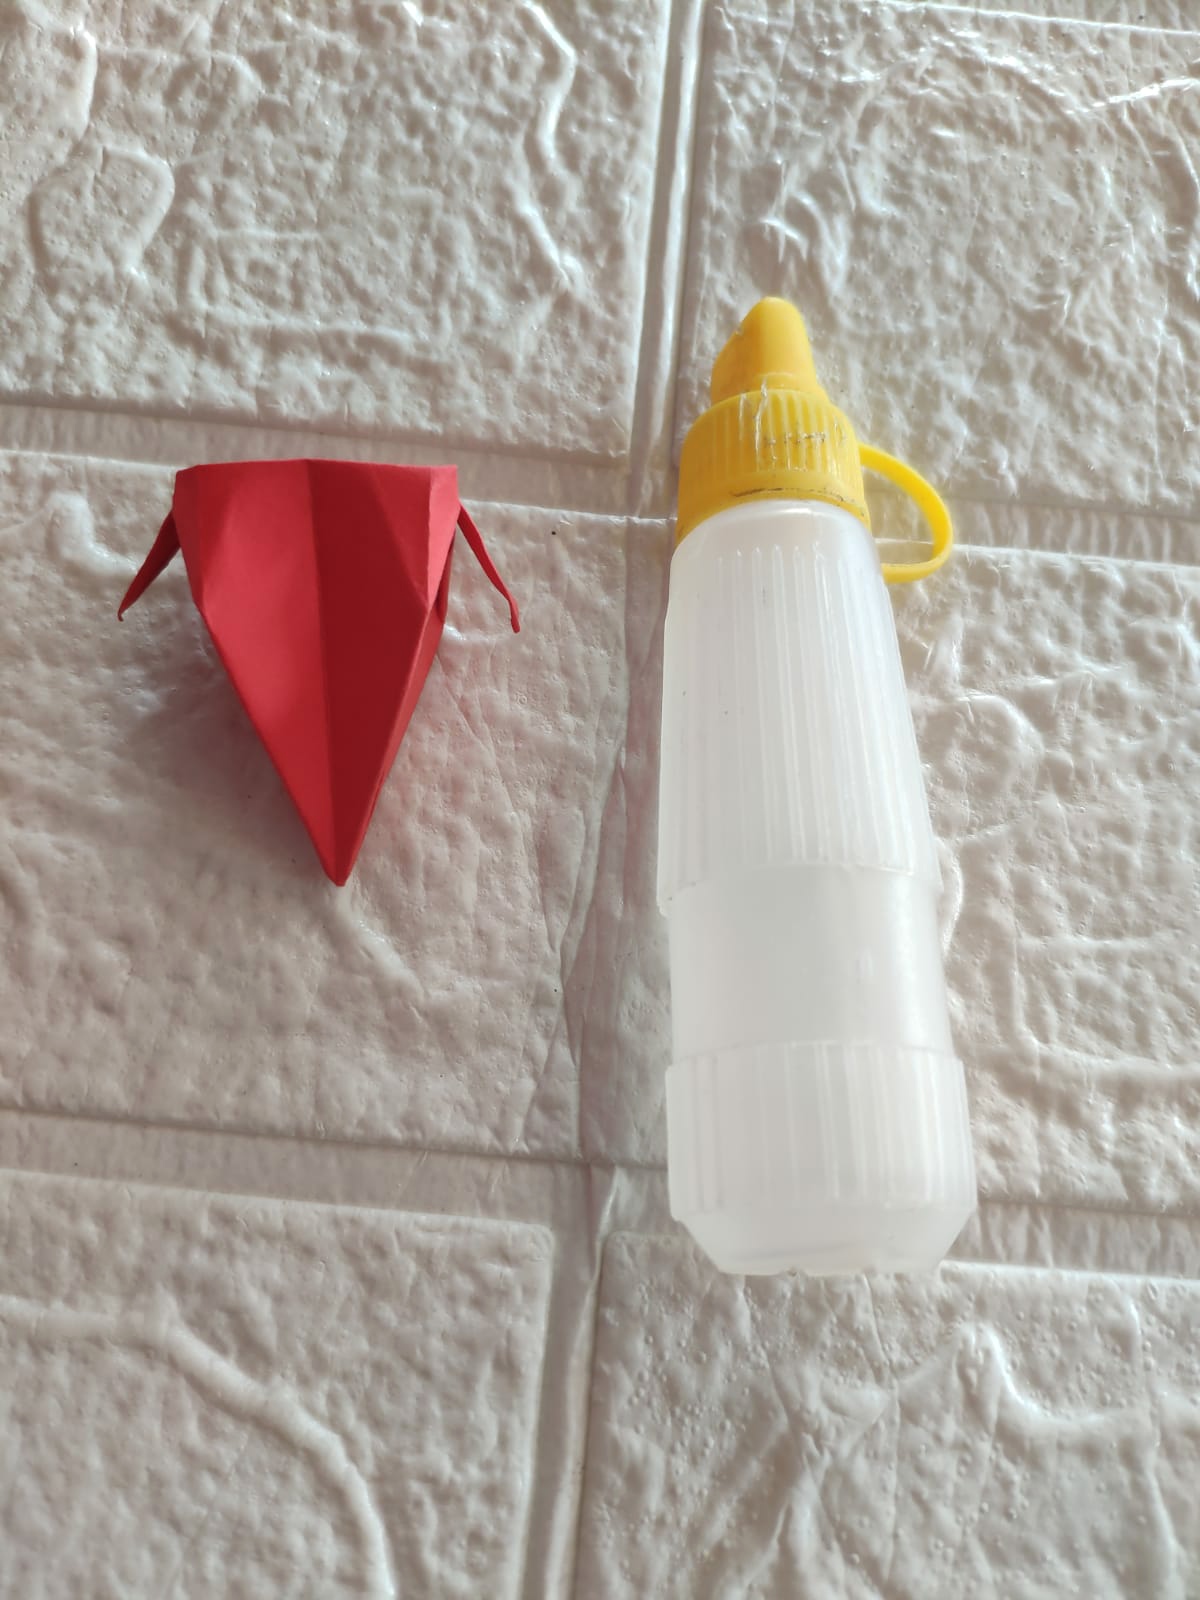
Then take glue and stick it to something that opens easily so that the strawberries last longer
 |  |
|---|
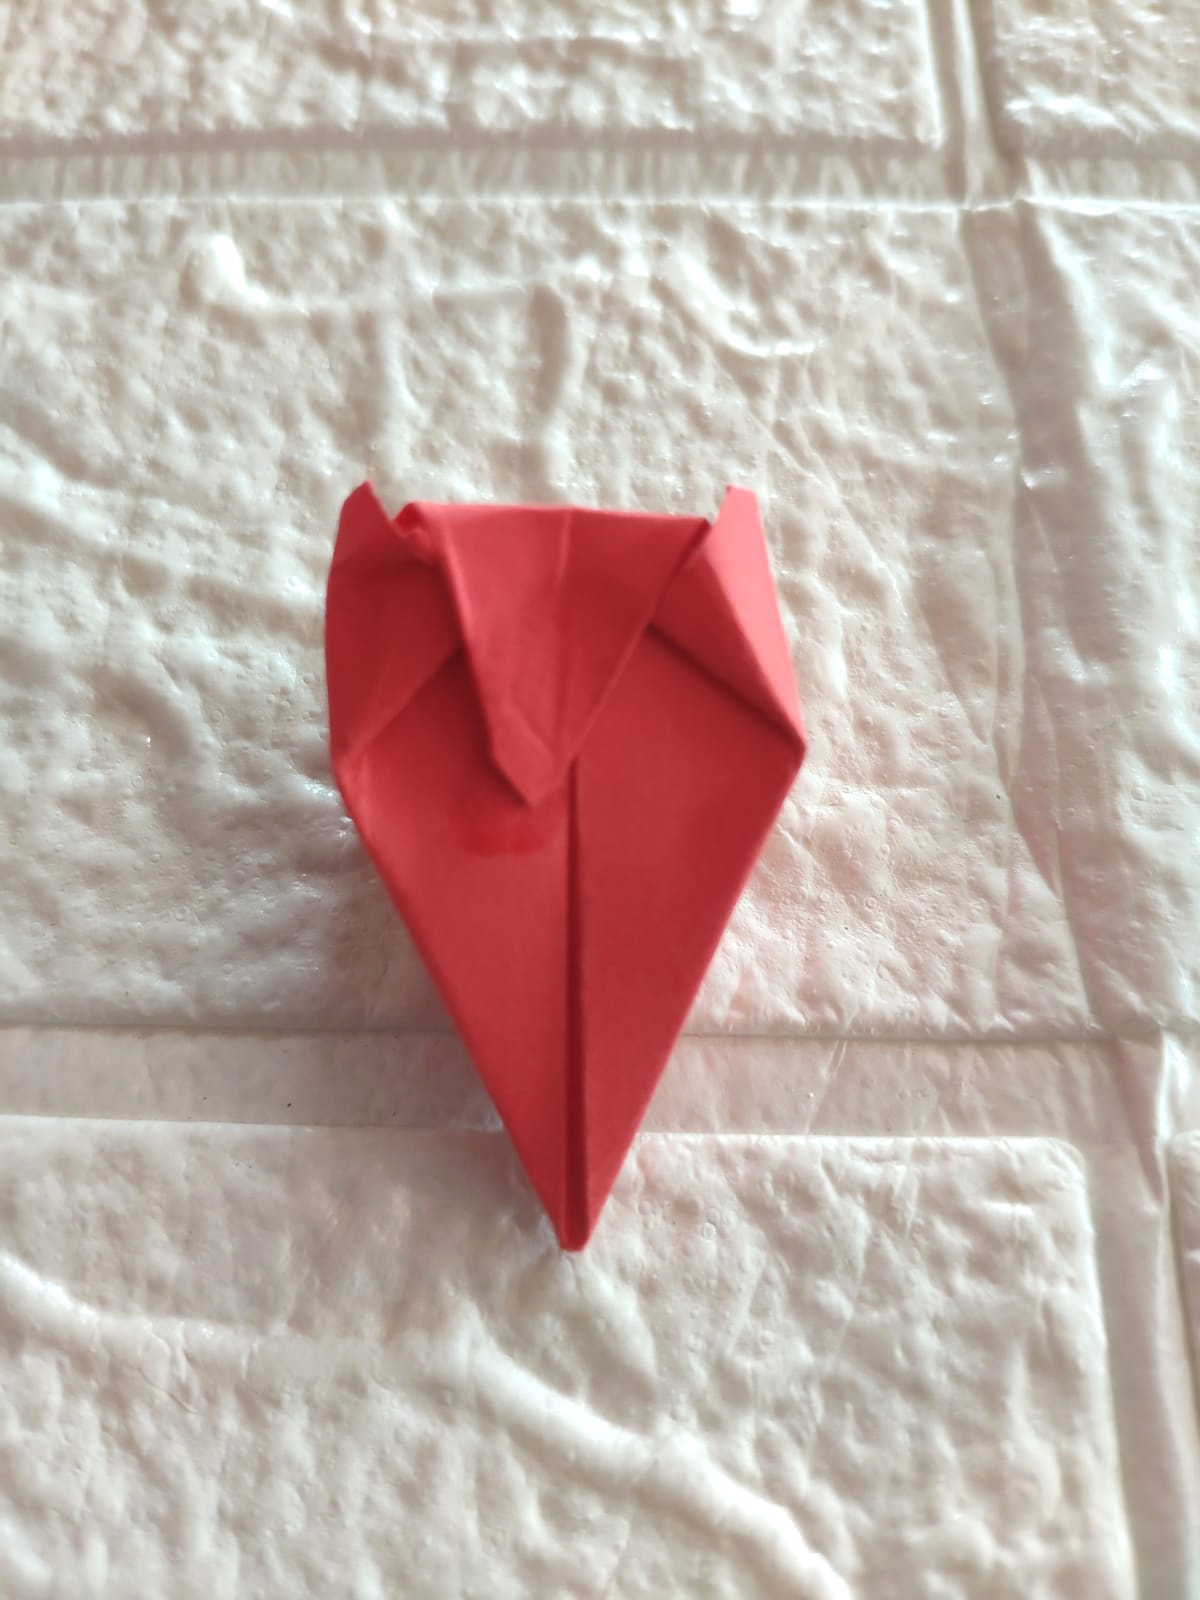
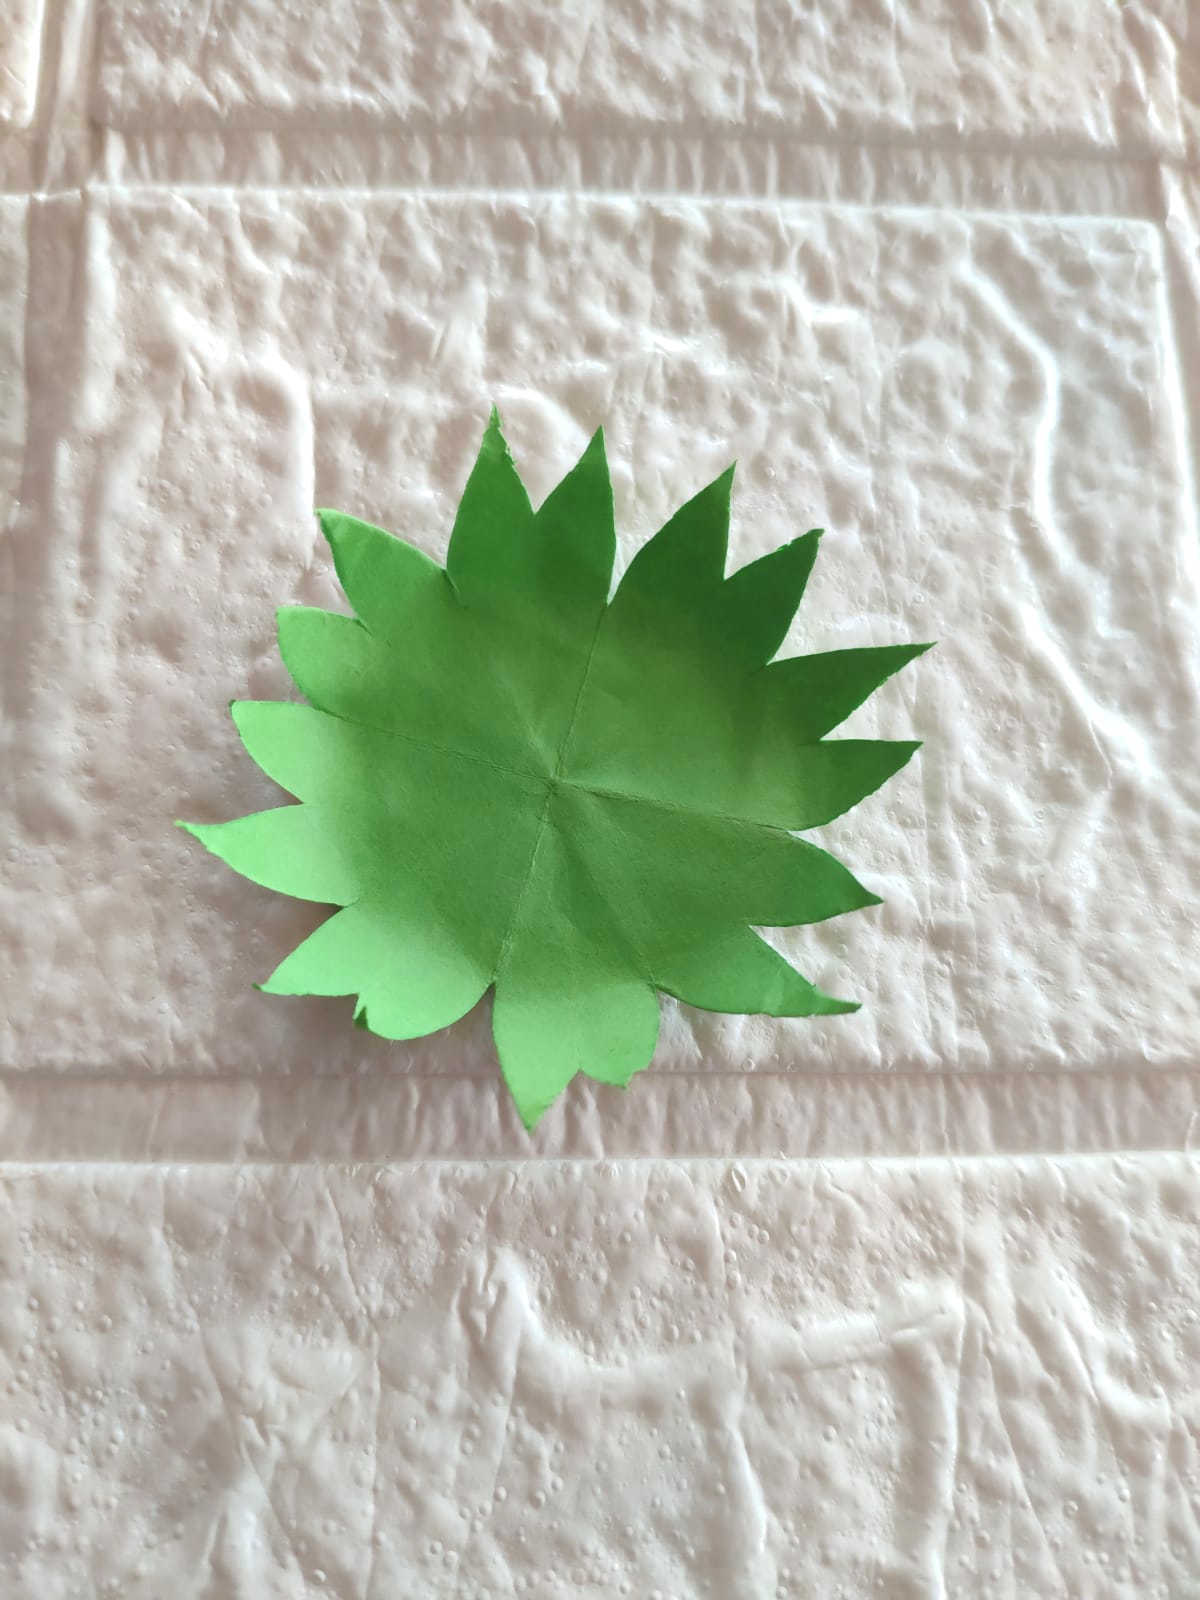
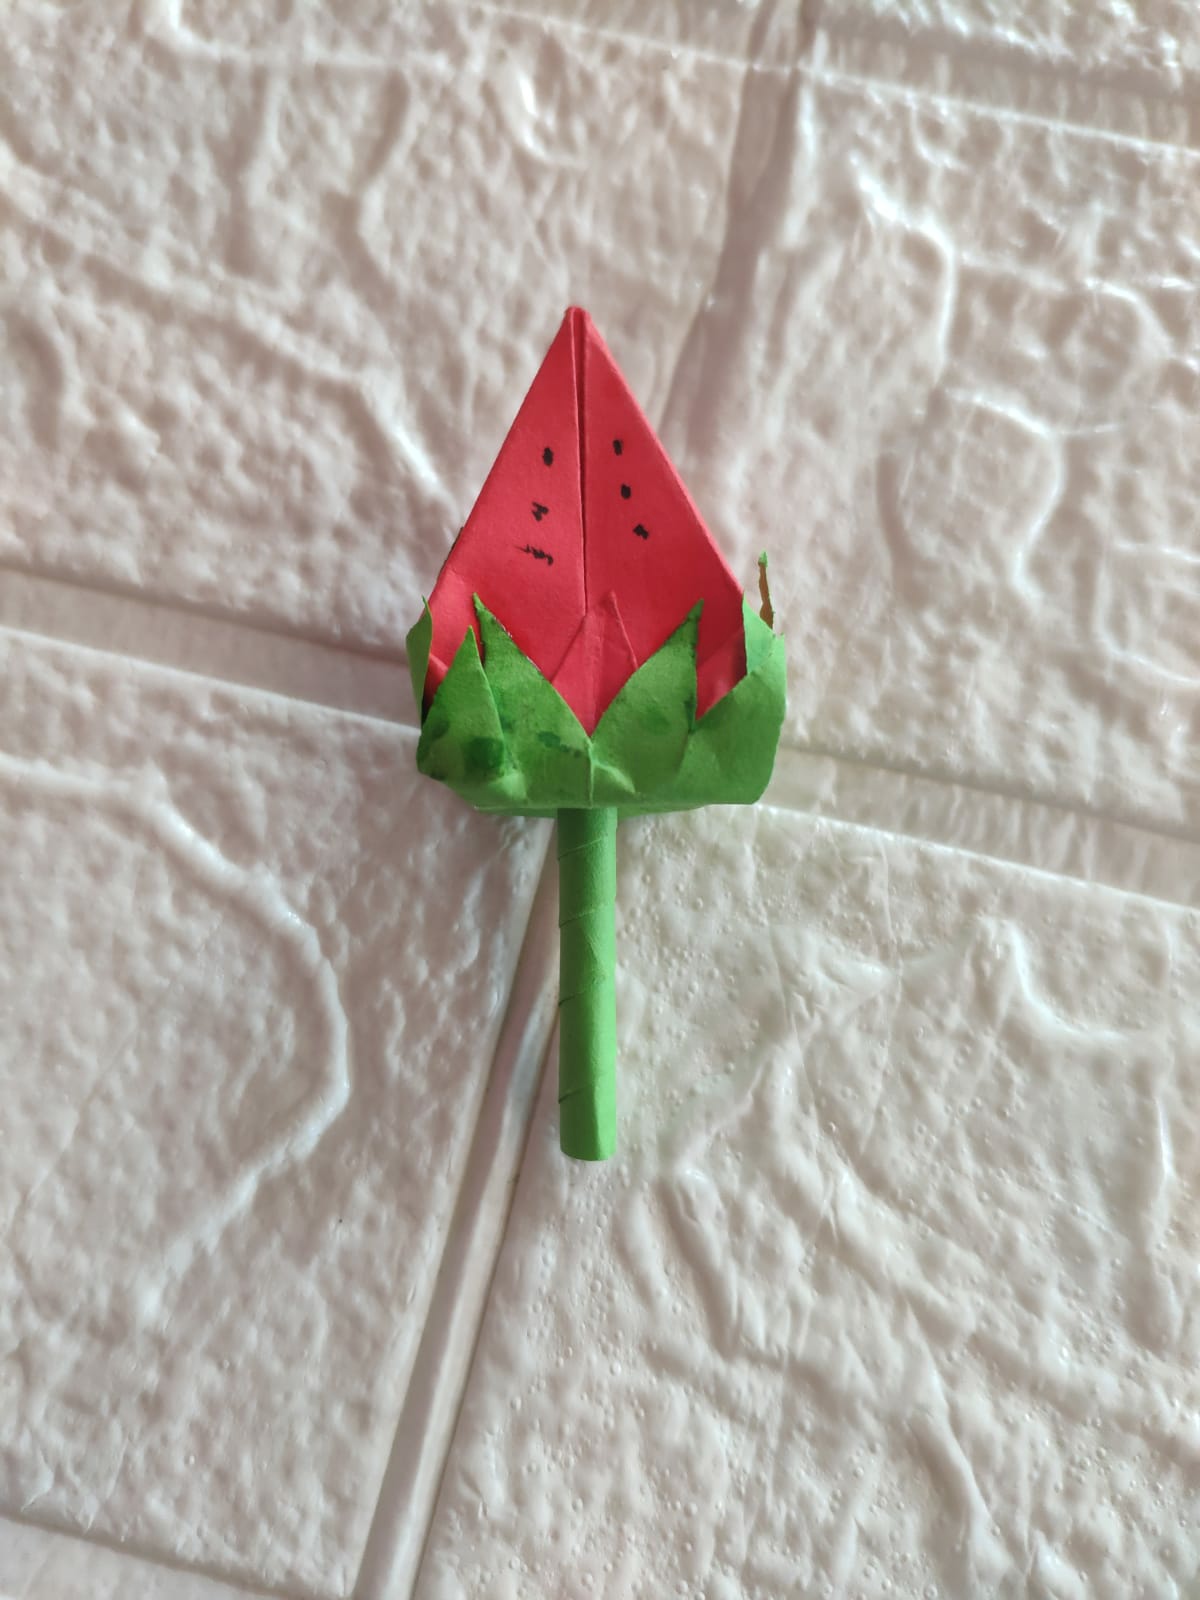
Then make strawberry leaves according to the size of the fruit so that they fit and look neat and beautiful
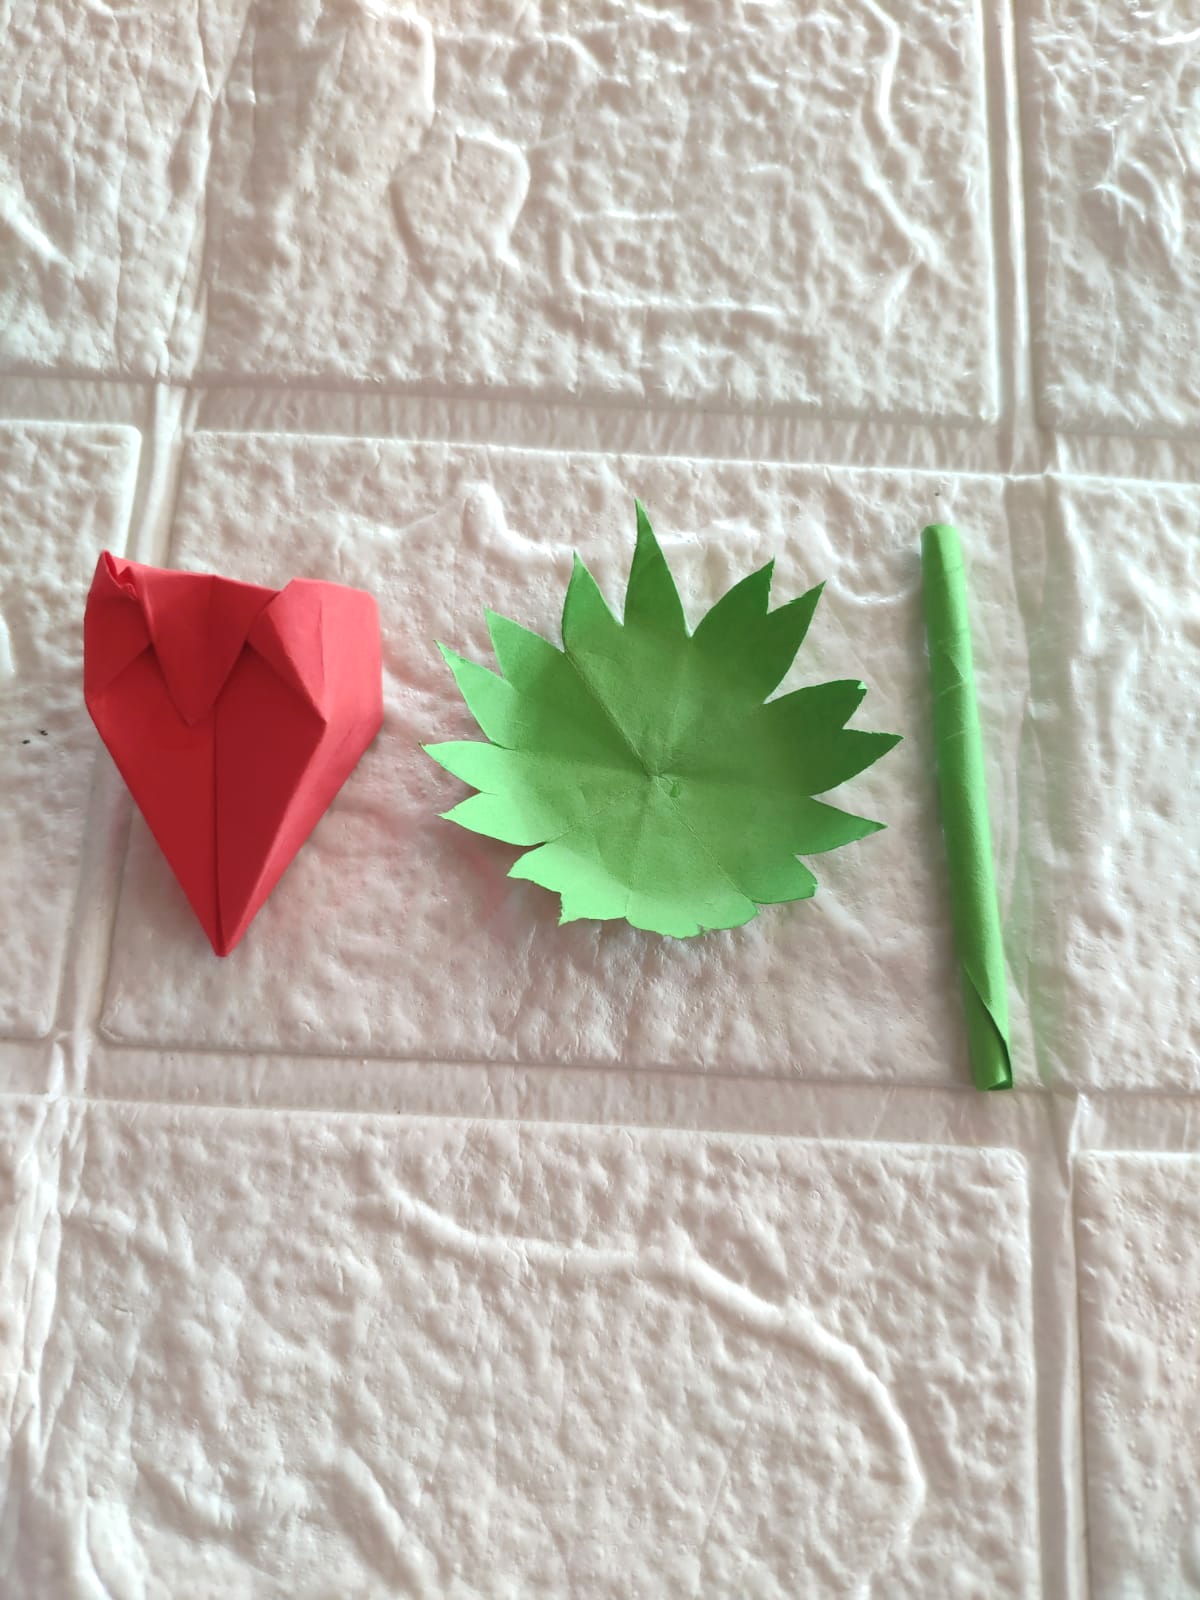
Then take the stems and leaves as well as the strawberries, put them together well then take a marker, make black spots on the fruit so that the results are similar.
 |  |
|---|
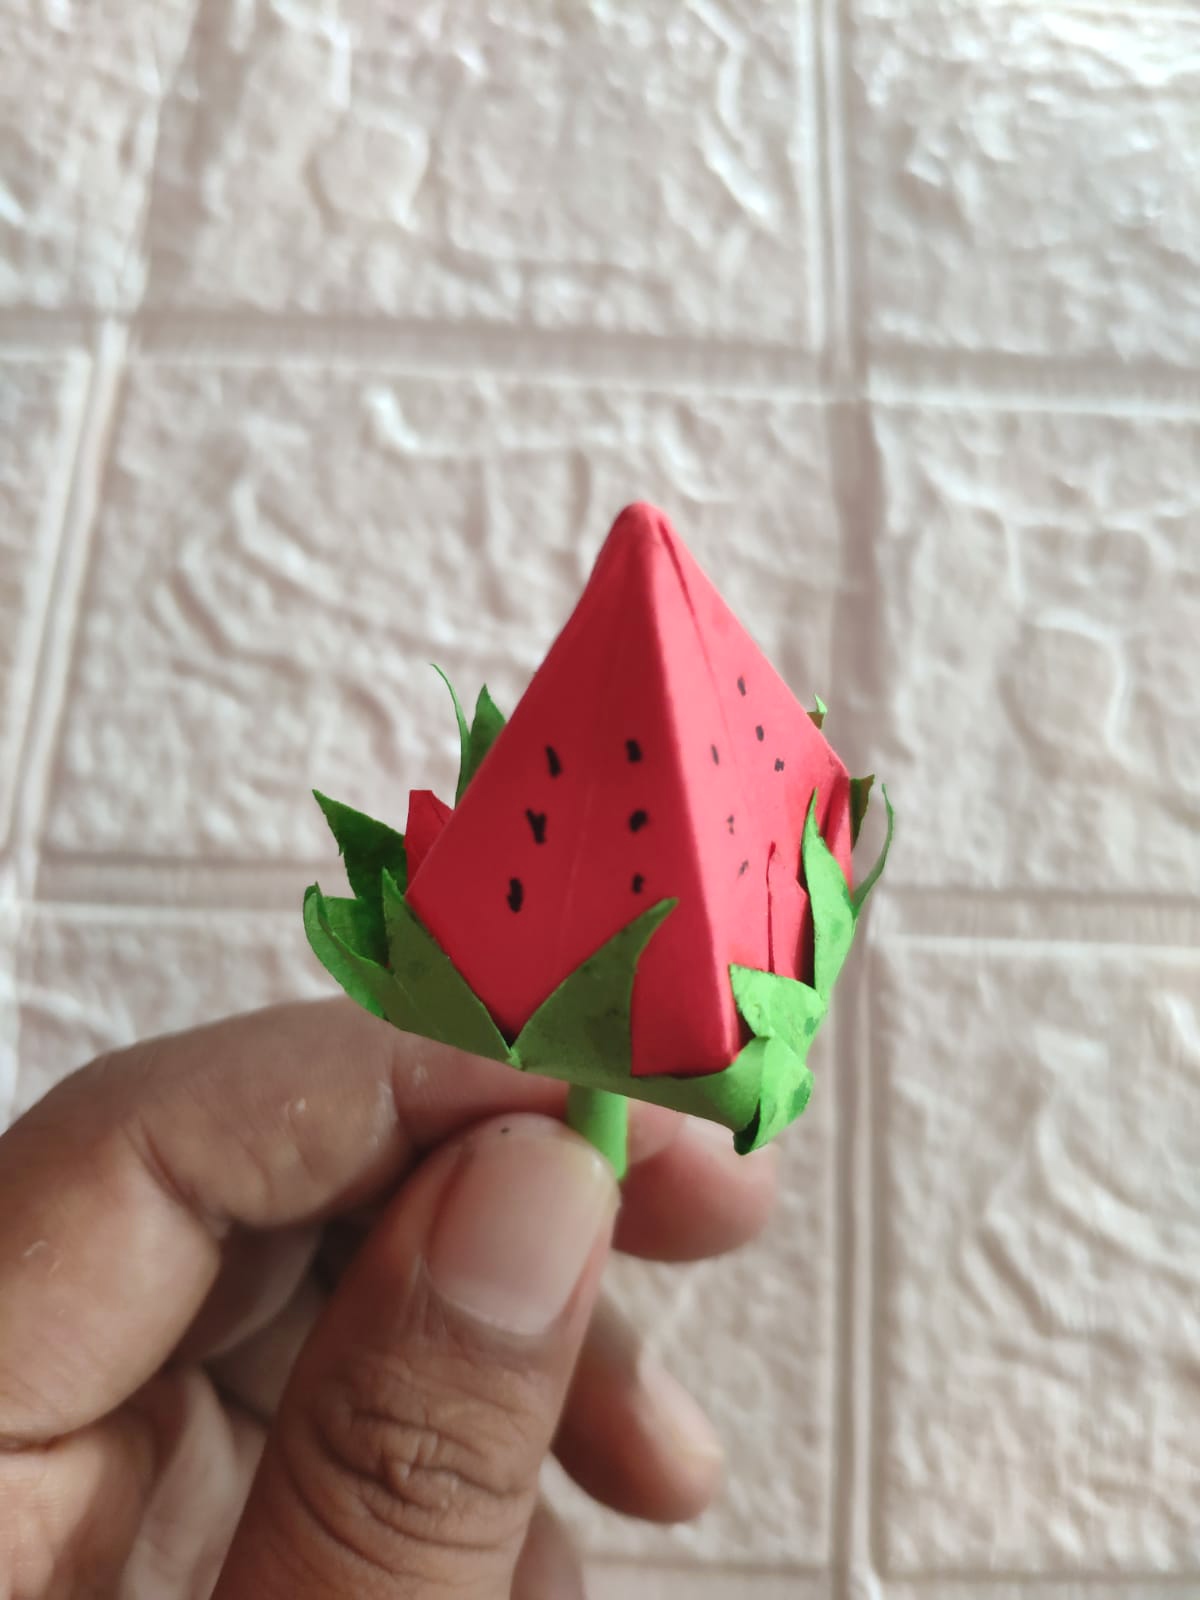
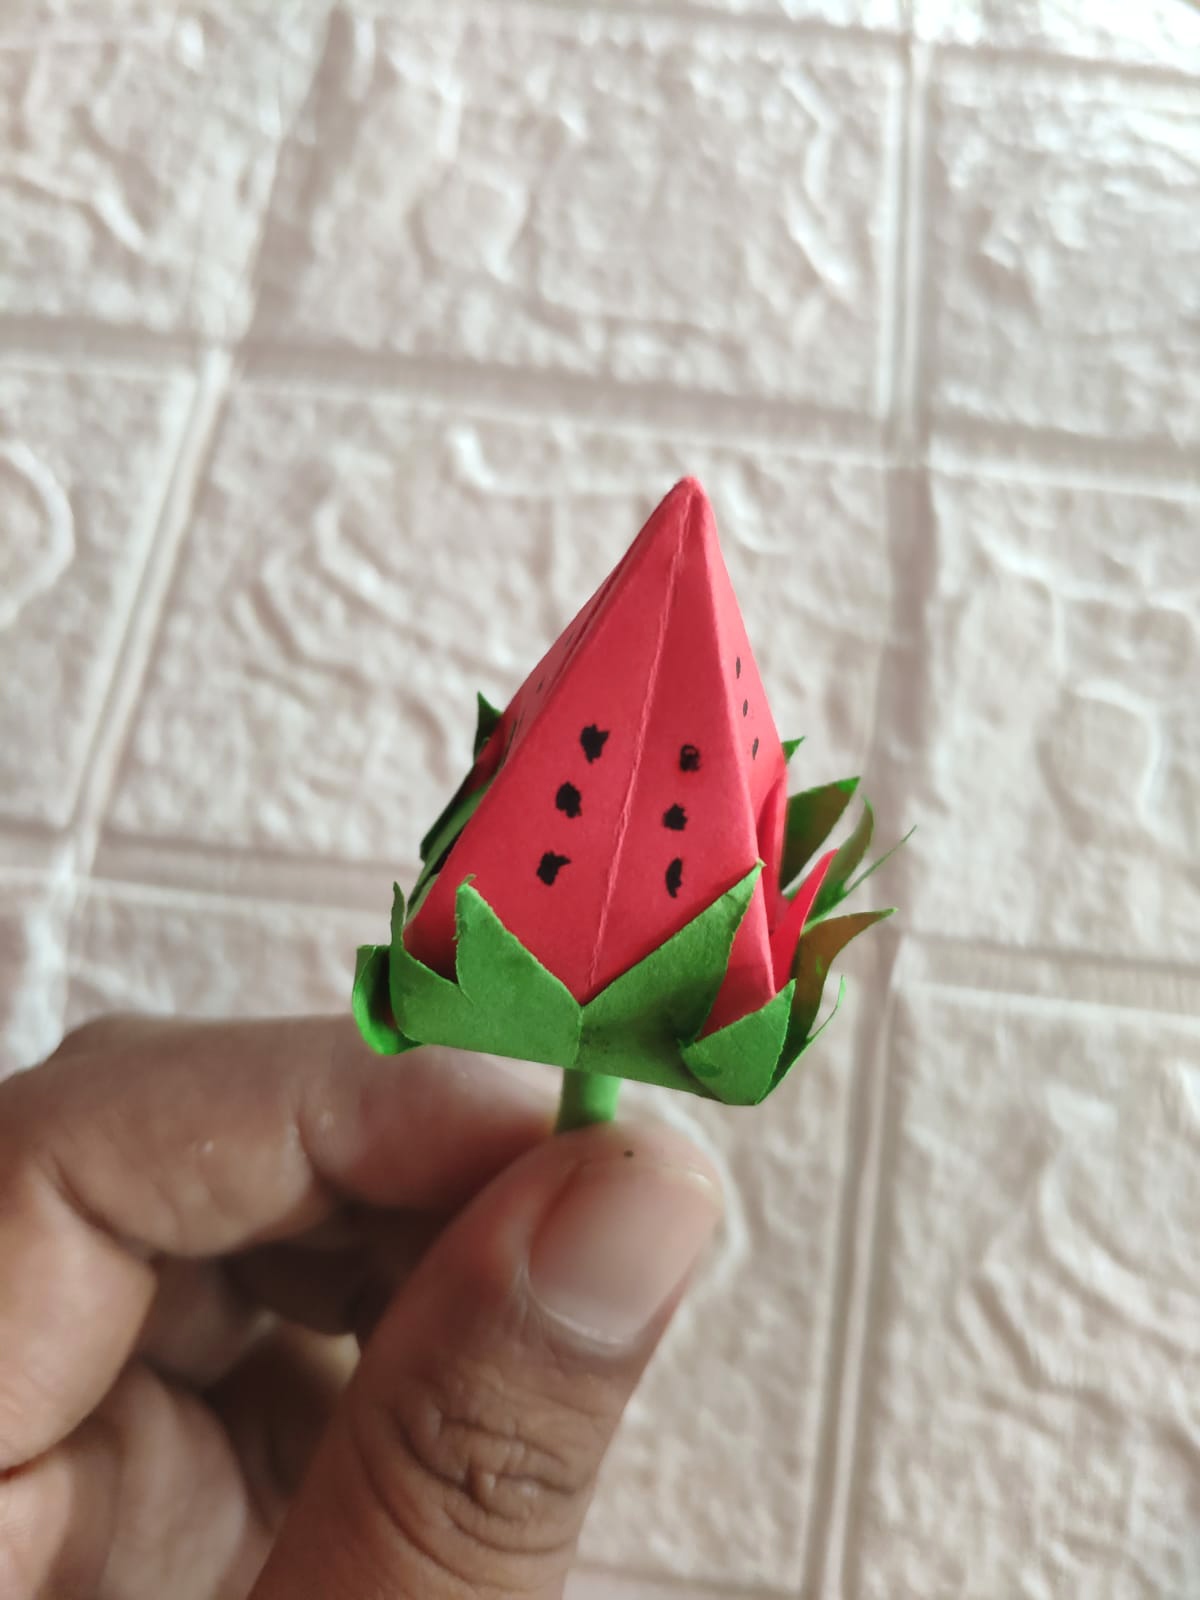
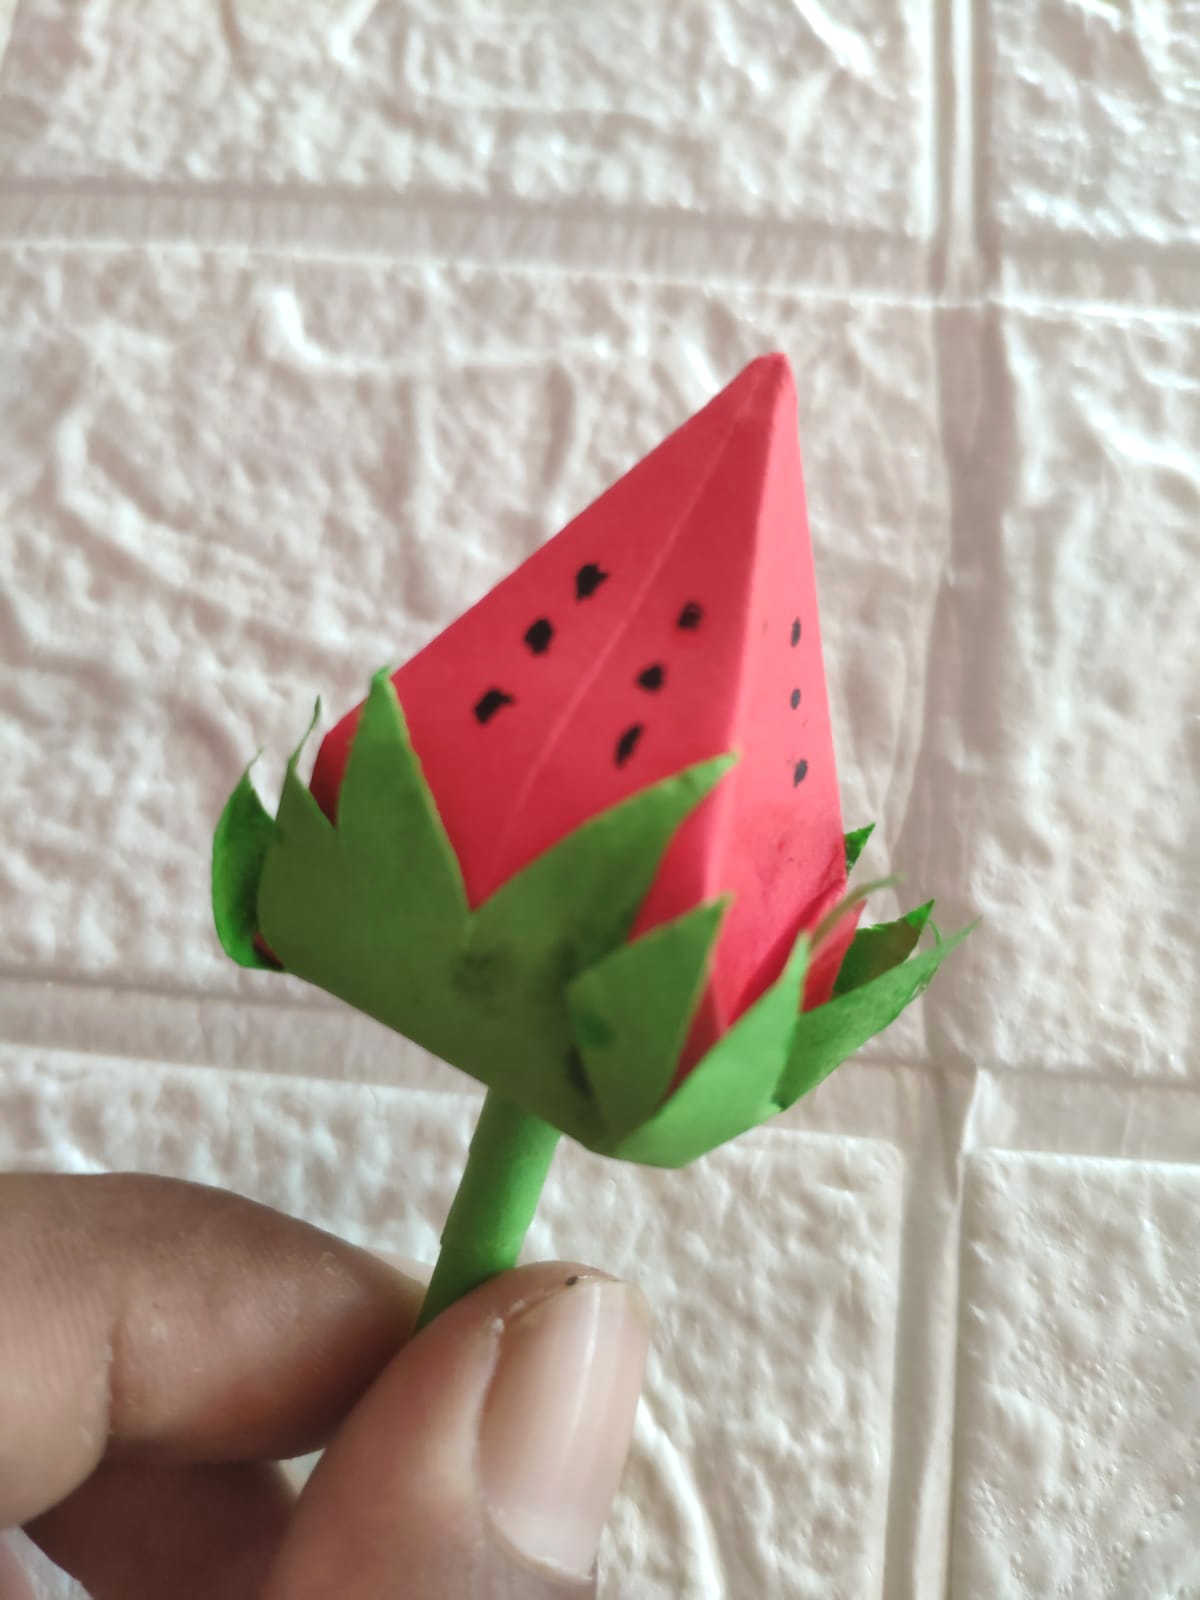
That's it, friends, my homemade strawberries, I hope you can understand the tutorial well, even if you're a little tired of making it, at least it can entertain all your friends
This is all I can share on this occasion, I hope you like it and are entertained, see you in the next post
This is very interesting, you did very well in sharing the steps👌
Thank you very much for the visit may be useful
Que bonito trabajo realizaste 🍓
Thank you very much for visiting I am still learning hope like
You have a beautiful and provocative strawberry.
I congratulate you, very simple, some time ago I also did it, it looks great as a decoration, greetings.
Congratulations @aries12! You have completed the following achievement on the Hive blockchain And have been rewarded with New badge(s)
Your next target is to reach 3750 upvotes.
You can view your badges on your board and compare yourself to others in the Ranking
If you no longer want to receive notifications, reply to this comment with the word
STOPIt looks like a real strawberry. Can't believe you made it out of paper. Great work!
It was very nice cherry, even serves to make a bouquet and decorate, thank you very much for sharing I'll try ☺️
Thank you very much friends for the visit hopefully useful