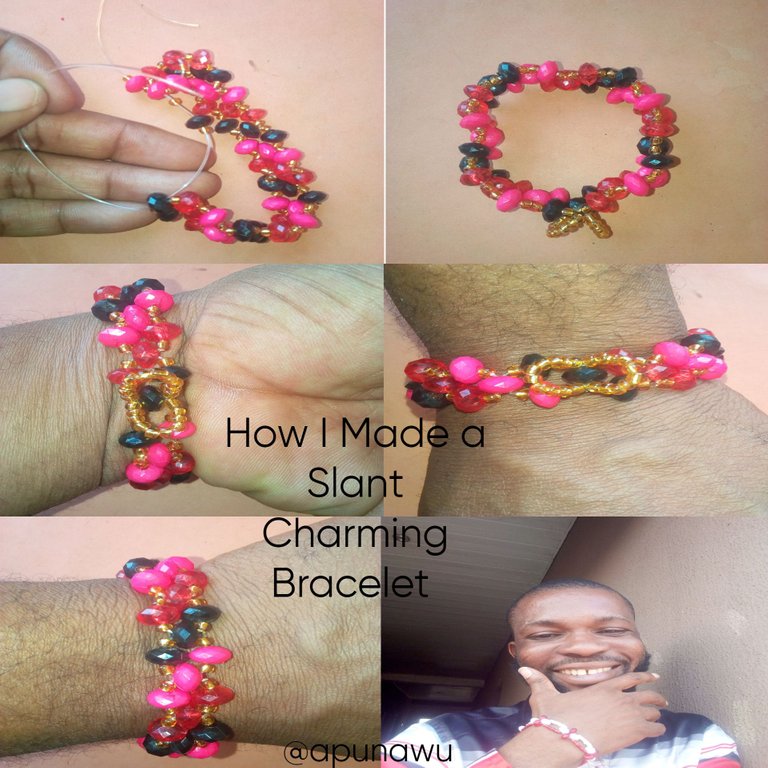
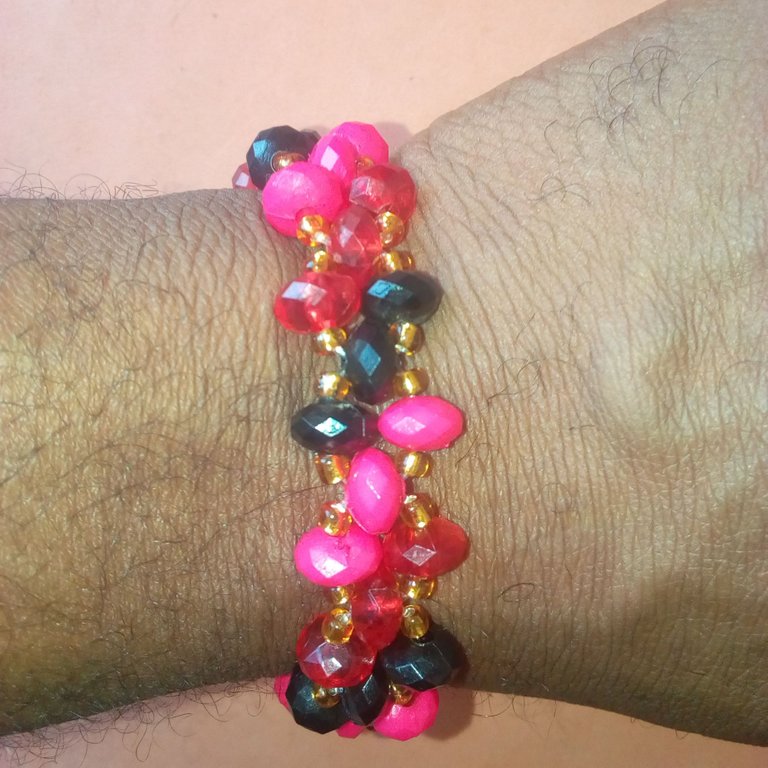
How I Made a Slant Charming Bracelet
Hello, beautiful @jewelry lover’s community. Hope you are doing well this week with a lot of creative jewelry making. Today, I brought you a new style of charming bracelet making and I believe that you will love the outlook.
Before I made the charming bracelet, I was somehow angry with myself because this week has not really been favorable to me in terms of business. I don’t know why most of my customers have not resumed school and even the ones that have resumed have not come to patronize me, unlike last year. At this point trying to make myself happy, I decided to make a charming bracelet through a combination of four-color beads. I combined the colors because there are good for love and attraction.
I believed that after I made the charming bracelet and look at the design and color combination that it will help to calm my worry down and expect that soon I will start seeing a lot of customers patronize my business.
I just hope that you too will start seeing customers in all you do in life as you make one of the charming bracelets. Yes, the charming bracelet will also be good for wearing especially for women who love charming things.
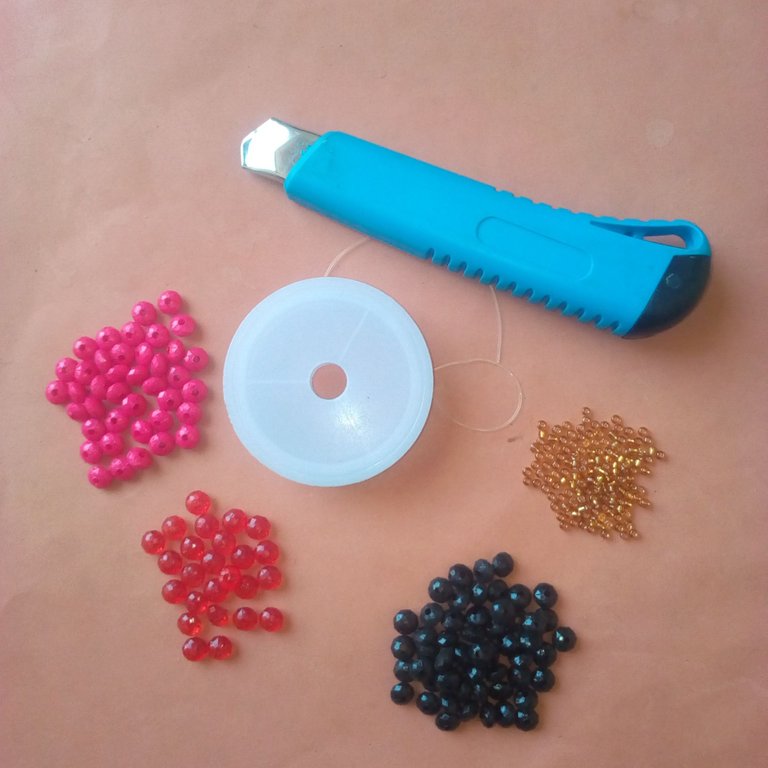
The material used in making the charming bracelet has to be highlighted below:
0.8mm nylon line was used.
80 pieces of the gold color sand bead.
15 pieces of red diamond shape beads.
15 pieces of black diamond shape bead.
15 pieces of pink diamond shape beads.
Cutter.
Bead stopper.
Providing you below the main procedures for the making of the charming bracelet will be made:
As will proceed, you must be careful with the insertion of beads according to the lines and colors to avoid mistakes. Again, the gold color sand bead insertion will also be done accordingly despite that it will consume some time and energy.

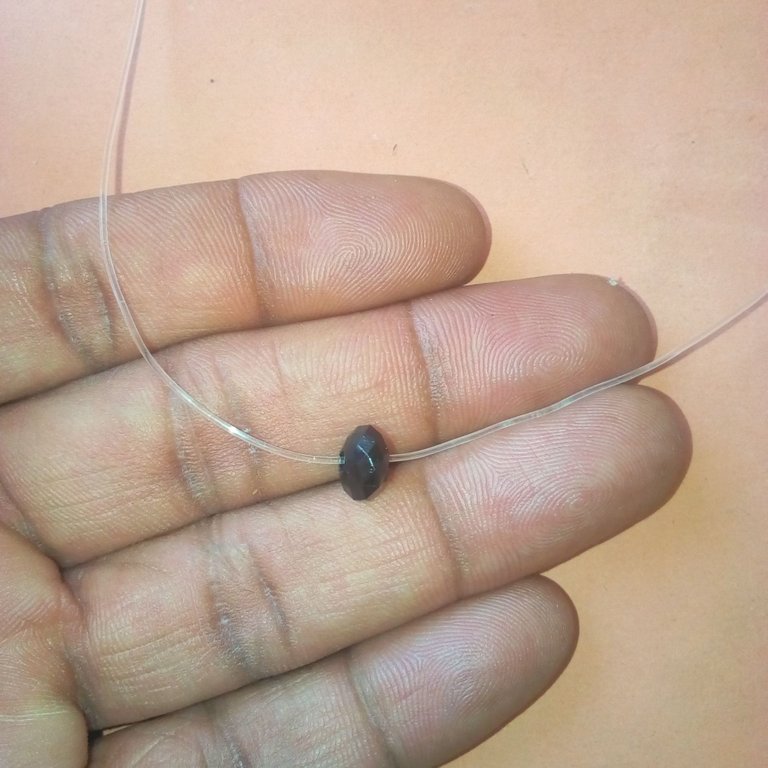
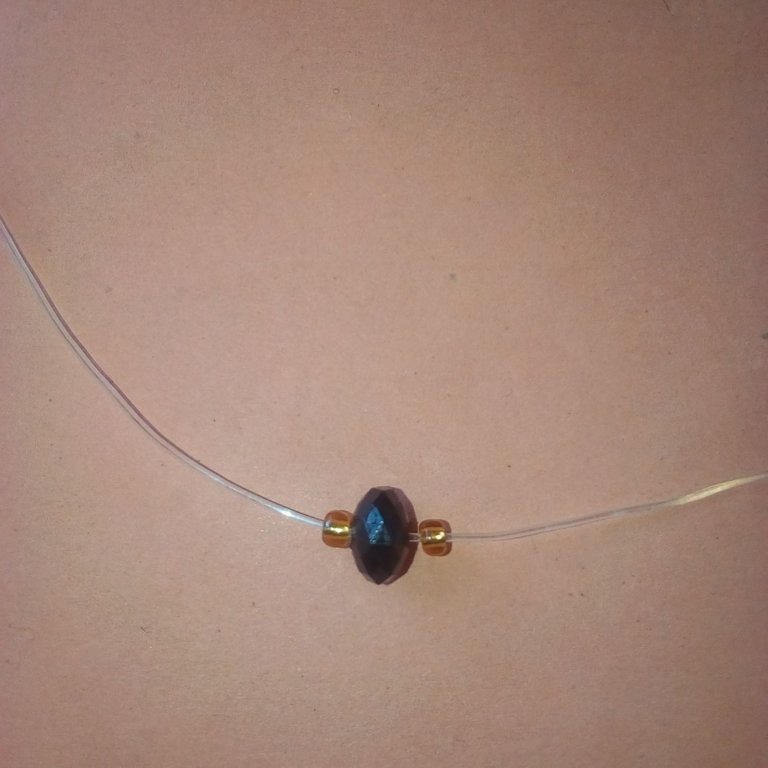
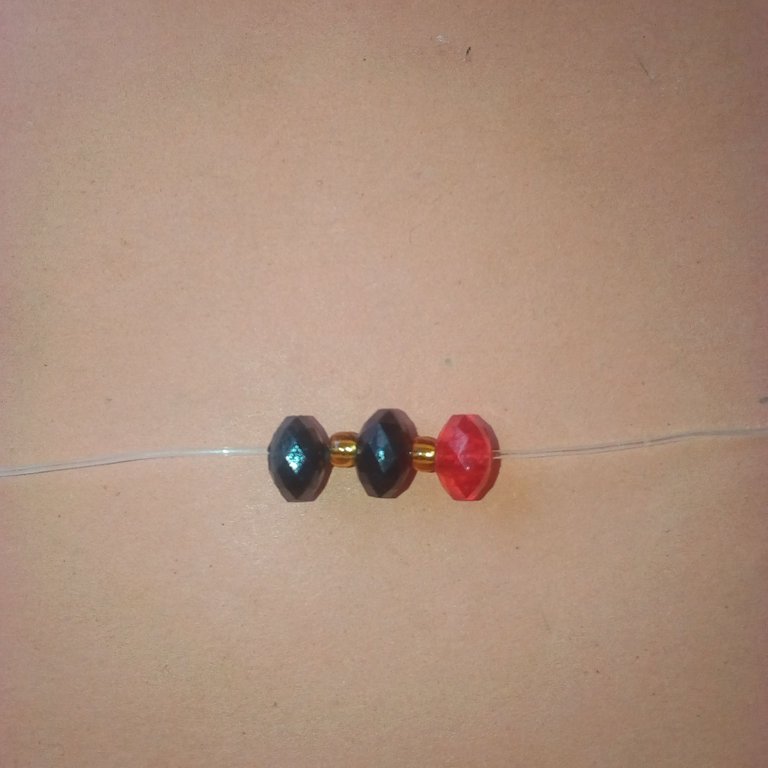
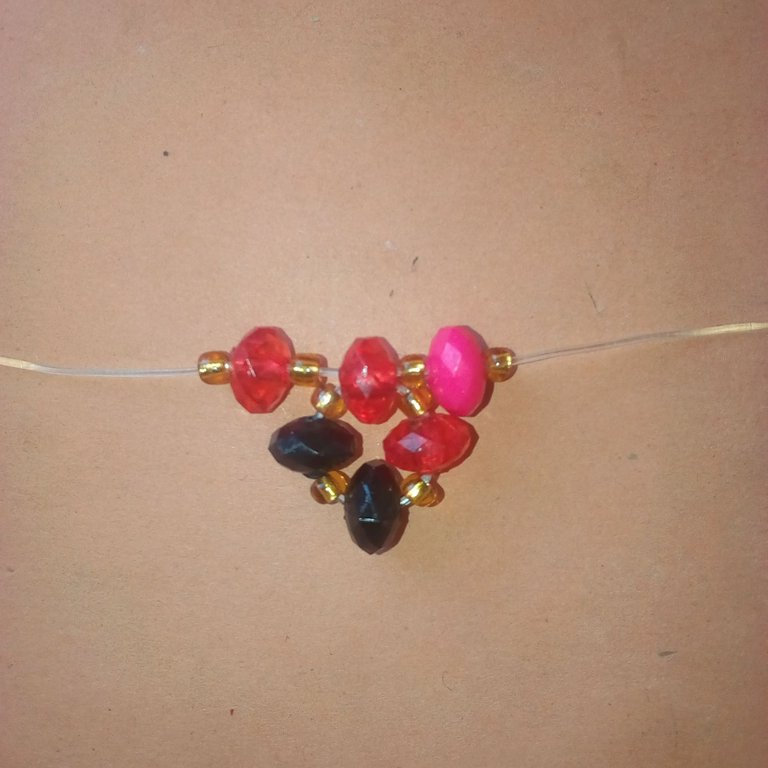
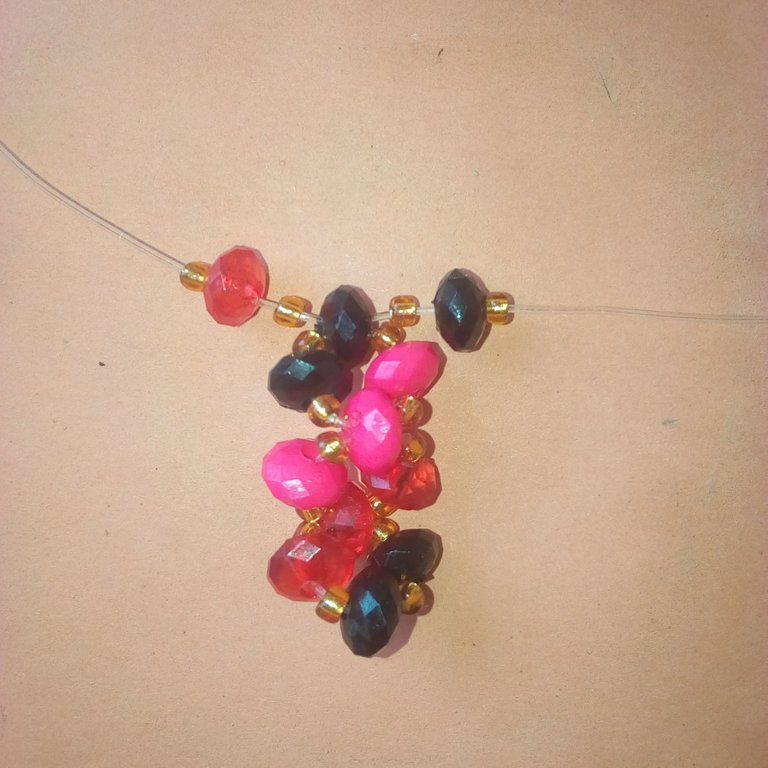
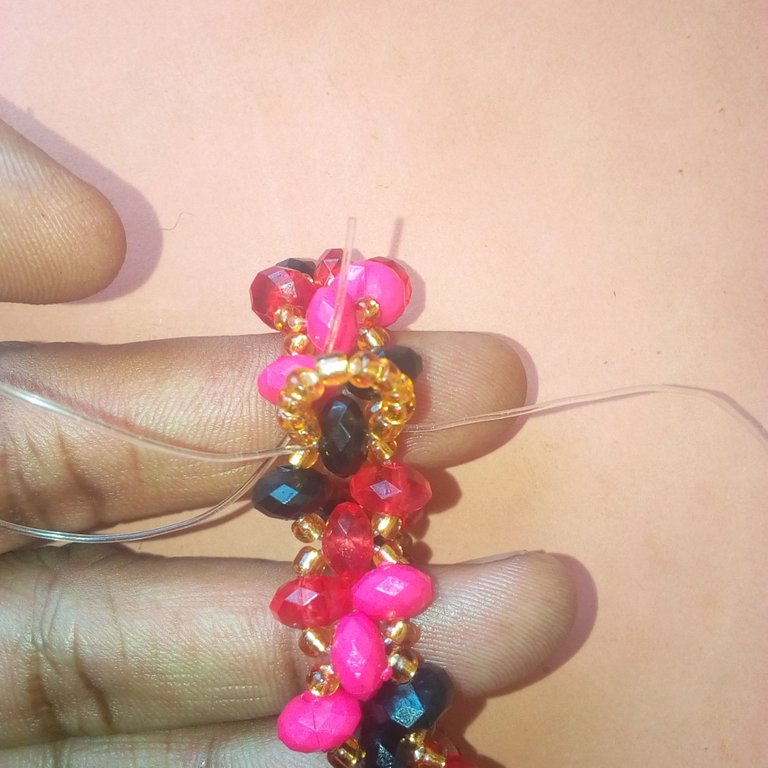
Measure out the 0.8mm nylon line, then insert 1 piece of black diamond shape bead after you will have to draw the bead to be at the center of the nylon line. Now, insert 1 piece of gold sand bead to the left and right side of the first black diamond shape bead inserted. Now again, insert 1 piece of black diamond shape bead to the left side of the sand gold bead and 1 piece of red diamond shape bead to the ride side of the gold sand bead. After that, insert 1 piece of gold sand bead to the left side of the black diamond shape bead and another gold and sand bead to the right side of the red diamond shape bead. After that, insert 1 piece of red diamond shape bead to the left side of the nylon line and then use the right side nylon line and insert the red diamond shape bead inserted. You will do that through the top side of the bead and then follow the downside to draw the line.
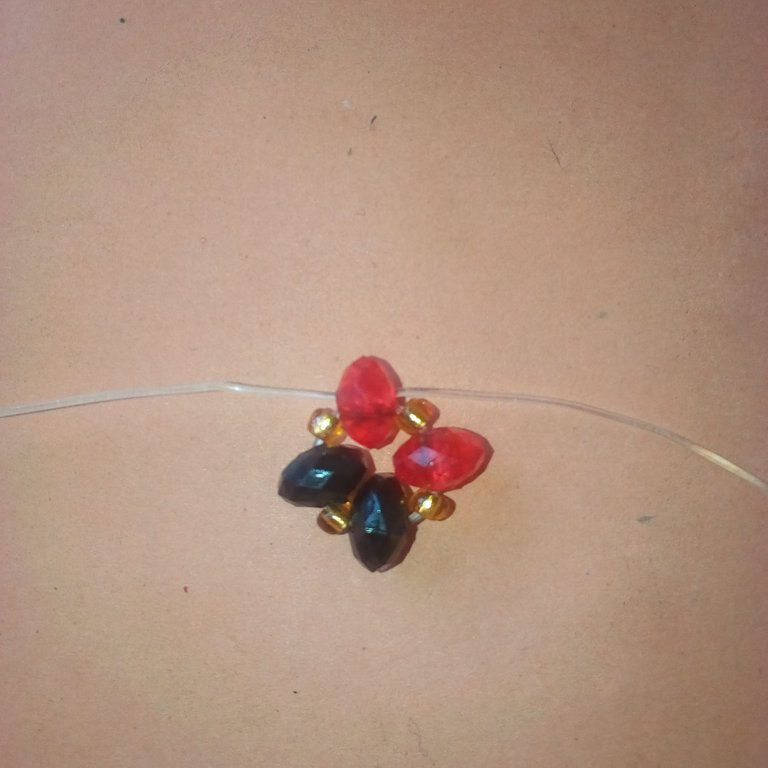
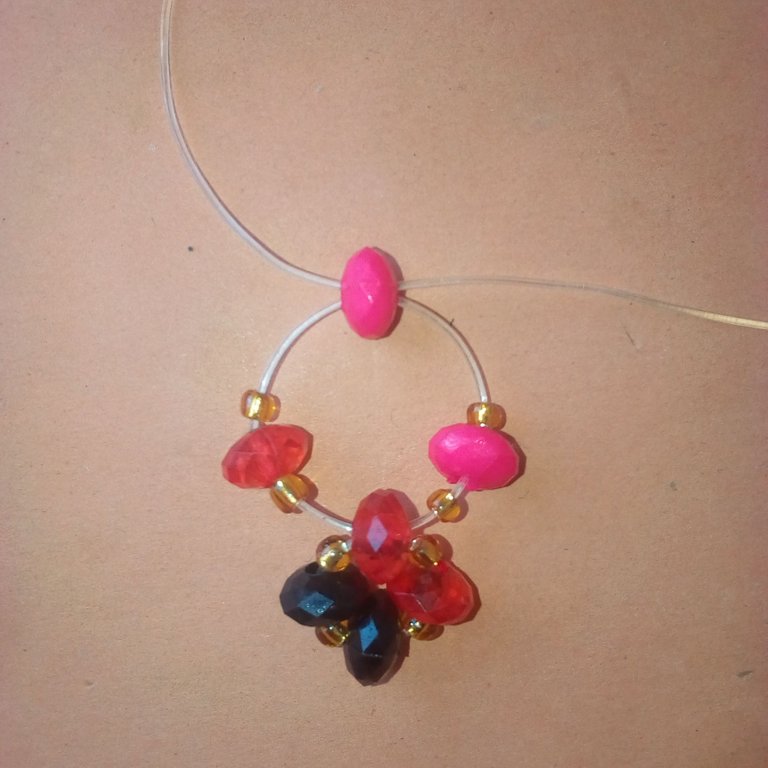
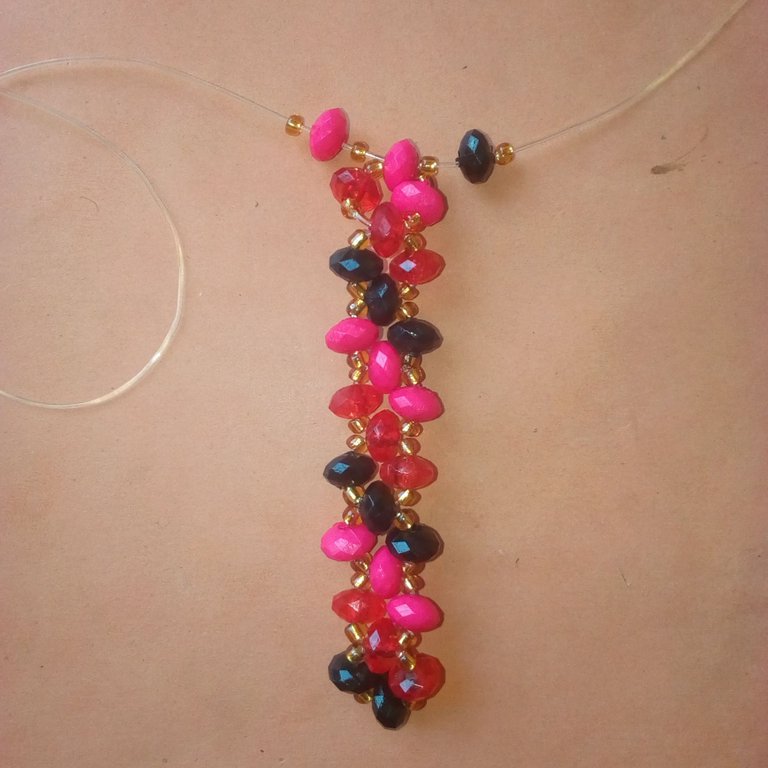
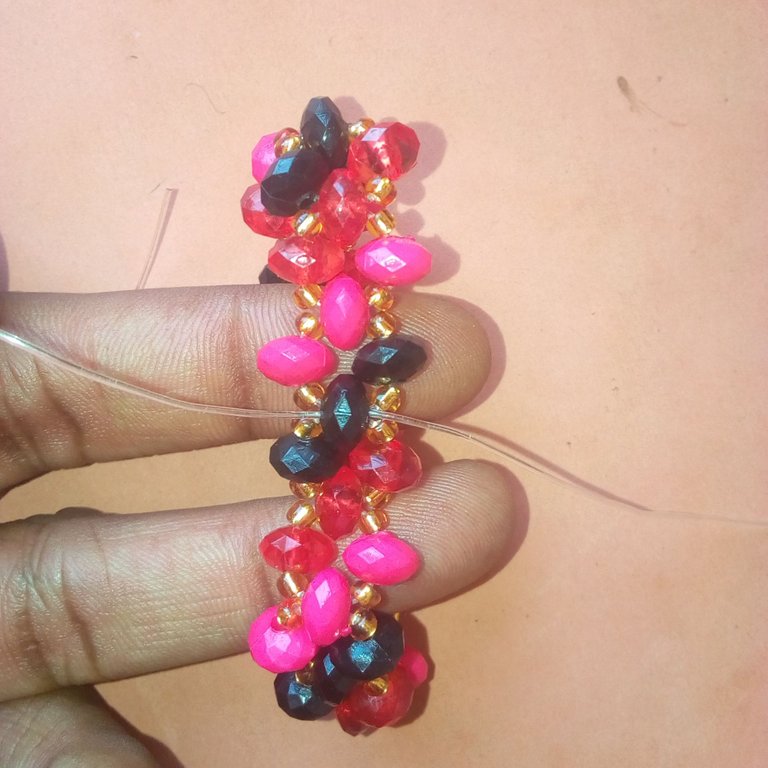
To the left and right side of the last red diamond shape bead inserted, insert 1 piece of the gold sand bead. After that, insert 1 piece of red diamond shape bead to the right side of the nylon line closer to the gold sand bead. Insert 1 piece of pink diamond shape bead to the right side of the nylon line. Insert I piece of gold sand beads to the left and right side of the nylon line. Again, insert another 1 piece of pink diamond shape bead to the left side of the nylon line and then insert the left nylon line through the top side of the pink diamond shape bead and then draw the line. Now, insert 1 piece of gold sand bead to the left and right side of the nylon lines. After that, insert 1 piece of pink diamond shape bead to the right side of the nylon line, and 1 piece of black diamond shape bead to the left side of the nylon line. After that, insert 1 piece of gold sand bead to the left and right side of the nylon line. Insert 1 piece of black diamond shape bead to the right side of the nylon line and then insert the left side of the nylon line from the top of the black diamond shape bead and then draw the line.
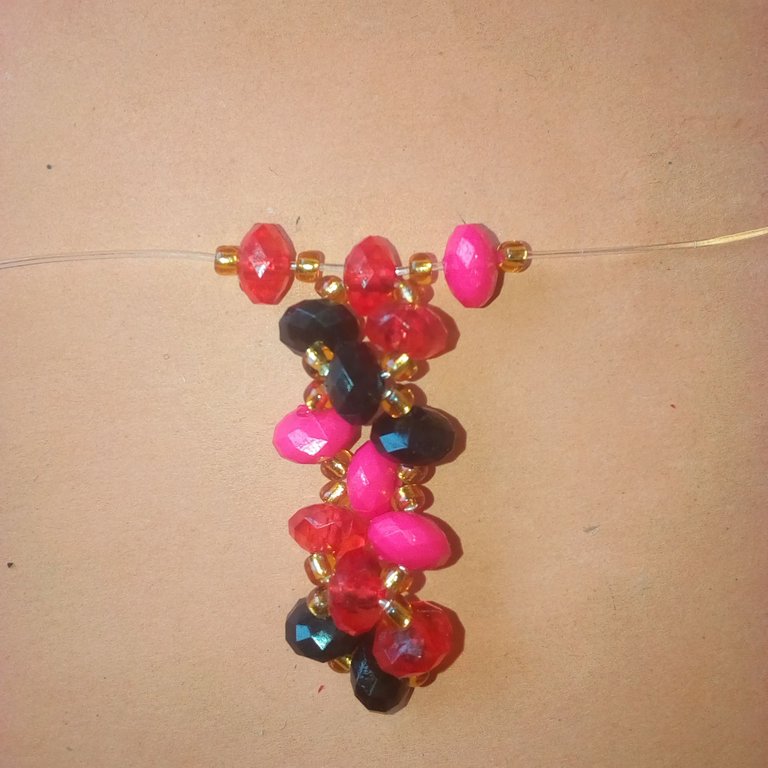
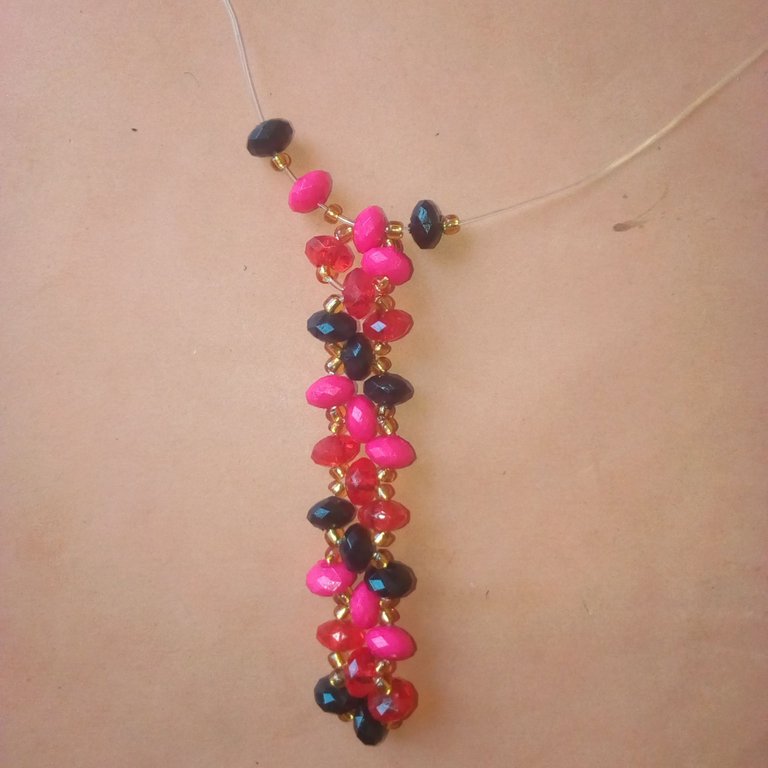
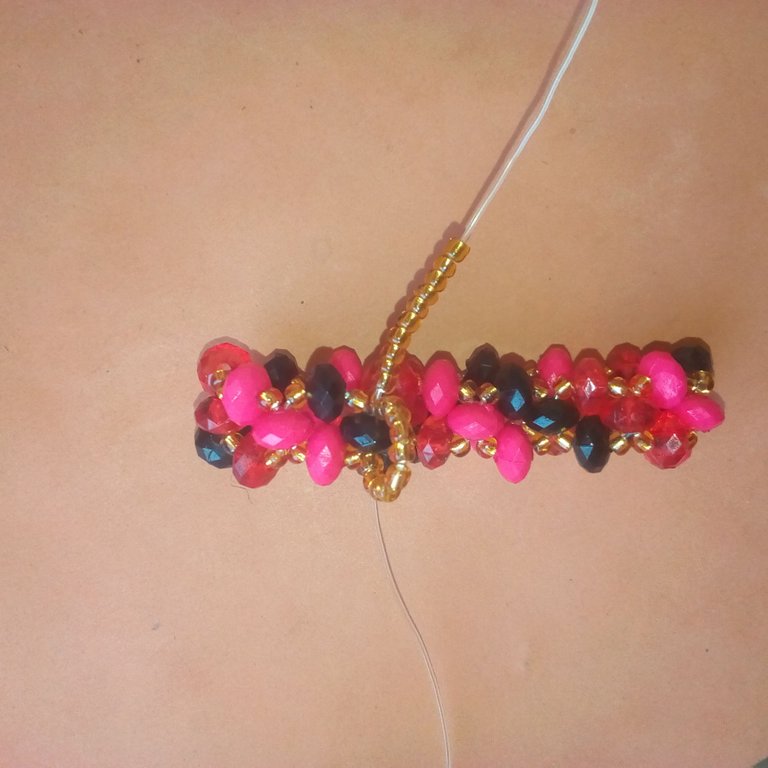
Insert again to the left and right side of the nylon lines, I piece of the gold sand bead. After that, insert 1 piece of red diamond shape bead to the right side of the nylon line, and 1 piece of black diamond shape bead to the left side of the nylon line. After that, insert to the left and right of the nylon lines, 1 piece of the gold sand bead. Then to the right side of the nylon line insert 1 piece of red diamond shape bead and then use the left side nylon line to insert the red diamond shape bead from the top side. Then draw the lines.
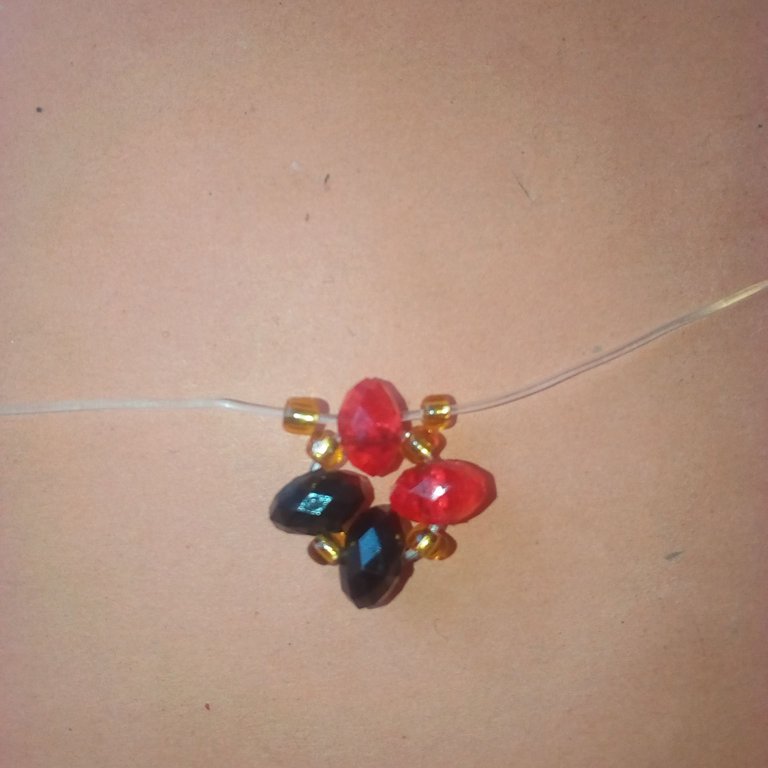
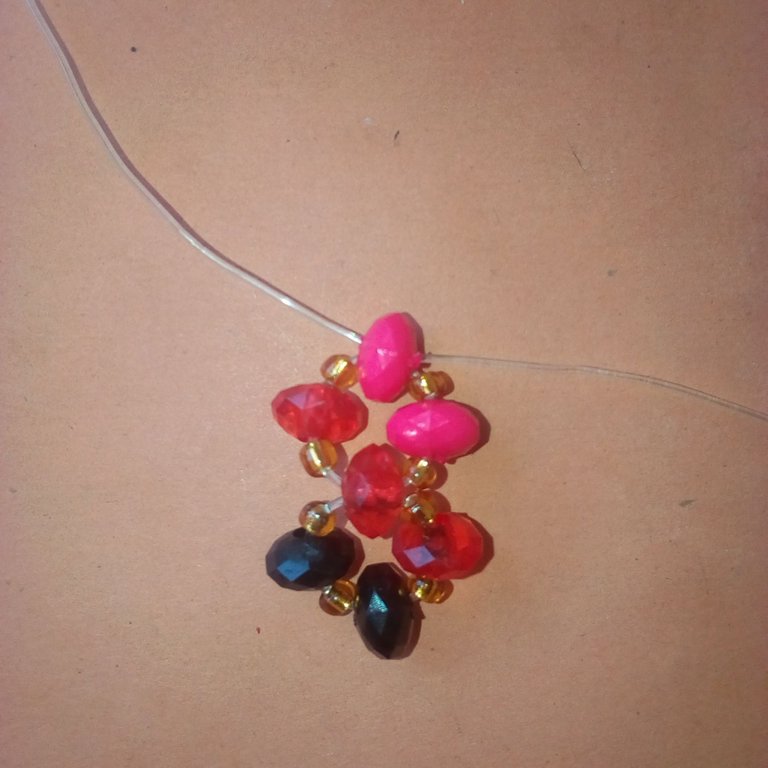
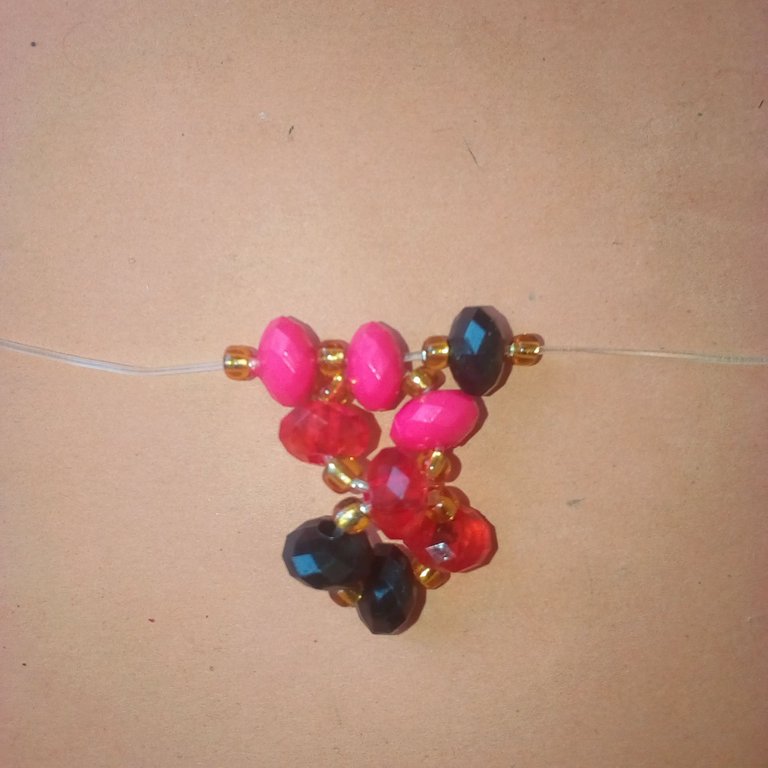
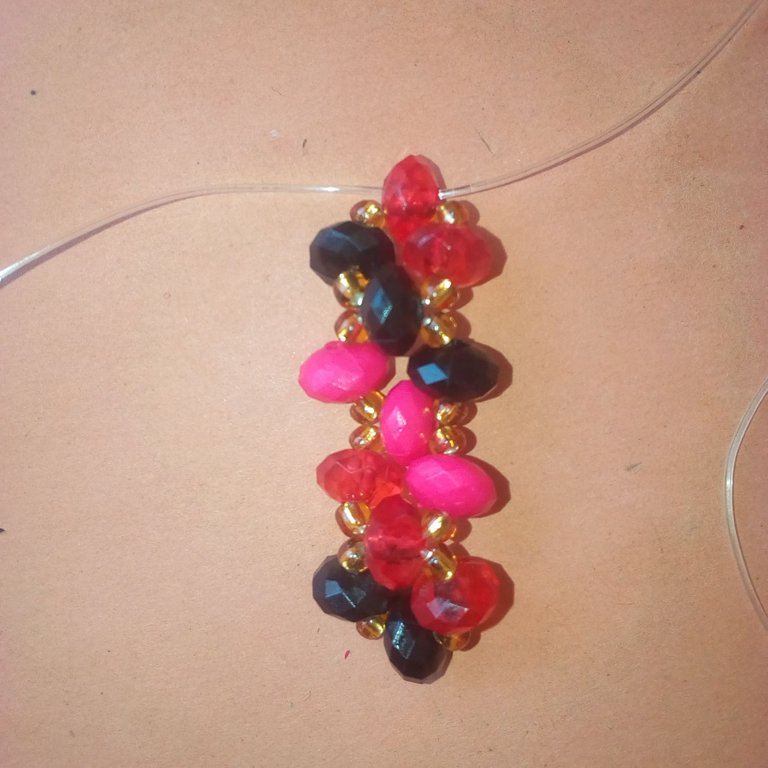
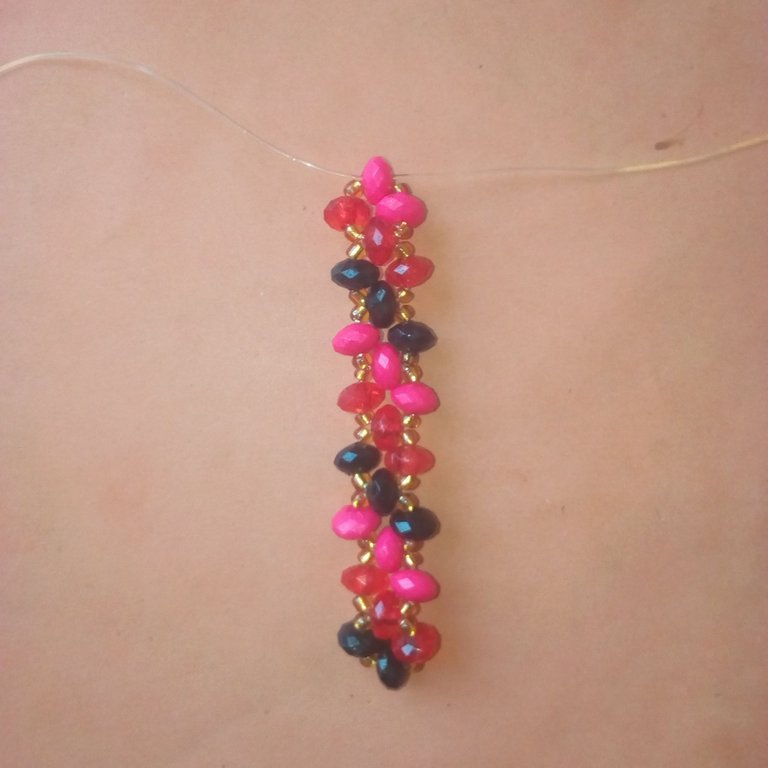
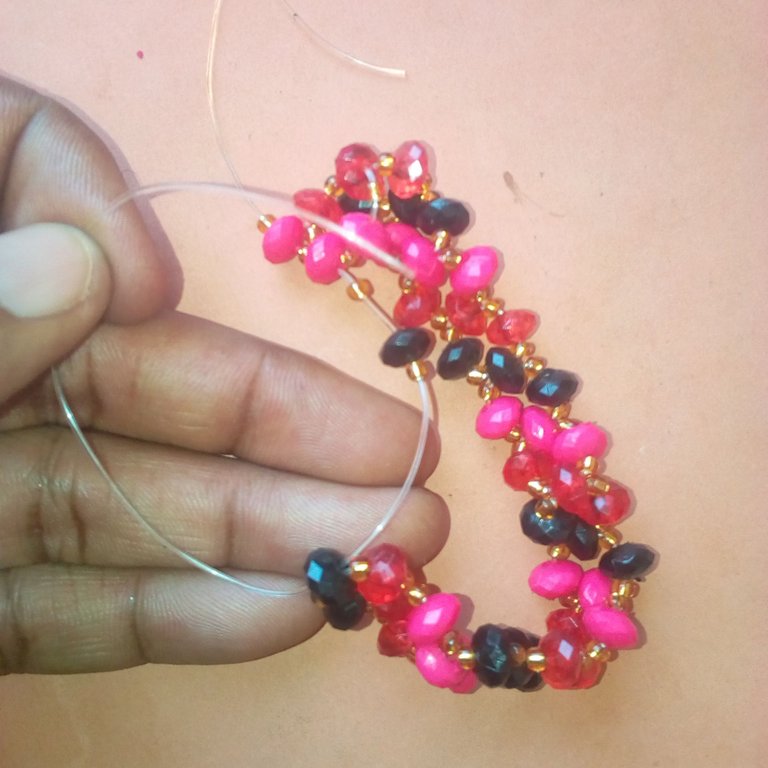
Note that following the above steps, we have been able to form a red, pink, and black slant line into the bracelet. While the sand gold beads will have to remain at the center. We need to keep repeating the above steps followed to make sure we succeed in achieving 5 red, pink, and black slant lines into the bracelet.
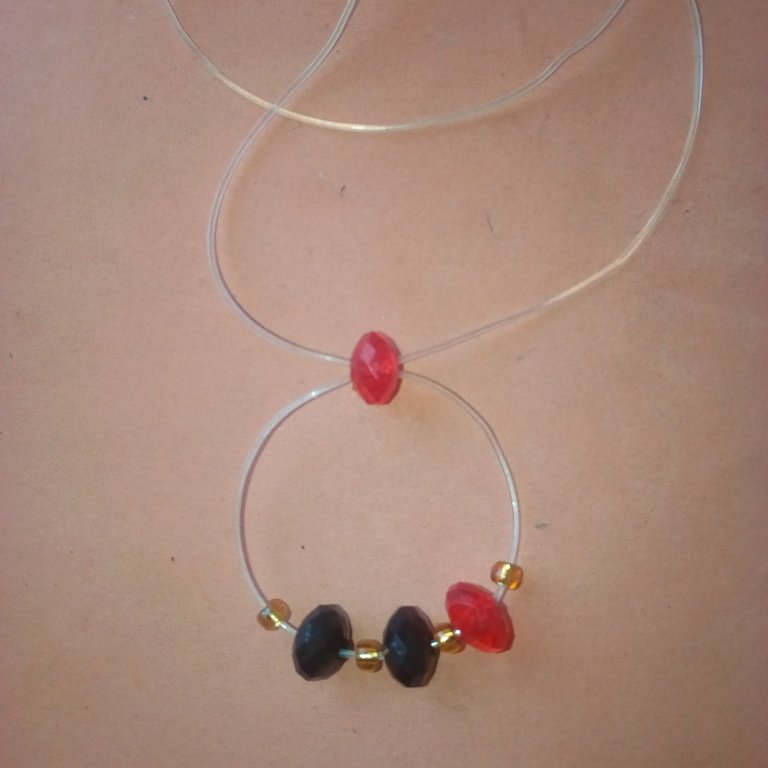
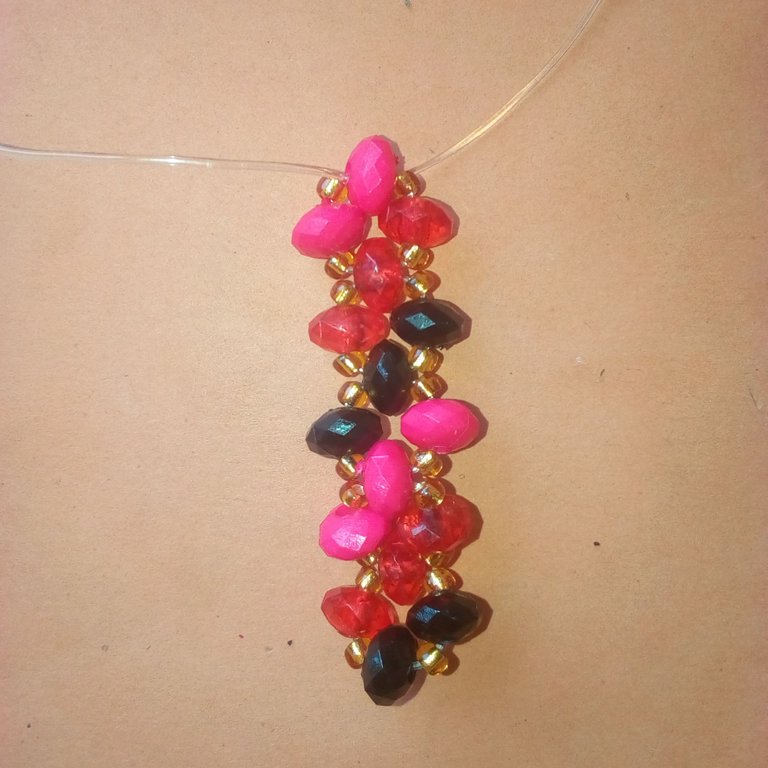
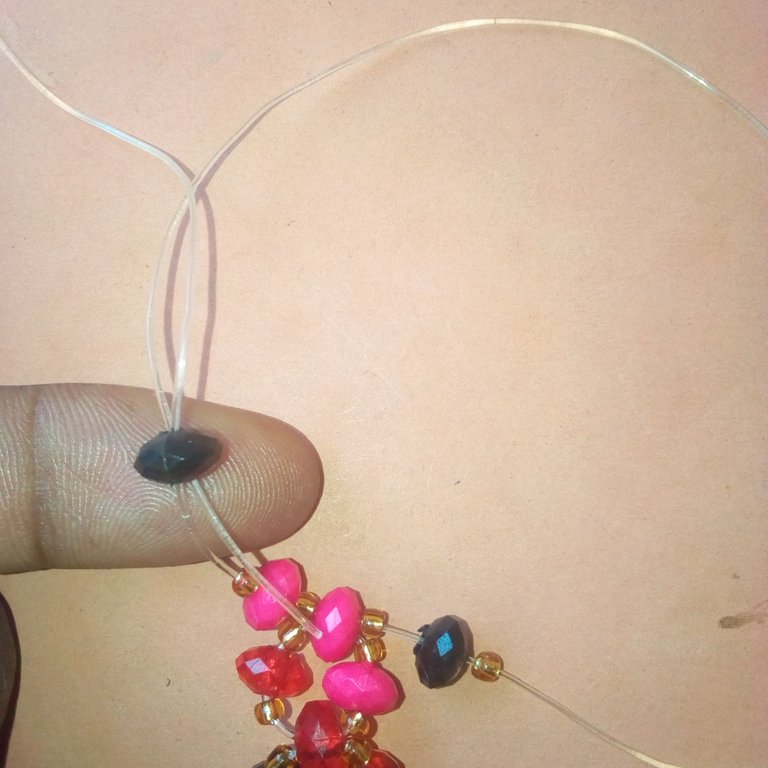
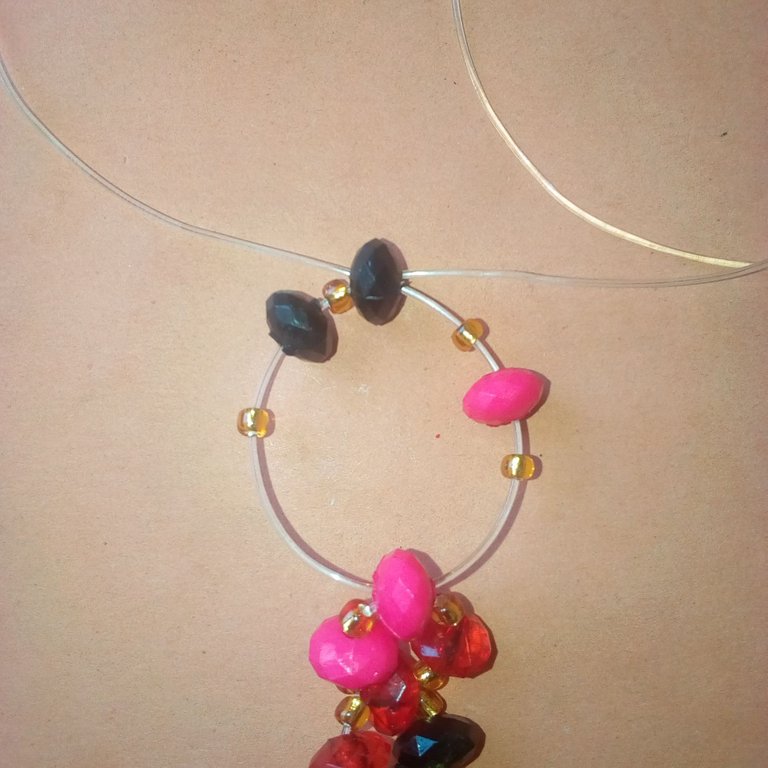
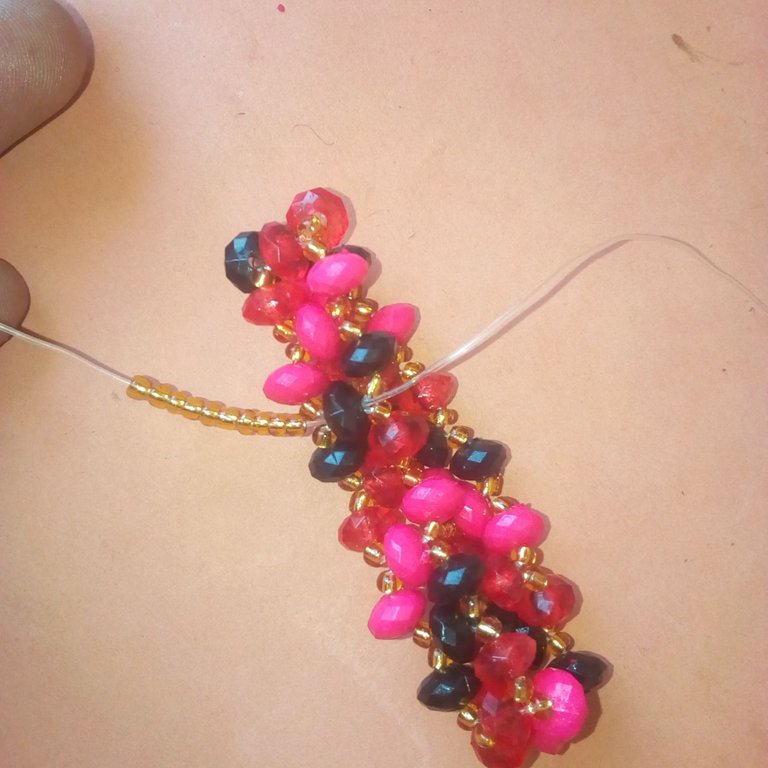
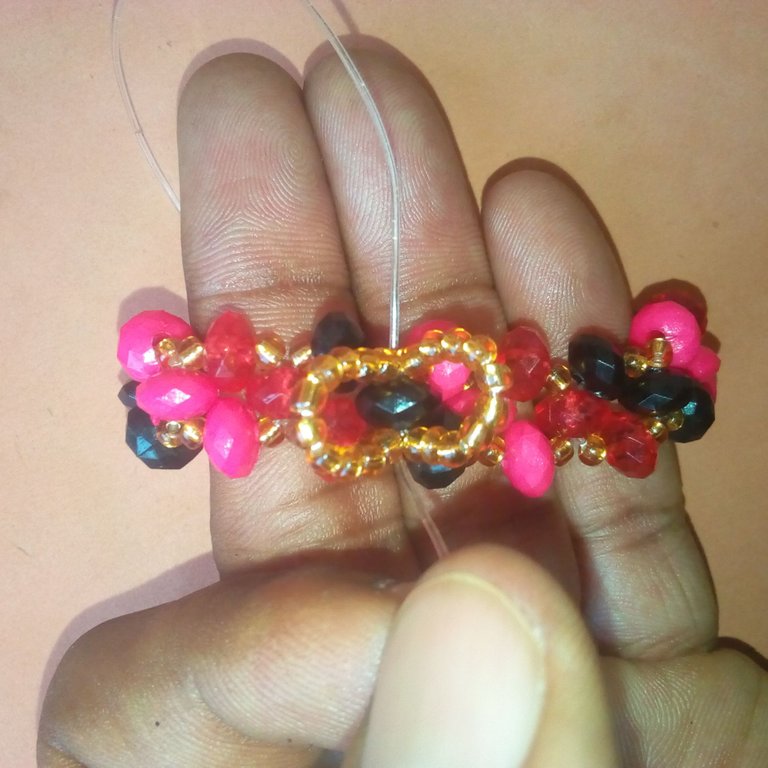
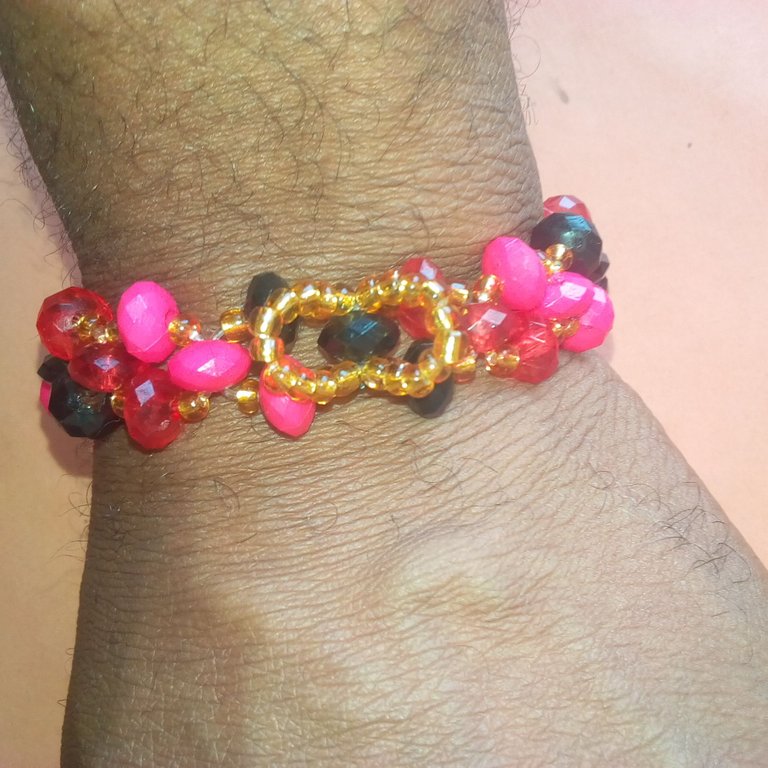
After we must have succeeded in inserting the bead's 5 slant lines, we have to use the last left nylon line to insert the first black diamond shape bead inserted. The right side of the nylon line also has to be inserted into the first black diamond shape bead inserted. After that, insert 10 pieces of gold sand bead into the left and right of the nylon lines. After that, use the left-inserted sand gold bead to pass through the black diamond shape bead to form a round. You will have to do the same to the right-inserted sand gold bead. After you must have formed the rounded sand gold beads into the bracelet, use a bead stopper to lock it.
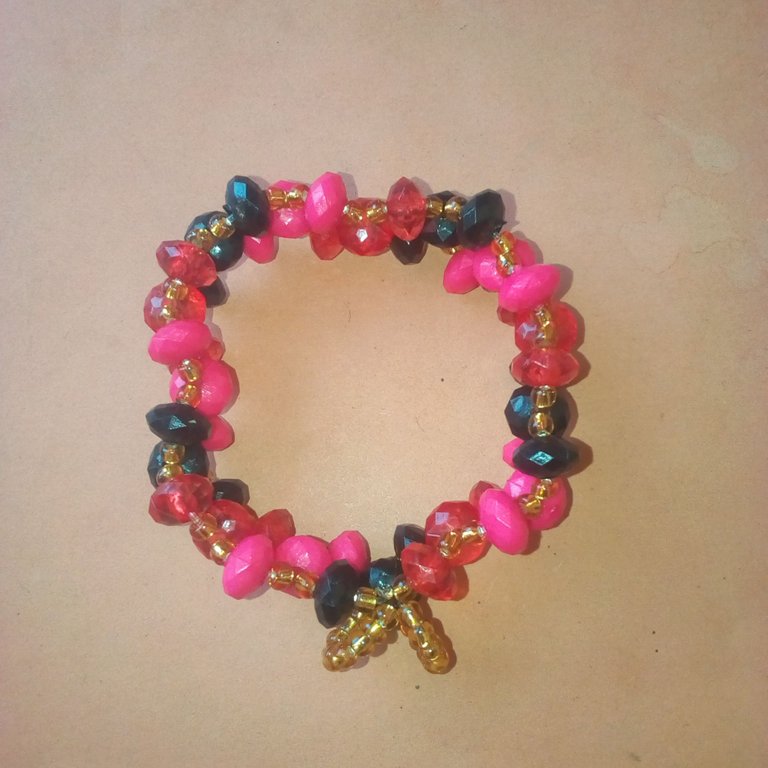
The total of sand bead gold to be used is 80 pieces while 15 pieces of red diamond shape beads, 15 pieces of pink diamond shape beads, and 15 pieces of black diamond shape beads were also in use.


The first image was edited by me using Picsart.

Thank you for sharing this post on HIVE!
Your content got selected by our fellow curator stevenson7 & you just received a little thank you upvote from us for your great work! Your post will be featured in one of our recurring compilations which are aiming to offer you a stage to widen your audience within the DIY scene of Hive. Stay creative & HIVE ON!
Please vote for our hive witness <3
hola te quedo linda..
Gracias querida amiga por el reconocimiento.
Excellent work my friend @apunawo the colors chosen are very delicate and the braiding you have given it is well done, great job 🎊.
Thanks, dear @hive-189504 for the value of my project bracelet making. I think you didn't get my actual username. Greetings.