Rearmando mi bicicleta montañera - Reassembling my mountain bike 🚲🚴♀️
Hola amigos de hive, hoy vengo a compartir con ustedes mi experiencia rearmando mi bici montañera de aluminio para pasear, esta bici me la regalaron hace varios años ya que era amante de las bicis y las quería manejar a cualquier hora, tuve de todos los tamaños y colores, pero cuando me compraron esta estaba realmente feliz por lo cómodo que era manejarla, en fin hace un par de años para acá la tuve que parar y desarmar porque las tripas estaban malas, los cauchos también tenían detalles así por eso decidí detenerla para reparar todo lo dañado, bueno antes de poder activarla de nuevo pasaron varios inconvenientes personales y además de la pandemia de estos dos años así que hasta ahora no había podido, pero al fin logre lo que quería hace algún tiempo atrás, además que me gusta como medio de transporte ya que es saludable y bueno para el medio ambiente.
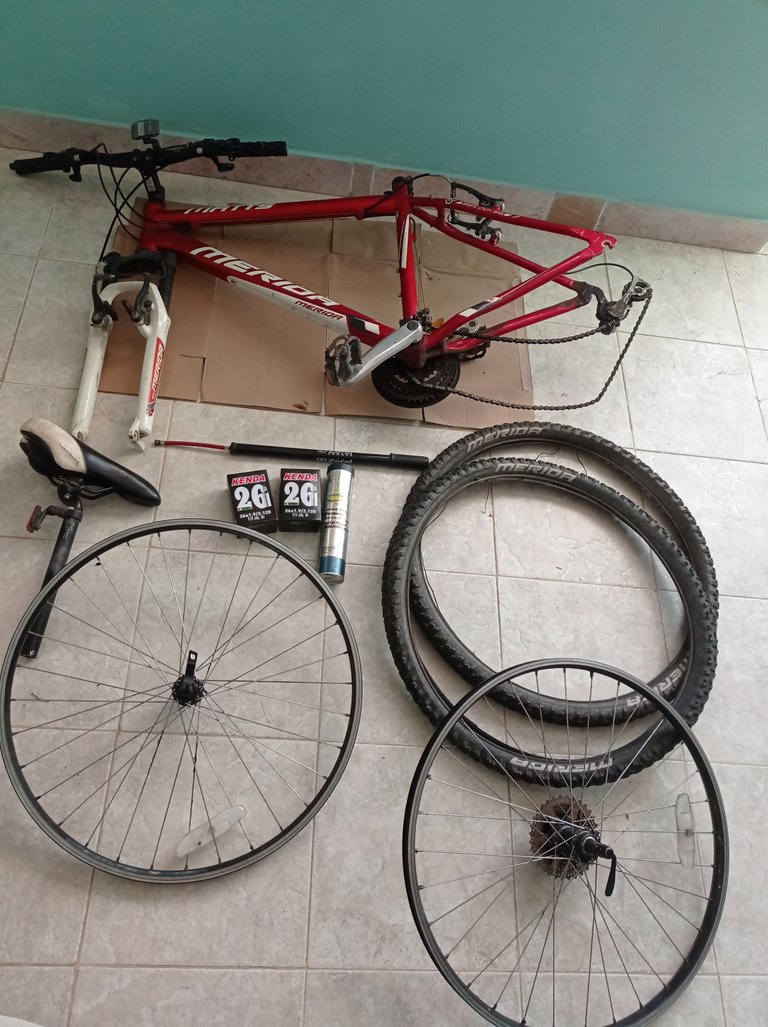
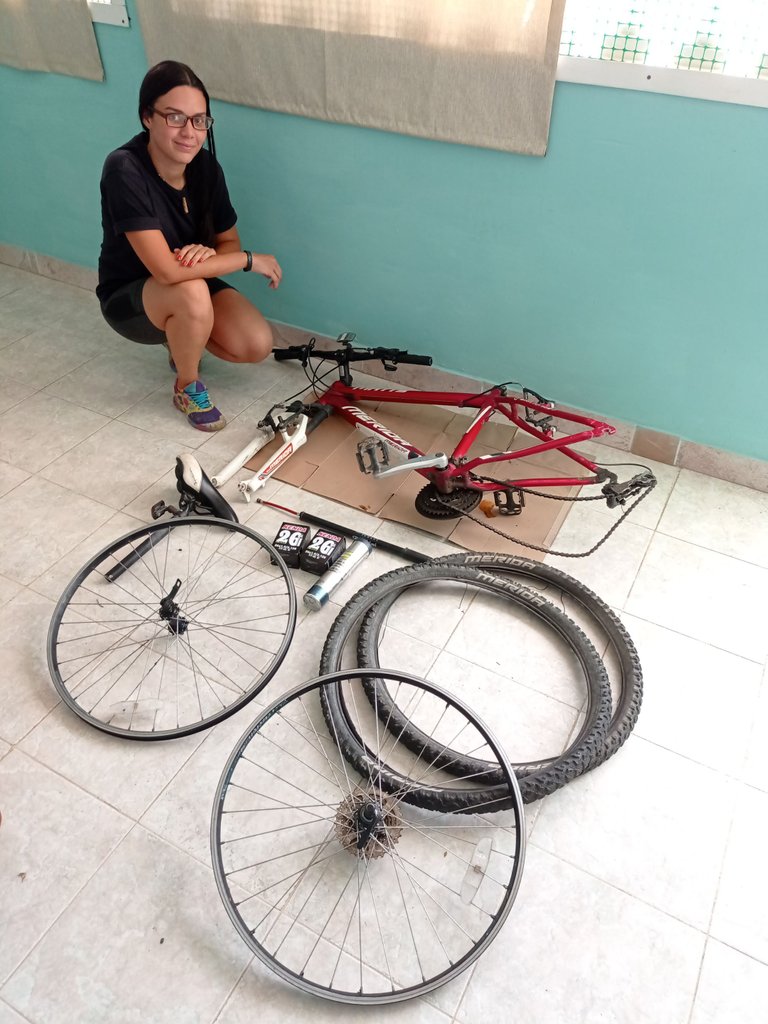
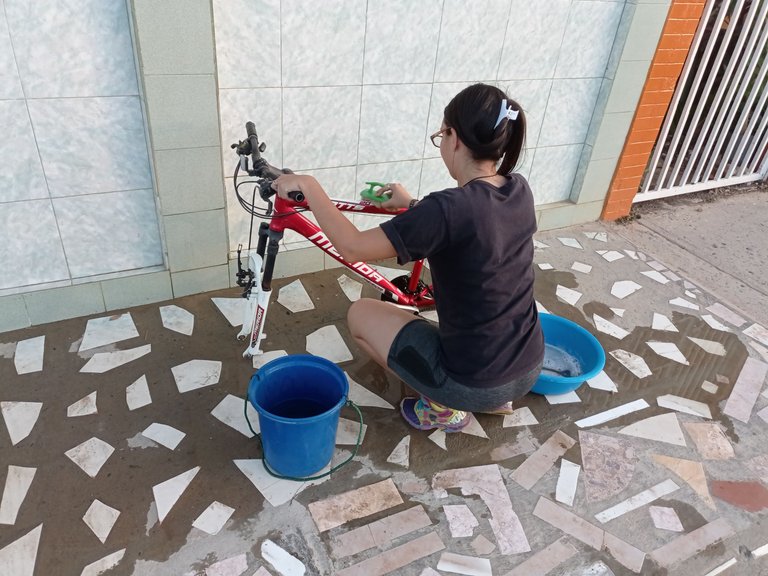
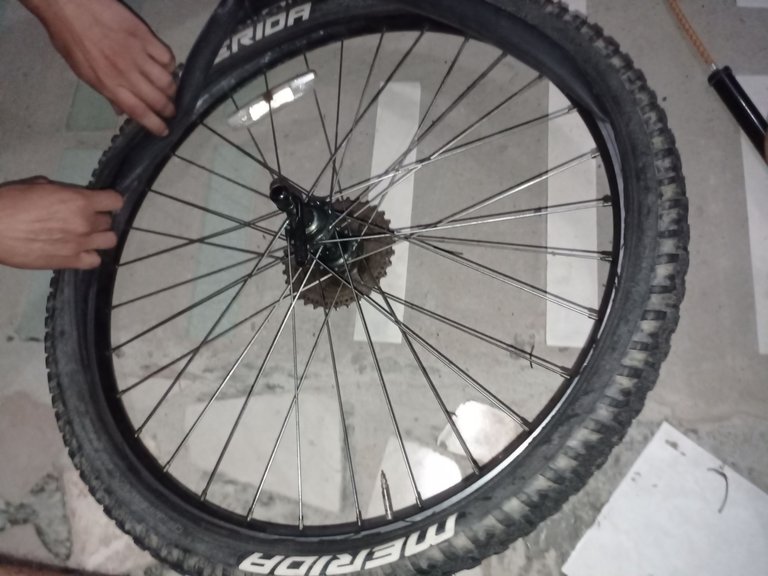
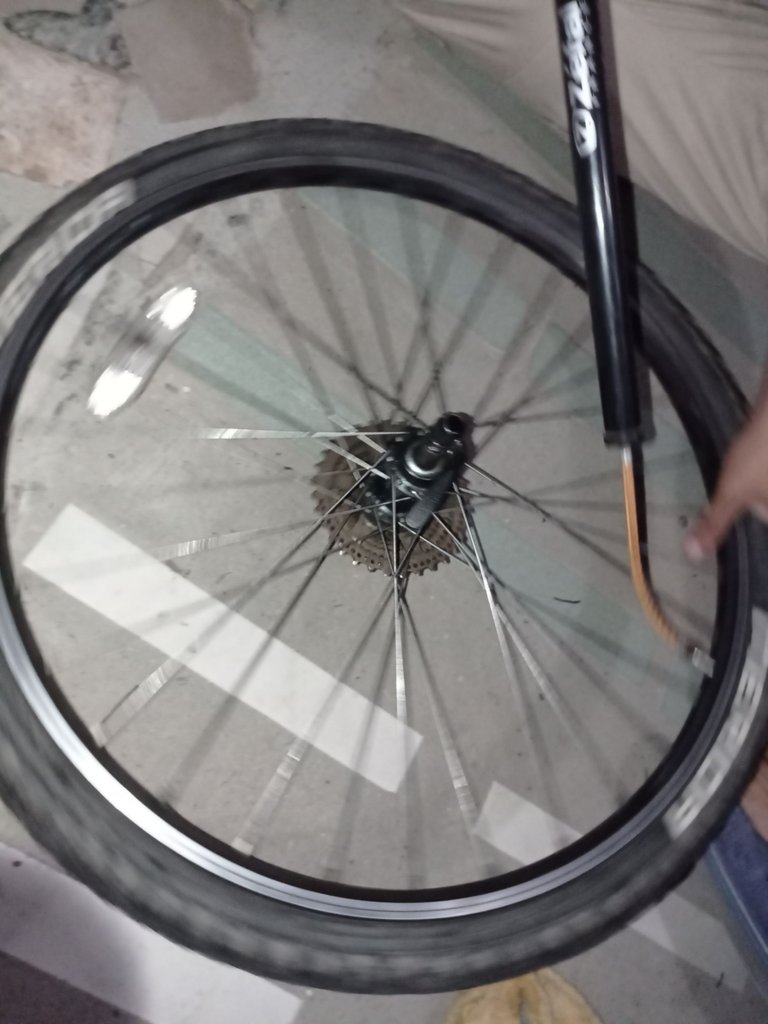
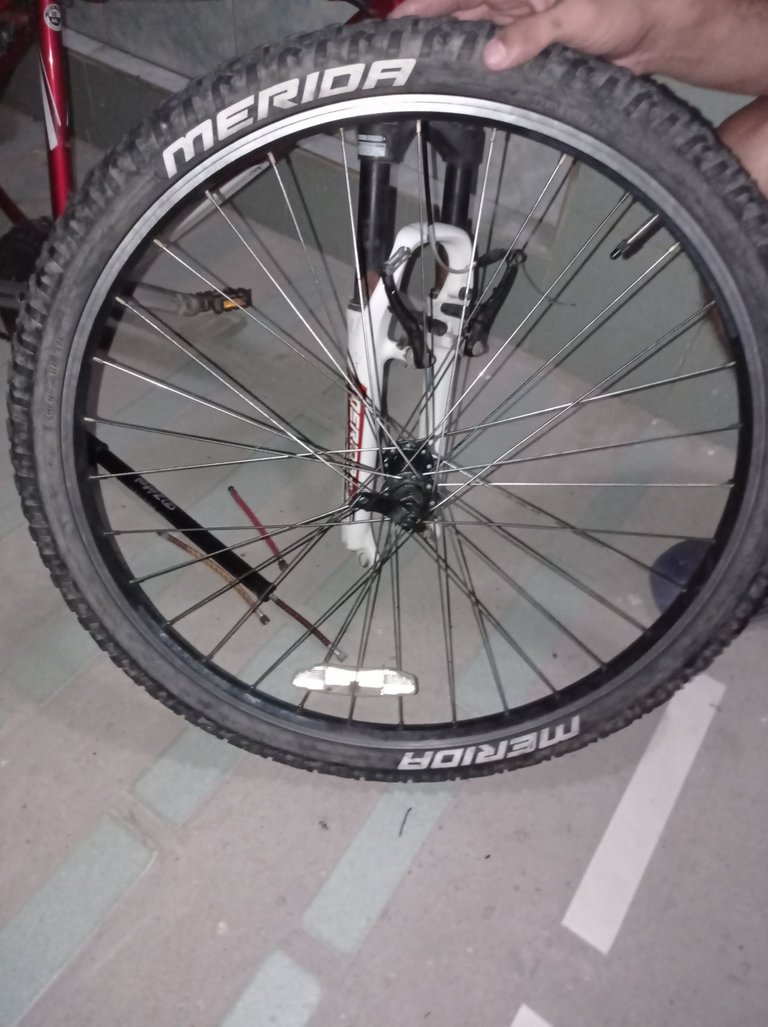
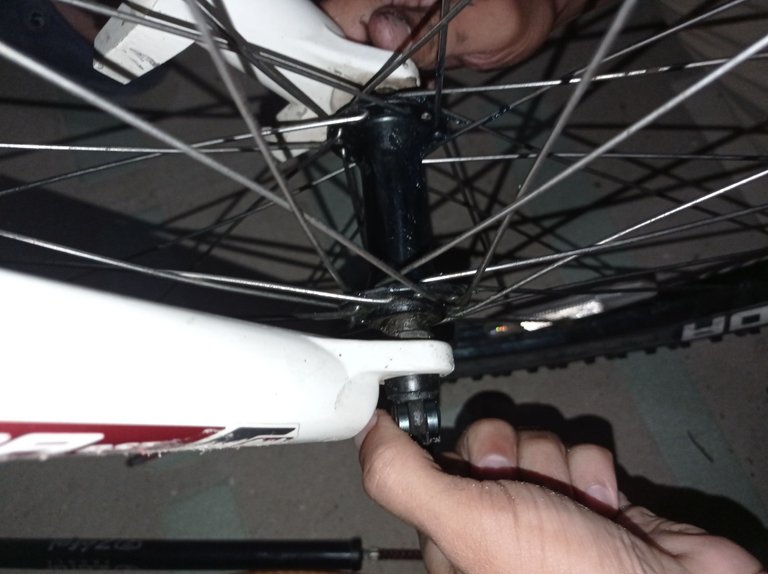
Empecé a sacar las cosas como a las 2 de la tarde que me había desocupado, así tendría todo la tarde para hacer las cosas, además que llame a mi novio para que me ayudara en todo el proceso ya que sabe un poquito mas de todo este tema, luego organice las cosas para ver si no faltaba nada a la hora de armar la bici ya que como tenia tanto tiempo guardada, por eso coloque y organice el cuadro de la bicicleta, los cauchos, rines, grasa y tripa. Antes de empezar armar la bici lo que hice fue lavarla con agua y un poquito de detergente, esto lo podemos hacer con un cepillo de lavar viejo y una esponja para que sea mas cómodo para nosotros, después de lavar con cuidado toda la bici, incluyendo cauchos y rines los colocamos a secar un poco, después de un rato con ayuda de un palo seco terminamos de secarla y estará lista para poder armarla. Empezamos con los cauchos asi que se lo colocamos a los rines para colocar la tripa adentro tenemos que tener cuidado que la tripa encaje y no se doble o algo parecido, cuando ya tengamos todo en su sitio podemos empezar a inflar el primer caucho, aquí nos paso un inconveniente muy gracioso y a la vez no ya que los pitillos para inflar no encajaban, ya que había comprado tripas de otra marca, pasamos un rato hasta que una de los 4 pitillos que probamos de nuevo si encajo y nosotros ahí buscando una solución, después de ese pequeño problema seguimos con el otro caucho con el mismo procedimiento para empezar a montarlos en la bici, se empieza por el caucho delantero, lo que hicimos fue que uno levanto la bici mientras el otro encaja donde iba puesto para así poder ajustarlo ya que mi bicicleta tiene esa facilidad y no necesitamos ninguna otra herramienta, después de probar que estaba bien colocada repetimos el mismo proceso con el otro.
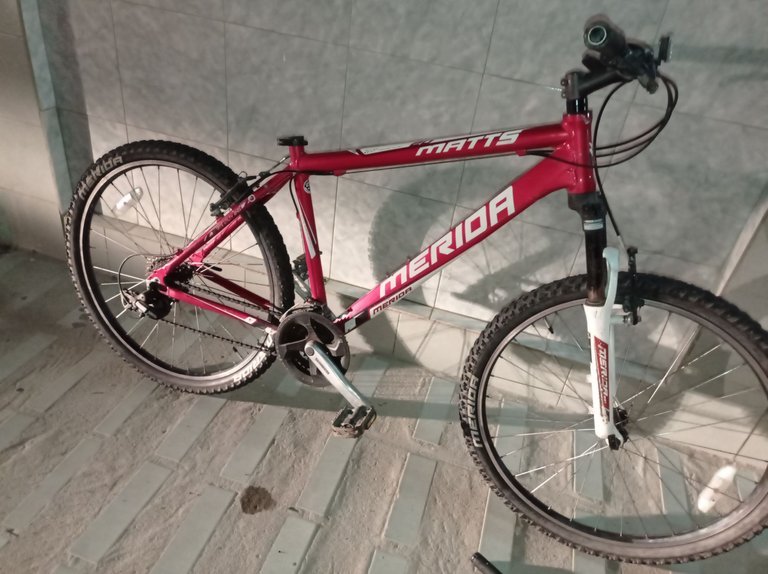
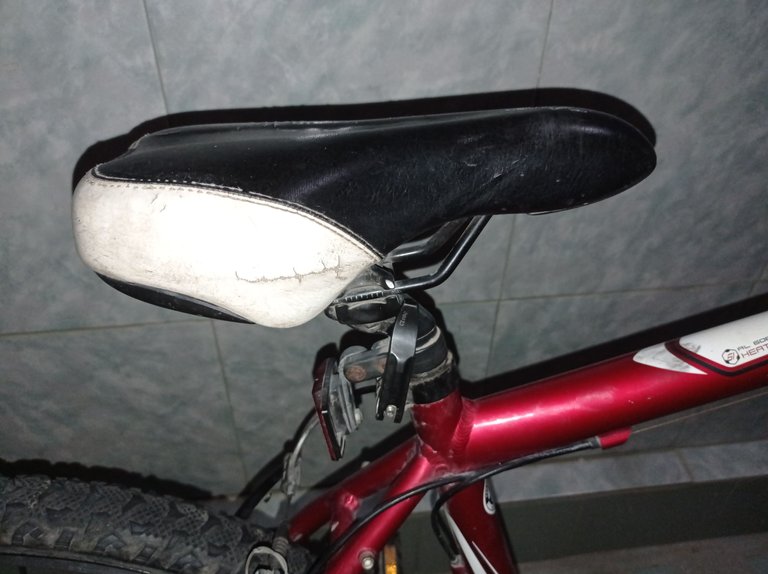
We started with the rubbers so we put it to the rims to place the casing inside we have to be careful that the casing fits and does not bend or something like that, when we have everything in place we can start to inflate the first rubber, here we had a very funny inconvenience and at the same time not because the straws to inflate did not fit, since we had bought another brand casings, we spent a while until one of the 4 straws that we tried again if it fit and we there looking elsewhere, after that little problem we continued with the other rubber with the same procedure to begin to mount them on the bike, we start with the front rubber, what we did was that one lifted the bike while the other fits where it was placed so we can adjust it as my bike has that facility and we do not need any other tool, after testing that it was well placed we repeat the same process with the other. Seguimos con el cojín de la bicicleta, para eso lo colocamos y acomodamos a la altura que se nos haga mas cómodo para nosotros a la hora de montarnos en la bici, es sencillo de ajustar así que no tuve problemas, ya con la bicicleta lista el ultimo detalle es echarle grasa a la cadena esto es muy importante para que no tengamos ningún problema a la hora de correr, para eso compre una grasa que se utiliza para los carros que me recomendaron que era buena. Ya con la bicicleta armada lo que hacemos es montarnos y probarla, la probé y genial, solo ajuste un poco los cambios y listo, feliz con mi bicicleta lista para salir e ir a cualquier parte y mas ahora que las bici se han vuelto un medio de transporte tan eficiente, además que quiero utilizarla como mi medio personal para pasear y mejorar mi salud fisica.
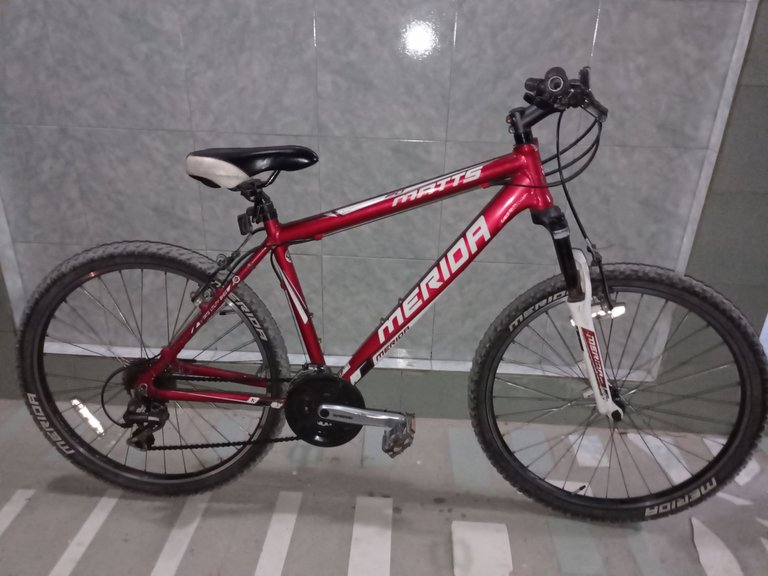
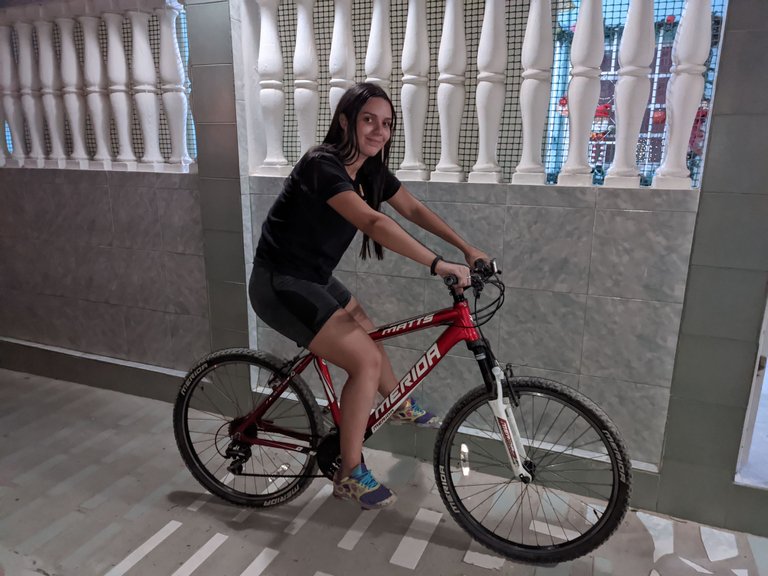
Already with the bike assembled what we do is to ride and test it, I tried it and great, just adjust the gears a little and ready, happy with my bike ready to go out and go anywhere and more now that the bikes have become a means of transportation so efficient, plus I want to use it as my personal way to ride and improve my physical health. Espero les guste. I hope you like it. Gracias por Leer. Thanks for reading. Fotos de mi propiedad. Camara: Telefono Xiaomi Redmi note 9 Las fotografías son tomadas por Jhonatan Rivero mi novio Edición de las fotos
Hello friends of hive, today I come to share with you my experience reassembling my aluminum mountain bike to ride, this bike was given to me several years ago as I was a lover of bikes and wanted to drive them at any time, I had all sizes and colors, but when I bought this one I was really happy for how comfortable it was to drive it, finally a couple of years ago I had to stop and disassemble because the guts were bad, The tires also had details so I decided to stop it to repair everything damaged, well before I could activate it again there were several personal inconveniences and in addition to the pandemic of these two years so until now I had not been able to, but finally I achieved what I wanted some time ago, plus I like it as a means of transportation because it is healthy and good for the environment.

I started to take things out at about 2 o'clock in the afternoon, so I had the whole afternoon to do things, I also called my boyfriend to help me in the whole process because he knows a little more about this whole subject, then I organized things to see if nothing was missing when it was time to assemble the bike because it had been stored for so long, so I placed and organized the bike frame, tires, rims, grease and guts.
Before starting to assemble the bike what I did was to wash it with water and a little detergent, this can be done with an old washing brush and a sponge to make it more comfortable for us, after washing carefully the whole bike, including tires and rims we put them to dry a little, after a while with the help of a dry stick we finish drying it and it will be ready to assemble it.

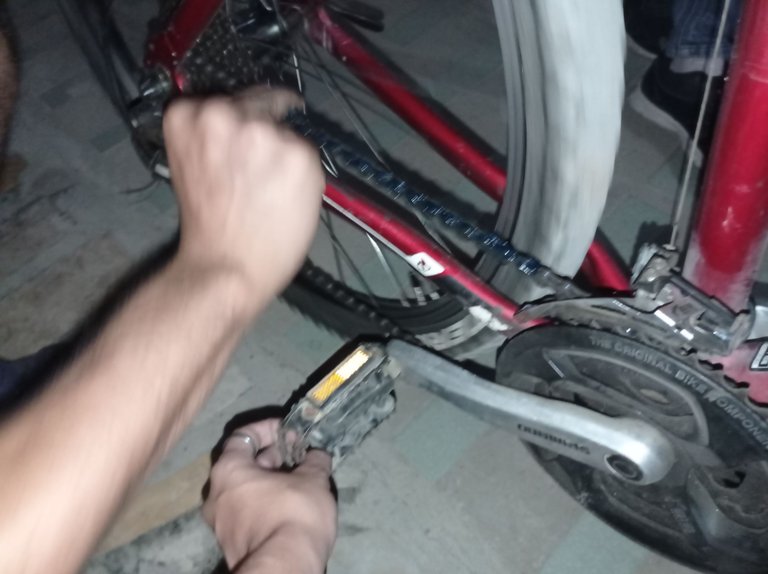
We continue with the cushion of the bicycle, for that we place it and accommodate it to the height that makes us more comfortable for us when riding the bike, it is easy to adjust so I had no problems, and with the bike ready the last detail is to grease the chain this is very important so we do not have any problems when running, for that I bought a grease that is used for cars that I was recommended that it was good.
App canva
