1 Portada original para mi libreta de notas Hive / 1 Original cover for my Hive notepad [ESP – ENG]

Un saludo cordial a todos.
Bienvenidos a mi blog.
La ocasión es oportuna para presentar un proyecto que tenía en mente desde que me inicie en esta comunidad. Se trata de la elaboración de la portada para mi libreta de notas Hive. La idea surge porque todo lo que he ido investigando en la plataforma que sea útil y necesario para mi desempeño lo copio en hojas de reciclaje. Con la finalidad de tenerlo al alcance en caso de que lo requiera de nuevo.
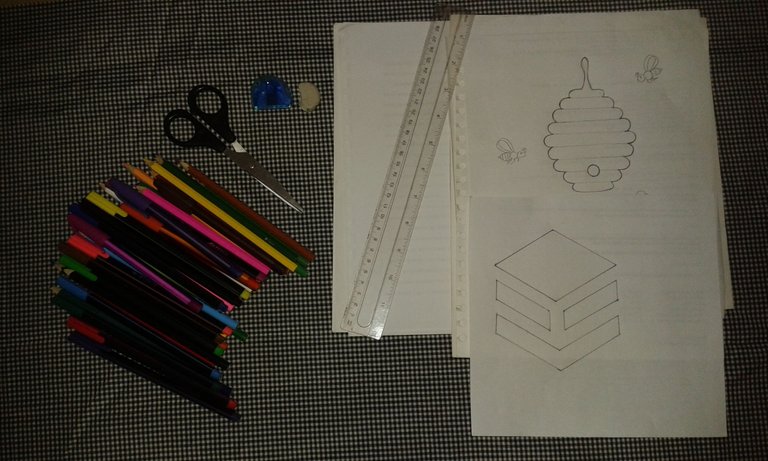
Seguidamente, describo el proceso de elaboración de la portada de mi libreta de notas Hive:
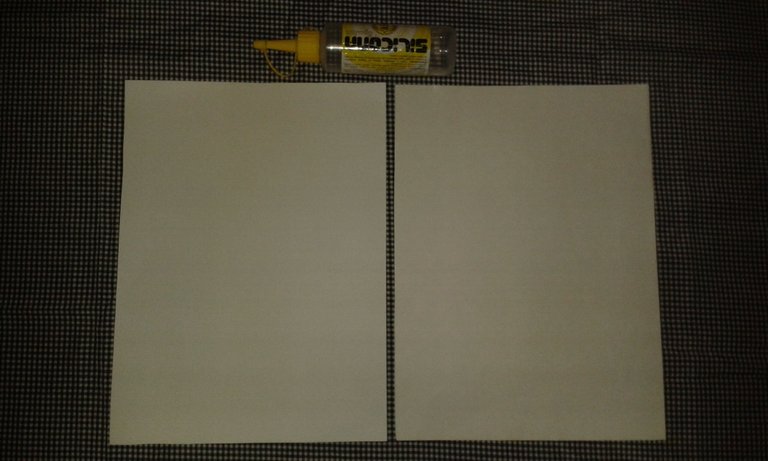
- Cartulina blanca reutilizable
- Hojas de reciclaje
- Regla
-Tijera - Silicona
- Sacapuntas
- Borrador
- Lápiz
- Colores
- Marcadores
- Dibujo del logo de Hive
- Dibujo de colmena de abejas
- Molde de letras
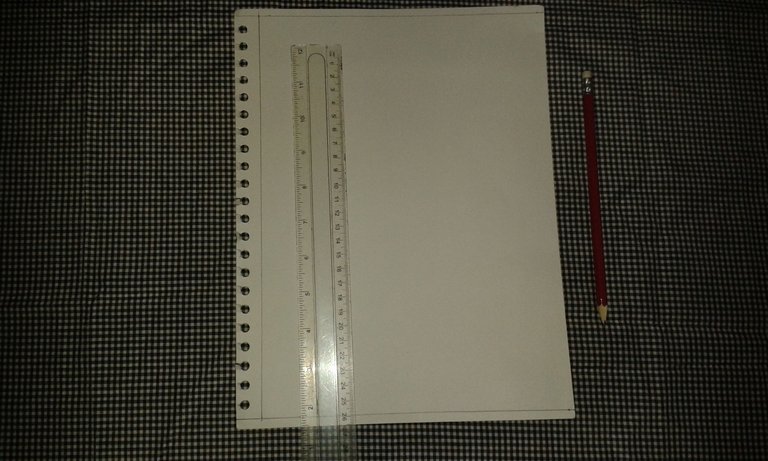
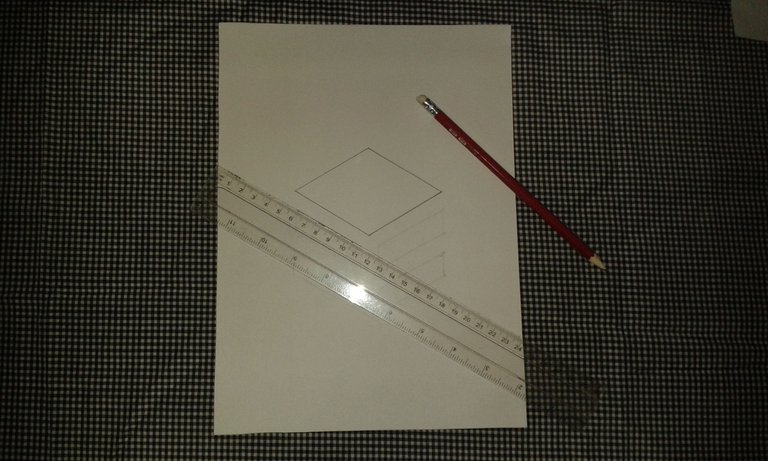
Se traza en la cartulina reutilizable 2 rectángulos (porque la cartulina es un poco sencilla) para la portada, que debe medir de largo 29 centímetros y de ancho 21 centímetros.
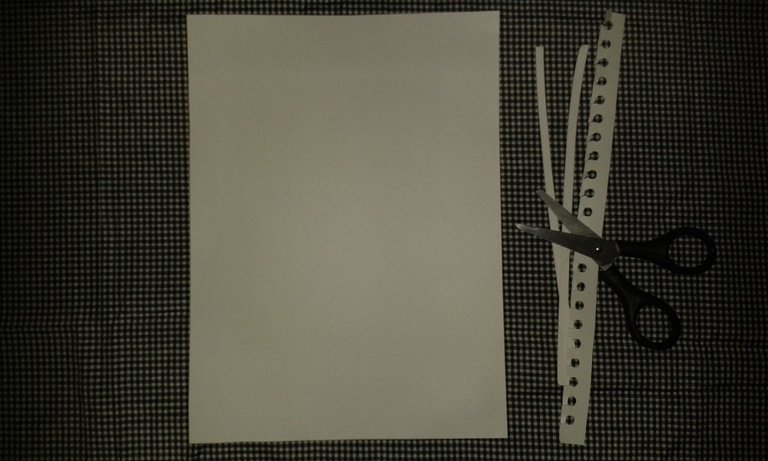
Se recorta los rectángulos para la portada de mi libreta de notas Hive.
Pega con silicona los rectángulos para formar la carátula de la libreta.
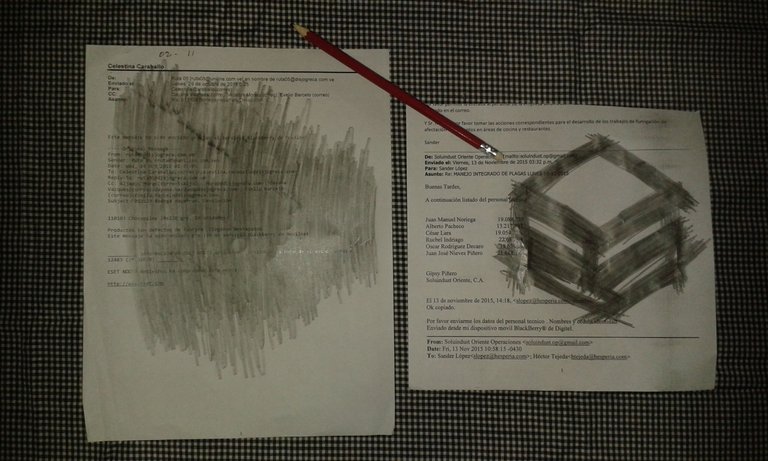
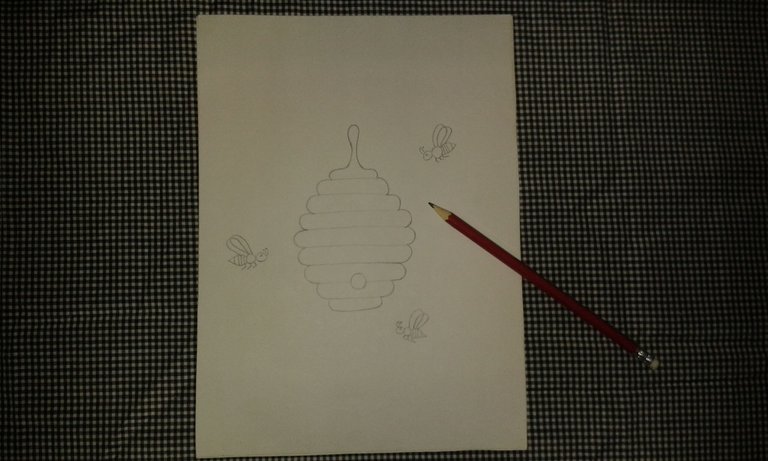
Rayar por el contorno los dibujos del logo de Hive y la colmena de abejas por la parte de atrás de cada dibujo.
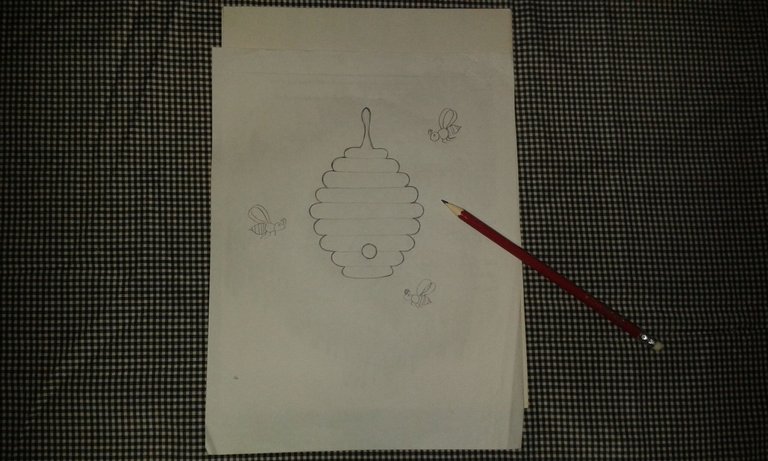
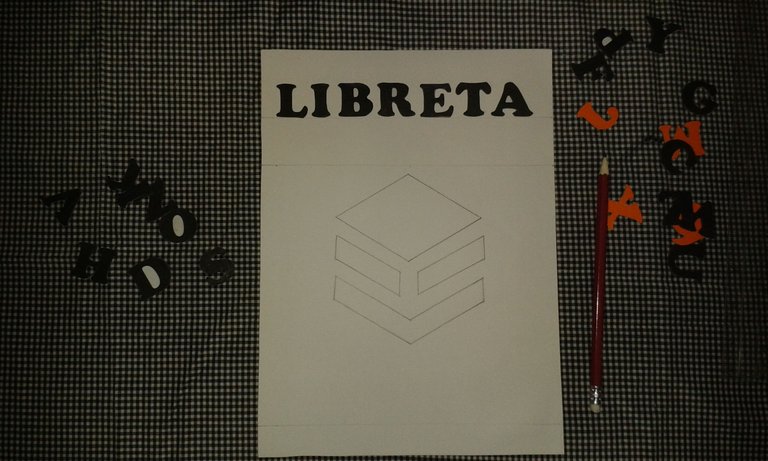
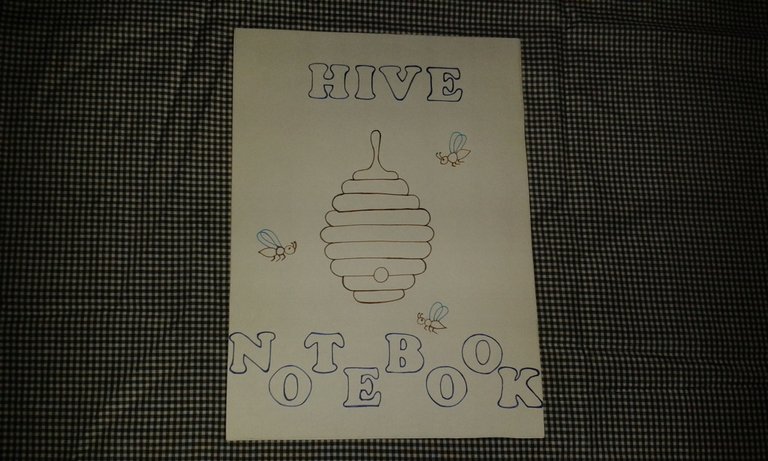
El dibujo base del logo Hive, previamente rayado por la parte de atrás, se coloca sobre la carátula y se aplica la técnica del calcado para transferir el dibujo. En la parte posterior de la portada, se repite el procedimiento con el dibujo de la colmena de abejas.
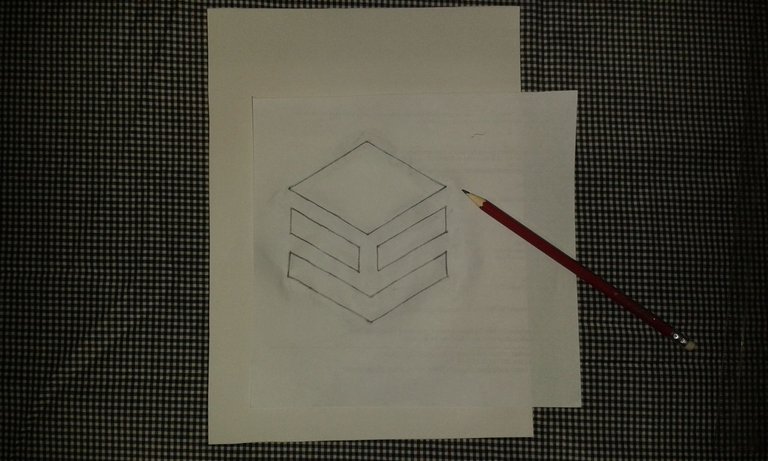
Se repasa el contorno de cada dibujo con el lápiz para que tenga mejor visibilidad.
Colocar el título en la portada y en la contraportada utilizando el molde de letras.
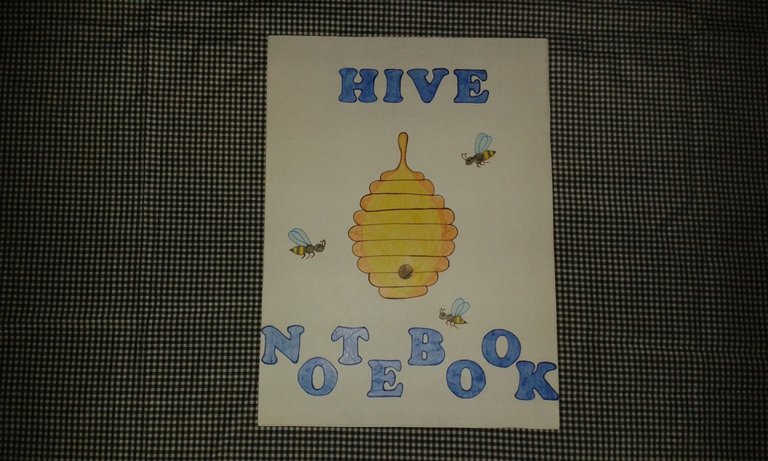
Delinear y colorear el título, el logo Hive y la colmena de abejas.
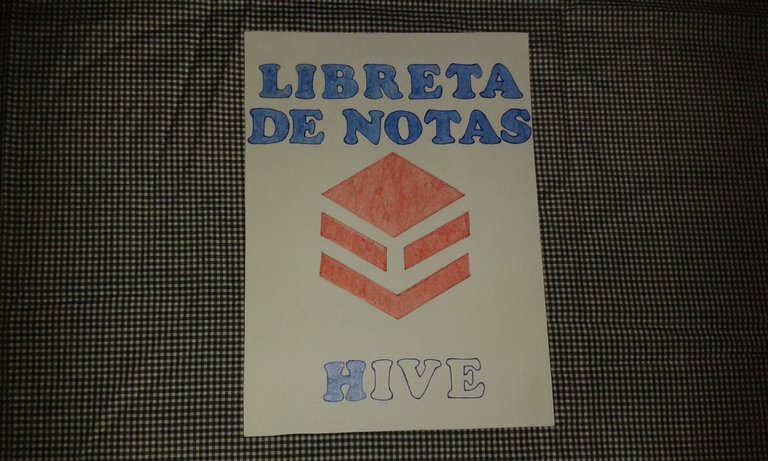
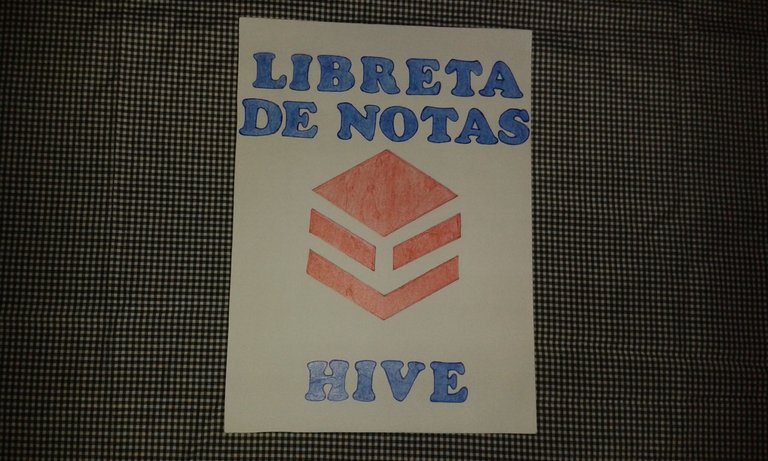
El resultado final ha sido satisfactorio para mí, espero sea de su agrado y se entusiasmen a hacer su propia libreta de notas Hive.
Best regards to all.
Welcome to my blog.
The occasion is appropriate to present a project that I had in mind since I started in this community. It is the elaboration of the cover for my Hive notebook. The idea arises because everything I have been researching on the platform that is useful and necessary for my performance I copy it on recycling sheets. In order to have it within reach in case I need it again.
Next, I describe the process of making the cover of my Hive notebook:
- Reusable white cardboard
- Recycling sheets
- Ruler
-Scissors - Silicone
- Pencil sharpener
- Eraser
- Pencil
- Colored pencils
- Marker pens
- Hive logo drawing
- Drawing of bee hive
- Letter mold
Trace on the reusable cardboard 2 rectangles (because the cardboard is a bit simple) for the cover, which should measure 29 centimeters long and 21 centimeters wide.
Rectangles are cut out for the cover of my Hive notebook.
Glue the rectangles together with silicone to form the cover of the notebook.
Outline the drawings of the Hive logo and the bee hive on the back of each drawing.
The base drawing of the Hive logo, previously scratched on the back, is placed on the cover and the tracing technique is applied to transfer the drawing. On the back of the cover, the procedure is repeated with the drawing of the bee hive.
The outline of each drawing is traced with the pencil for better visibility.
Place the title on the front and back covers using the letter mold.
Outline and color the title, the Hive logo and the bee hive.
The final result has been satisfactory for me, I hope you like it and get excited to make your own Hive notebook.
Las fotos publicadas en este proyecto fueron tomadas con mi celular Samsung.
El separador de texto utilizado es de uso y distribución libre.
La traducción del texto se hizo mediante la página web https://www.deepl.com/translator.
The photos published in this project were taken with my Samsung cell phone.
The text separator used is free to use and distribute.
The translation of the text was done through the website https://www.deepl.com/translator.
Si te gustó mi publicación, responde libremente. ¿Qué opinas sobre tener una libreta de notas Hive?
Muchas bendiciones y gracias por leer.
If you liked my post, please respond freely. What do you think about having a Hive notebook?
Many blessings and thank you for reading.
Electronic-terrorism, voice to skull and neuro monitoring on Hive and Steem. You can ignore this, but your going to wish you didnt soon. This is happening whether you believe it or not. https://ecency.com/fyrstikken/@fairandbalanced/i-am-the-only-motherfucker-on-the-internet-pointing-to-a-direct-source-for-voice-to-skull-electronic-terrorism
Congratulations @anyboadas! You have completed the following achievement on the Hive blockchain and have been rewarded with new badge(s) :
Your next target is to reach 2500 upvotes.
You can view your badges on your board and compare yourself to others in the Ranking
If you no longer want to receive notifications, reply to this comment with the word
STOPCheck out the last post from @hivebuzz:
Que genial que te hayas hecho una libreta para anotar todas tus ideas, definitivamente un objeto muy necesario para todos los creadores 🙌
Si es buena idea a mi me funciona perfectamente allí tengo todo anotado. Saludos.
¡Excelente tutorial amiga! yo soy más de hacer diseños en digital, en el dibujo como tal y en las manualidades no soy tan bueno peor igual es algo que se aprecia, tienes buena creatividad y bueno yo también necesito un cuaderno para organizar mis actividades de HIVE y las ideas que tenga referente a la blockchain. Creo que es muy útil hacer éste tipo de cosas por que no solo te entretiene en ésto de la pandemia sino que también es de utilidad a la hora de trabajar en nuestros post, en los eventos de Discord y en algunas cosas que tengamos pendientes por elaborar con HIVE.
¡Saludos!
Haga el cuaderno porque es muy práctico, yo tengo organizado todo lo que he aprendido en hive, mañana publico la libreta, es bastante útil, a mi me funciona a la prefeccción. Saludos