Confección de Jogger, paso a paso | Jogger making, step by step
Bienvenidos a mi Blog 💙| Welcome to my Blog 💙
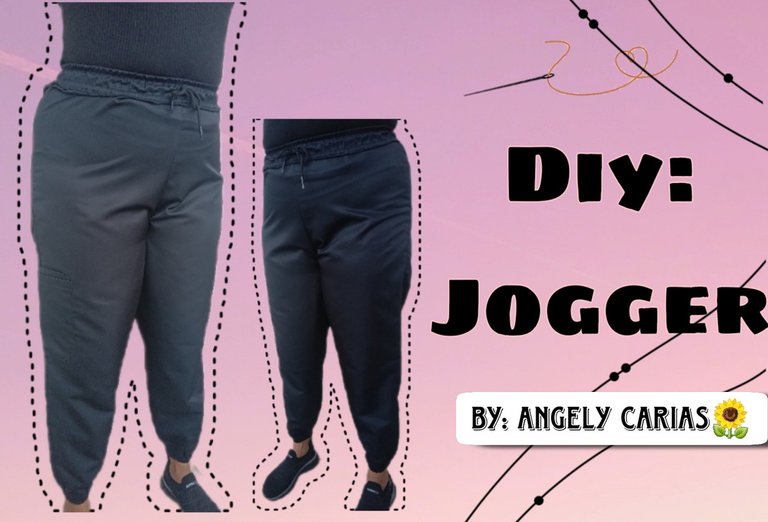
Hola a todos, espero se encuentre muy bien, hoy les traigo una confección de un Jogger, este fue un encargo, yo trabajo en costura, me gusta hacer esta clase de trabajos, este Jogger es de un uniforme médico, quedan muy bonitos espero les guste . Comenzamos con los materiales y el paso a paso.
Hello everyone, I hope you are very well, today I bring you a Jogger, this was an order, I work in sewing, I like to do this kind of work, this Jogger is from a medical uniform, they are very nice I hope you like it. Let's start with the materials and the step by step.
Meteriales | Materials
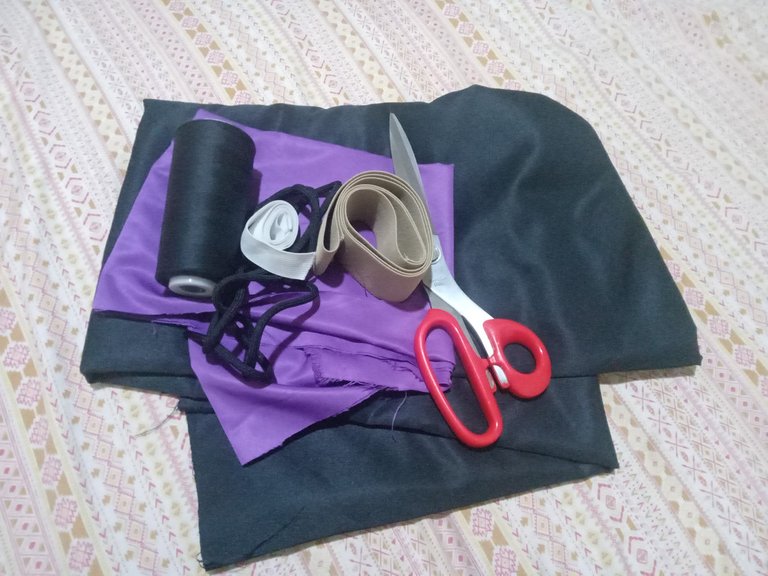
● 120 cm de tela microfibra sport negra
● Elastico fino y grueso
● Hilo negro
● Tijera
● Cordón
● Maquina de coser
● 120 cm of black microfiber sport cloth
● Thick and thin elastic
● Black thread
● Scissors
● Cord
● Machine
Paso a paso | Step by step
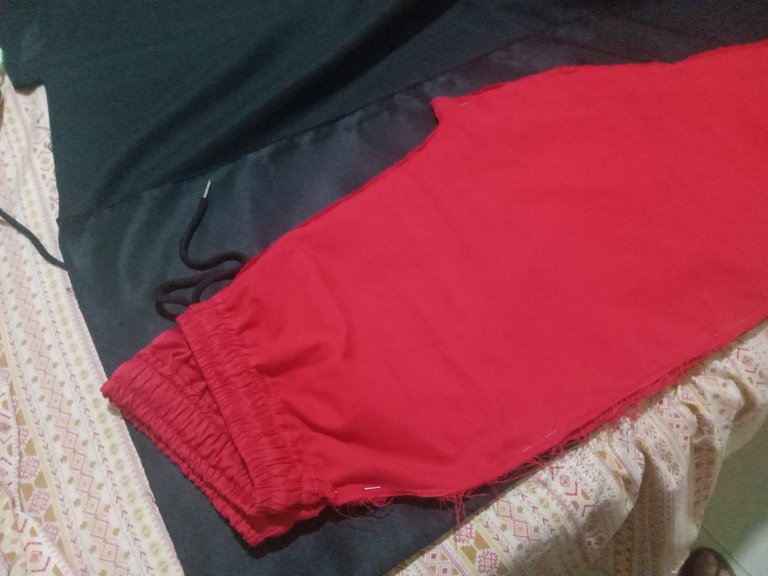
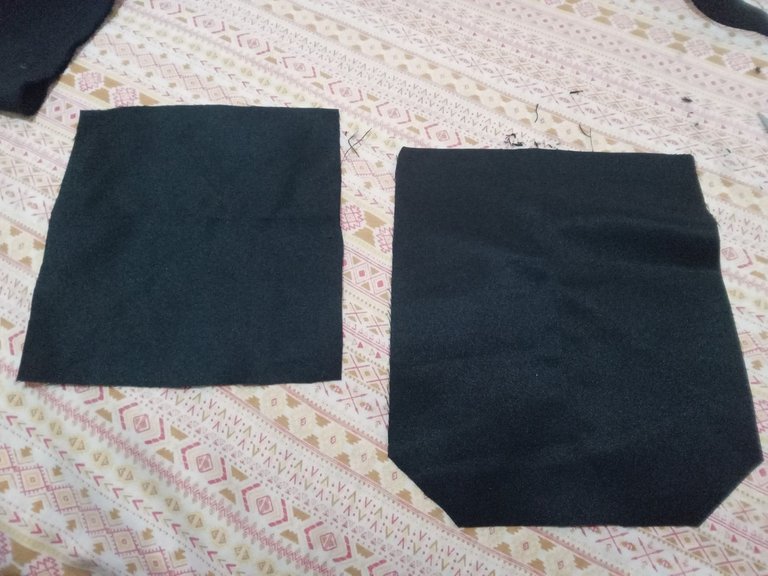
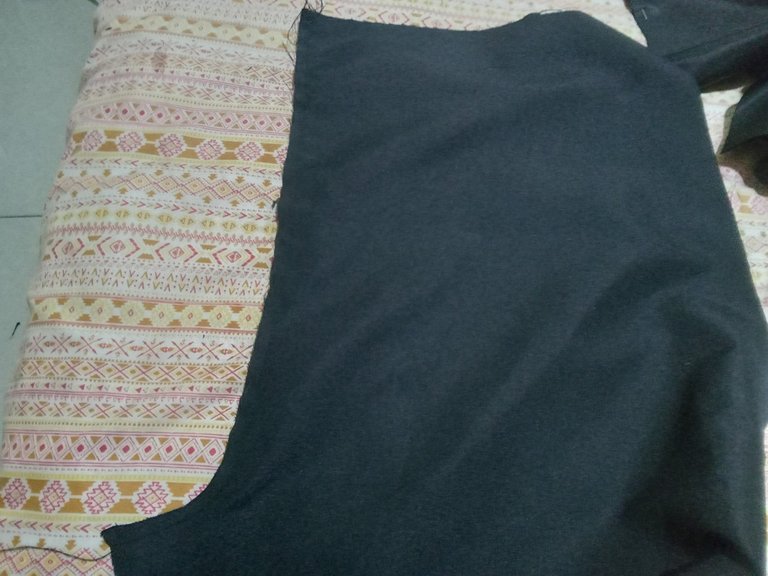
● Cortamos la tela, utilicé otro jogger de patrón, que tambien hice, entonces para que quedara igual utilicé este rojo, tambien cortamos los bolsillos del lateral.
We cut the fabric, I used another pattern jogger, which I also made, so to make it look the same I used this red one, we also cut the pockets on the side.
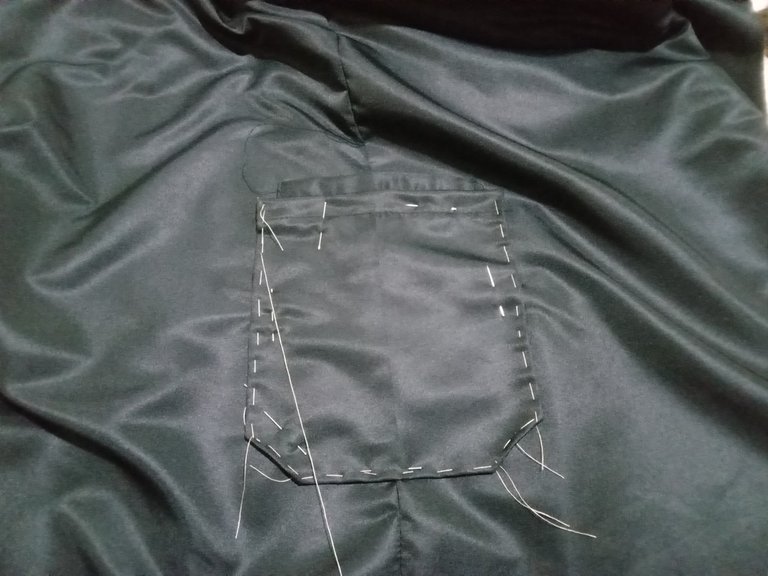
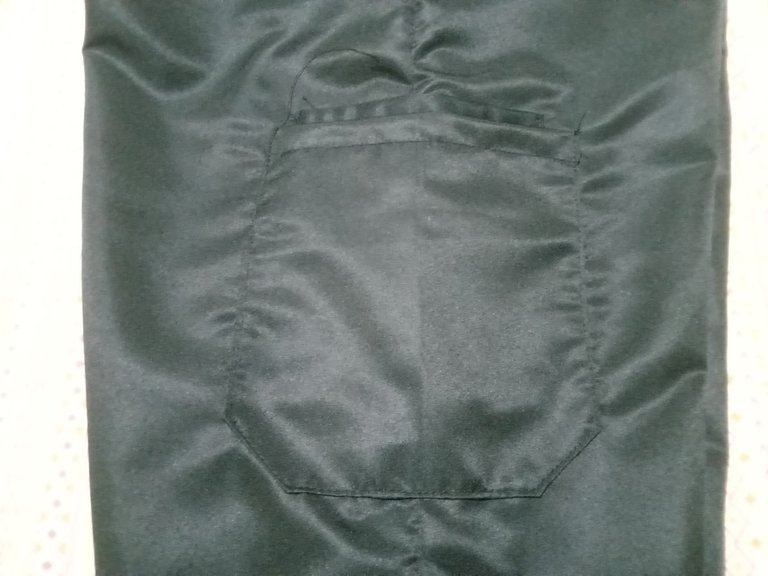
● Empiezo a unir las parte del pantalon, cuando tenemos unidos los laterales le cosemos los bolsillos, yo lo basteo al pantalon para luego coserlo a la maquina, cuando ya tenemos el bolsillo listo cerramos el pantalon por las entrepiernas.
I begin to join the parts of the trousers, when we have joined the sides we sew the pockets, I baste it to the trousers and then sew it to the machine, when we have the pocket ready we close the trousers by the crotch.

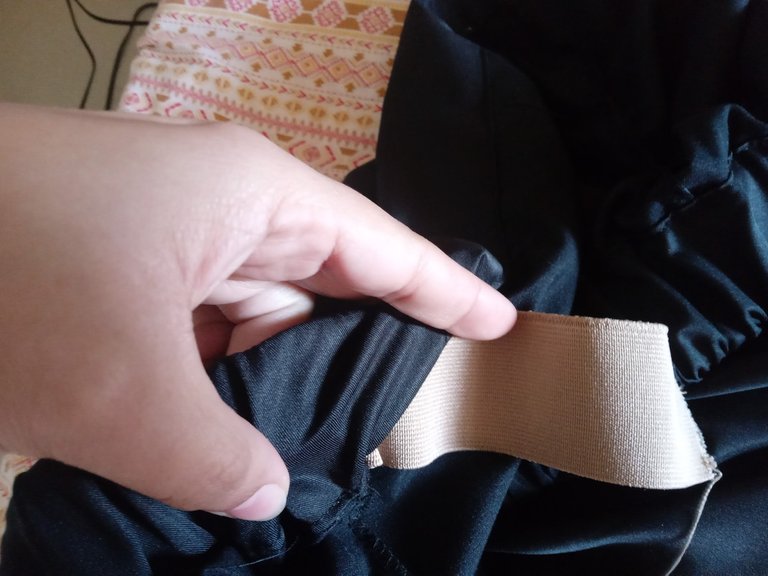
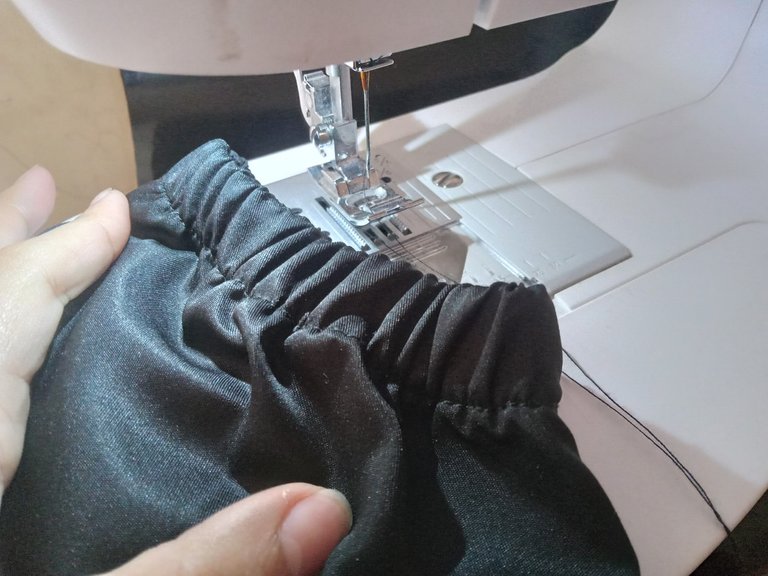
● Cortamos lo que sera la pretina, esta tira la unimos el pantalón dejando una pequeña abertura para introducir la elástica, luego que está el elástico en su sitio la unimos cosiendo punta con punta, cerramos la ebertura que habiamos dejado y para que quede fija pasamos dos costura en la pretina dejando el canal del medio sin coser.
We cut what will be the waistband, this strip we join it to the pants leaving a small opening to introduce the elastic, after the elastic is in place we join it by sewing point to point, we close the opening that we had left and to fix it we pass two seams in the waistband leaving the middle channel without sewing.

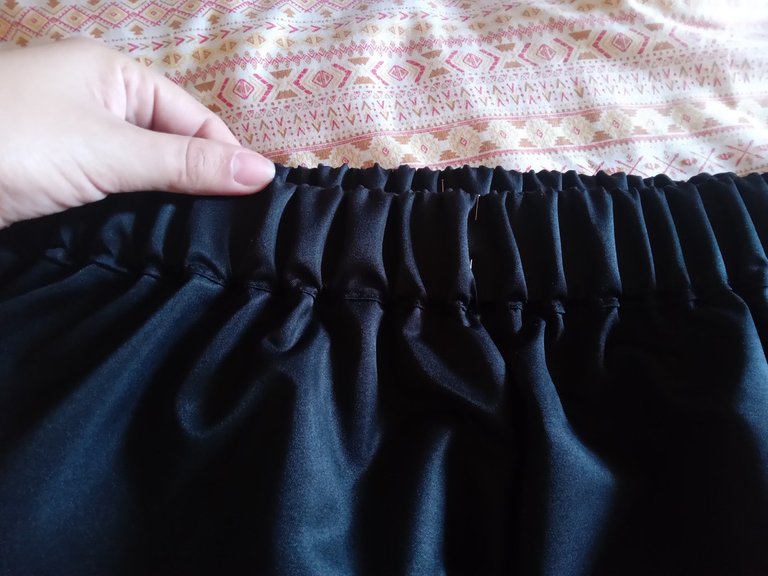

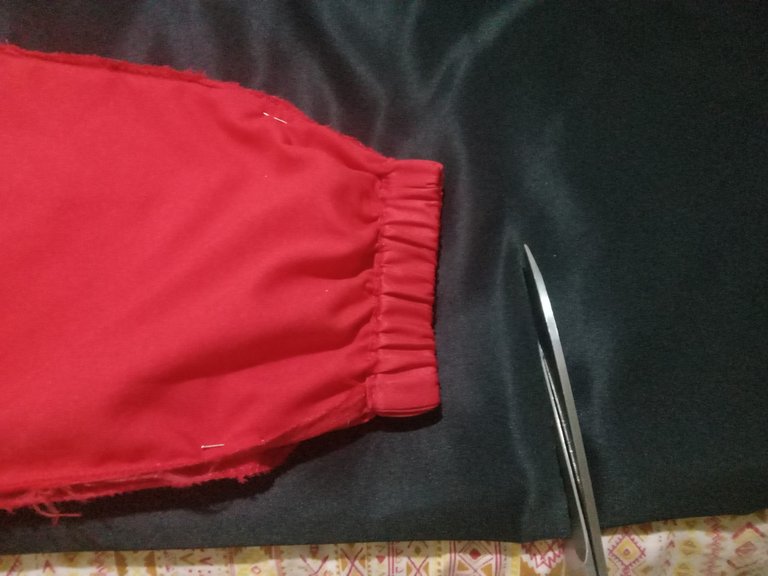
● Cosemos el elastico menos ancho en la parte baja de la bota, haciendo que éste se arruche y forme en si lo que es un jogger
We sew the less wide elastic in the lower part of the boot, making it wrinkle and form a jogger.
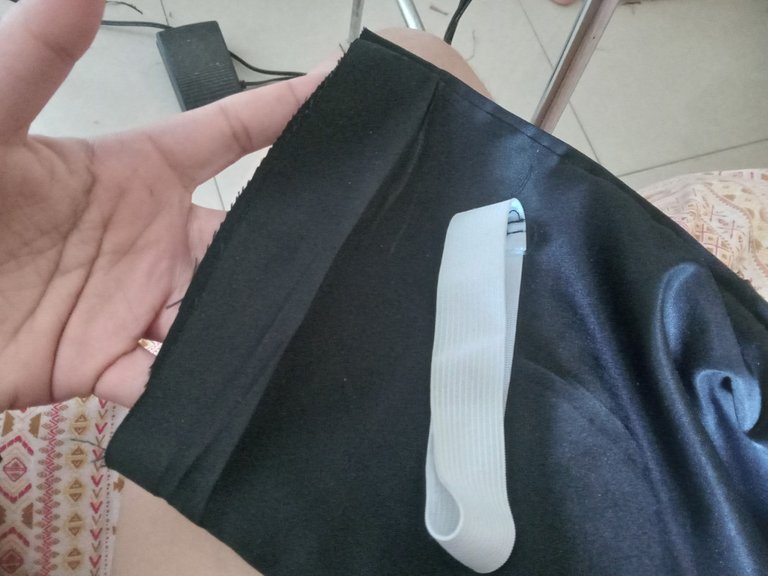
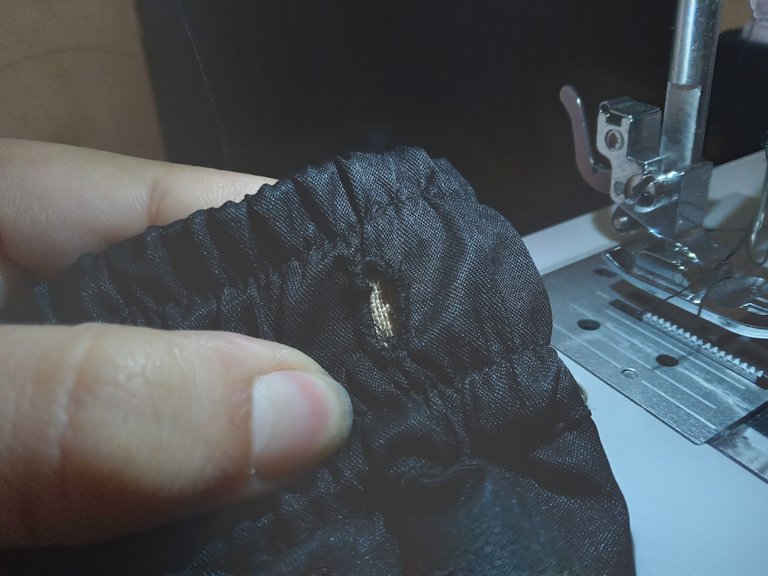
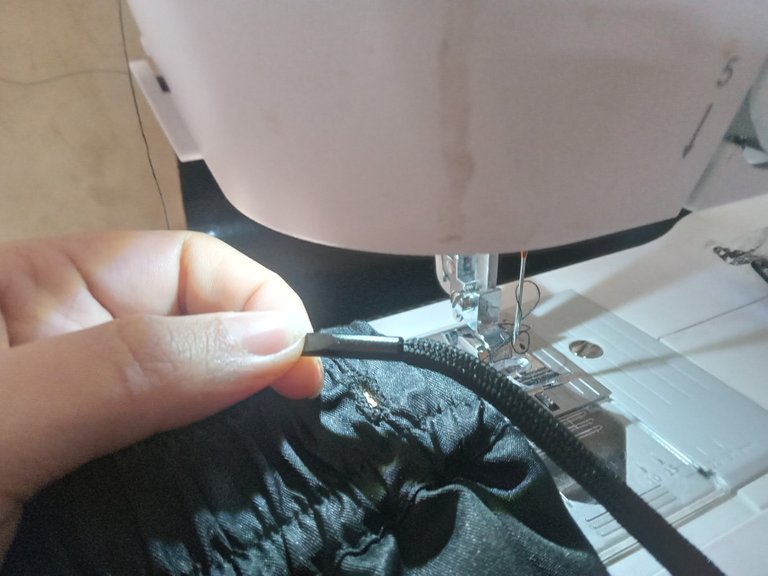
● Por último en la parte media de la pretina que dije no coser hacemos un corte con la tijera y cosemos a mano las orillas haciendo un ojal bonito pera luego introducir el cordón
Finally, in the middle part of the waistband that I said not to sew, we make a cut with the scissors and sew by hand the edges making a nice buttonhole to insert the cord.
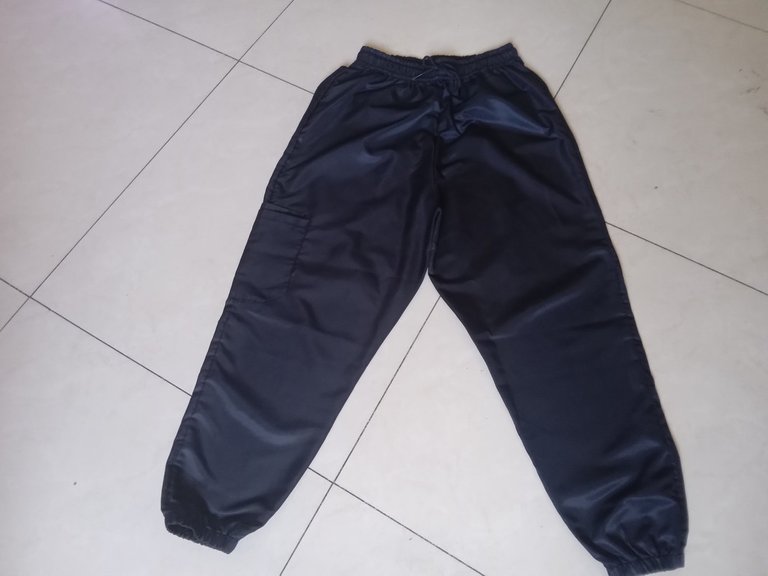
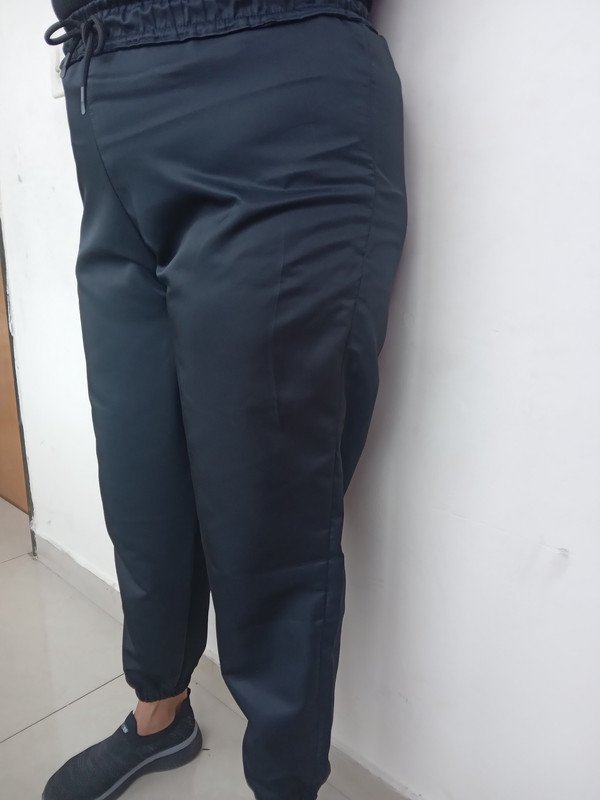
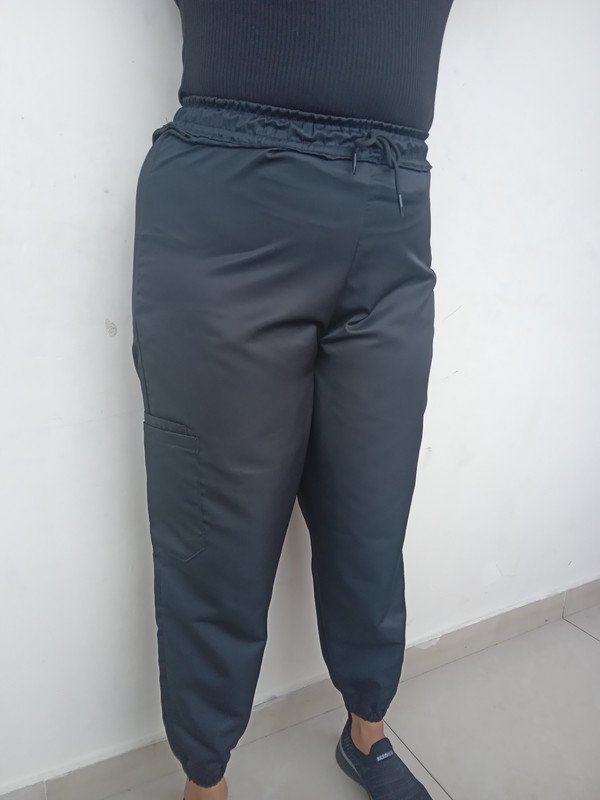
● Y listo, ya esta listo el jogger
And that's it, the jogger is ready.

♡ Imágenes y textos son propiedad del autor
♡ Edición: Canva - Lumii - Picsart
♡ Traductor: DeepL
♡ Images and texts are property of the author.
♡ Editing: Canva - Lumii - Picsart
♡ Translator: DeepL
Thank you for using the #diy tag, the go-to-tag to earn and grow your BUIDL power.
You will be upvoted as long as you post plagiarism-free content/images and continue growing your BUIDL Power.
Whenever you are posting anything related to a DIY creation, you can use #diy tag, which will give your posts extra eyeballs and you will be entitled to earn BUIDL tokens as well.
Check out this post for more information about BUIDL tokens.
Likewise, whenever you are posting anything related to hivelist related tags use the #contests, #forsale, #services, #gigs, #events or #fundraising tags and your posts will be featured in https://hivelist.org, which will give your posts extra eyeballs and you will be entitled to earn LIST tokens as well.
Buen trabajo, te felicito. El jogger te quedó bastante bien. Gracias por compartir tus proyectos con nosotros. Saludos!
Gracias 🤗. Estaré compartiendo mas seguido. Saludos!