[ENG-ESP] My first experience illustrating a sketch in Adobe Photoshop | Mi primera experiencia ilustrando un boceto en Adobe Photoshop

Today I want to share with you my first experience illustrating a sketch in Adobe Photoshop. To do this I applied the technique of painting by layers and I was really fascinated with the results and all the things that can be done with it. The sketch is not mine, I downloaded it from Pxfuel, I leave the link below it. I want to buy myself a graphics tablet so that I can do the sketches more easily myself.
The technique works as follows, the idea is to create layers below the drawing and paint each layer starting with the skin and create layers for all the parts of the drawing one by one. The advantage of this is that once you have finished the whole process, you can play with the colors and tones to achieve the desired effect. Below I describe the step by step.
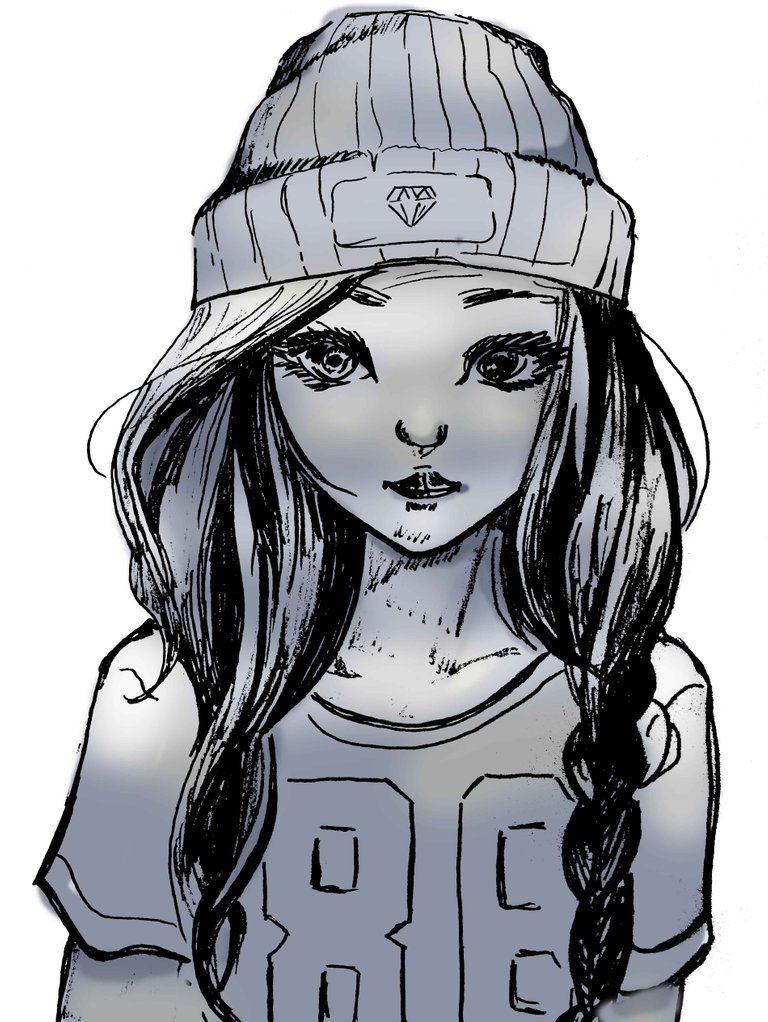
This is the sketch I used.
Hoy quiero compartir con ustedes mi primera experiencia ilustrando un boceto en Adobe Photoshop. Para ello apliqué la técnica de pintura por capas y quedé realmente fascinada con los resultados y todas las cosas que se pueden hacer con ella. El boceto no es mío, lo descargué de Pxfuel, dejo el enlace debajo. Quiero comprarme una tableta gráfica para poder hacer los bocetos más fácilmente.
La técnica funciona de la siguiente manera, la idea es crear capas debajo del dibujo y pintar cada capa comenzando por la piel y crear capas para todas las partes del dibujo una por una. La ventaja de esto es que una vez que hayas terminado todo el proceso, puedes jugar con los colores y tonos para lograr el efecto deseado. A continuación describo el paso a paso.
Este es el boceto que usé.
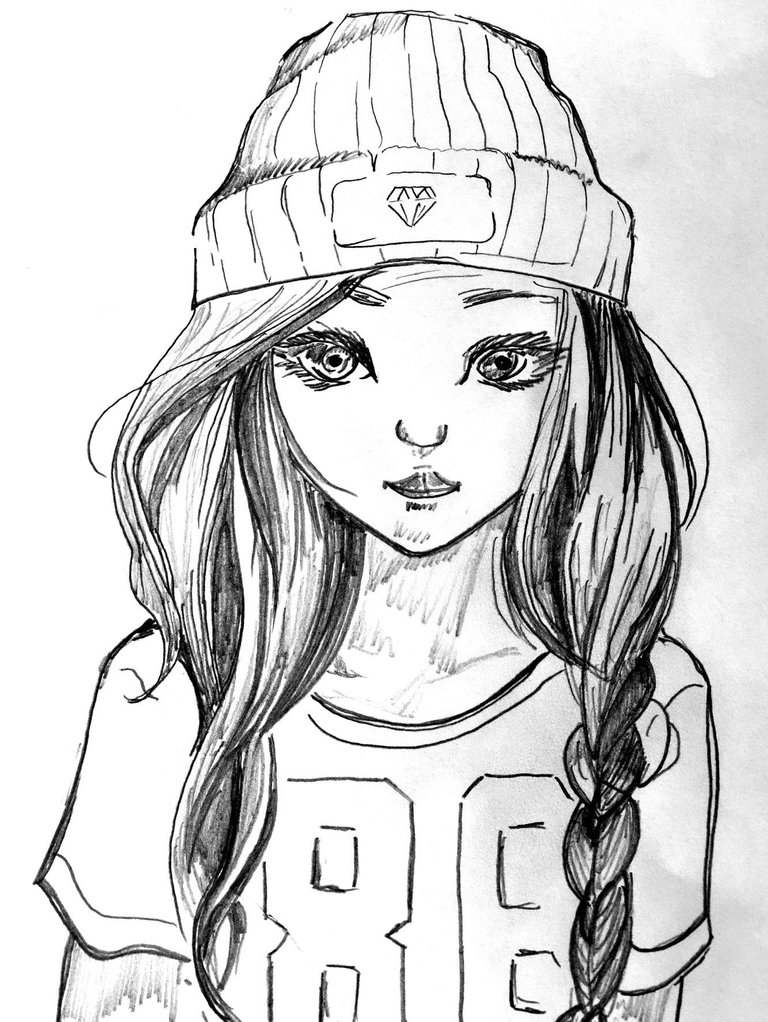
Source: https://www.pxfuel.com/en/free-photo-oxzce/download
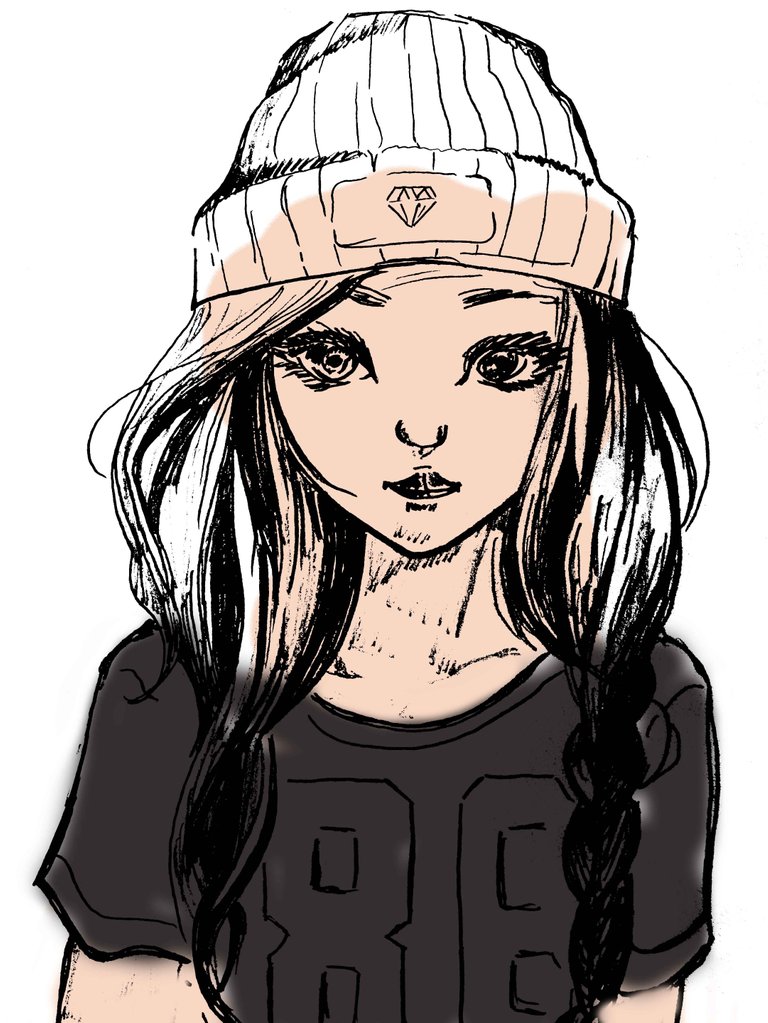
Firstly I started with the skin, hair and the clothes, starting from the inner layers to the outer ones.
Primero comencé con la piel, el cabello y la ropa, comenzando desde las capas internas hacia las externas.
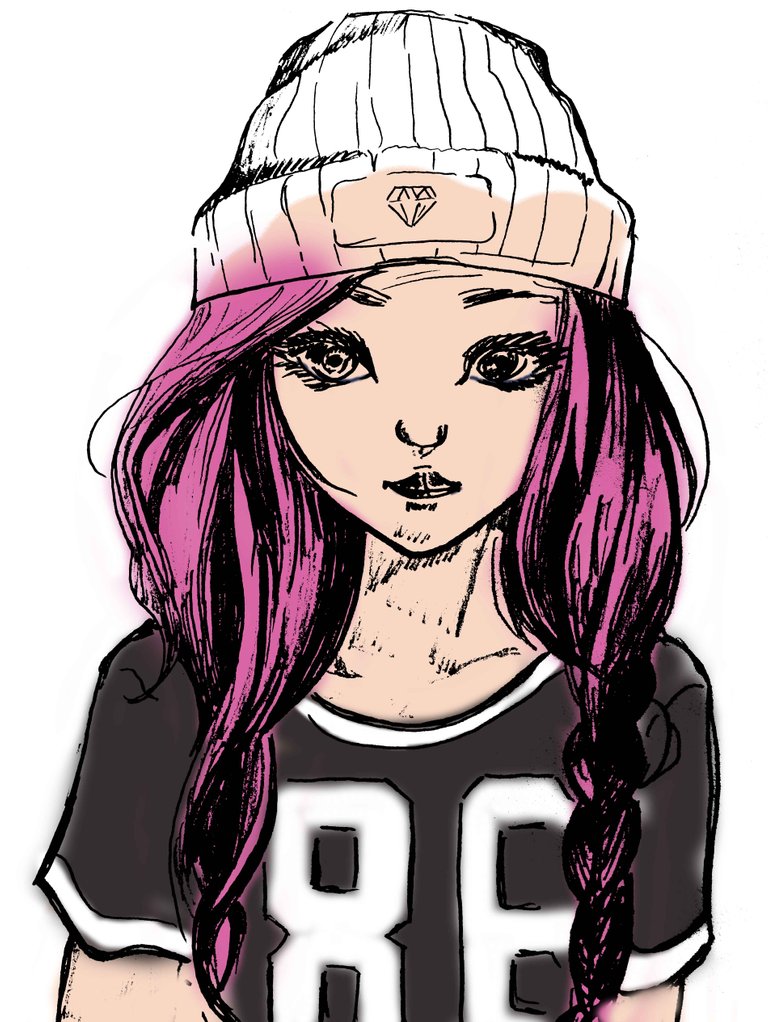
Next I painted the eyes, the lips and some details of the clothes and hair.
A continuación pinté los ojos, los labios y algunos detalles de la ropa y el pelo.

Then create a new layer for the shadows, I put an opacity of 42% on this layer and select Multiply in the blending modes. This done and with a dark tone color I drew the entire surface of the drawing and once this process was finished, I began to erase with an eraser the places that I did not want to have a shadow.
Luego cree una nueva capa para las sombras, puse una opacidad del 42% en esta capa y seleccioné Multiplicar en los modos de fusión. Esto hecho y con un color de tono oscuro dibujé toda la superficie del dibujo y una vez terminado este proceso comencé a borrar con una goma de borrar los lugares que no quería que tuvieran sombra.

Then I created a layer in the same way but this time with a brush and the same color I started to give more detailed shadows.
Luego creé una capa de la misma manera pero esta vez con un pincel y del mismo color comencé a dar sombras más detalladas.

Finally, create a layer with the same opacity, but in the blending options, I put Overlay. With a brush in a light yellow tone, I did the same process as in the shadows but with lights, starting from a global light and then creating another layer for more detailed lights.
Finalmente creo una capa con la misma opacidad, pero en las opciones de fusión, pongo Overlay. Con un pincel en tono amarillo claro, hice el mismo proceso que en las sombras pero con luces, partiendo de una luz global y luego creando otra capa para luces más detalladas.

When I finished the process I learned that it is better to start with the shadows and the lights and then apply the colors, since that way we have a better idea of the volume of the sketch and we do not get confused with the colors.
Cuando terminé el proceso aprendí que es mejor empezar con las sombras y las luces y luego aplicar los colores, ya que así tenemos una mejor idea del volumen del boceto y no nos confundimos con los colores.
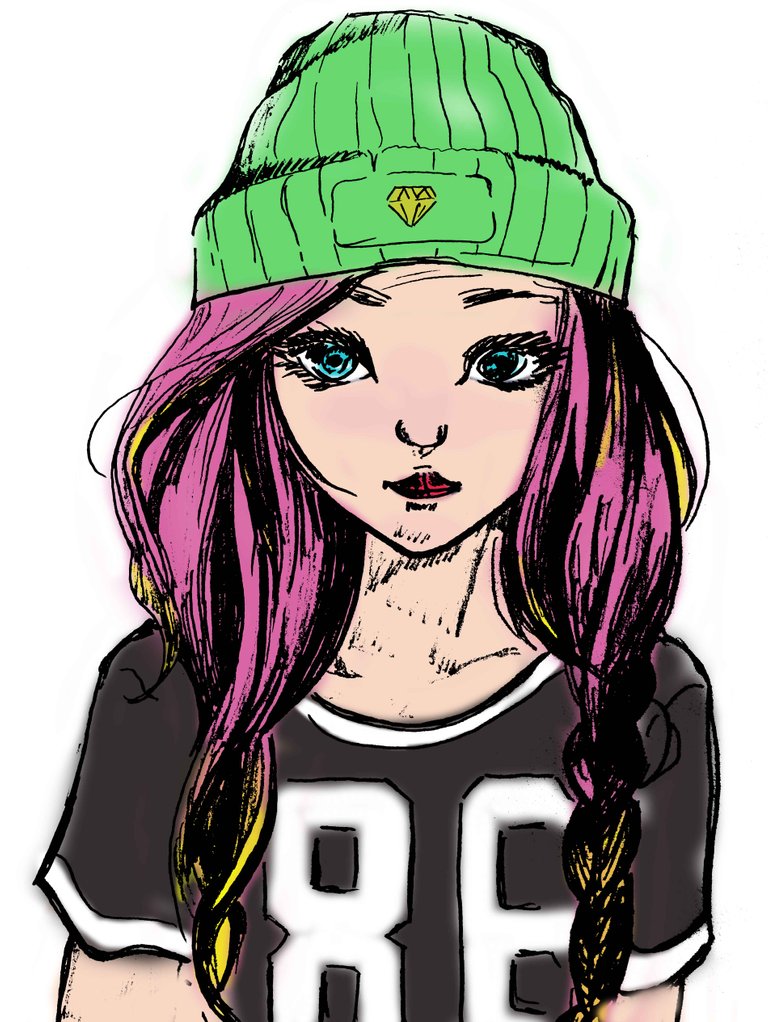
This is the final result | Este es el resultado final
This is my first time doing this type of work and I'm very excited with the technique and eager to do more things. I hope that the people who have more experience in this will excuse me and I hope that you have liked the final result and as always I read you in the comments.
Es la primera vez que hago este tipo de trabajo y estoy muy emocionado con la técnica y con muchas ganas de hacer más cosas. Espero que la gente que tiene mas experiencia en estos trabajos me disculpen y espero que les haya gustado el resultado final y como siempre los leo en los comentarios.
CARPEDIEM
Te quedó bueno asere 👌🙌. Hace años me dió por hacer uno que otro cuando veía mucho anime, lleva su pincha eso.
A mi siempre me ha gustado dibujar y me embulle por un video que vi en Youtube, lo malo son los sketch que sin una tableta grafica se pasa bastante trabajo. Lo estoy haciendo como hobbie para ir aprendiendo poco a poco.
Enhorabuena. Has recibido apoyo
The Creative Coin Fund.
Únete al servidor de Creative Coin y comparte tus publicaciones.
Congratulations. You have received support from
The Creative Coin Fund.
Join the Creative Coin server and share your posts.
Selección manual de @mazquel
Image by barbara-orenya