[ENG-ESP] Personalised bookmarks | separadores de libros personalizados
Hola como estan, estoy en otro
" Modo aleh ", con experiencias y sobre temas relacionados con ideas o reflexiones de mi vida personal
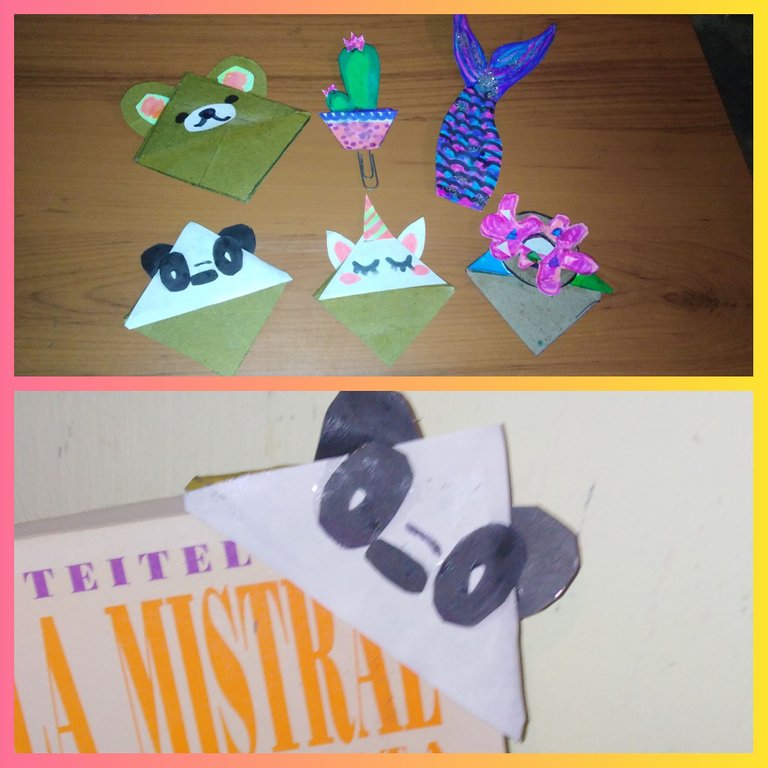
En el post anterior, mencione que haría el paso a paso de los separadores de libros, hay miles de modelos, todo depende de nuestros gustos. Acá hice los que me gustan y otros de diferentes estilo.

Hello how are you, I am in another
"aleh mode", with experiences and on topics related to ideas or reflections of my personal life.
In the previous post, I mentioned that I would do the step by step of the bookmarks, there are thousands of models, it all depends on our tastes. Here I made the ones I like and others of different styles.
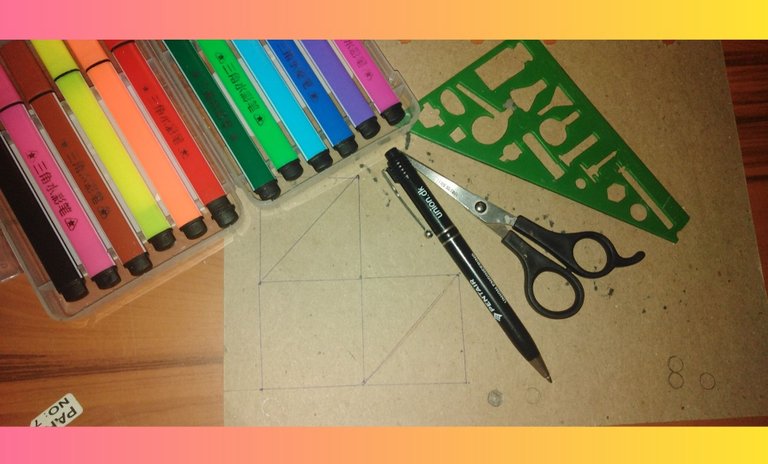
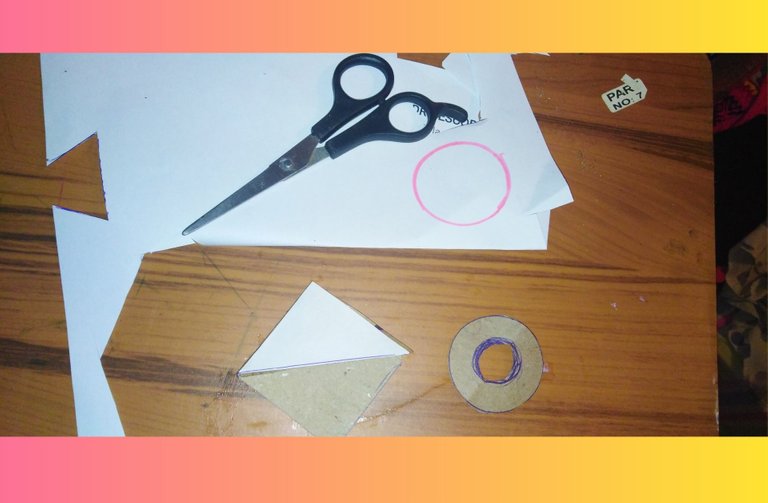
MATERIALES :
- Cartulina
- Hojas blancas
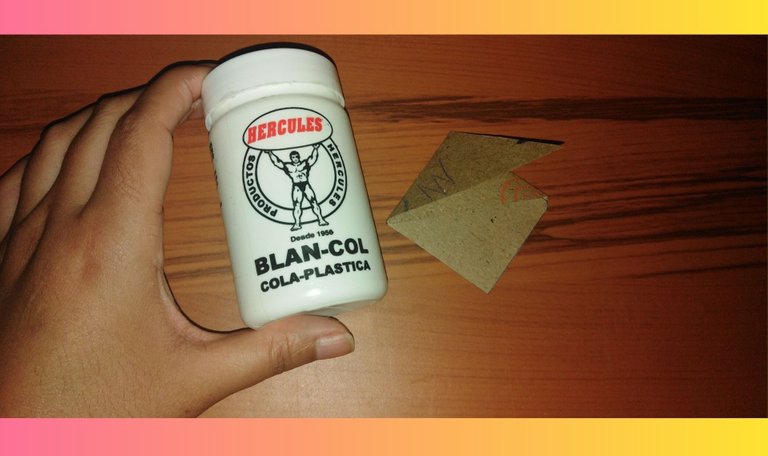
- Pega
- Regla
- Tijeras
- Marcadores
- Lapiz o Lapicero
MATERIALS :
- Cardboard
- White sheets
- Glue
- Ruler
- Scissors
- Markers
- Pencil or pencil
Puedes usar otro tipo de materiales para decoración, pinturas, cartulina, grapadoras o silicon para pegar.
You can use other materials for decoration, paints, cardboard, staplers or silicone glue.
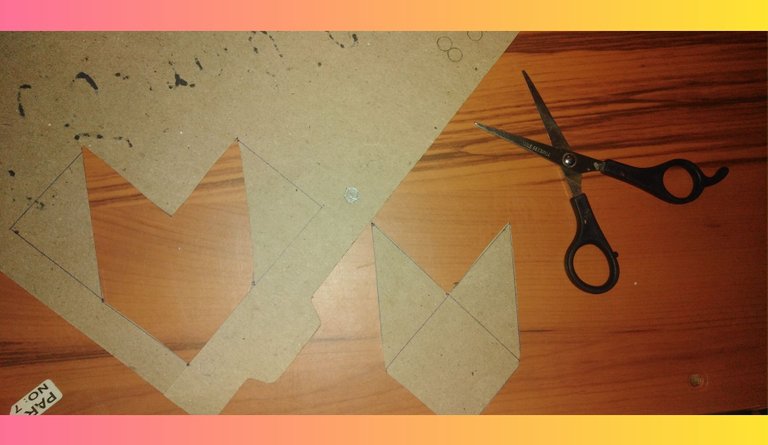
Marcamos con una regla, hacemos 3 cuadrados de 8cm y cortamos las puntas, como les dejo en la imagen.
Mark with a ruler, make 3 squares of 8cm and cut the ends, as shown in the image.
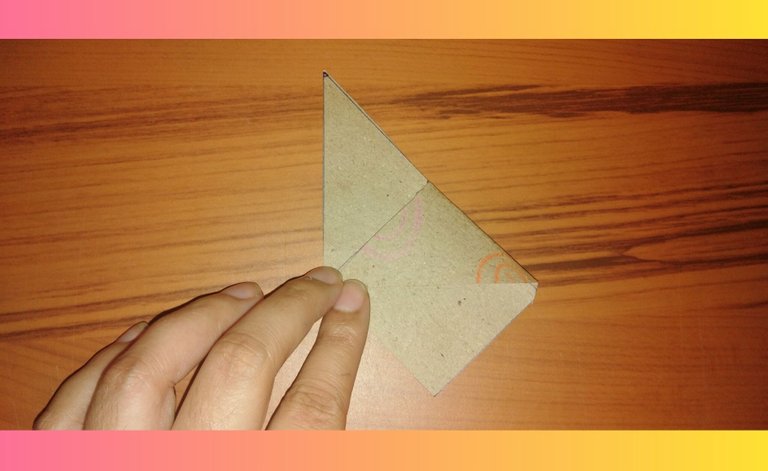
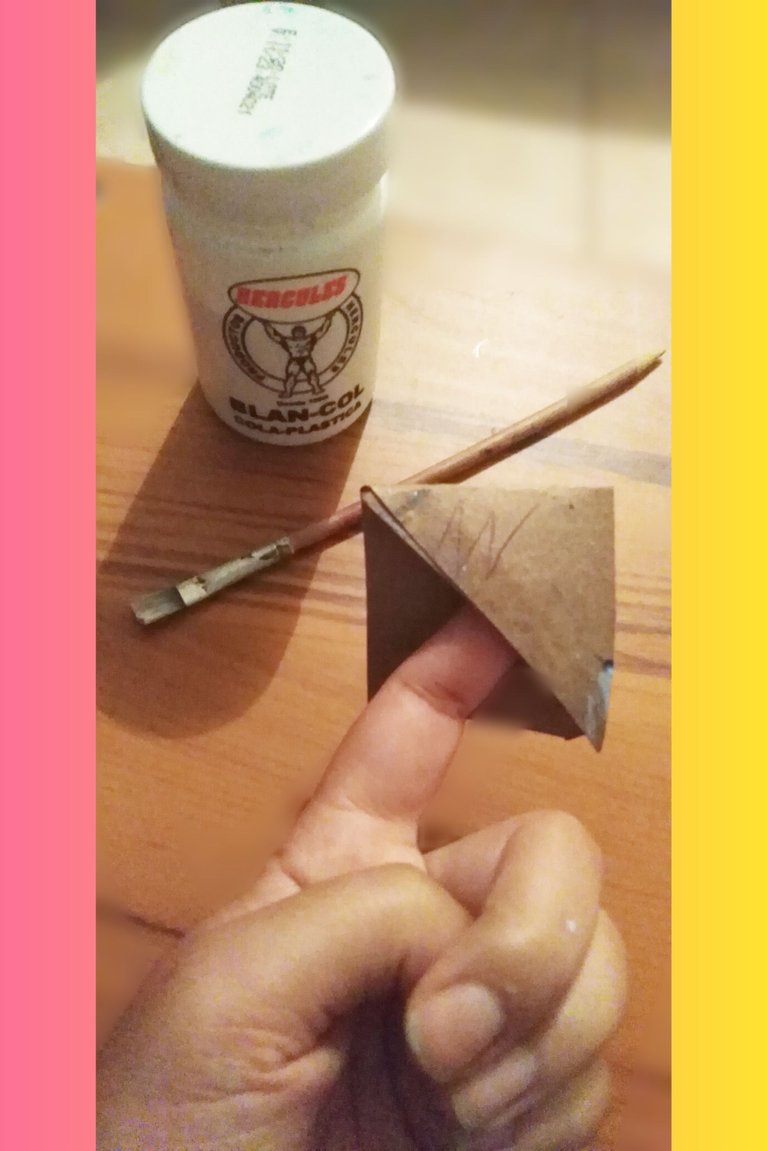
Doblamos ambas puntas, para darle forma y pegamos, para así crear nuestro marca libros o separador, Dejamos secar media hora.
Fold both ends to shape and glue to create our bookmark or divider. Leave to dry for half an hour.
Acá haré uno de dona, corto la forma con una tapa depende el tamaño de la dona con la cartulina, forro con una hoja blanca para de mi separador, para luego darle los detalles finales.
Here I will make a doughnut shape, I cut the shape with a lid depending on the size of the doughnut with the cardboard, I line it with a white sheet for my separator, then I will give it the final details.
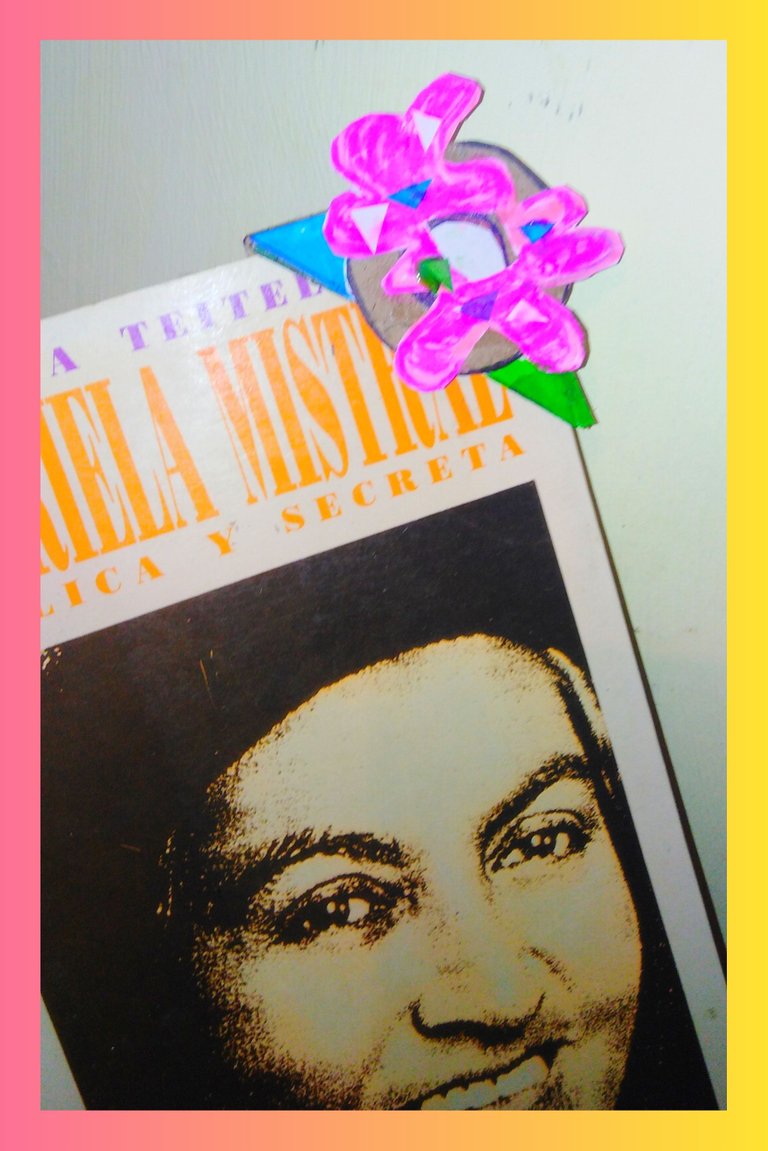
Luego pegamos el círculo en nuestra parte blanca y podemos hacer el diseño que más nos guste.
Then we glue the circle on our white part and we can make any design we like.

Resultado final
final result

Les mostraré otra forma que hice de separador esta es una cola de sirena, su procedimiento es mucho más fácil.
I will show you another shape I made as a separator, this one is a mermaid tail, its procedure is much easier.
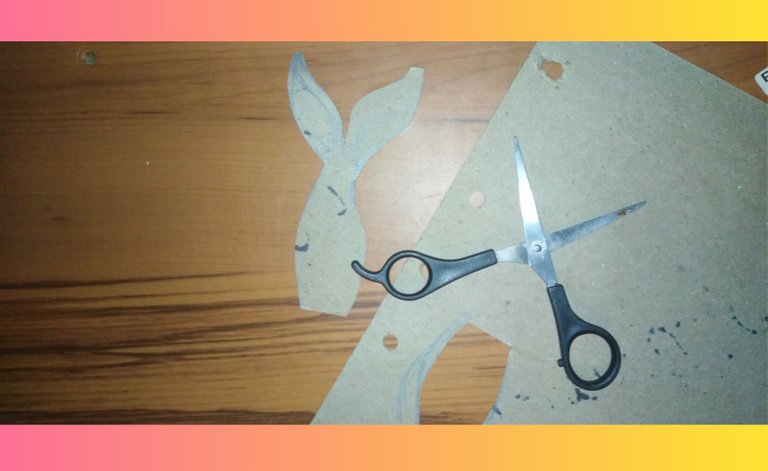
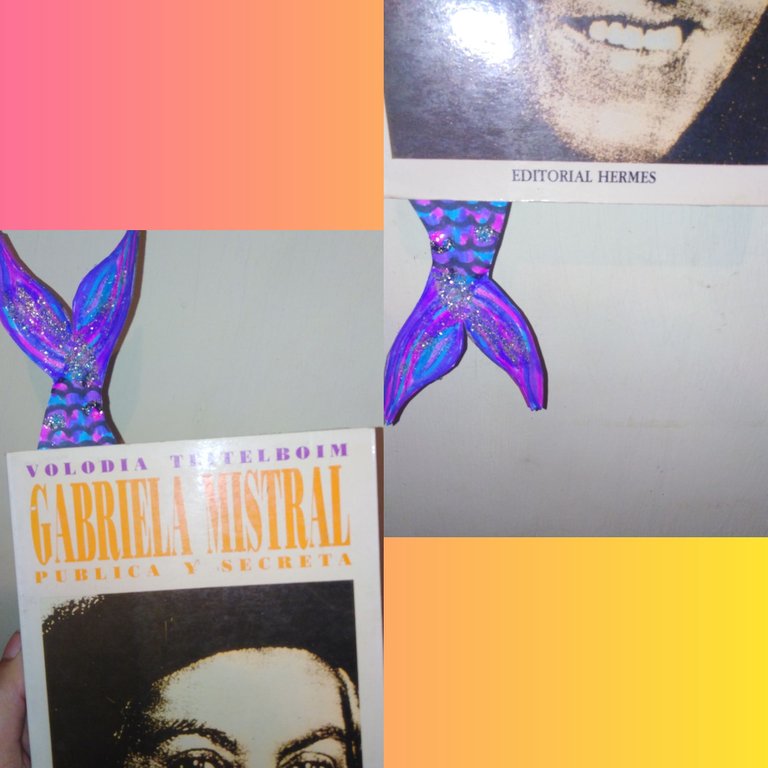
Hacemos la forma con cartulina igual, en este separador, podemos ponerle un cinta o estambre, para que quede marcada la Hoj en medio del libro o como lo hice.
We make the shape with the same cardboard, in this separator, we can put a ribbon or yarn, so that the Hoj is marked in the middle of the book or as I did.
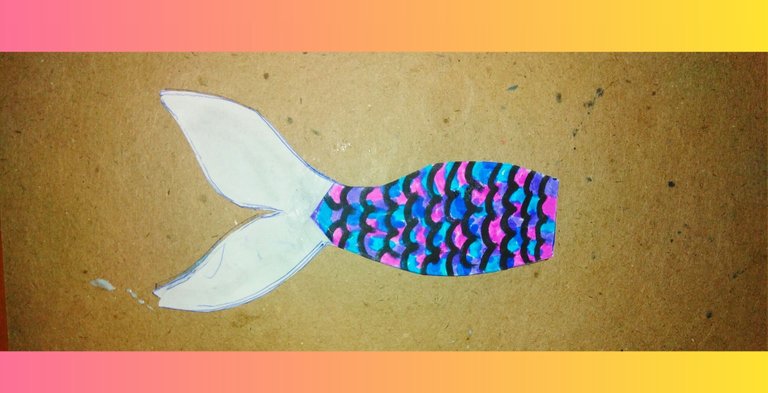
El mismo procedimiento, pintamos con marcador o pintura, es a gusto si desean poner una base antes de pintar, yo la hice.
The same procedure, we paint with marker or paint, it is up to you if you want to put a base before painting, I did it.
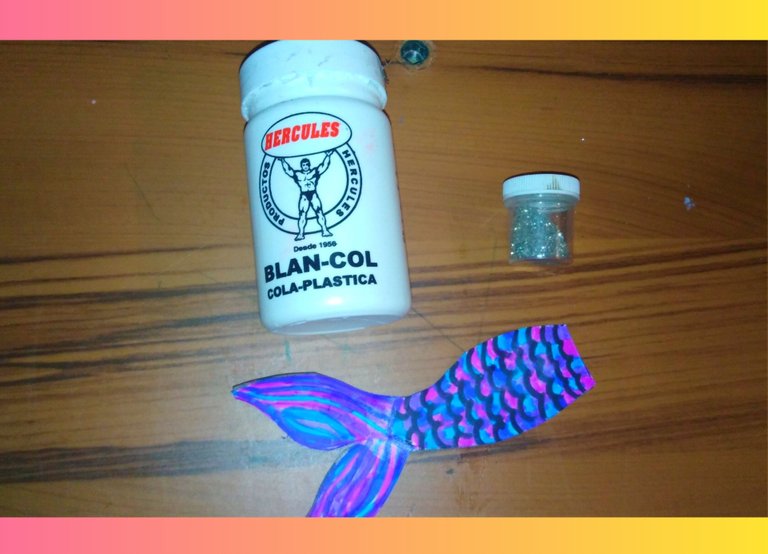
Los detalles finales, le agregué escarcha, dejamos secar una media hora y podemos usar nuestros separadores al día siguiente.
The final details, I added frosting, let it dry for half an hour and we can use our spacers the next day.
Resultado final
final result
Si te gustó este post y te fue útil, dejame un comentario
If you liked this post and you found it useful, leave me a comment
Que ingenioso Alejandría, pocos materiales y resultados de primera, me encantan, se ven hermosos 💜
Estan muy geniales tus separadores, quizás me animé a hacer alguno. Si vieras mis separadores te mueres. Uso las facturas de las compras jajajajajajaja
Felicidades amiga!! Están bellos y vistosos esos marcalibros.
Están geniales! Gracias! Yo hago unos en Origami... Un abrazo!
Oh te quedaron genial, nunca se tienen suficientes separadores. Yo hice uno hace años pero no me quedo tan bonito como los tuyos 😻😻