Making a beautiful Pebbles Flintstones piñata with recycled material.//Elaboración de bella piñata de Pebbles picapiedras con material de reciclaje.
Hello my people of this wonderful and productive community of @hivediy, always with a positive mind to achieve our goals, lots of faith. Today I want to share with you this theme although it is old it will always be one that will not go out of fashion as it is, the flintstones, in this case we will make a piñata of the little Pebbles very simple you just have to work calmly for you to succeed, we will use useful material. Below we give you the steps to follow so join me in this wonderful creation that I hope will be to your liking ... God bless you.
Hola mi gente de esta comunidad tan maravillosa y productiva de @hivediy, siempre con mente positiva para lograr nuestras metas, mucha fe . Hoy quiero compartir con ustedes está temática aunque es vieja siempre será una que no pasará de moda como lo es, los picapiedras, es este caso vamos hacer una piñata de la pequeña Pebbles muy sencilla solo tienes que trabajar con calma para que tengas éxito, usaremos material de provecho. A continuación te damos los pasos a seguir así que acompáñame en esta maravillosa creación que espero que sea de su agrado.. que Dios los bendiga.
Materials to be used:
-anime.
-carton.
-anime cutter
-scissors
-pencil.
-paper bon.
-brush.
-orange and green crepe paper.
-red, black, orange, white, white, gray, flesh, cold paint.
-silicone.
-stapler.
-stapler.
-cuter.
Materiales a utilizar:
-anime.
-carton.
-corta anime
-tijera
-lápiz.
-papel bon.
-pincel.
-papel crepé anaranjado y verde.
-pintura al frío roja, negra, anaranjado,blanco, gris,carne.
-silicón.
-grapadora.
-grapa.
-cuter.
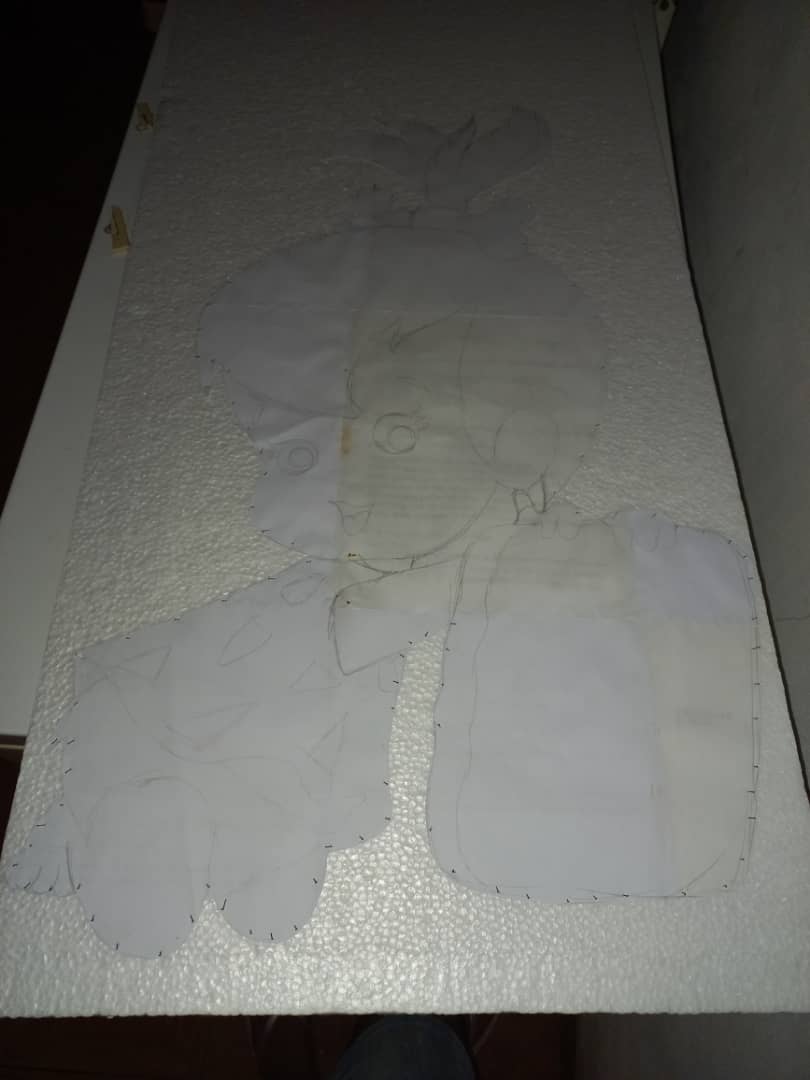
Step 1
We paint our Pebbles on a sheet of paper, then we place it on the anime and cut it out.
Paso 1
Pintamos nuestra Pebbles en una hoja,después lo colocamos con unas puyas en el anime para luego cortarla .

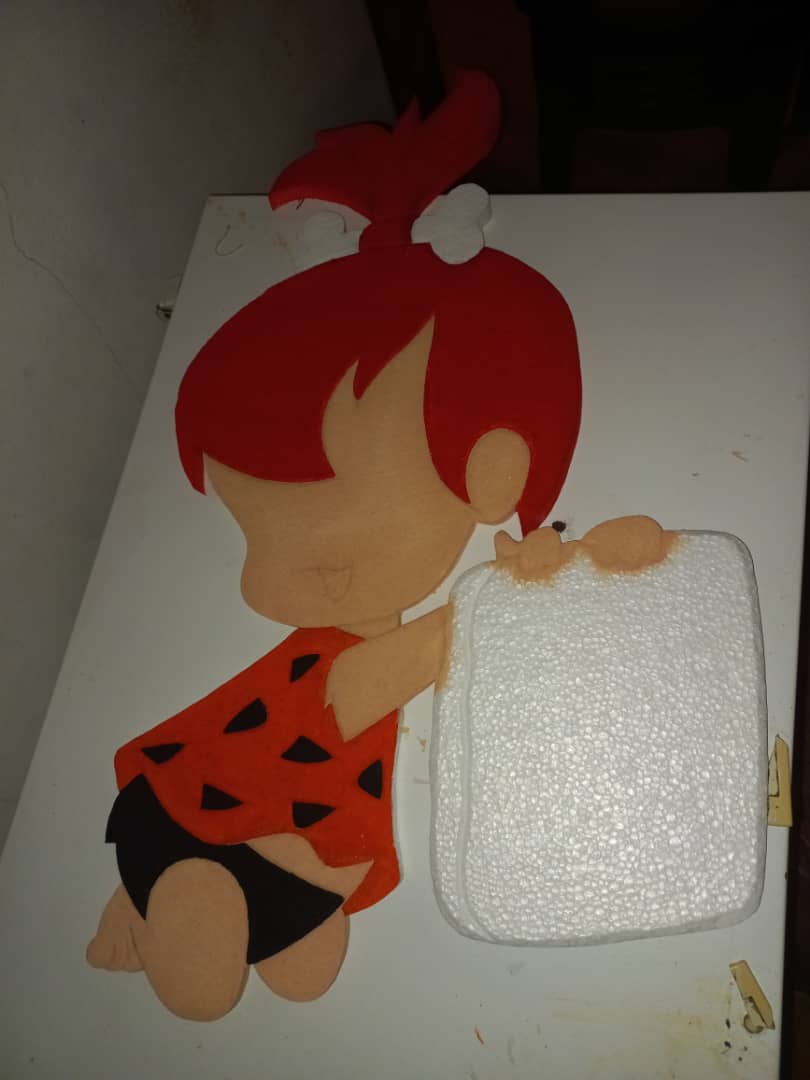
Step 2
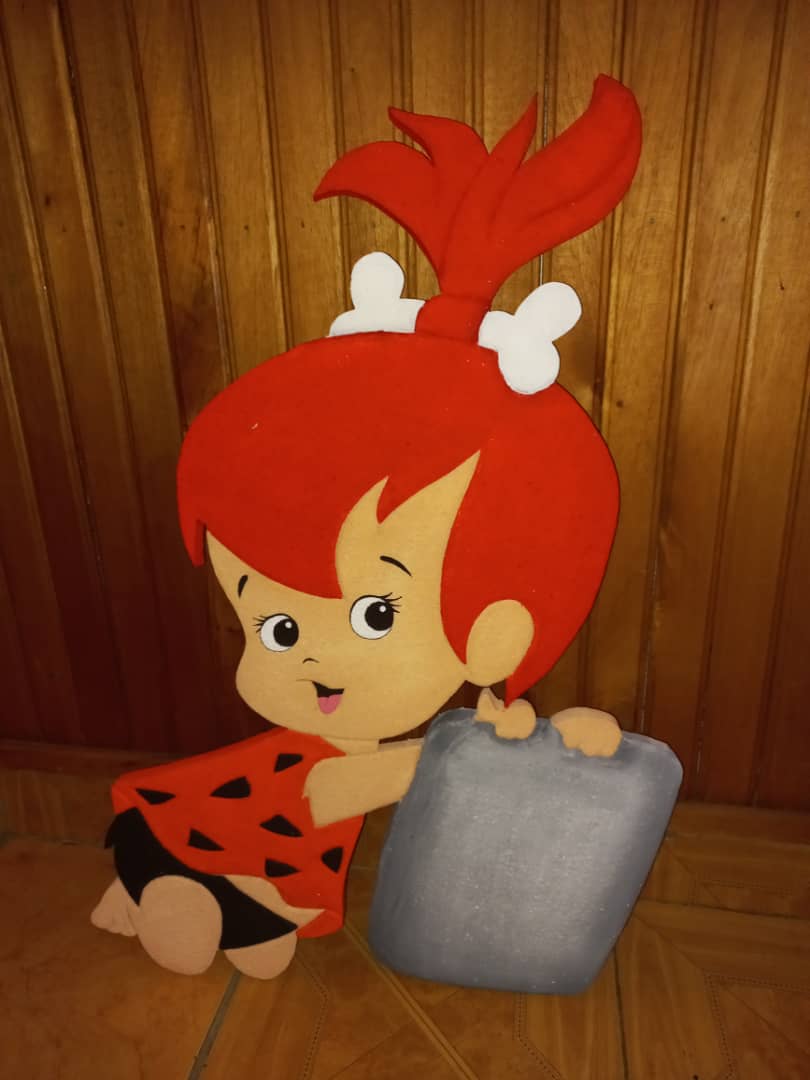
We begin to paint our Pebbles, with the cold paint little by little. When we work with the face we have to be very concentrated because it is a very delicate part and it is so beautiful as you can see here in the pictures.
Paso 2
Comenzamos a pintar nuestra Pebbles, con la pintura al frío poco a poco. cuando trabajamos con la cara tenemos que estar bien concentrados ya que es una parte muy delicada y quede así de bella como pueden ver aqui en las fotos.
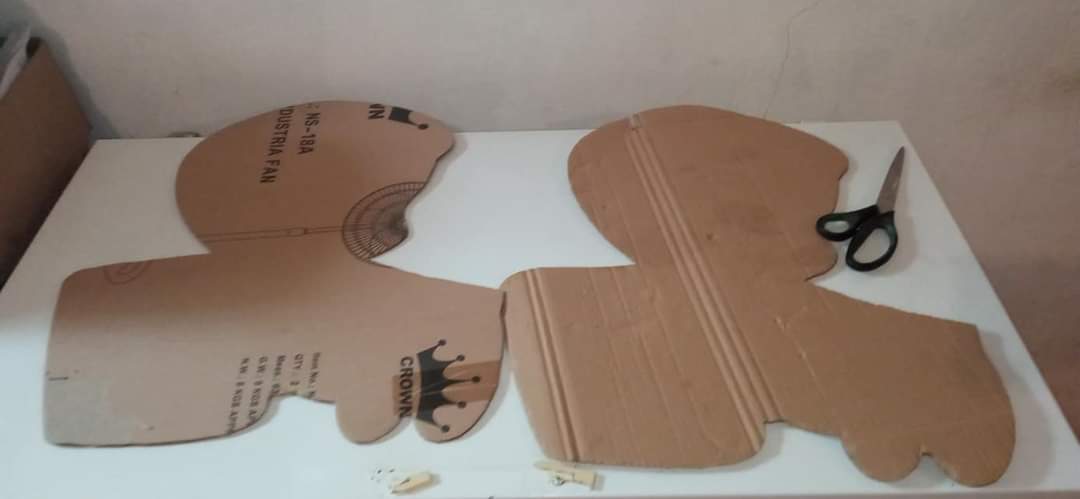
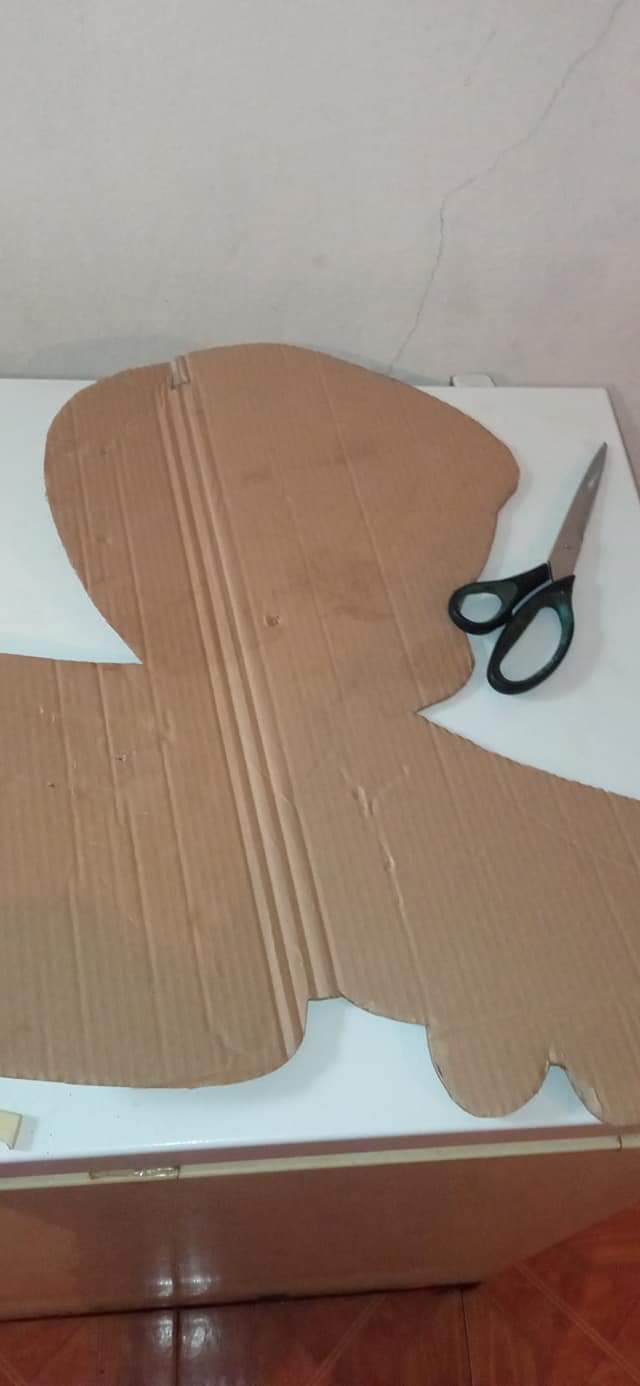
Step 3
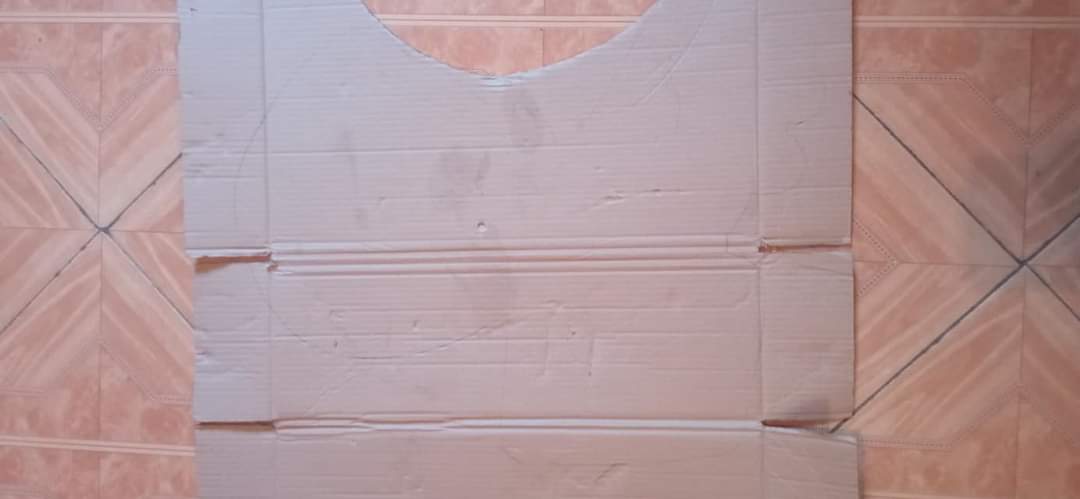
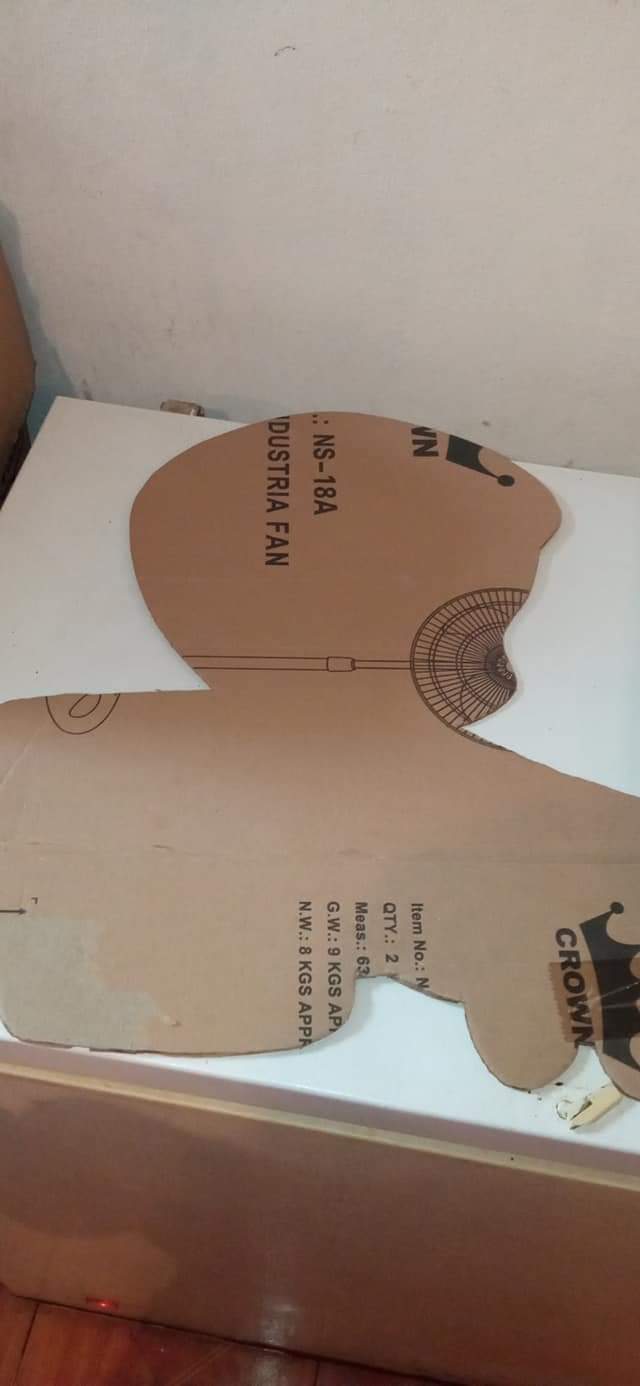
We have already finished the anime doll, now we will start making the piñata part with the cardboard, we take the anime figure and place it on the cardboard, paint it and cut two faces and 12 cm strips.
Paso 3
Ya anteriormente terminamos la muñeca de anime, ahora empezaremos hacer la parte de la piñata con el cartón,tomamos la figura de anime y se coloca en el cartón se pinta y se corta dos caras y unas tiras de 12 cm.

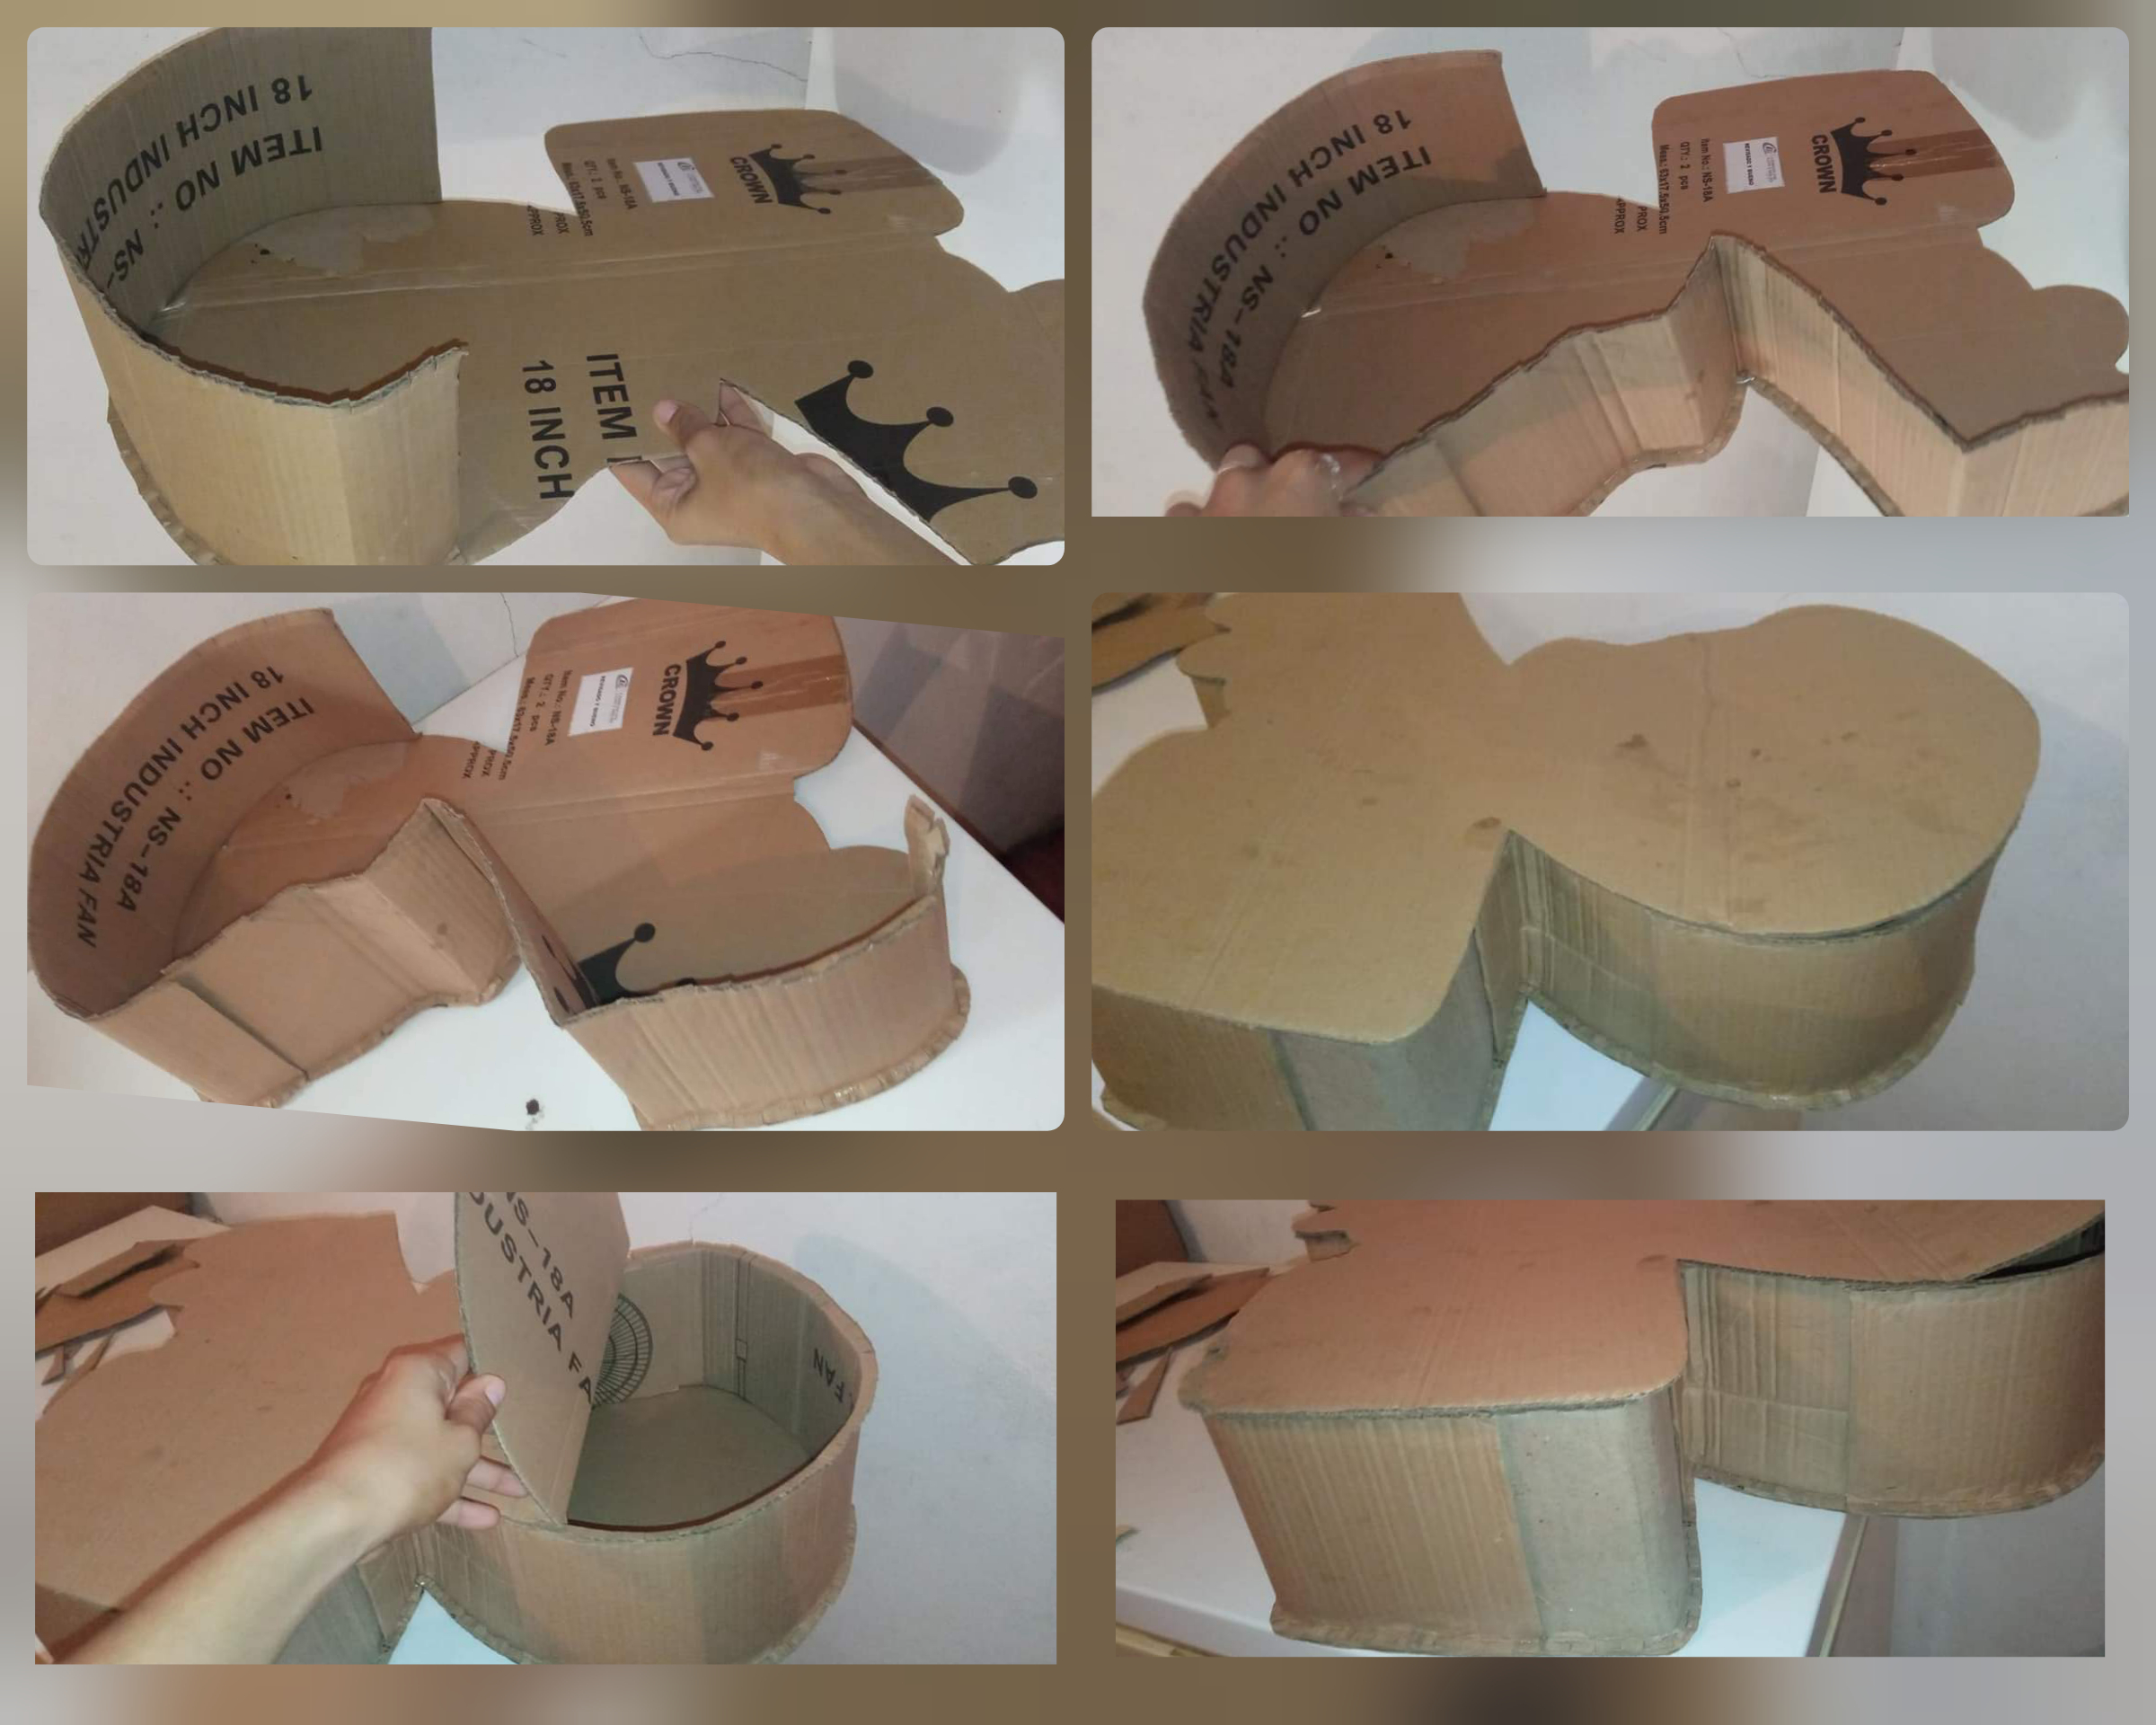
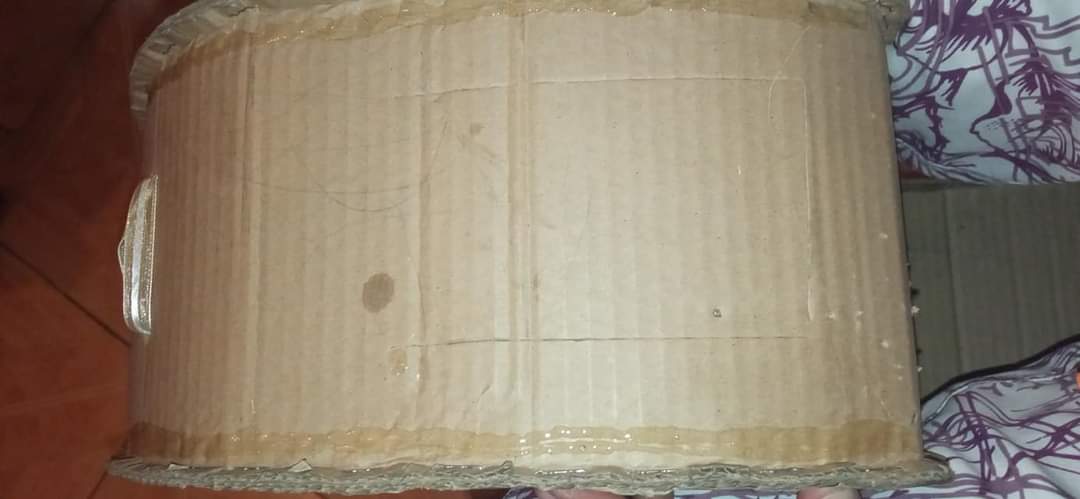
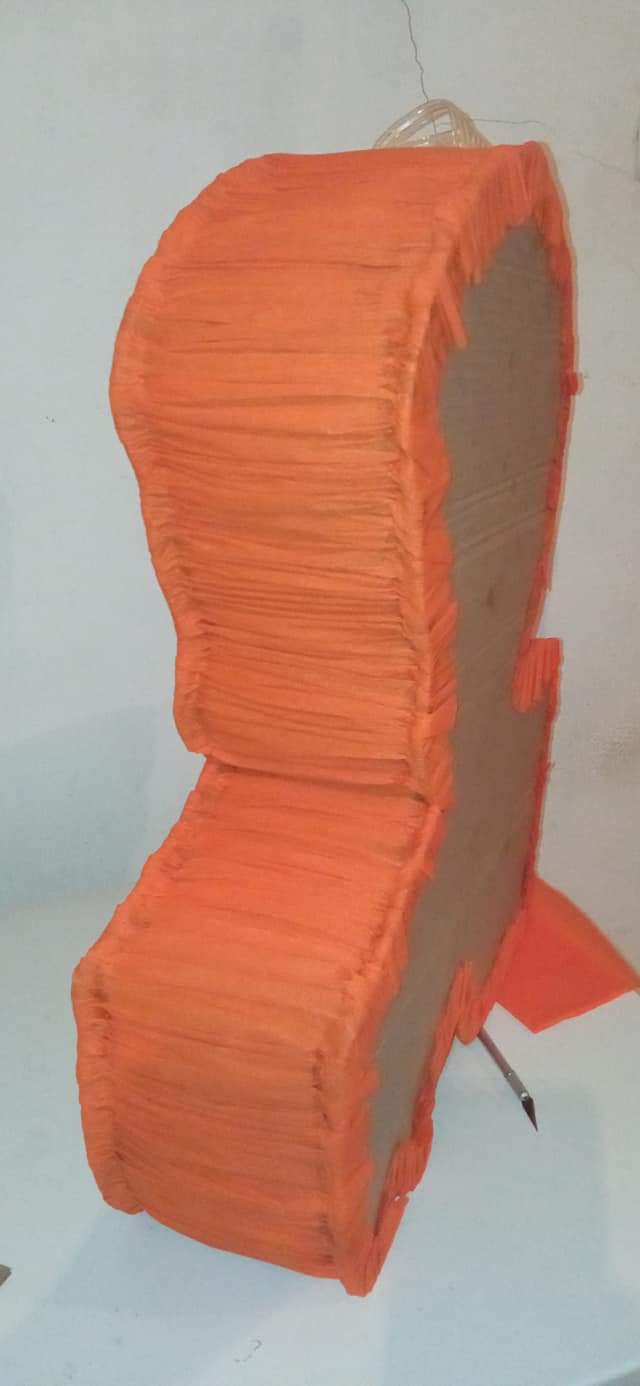
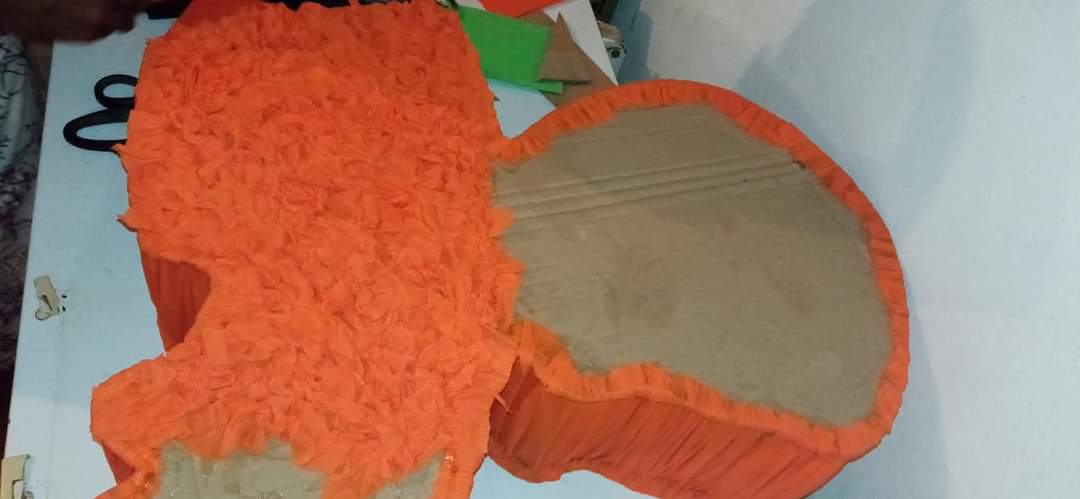
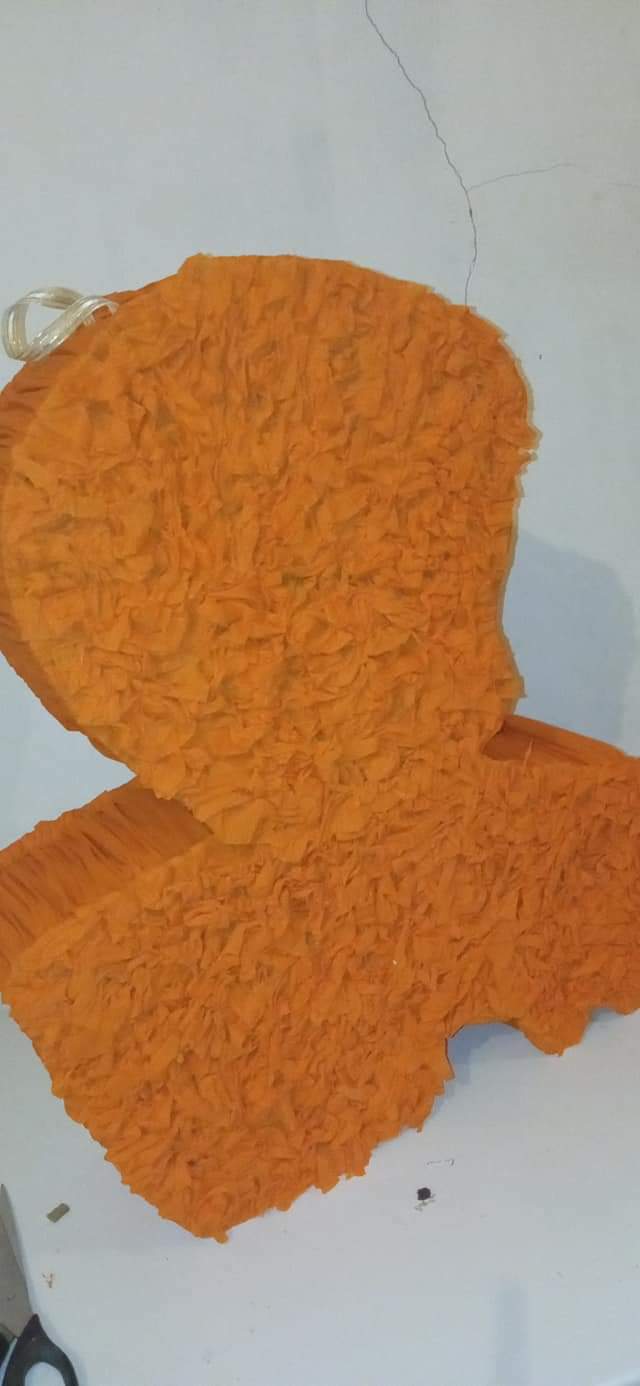
Step 4
Here we begin to assemble our piñata, we take a strip and we staple it on one of the cardboard faces of the doll until we have it around the piñata. After having all the ribbon ready, glue the other side and here we have our part of the piñata and with the cutter cut a piece on top of the piñata that will be where the toys will be placed.
Paso 4
Aquí comenzamos a armar nuestra piñata, agarramos una tira y la vamos grapando en una de las caras de cartón de la muñeca hasta lograr tenerla alrededor de la piñata. Después de tener todo el listón listo, se pega la otra cara y listo aquí tenemos nuestra parte de la piñata.y con el cúter se corta un pedazo arriba de la piñata que será donde se meterá los juguetes .
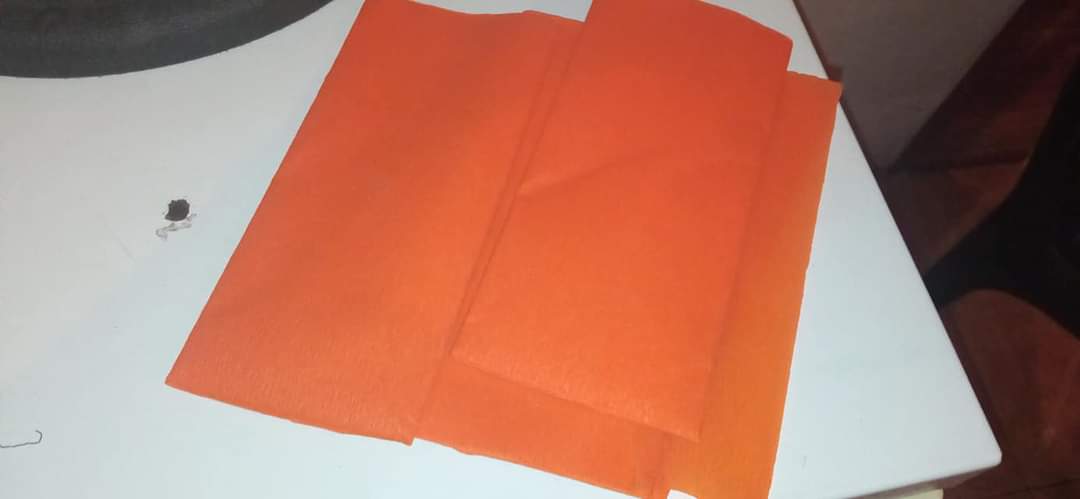
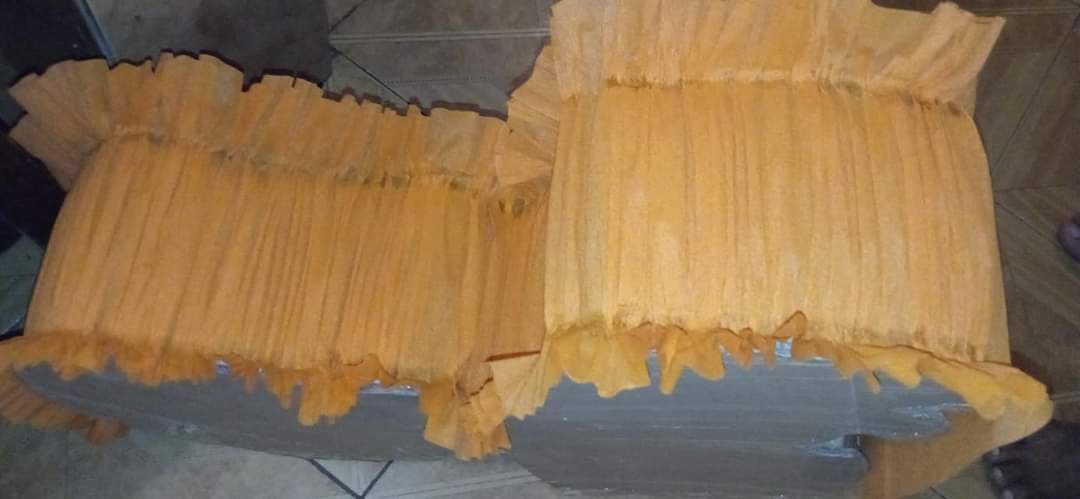
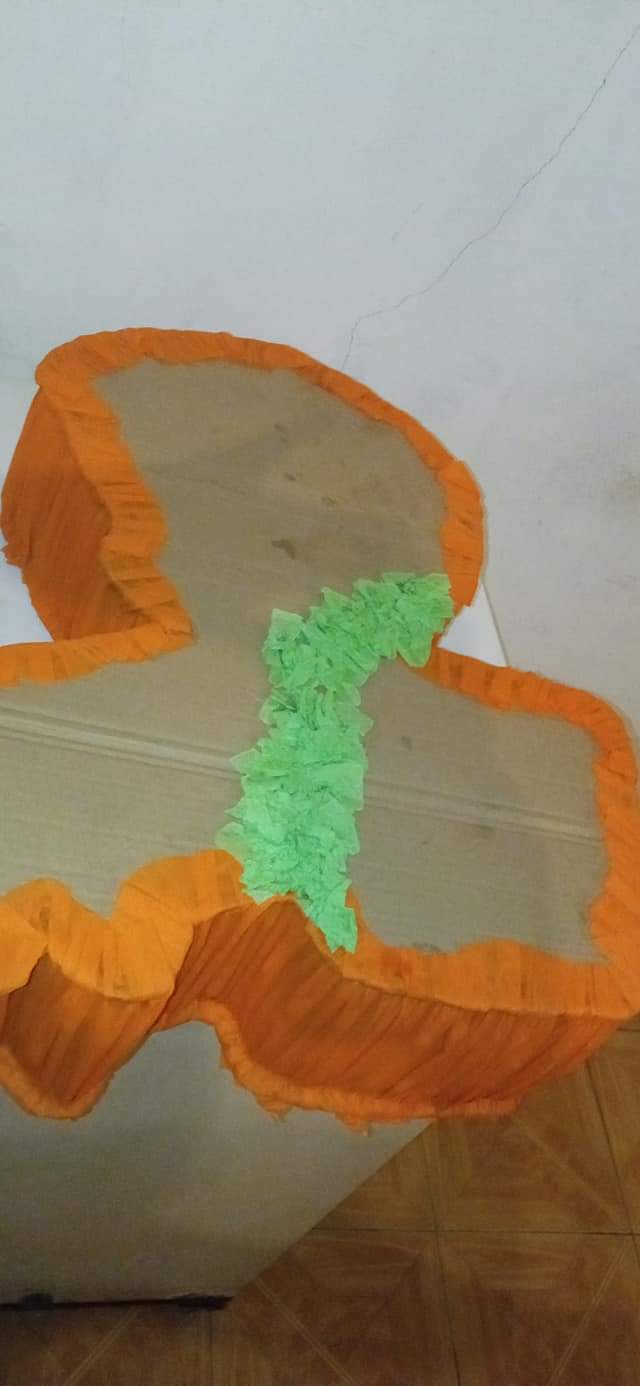
Step 5
We cut our crepe paper and glue all over the 12cm ribbon, I continue gluing the green crepe paper where it will be the front of the piñata. At the back I continue gluing the orange crepe paper but in small pieces to give it a unique and eye-catching shape.
Paso 5
Picamos nuestro papel crepé y pegamos en todo el listón de 12cm, sigo pegando el papel crepé verde en dónde será el frente de la piñata. Atrás sigo pegando el papel crepé anaranjado pero pedazos pequeños para darle una forma única y llamativa .
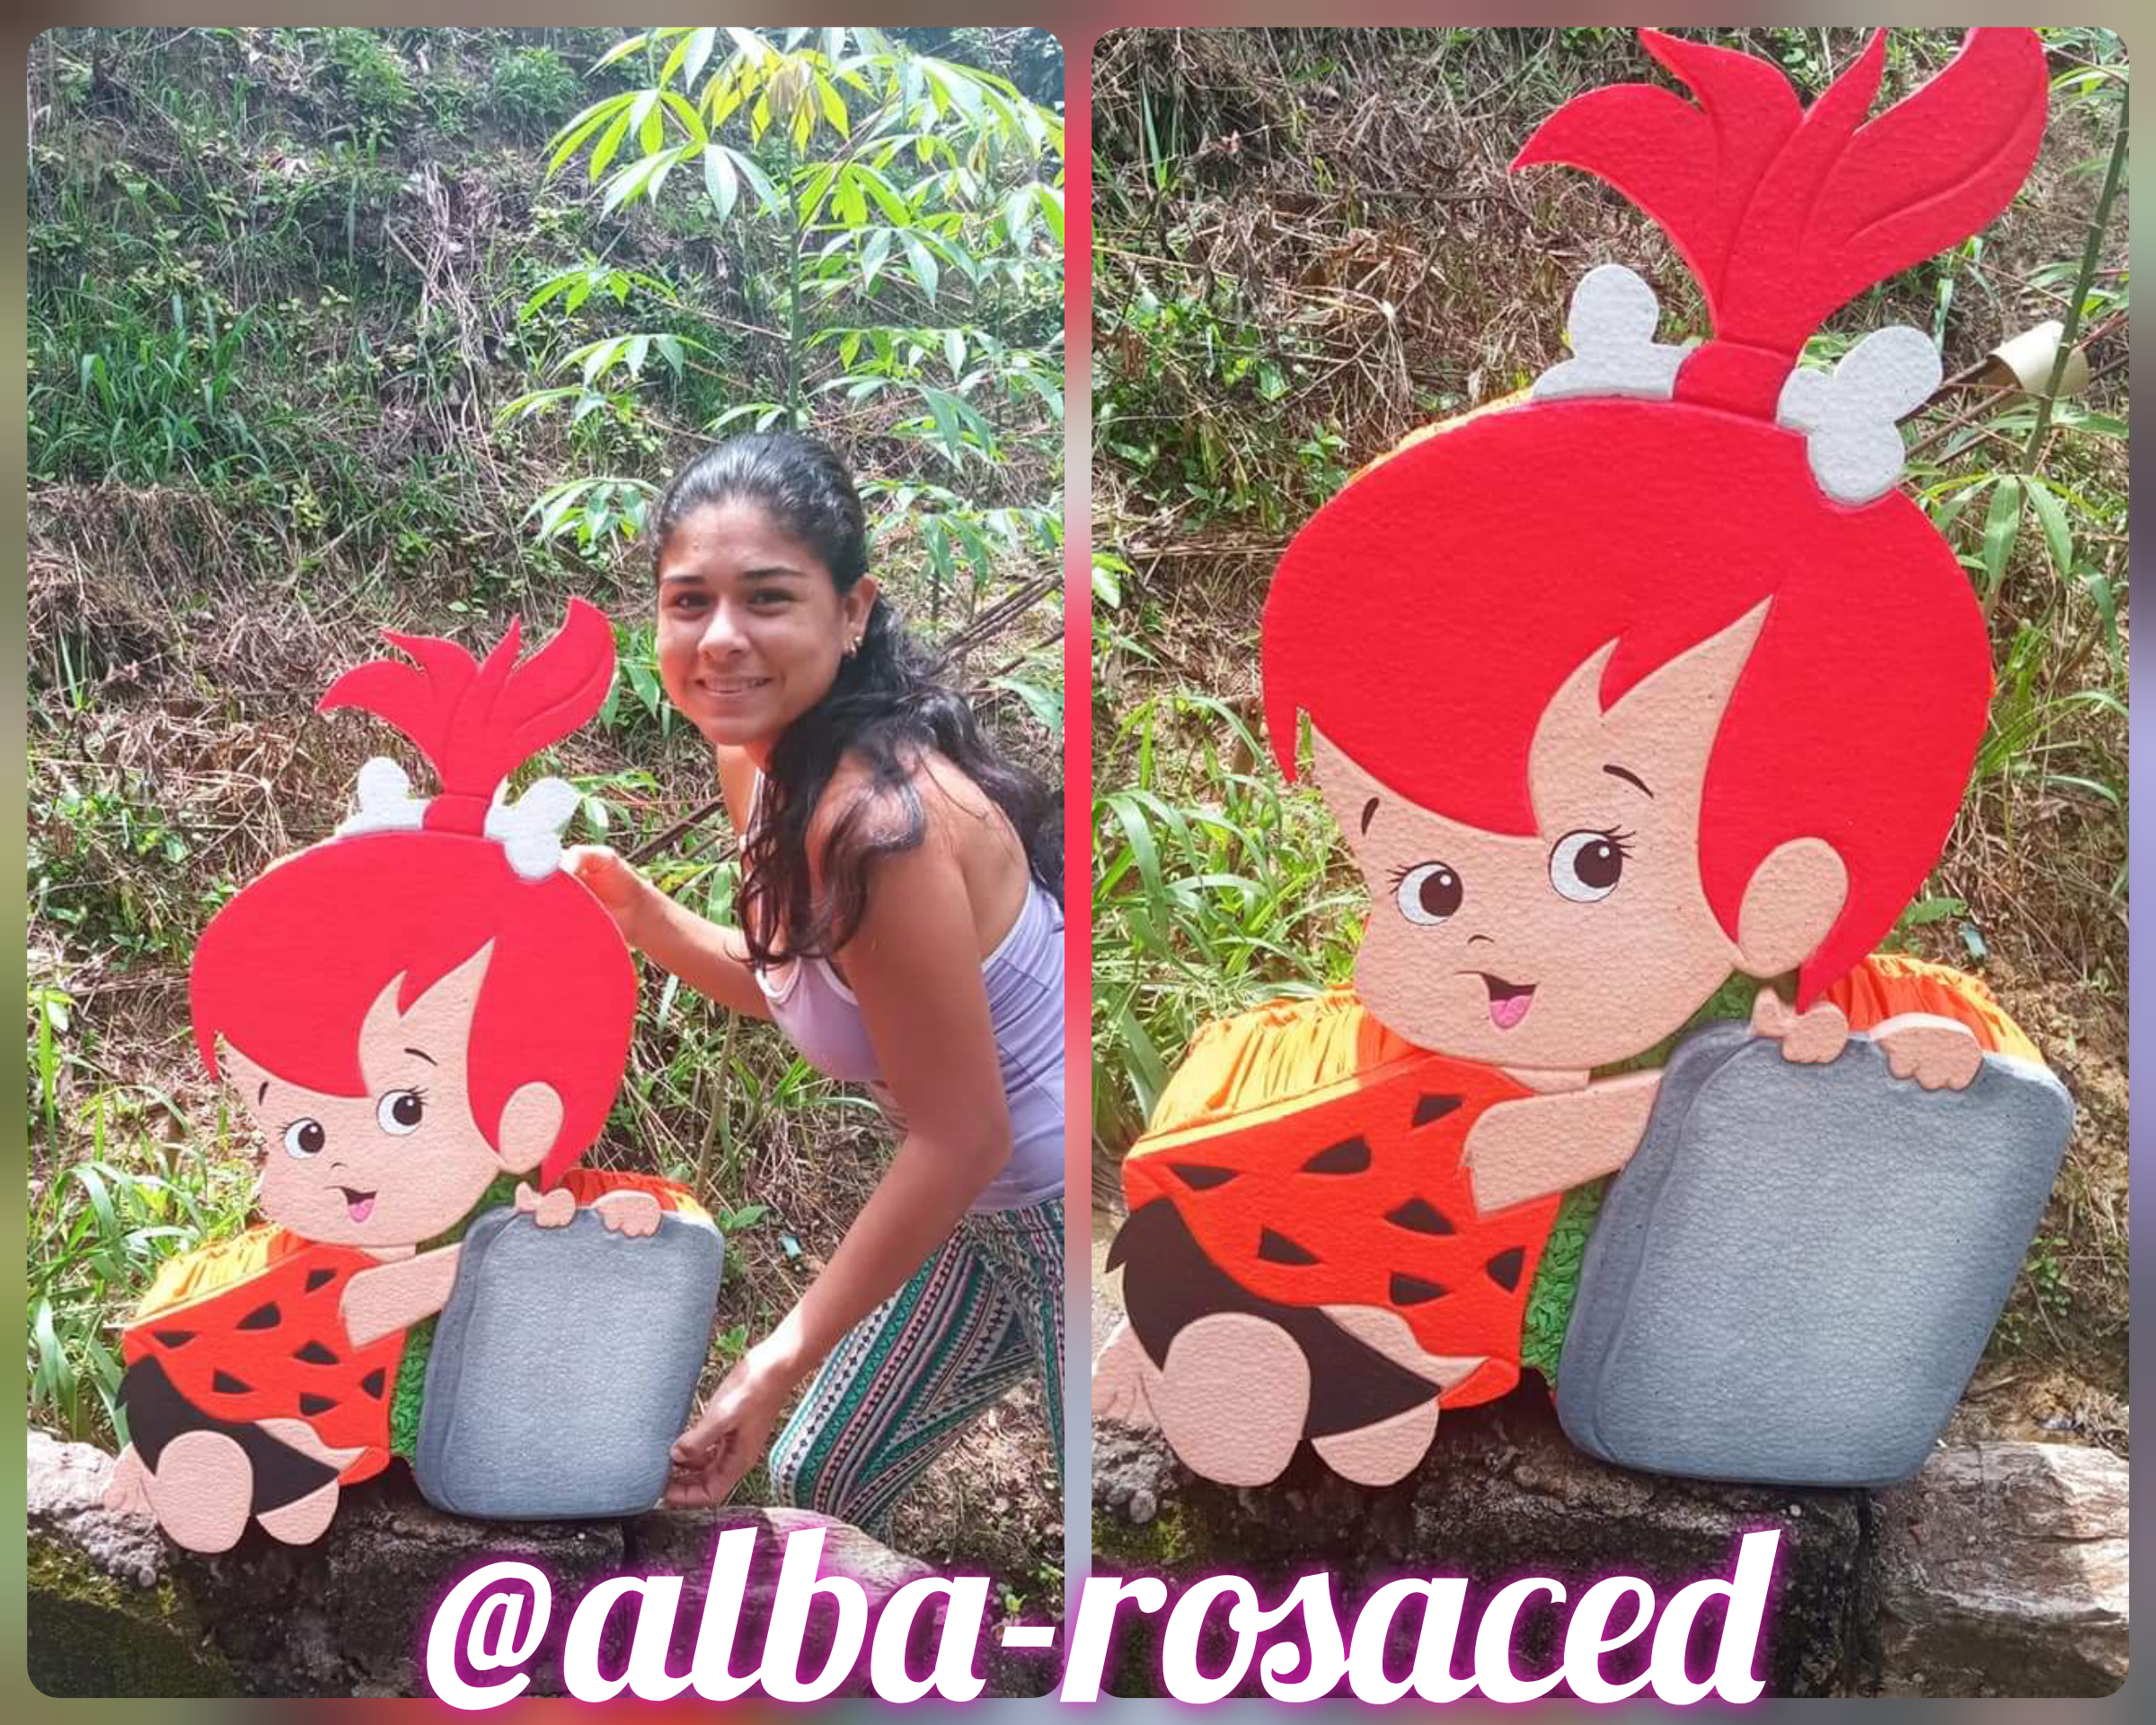
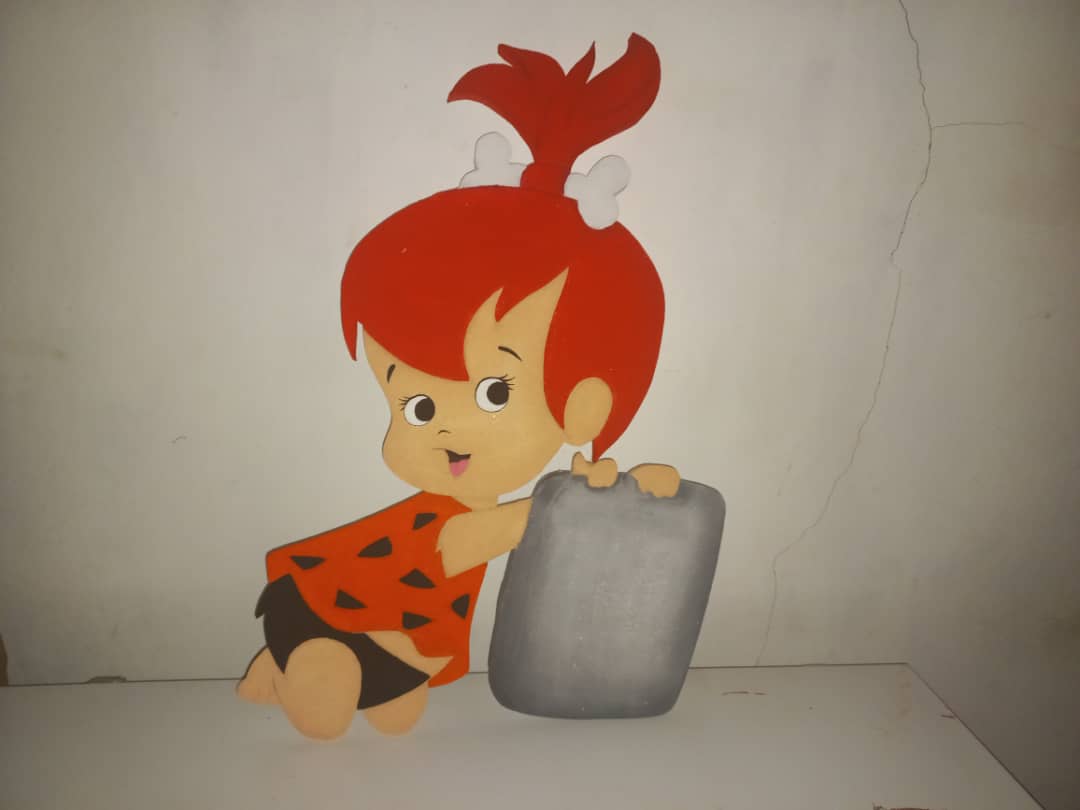
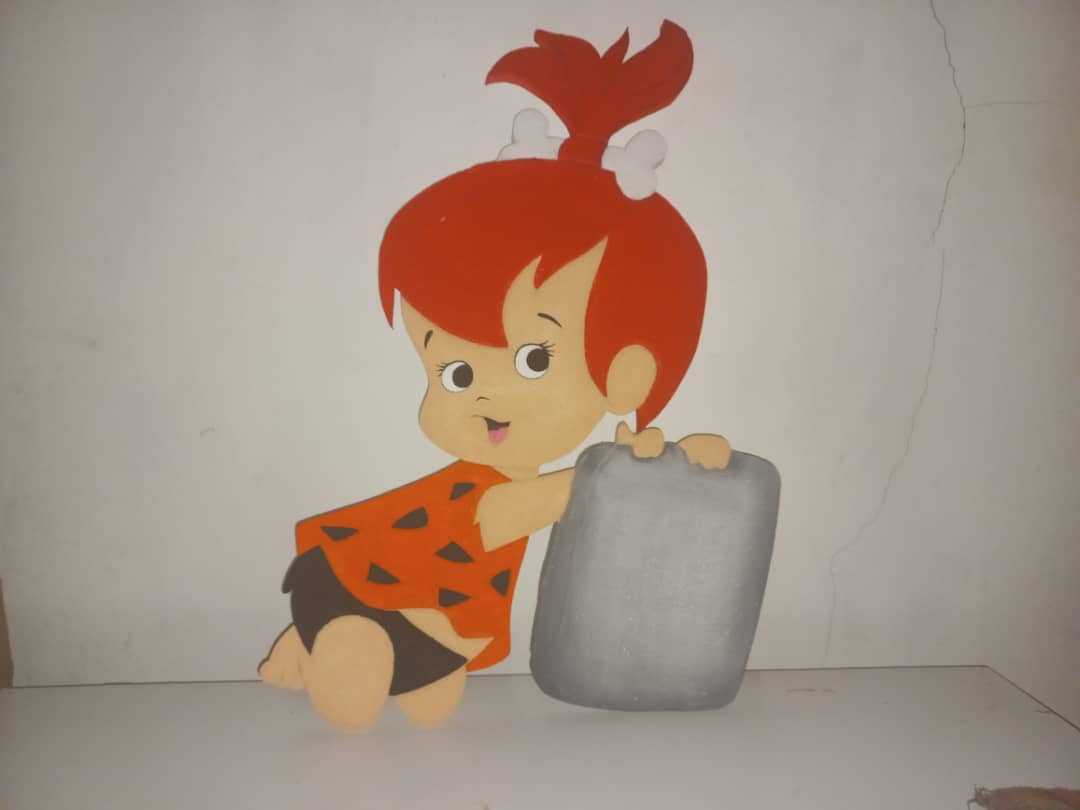
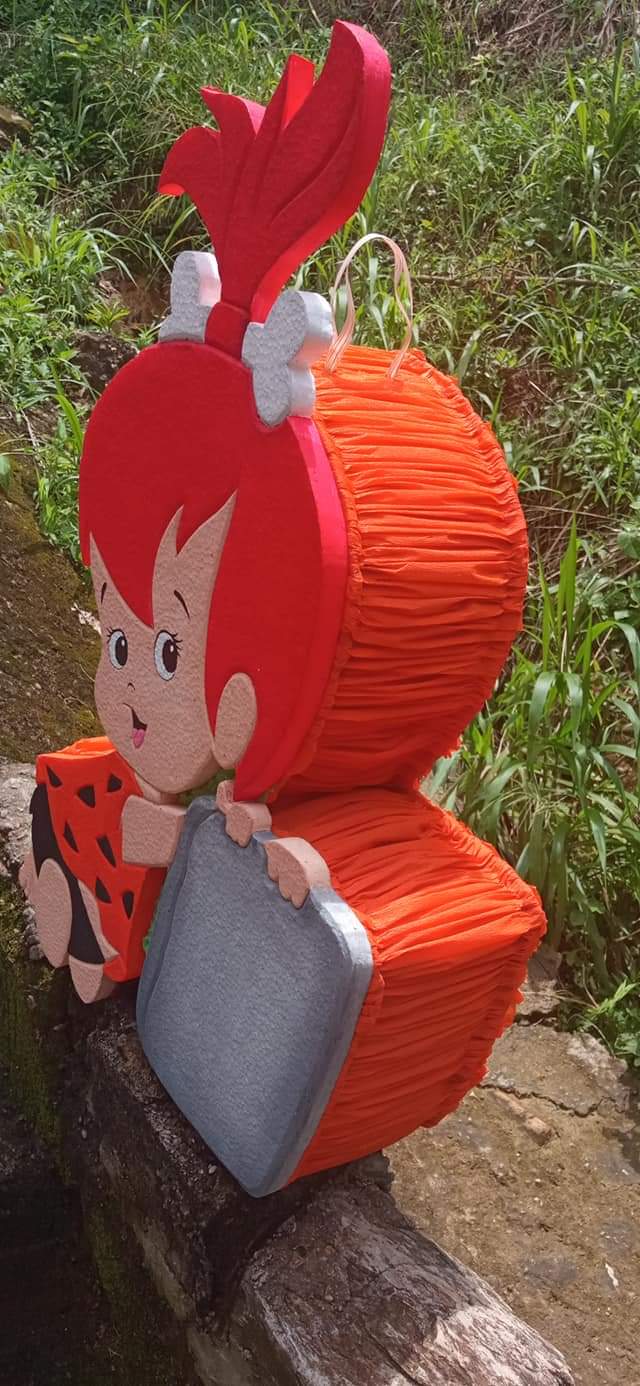
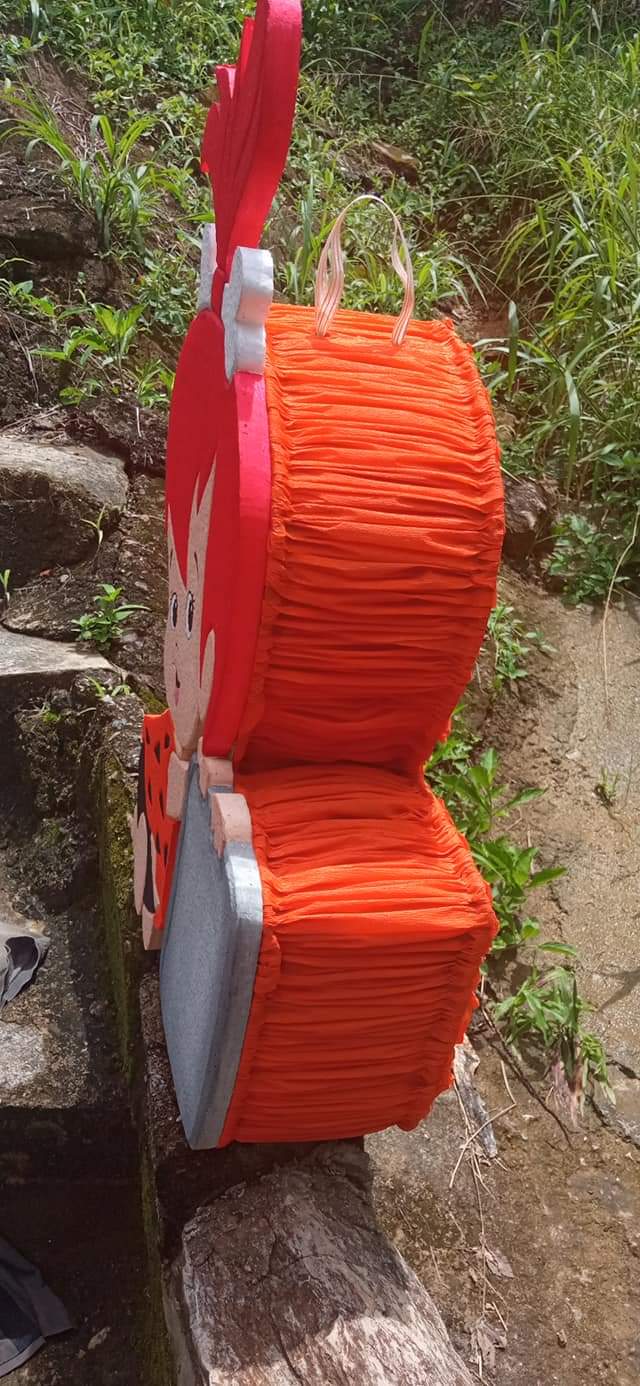
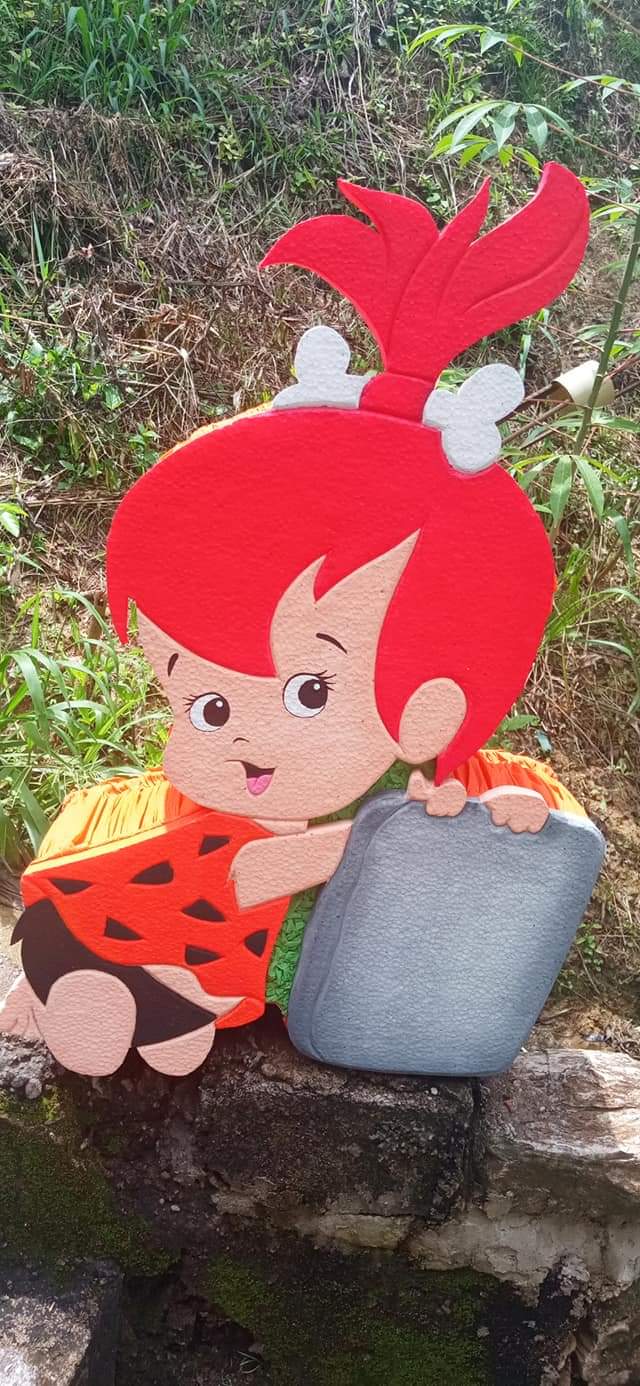
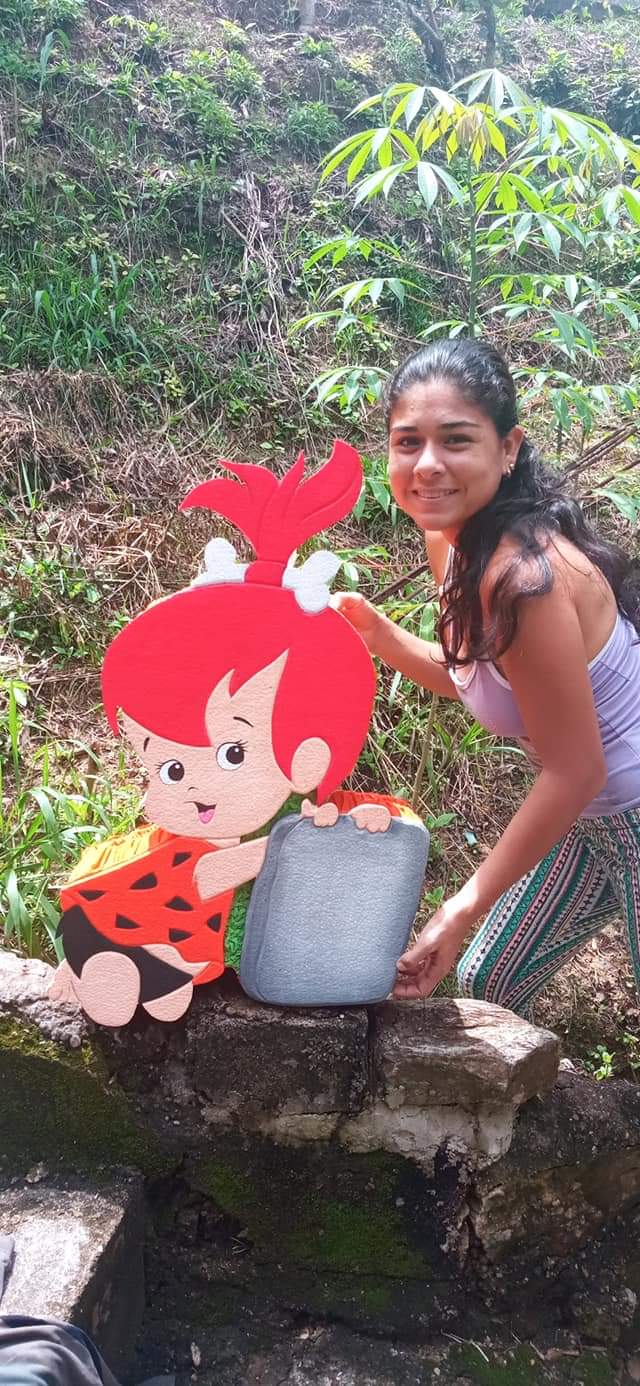
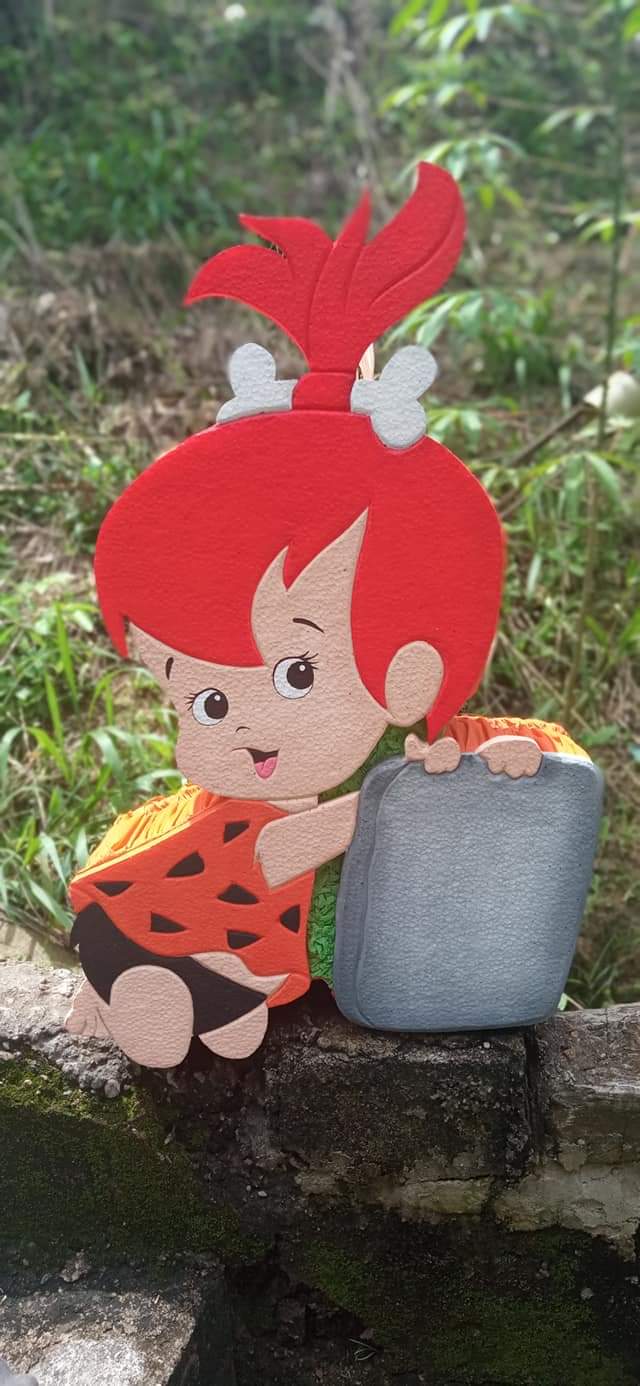
Step 6
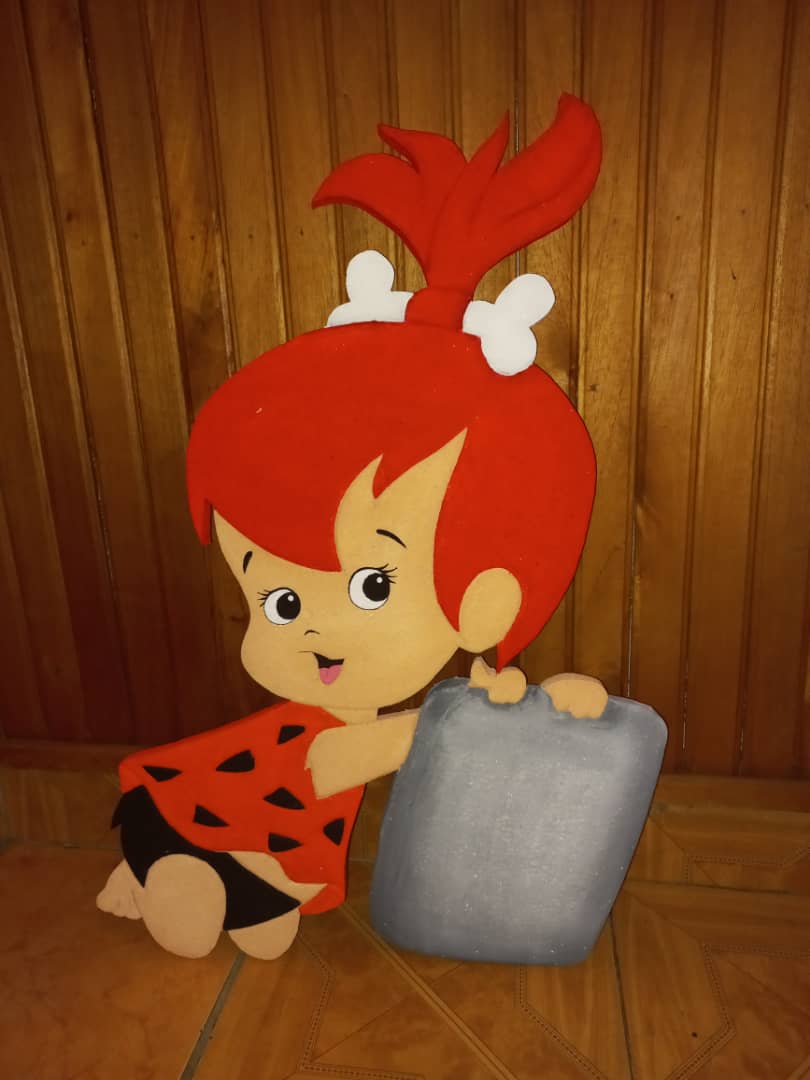
Finally we glued the cheeky anime Pebbles on the piñata and as you can see this is how beautiful and perfect our piñata for a cute princess turned out.
Paso 6
Finalmente pegamos la pícara Pebbles de anime en la piñata y como pueden ver así de bella y tan perfecta quedó nuestra piñata para una linda princesa.
RESOURCES USED / RECURSOS UTILIZADOS
•the Pebbles image that was used/la imagen de Pebbles que se utilizó fuente
• Incollage/ para unir y reducir las fotos.
• Photos taken by redmi 9. / Fotos tomadas por redmi 9.
• The translator is used www.Deepl.com / Se utiliza el traductor www.Deepl.com