DIY THANK YOU Card for the Twin's Teacher
Hello Hivers! How are you today? Hope everything goes well with you all today.
For today's first blog in this community, I want to share with you the DIY Thank You Card that we made last two nights ago together with the twins. The teacher of the twins had instructed them to make a card for her. The time she gave to the students to make it was limited so I stayed late that night inorder to finish those. The cards were just simple but it took us more than two hours to finish it since there are distractions while making those.
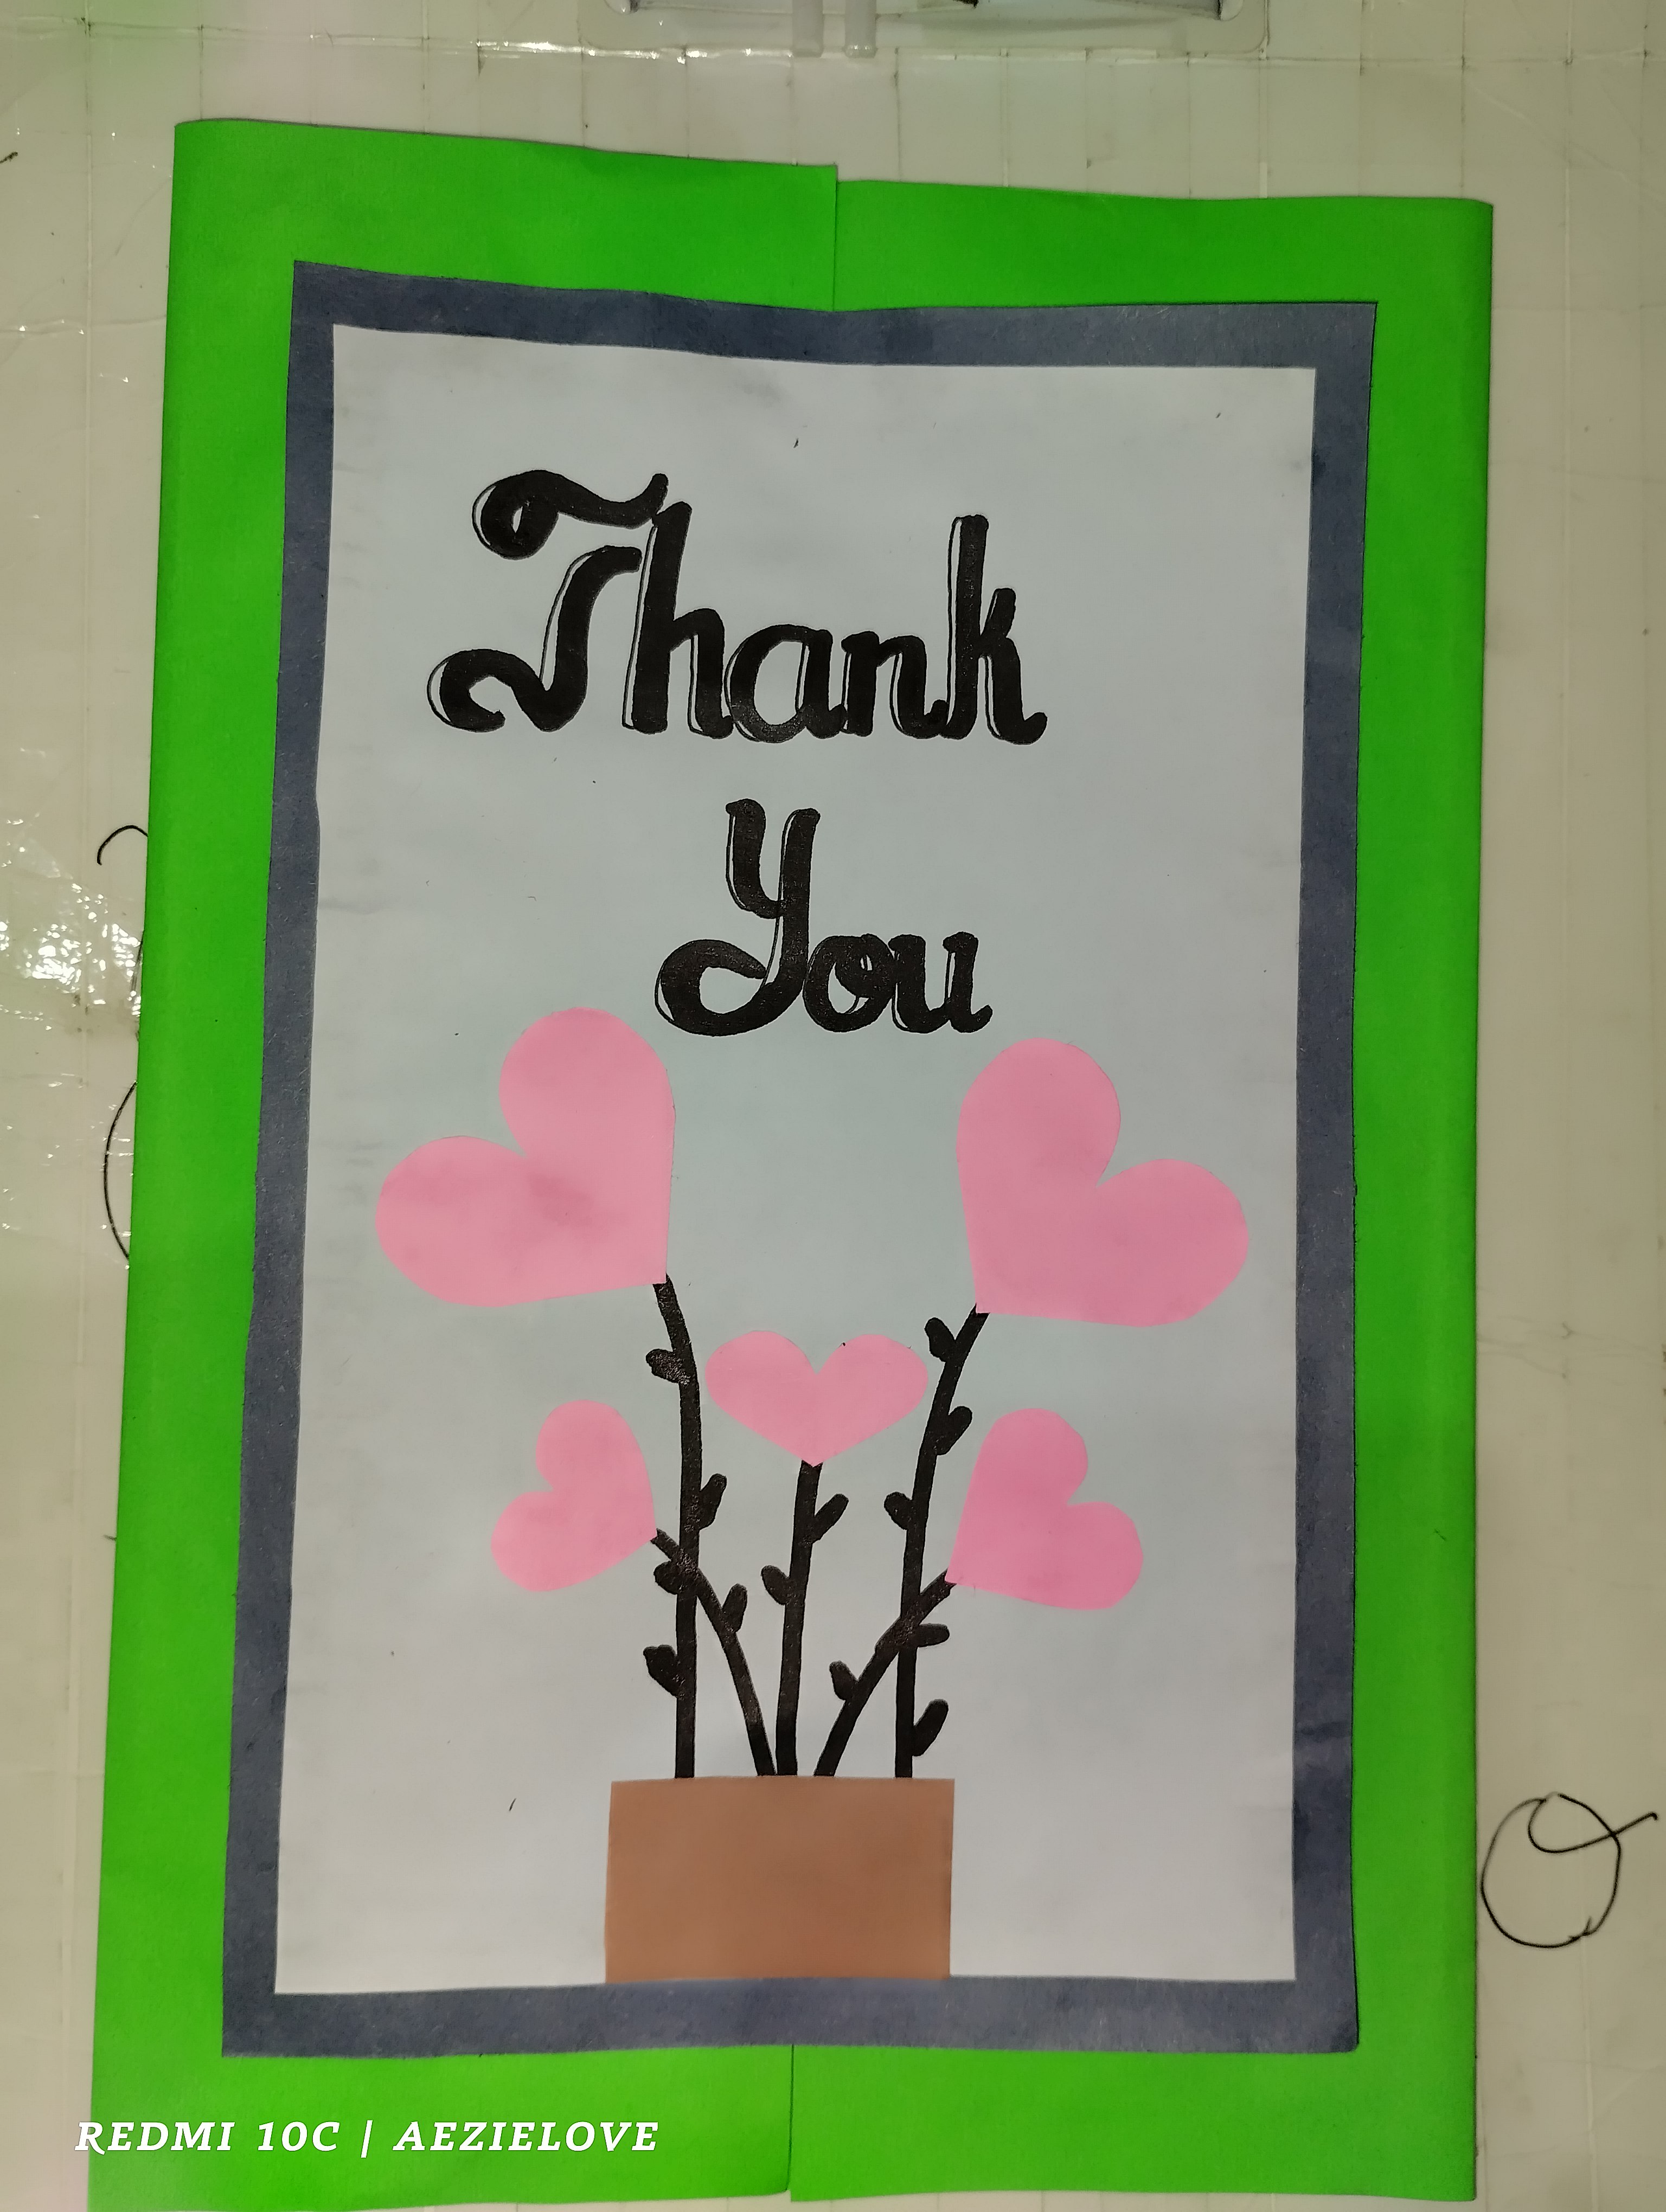
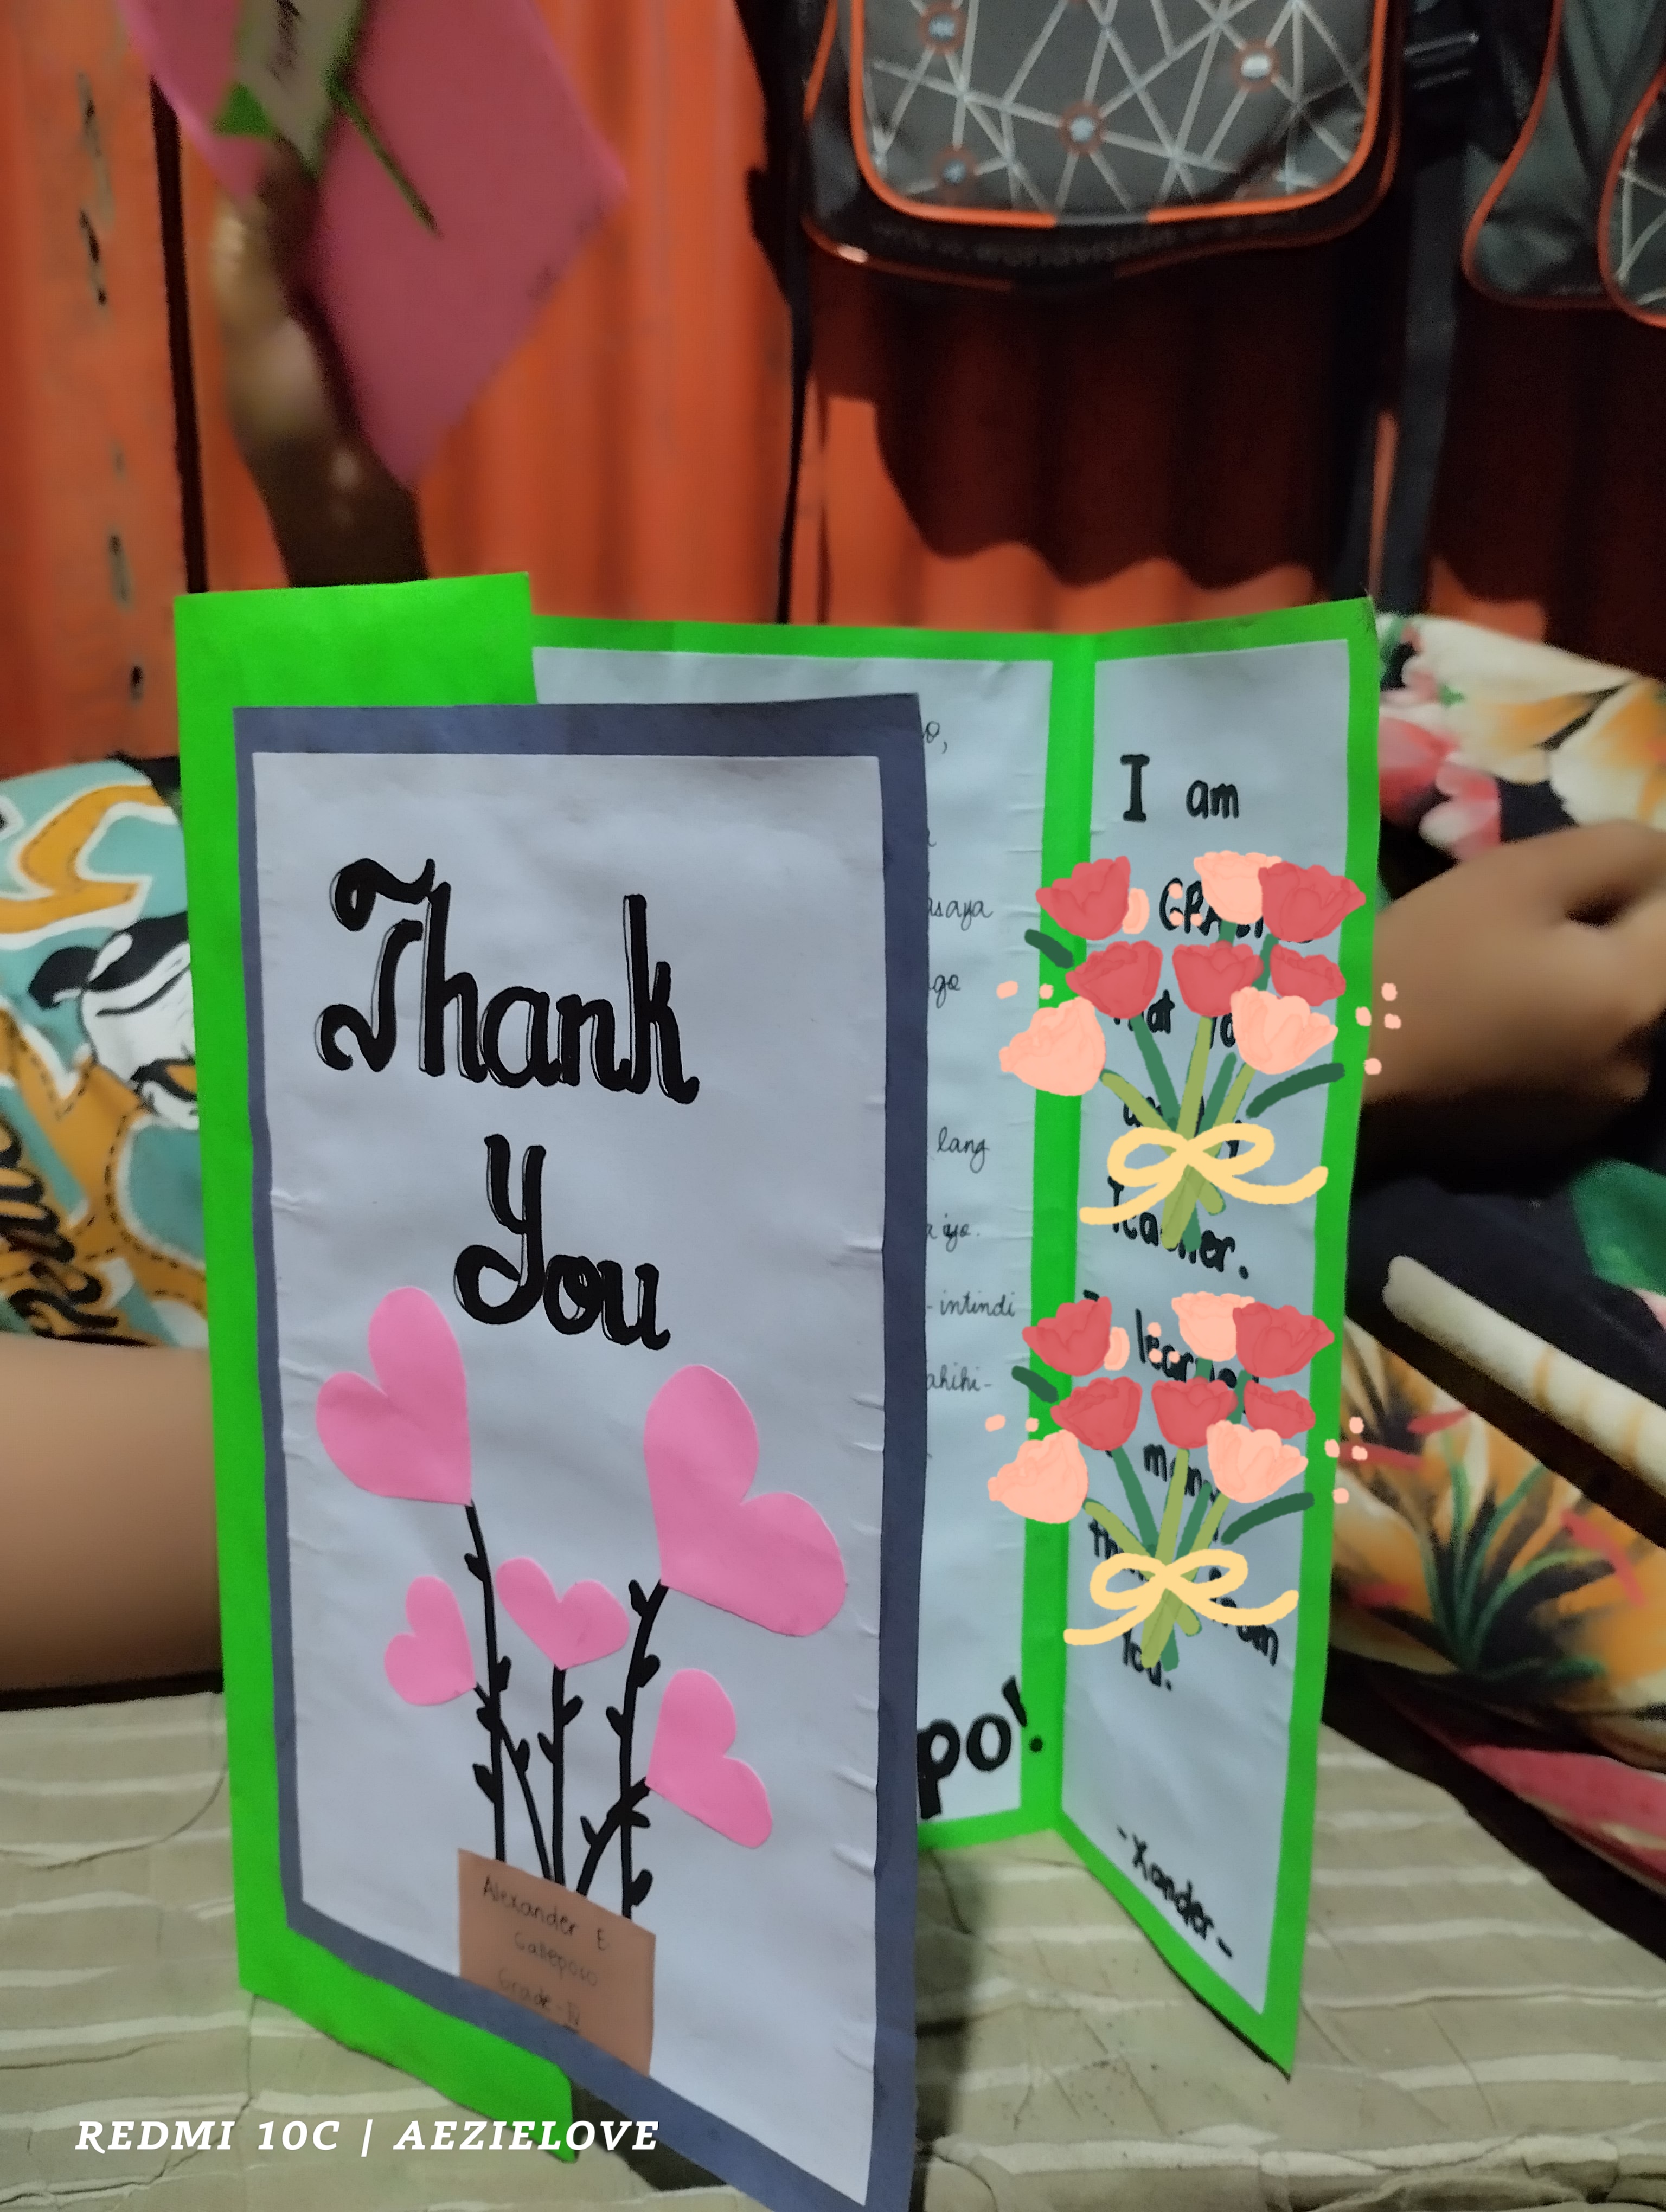
In my daughter's handmade card, we used four color papers which are the pink, green, brown and gray and two short bondpapers.
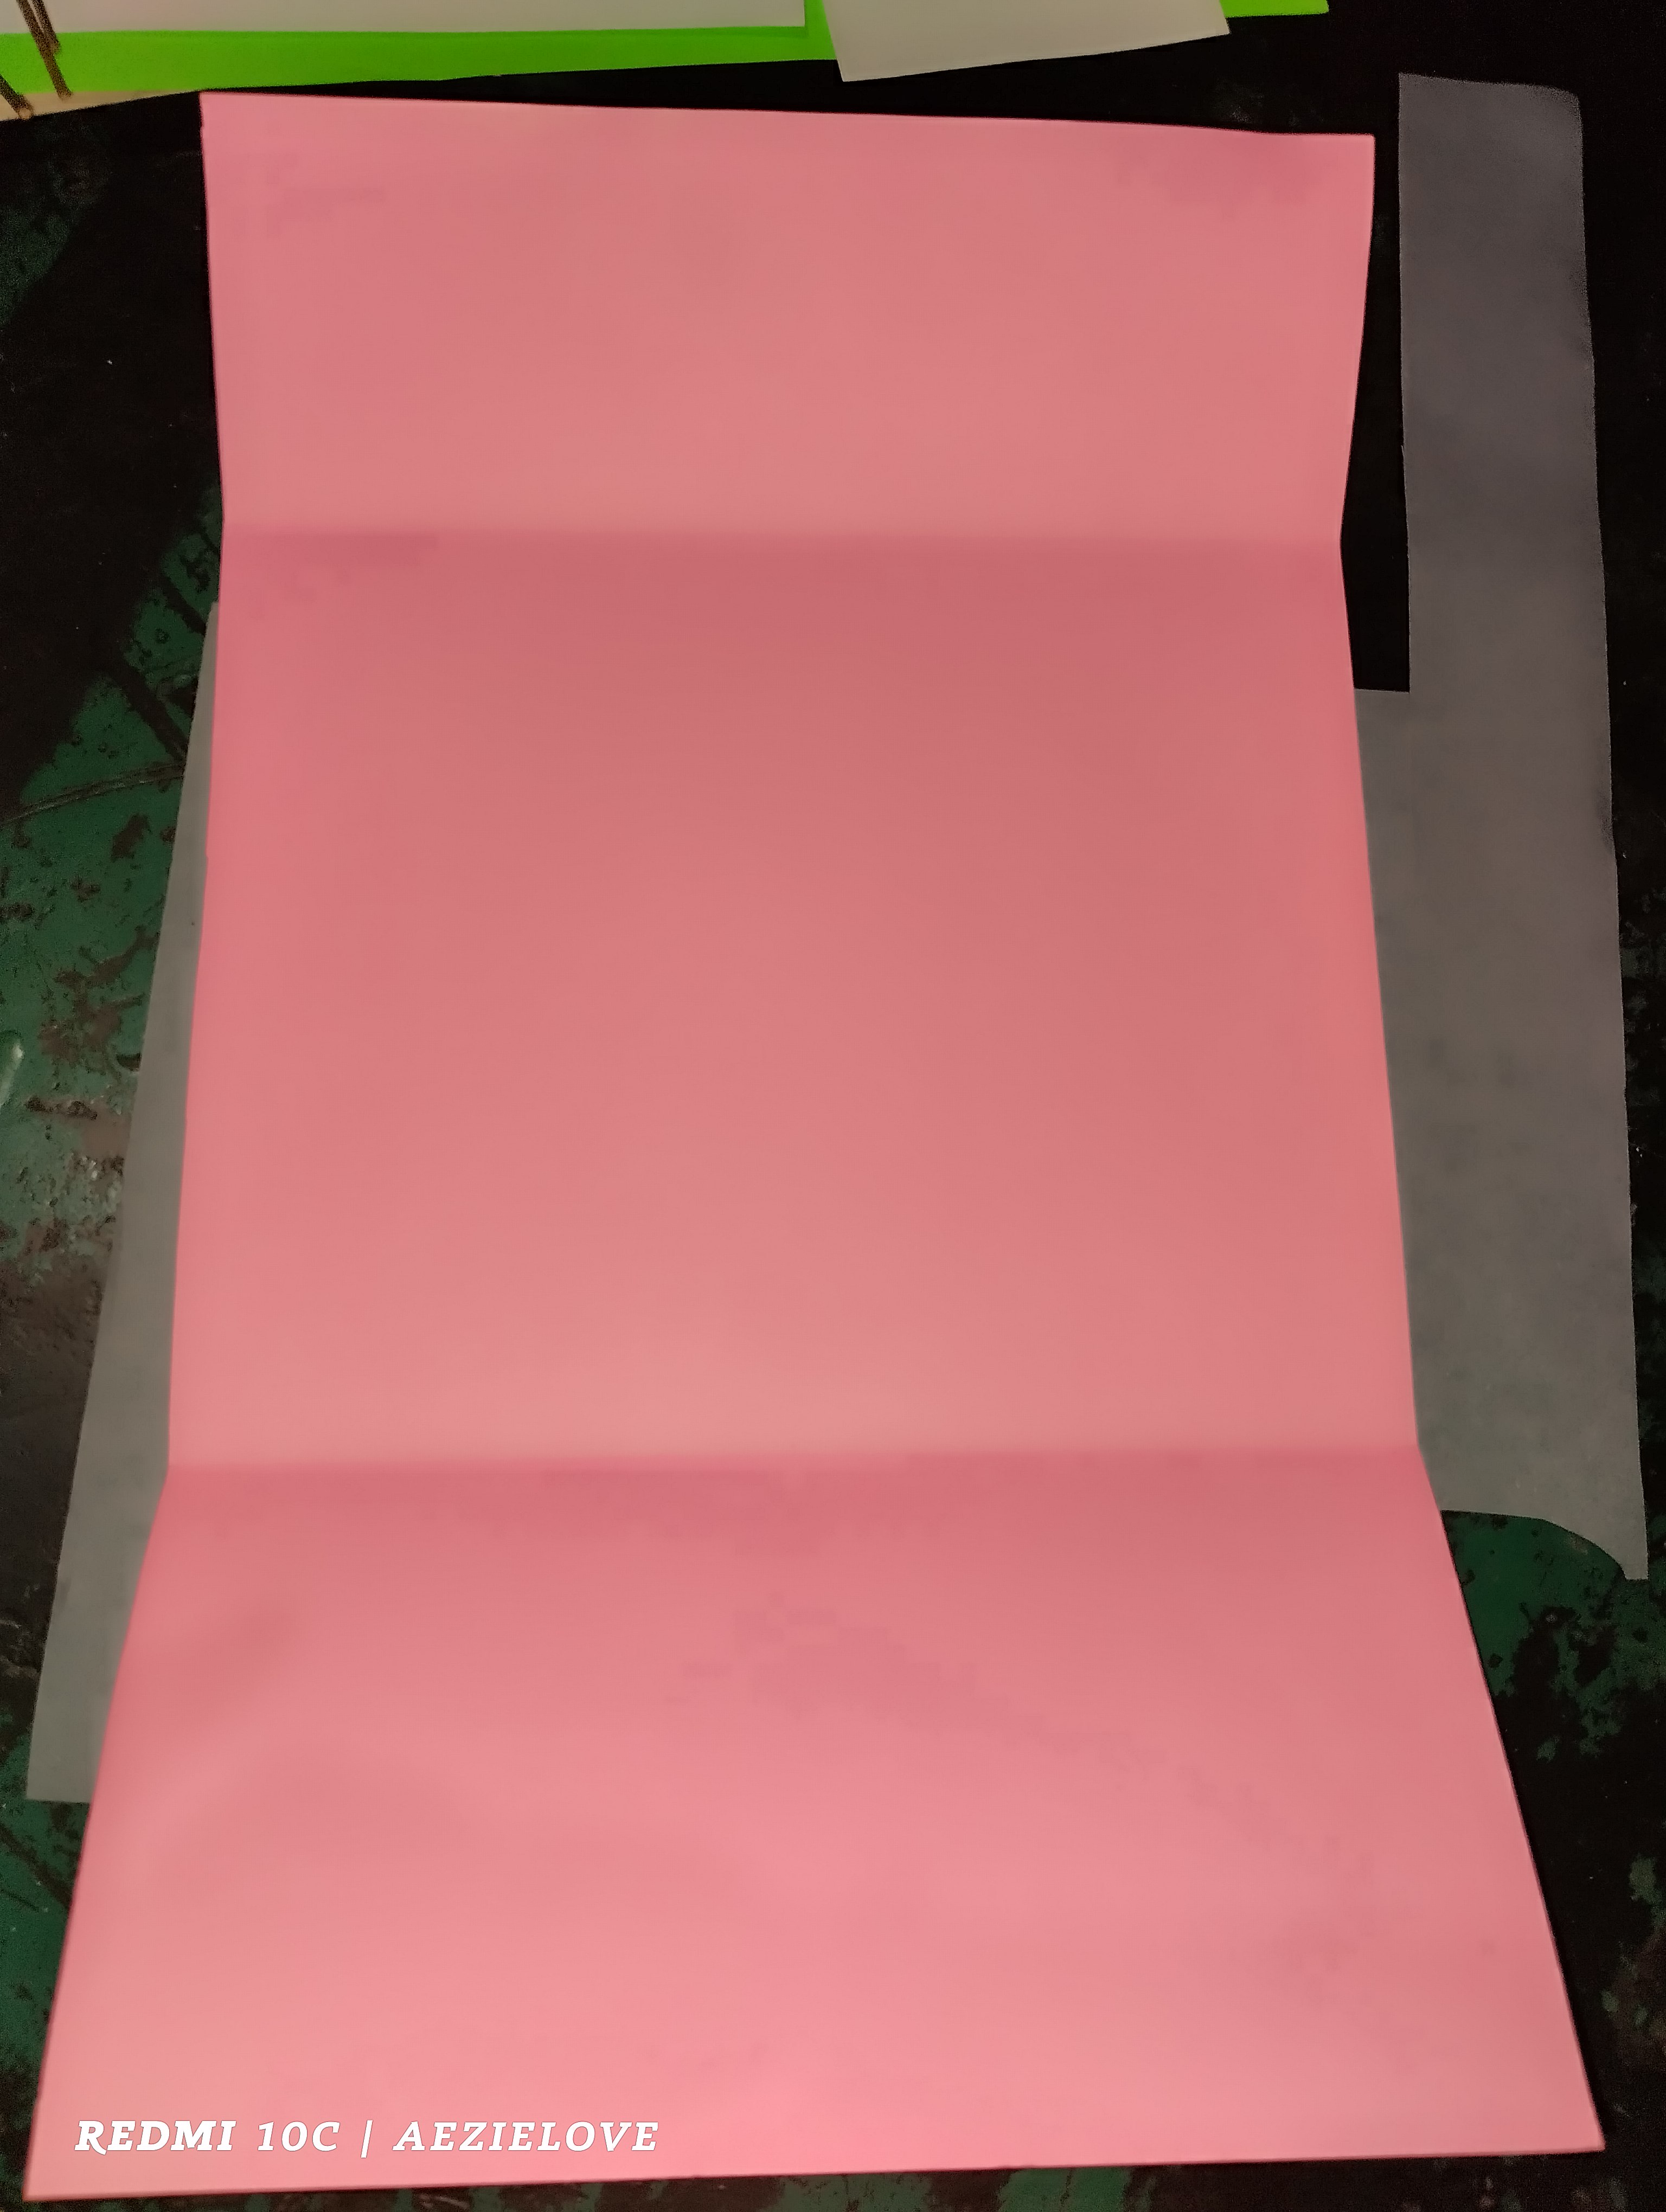
Image 1
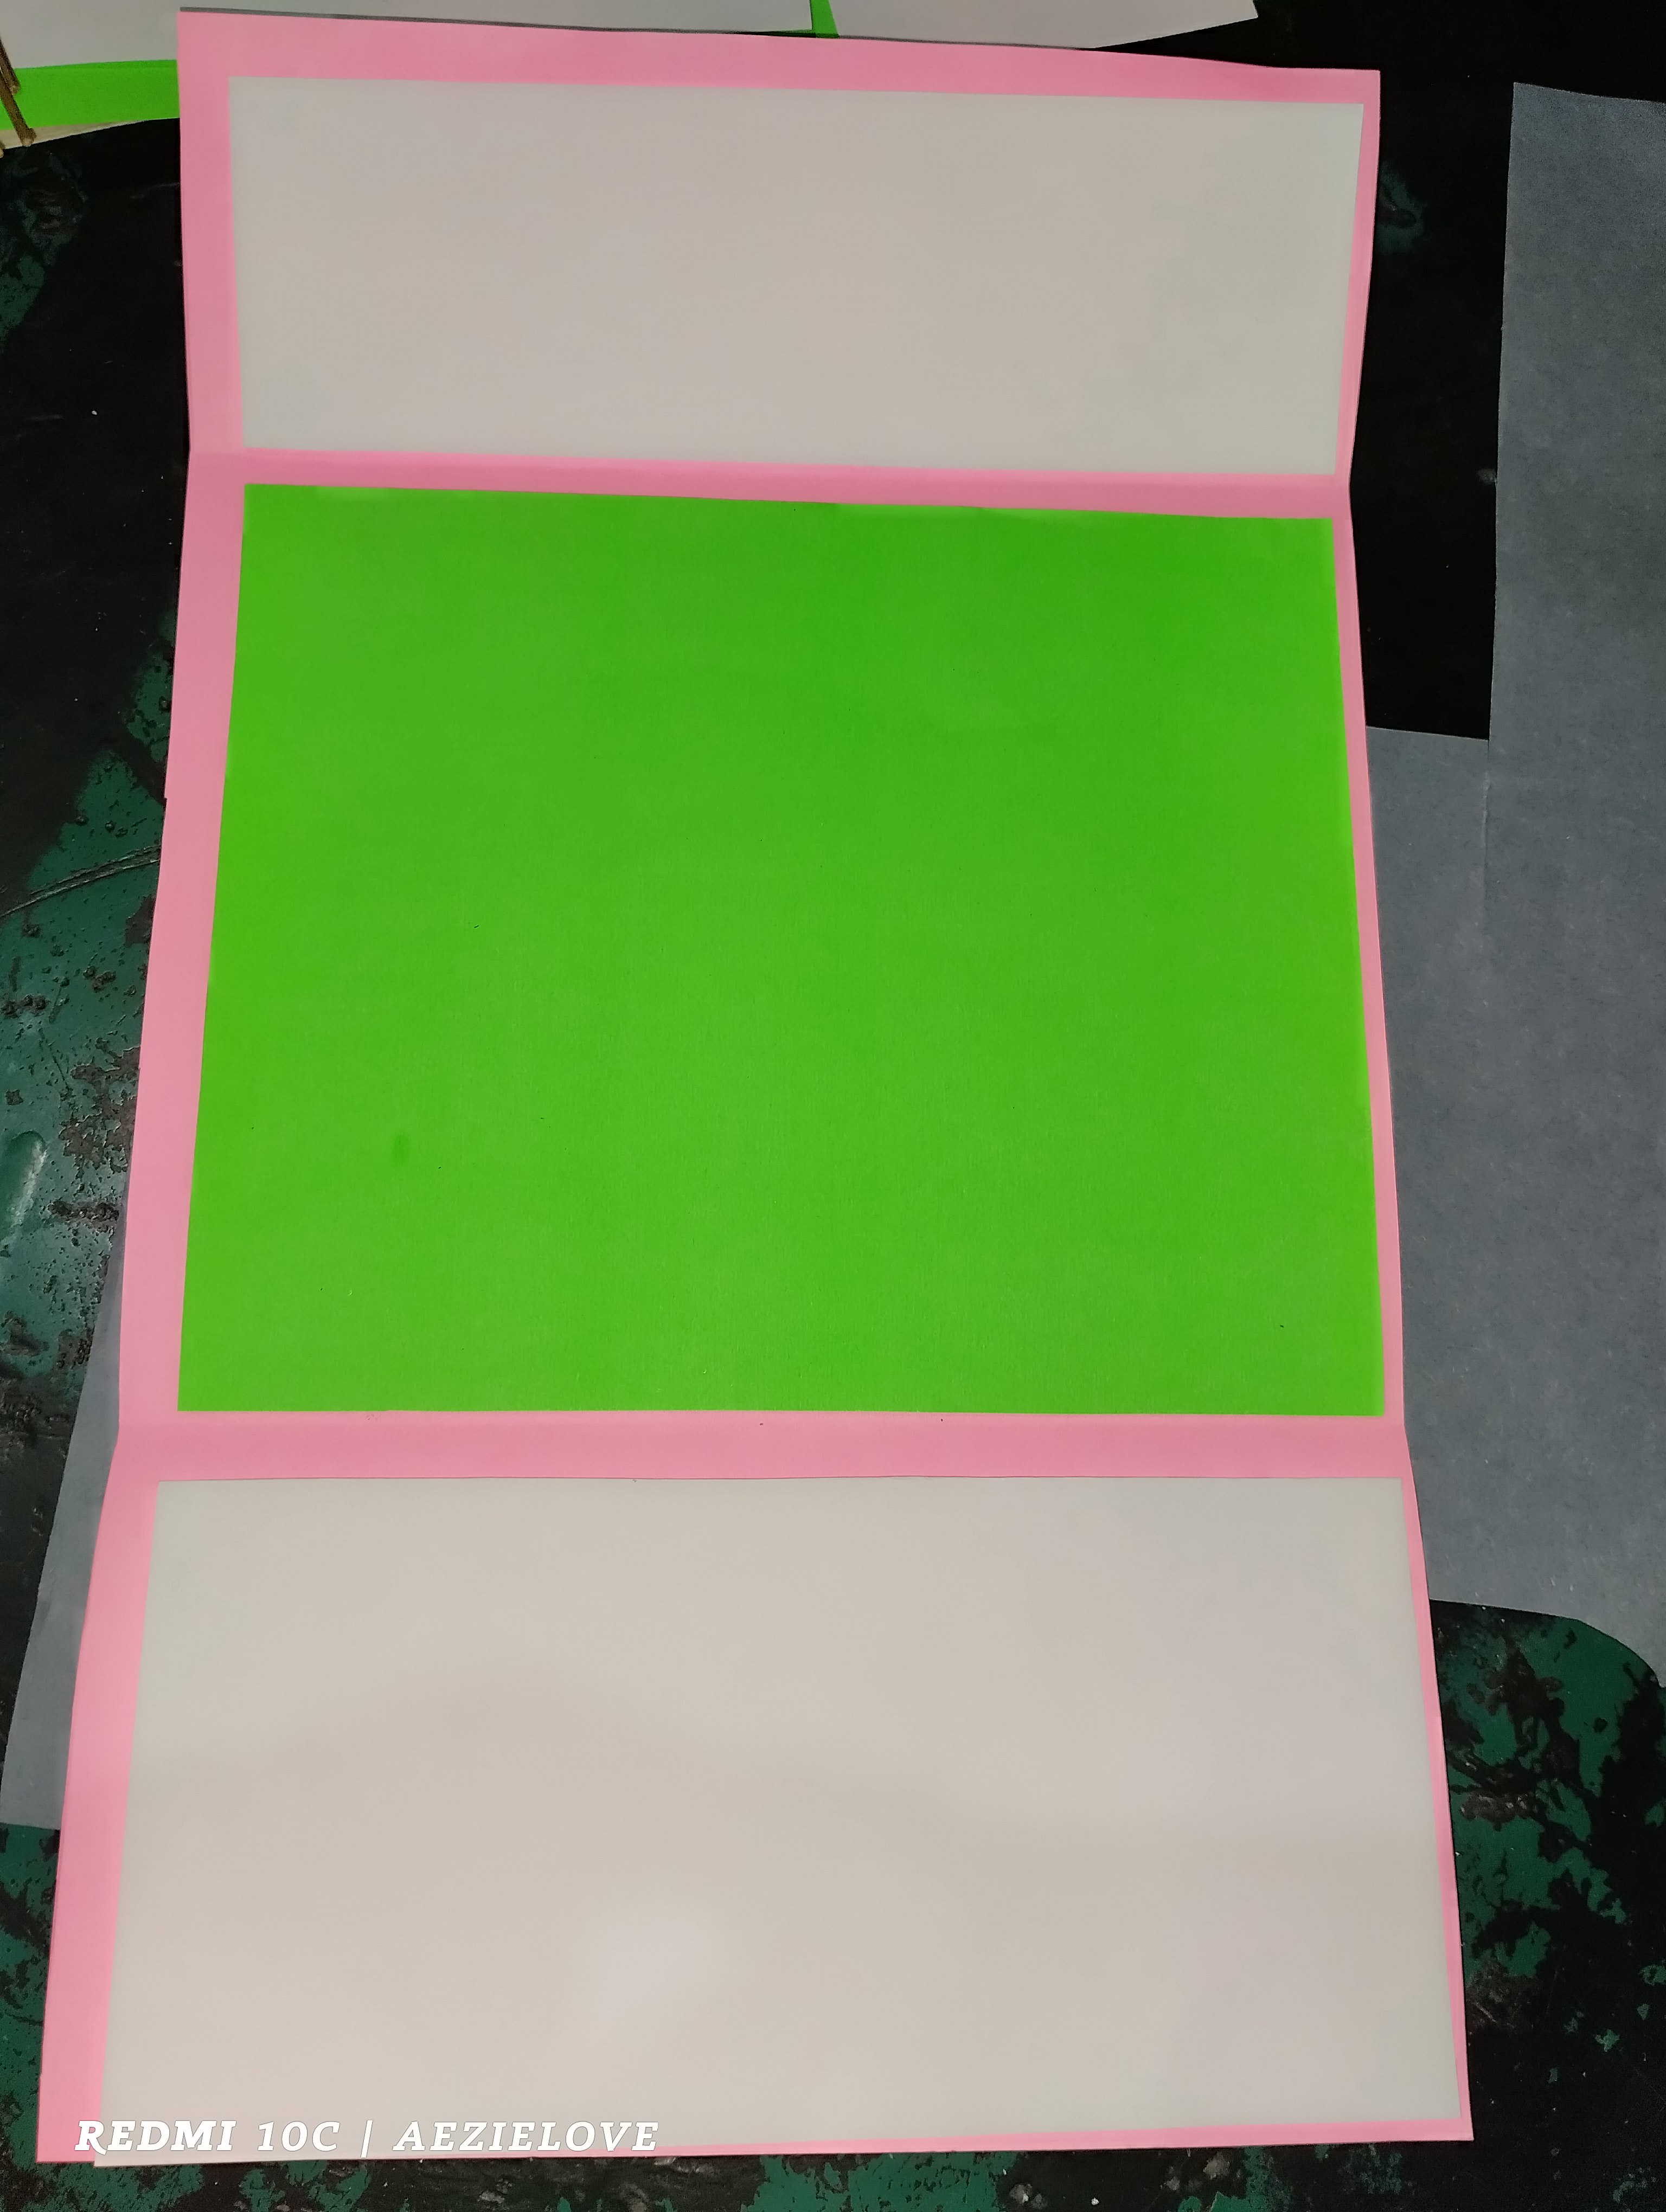
Image 2
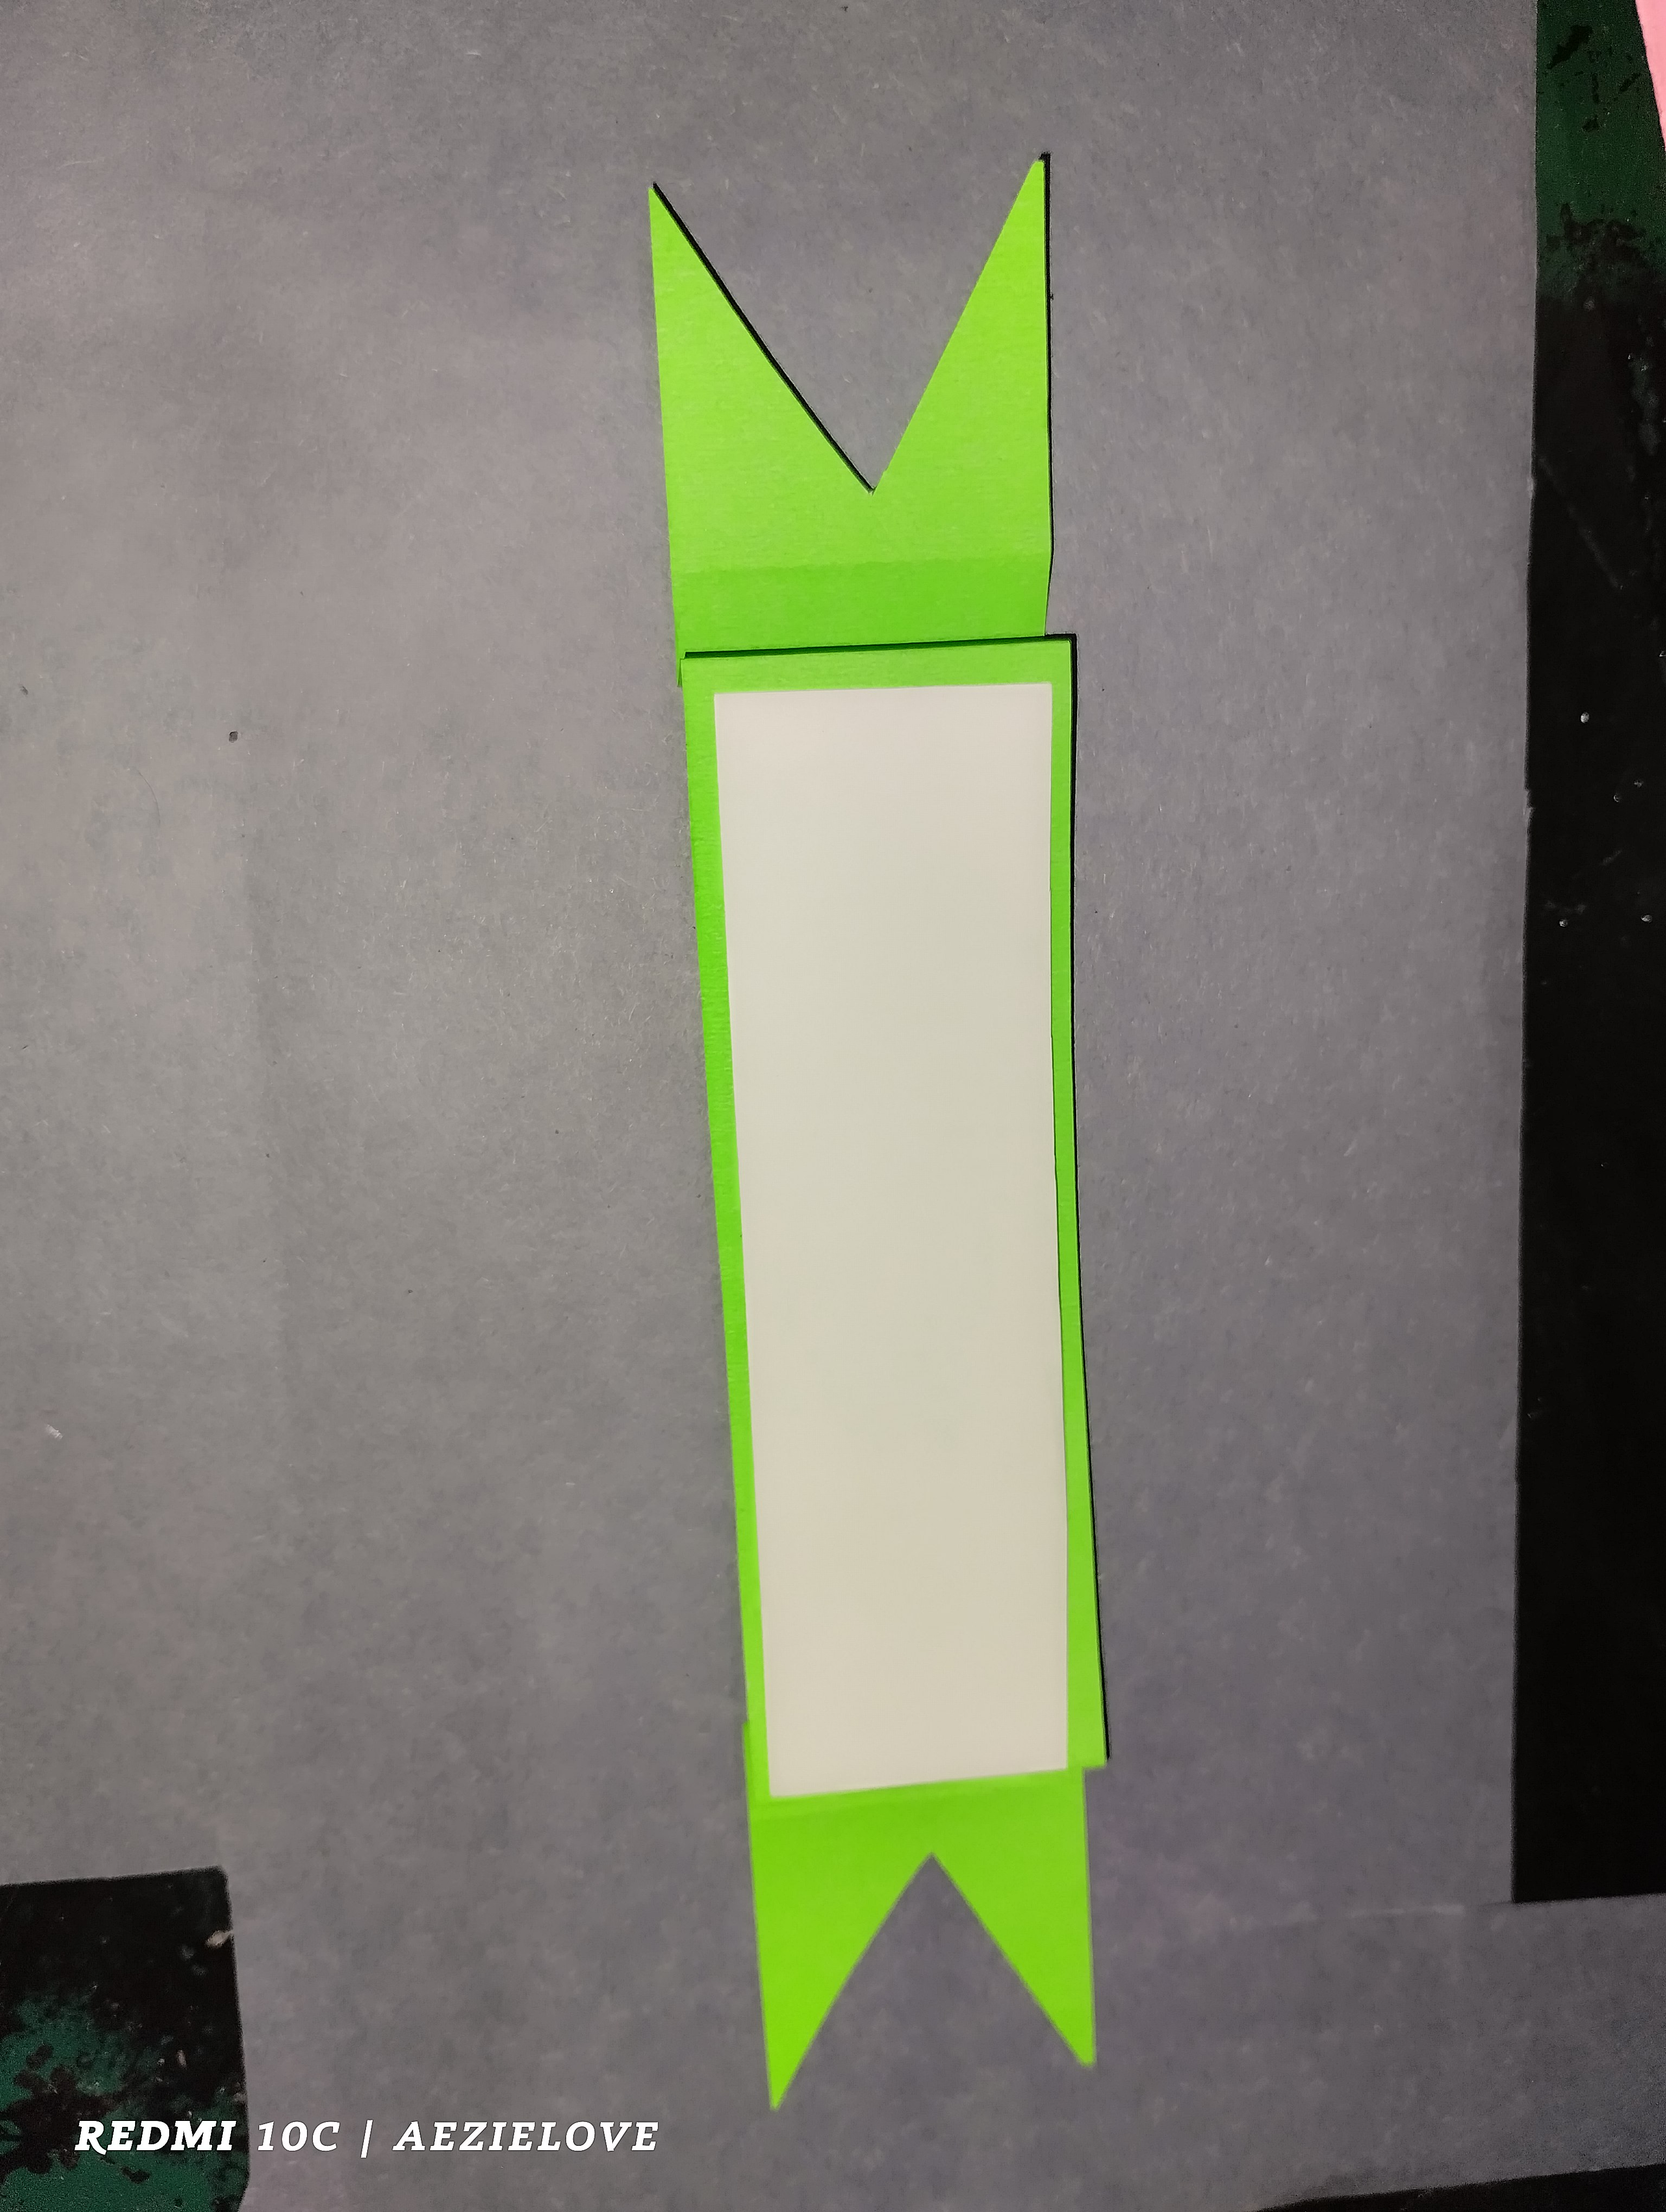
Image 3
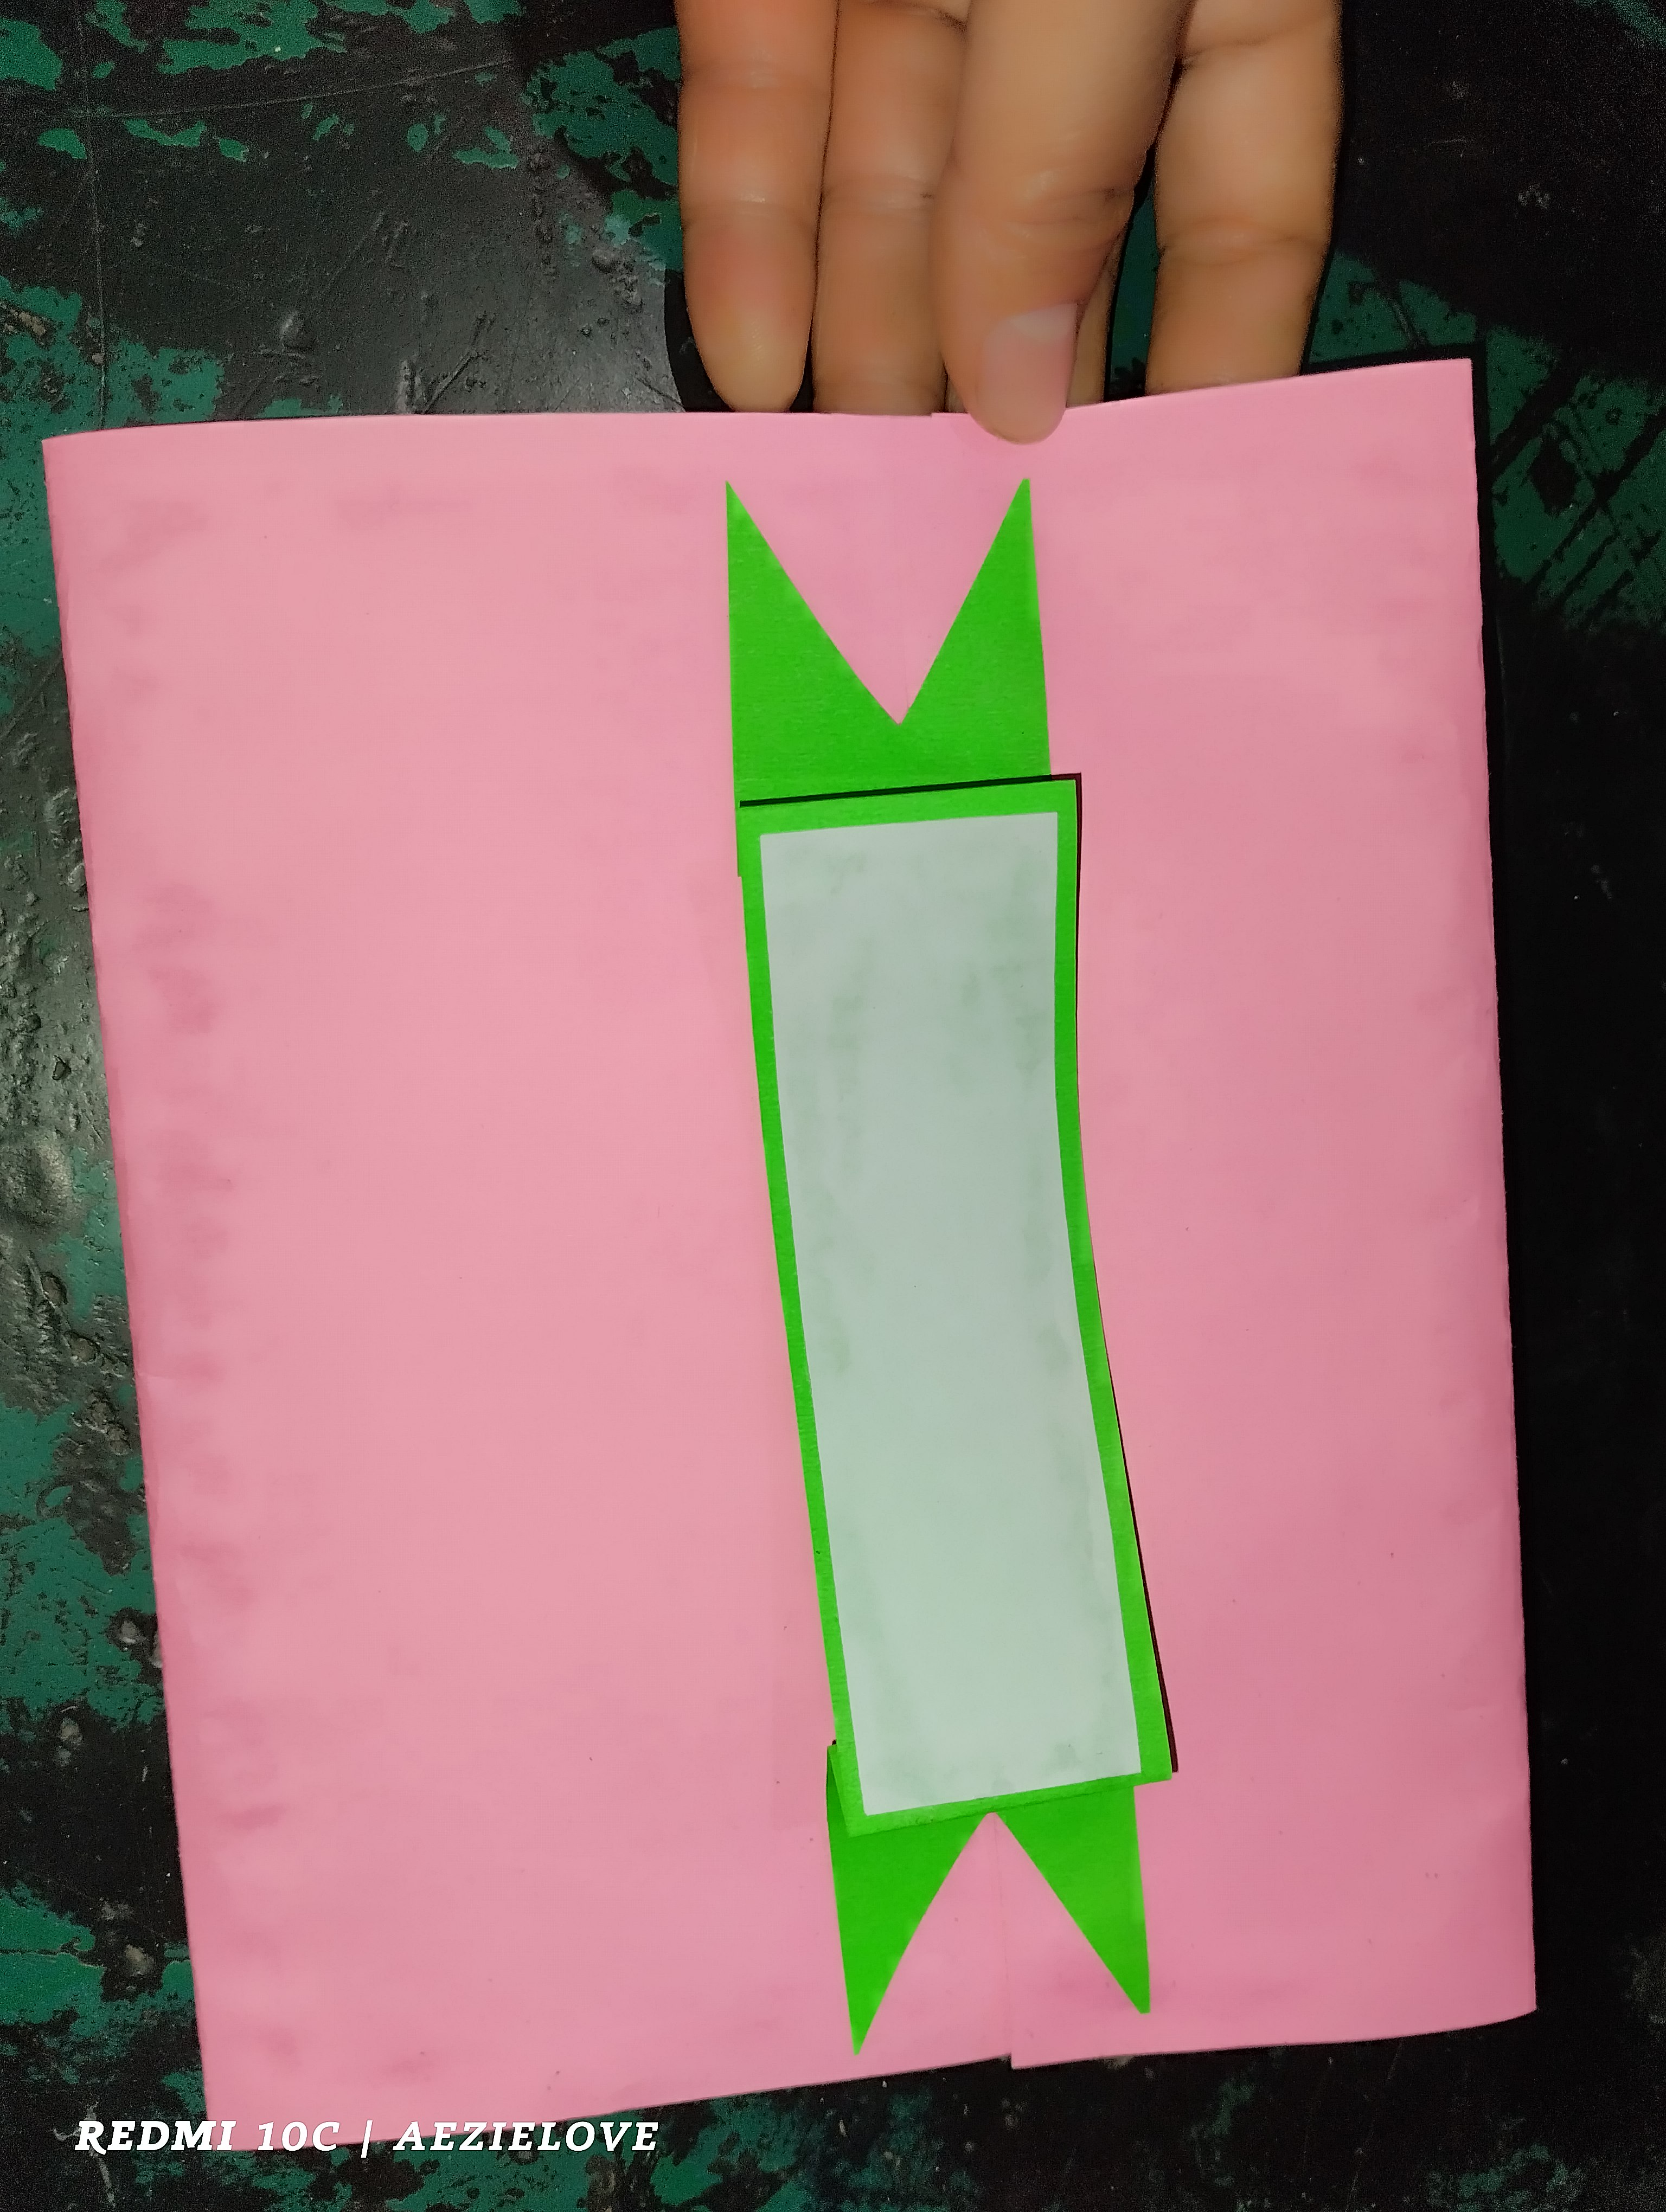
Image 4

Image 5
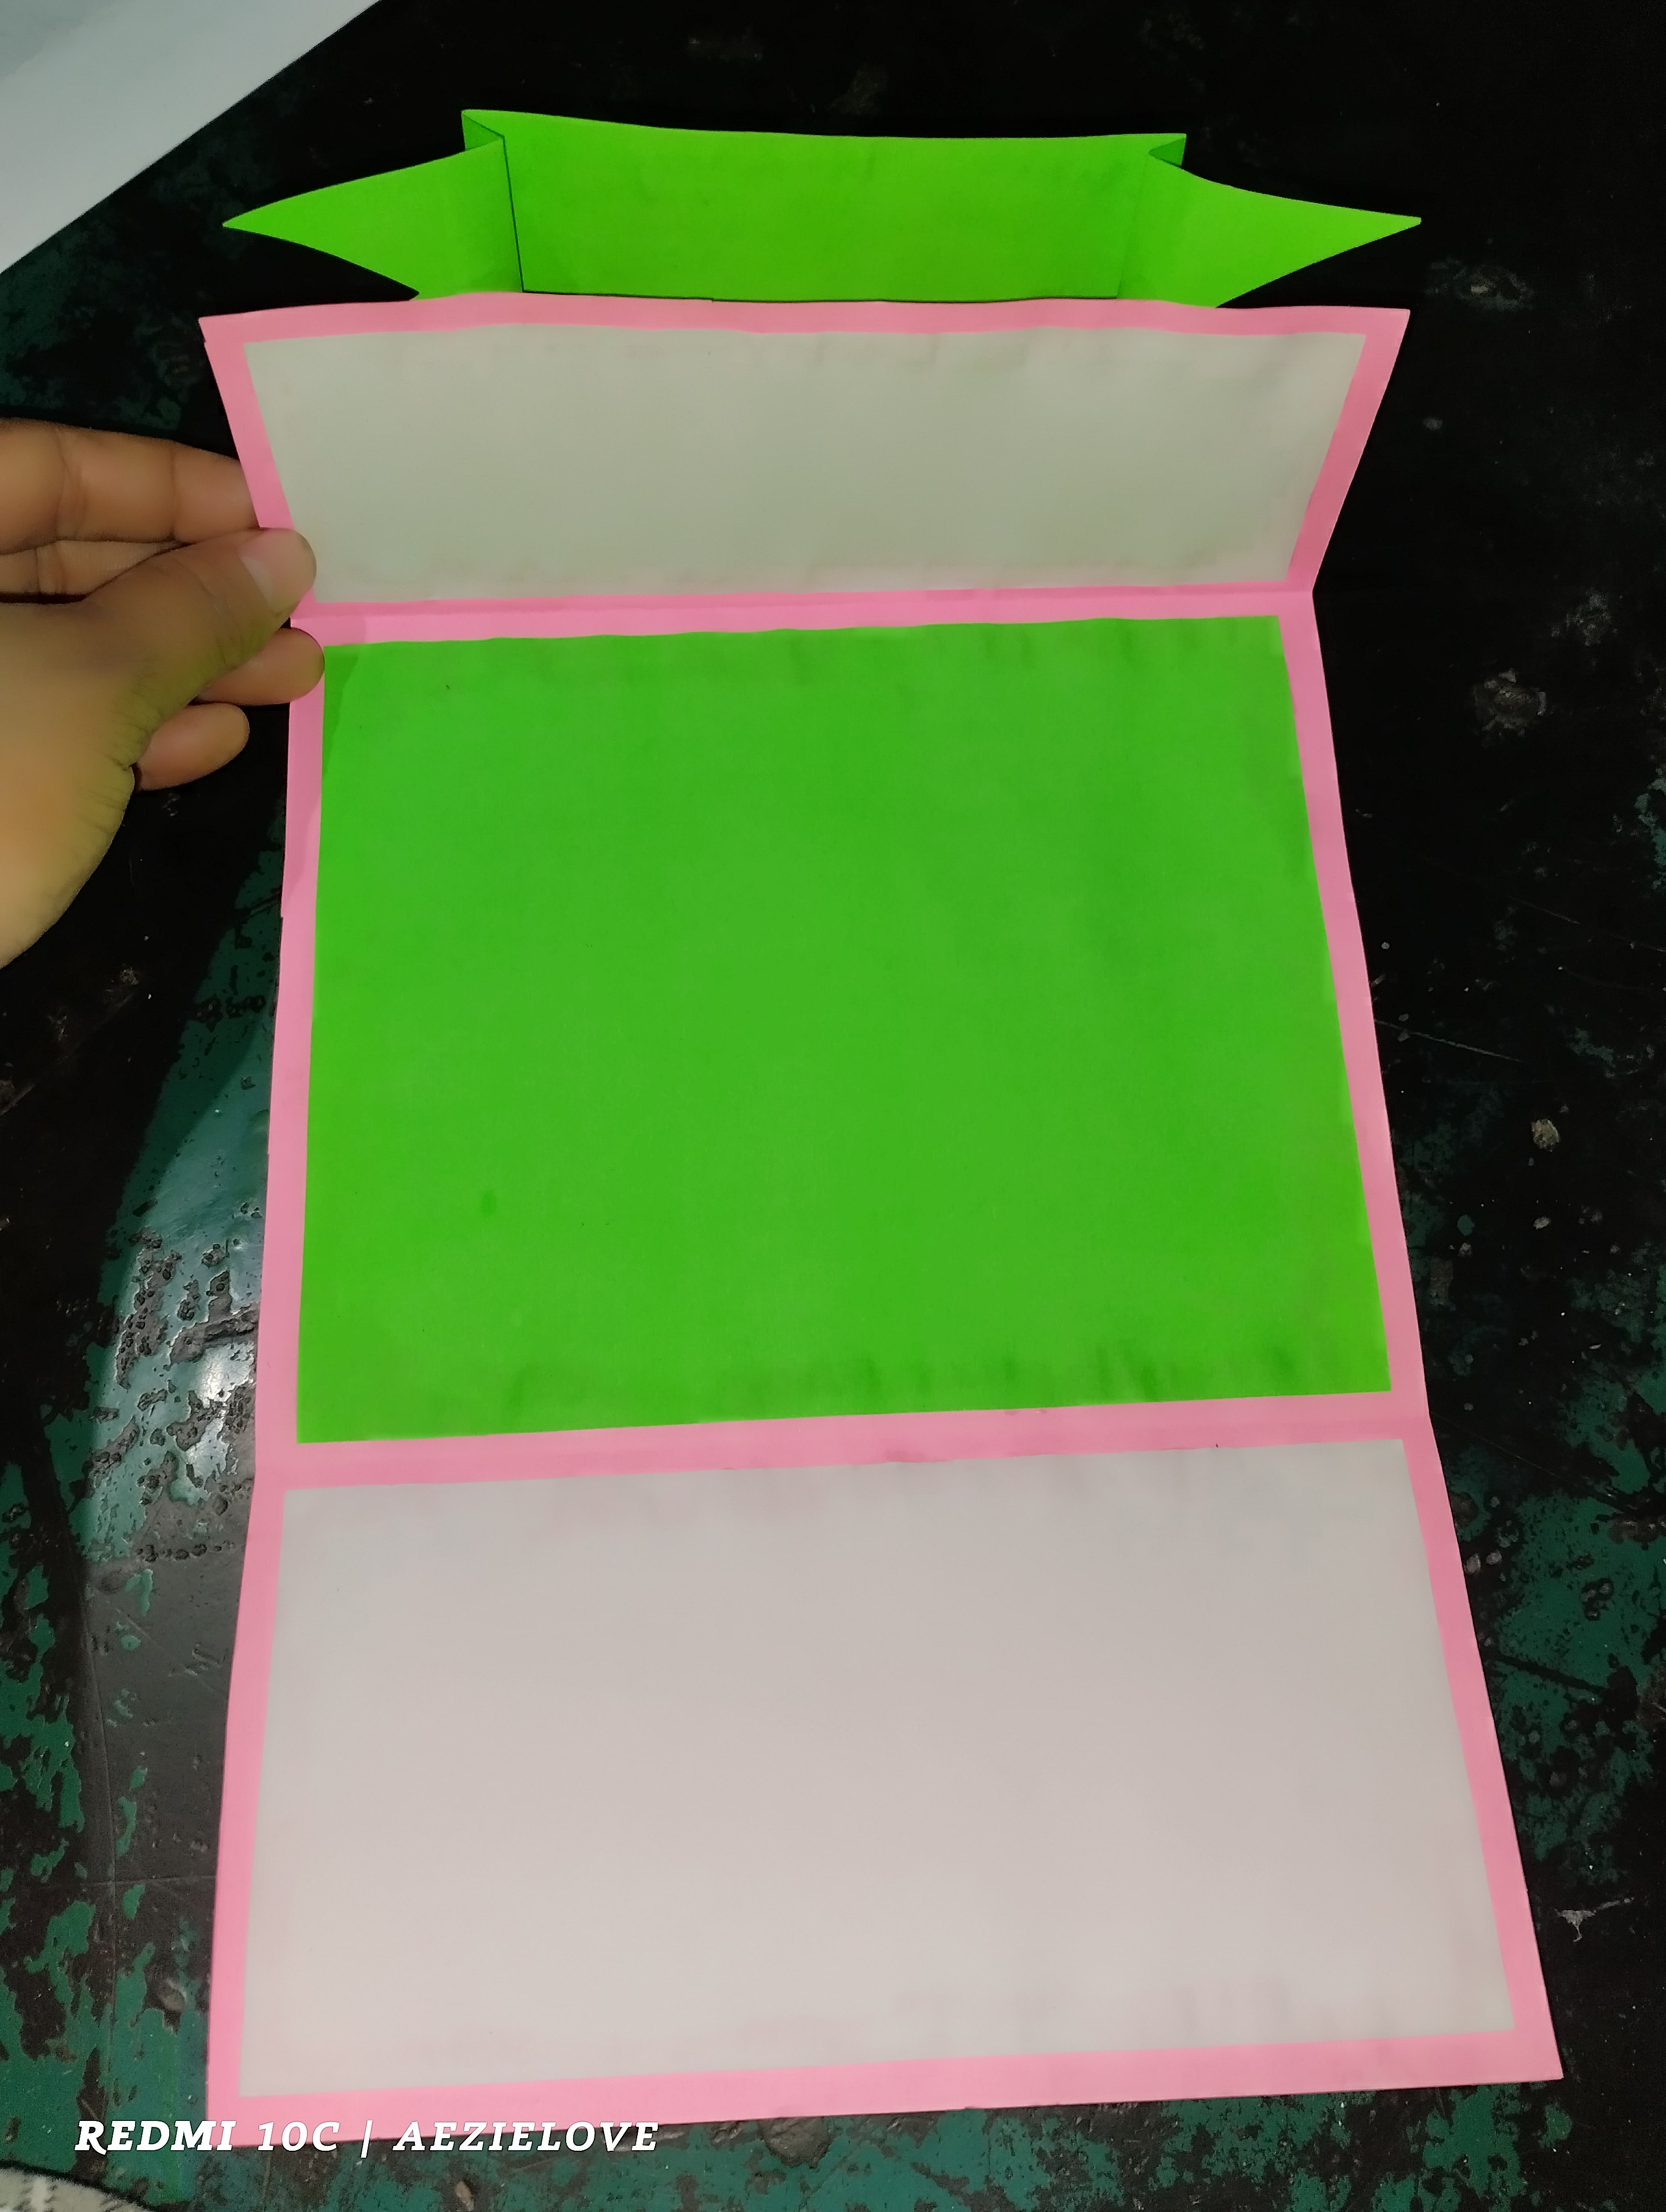
Image 6
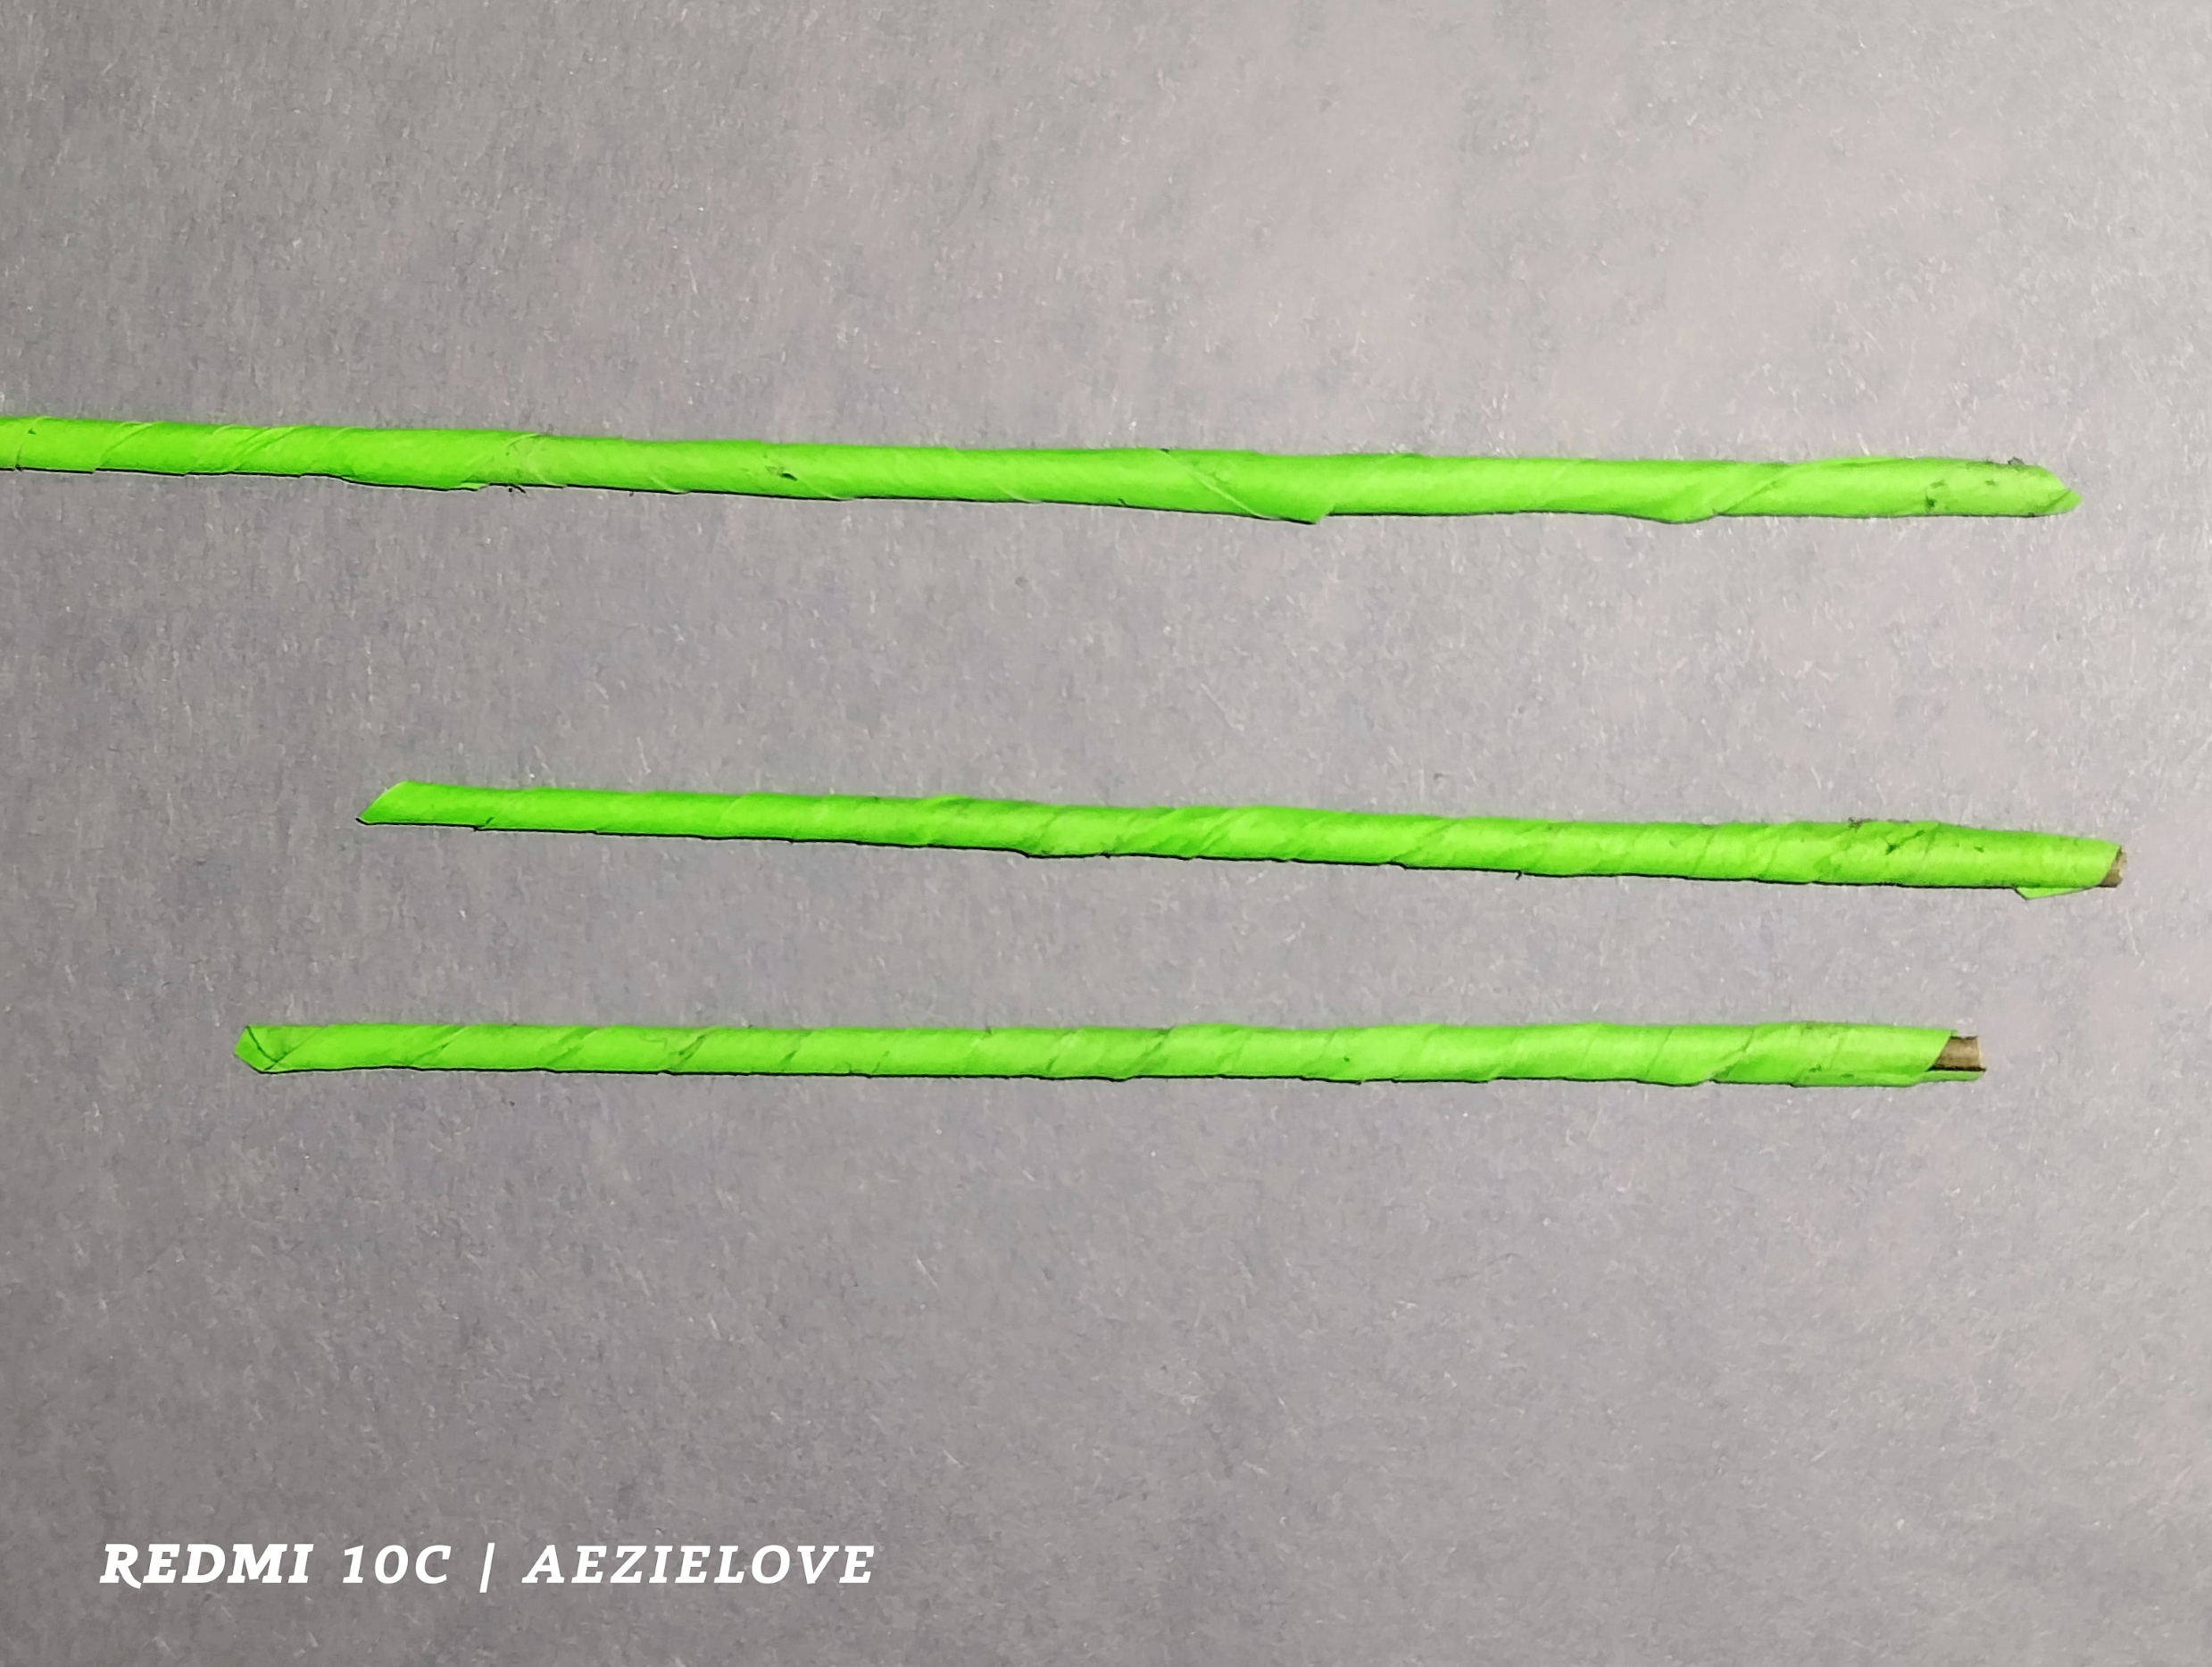
Image 7
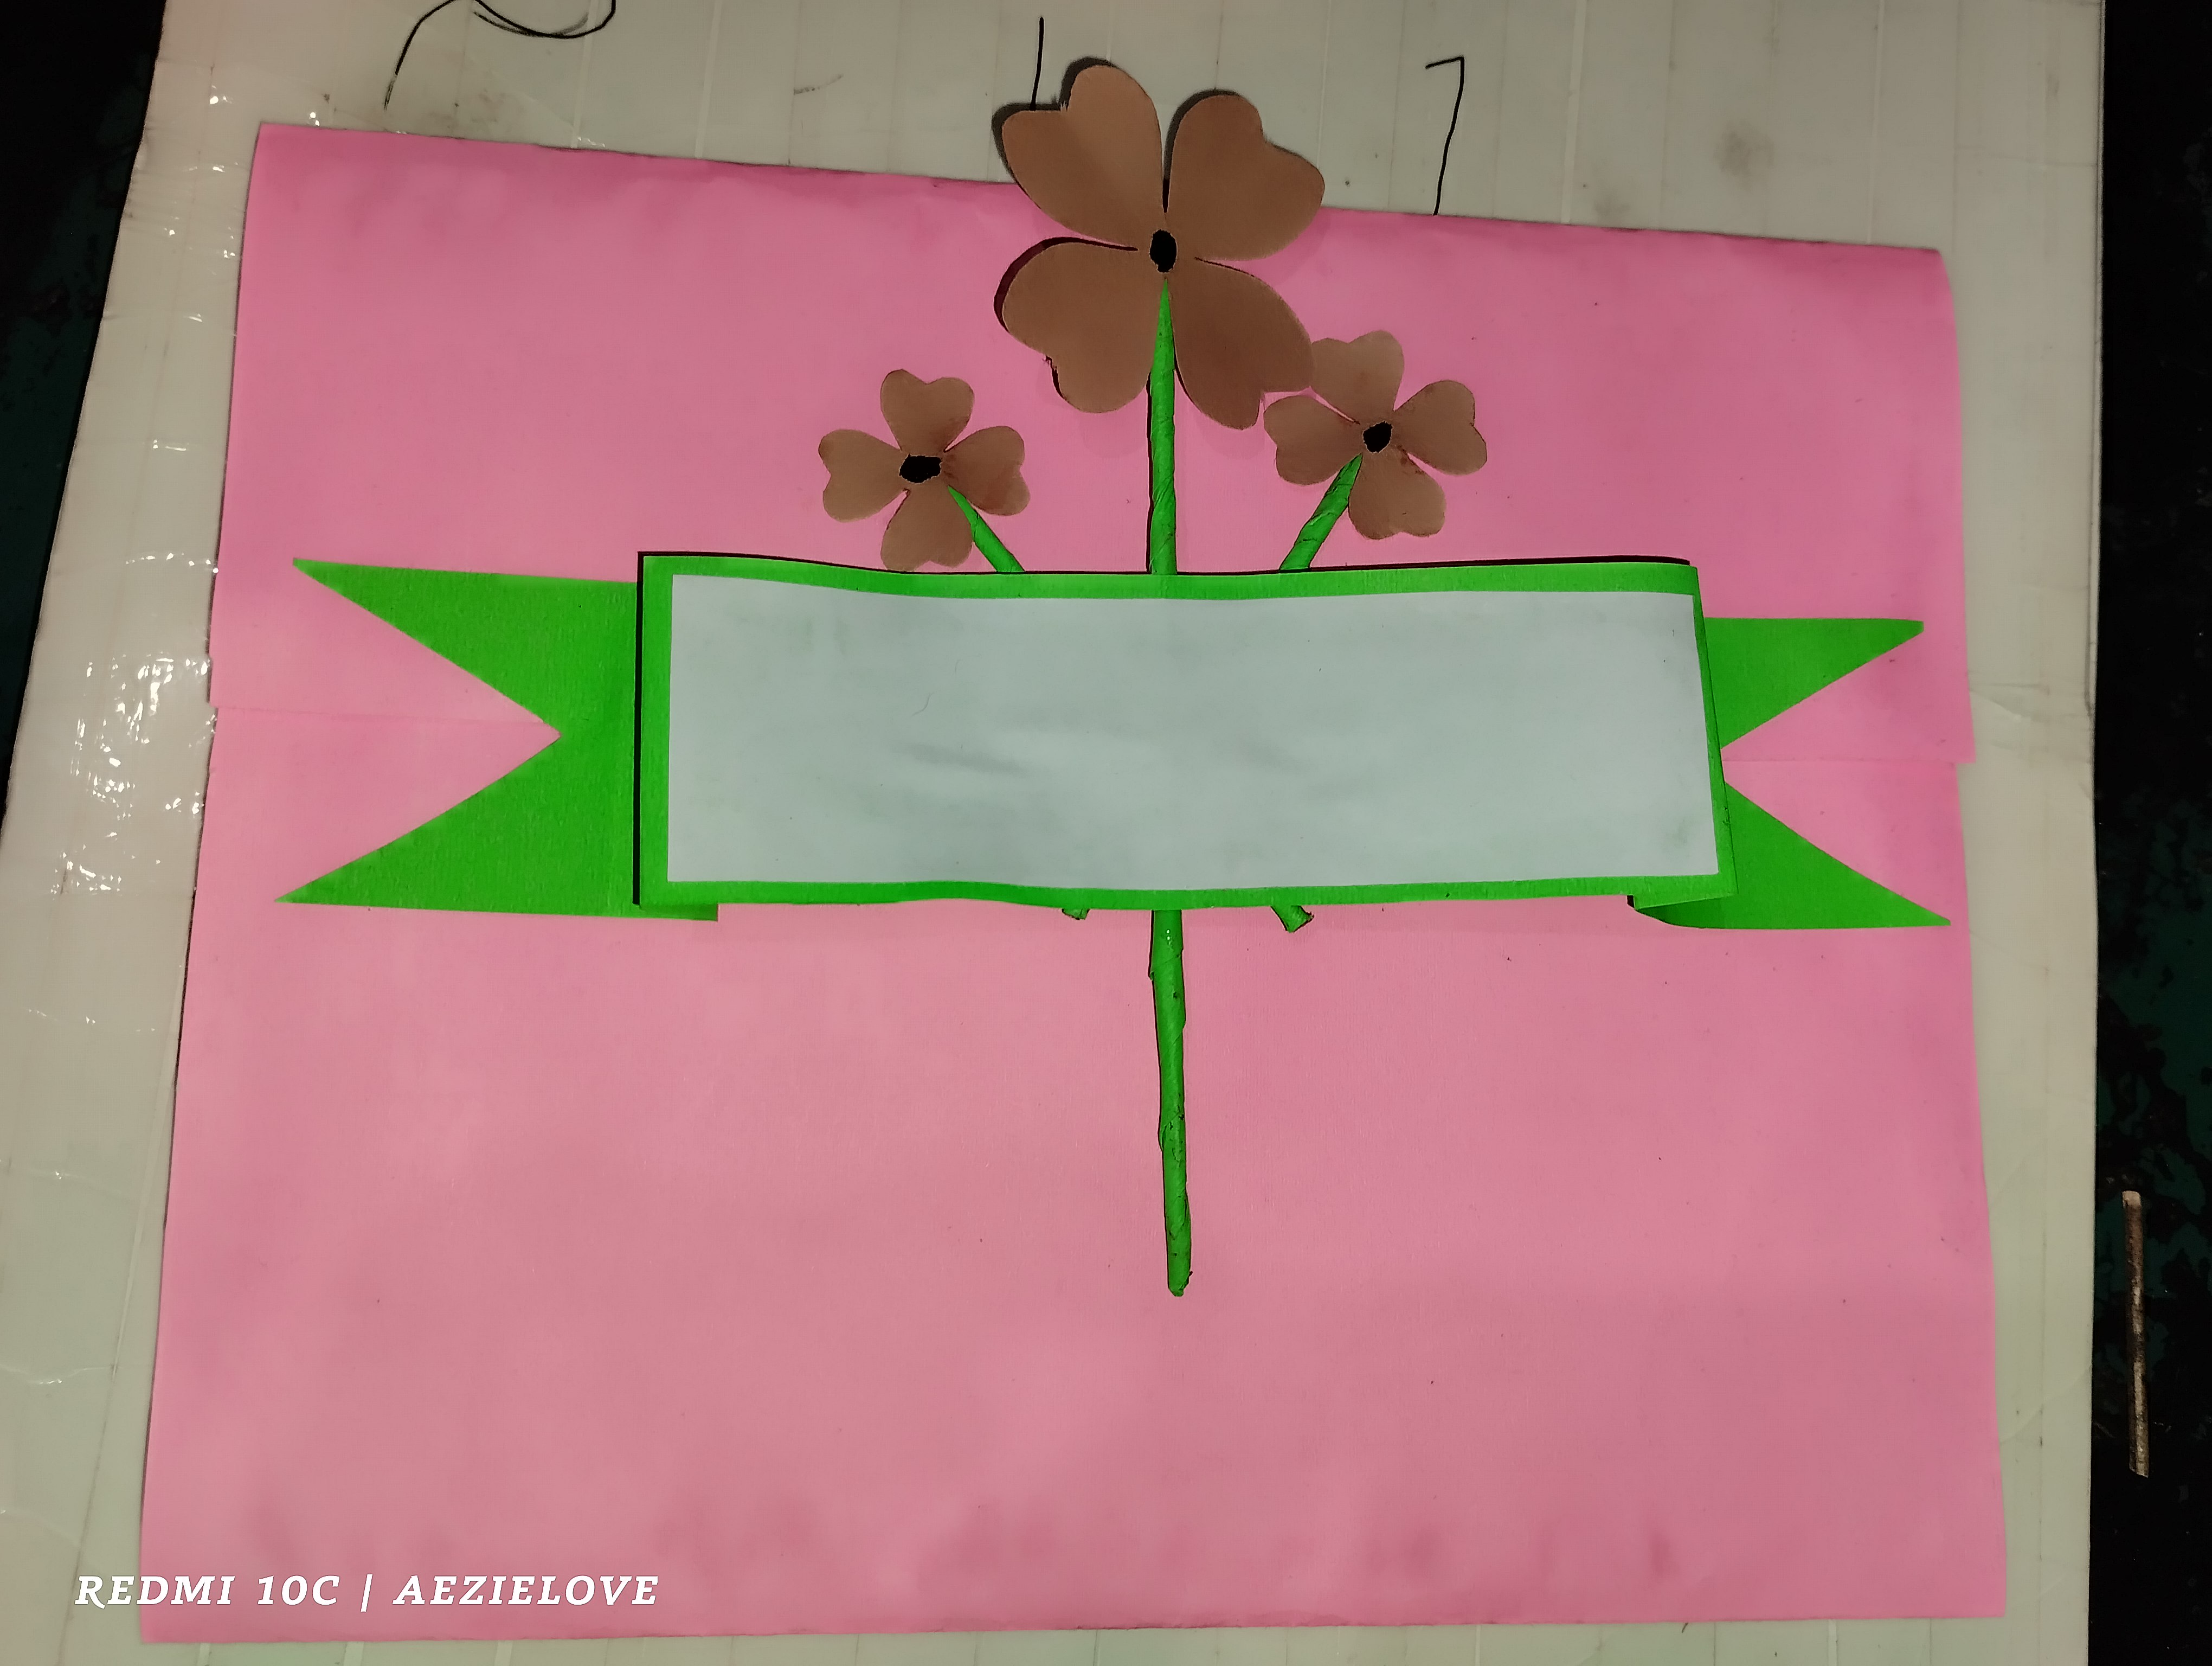
Image 8
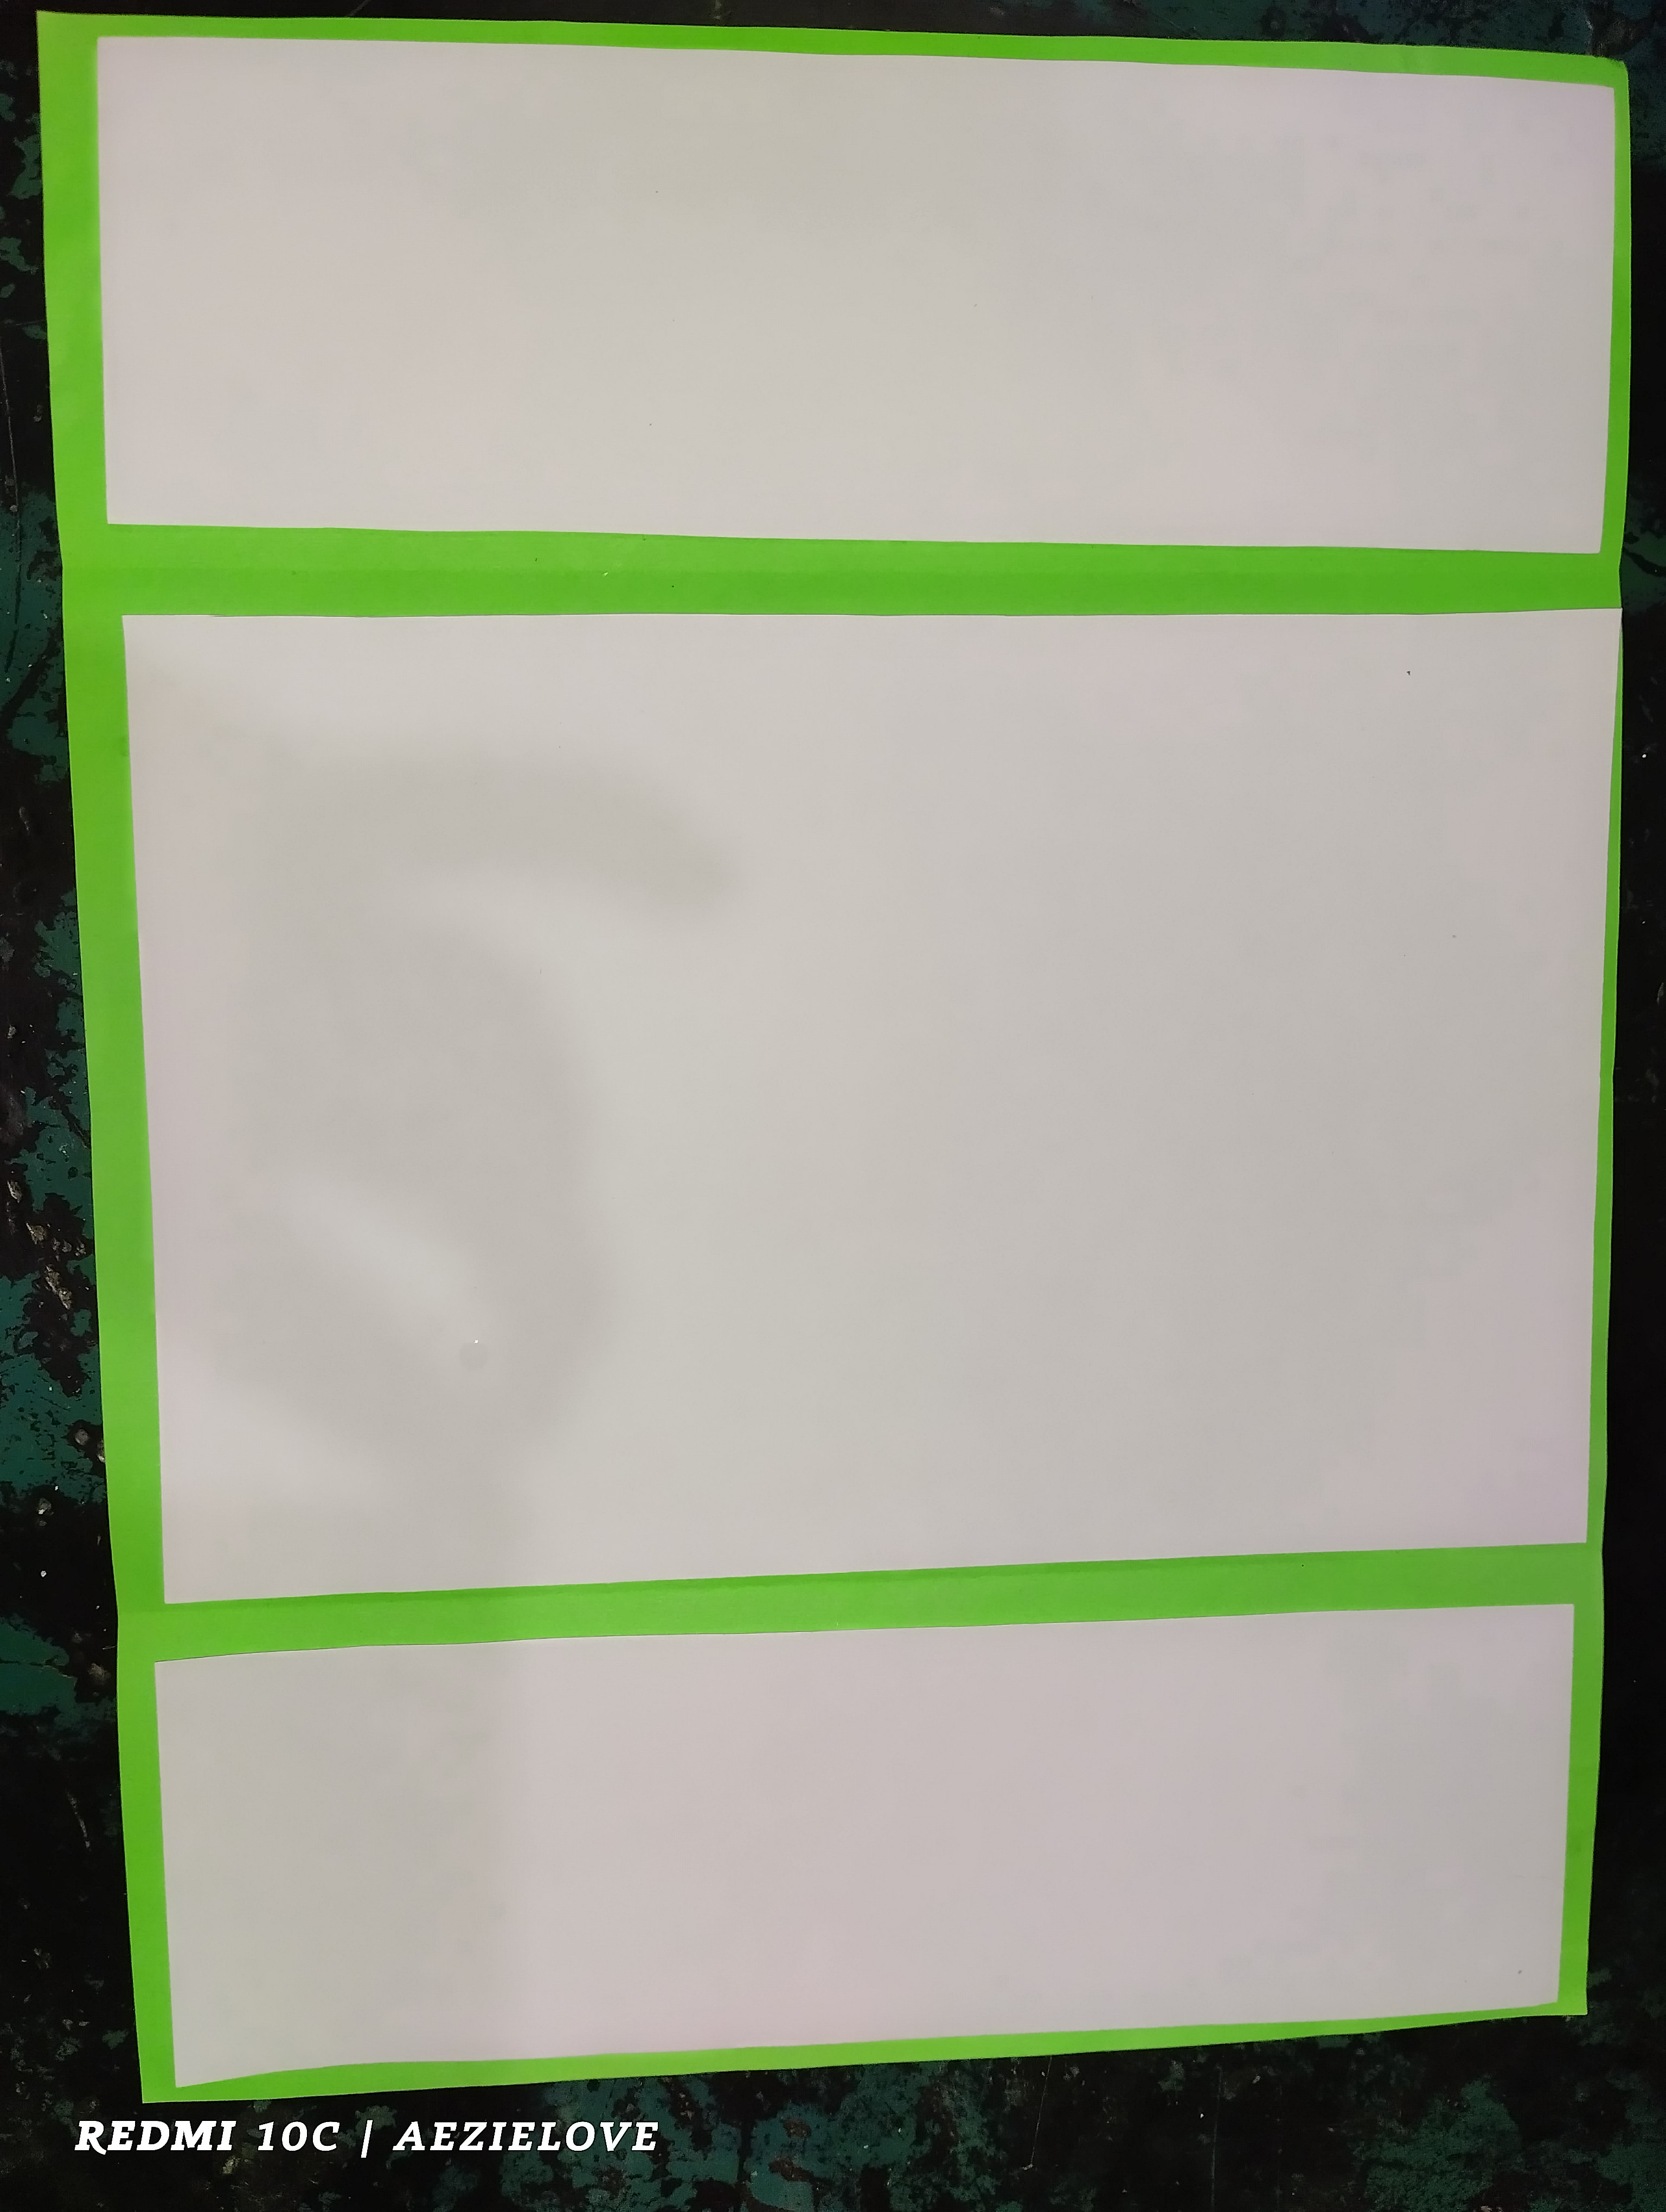
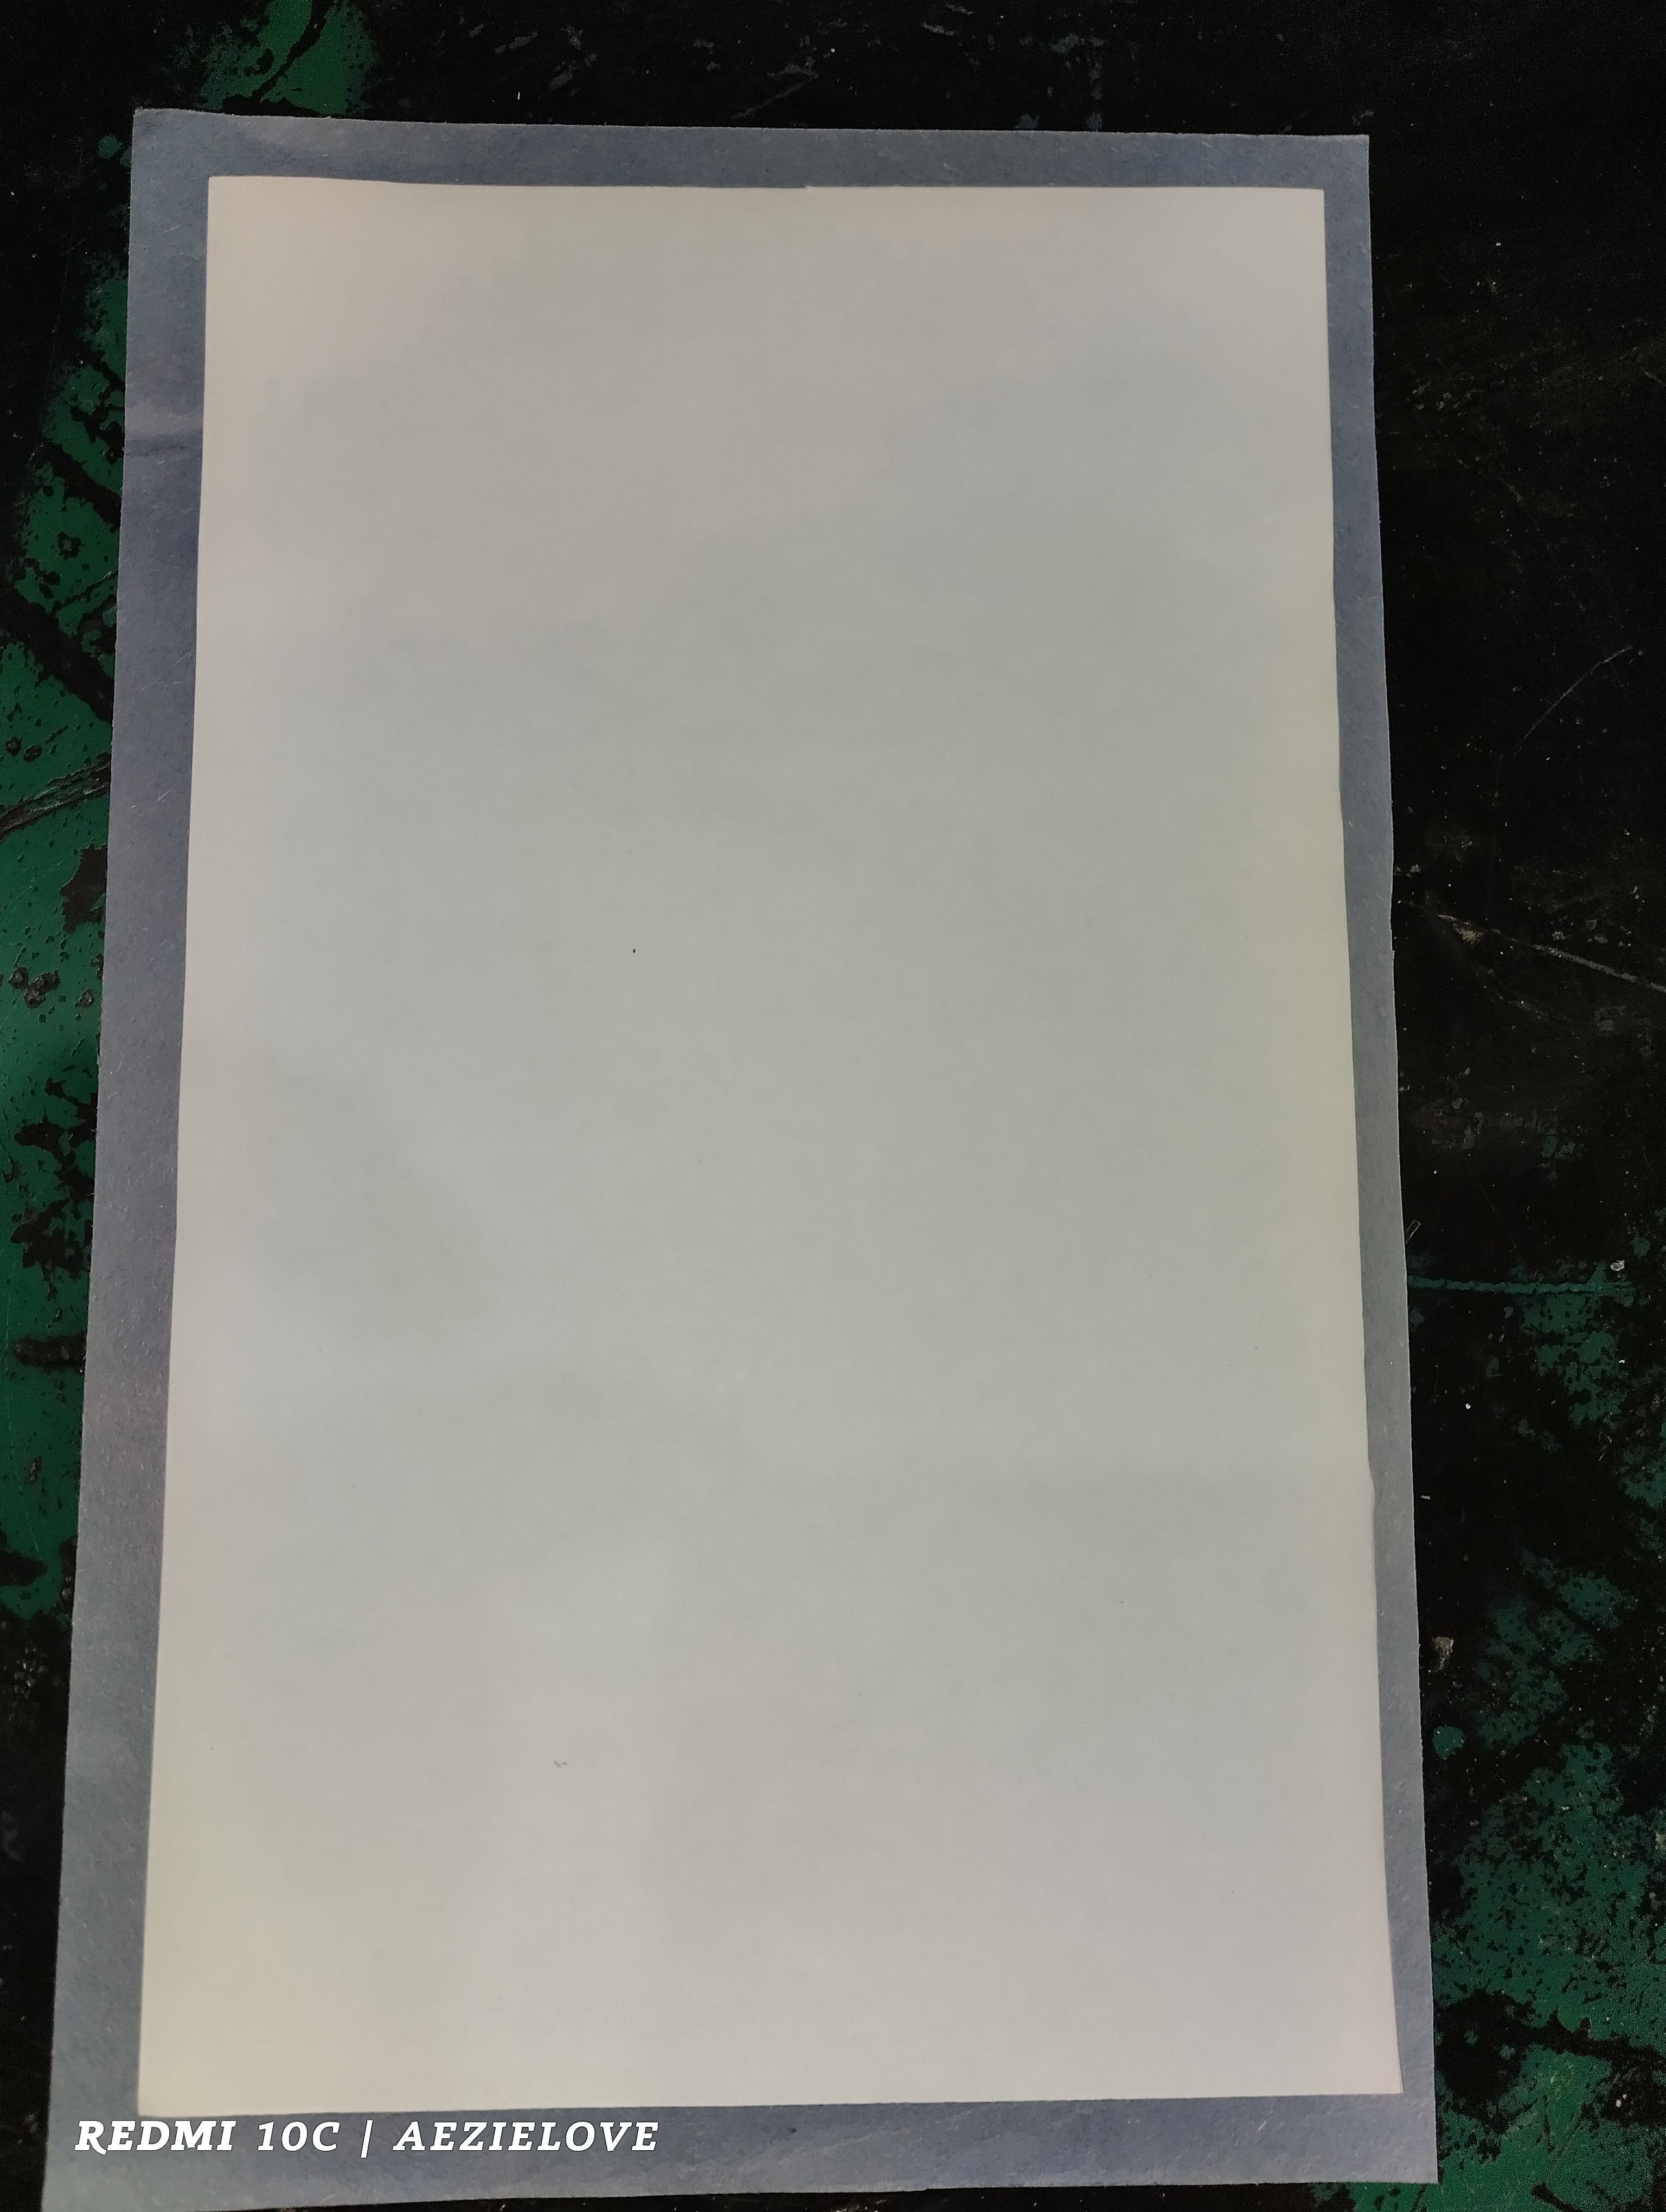
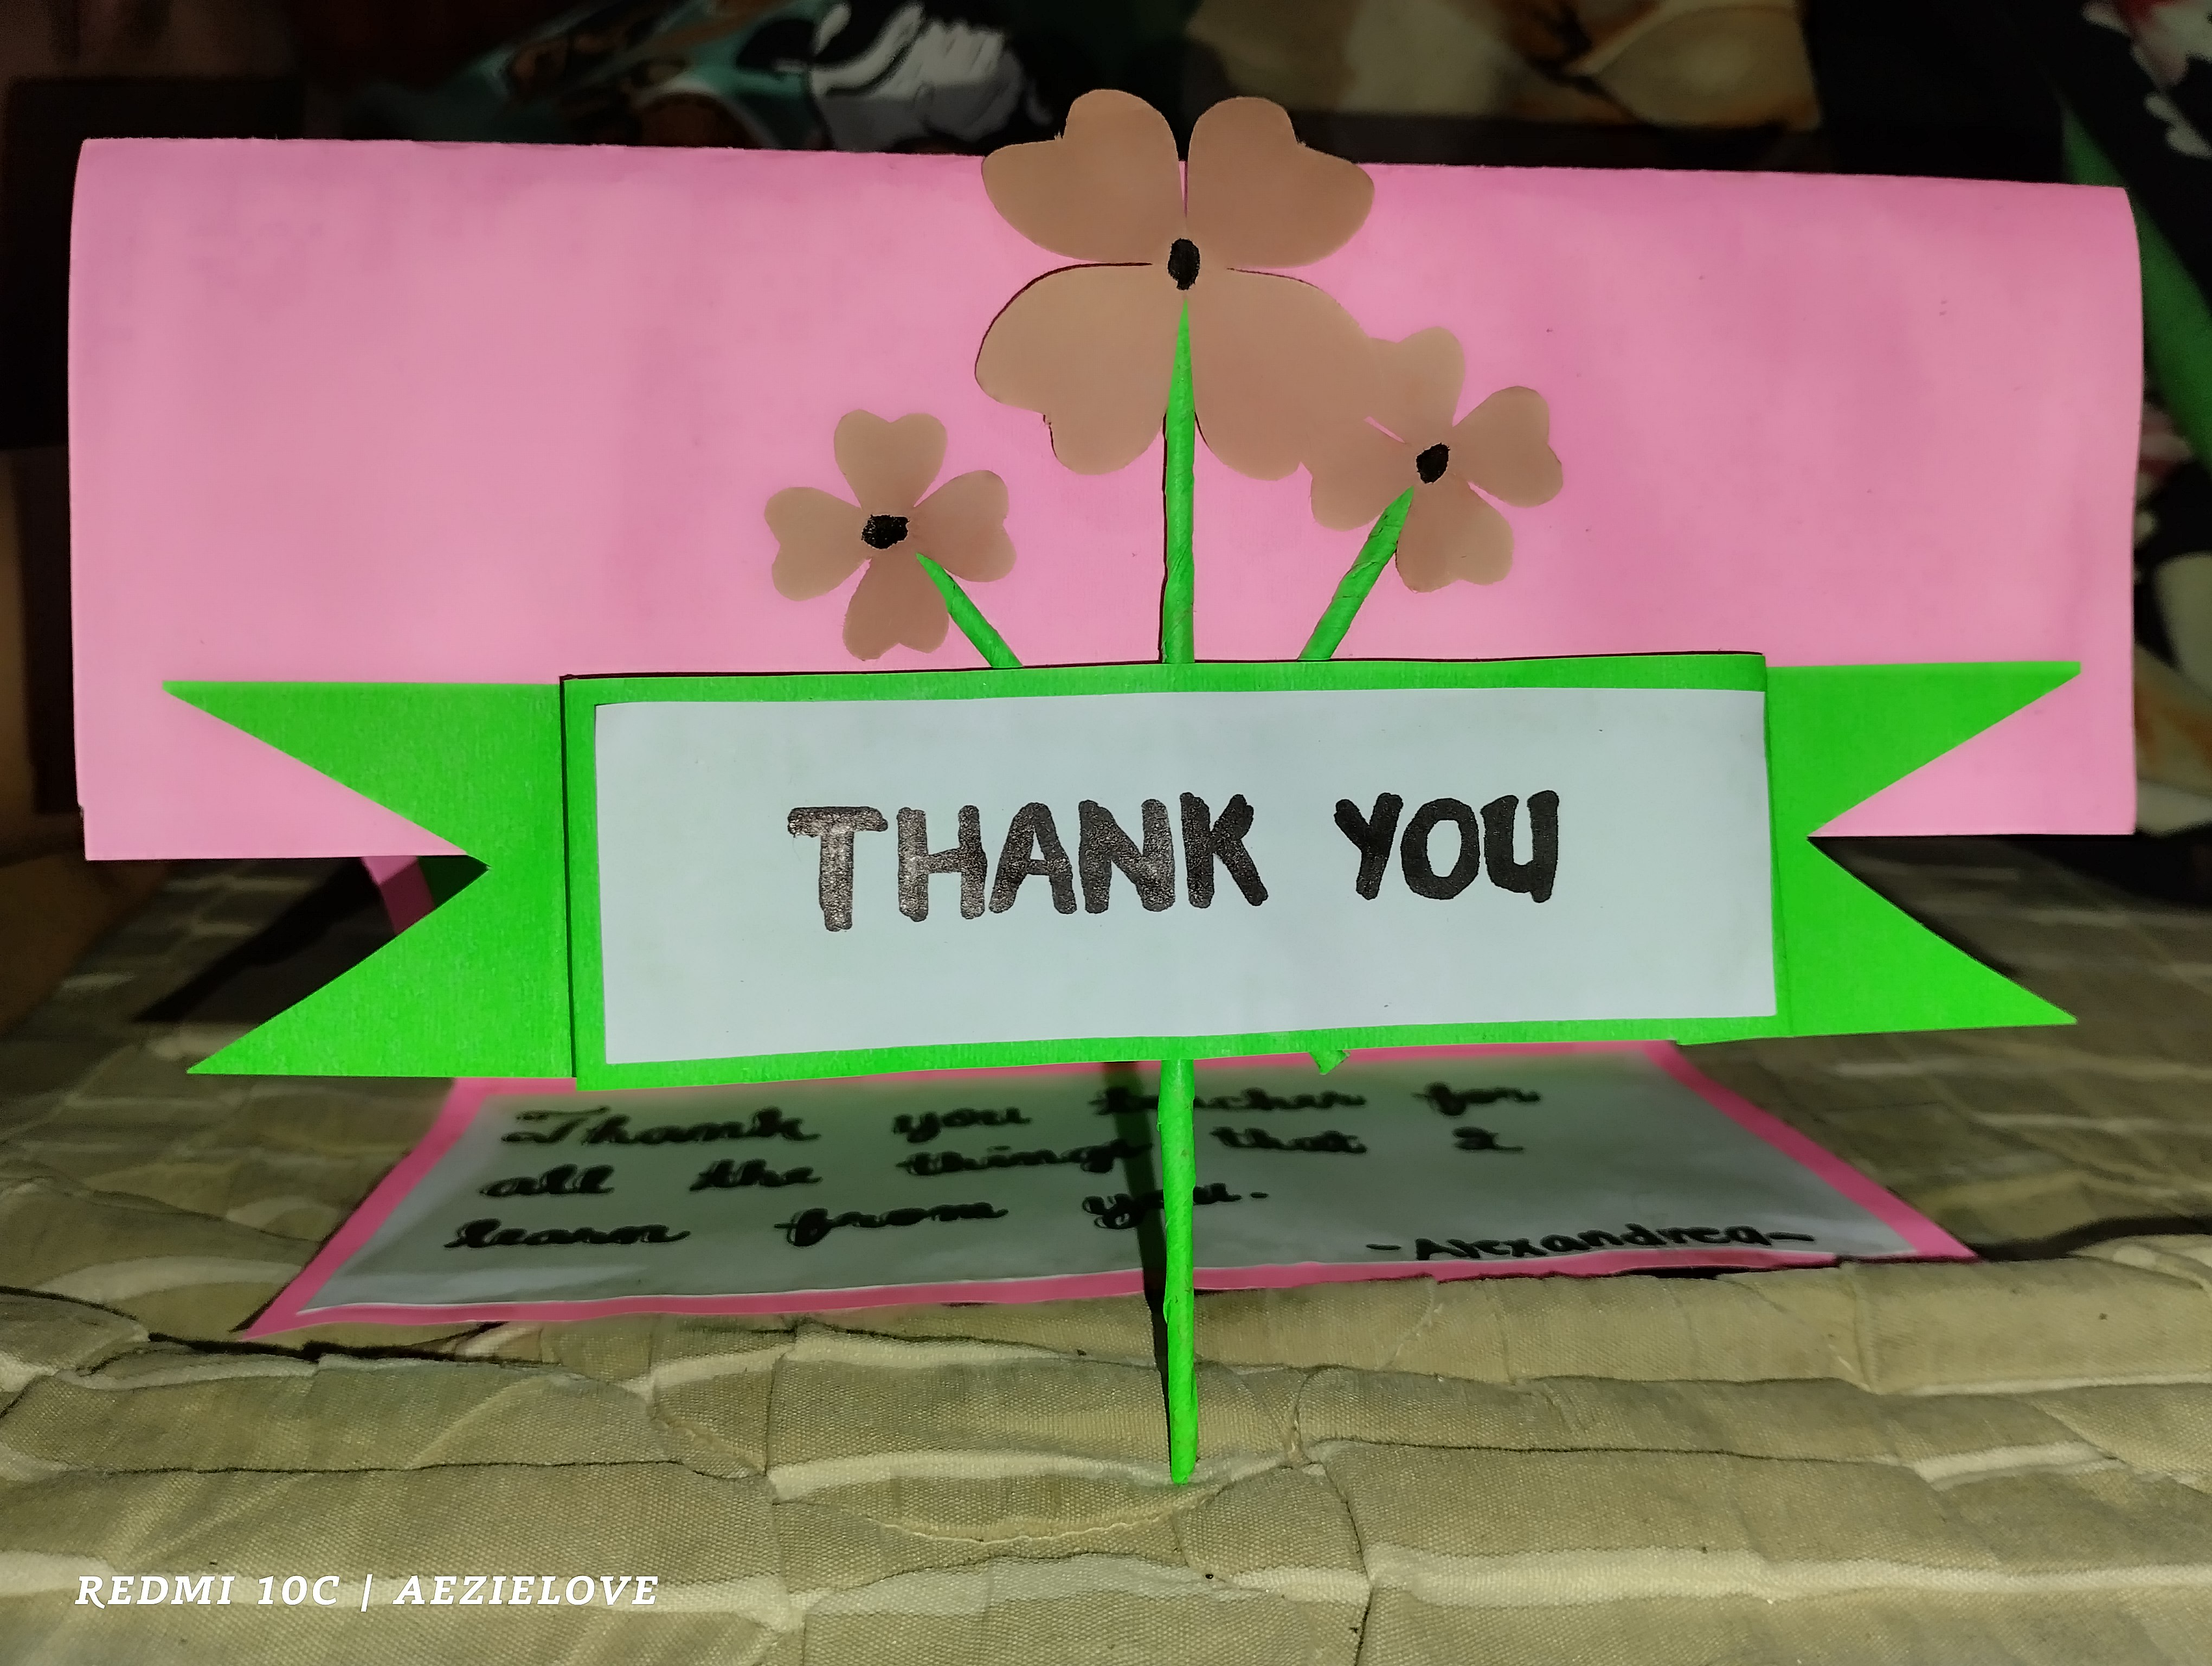
To start making the card, I get the pink color paper, folded it unequally. The upper folded part is a little smaller than in the lower side. After folding some parts of the pink color paper, next thing I did was cut a bondpaper that I pasted on the upper and lower folded side. In the center part of the card, I cut a green color paper then pasted it on the center. (Refer to the image #2)
The next step was cutting a green color paper having a 1 inch in width. I cut a design in both ends then fold a little in both ends too. After I cut a small rectangular shape bondpaper and paste it on the center of it. (Refer to image #3)
Then, I paste both ends of it on the upper folded part of the card. (Refer to the image #4,5 and 6 to see what it looks like after pasting it).
When I'm finally done with it, I get a short stick from our broom and covered it with the green color paper. These three sticks will serve as a stem on the flowers that I put on the front cover of the card. In making the flowers, I forgot to take photos on how I did it as we're in hurry that time but you can take a look at the photo in #8 and #9. That's the flower that I made. It's just a simple one. With the dark dot on the center, I used a permanent marker for that.
Same with my daughter's card, I only used four colors of color paper since that were colors that are available at that time because the others that I bought was also used with my eldest son's card for his teacher a week ago.
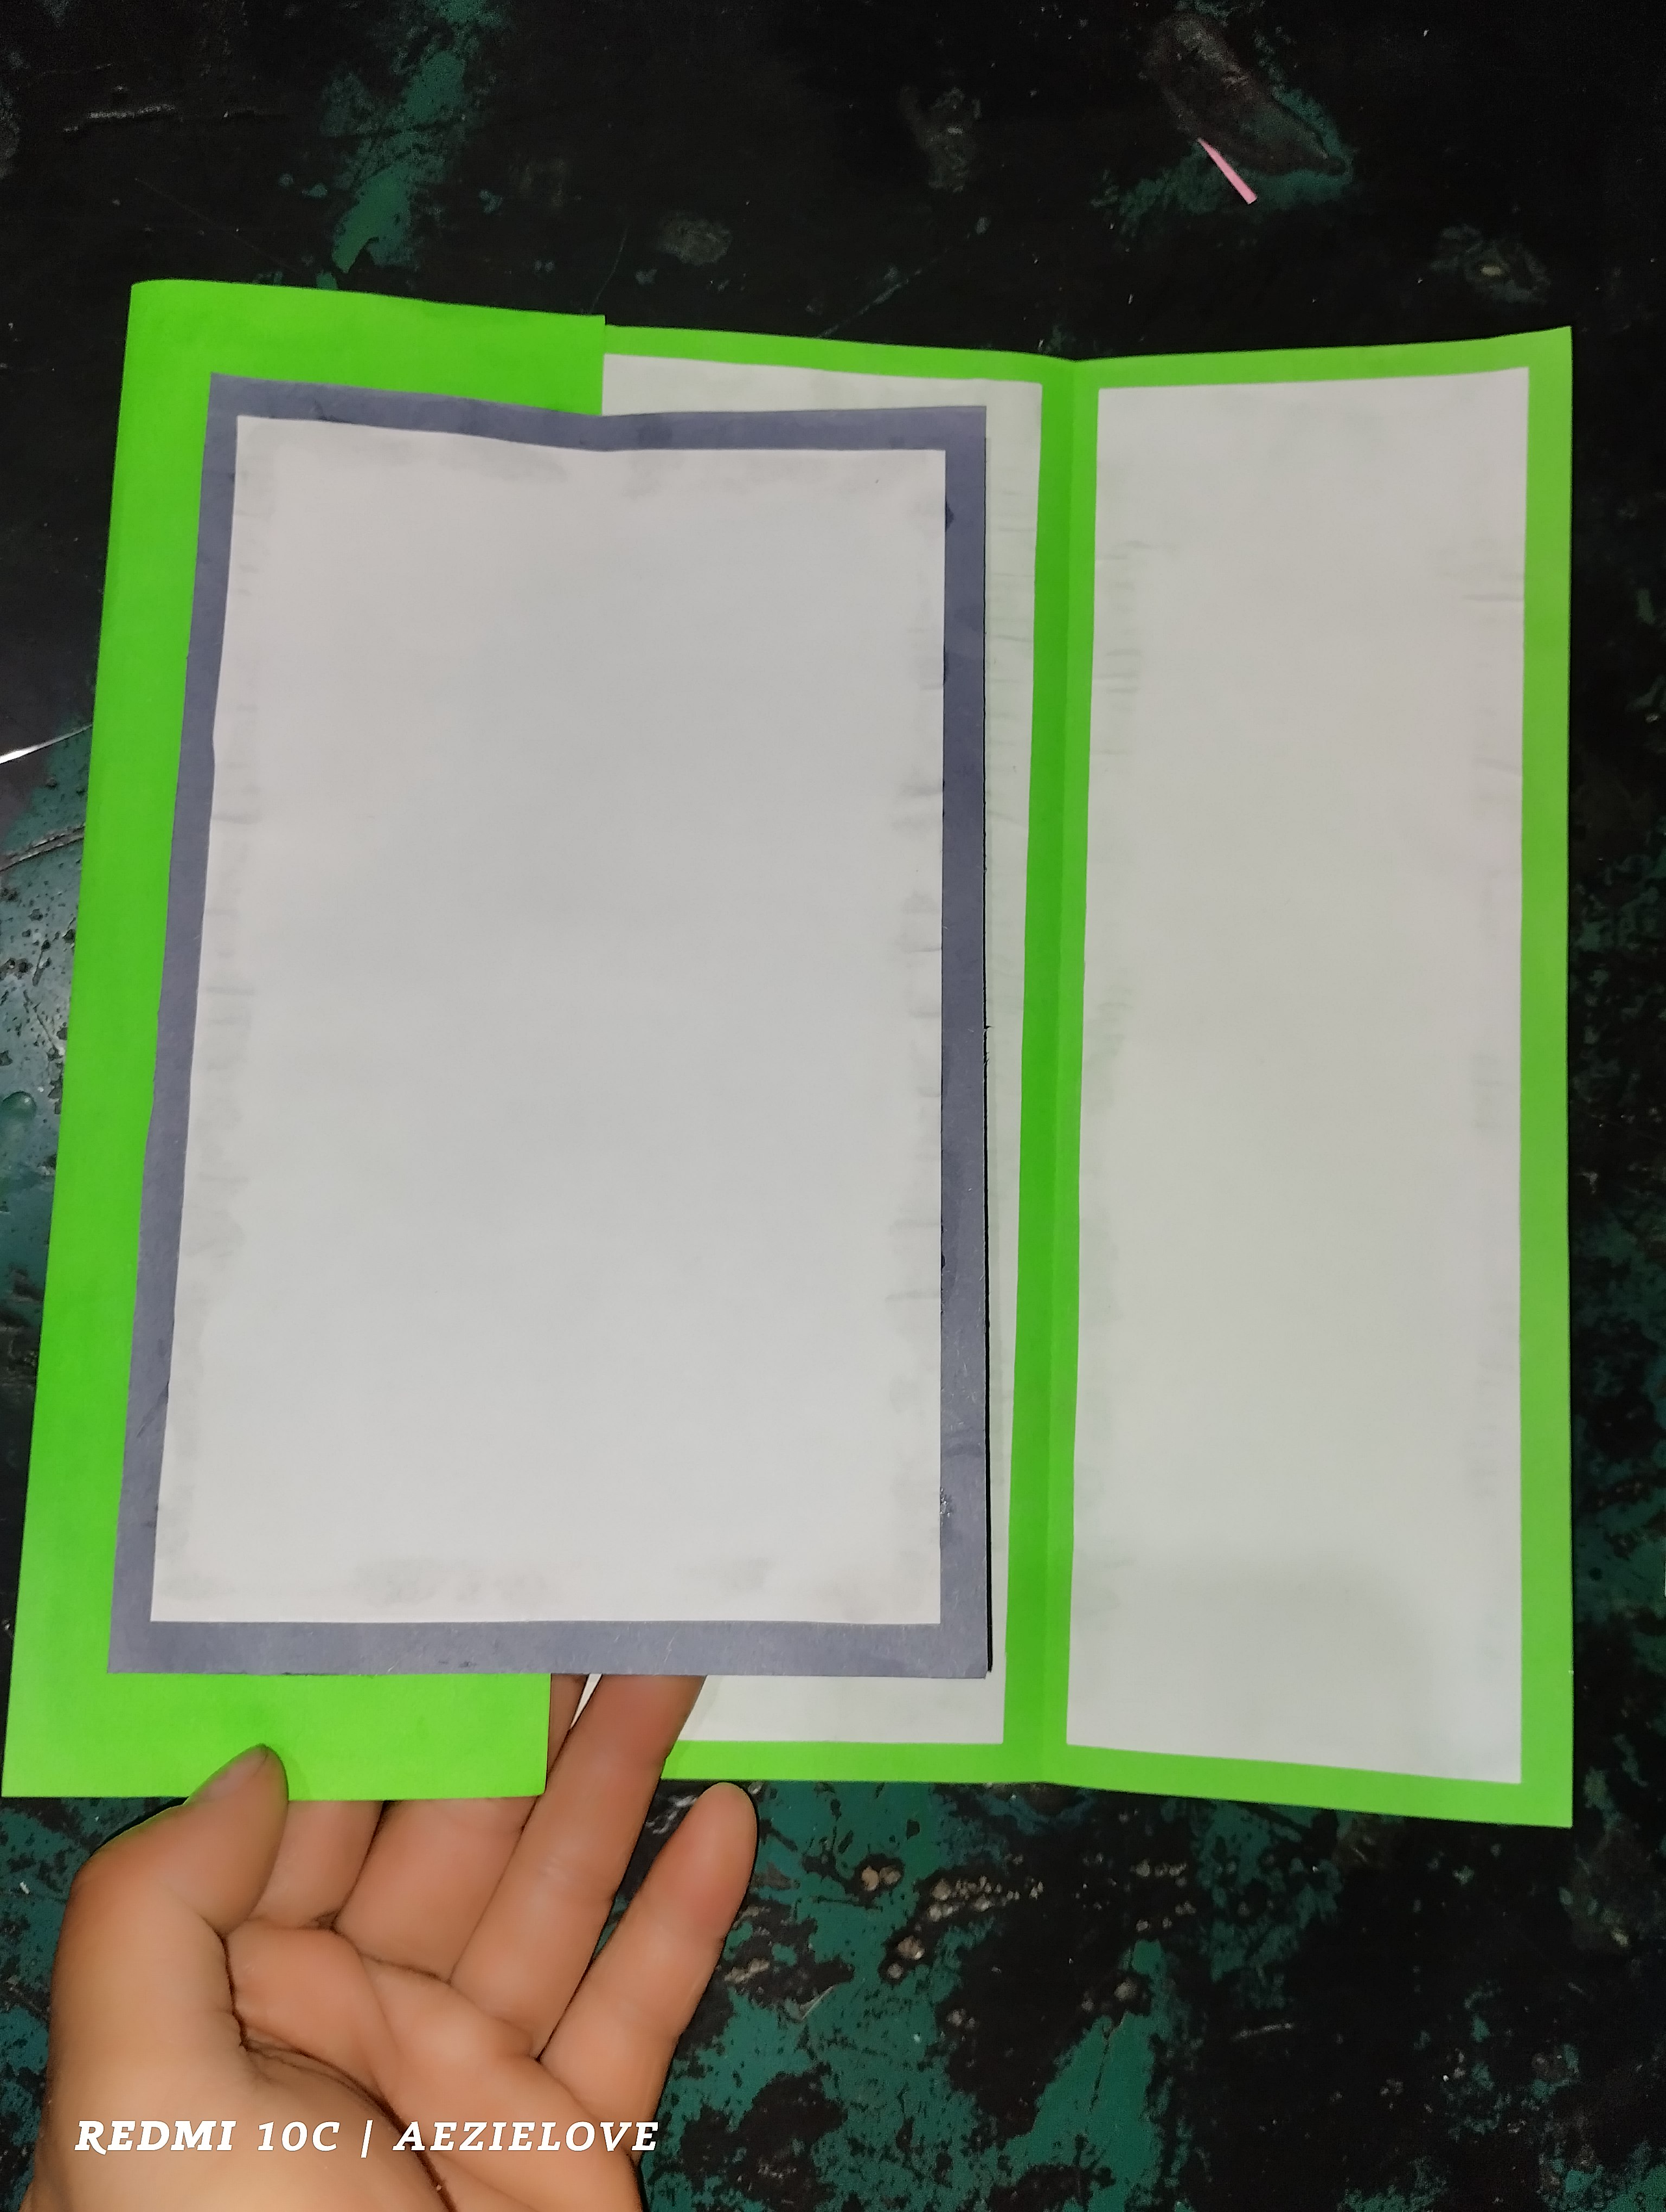
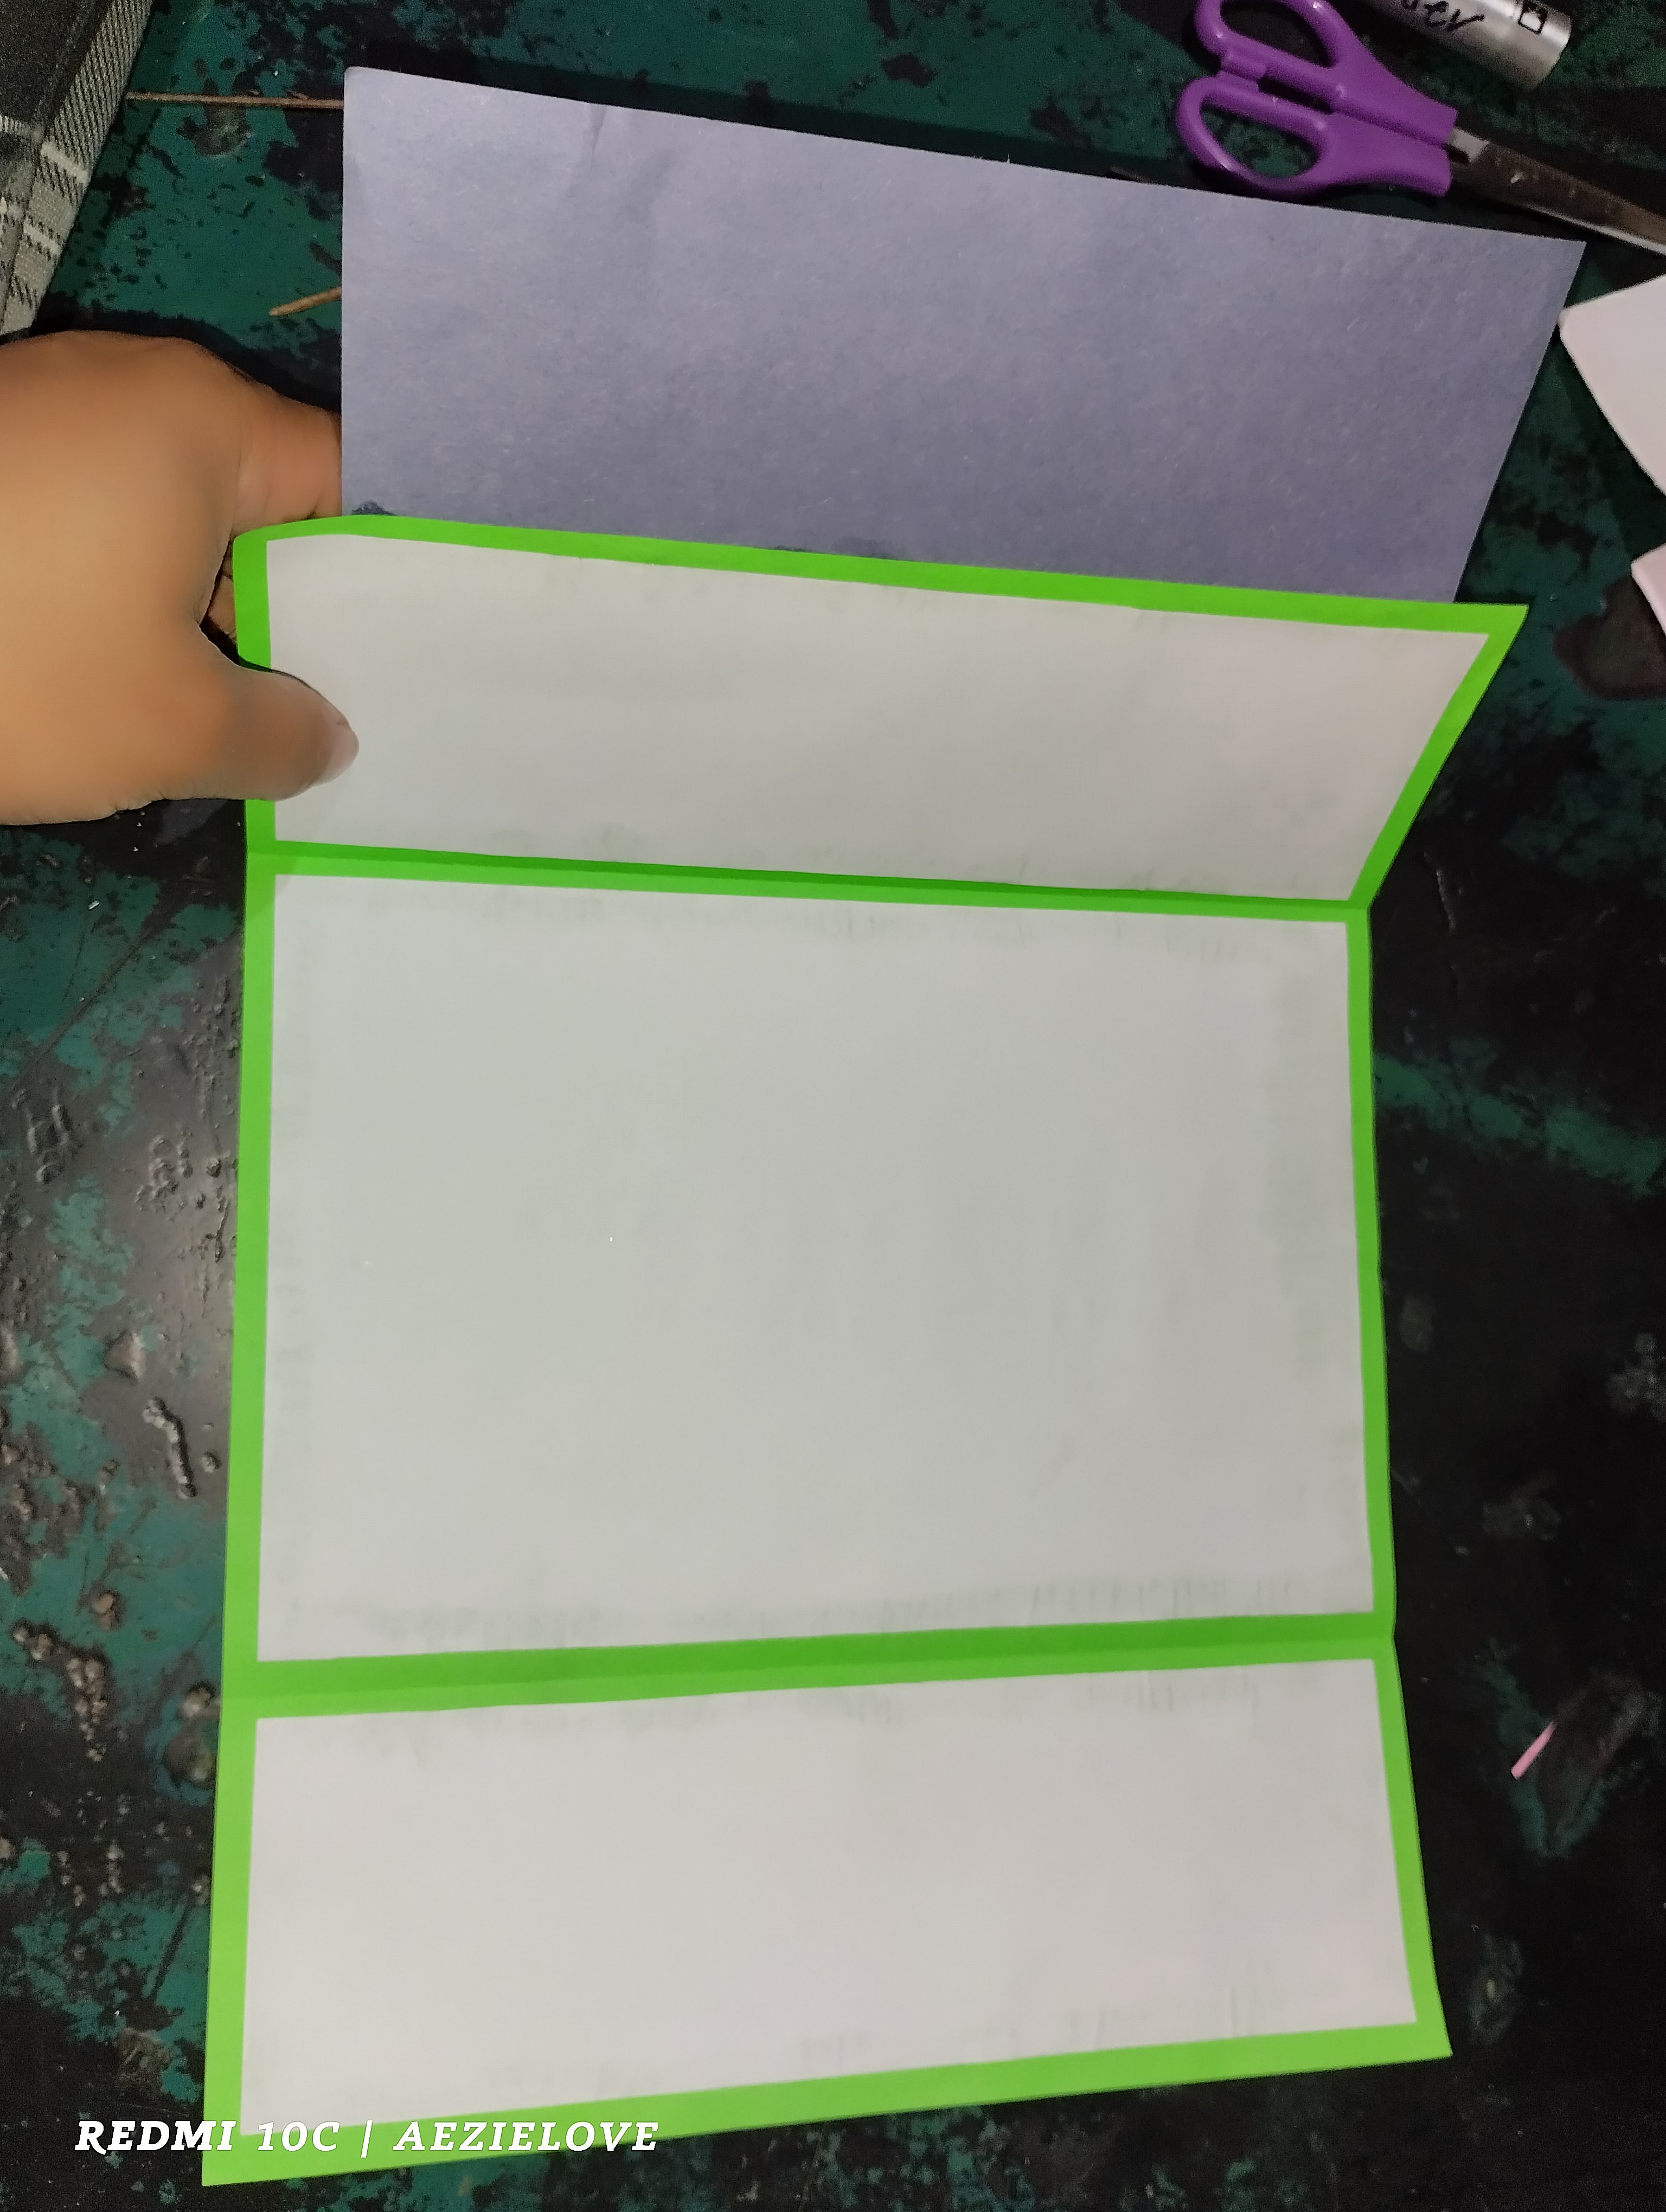
This card was so simple. I folded the both side of the green color paper equally. Then I paste the cut bondpapers on each folded side and so too in the center. When all of the bondpapers are pasted, I cut a gray color paper in a rectangular shape then paste it on the left folded side of the card. Same with what I did on the green color paper, I also paste a bondaper on the gray paper. (The way I explained the steps might be confusing to others, so to better understand how I did it, just take a look at those photos above so you would know what I said.
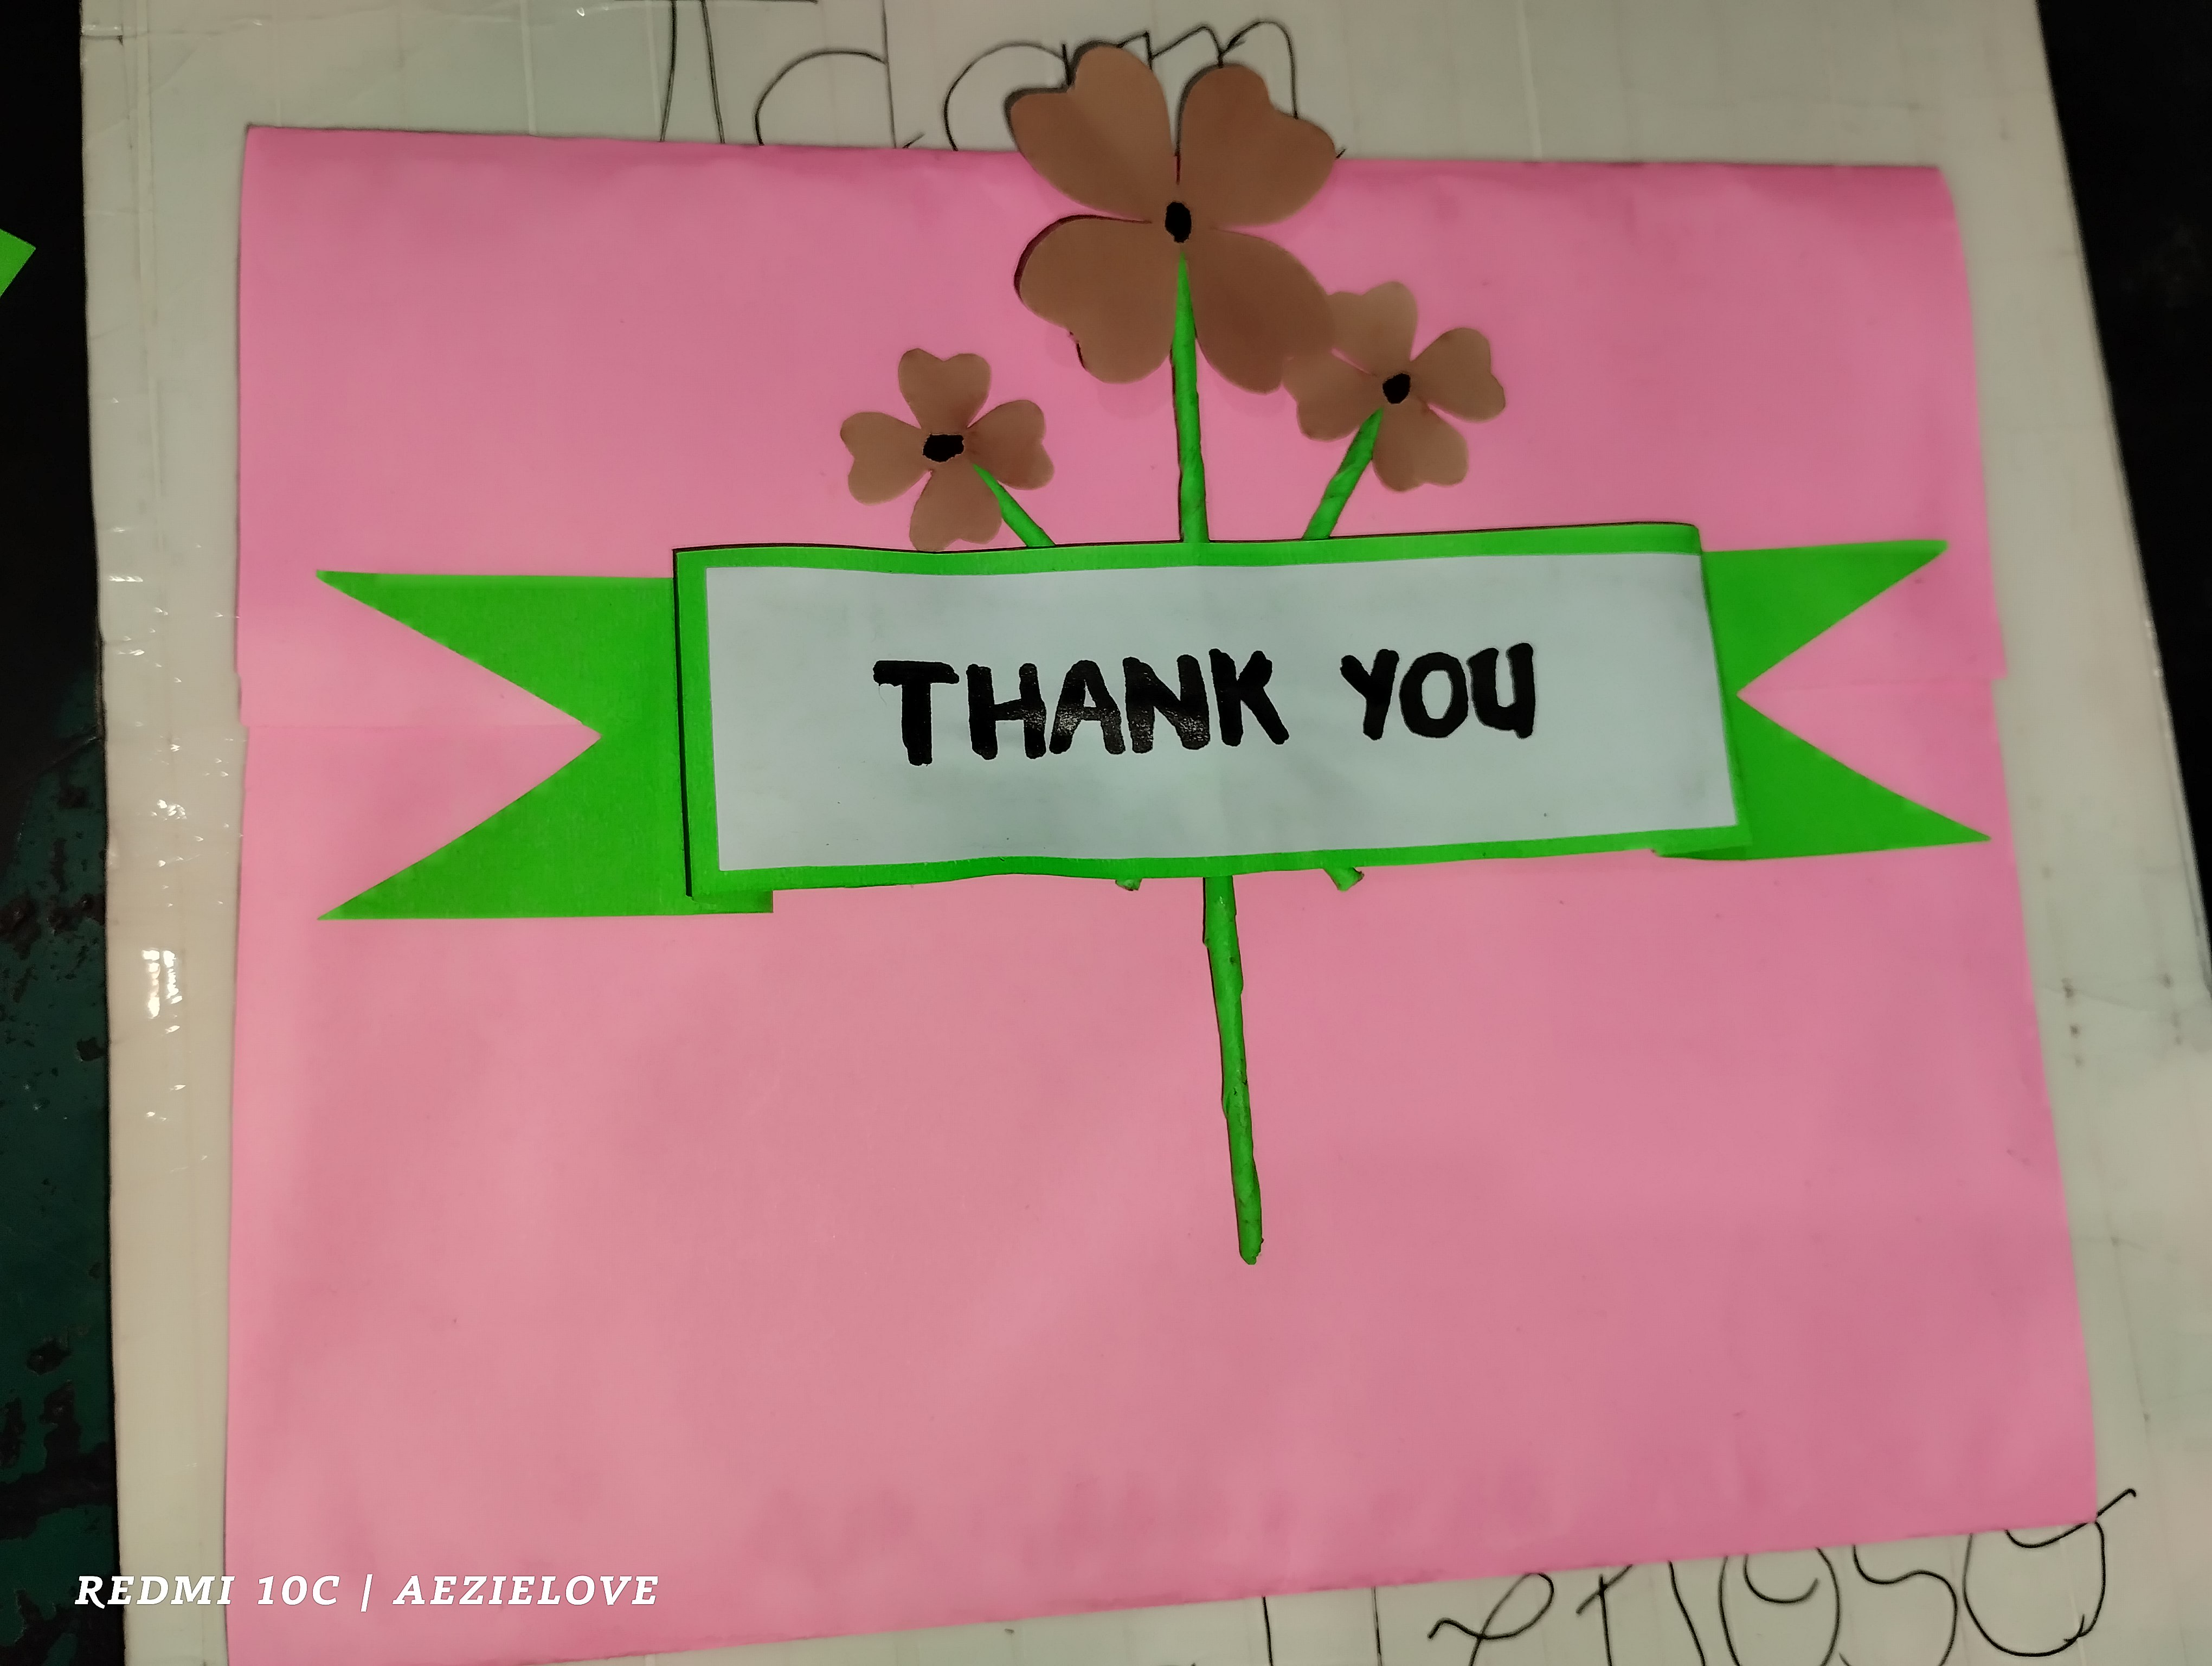
After folding, cutting and pasting the materials used in the card, I write the word THANK YOU and cut small hearts to add a little design on the front cover of the card.
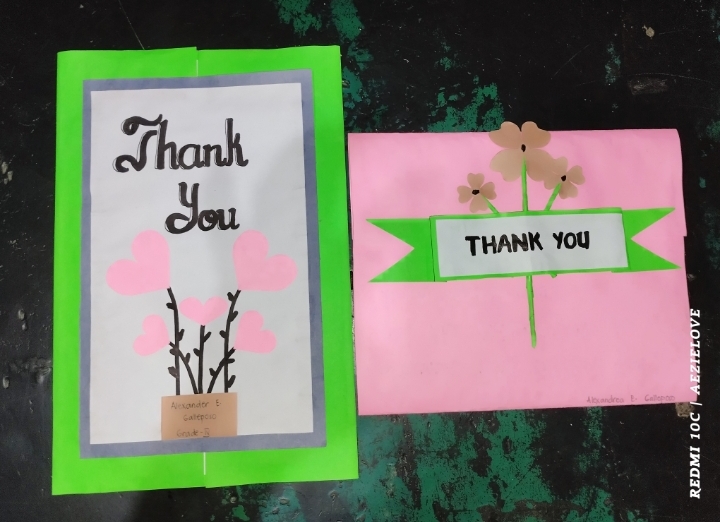
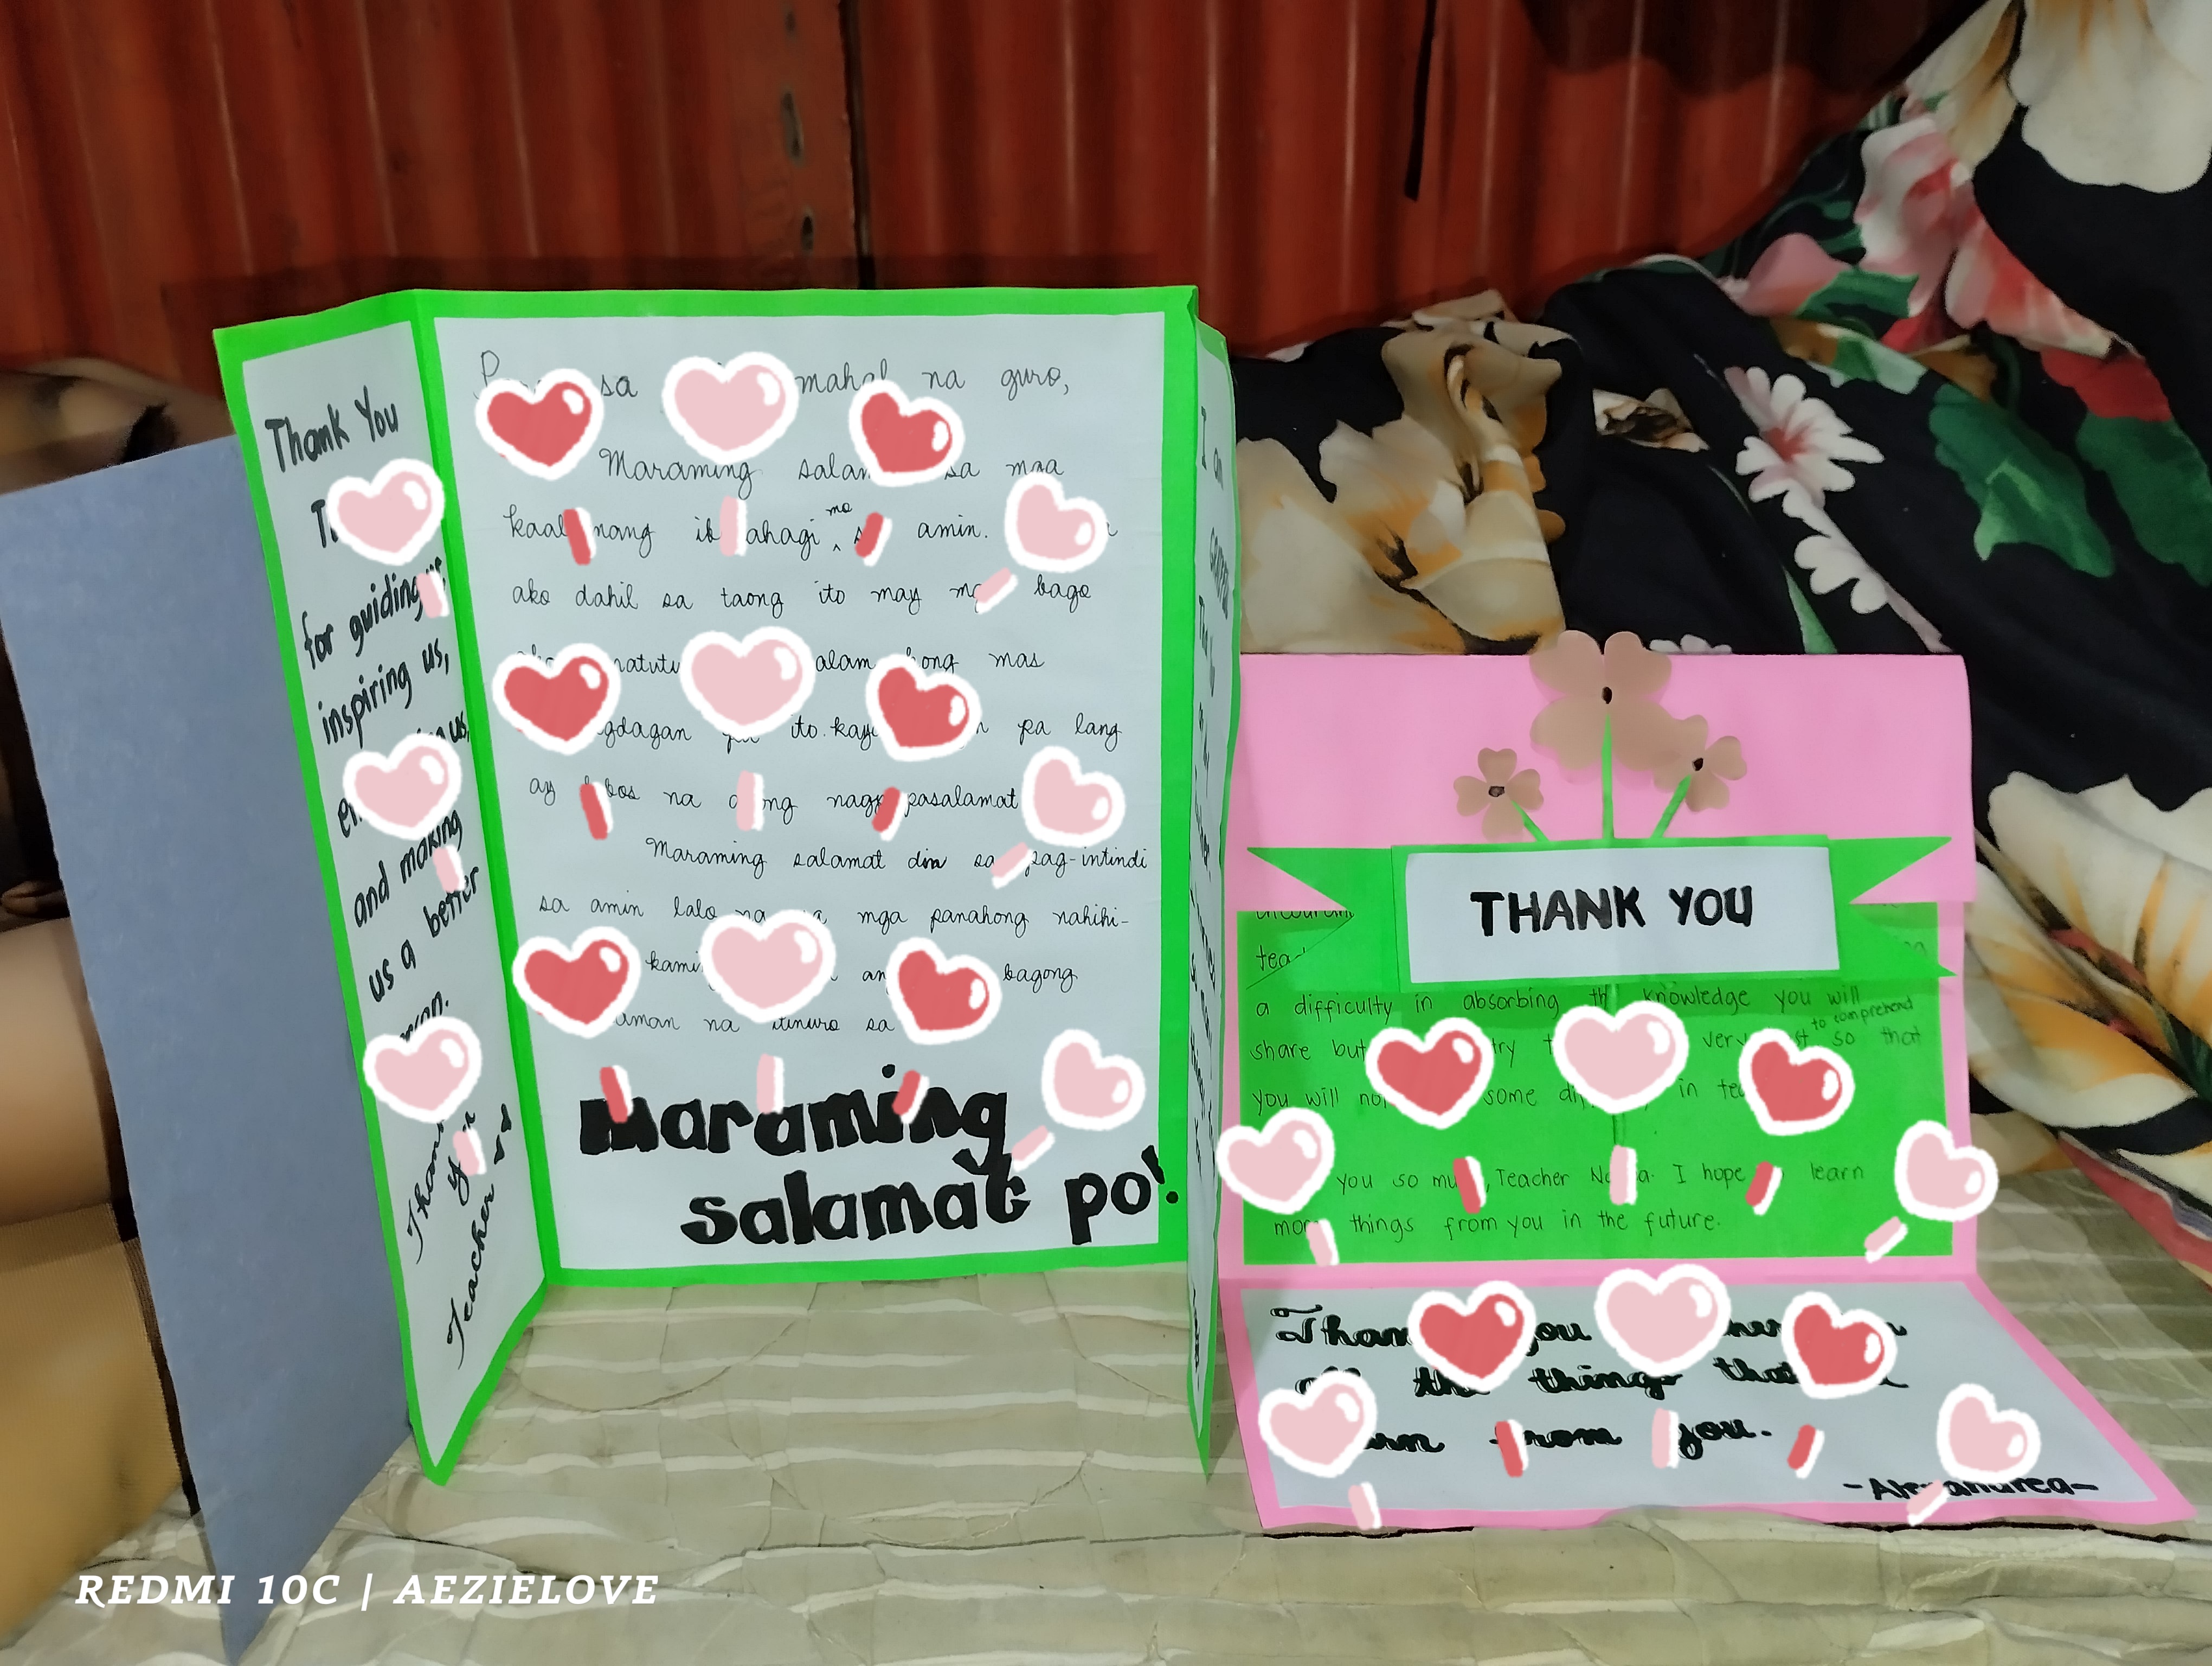
This is what the cards look like. It's just simple, right? I hope that we were able to put smile on their teacher's face as they gave it to her.
So, that's all for my blog today. Thank you for reading and see you again on my next blogs.
Ang galing naman ng kiddos mo, napaka creative. Linaw ng camera ng phone mo sis.
Thank you sis. Tulong2 kami sa paggawa nyan sis kasi kailangan ipasa Yan kinabukasan... Maraming salamat din sa delegation mo sis.
Congratulations @aezielove! You have completed the following achievement on the Hive blockchain And have been rewarded with New badge(s)
Your next target is to reach 300 upvotes.
You can view your badges on your board and compare yourself to others in the Ranking
If you no longer want to receive notifications, reply to this comment with the word
STOPCheck out our last posts:
Thank you :-)
Go for it @aezielove! You've got what it takes to reach your new target on Hive.
@aezielove
https://leofinance.io/threads/view/hive-130560/re-leothreads-ch6hgty3
https://twitter.com/hivediy47901/status/1709304885168984395
Kanindot pgkahimo sis ba..maayung buntag.
Salamat sis. Maayong buntag pud.
Welcome sis! Sugod na sd ta ug kabz Ani.
Karon pa ko ka repz sis Kay nabusy much... Thank you sa delegation sis.
Okay lng sis...way sapayan pud sis.
Awe how clever! That's so sweet!
Thanks sis. Happy Thursday!