How to make a men's Jogger from the beginning || Cómo hacer un Jogger masculino desde cero
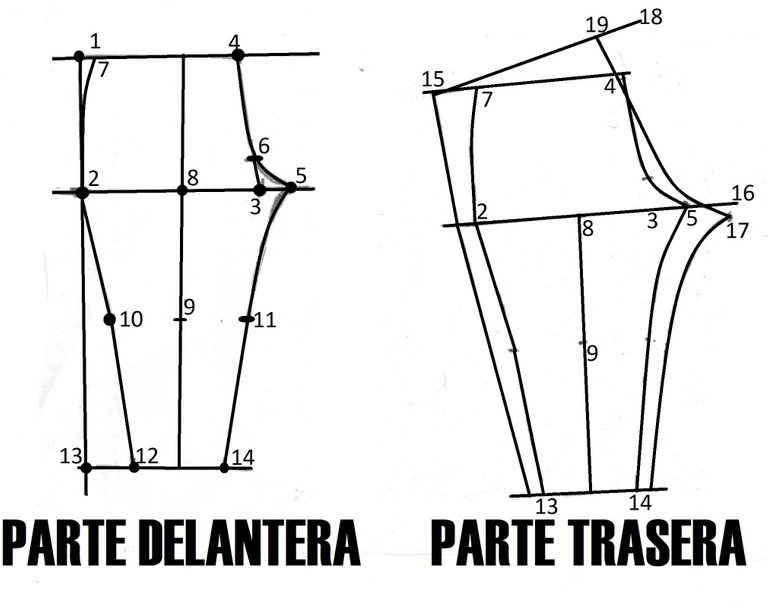
Pattern with the numbers to use for this design.
Patrón con los números a utilizar para este diseño.
HOW TO MAKE SPORT PANTS FOR MEN (JOGGER)
Greetings, #NeedleWorkMonday friends and colleagues, I hope you are having a great time and all your projects are being successful.
Today I want to share with you a sewing job that I did recently, and I also took the task of making a pattern and a guide so that you can also make it according to the measurements of your customers. This work was a pair of jumpsuit pants for men, that is to say, a pair of sport pants made of cotton.
The pattern is the one you can see above, and the steps for you to make your own according to your needs I put them below. At the end you can see the process of my work and the final result.
Hands to the tape measure!
MEASUREMENTS I USED
- Waist: 105 cm
- Hips: 115 cm
- Drawcord: 30 cm
- Knee length: 55-4= 51 cm
- Knee width: 40 cm
- Total length: 102 cm
- External side pocket height: 30 cm
- Boot width: 38 cm
MATERIAL TO BE USED
- 1.50 meters of fabric
- 0,75 cm of elastic with cord
- Thread
- 10 cm of magic clasp
- Scissors
- Machine
- Bond paper
- Rulers
- Squares
STEPS TO FOLLOW TO MAKE THE PATTERN
FRONT PART
- Place the paper or fabric and trace from point 1 to 2, taking the length of the draught.
- From 2 to 3, a quarter of the hip plus 1 cm.
- From 1 to 4 quarter of the hip, we join 4 with 3 with a straight line.
- From 3 to 5 and from 3 to 6 fifth of base (5.7 cm) join with curved line.
- From 4 to 7 fourth part of hip.
- Mark the middle from point 5 to 2 by marking point 8, draw a straight line along the whole length of the pattern.
- From the upper margin mark point 9 (knee length 51 cm).
- From 9 to 10 and 11 (1/4 knee length).
- From the upper margin to the 12 of total length (102 cm).
- From 12 to 13 and 14 (1/4 boot width, 9.5 cm).
REAR PART
- Place the front part on another piece of paper or fabric, leaving a horizontal margin of 6 cm and a vertical margin of 9 cm.
- Extend the lines boot (hem), knee and hip.
- From stitch 7 to stitch 15 and from stitch 5 to stitch 16, increase the base fifth (5,7).
- From 16 to 17 we decrease 1 cm.
- From sts 4 to 18, we knit a fifth of base (5,7).
- We join 16 with 15 with a diagonal.
7.- From 15 to 19 mark 1/4 of the chain plus 4 cm. - From 6 increase 1 cm outward, join 19 with 6, straight line, 6 and 17 with a curved line.
- In stitches 2, 10, 13, 14 and 11 increase 2 cm, which is the seam allowance.
Translated with www.DeepL.com/Translator (free version)
COMO REALIZAR PANTALÓN DEPORTIVO PARA CABALLERO (JOGGER)
Saludos, amigos y colegas de #NeedleWorkMonday, espero la estén pasando bien y todos sus proyectos estén siendo exitosos.
Hoy quiero compartir con ustedes un trabajo de costura que realicé recientemente, y que además me di a la tarea de realizar un patrón y una guía para que ustedes también puedan realizarlo de acuerdo a las medidas de sus clientes. Dicho trabajo fue el de un pantalón mono para caballeros, es decir, un pantalón deportivo hecho de algodón
El patrón es el que pueden ver arriba, y los pasos para que ustedes realicen los suyos según sus necesidades los pongo a continuación. Al final podrán ver el proceso de mi trabajo y el resultado final.
¡Manos a la cinta métrica!
MEDIDAS UTILIZADAS
- Cintura: 105 cm
- Cadera: 115 cm
- Tiro: 30 cm
- Largo de rodilla:55-4= 51 cm
- Ancho de rodilla: 40 cm
- Largo total: 102 cm
- Altura bolsillo externo lateral: 30 cm
- Ancho de bota: 38 cm
MATERIAL A UTILIZAR
- 1,50 metros de tela
- 0,75 cm de elastica con cordón
- Hilo
- 10 cm de cierre mágico
- Tijeras
- Maquinas
- Papel bond
- Reglas
- Escuadras
PASOS A SEGUIR PARA REALIZAR EL PATRÓN
PARTE DELANTERA
- Colocamos el papel o tela y trazamos el punto 1 al 2 tomando el largo del tiro.
- Del 2 al 3 cuarta parte de cadera más 1 cm.
- Del 1 al 4 cuarta parte de la cadera, unimos 4 con 3 con línea recta.
- Del 3 al 5 y del 3 al 6 quinta de base (5,7 cm) unir con línea curva.
- Del 4 al 7 cuarta parte parte de cadera.
- Marcar la mitad desde el punto 5 al 2 marcando el punto 8, trazar una línea recta a todo el largo del patrón.
- Desde el margen superior marcamos el punto 9 (largo de rodilla 51 cm).
- Del 9 al 10 y al 11 (1/4 de rodilla).
- Del margen superior al 12 de largo total (102 cm).
- Del 12 al 13 y al 14 ( 1/4 ancho de bota, 9,5 cm)
PARTE TRASERA
- Colocamos la parte delantera sobre otro papel o tela, dejando un márgen horizontal de 6 cm y uno vertical de 9 cm.
- Prolongamos las líneas bota (ruedo) rodilla y cadera.
- Del punto 7 al punto 15 y del punto 5 al 16, aumentamos la quinta de base (5,7).
- Del 16 al 17 bajamos 1 cm.
- Del 4 al 18 quinta de base (5,7).
- Unimos el 16 con el 15 con una diagonal.
- Del 15 al 19 se marca 1/4 de la cadela más 4 cm.
- Del 6 se aumenta 1 cm hacia afuera, unir con el 19 con 6, línea recta, 6 y 17 con línea curva.
- En los puntos 2, 10, 13, 14 y 11 aumentarle 2 cm que es el margen de costura.
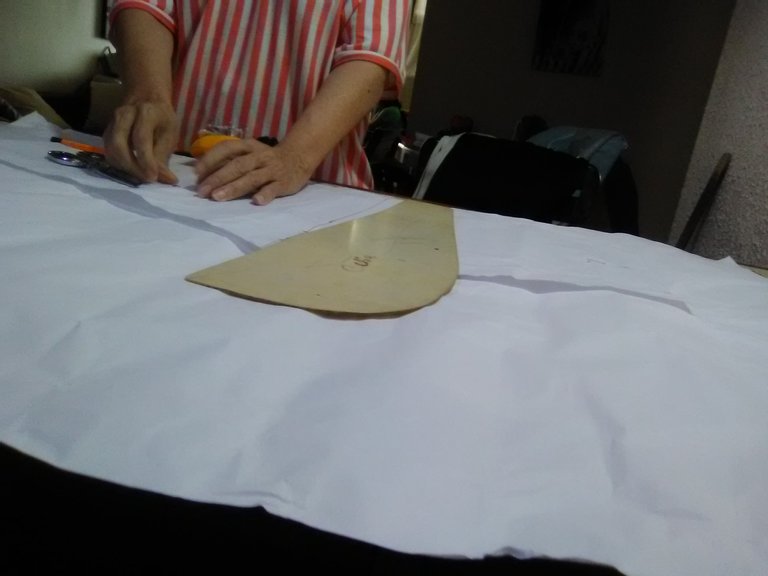
Assembling the patterns with the indicated measurements.
Armando los patrones con las medidas señaladas.
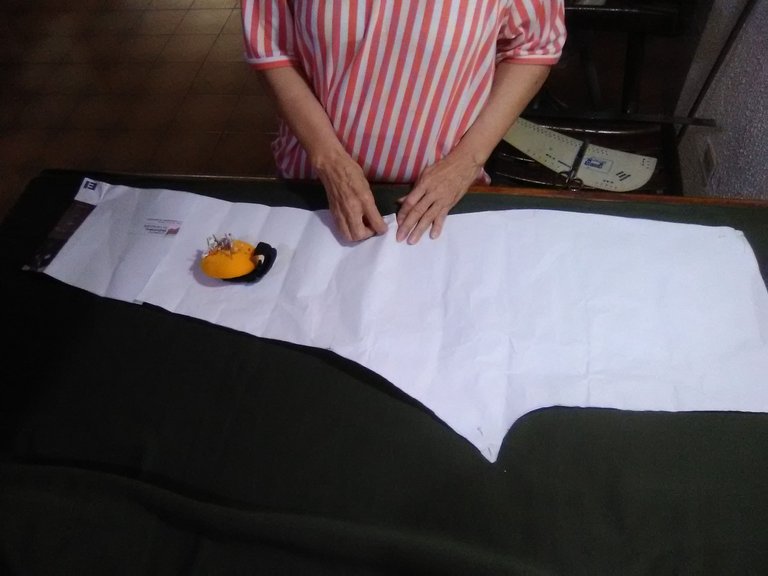
Presenting on the canvas the patterns already elaborated according to the given indications.
Presentando en la tela los patrones ya elaborados según las indicaciones dadas.
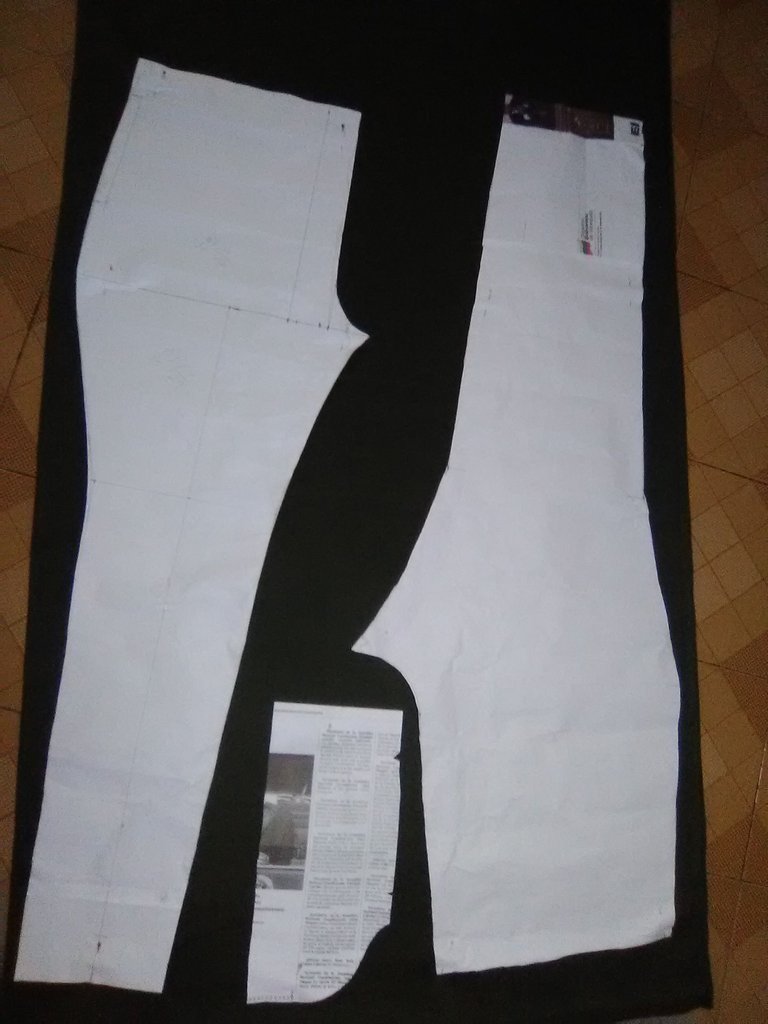
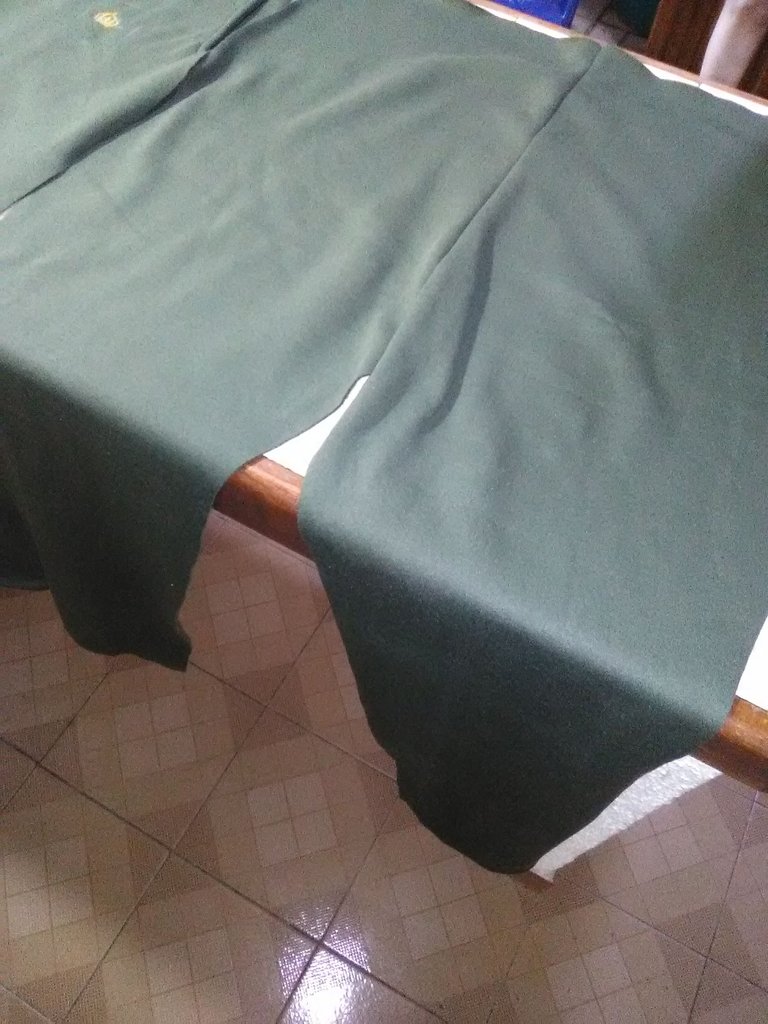
Joining the pattern of the back side to proceed to cutting.
Uniendo el patrón de la parte trasera para proceder a cortar.
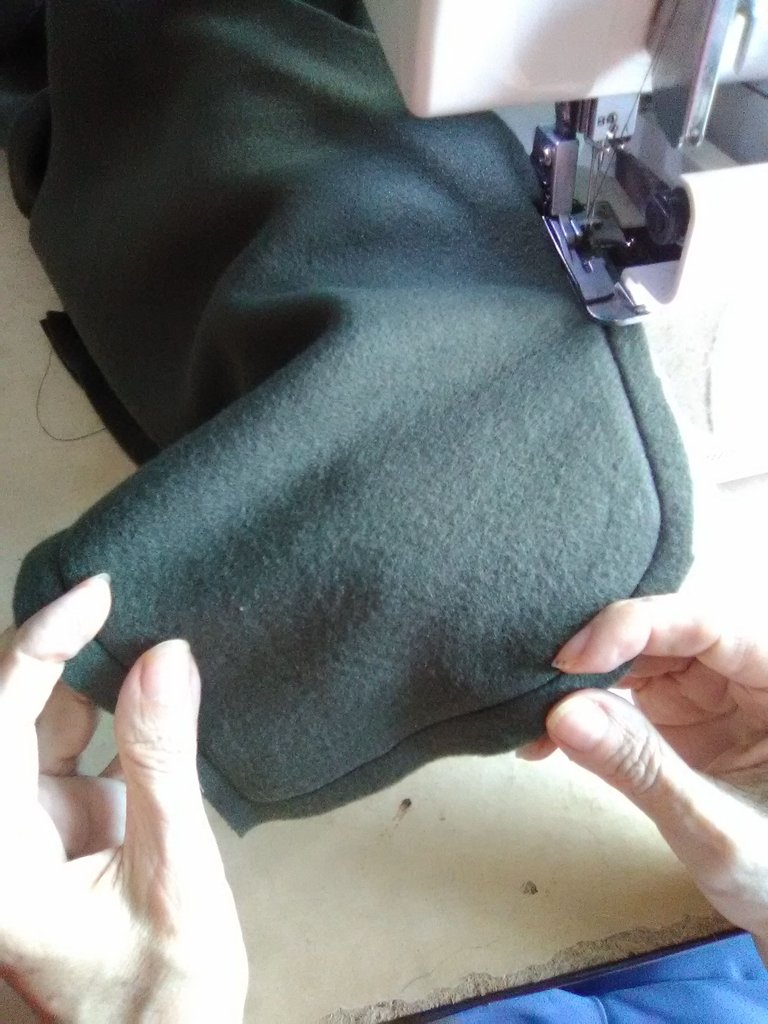
Sewing the upper pockets.
Cosiendo los bolsillos superiores.
Here you can see the front of the pants already cut and attached to the top pockets.
Aquí puede verse la parte delantera del pantalón ya cortado y unido a los bolsillos superiores.
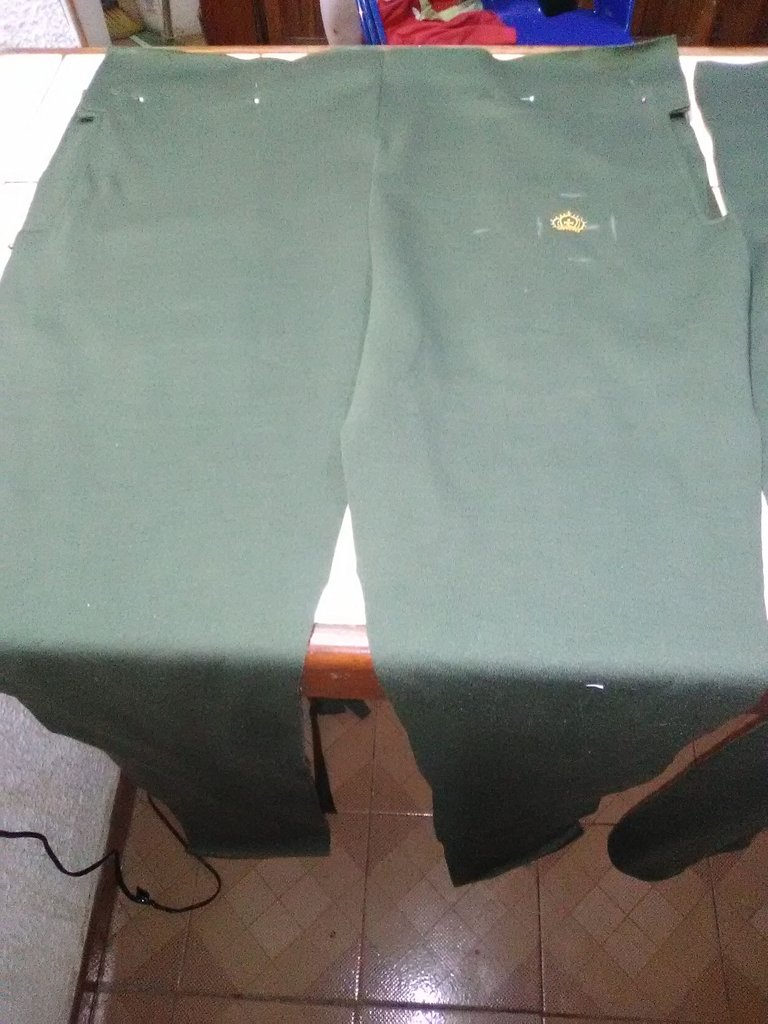
This is the back of the pants already cut.
Esta es la parte trasera del pantalón ya cortado.
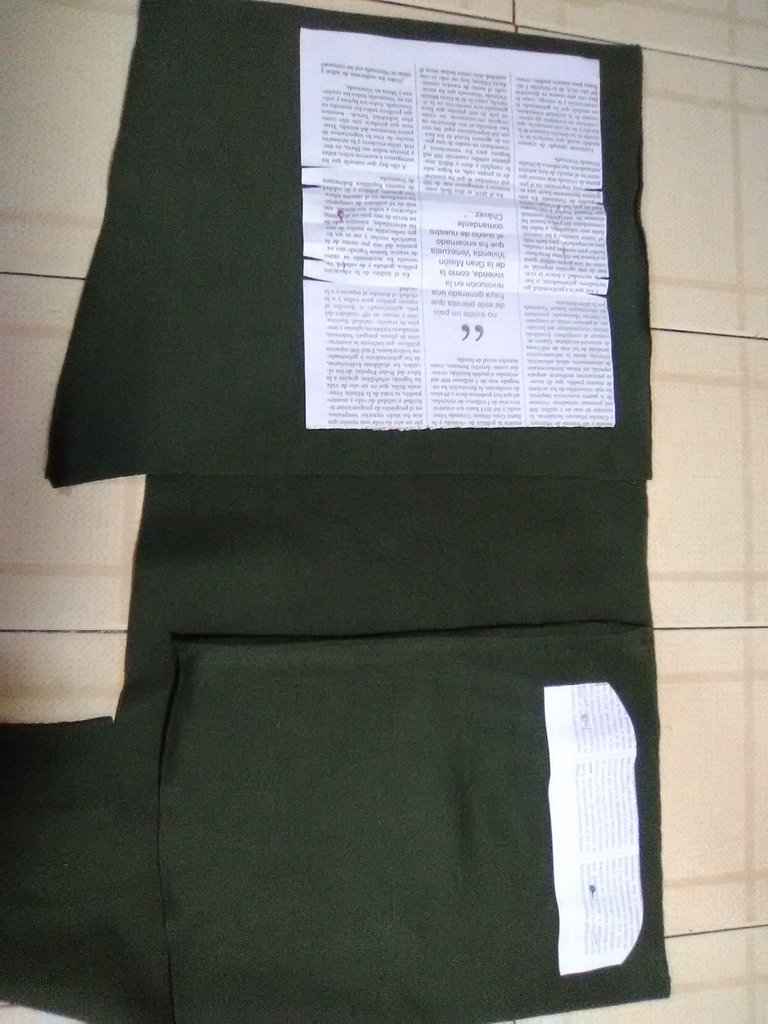
Presenting the patterns for cutting the lower pockets.
Presentando los patrones para cortar los bolsillos inferiores.
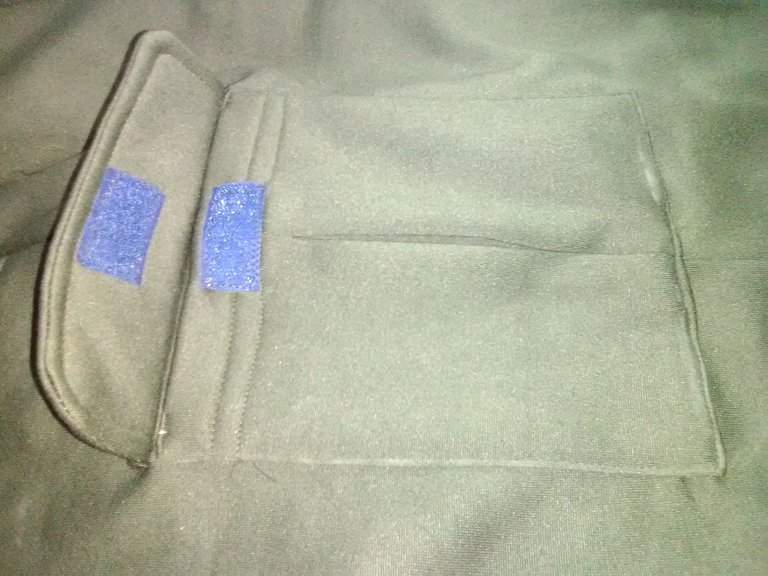
Pockets already cut and sewn, you can see the fold in the center and the Velcro to close it.
Bolsillos ya cortados y cosidos, puede notarse el doblez en el centro y el velcro para cerrarlo.
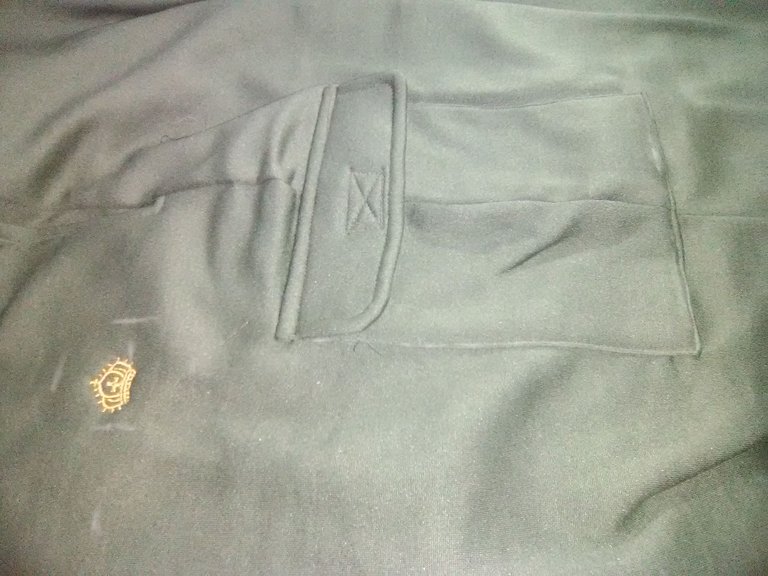
The pocket is closed. Also seen above are the top pocket and the embroidered logo of our tailoring company.
El bolsillo cerrado. También se ven arriba el bolsillo superior y el logo bordado de nuestra empresa de confección.
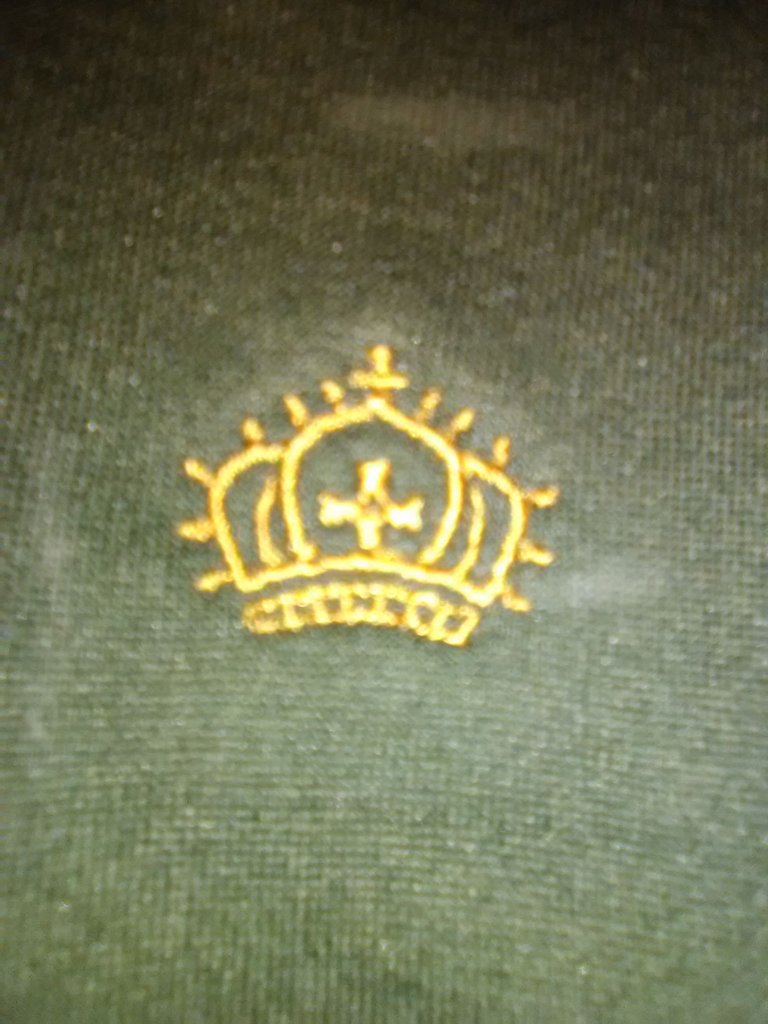
Our company logo, it refers to the fact that Jesus Christ is the King.
El logo de nuestra empresa, hace referencia a que Jesucristo es el Rey.
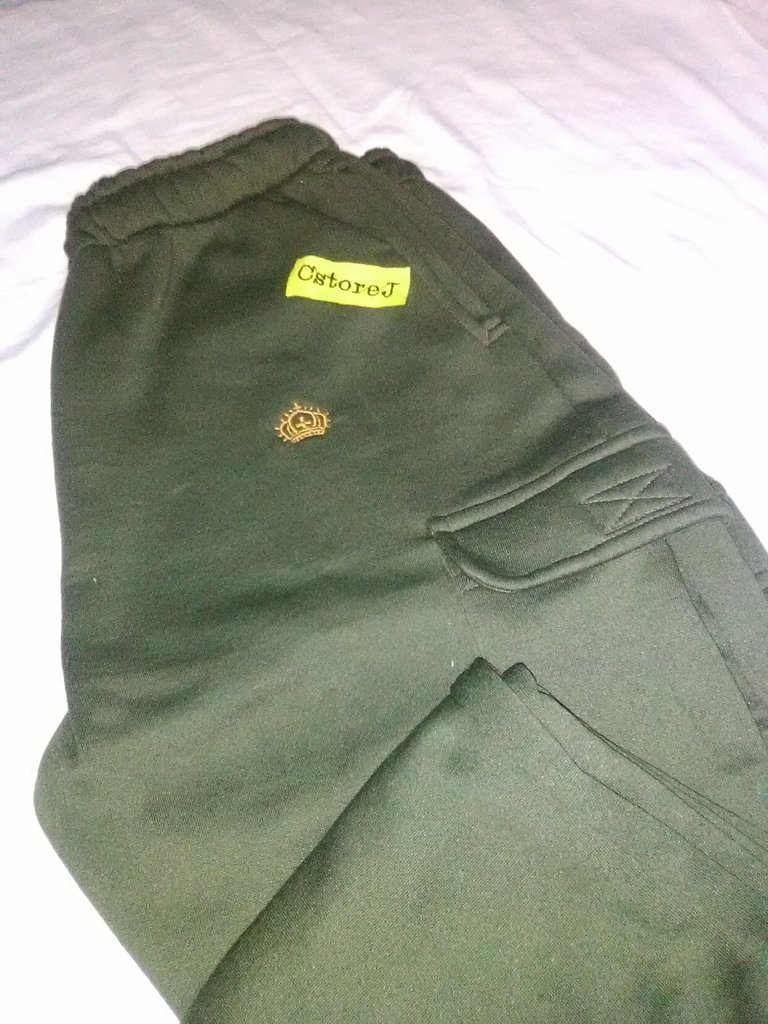
The pants are ready.
El pantalón ya listo.
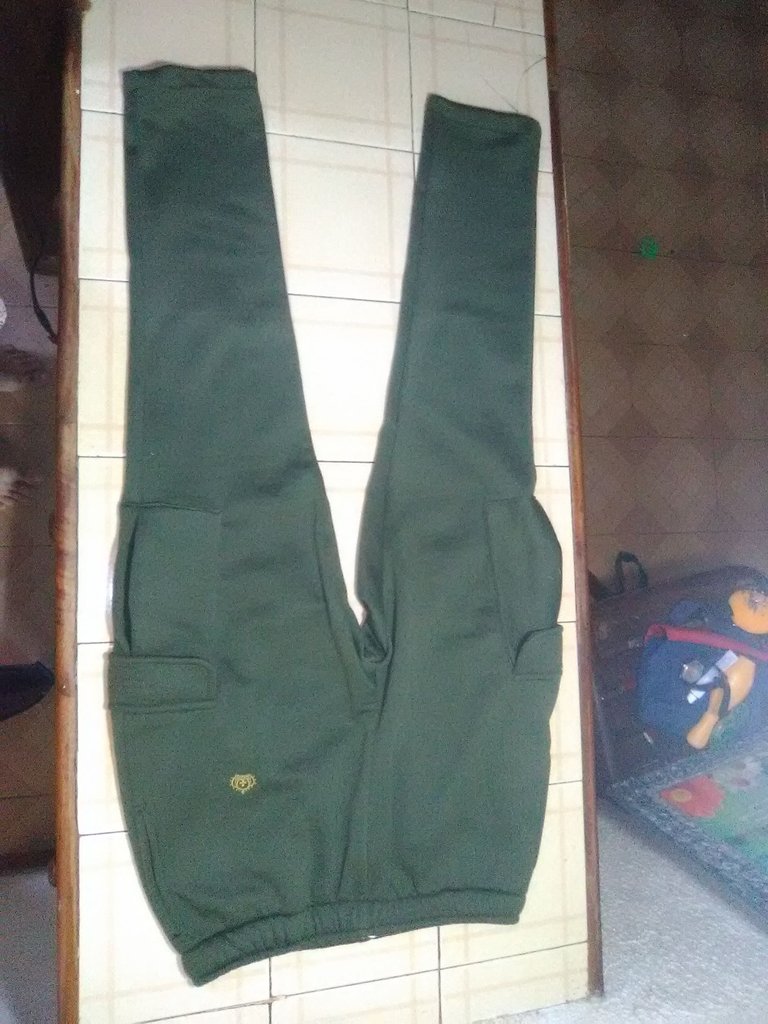
The complete view of the pants is ready.
La vista completa del pantalón listo.
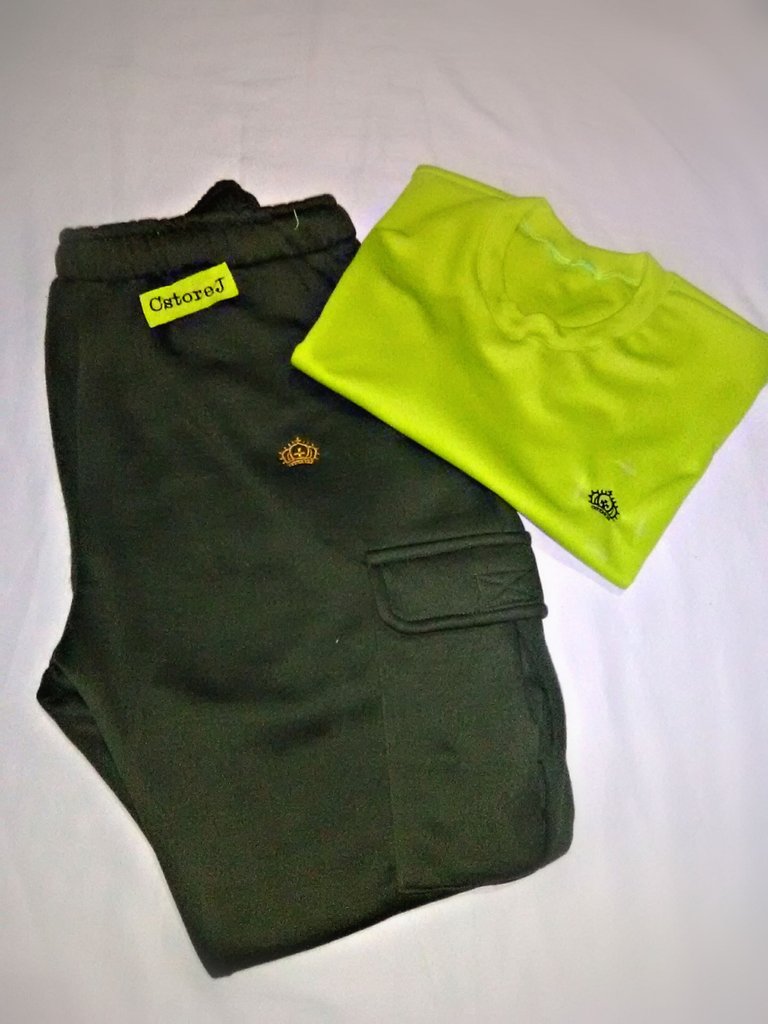
The pants together with a matching t-shirt, both with the same embroidered logo.
El pantalón junto a una franela que le hace juego, ambos con el mismo logo bordado.
Well, friends, I hope you can take advantage of this guide that I brought you to make this type of pants and that you are encouraged to do it. If you have any questions about it, don't hesitate to ask, I'll be glad to answer them.
Electronic-terrorism, voice to skull and neuro monitoring on Hive and Steem. You can ignore this, but your going to wish you didnt soon. This is happening whether you believe it or not. https://ecency.com/fyrstikken/@fairandbalanced/i-am-the-only-motherfucker-on-the-internet-pointing-to-a-direct-source-for-voice-to-skull-electronic-terrorism
Lovely trouser, I love the material
Thanks! I hope it may be useful for this community :)
I love the sewing and I would like to teach everyone how to do all kind of clothes and more!
Yes please do I’ll be really glad to learn something new to help improve my skills
Hello @abuelacosturas! Welcome to NeedleWorkMonday it’s great to have you here.
These are very nice joggers and look well and professionally made. I really like the pockets!
Every week needleworkers from around the globe get together to share our work, patterns, tips, ideas and shortcuts as we support one another. Our goal is to inspire the Hive blockchain to give crafting a try.
On Monday’s we use the #needleworkmonday tag and on all other days we use the #needlework tag without the word Monday attached. We share and post our work directly from the Community page.
We encourage our members to share the process of their work through photos. This not only validates your work but it takes us along the creative journey with you.
For more information about what we do and for our posting guidelines please visit our FAQs.
Congratulations @abuelacosturas! You have completed the following achievement on the Hive blockchain and have been rewarded with new badge(s) :
Your next target is to reach 200 upvotes.
You can view your badges on your board and compare yourself to others in the Ranking
If you no longer want to receive notifications, reply to this comment with the word
STOPCheck out the last post from @hivebuzz:
Thank you for sharing this amazing post on HIVE!
Your content got selected by our fellow curator @kaerpediem & you just received a little thank you via an upvote from our non-profit curation initiative!
You will be featured in one of our recurring curation compilations and on our pinterest boards! Both are aiming to offer you a stage to widen your audience within and outside of the DIY scene of hive.
Join the official DIYHub community on HIVE and show us more of your amazing work and feel free to connect with us and other DIYers via our discord server: https://discord.gg/mY5uCfQ !
If you want to support our goal to motivate other DIY/art/music/homesteading/... creators just delegate to us and earn 100% of your curation rewards!
Stay creative & hive on!